
Pictures - September 18th 19th 20th 2026 Class in Stuart Florida - Dr. Beasley's & Mike Phillips

More...

🐞 TRAINING CAR #5 — THIS POOR BUG NEEDS SOME LOVE! 😎​

Next up is our 3rd MAJOR TOPIC for Saturday:

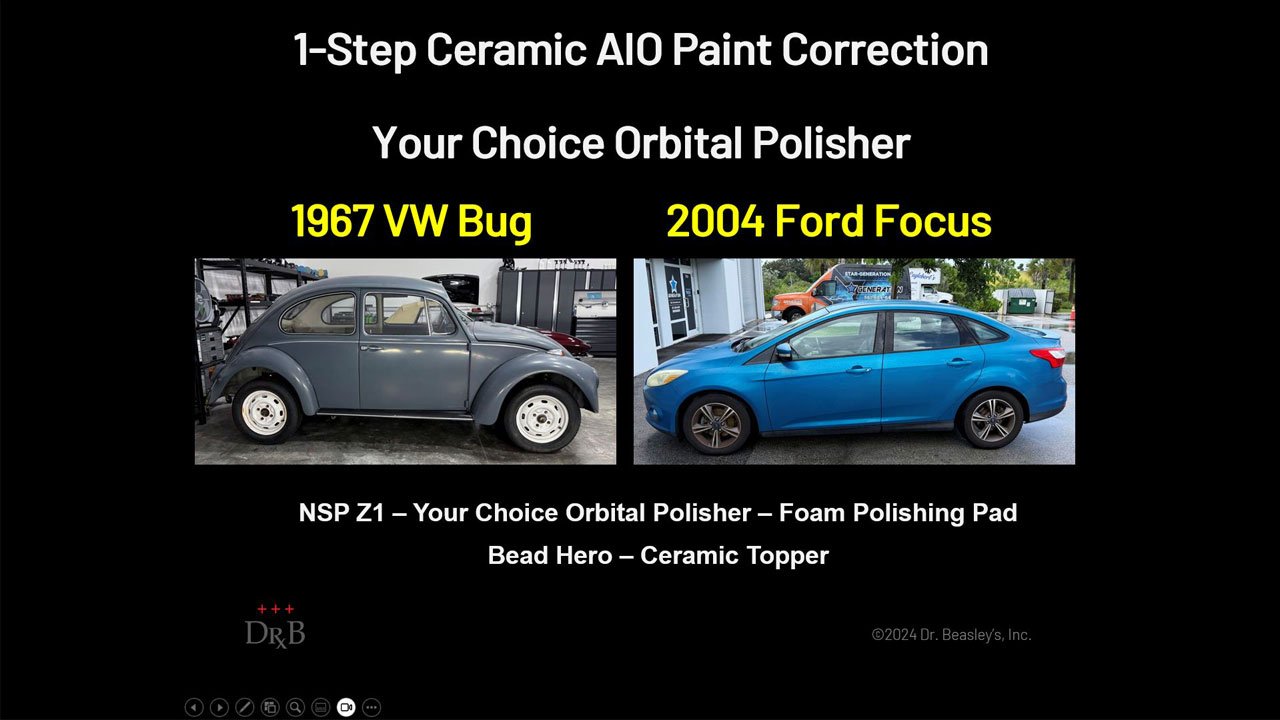
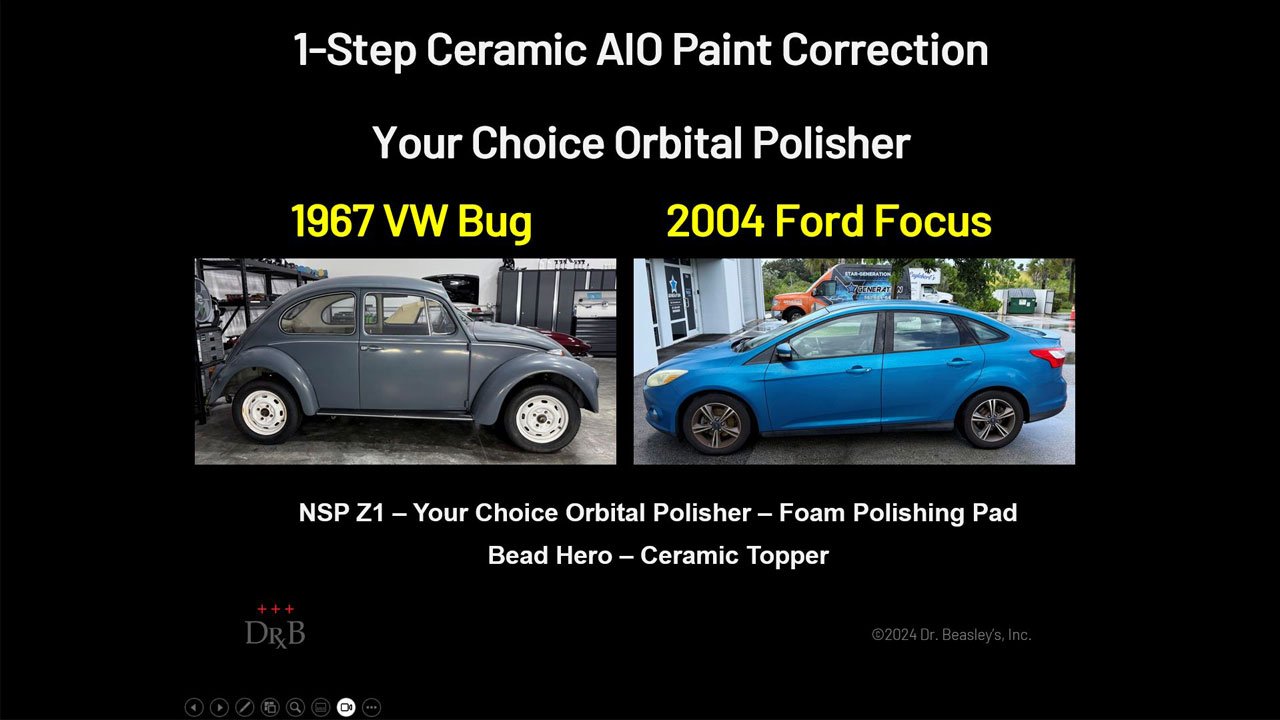
🔥 1-STEP CERAMIC AIO PAINT CORRECTION 🔥​

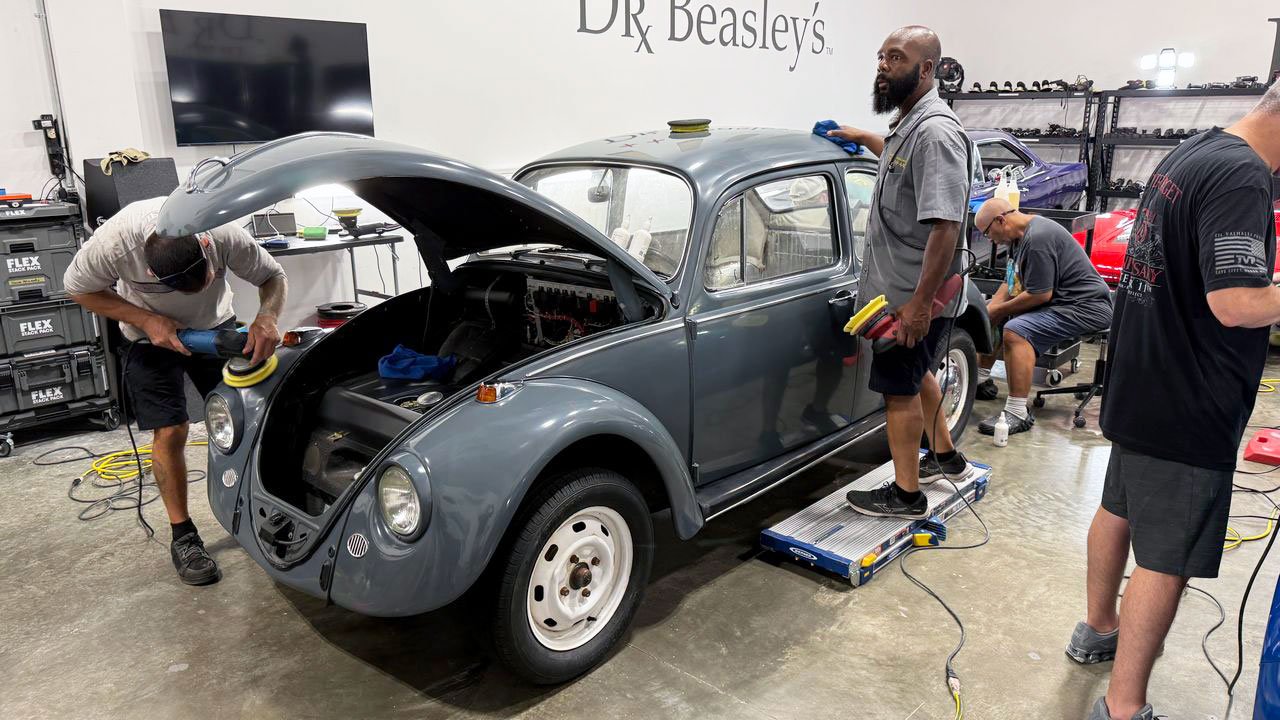
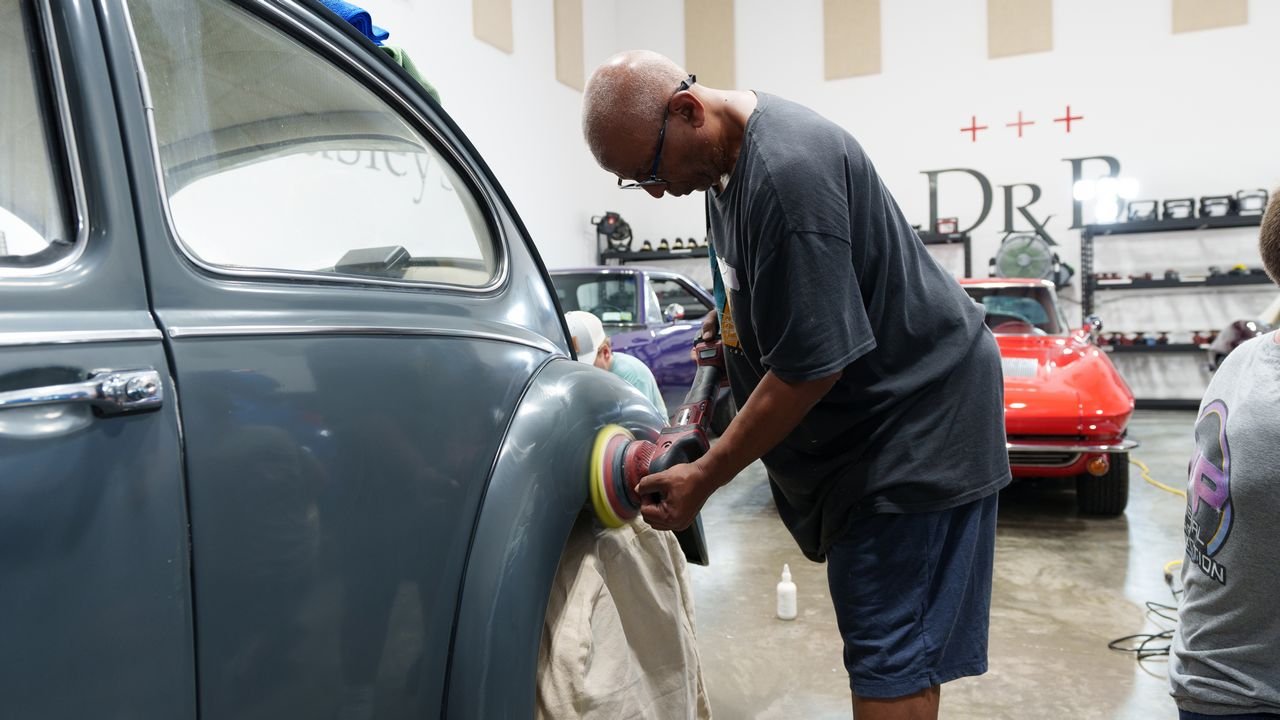
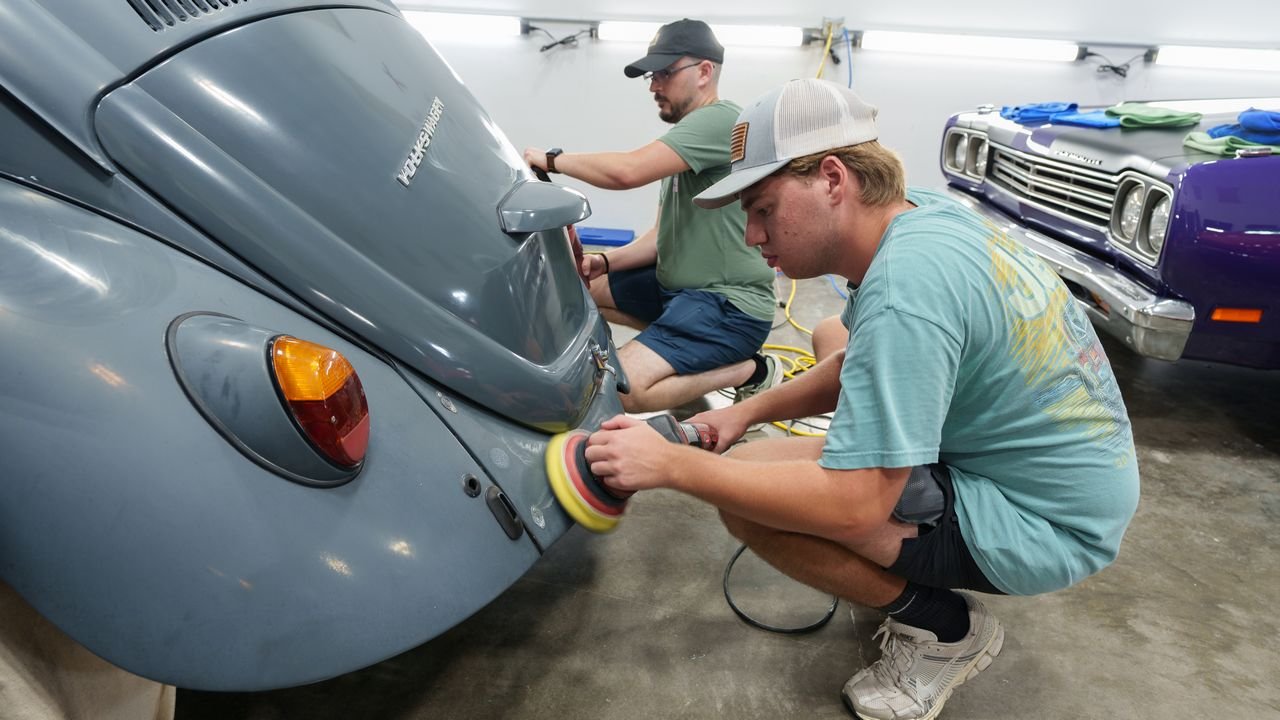
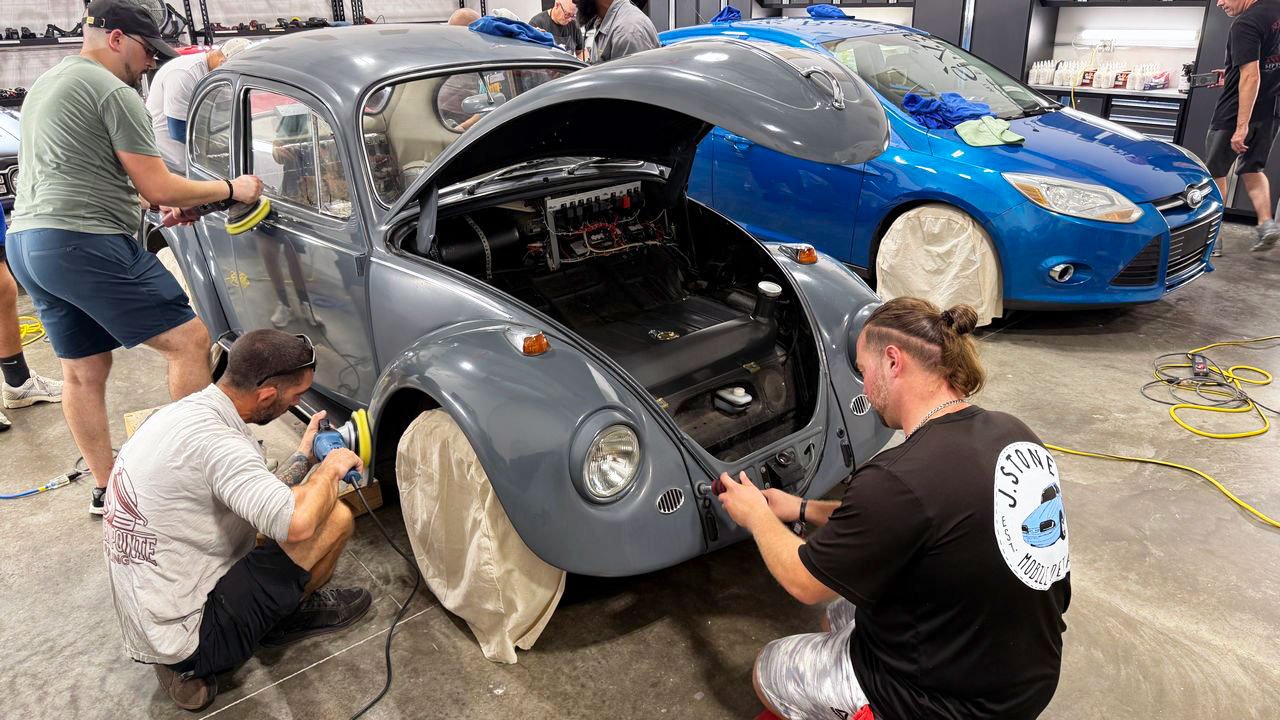
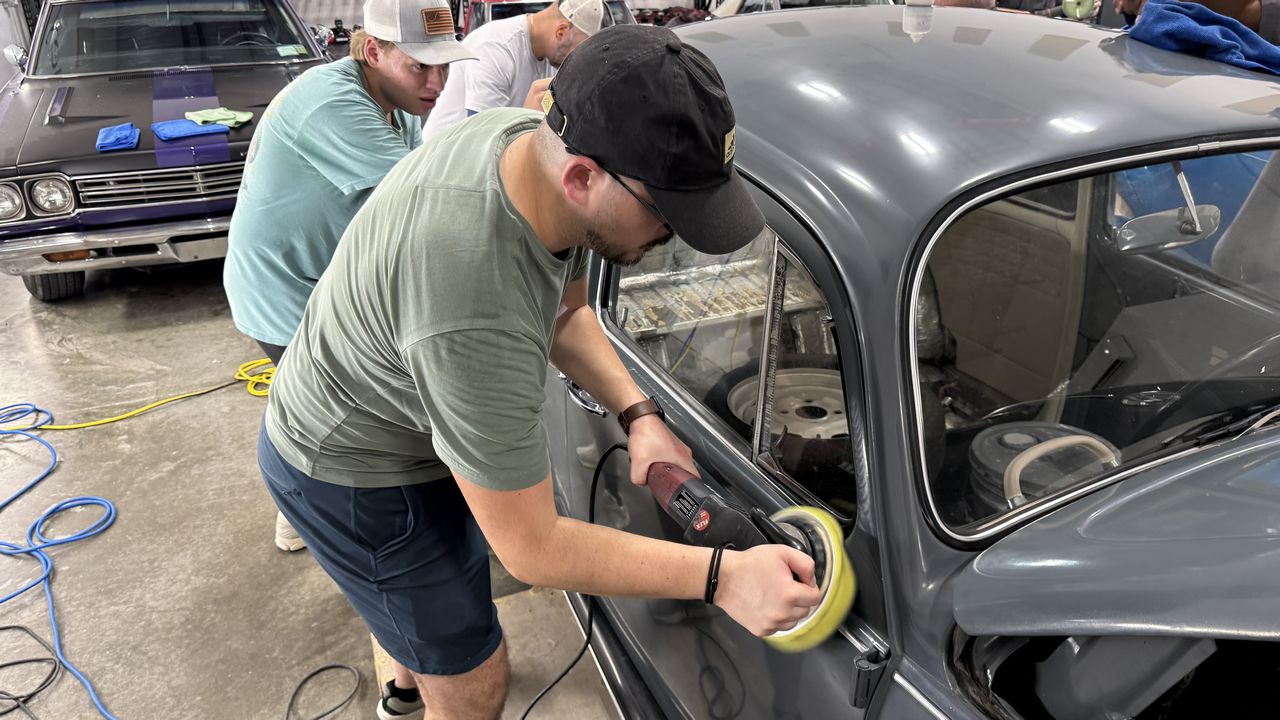
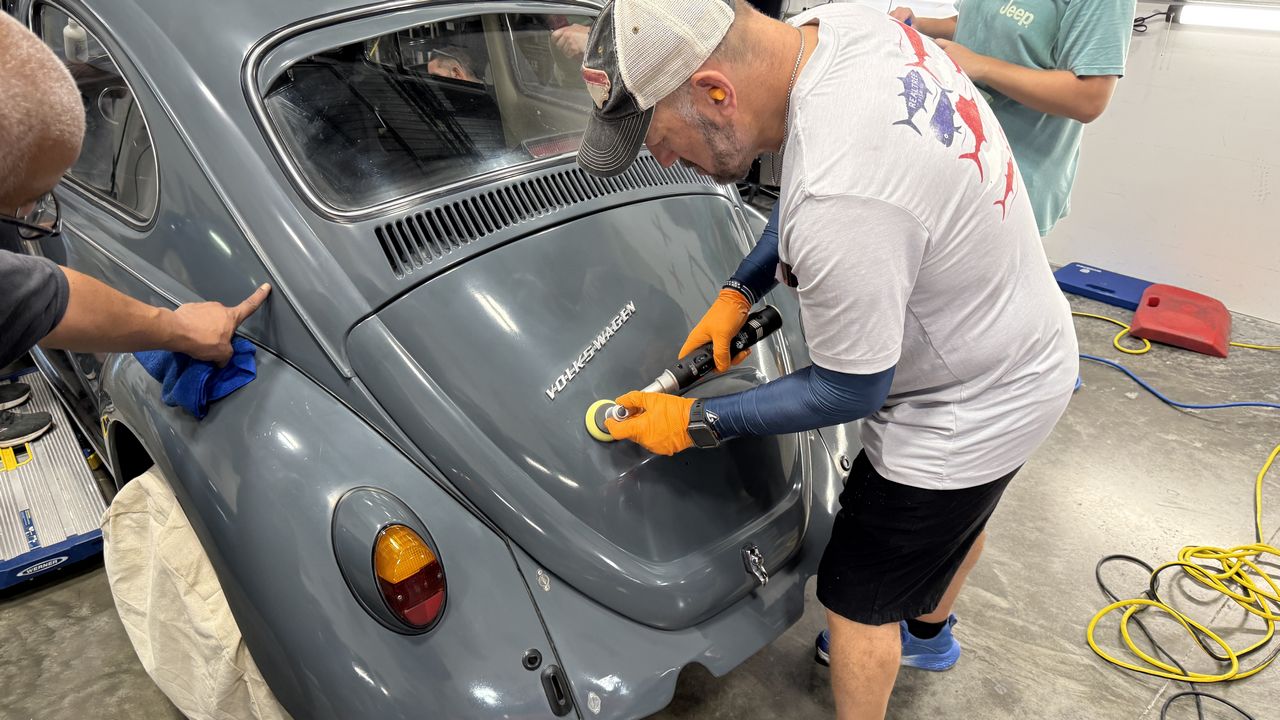
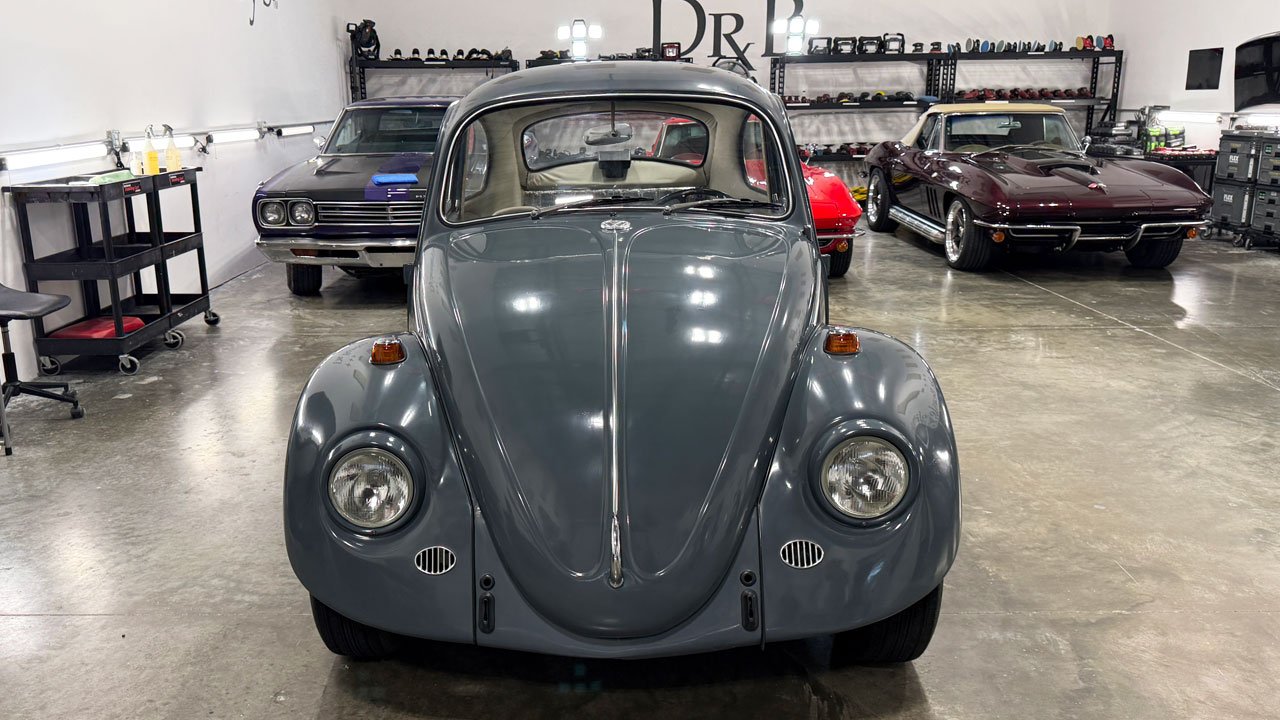
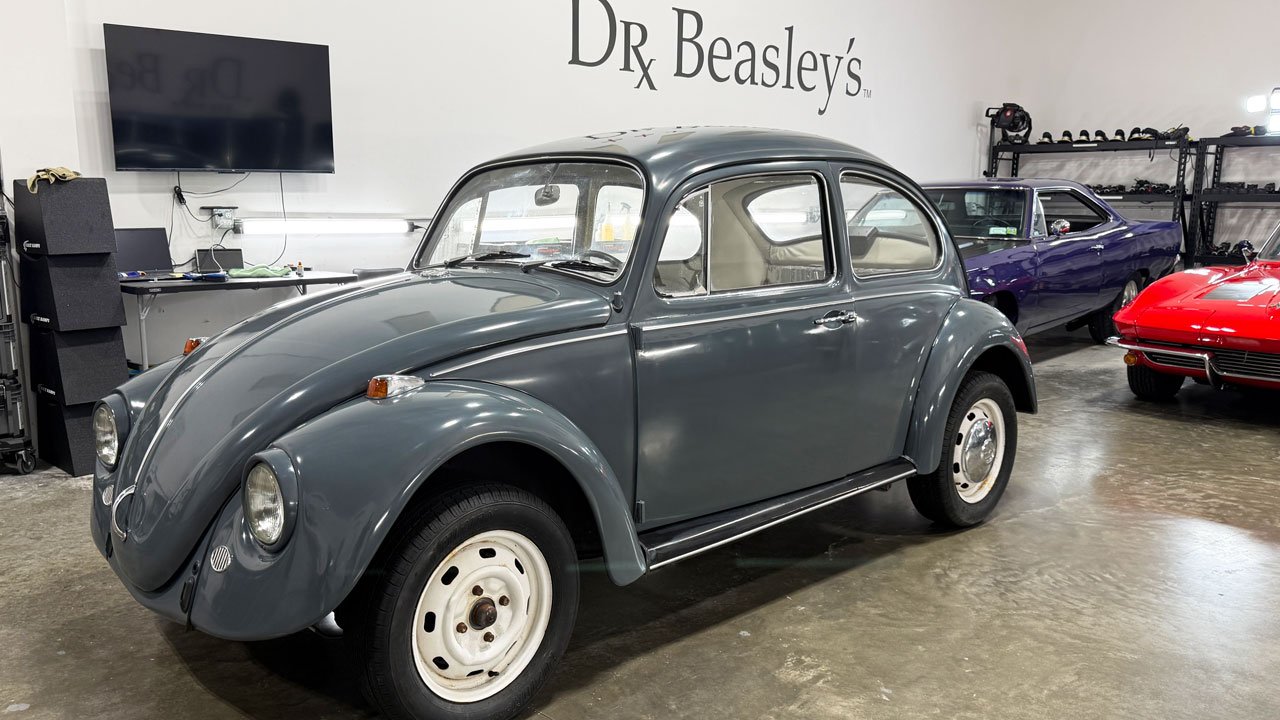
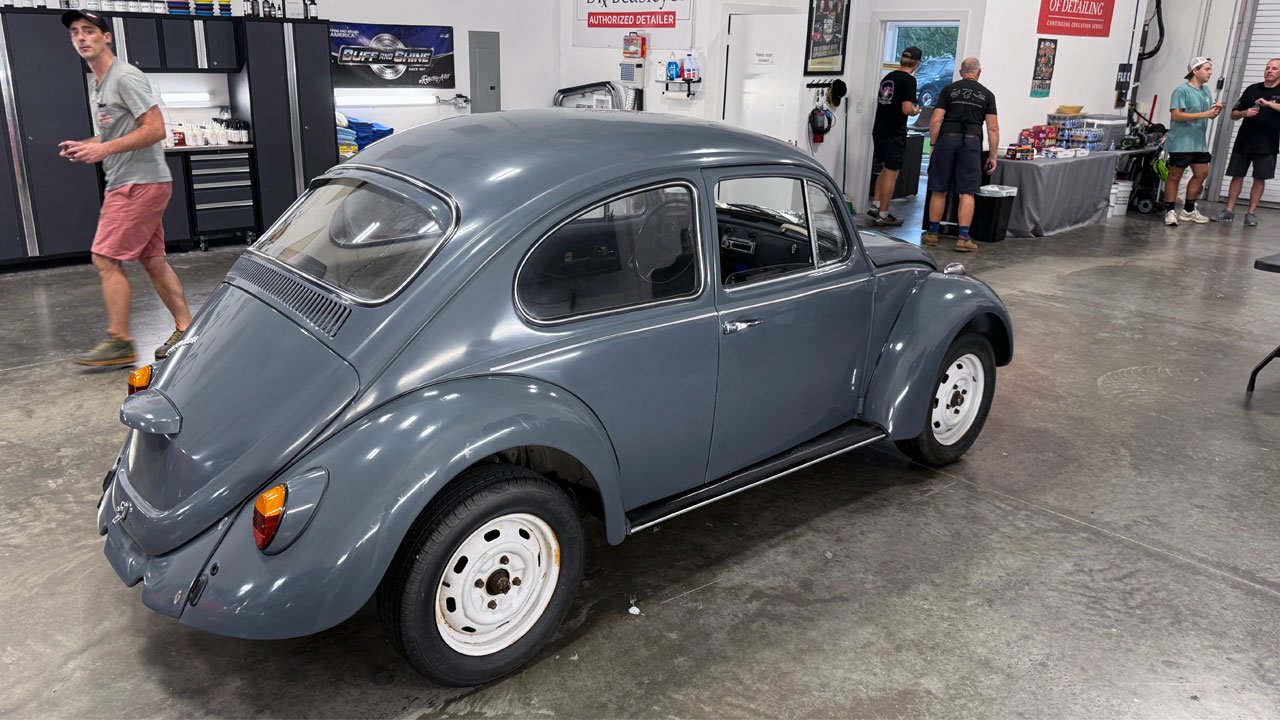
This 1967 VW Bug was painted only about 2 years ago, but then it sat outside exposed to the sun and weather.

The result?

☀️ EXTREME OXIDATION!

The paint has lost its color, gloss and clarity and turned a dull, chalky white.

In other words...

PERFECT TRAINING CAR! 😎​

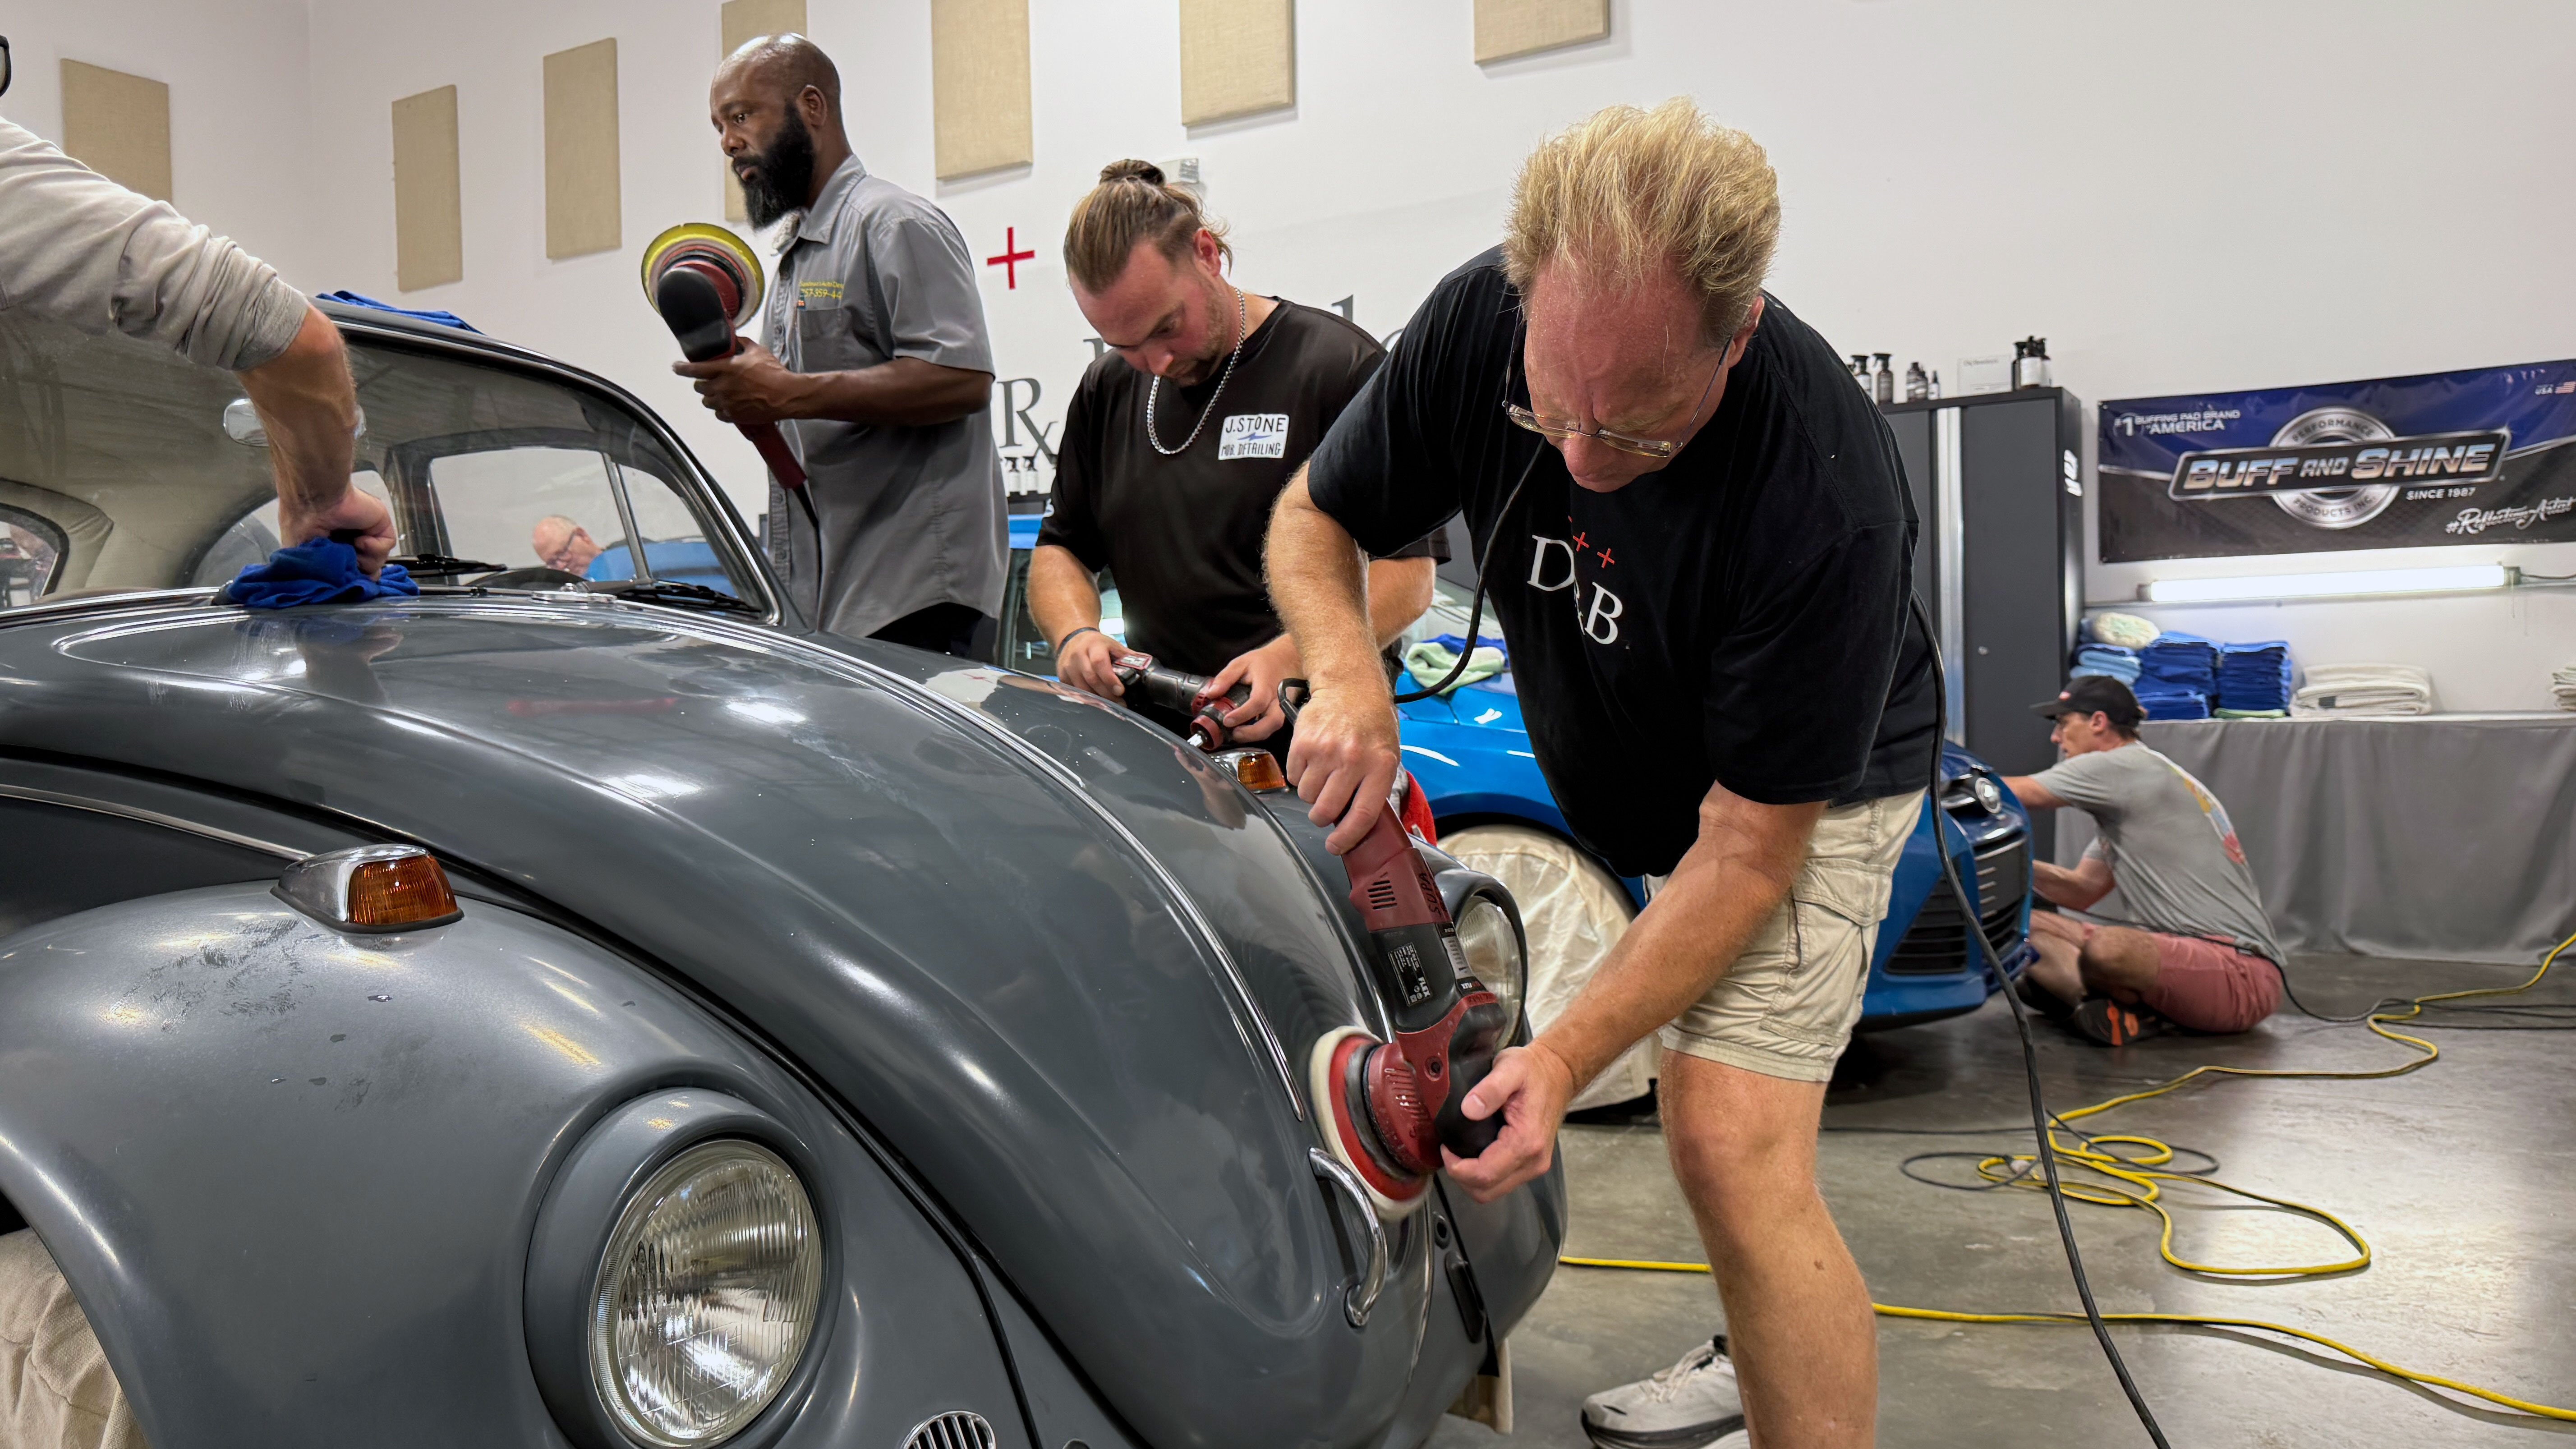
By this point in the class, everyone has already spent a LOT of hands-on time using:

💪 Rotary Polishers
⚙️ Gear-Driven Orbital Polishers

For the first four cars, I intentionally had the students use gear-driven orbital polishers so they could become accustomed to one very important characteristic:

⚙️ ZERO PAD STALLING!​

Now I turn them loose.

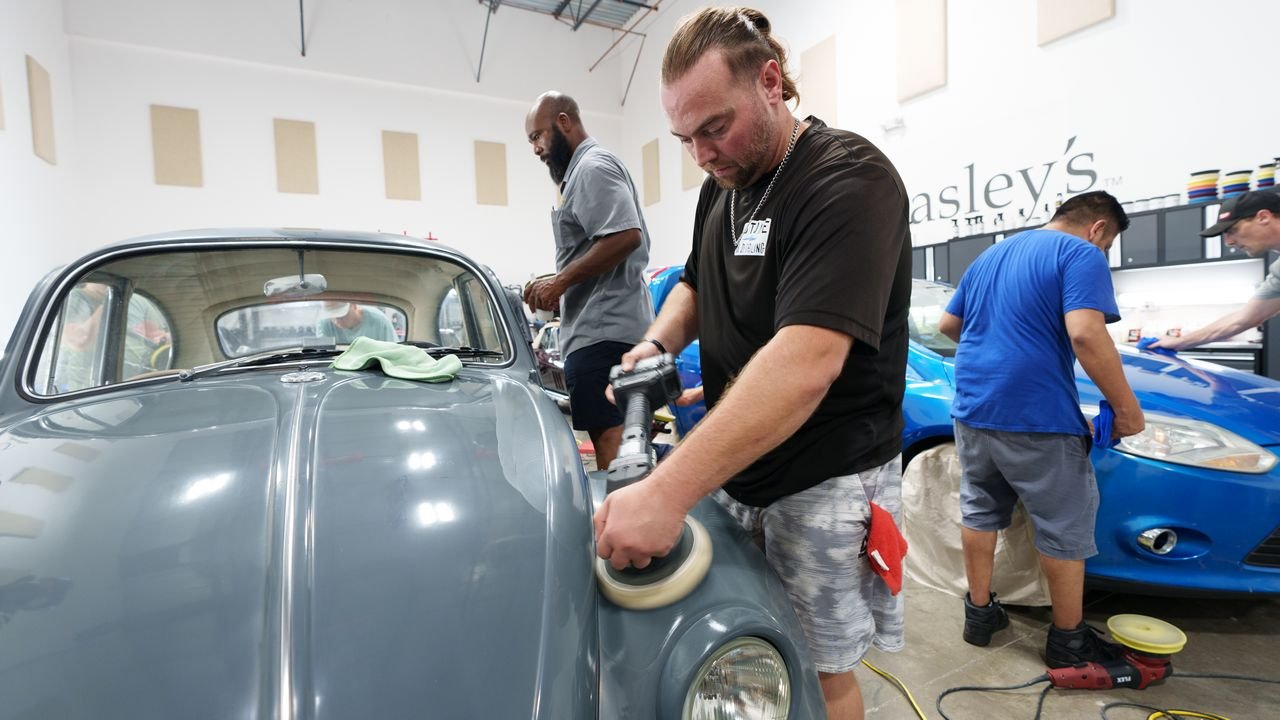
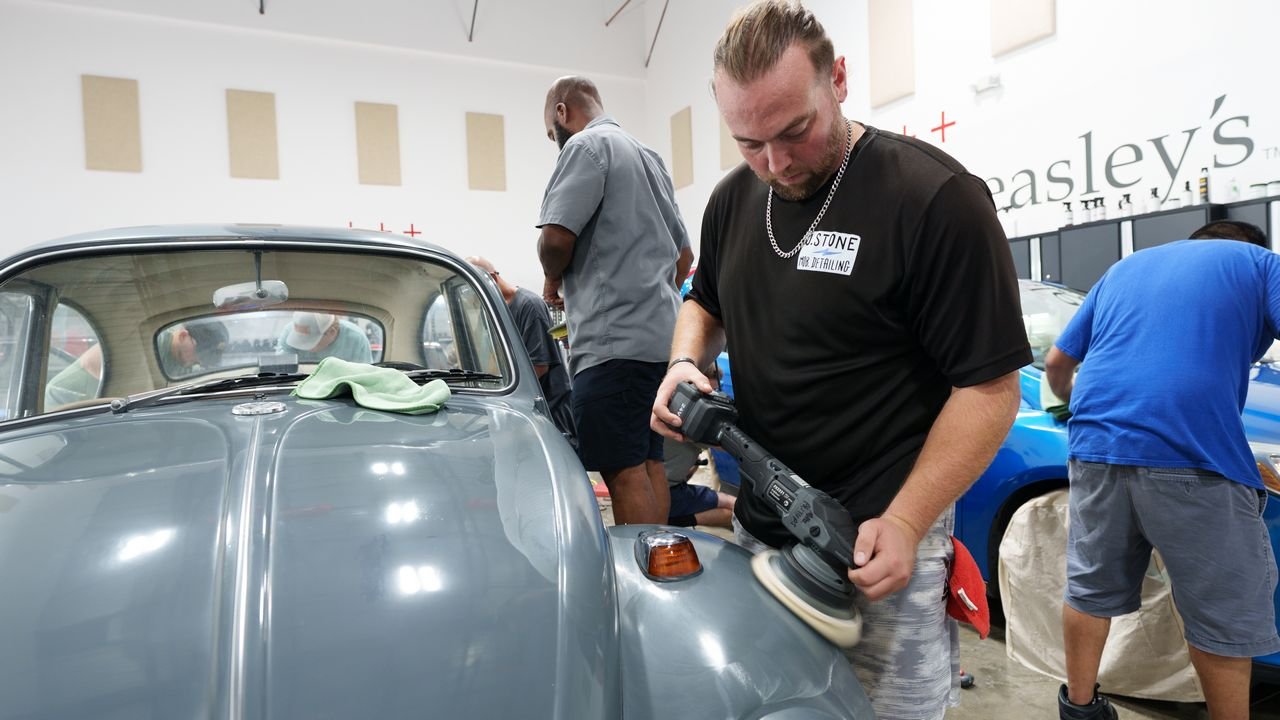
👉 YOUR CHOICE ORBITAL POLISHER!​

Want to continue using a gear-driven orbital? Go for it!

Want to try a free-spinning random orbital? Absolutely!

In fact, I ENCOURAGE them to try both. 👍

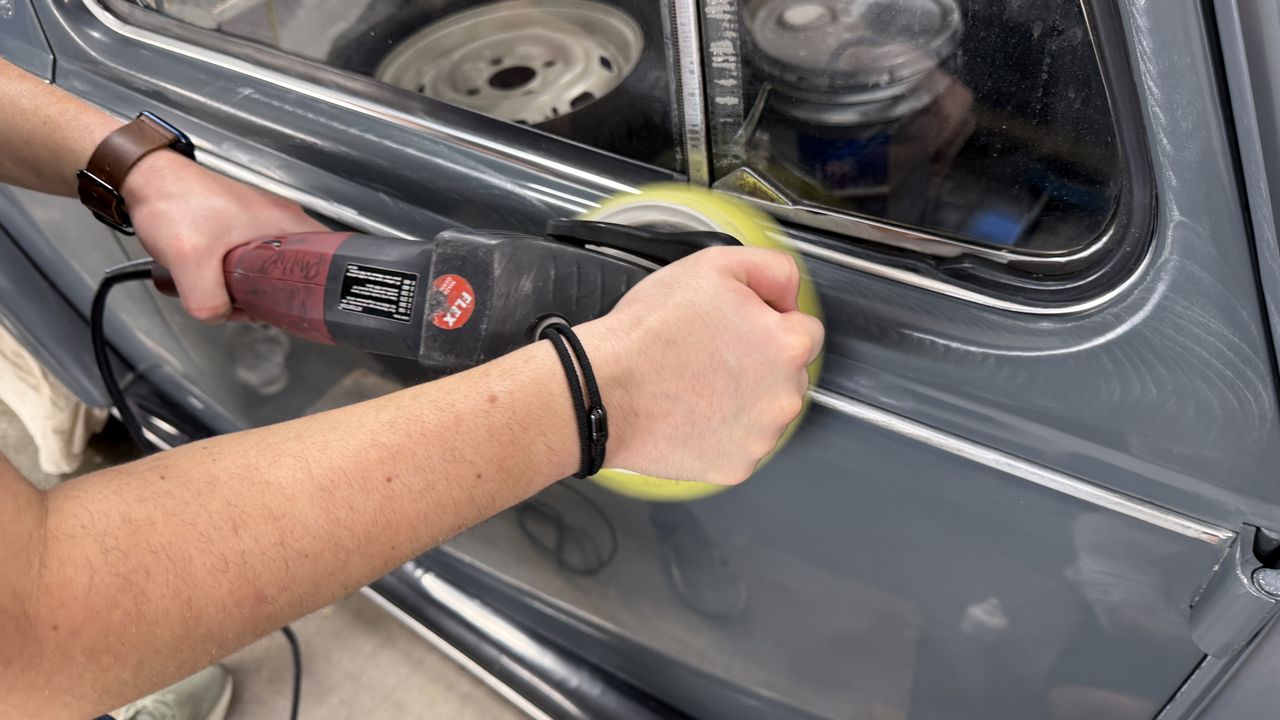
If they choose a free-spinning random orbital, I show them how to mark the buffing pad and backing plate so they can easily SEE whether the pad is rotating—or stalling. 👀

And that's when the light bulb comes on. 💡

After spending the first four cars experiencing ZERO PAD STALLING, they immediately recognize what happens when a free-spinning random orbital encounters curves, body lines, increased pressure or other conditions that cause the pad to slow down or stop rotating.

🧠❌ BRAIN DRAIN!

Instead of simply taking my word for it, THEY EXPERIENCE THE DIFFERENCE FOR THEMSELVES.

That's the whole point.

REAL-WORLD, HANDS-ON EXPERIENCE! 💪😎​

For this Bug we're keeping the process simple:

🧪 Dr. Beasley’s NSP Z1
⚙️ Your Choice Orbital Polisher
🧽 Foam Polishing Pad
🛡️ Bead Hero Ceramic Topper

One correction step to restore the neglected paint, followed by a ceramic topper—and the students get to choose the orbital polisher they want to use.

And something interesting happens...

Most of them KEEP REACHING FOR THE GEAR-DRIVEN POLISHERS! 😎⚙️​

Not because I told them to.

Because now they understand the difference.

🔥 LEARN IT. USE IT. COMPARE IT. MAKE UP YOUR OWN MIND.

That's what REAL hands-on training is all about.

And wait until you see what happens to this chalky old Bug! 🐞✨😎


full


full


full


full


full


full


full


full


full


full


full


Mike
 
More...

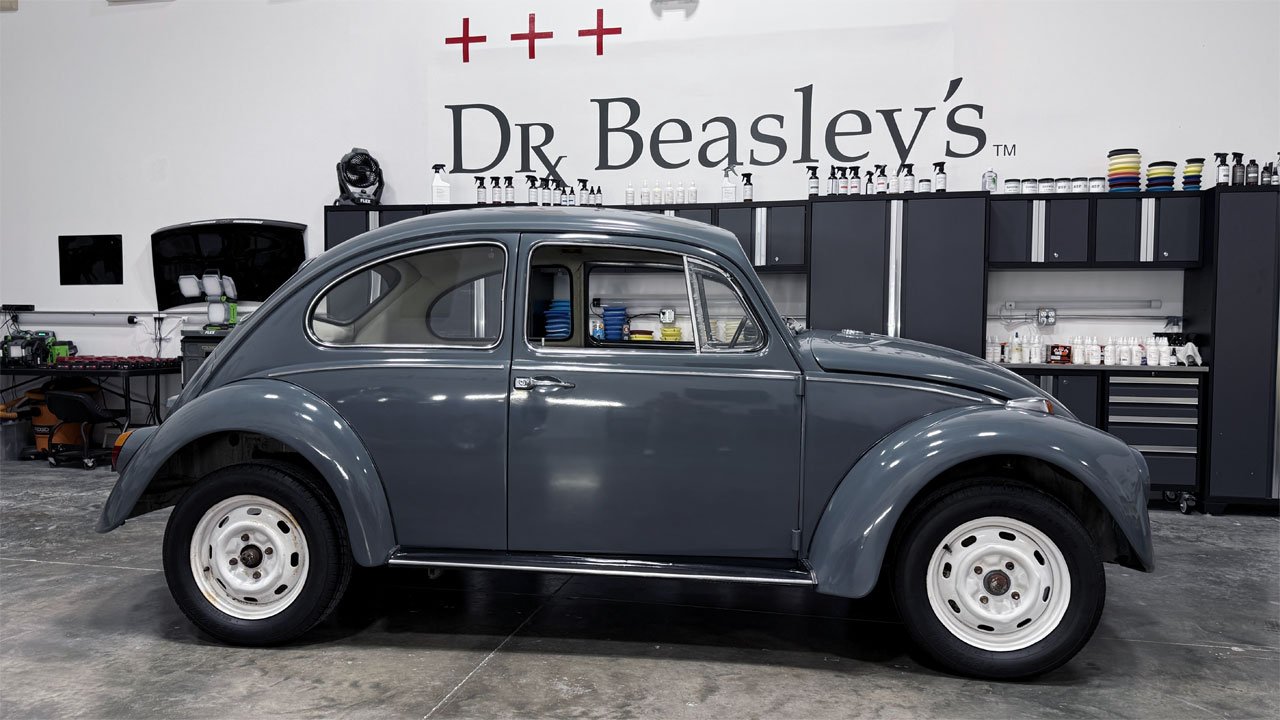
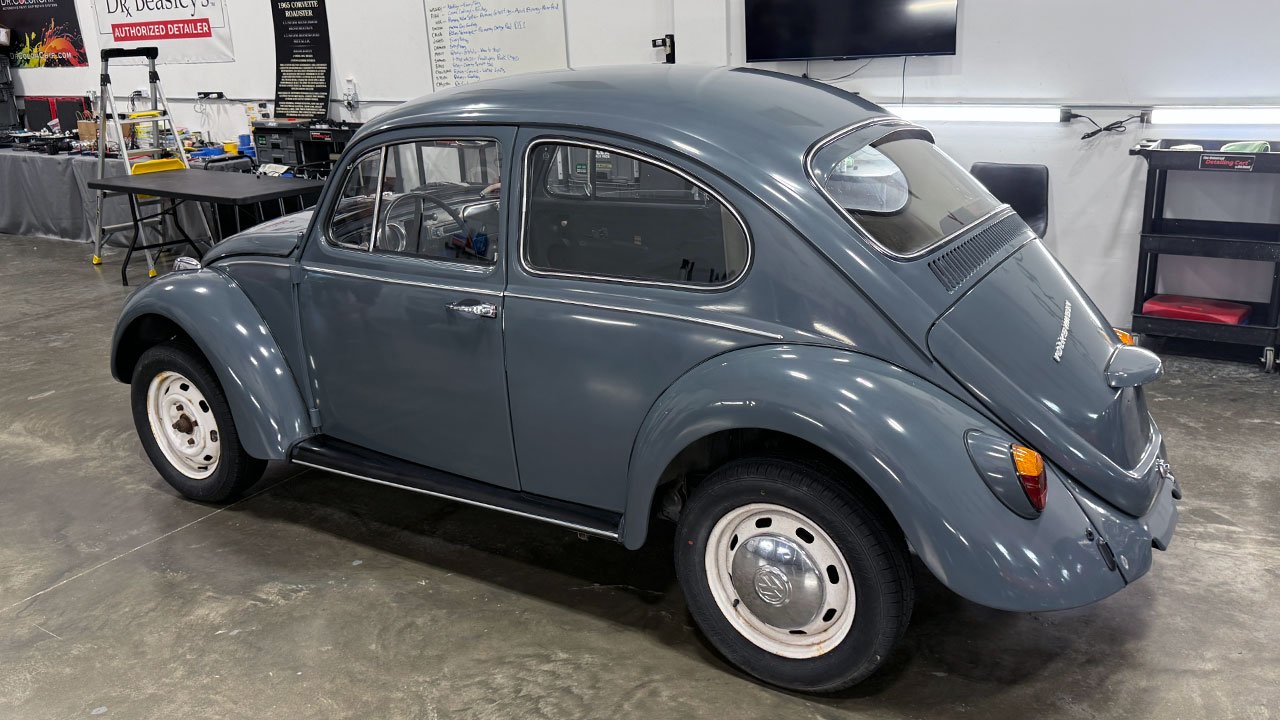
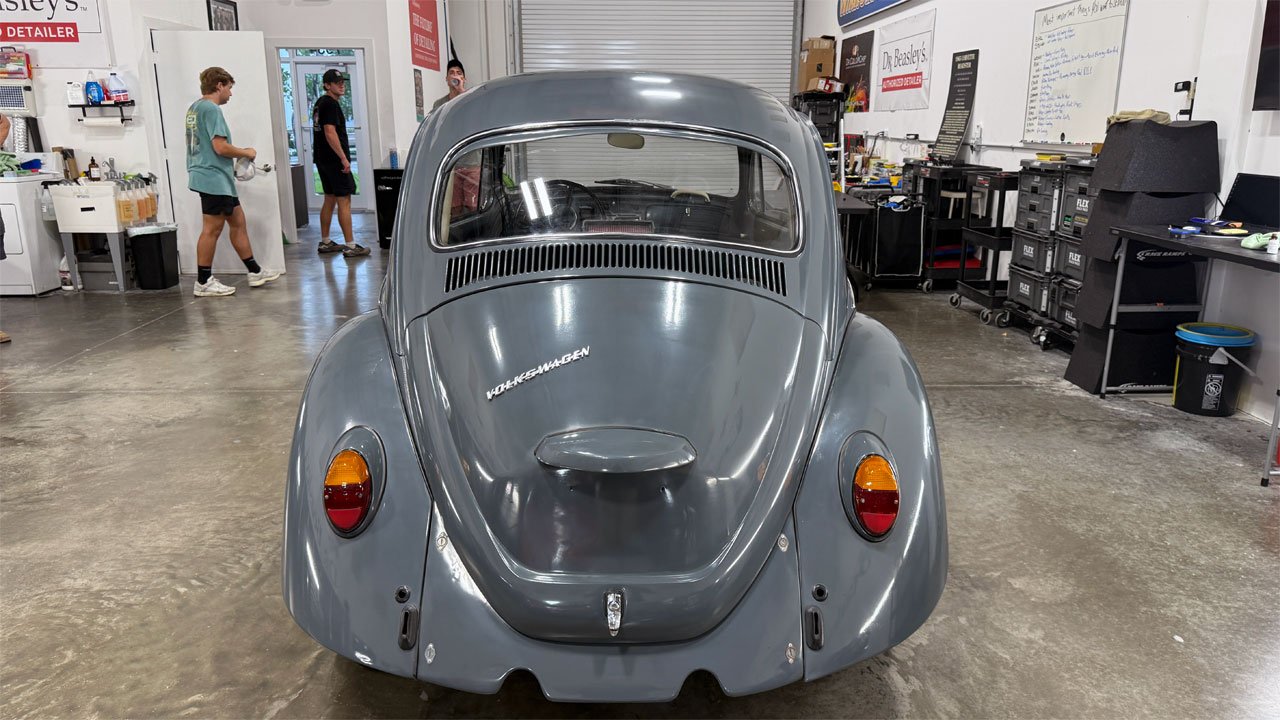
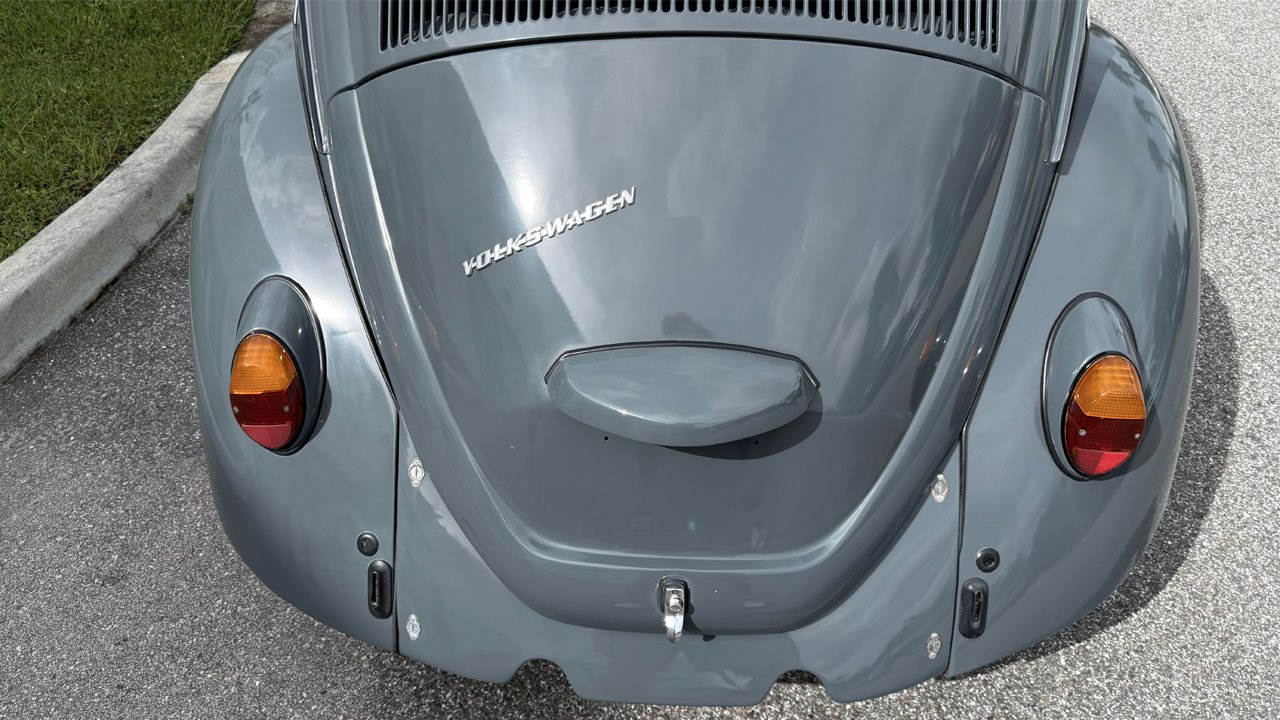
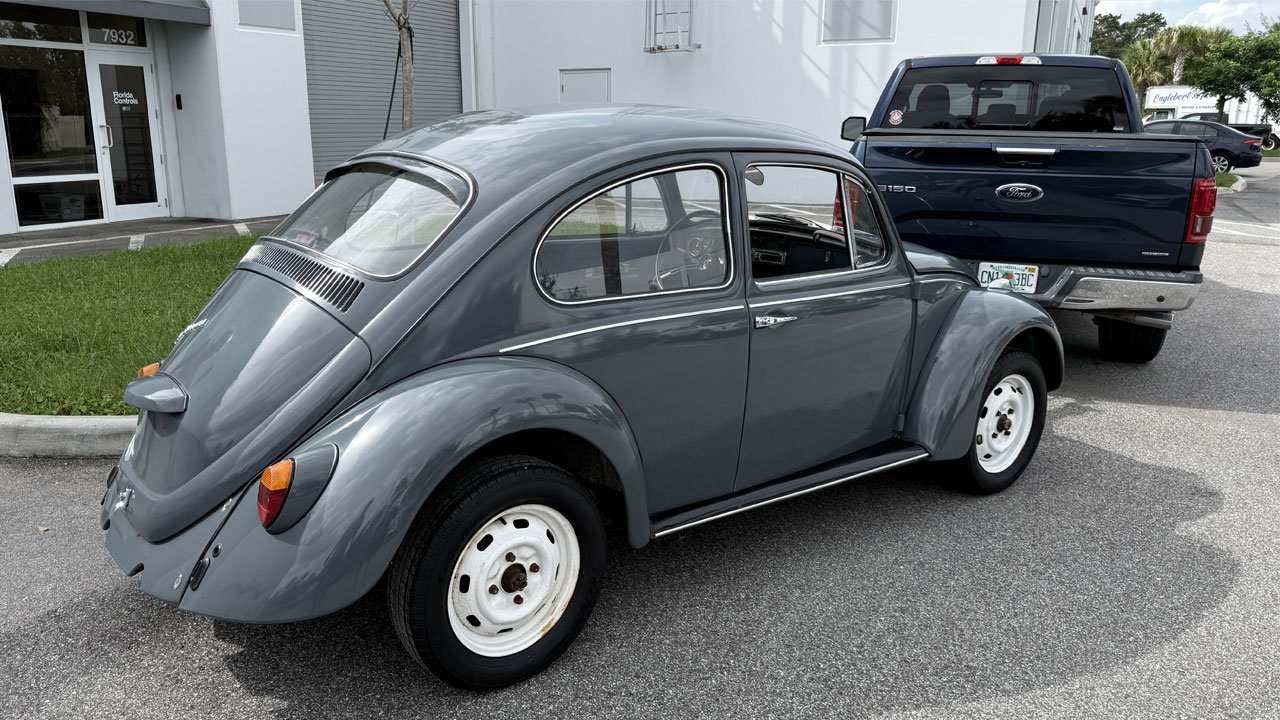
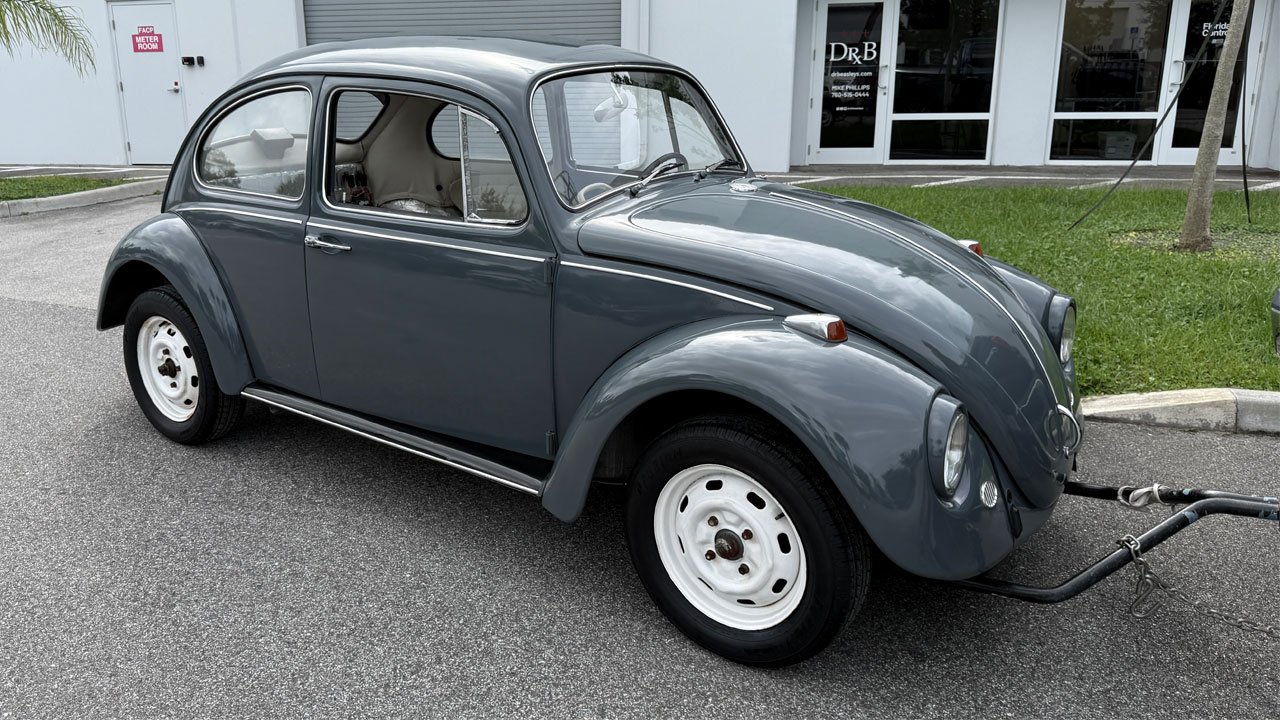
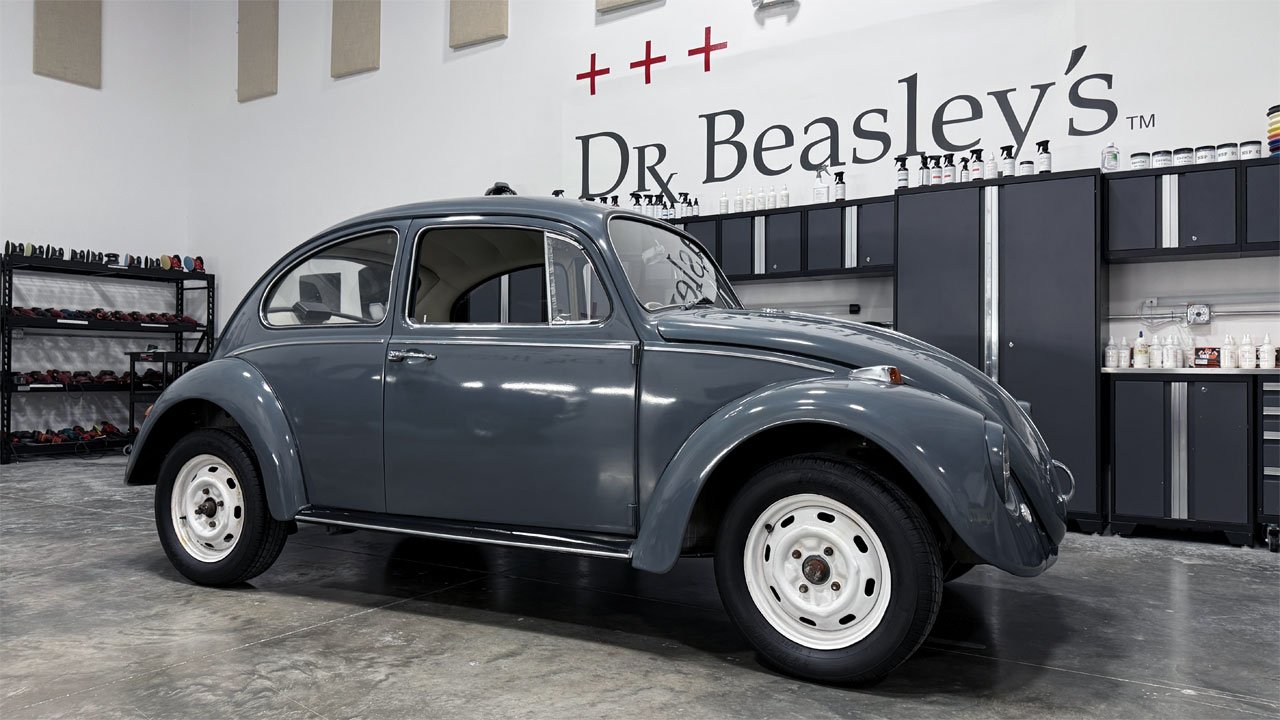
🐞💥 From CHALKY to HEAD-TURNING! Check out the final results on this 1967 VW Bug!

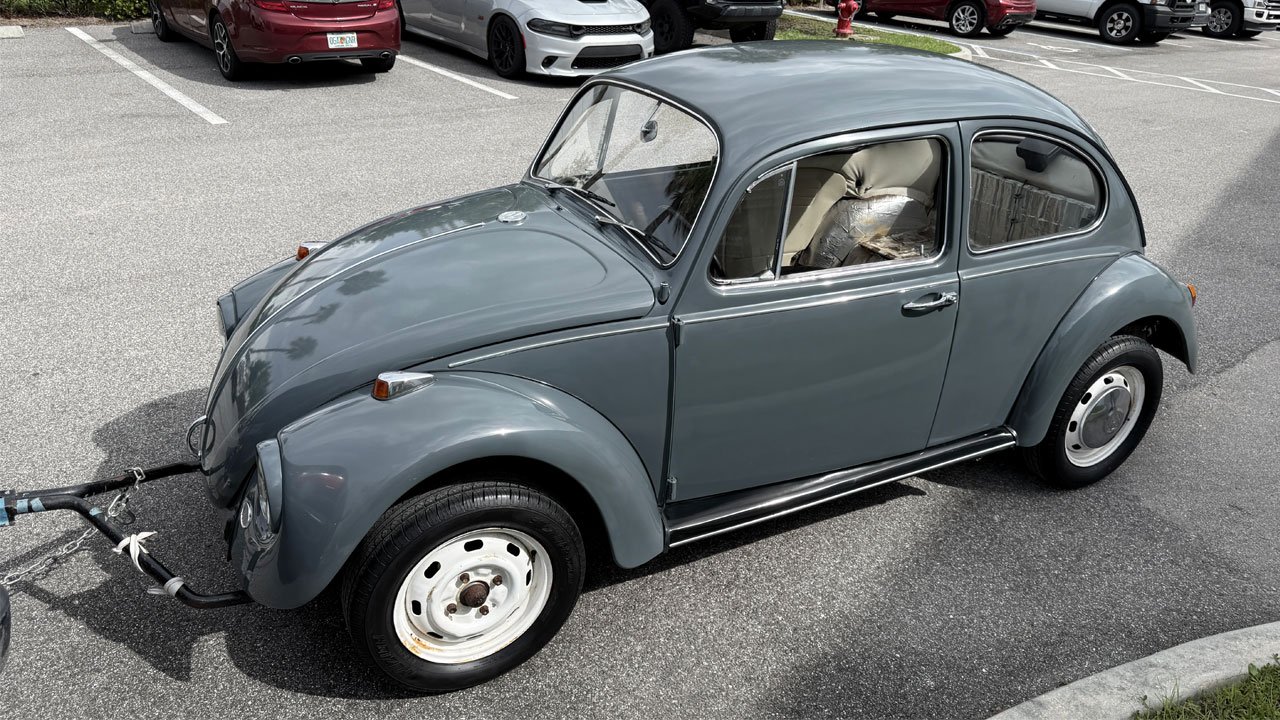
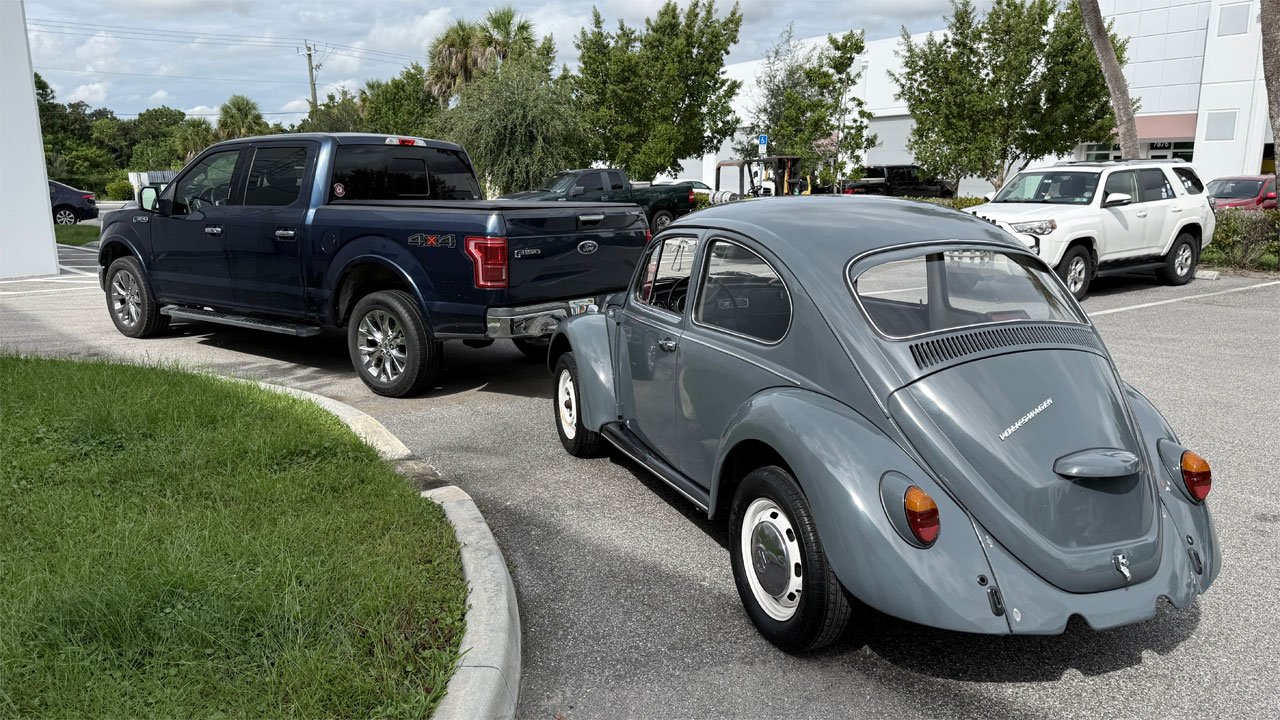
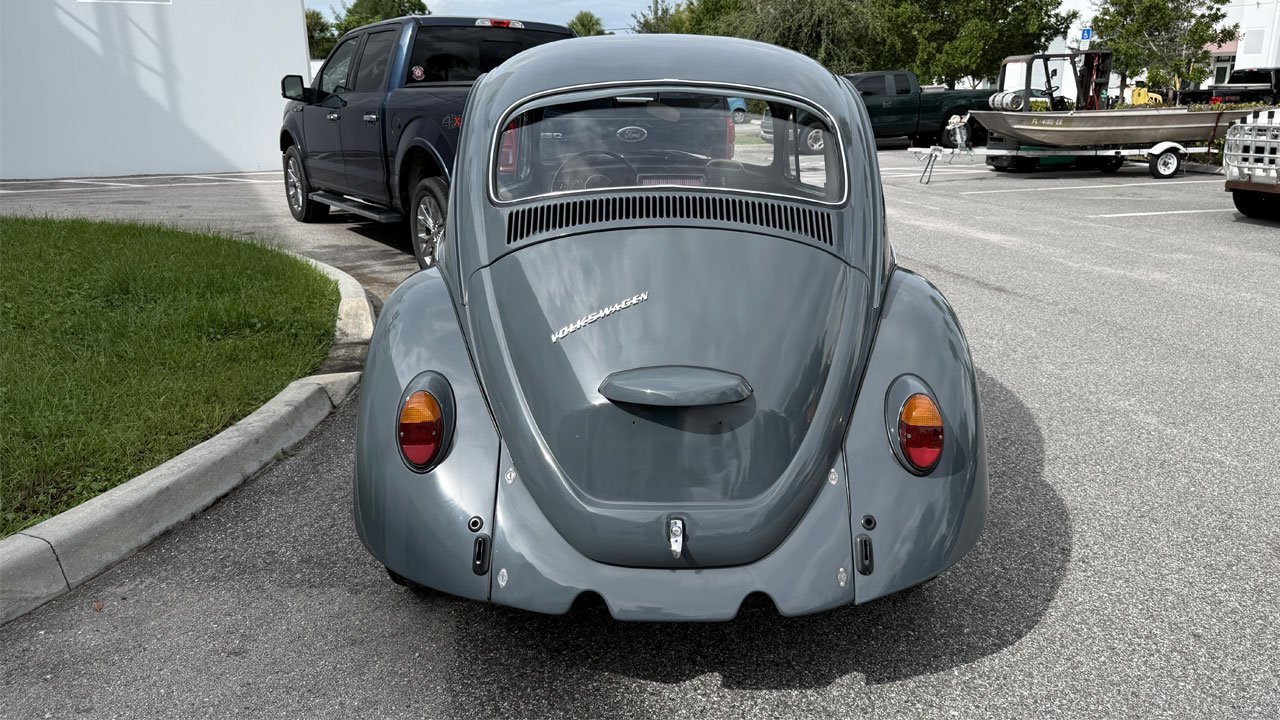
Painted just two years ago, this little Bug sat outside in the sun until oxidation turned the finish chalky white. Our students rolled up their sleeves and brought the shine BACK using Dr. Beasley’s NSP Z1 for our 1-Step Ceramic AIO Paint Correction topic!

The plan was to finish with Bead Hero—but we went a step further and installed Dr. Beasley’s Nano-Resin 2.0 ceramic coating! 🔥

And yes… it has BUCKET SEATS. Literally. 😂🪣🪣
The interior is a work in progress as part of its restomod transformation!

This was car number FIVE of the SIX cars our students detailed on Saturday—with a seventh car waiting for Sunday’s sanding class!

By this point, they had already trained with rotary and gear-driven orbital polishers. For this topic, they could choose ANY orbital polisher—gear-driven or free-spinning—and discover for themselves which tools they liked, hated, or LOVED!

Real cars. Real paint problems. Real results.

No Chairs. ZERO Sitting. No PowerPoint. 100% Hands-On!


Want to be part of the next transformation? Join us in Stuart, Florida, for a class in February, May, or September 2027!

👉 DrBeasleys.com

More pictures coming—next up, the 2004 Ford Focus! 😎

full


full


full


full


full


full


full


full


full


full


full


full


Looking great!

full


Mike
 
More...

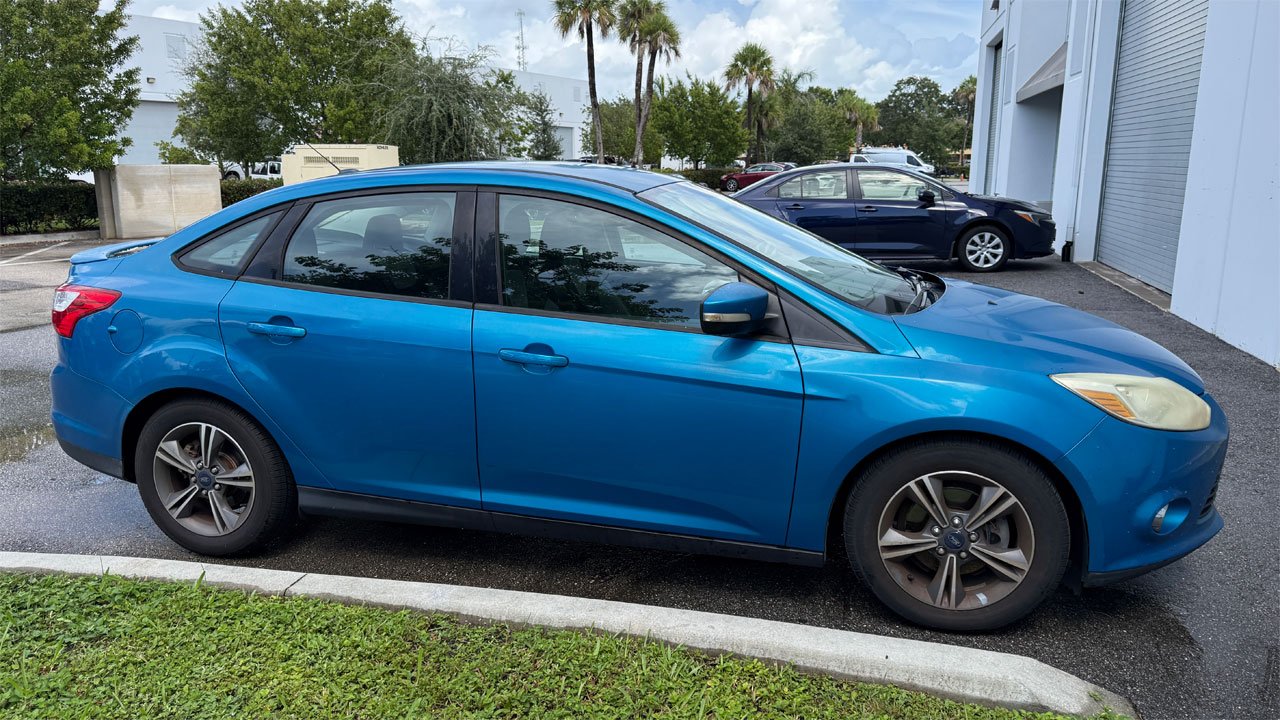
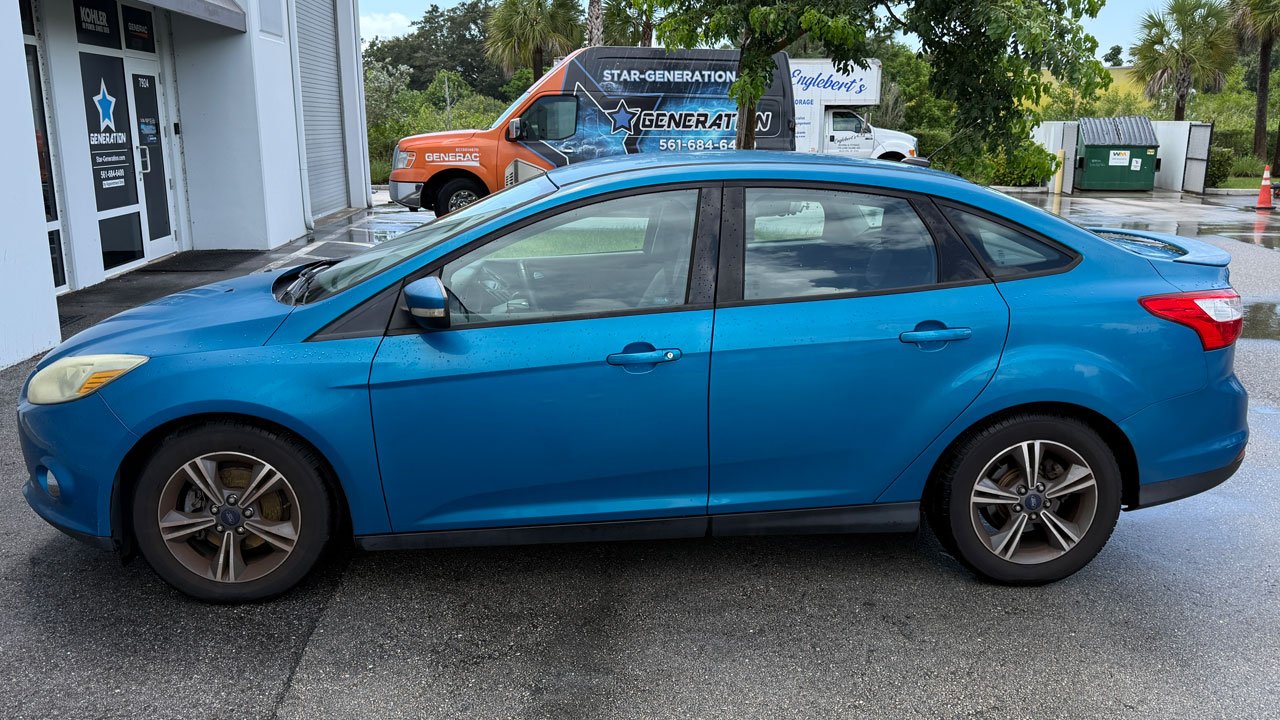
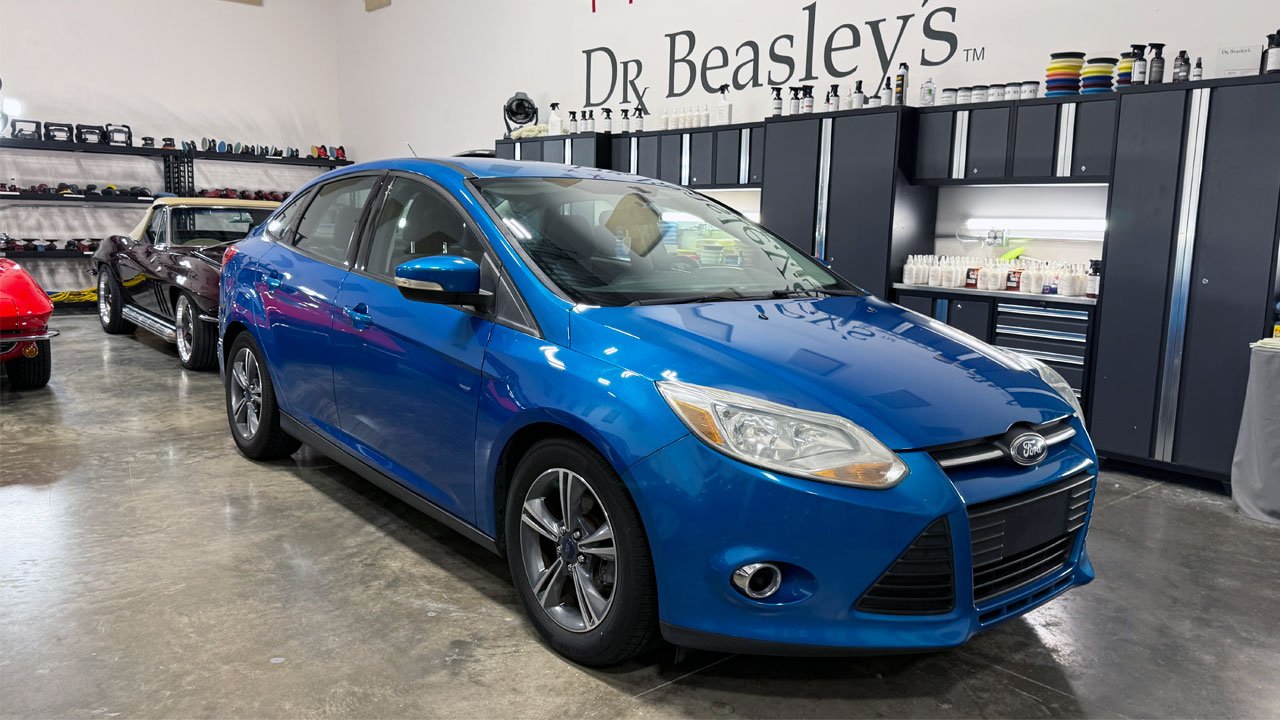
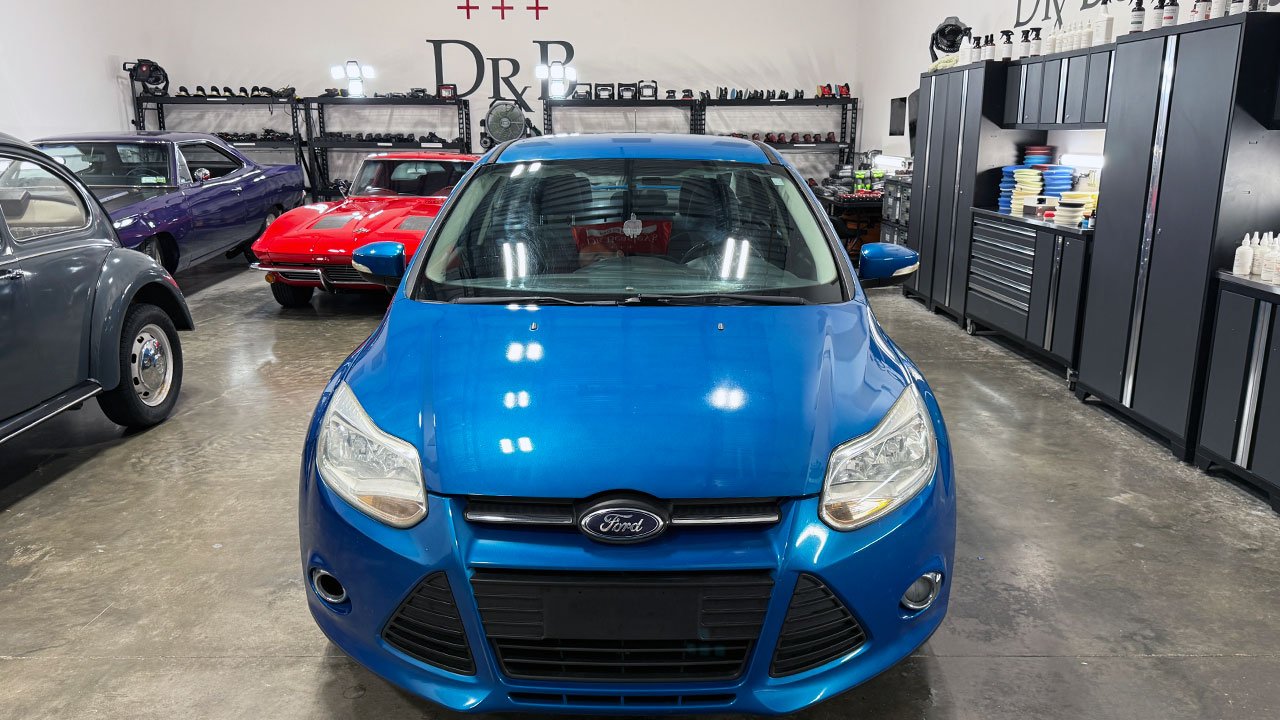
🚗 This Ford Focus needed some serious FOCUS!

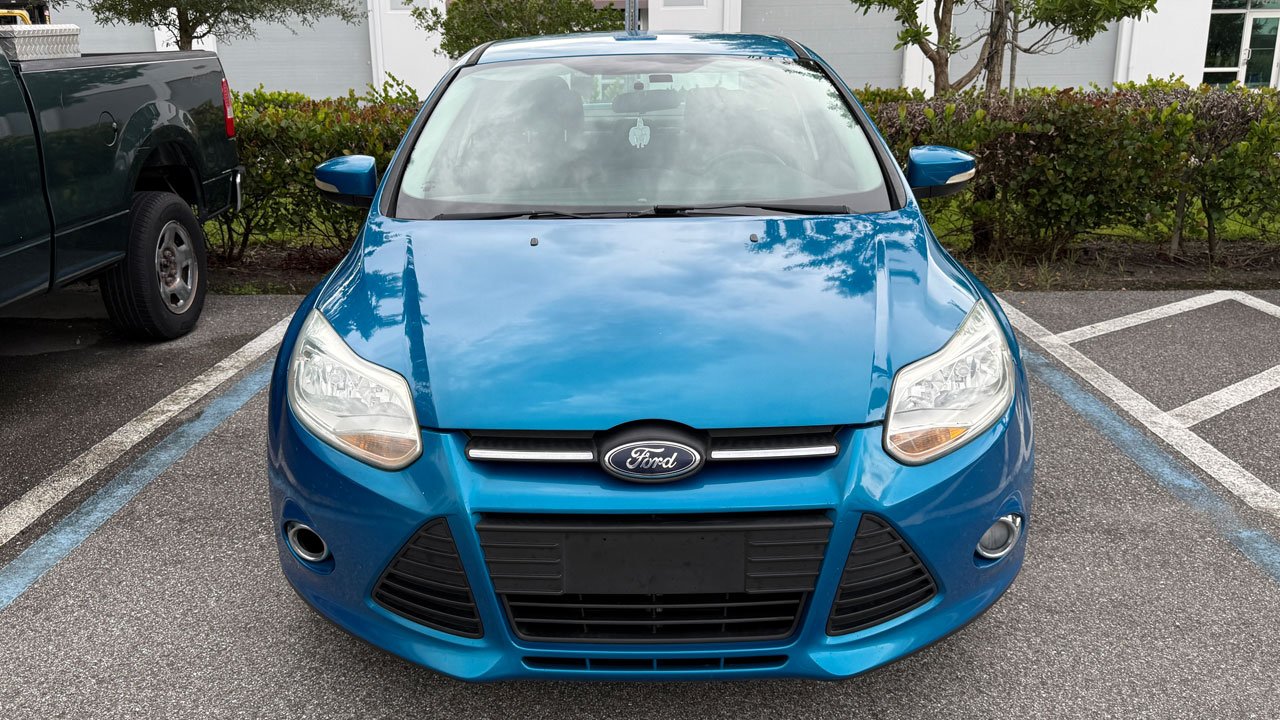
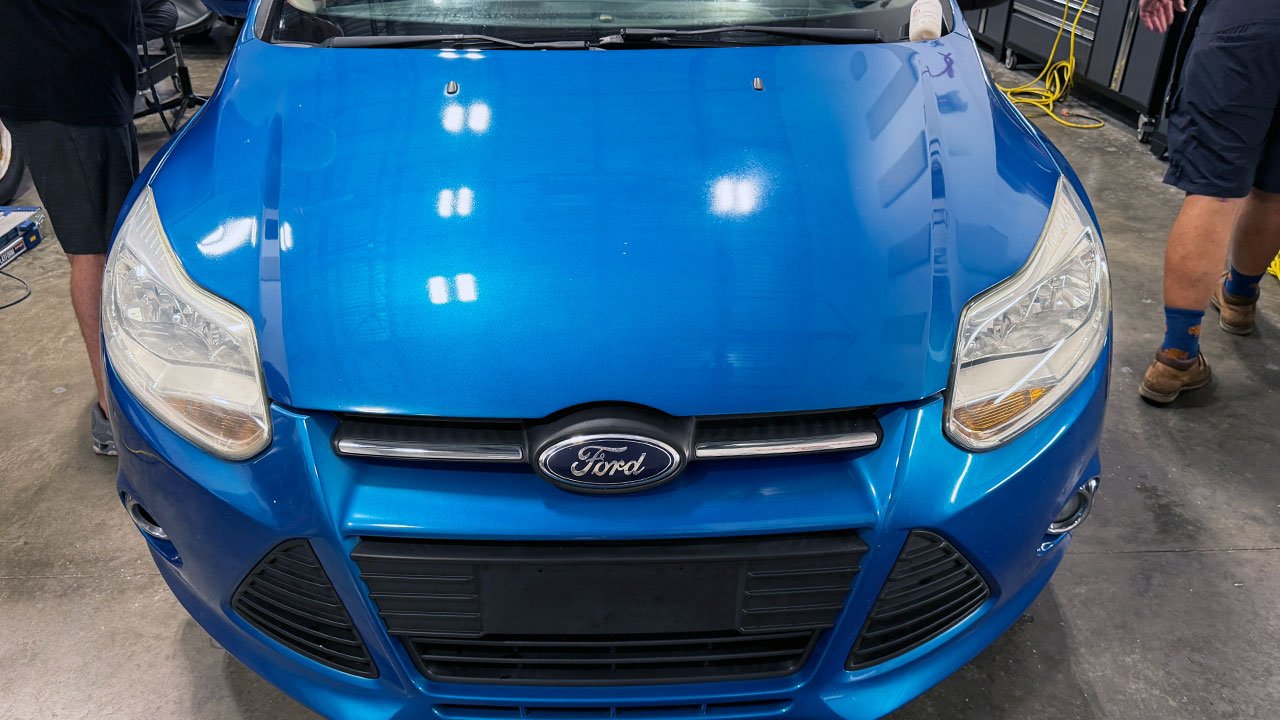
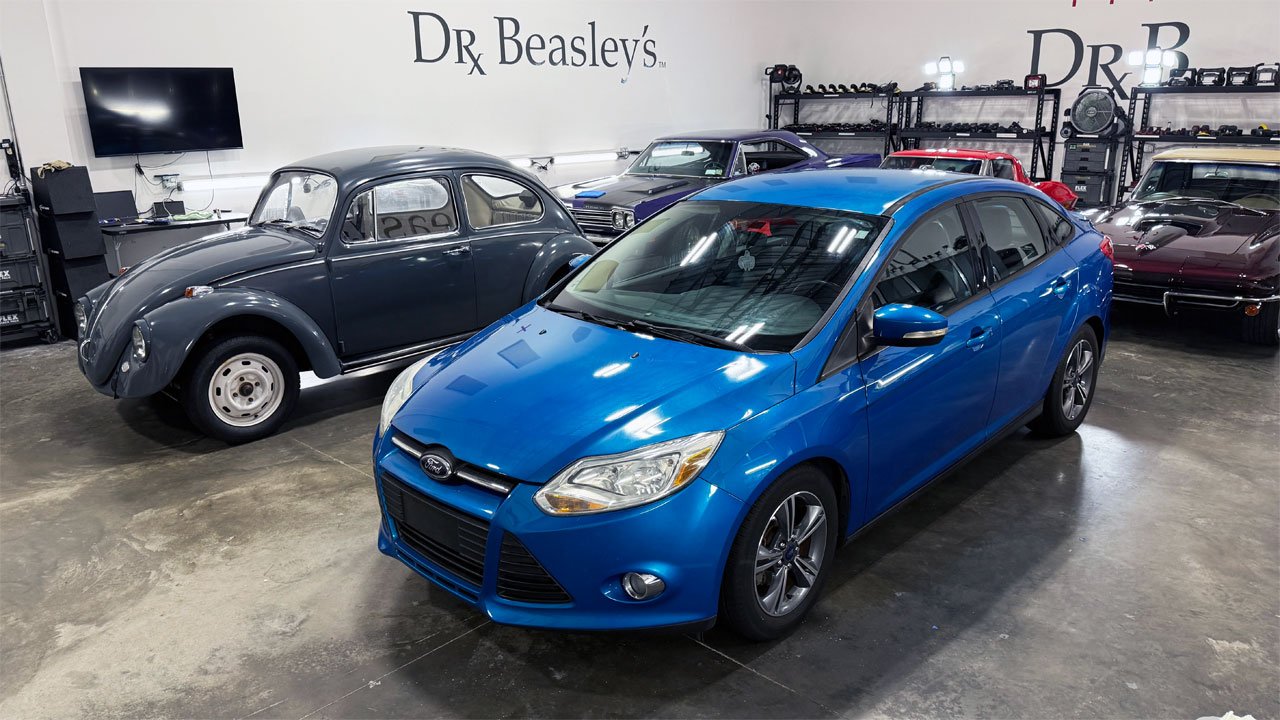
Training Car #6—a severely neglected 2004 Ford Focus!
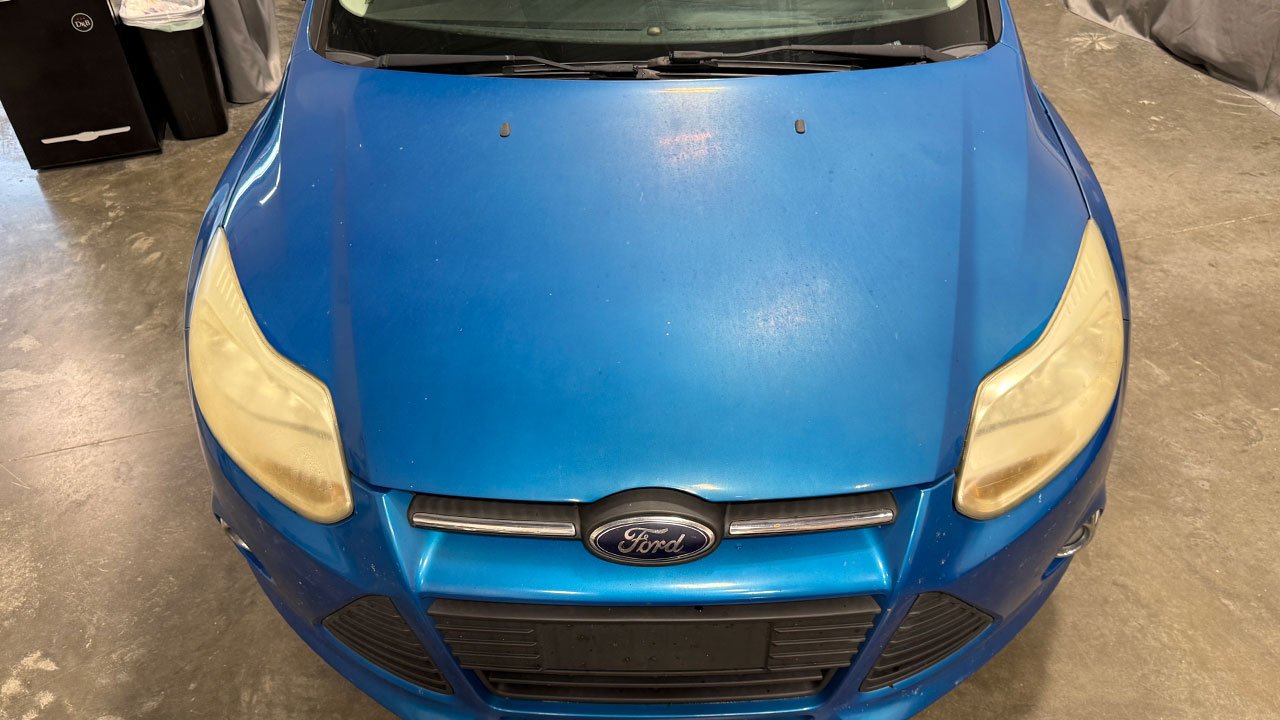
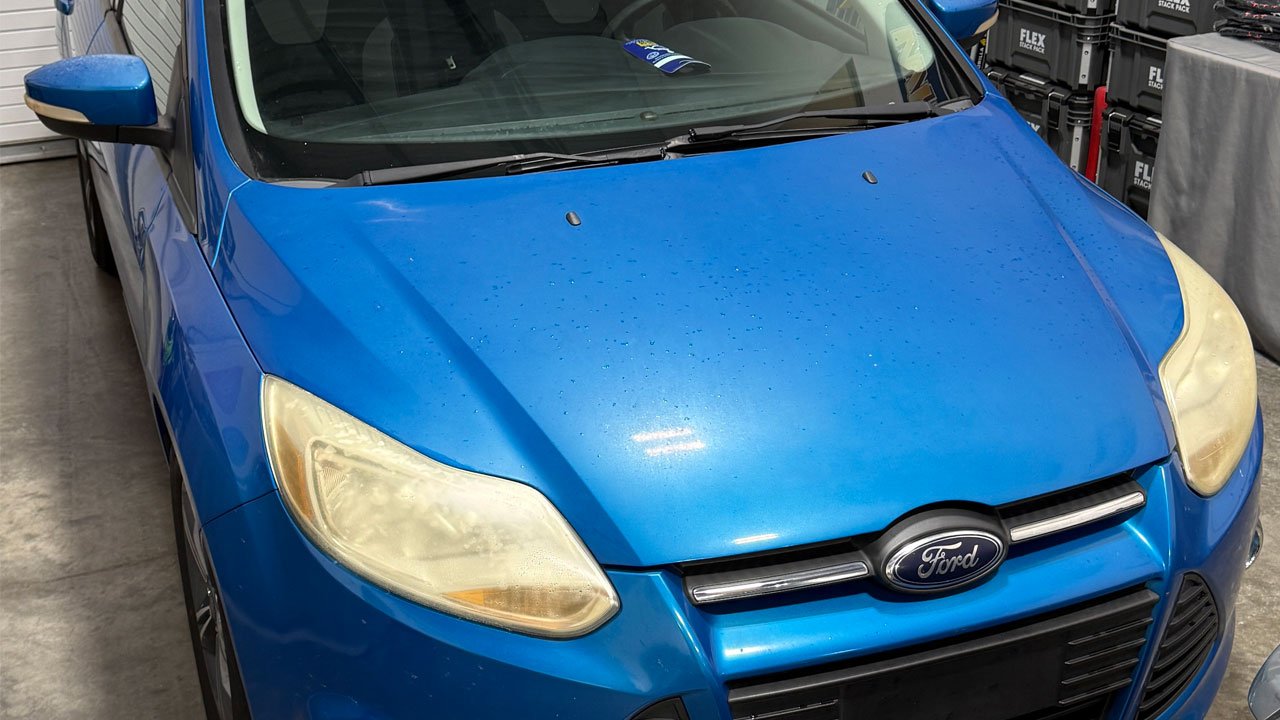
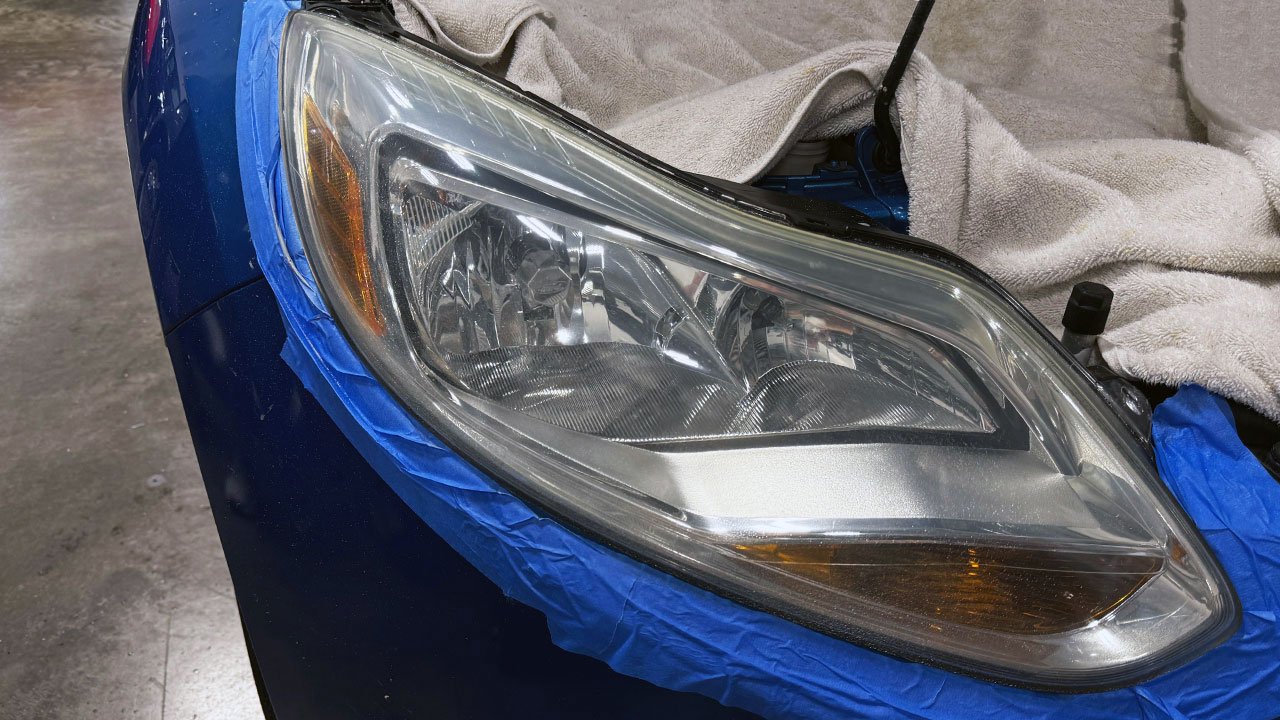
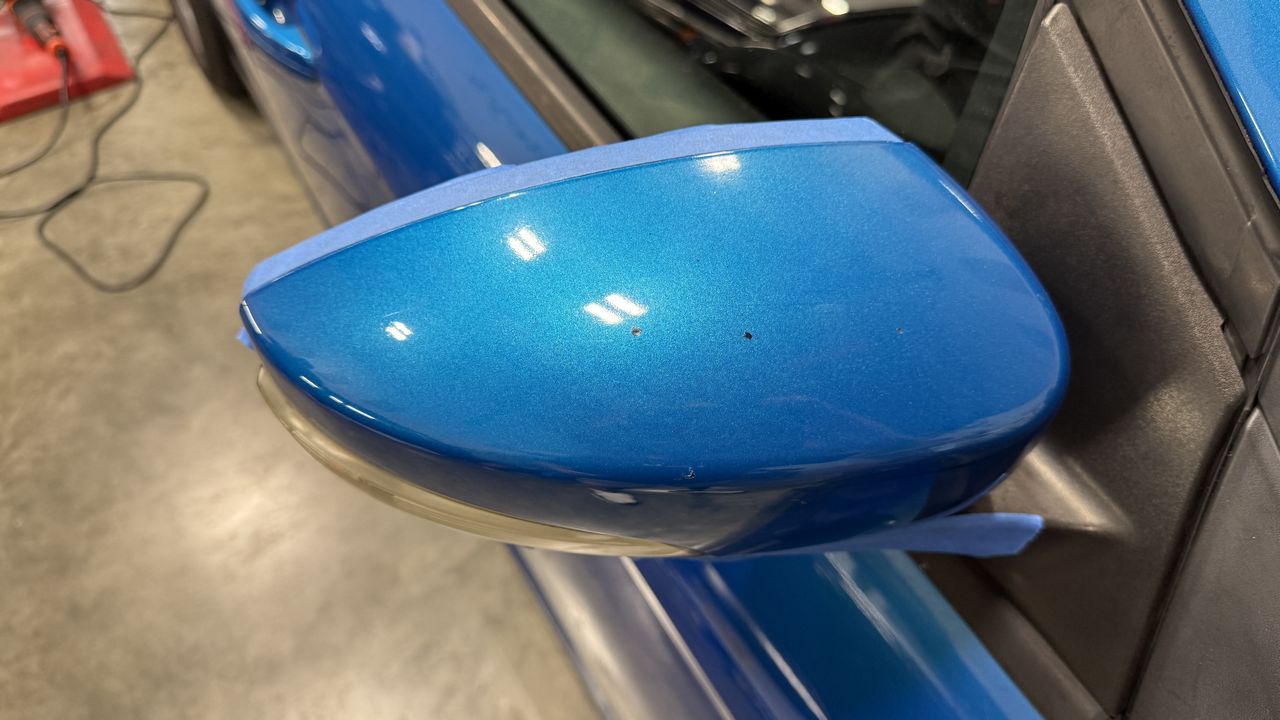
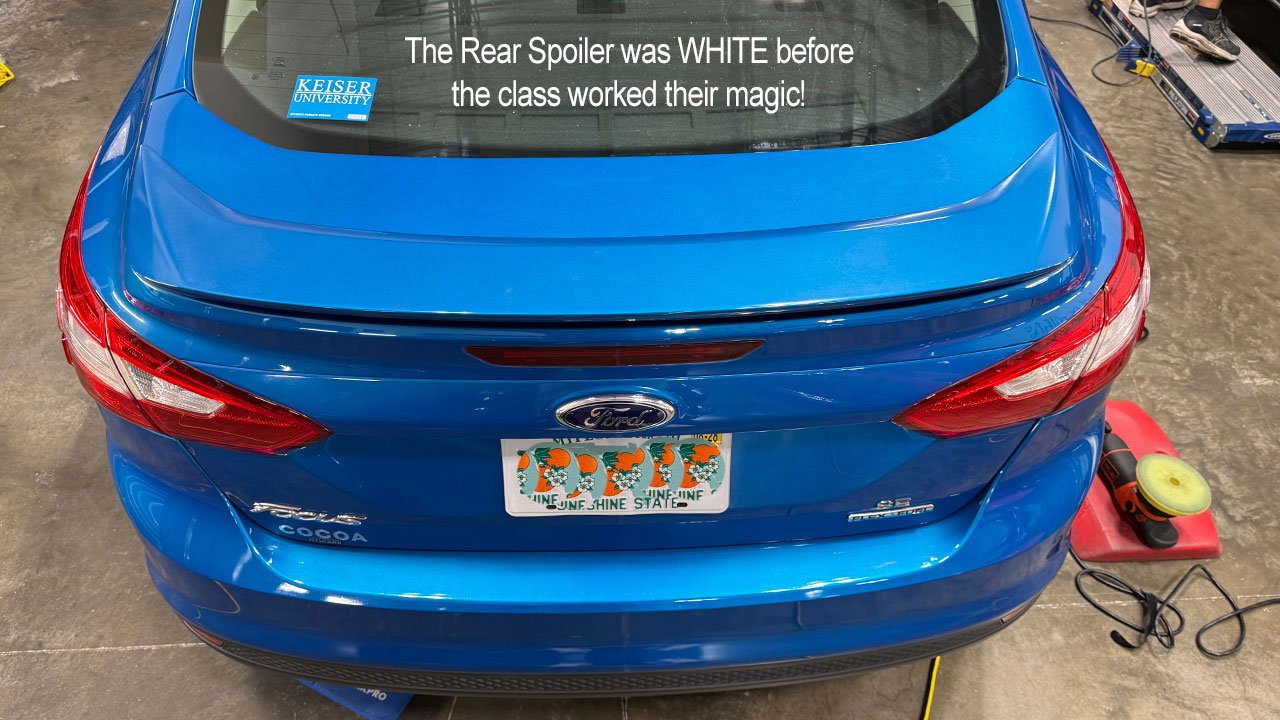
The paint was so oxidized that the clearcoat on the rear spoiler, side-view mirrors and roof had turned white! 😳

Working alongside the 1967 VW Bug, our students tackled this car during Saturday’s third major topic: 1-Step Ceramic AIO Paint Correction using Dr. Beasley’s Z1.

By this point, they had already trained with rotary and gear-driven orbital polishers. Now they could try both gear-driven and free-spinning orbital polishers and discover for themselves which tools they liked—and LOVED!

SIX cars detailed during the FIRST DAY of class! 💪

That’s an unheard-of amount of hands-on training! Show Car Detailing, Two-Step Paint Correction & Ceramic Coating, and One-Step Ceramic AIO Paint Correction—all on real cars with real paint problems.

No chairs. ZERO sitting. No PowerPoint. Just tools in your hands and skills you can take home.

And that’s just Saturday—there’s still another full day of training to go!

This is the BEFORE—stay tuned for the work and the results! ✨

full


full


full


full


full


full


First up - Headlight Correction


Mike
 
More...

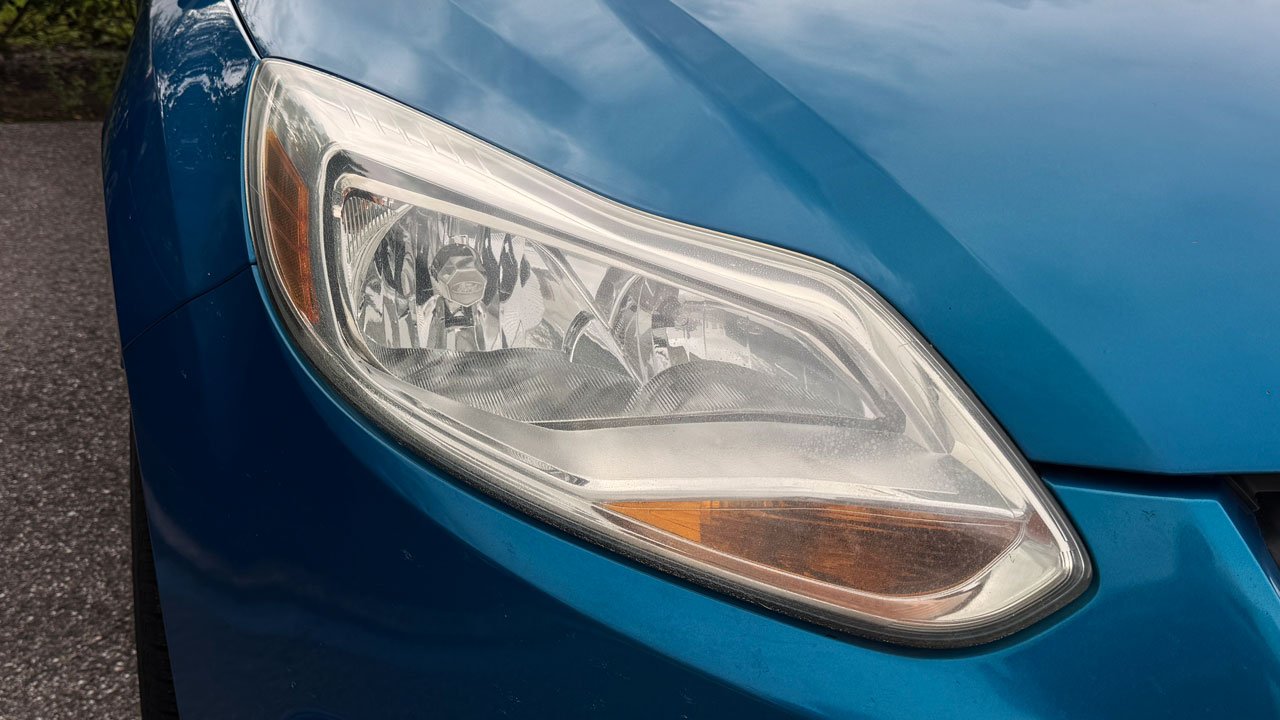
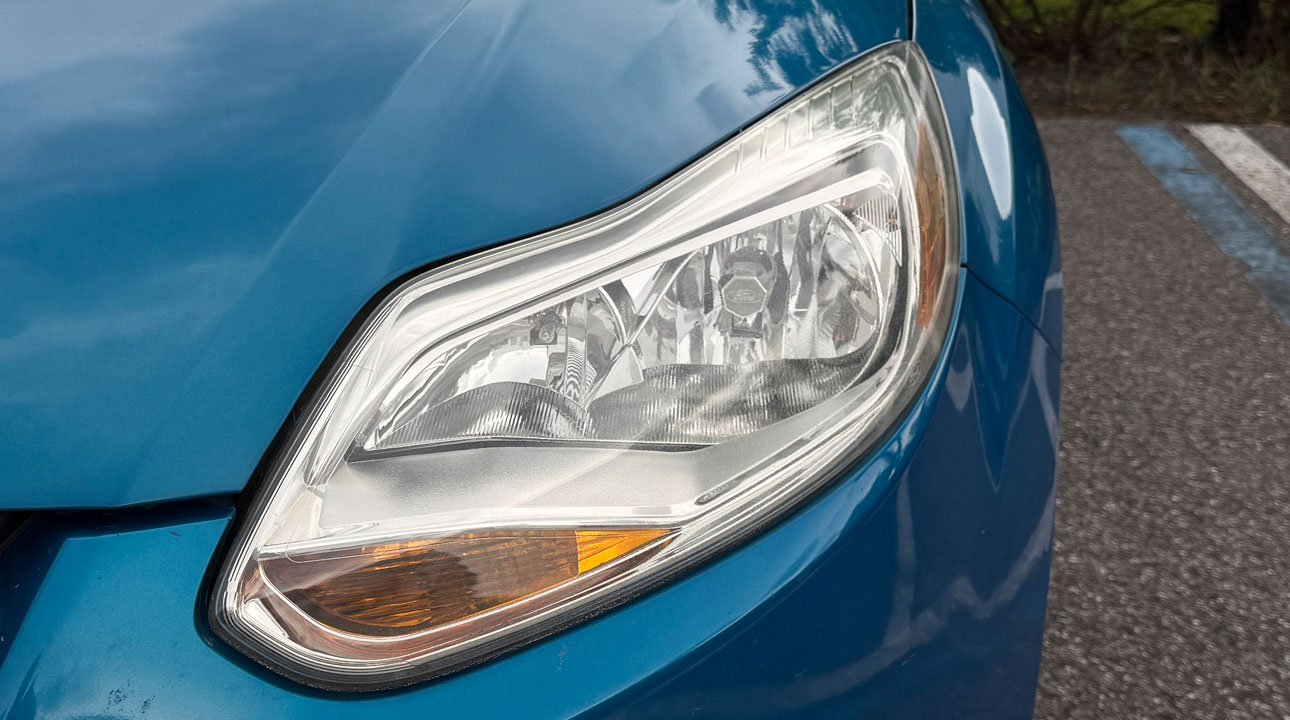
💡 Before we brought back the shine, we brought back the headlights!

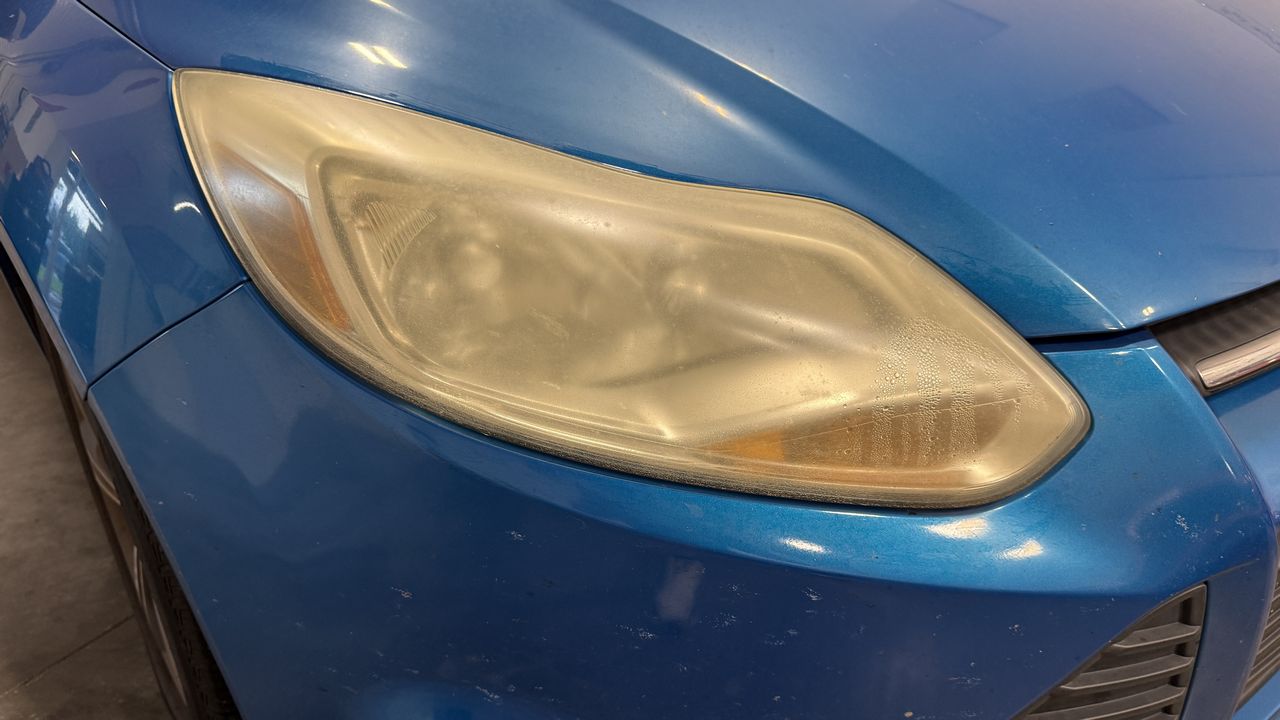
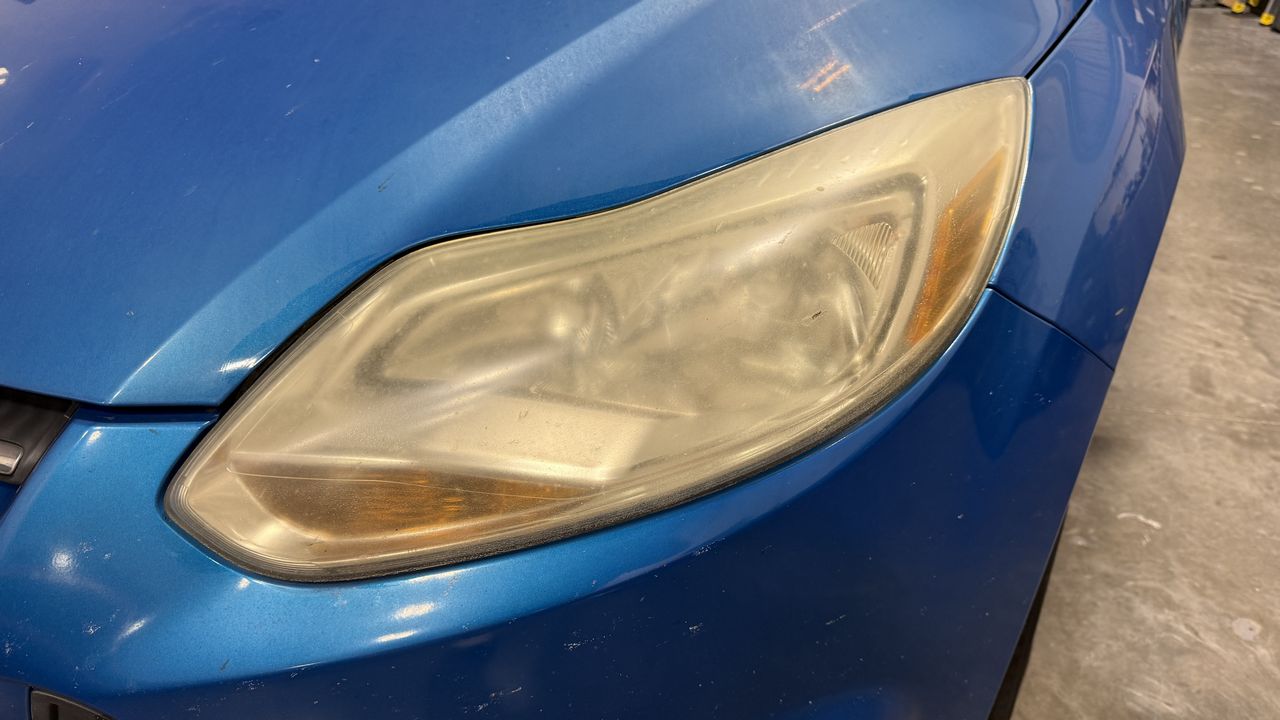
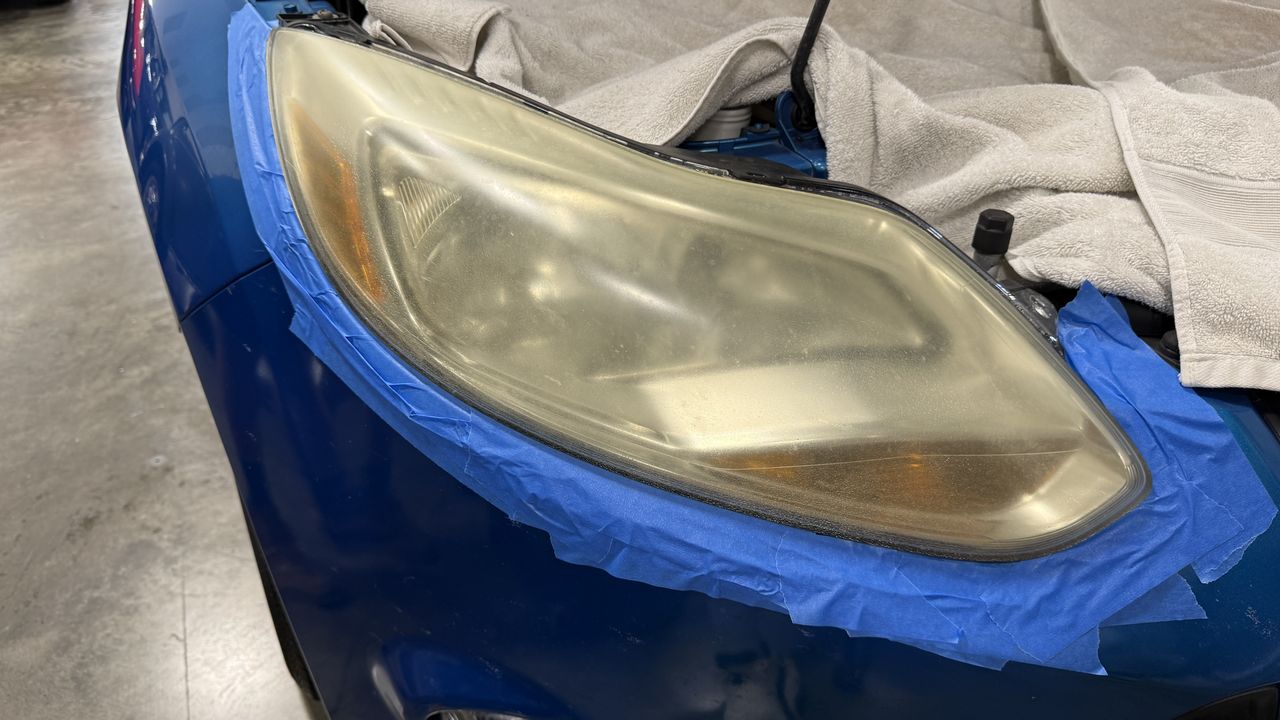
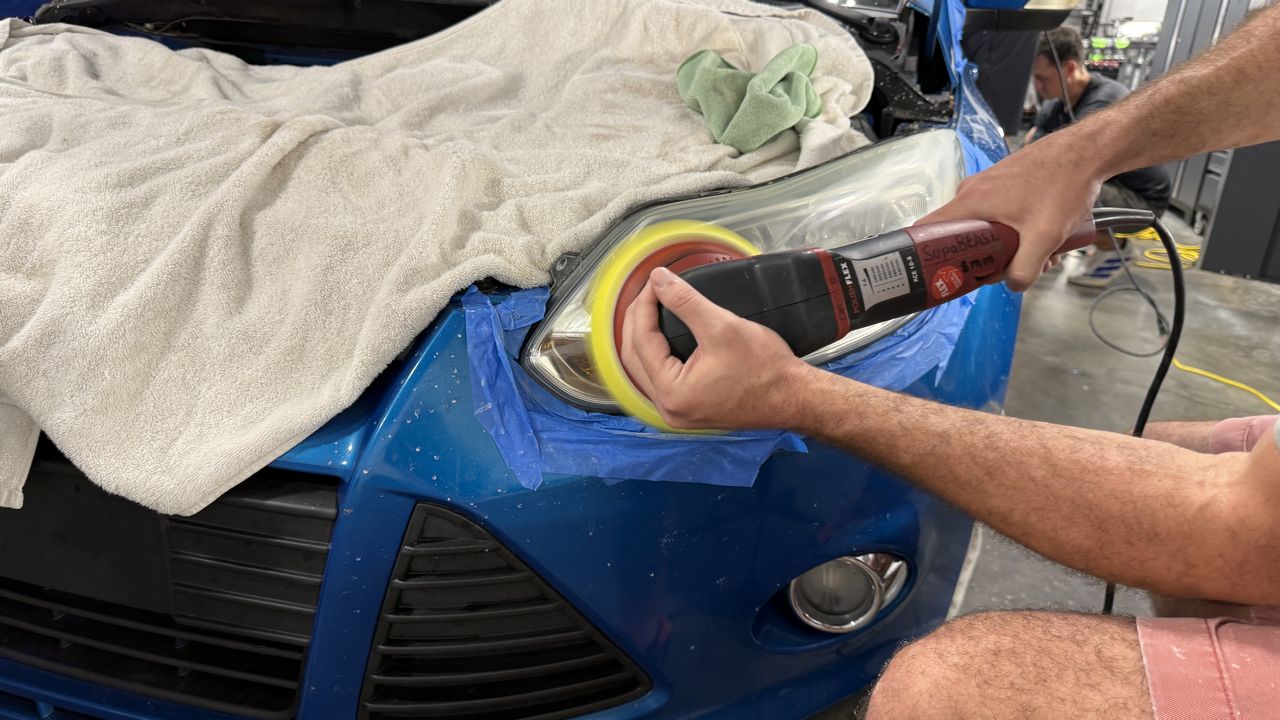
The first step in reviving **Training Car #6—the 2004 Ford Focus—**was removing years of oxidation and neglect from the plastic headlights.

We used the same tools, products and techniques Jim and I share in our new detailing book!

A FASTER way to restore headlights

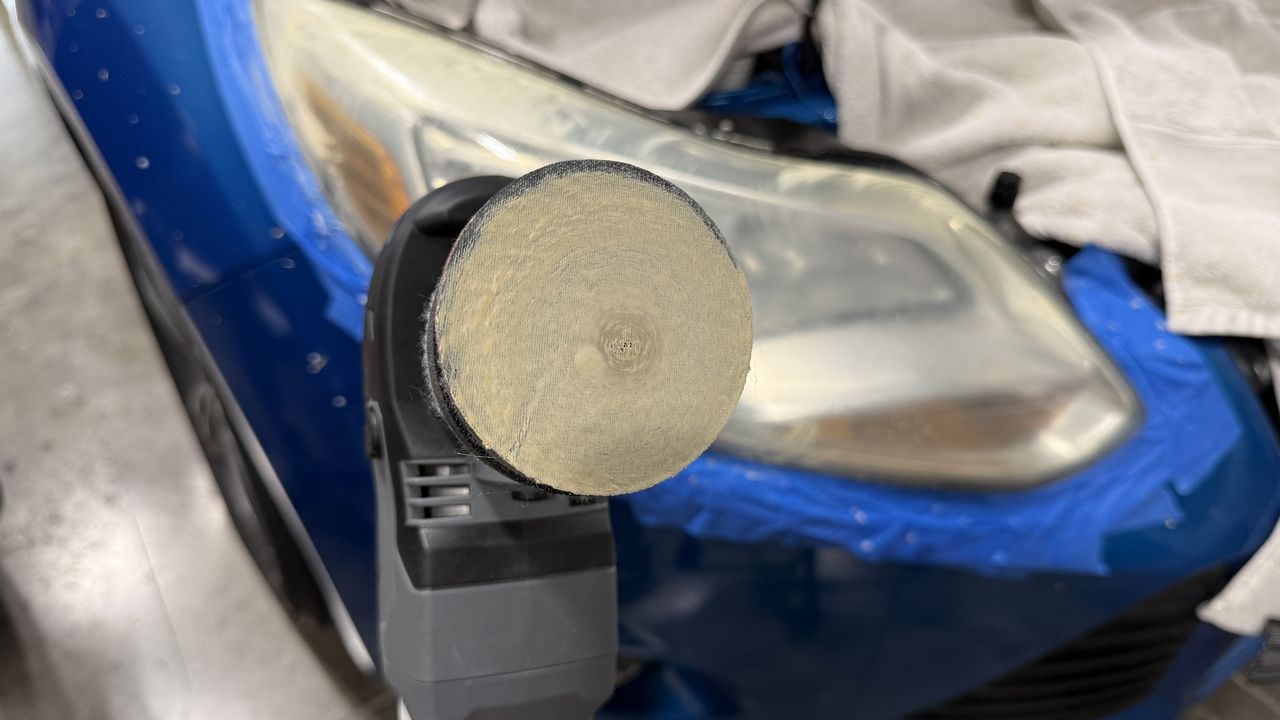
This is a SIMPLE technique I developed while looking for a faster way to machine sand headlights.

One obstacle with the usual approach?

SANDING DISC STALLING.

When you use a free-spinning random orbital polisher—either short-stroke or long-stroke—the sanding disc can stop rotating, just as a buffing pad can stall during paint correction.

That loss of rotation reduces sanding efficiency and slows down the process when you’re working through multiple sanding steps.

The solution started with a BAD experience!

Years ago, a student in one of my classes asked:

“Why can’t we sand headlights with a rotary polisher?”

Great question! Here’s what I told him:

A rotary provides direct, driven rotation. With a sanding disc attached to a hard backing plate, tilting the tool can concentrate the cutting action along the edge of the disc and GOUGE the plastic lens.

Now you have a deeper defect that requires additional sanding to level the surrounding surface.

The student was so adamant about trying it that I let him.

And guess what?

He GOUGED the headlight.

And guess who got to block sand the lens until the gouge was visibly removed, compound it with a wool pad on a rotary to remove the sanding scratches, and then machine polish it to remove the wool-pad holograms?

Me. 😎

Fast-forward a few years…

I’m thinking, “How can I use a rotary to sand headlights while reducing the risk of gouging?”

I already knew the problem with attaching a 3-inch sanding disc directly to a hard 3-inch backing plate.

Then it HIT ME!

Add cushioning between the backing plate and the sanding disc.

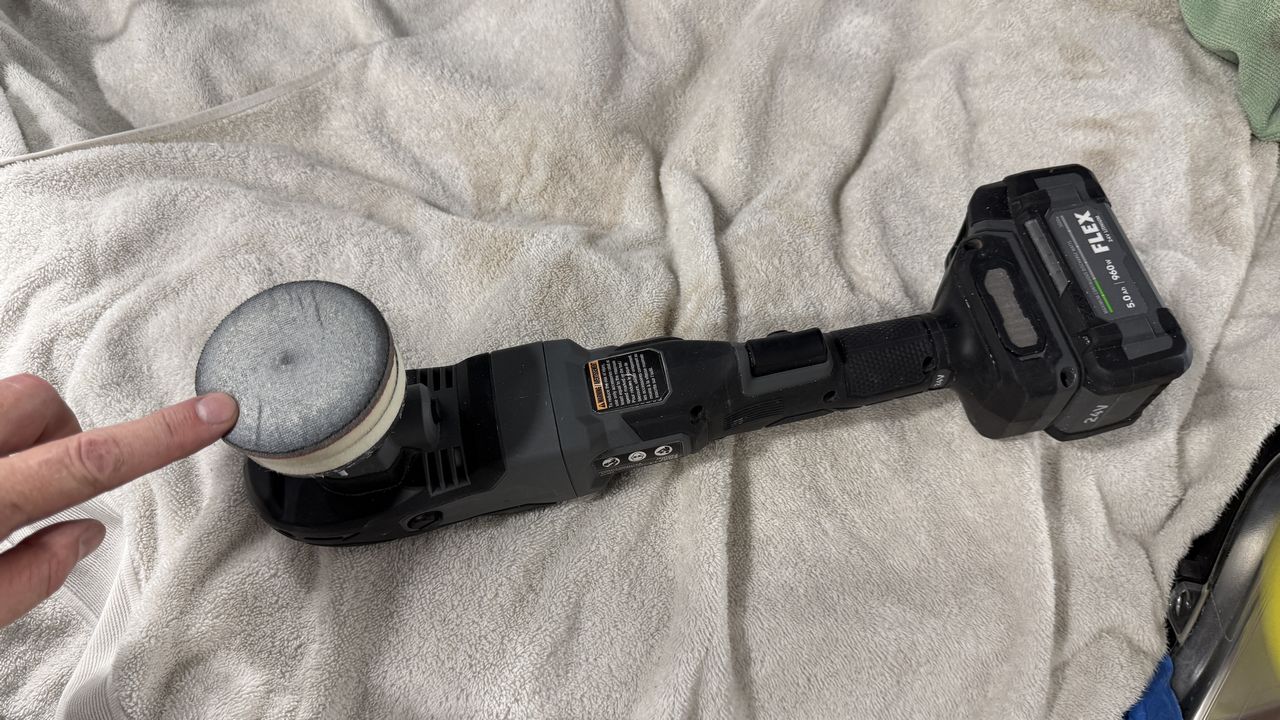
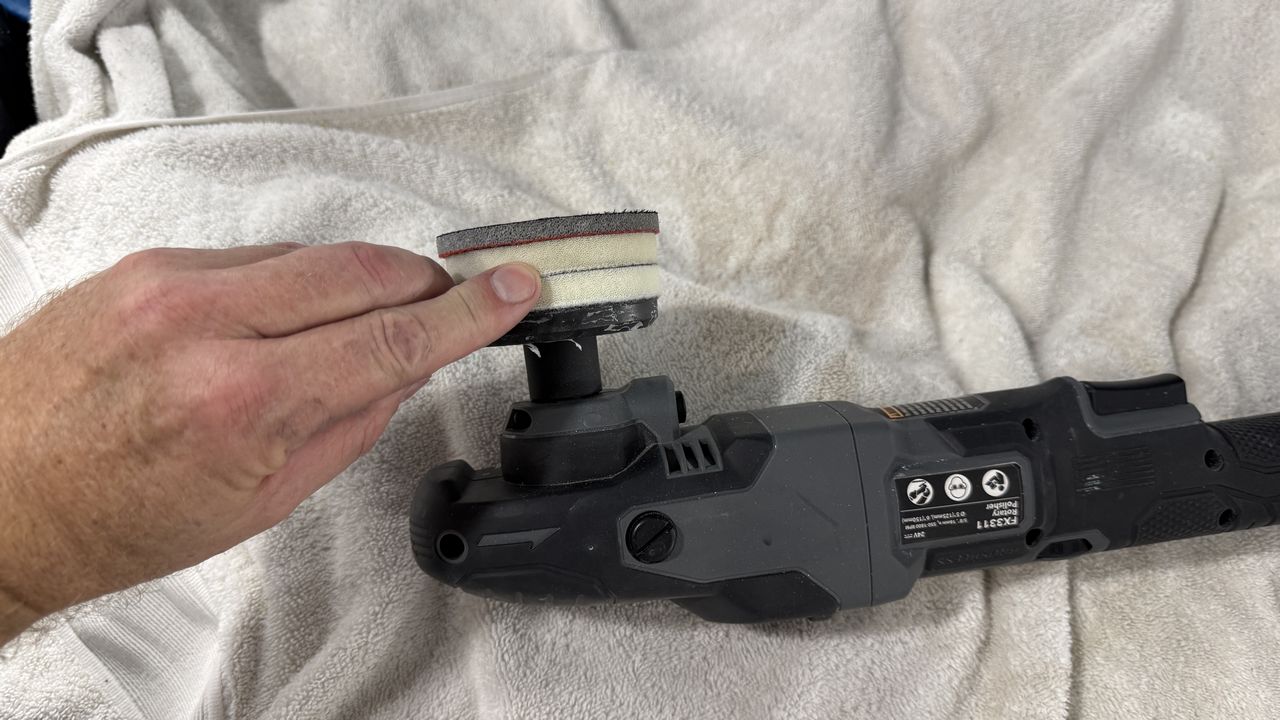
The solution was to stack a few 3-inch foam interface pads on the backing plate and then attach the sanding disc.

Why this works

The foam interface pads compress and flex, helping the sanding disc conform to the curved lens. That cushioning makes the setup more forgiving of small changes in tool angle and helps reduce the risk of the disc’s edge digging into the plastic.

Good technique still matters, but the foam provides a cushion that the hard backing plate alone cannot.

The secret is the foam interface pads!

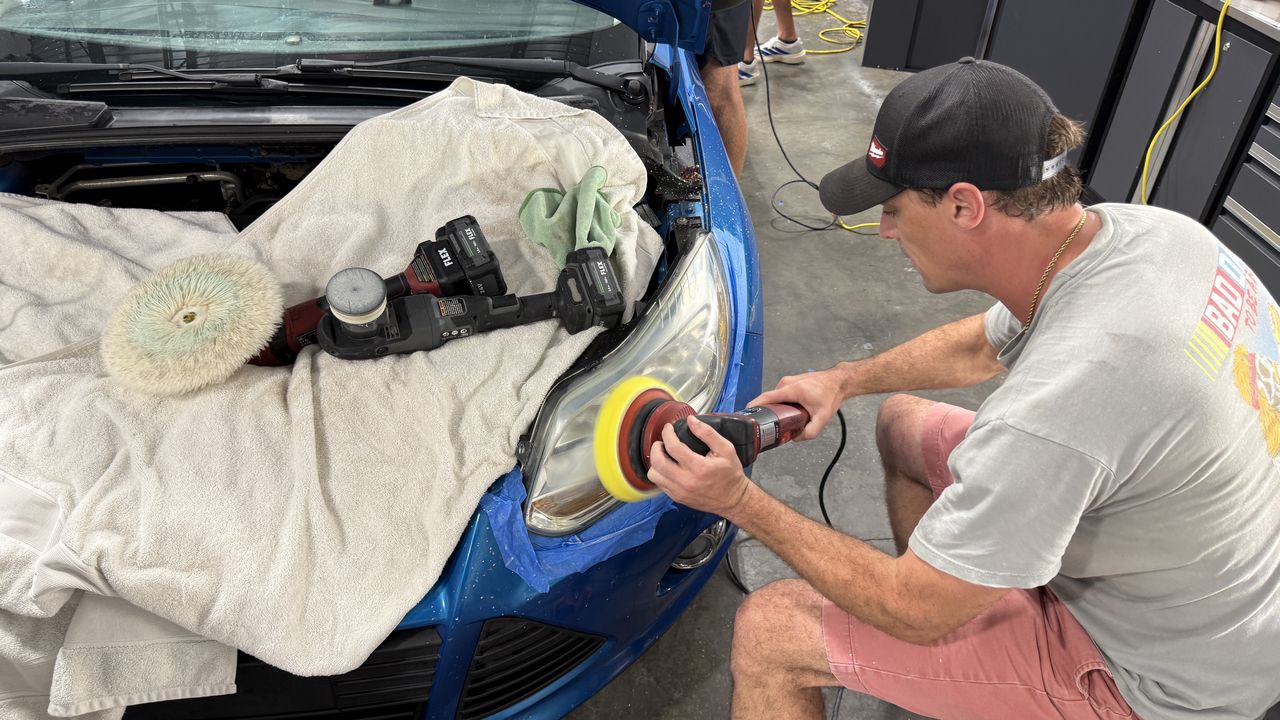
I explained the process to the class, then personally demonstrated the entire procedure on the passenger-side headlight. Afterward, the students practiced on the driver-side headlight.

Look at that before-and-after difference! ✨

The yellow, cloudy appearance was replaced with clear lenses that helped complete this Ford Focus’s transformation—and can help the owner see better when driving at night.

Hands-on skills with benefits you can SEE!

No chairs. ZERO sitting. Real cars. Real results.

Win/Win!


Here's the passenger side that I used to demonstrate the tools, sanding discs and techniques.

full


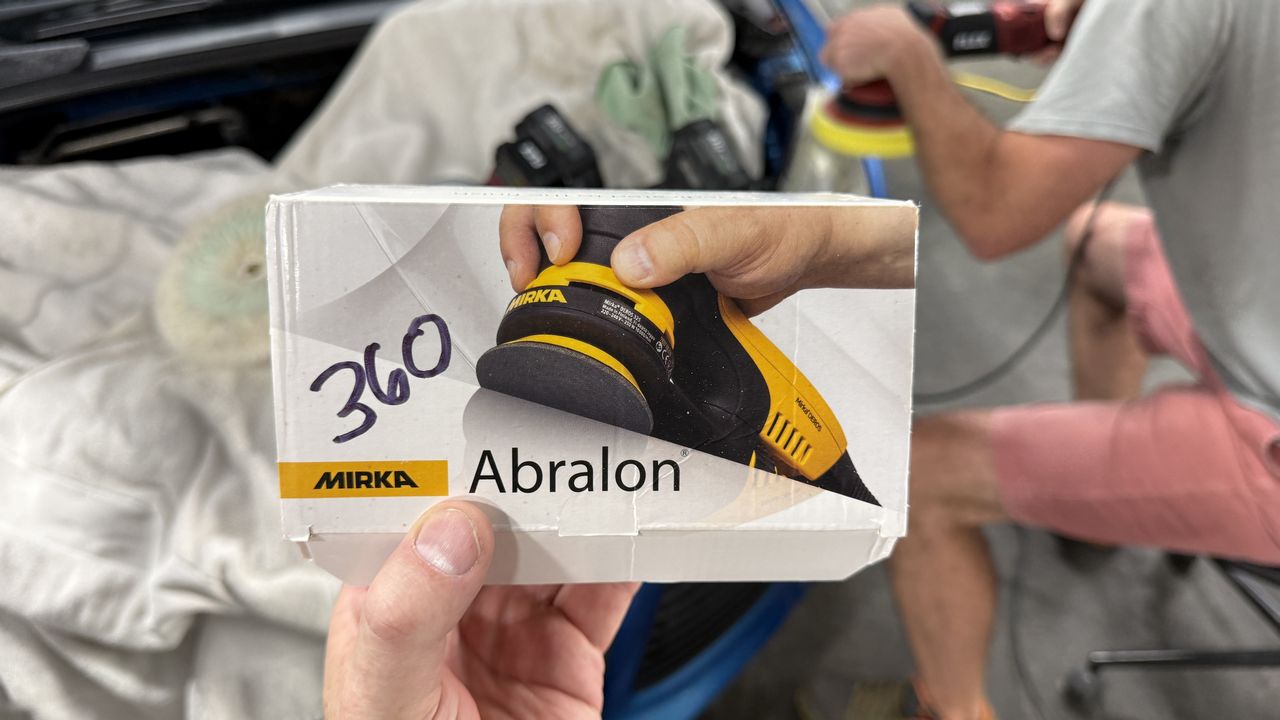
That yellow crud you see on the sanding disc is YEARS of neglected plastic sanded off the surface of the headlight lens using 360 Grit Mirka Abralon.

full


Here's the final results from sanding to compounding to polishing and ceramic coating.

full


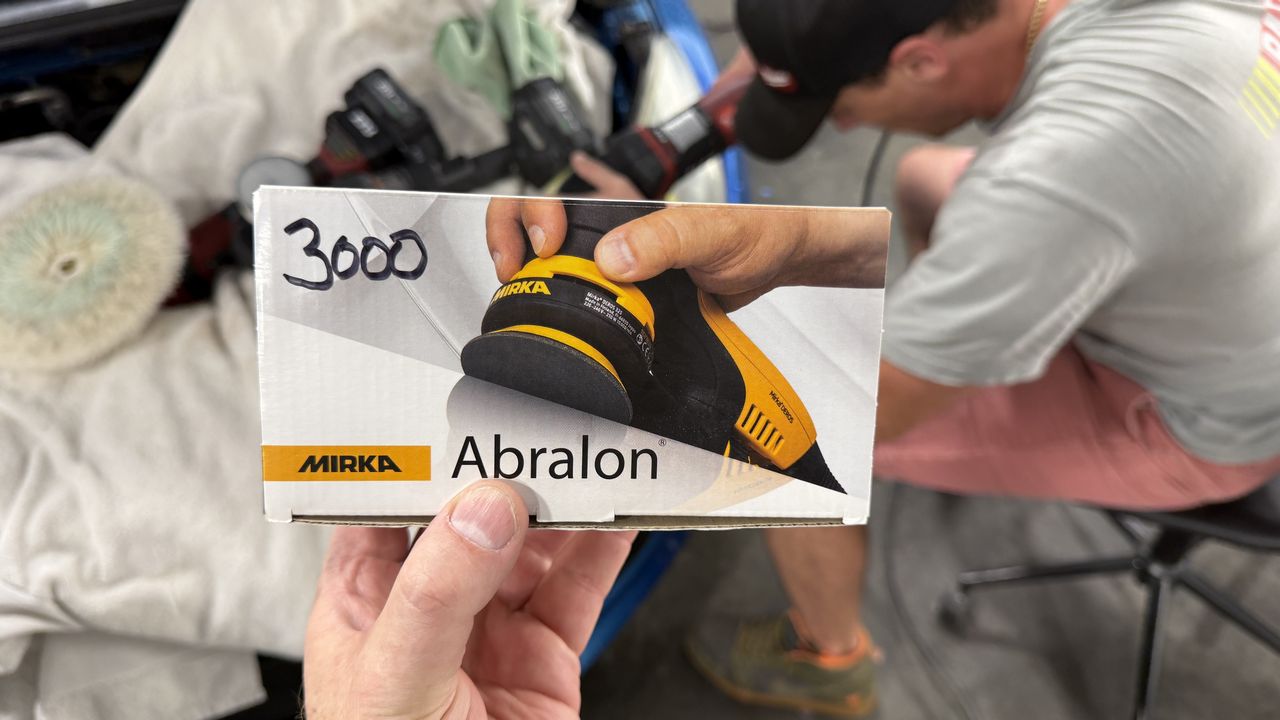
Depending upon how bad the headlights are, you can choose to start with really low grit discs and then refine your way to more shallow scratches that will buff out faster and easier. For these headlights, we started with 360 grit and ended with 3000 grit and then started buffing.

full


full


full


full


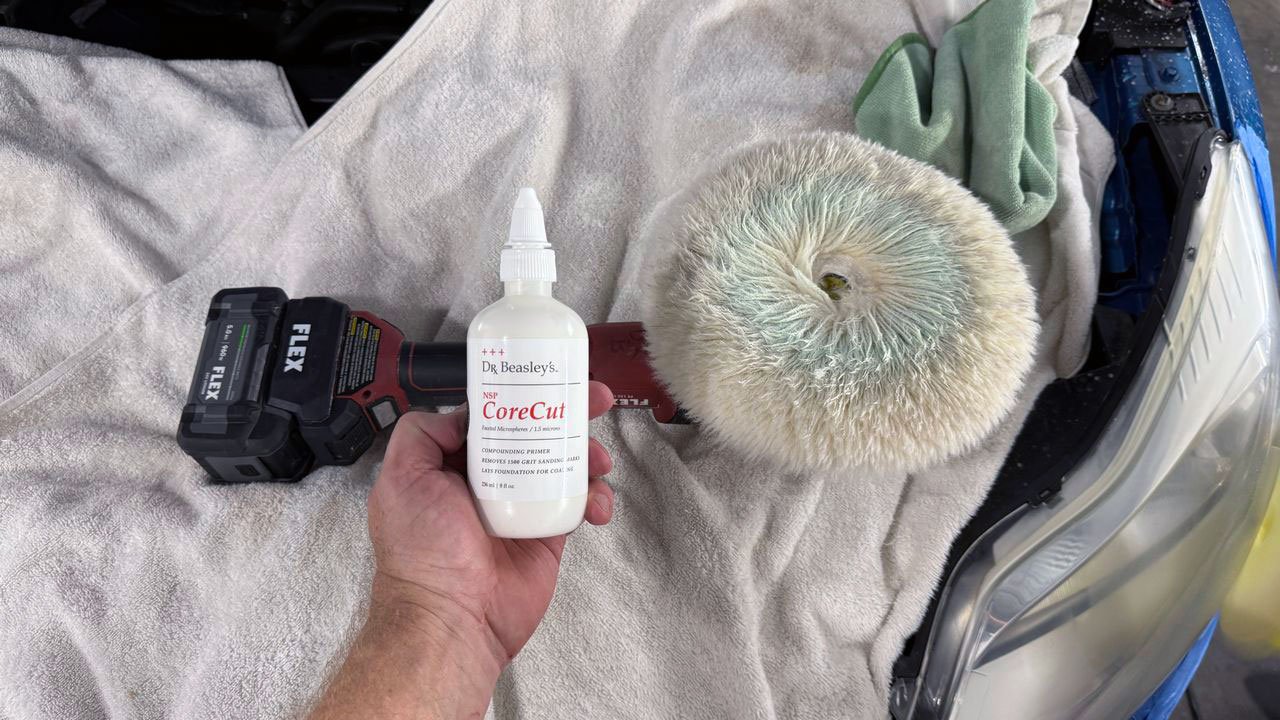
We used Dr. Beasley's CoreCut with a wool pad on a rotary polisher to cut out the sanding scratches.

full


Here's Wesley, from Alabama putting what he just learned to use
That's how our classes roll. You learn things you can IMMEDIATELY put to use in your world the next day.

full


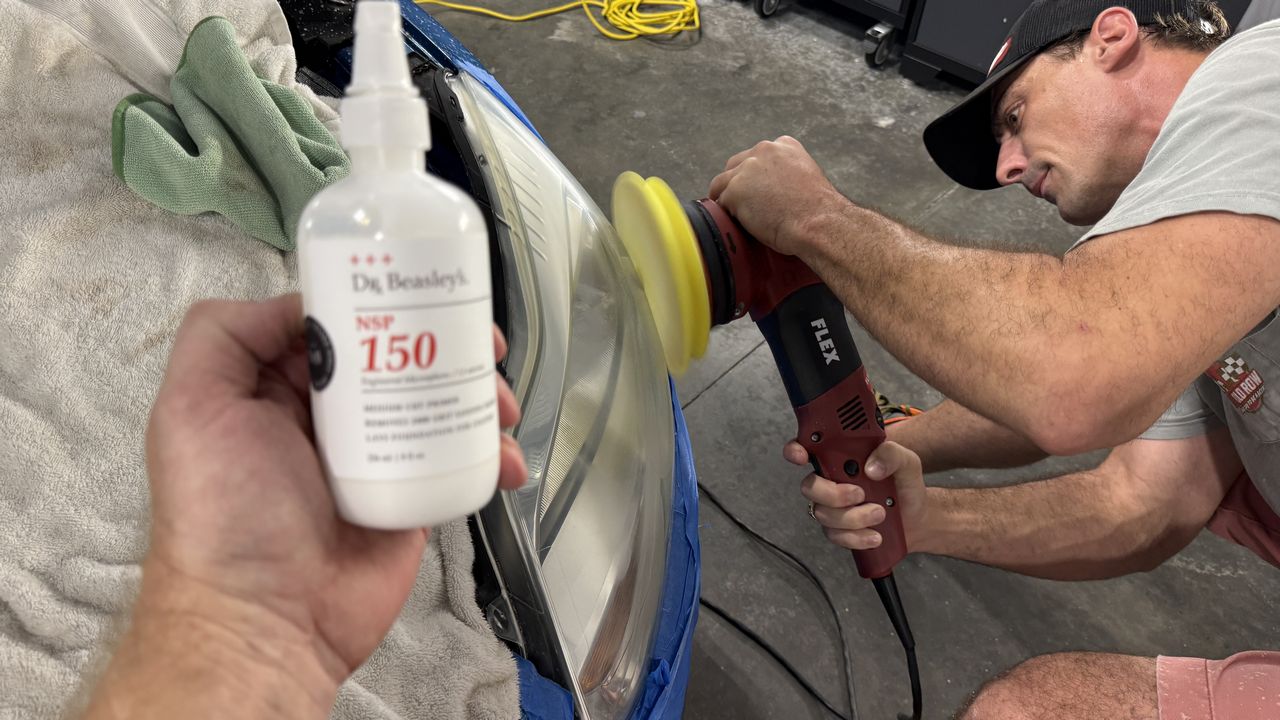
We used Dr. Beasley's NSP 150 as our polish with a Buff and Shine yellow EdgeGuard foam buffing pad on a FLEX Supa BEAST to remove any holograms and prefect the lens.

full


full


Here's the final reaults!

full


full


full


And to jog everyone's memory - here's how they started...

full


full


full


More Topics. More Tools. More Techniques than any other car detailing class on planet Earth.


Mike
 
Last edited:
More...

1-Step Ceramic AIO Paint Correction​

For these last two training cars, the class will learn how to get professional results using a single paint correction step. For this the class can choose any orbital polisher in the training shop. They can revisit any gear-driven orbital or test out any free spinning random orbital polisher.

full


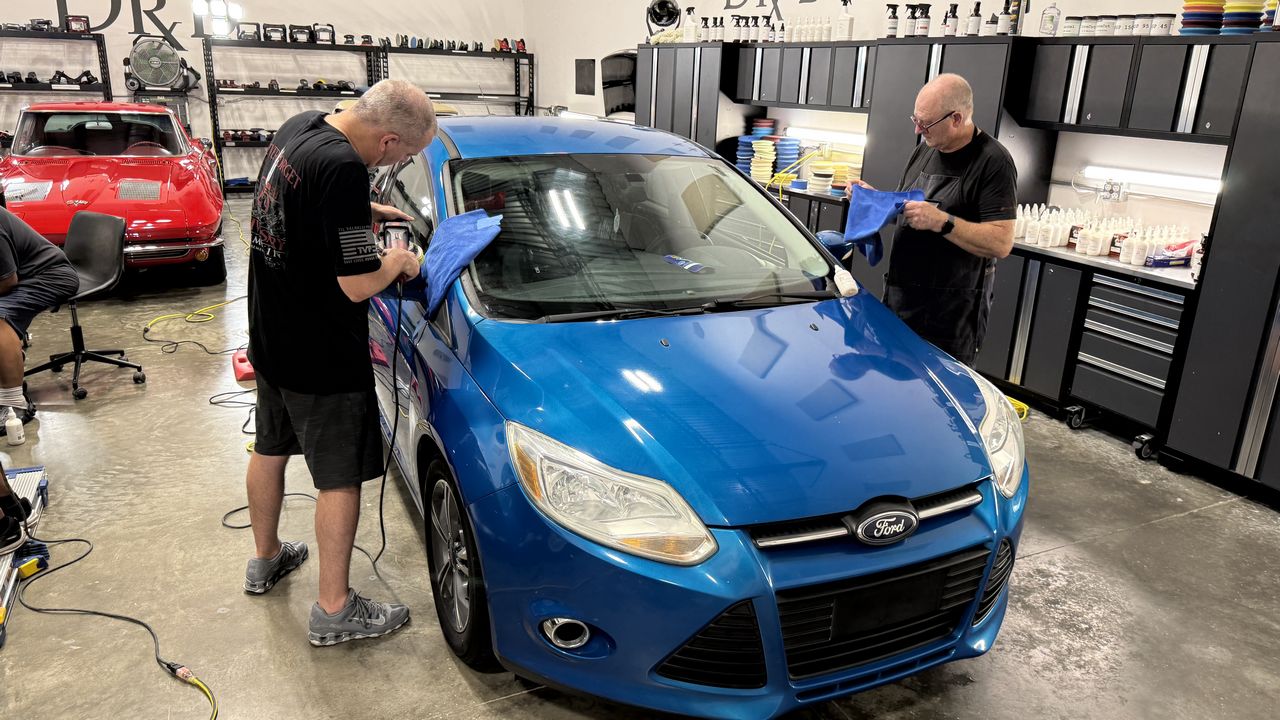
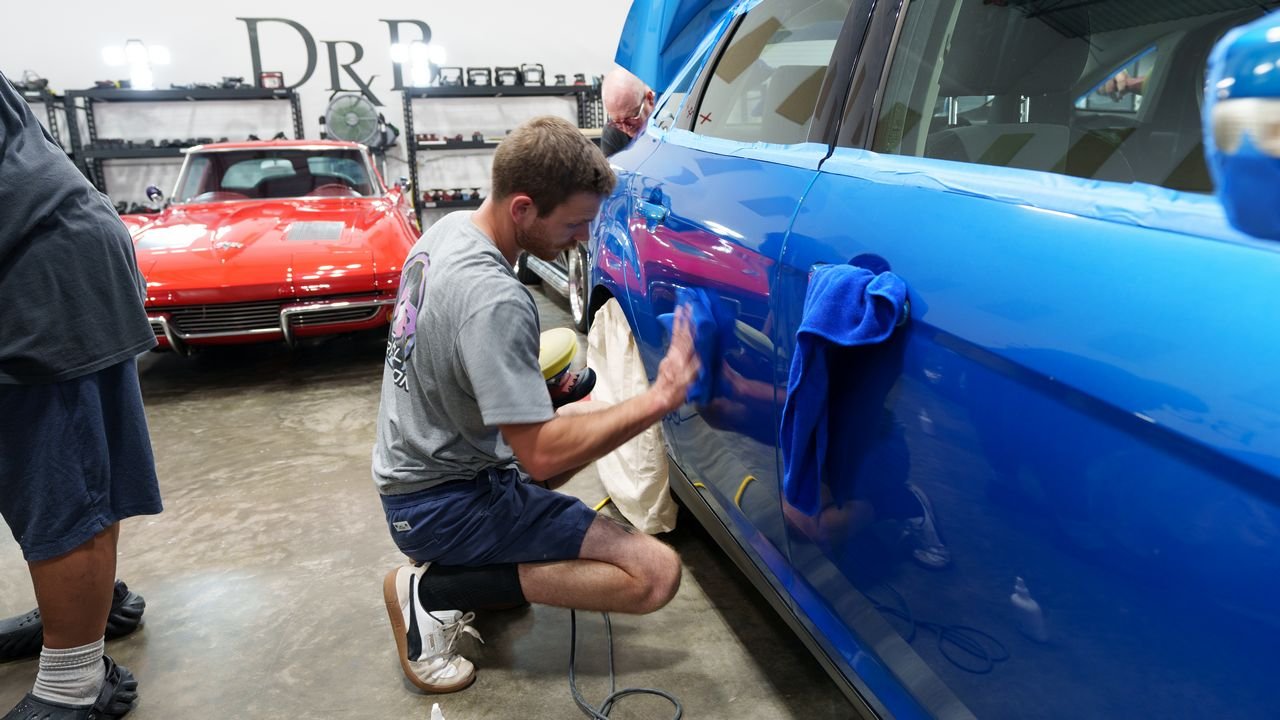
Didn't get but two pictures showing the class working on the Ford Focus. But you can trust the car didn't detail itself. You can also see that the headlights are completed. We do headlight correction before the paint correction steps.

full


full


Here's the Final Results!​


full


full


full


One Step Ceramic AIO Paint Correction
Both the 1967 VW Bug and the 2004 Ford Focus were used to train how to poperly do a 1-Step Ceramic AIO Paint Correct and the class did GREAT!

full


full


full


BEFORE

full


AFTER
Not bad class!

full


6 Training Cars Detailed in ONE Day!
Over the course of the first day, this class learned,
  1. How to use a rotary polisher to cut paint HARD!
  2. How to use a gear-driven orbital polisher and experience ZERO Pad Stalling.
  3. How to use a free spinning, random orbital polisher and the extra time and Brain Drain that goes with them.
  4. How to do a 3-Step Show Car Detailing Process - 1965 Corvette & 1973 Cuda 340.
  5. How to do a 2-Step Paint Correction & Ceramic Coating Process - 1963 Split Window Corvette & 2007 Ford Shelby Mustang GT500.
  6. How to do a 1-Step Ceramic AIO Paint Correction with Headlight Restoration - 1967 VW Bug & 2004 Ford Focus.

Not bad for ONE day. I NEVER see ANY pictures from a one day class anywhere else on planet Earth. Do your research before taking any class. Make sure the curiculum offered matches what you want and expect. Any class in my opinion is a good option to improve your skills and knowledge base. I just think our classes set the standard when you see the words,

Hands On

I see a lot of ads for car detialing classes that include the words hands-on - I never see pictures like I share however.


Mike
 
Last edited:
More...

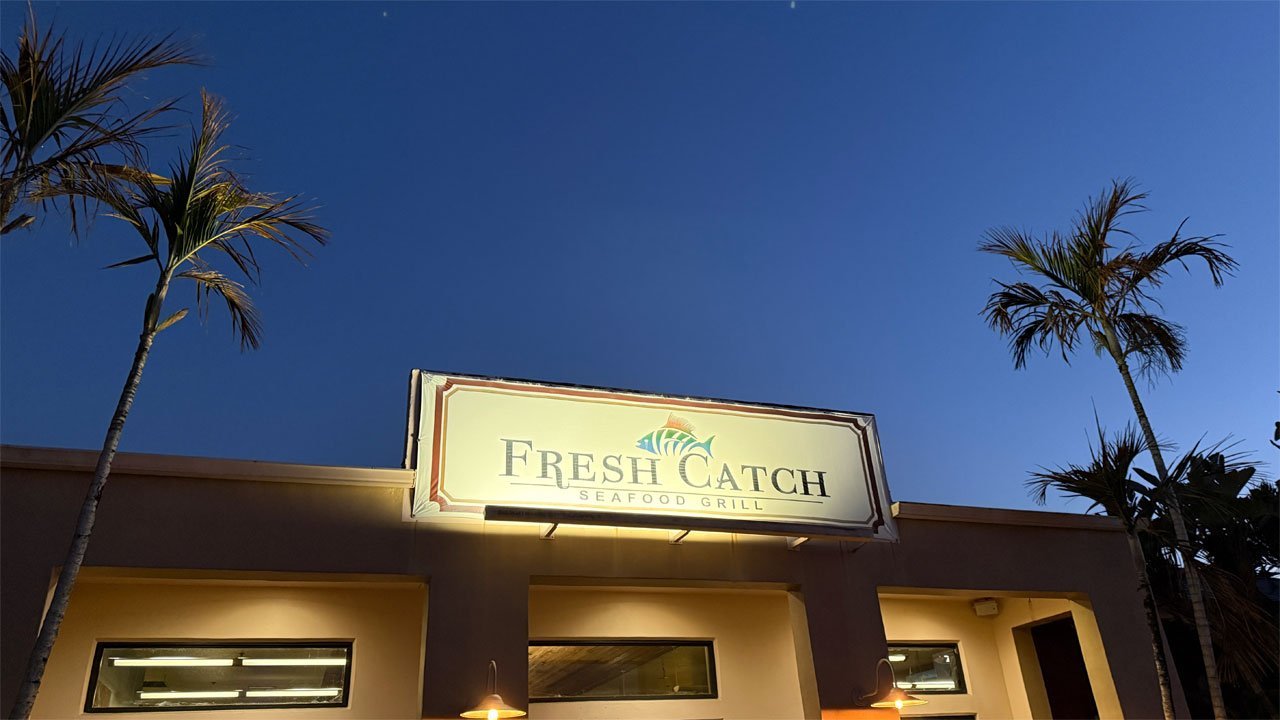
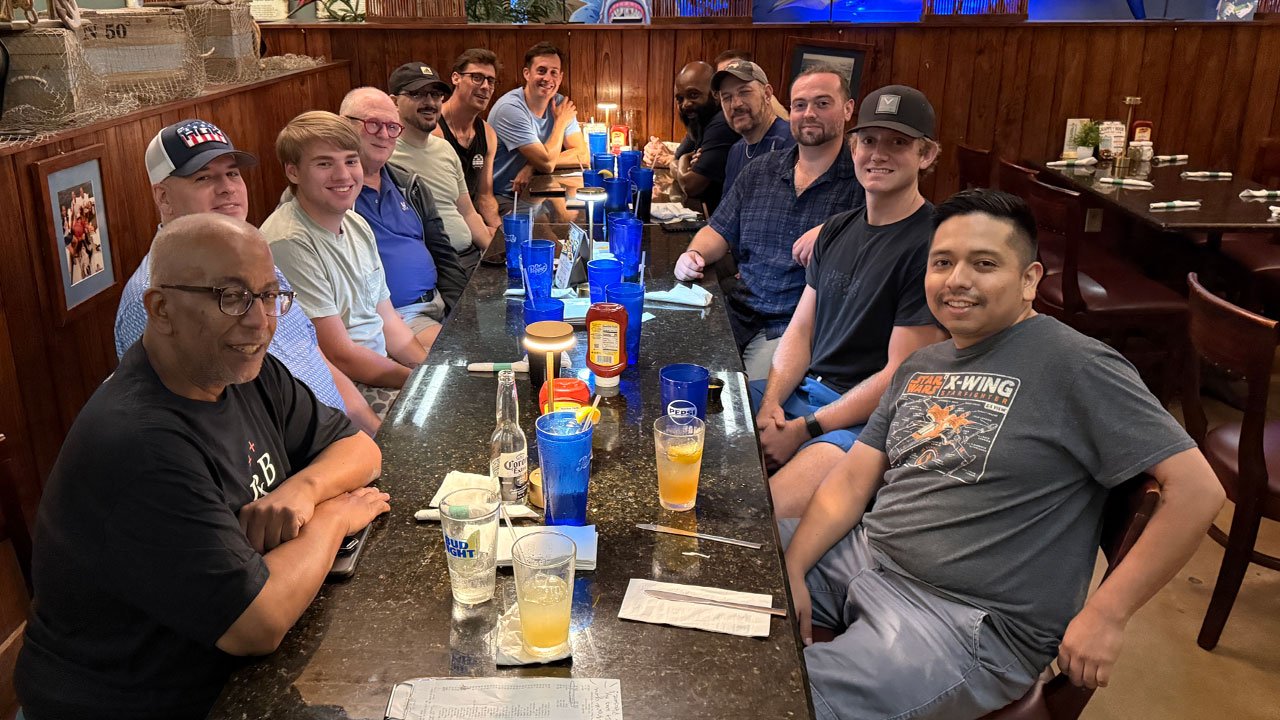
After a very fast-paced and intense day of training, Dr. Beasley's hosts a Meet & Greet at one of my favorite local restuerants, Fresh Catch!

The name Fresh Catch comes from the fact that the owner's sons are commercial fishermen and provide Dad with FRESH CATCH fresh from the Atlantic Ocean. Owners Eric & Jocelyn Olson, plus their entire team and especially our server, Trinity, provide VIP 5-Star treatment to all that walk through the door. Besides seafood, they also offer traditional American cuisine and no matter what you order, it's mouth-watering DELICIOUS!
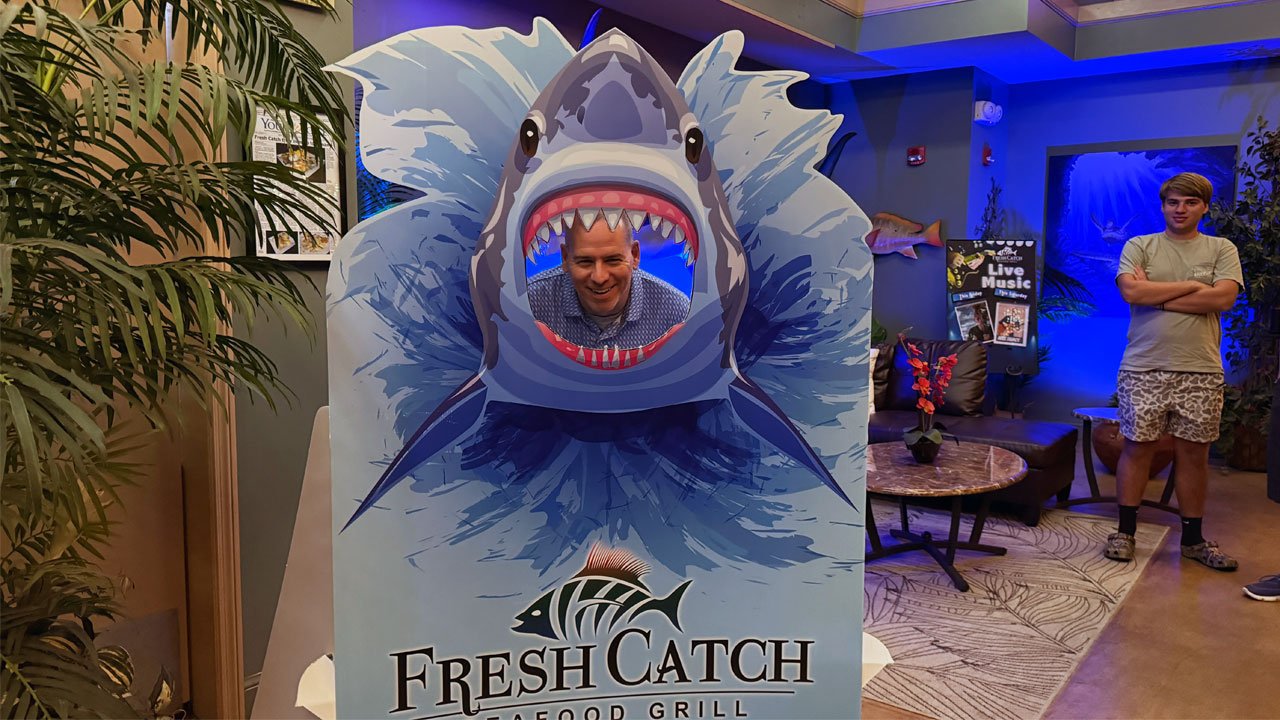
Fresh Catch
1411 SE Indian Street
Stuart, FL 34997

full


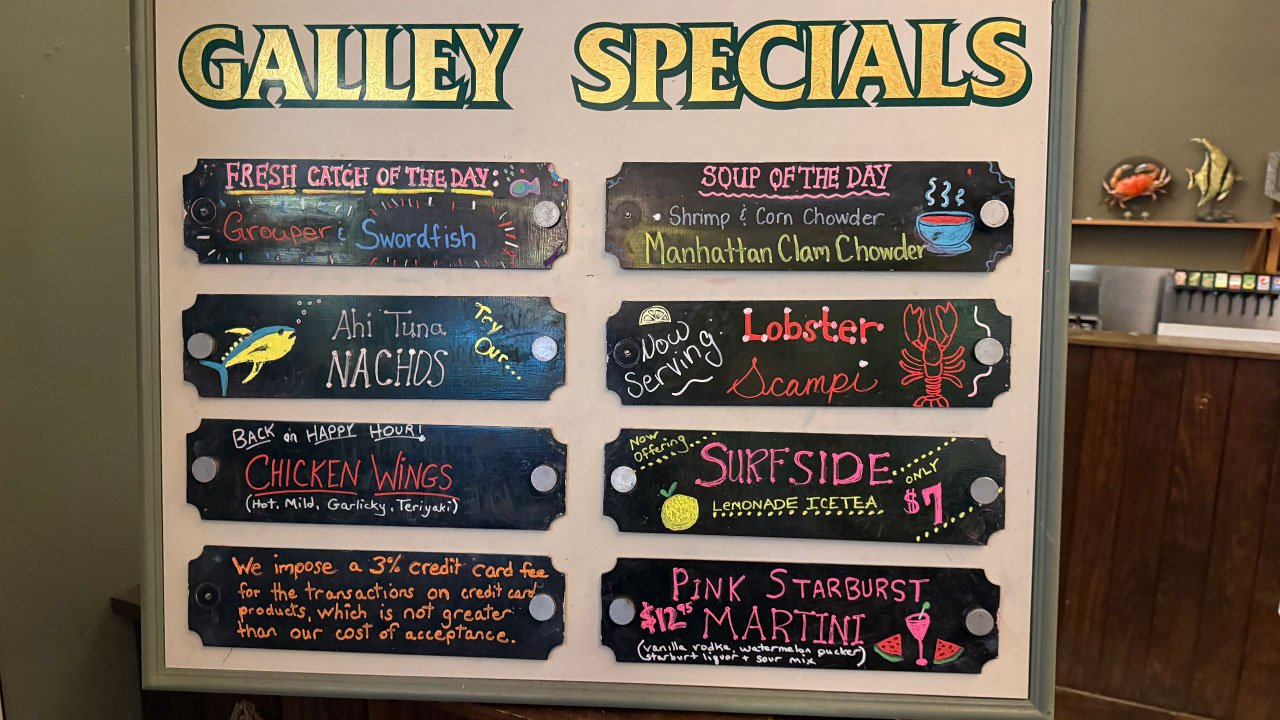
The specials change daily and we're in luck! Some freaking amazing options for tonight's dinner!
full


Everyone that attends the class is invited, but often times, a few people after taking a shower hit the hay early because they're tired! And that's okay!

full


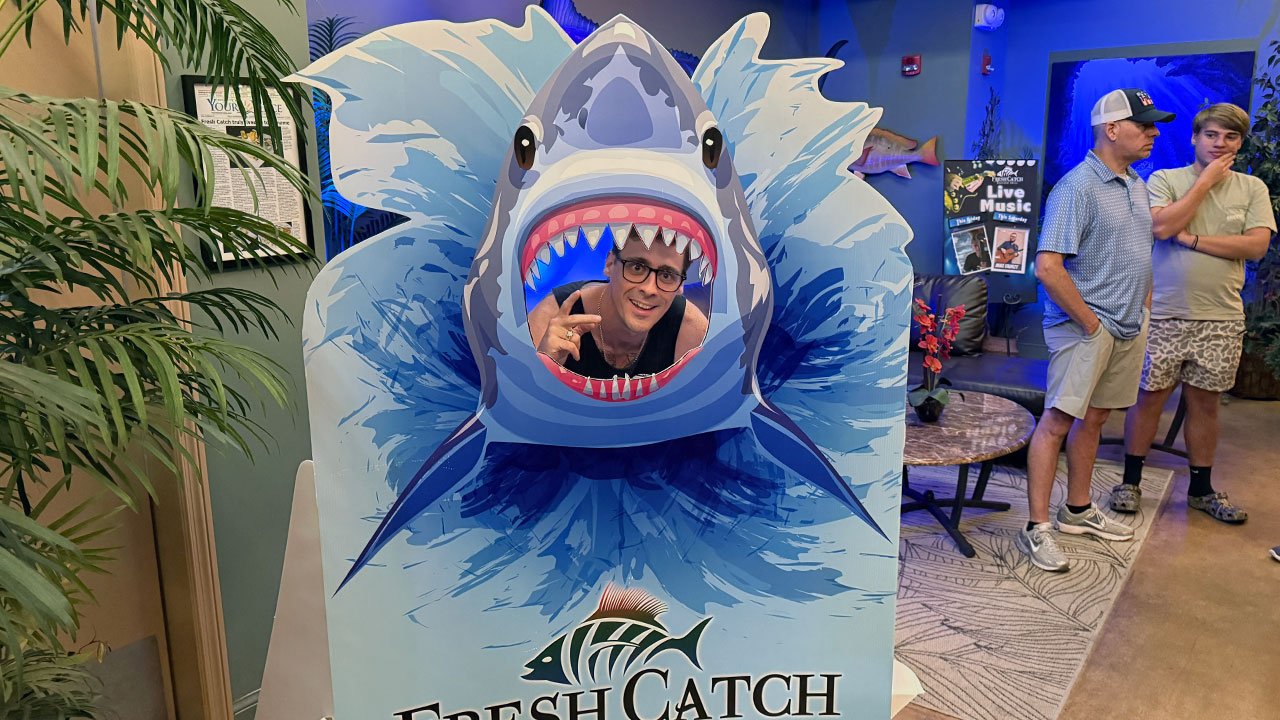
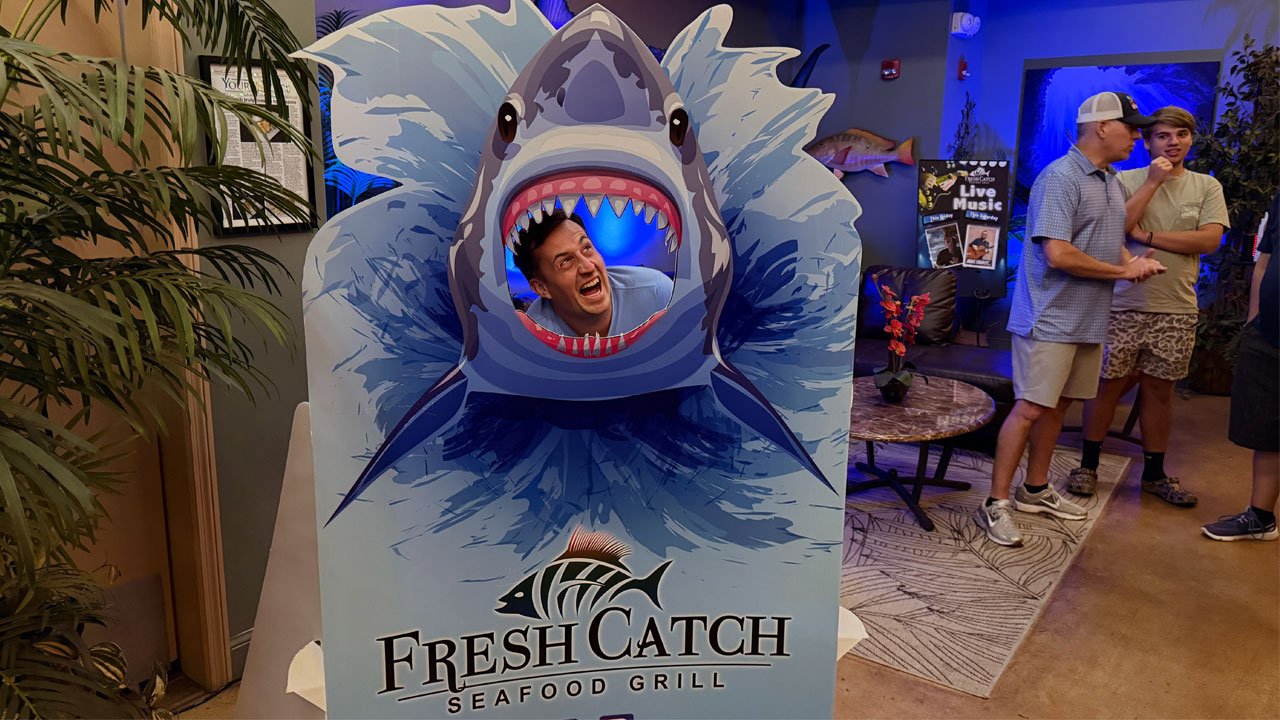
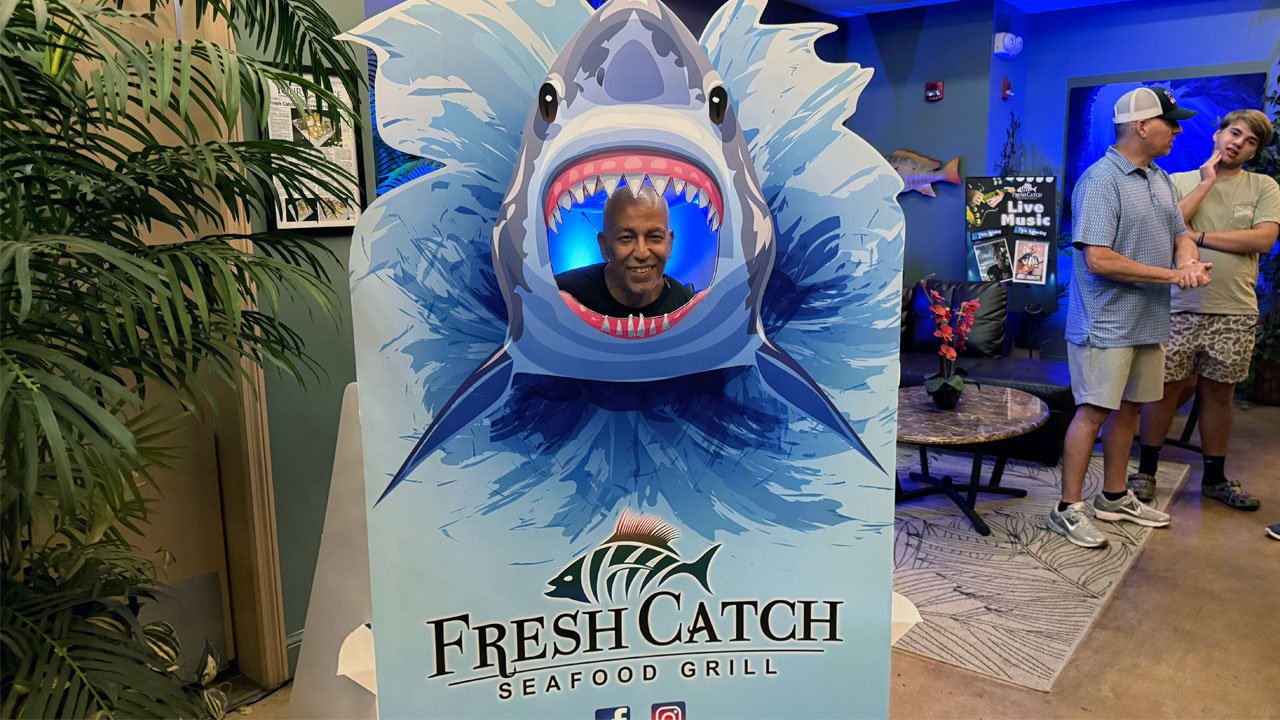
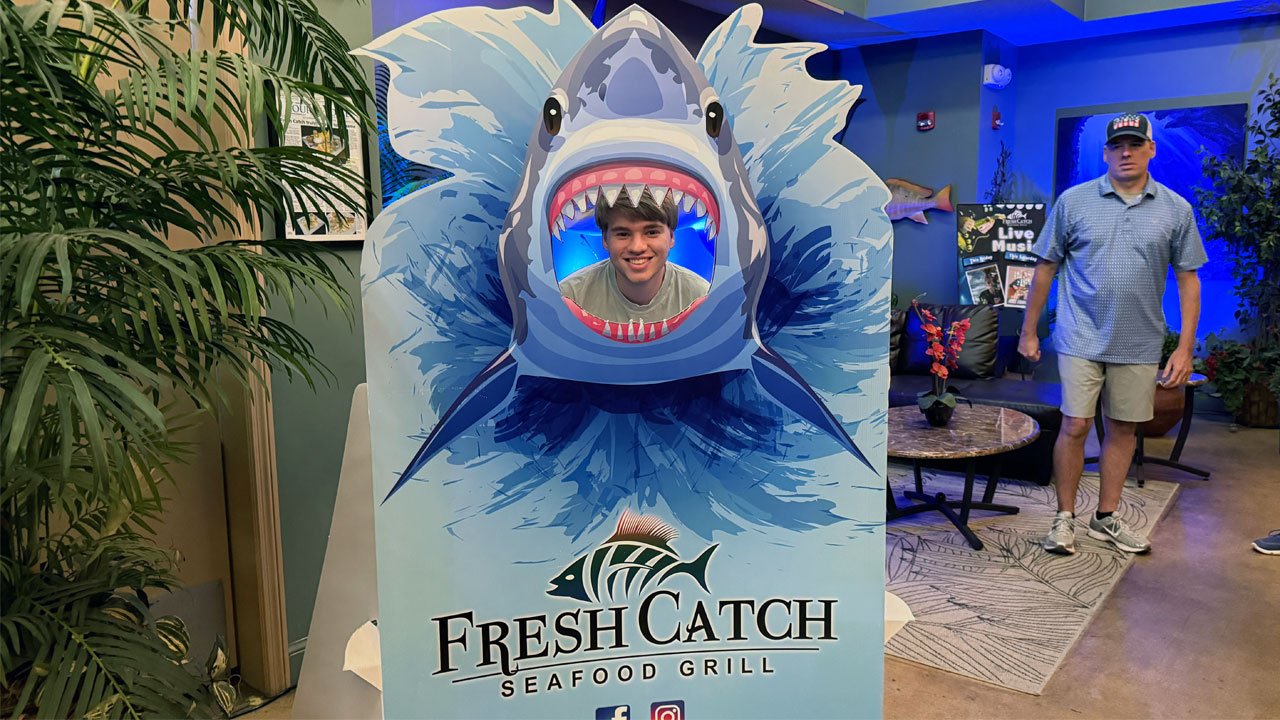
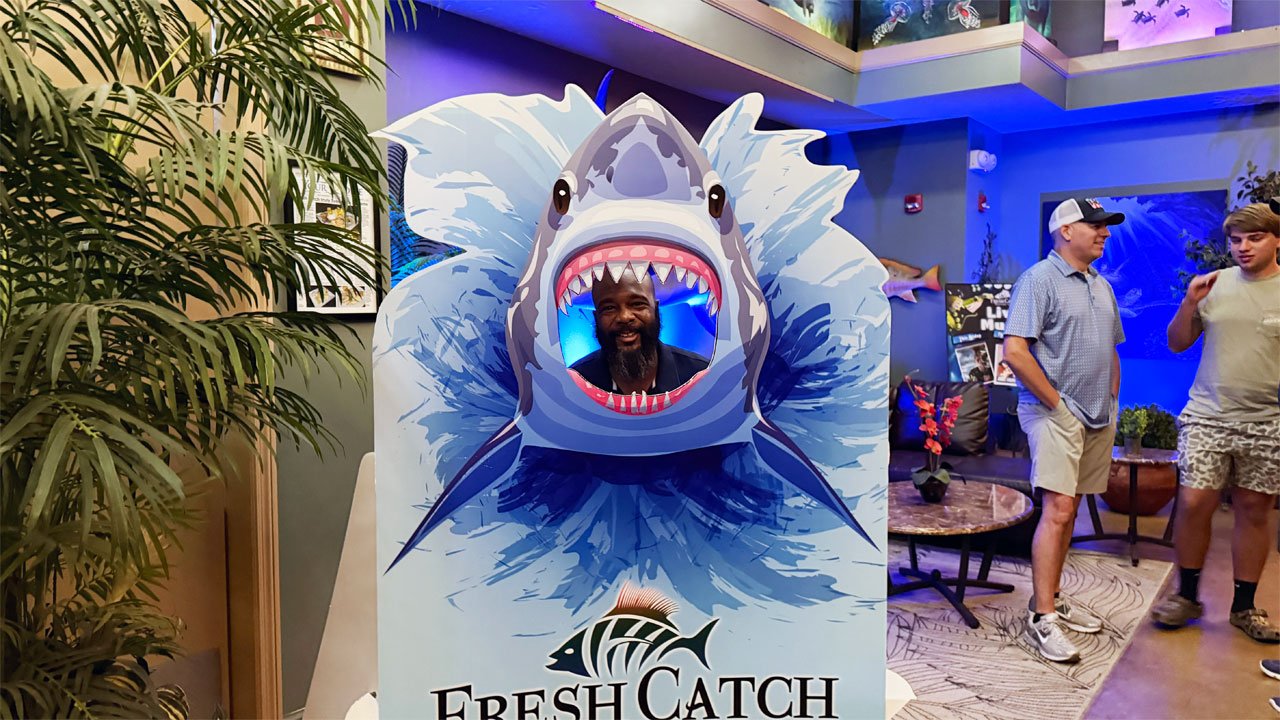
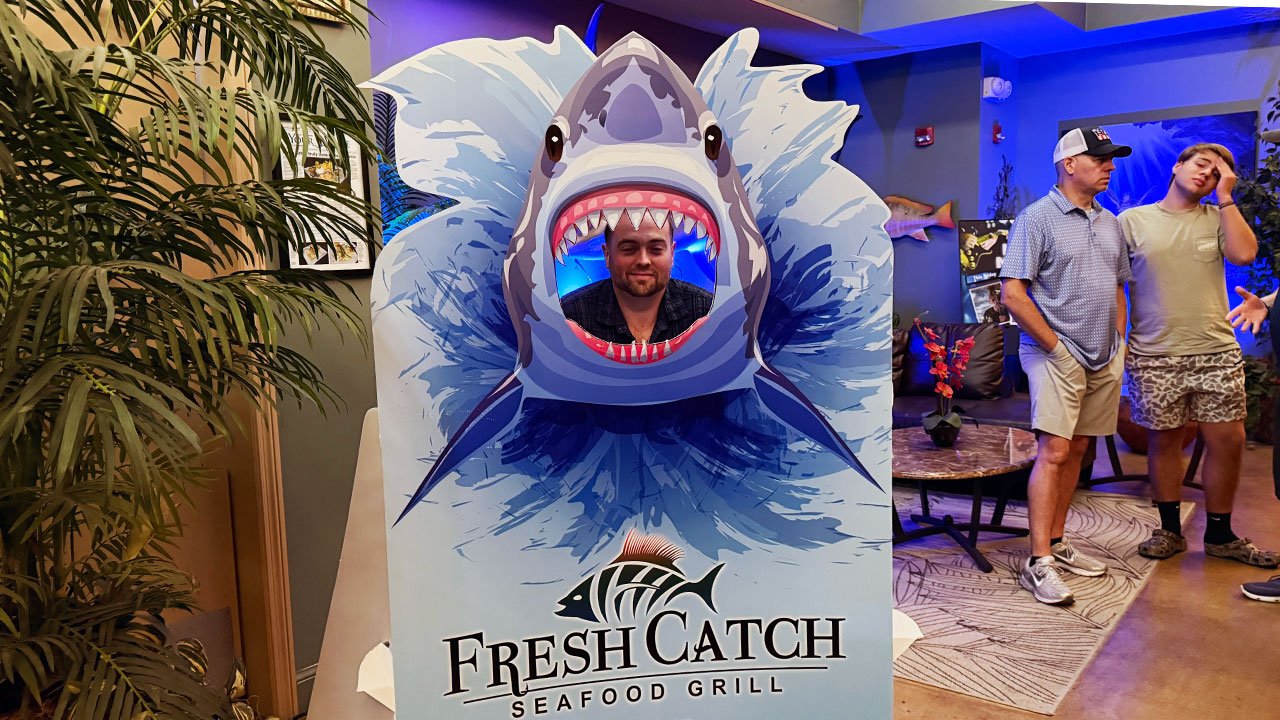
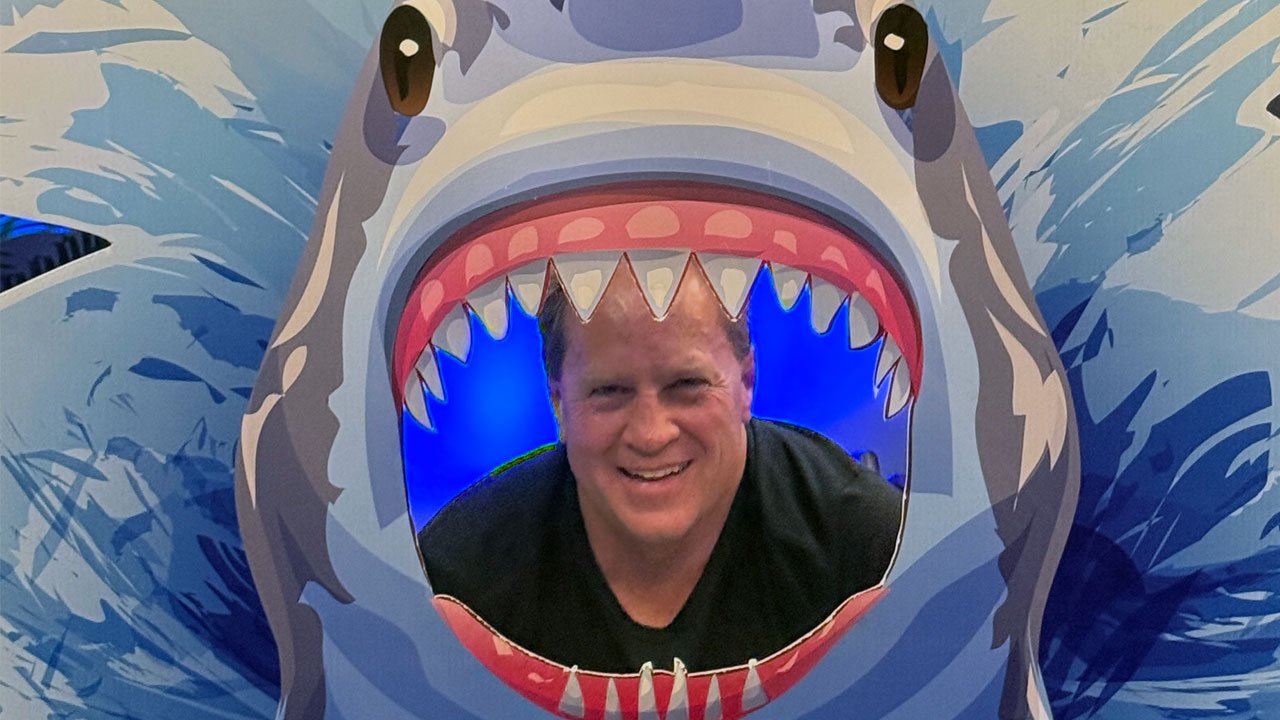
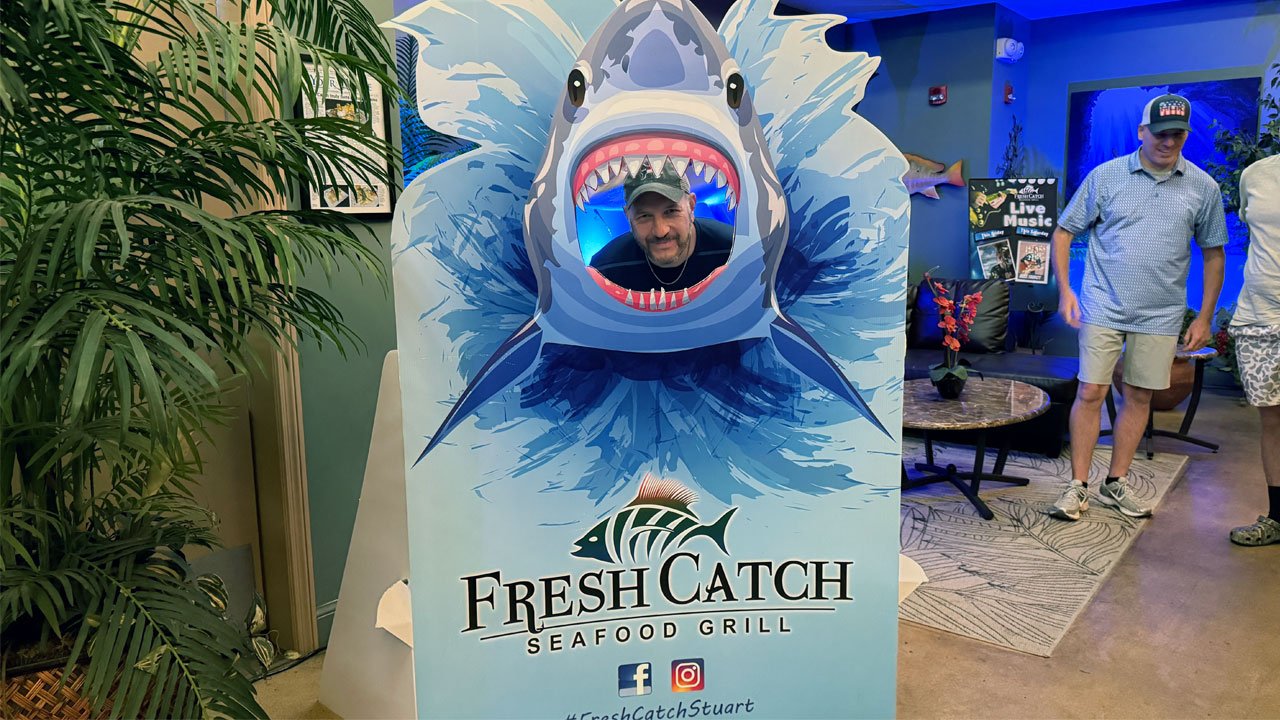
Shark Bait!
It's optional, but as we leave the resteraunt, there's a Shark Photo Board and I encourage everyone to join in the fun!

full


full


full


full


full


full


full


full


And yes, you're truly joins in the fun too!

full


Mike
 
Back
Top