
Pictures - September 18th 19th 20th 2026 Class in Stuart Florida - Dr. Beasley's & Mike Phillips

More...

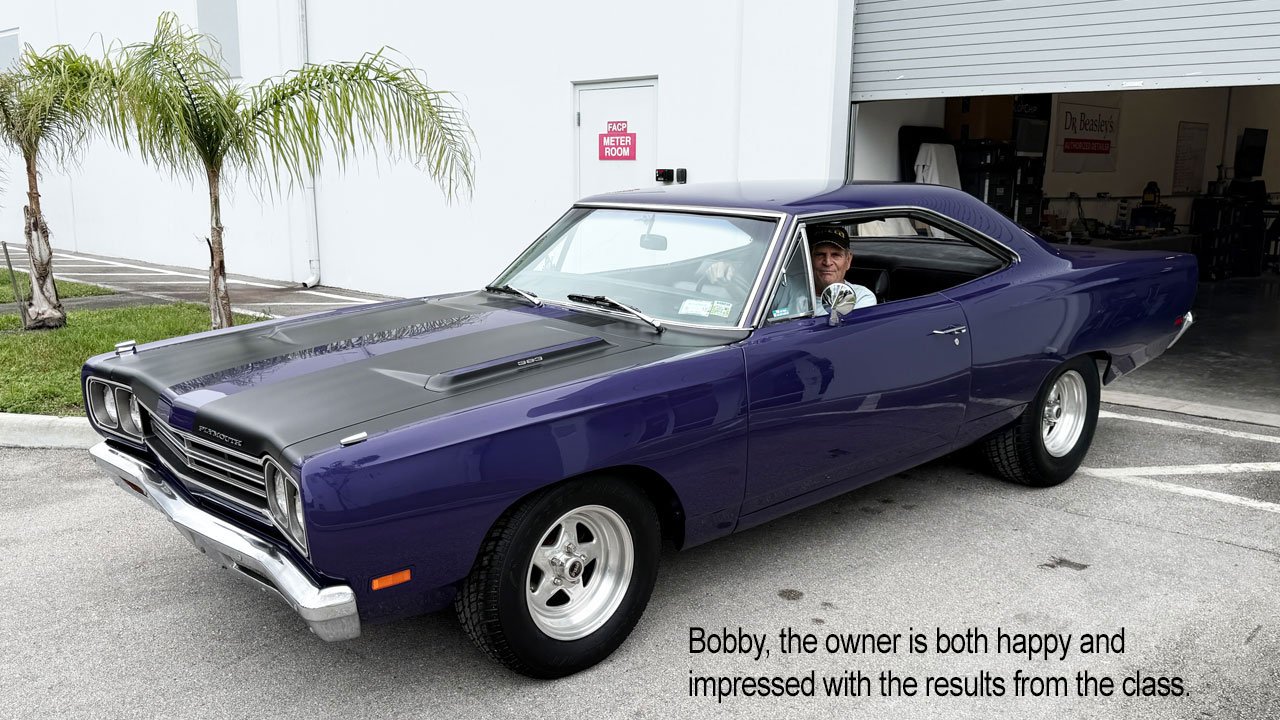
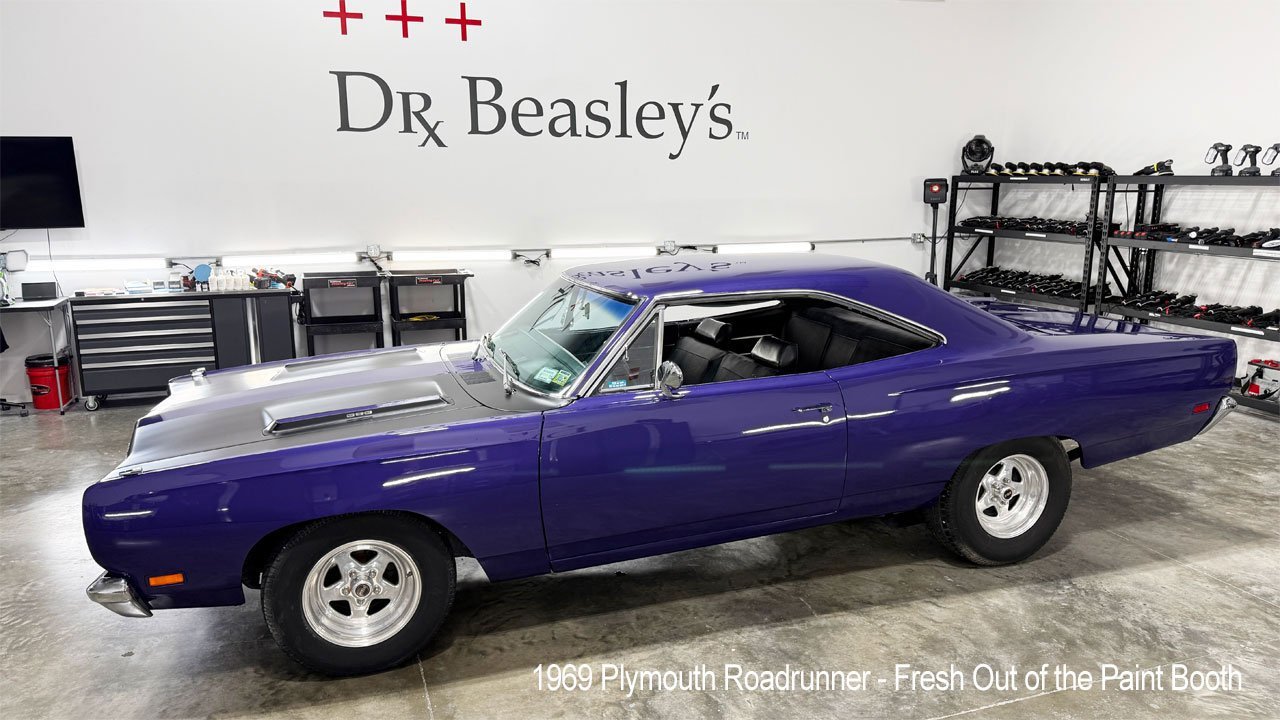
🔥 Training Car #7—the 1969 Plymouth Roadrunner! Before & AFTER!

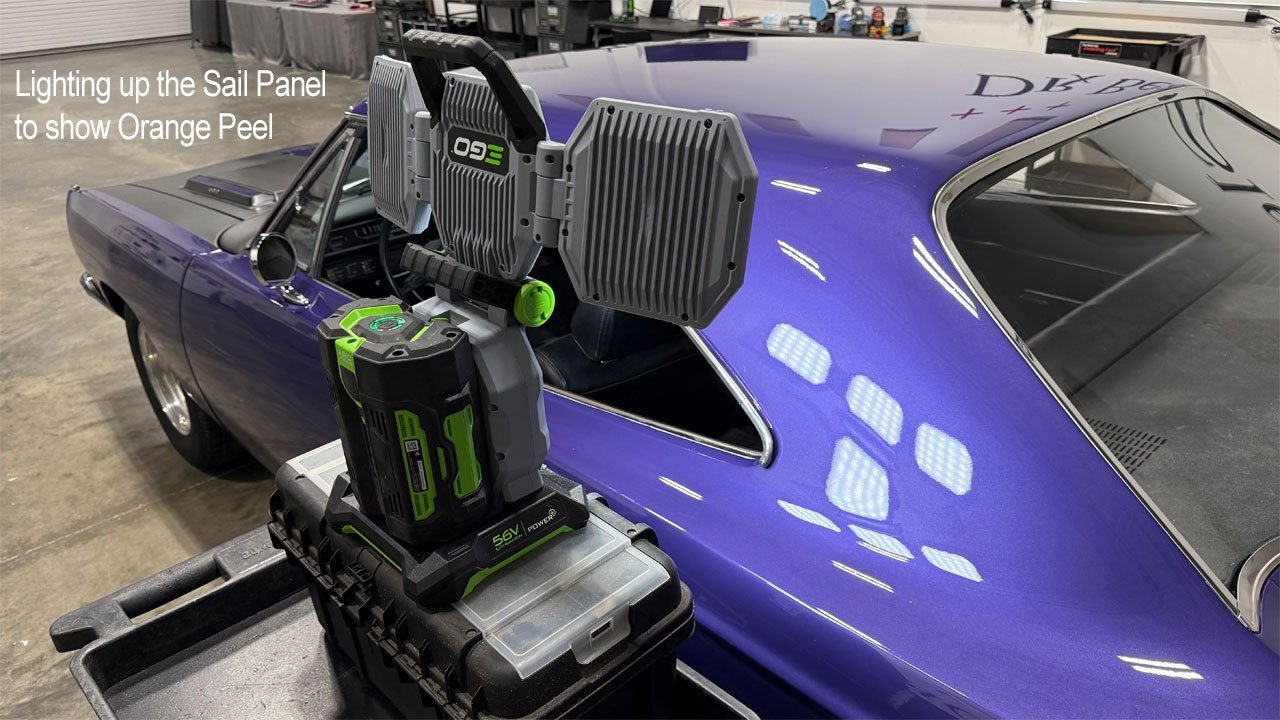
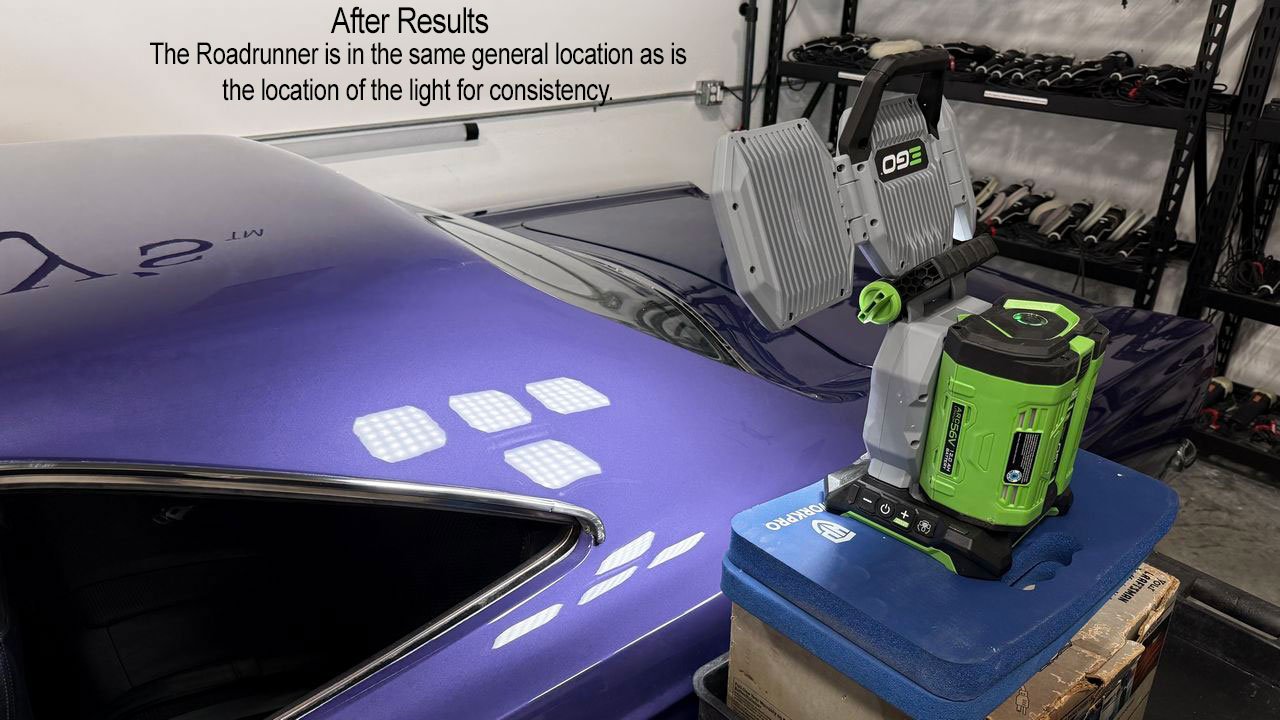
Before I share how the class sanded and buffed this freshly painted muscle car, let’s take a look at what they accomplished!

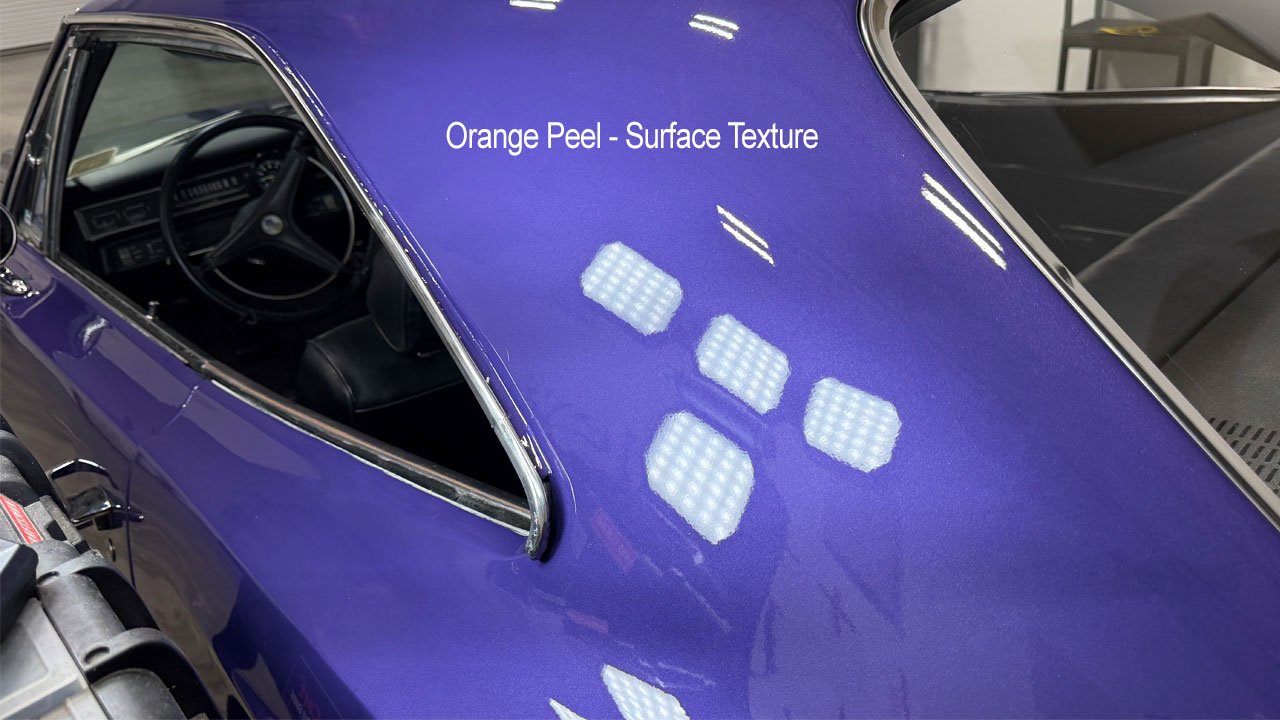
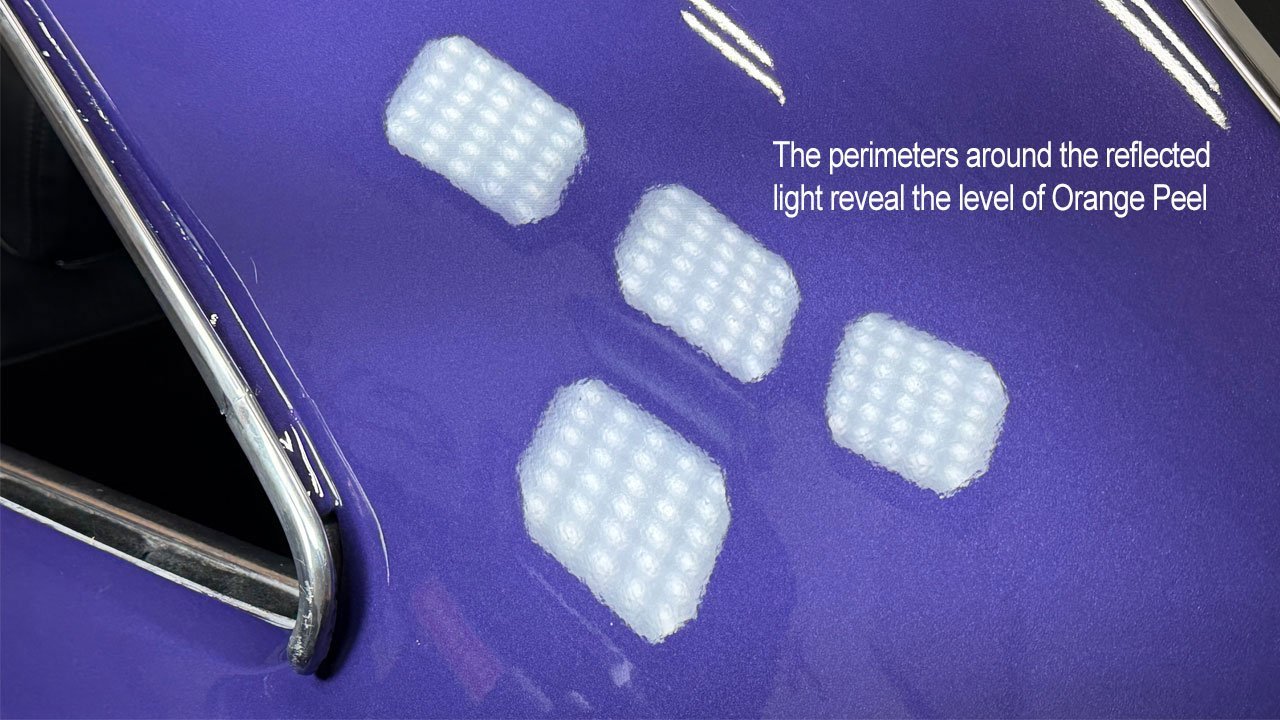
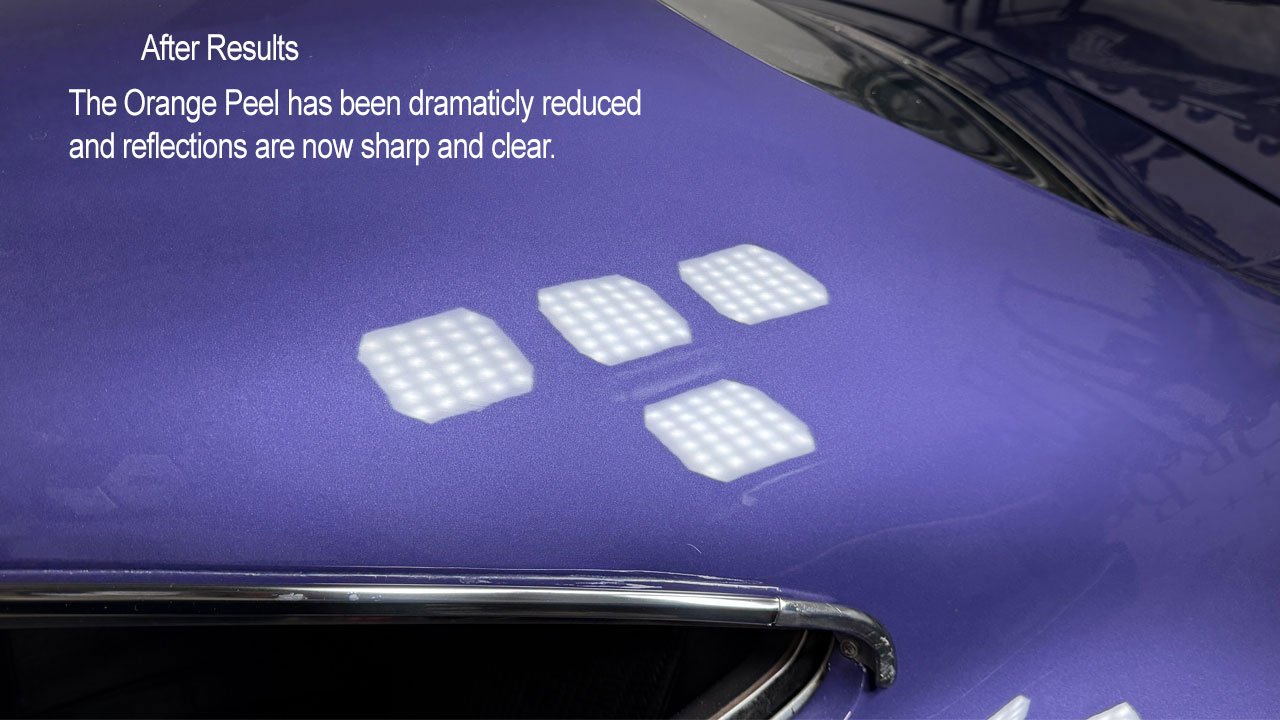
Look at the reflected lights. In the before picture, their edges look wavy and distorted from the orange peel. In the after picture, the orange peel has been dramatically reduced, and those reflections are now sharp and clear! ✨

Now consider this: For most of the 15 students, this was their FIRST time sanding the paint on some other dude’s muscle car! 😎

The goal was to give every student a solid FOUNDATION they could build on. Nobody becomes an expert at sanding and buffing a custom paint job their first time.

But there’s a HUGE difference between watching someone sand paint and picking up the sanding paper, working through the process and seeing the results of your own work.

After this class, I’m confident these men have a much clearer understanding of the work, care and responsibility involved in taking a custom paint job through sanding, cutting, polishing and ceramic coating.

They didn’t just watch the transformation. They made it happen! 💪

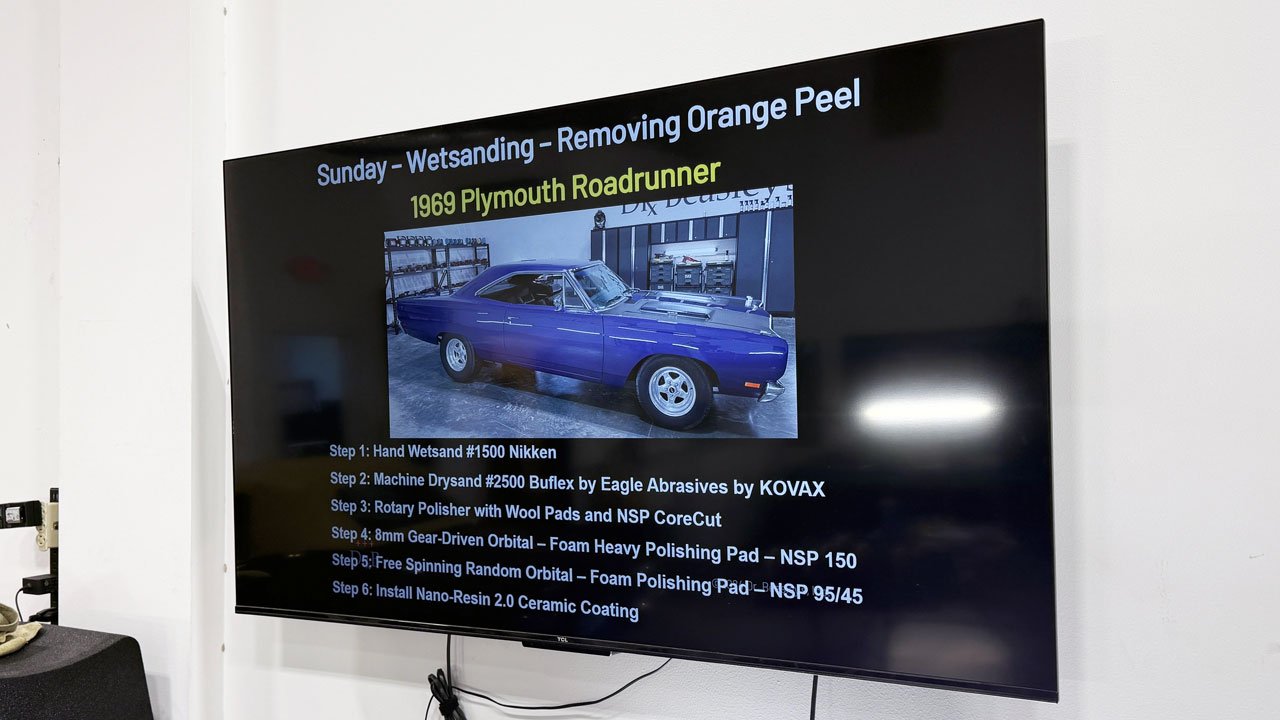
Coming next: the process, from hand wet sanding and machine dry sanding to rotary cutting, orbital polishing and ceramic coating.

No chairs. ZERO sitting. Real hands-on training—and results you can SEE!


full


full


full


full


full


full


full


Mike
 
More...

We start early and we start ON TIME!​


⌚ 7:30 AM Sunday morning—time to get AFTER IT!
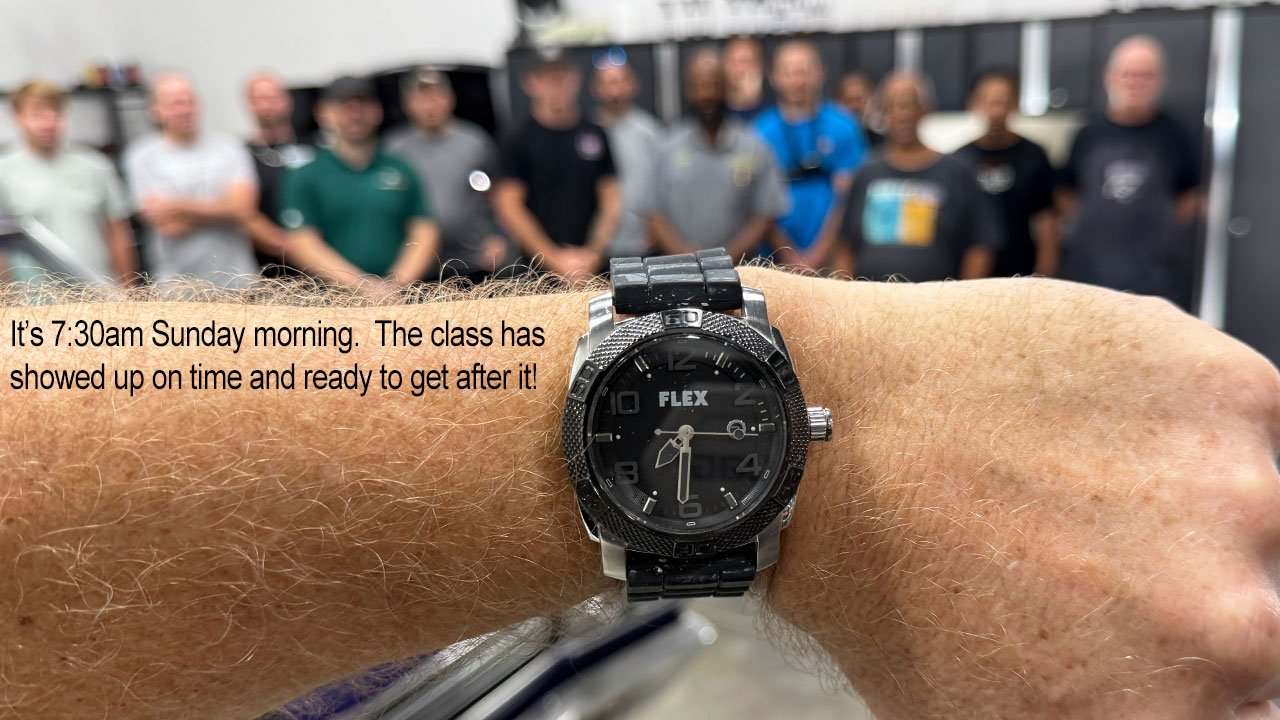
My FLEX 100th Anniversary watch tells the story: Day Two starts bright and early!

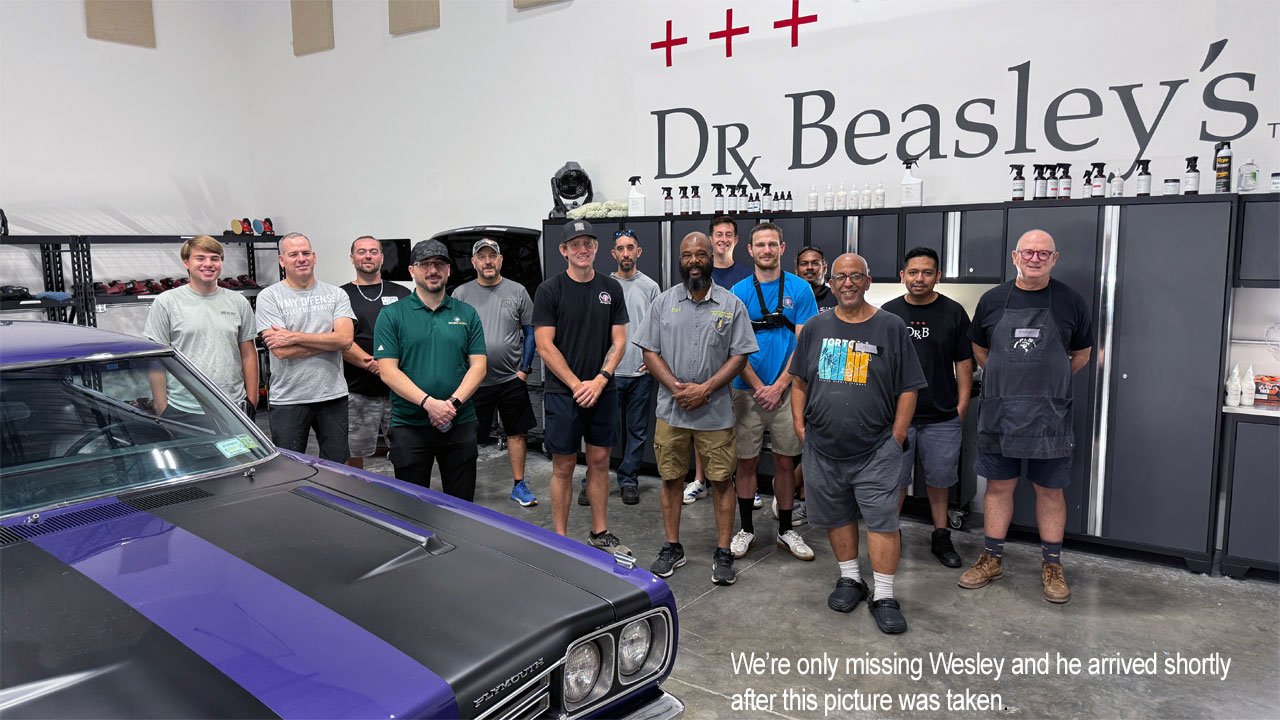
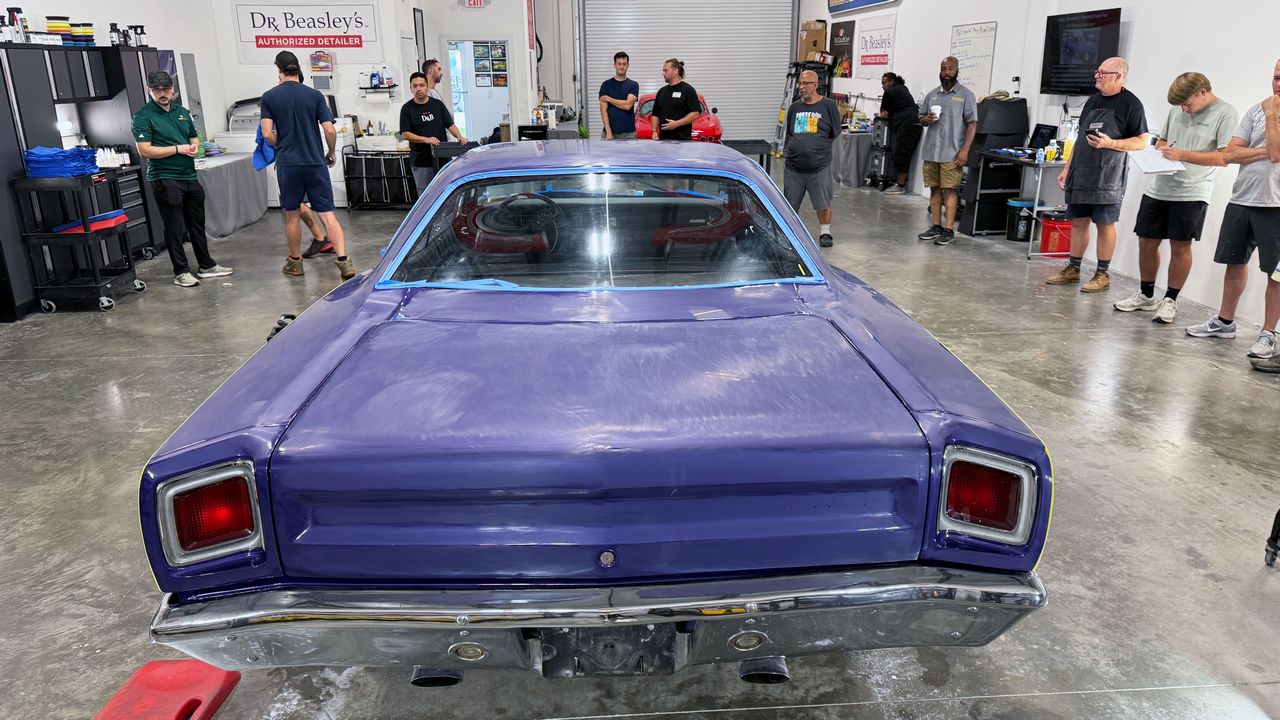
After detailing SIX cars on Saturday, these guys are back for another full day of hands-on training. Fourteen of our 15 students were ready to go when this picture was taken, and Wesley arrived shortly afterward.

Waiting for them? Training Car #7—a freshly painted 1969 Plymouth Roadrunner! 🔥

Today, they’ll learn how to reduce orange peel through hand wet sanding and machine dry sanding, then bring back the shine with rotary cutting, gear-driven orbital polishing and ceramic coating.

The rotary skills they learned first thing Saturday morning? Today, they’ll put them to work removing sanding marks from this classic muscle car!

New day. New skills. Another cool car.

No chairs. ZERO sitting. No PowerPoint.


Let’s get to work! 💪😎

full


full


Mike
 
More...

“Why on earth would you SAND the paint on somebody’s muscle car?” 😳

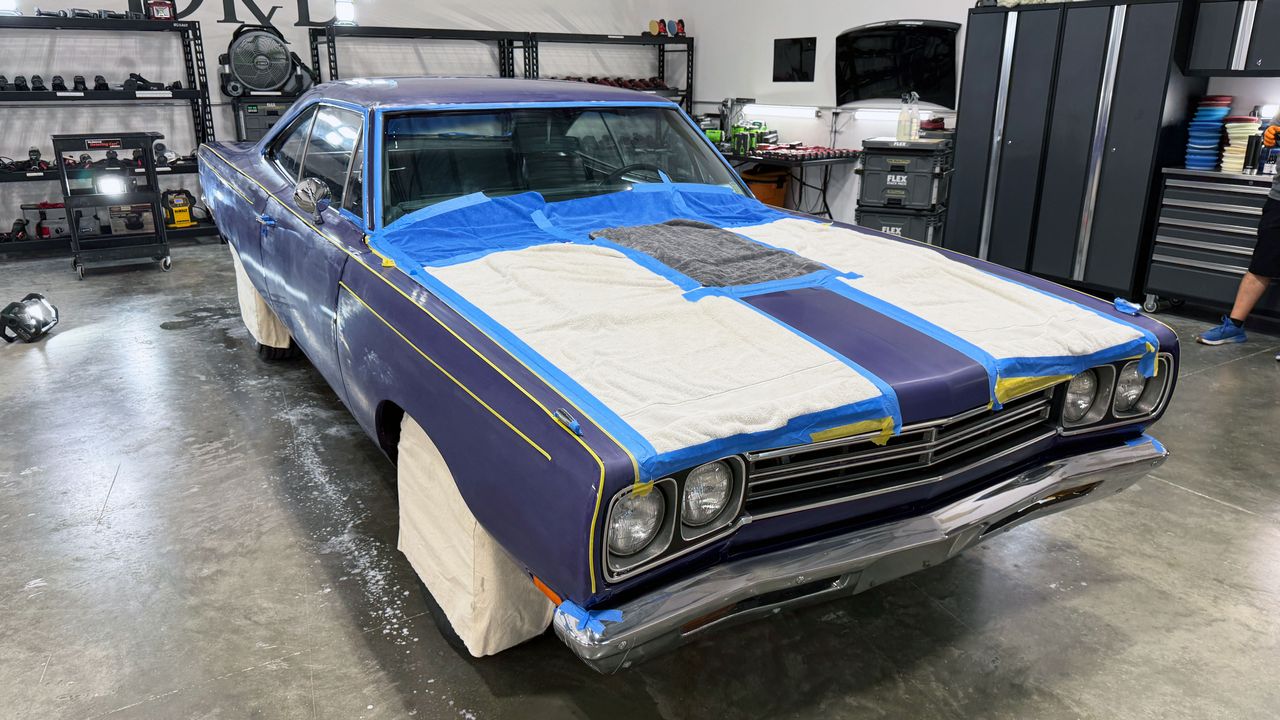
Take a close look at these BEFORE pictures of our 1969 Plymouth Roadrunner, and the answer starts coming into focus!

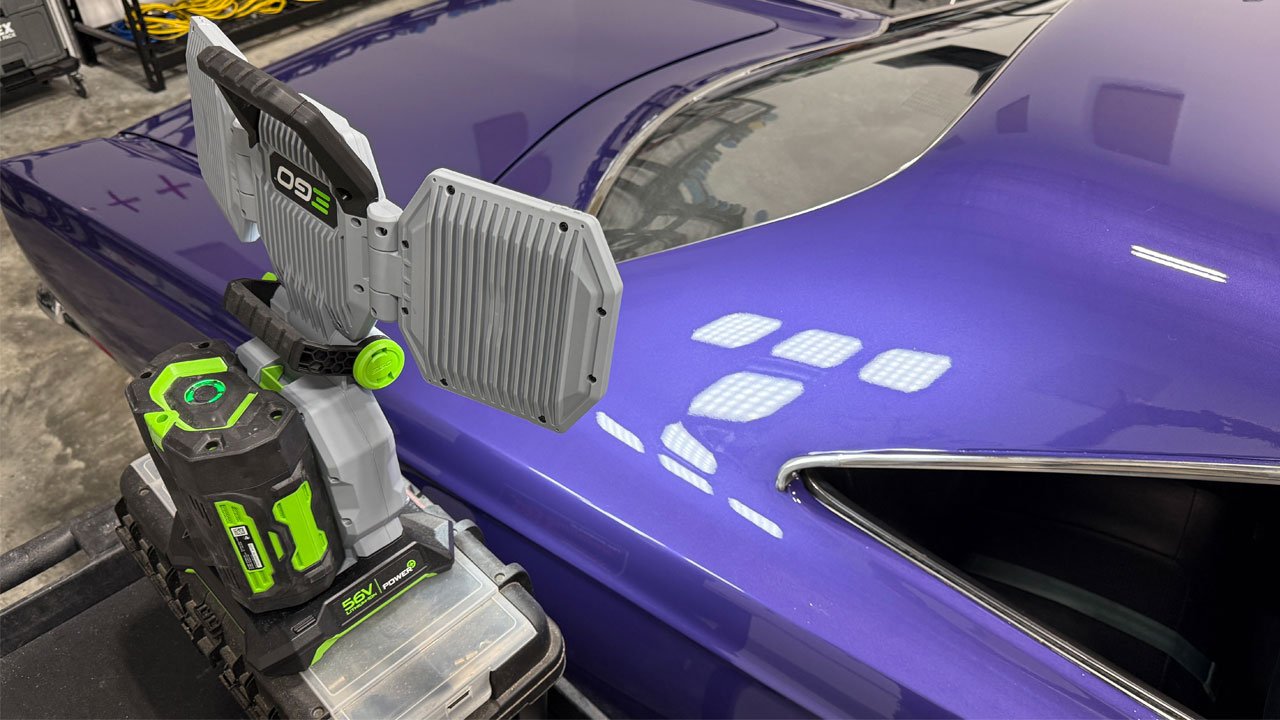
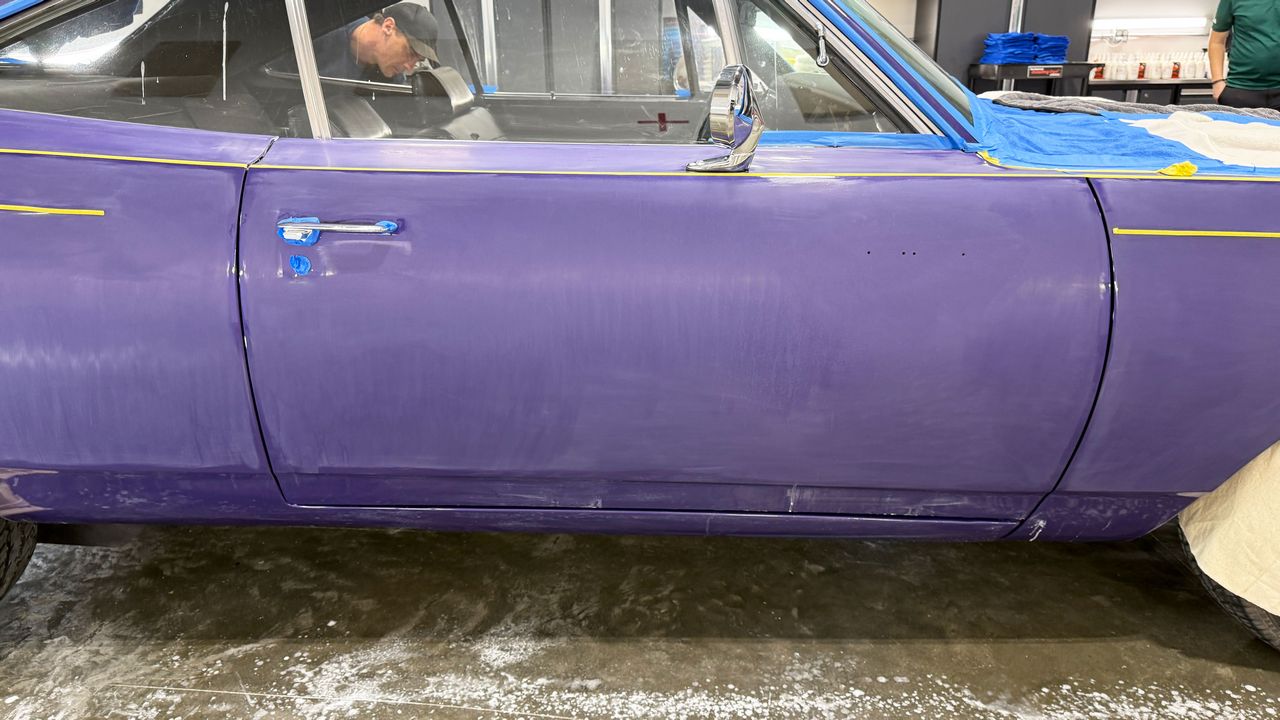
This car has a fresh basecoat/clearcoat paint job, but the glossy purple finish has substantial orange peel—the uneven texture that resembles the skin of an orange. Look at the reflected overhead lights. Instead of crisp, clear reflections, you see broken, distorted edges. The paint has shine, but the texture interferes with clarity.

The close-ups also document areas identified as repair print-through, where evidence of the underlying repair shows through the finished paint. That’s an important distinction: improving the surface texture doesn’t necessarily eliminate a problem originating beneath the clearcoat.

The solution for the orange peel? Carefully controlled sanding, followed by compounding and polishing.

The goal is to reduce the high points in the clearcoat’s texture, creating a flatter surface. Sanding leaves the finish dull and covered with sanding marks. We then use rotary polishers with wool pads to remove those marks, followed by finer polishing steps to restore gloss and reveal sharper reflections.

And YES—there’s risk involved!

Sanding removes clearcoat, and you can’t put it back with a polisher. Go too far, especially around edges and raised body lines, and the fix can require repainting. Before starting, the paint’s condition, cure, and available film thickness must support the process.

Now add this to the equation: some of these students have NEVER sanded automotive paint before, and they’re learning on some other dude’s muscle car! That’s a serious responsibility—and why instruction, supervision, and knowing when to STOP matter.

Then there’s the matte black paint, sitting right beside the glossy purple sections. That makes the entire process a tick more tricky! Matte paint must be protected from the sanding and polishing process because abrasion can permanently change its appearance. Those boundaries demand careful masking and control of both the sanding tools and polishing pads.

This lesson is about more than making paint shiny. It’s about learning what can be improved, what should be left alone, and how to work within the limits of the paint.

Real cars. Real paint defects. Real responsibility.

No Chairs. ZERO Sitting. No PowerPoint.

Just hands-on learning on one seriously cool muscle car! 😎

full


full


full


full


full


full


full


full


full


full


full


full


full


full


full


full


full


Mike
 
Last edited:
More...

🍑 Hand DRY sanding—with a purpose!
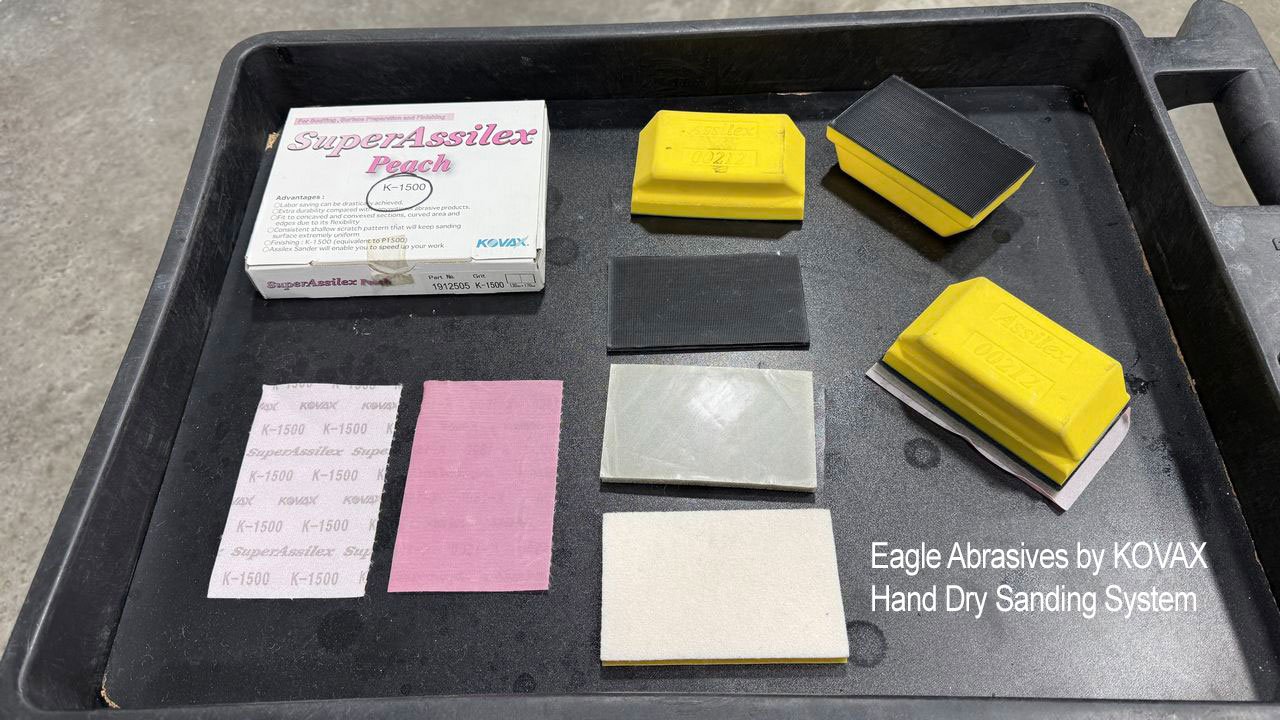
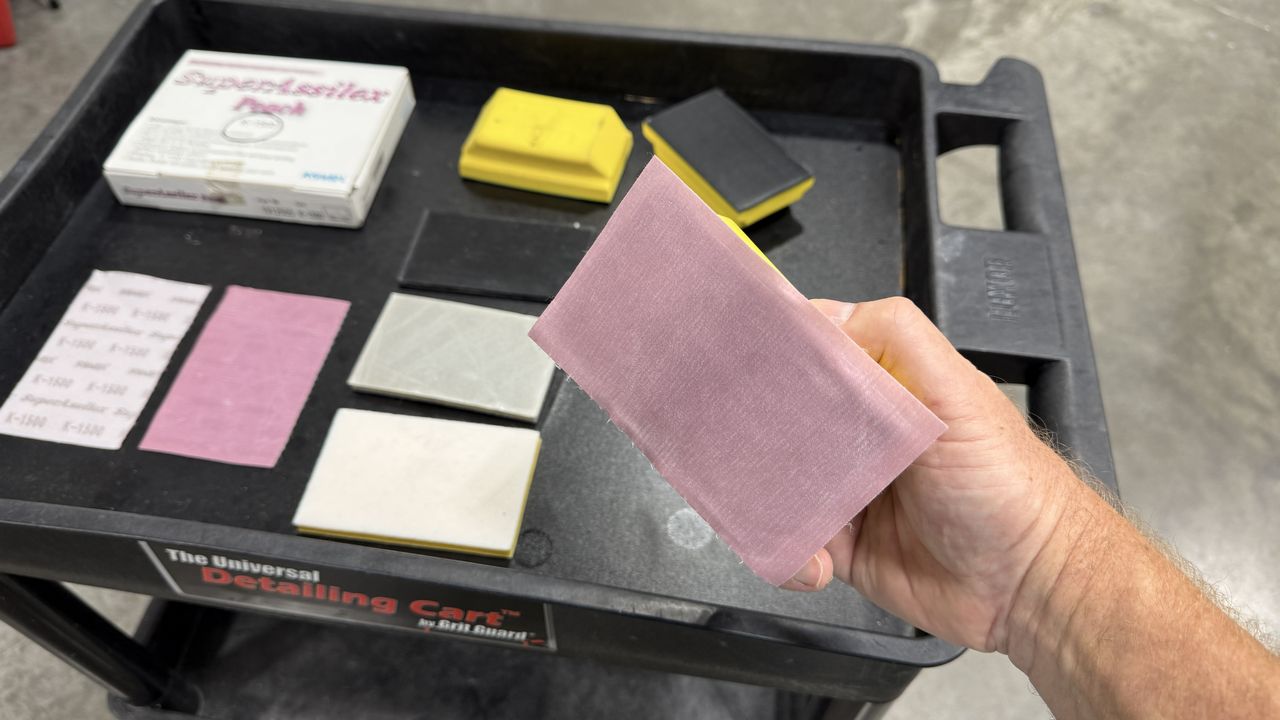
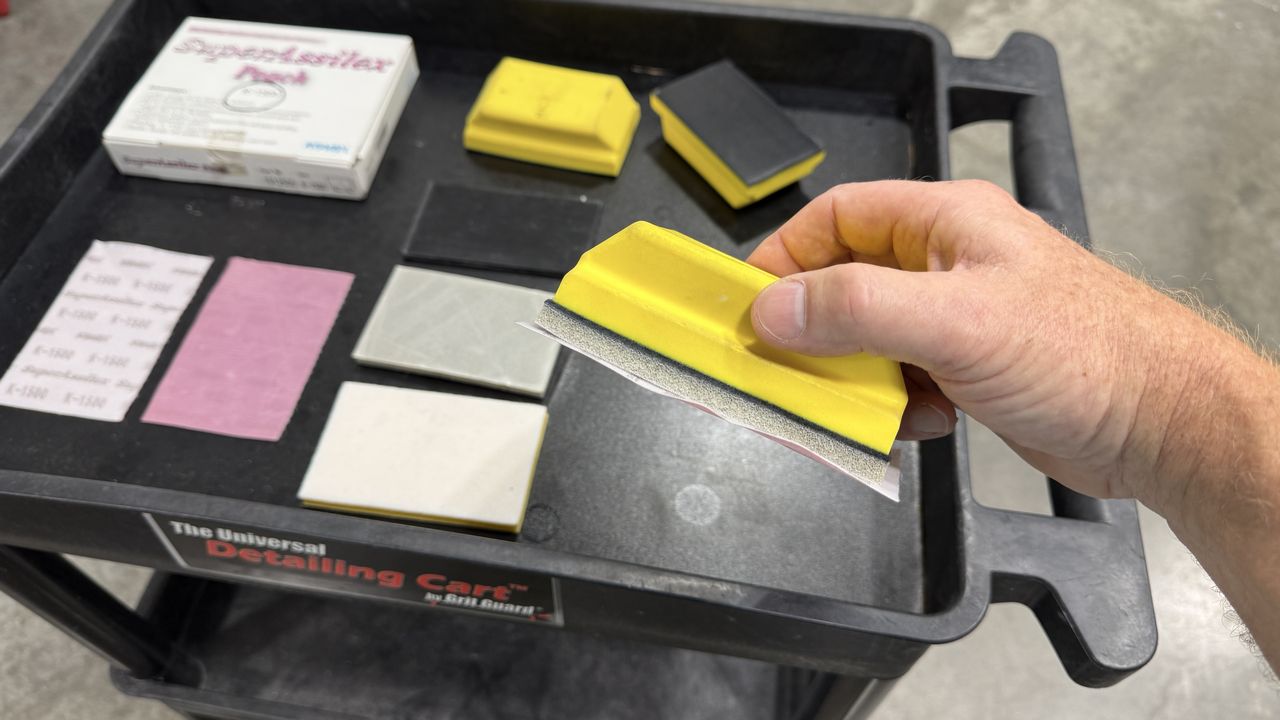
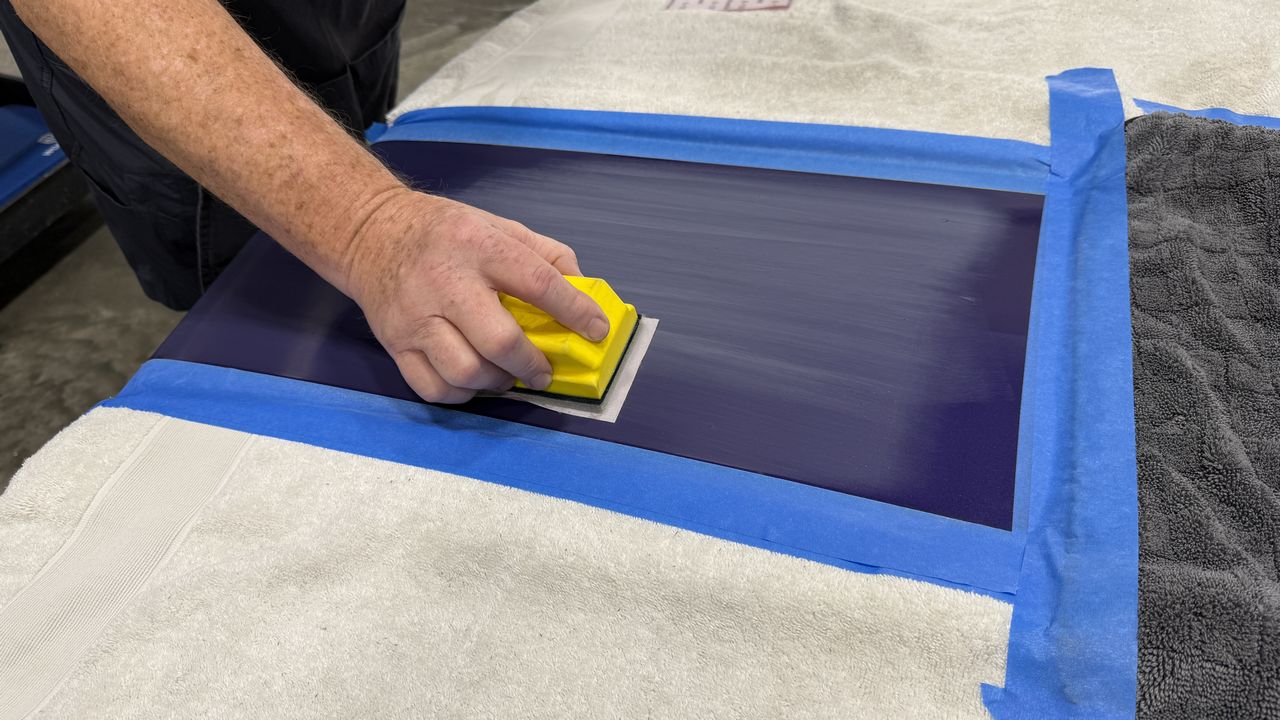
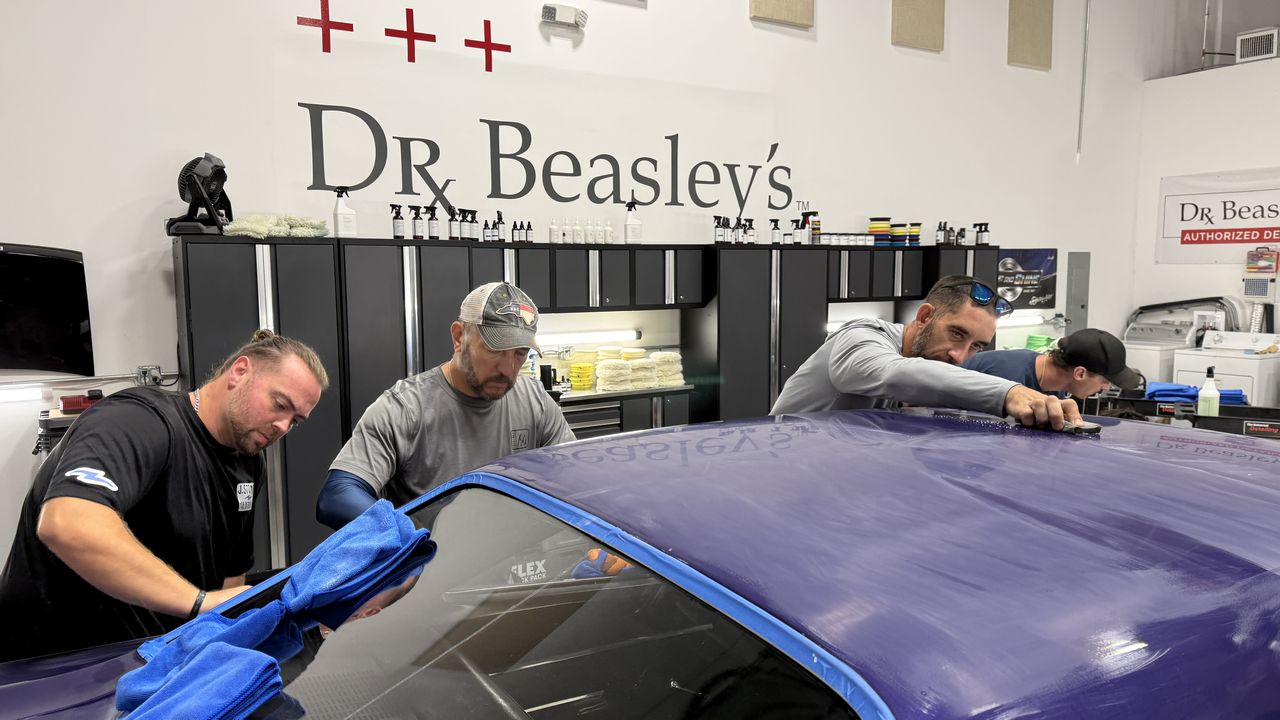
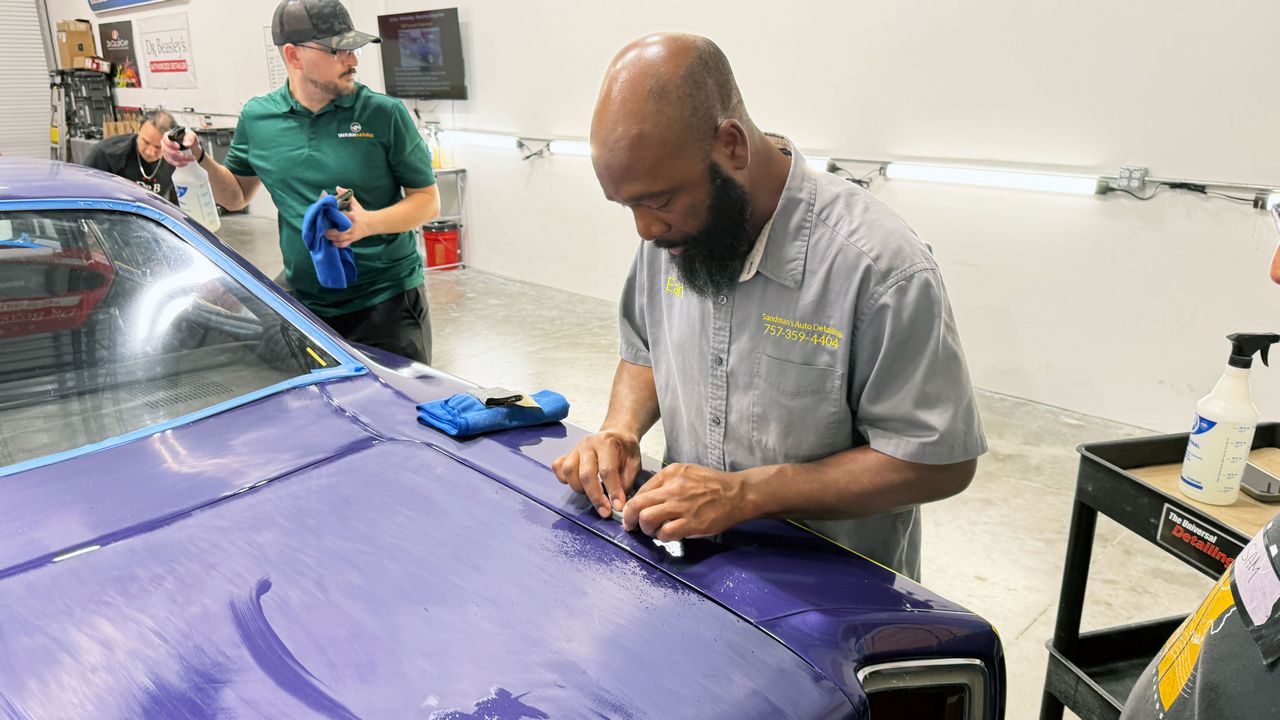
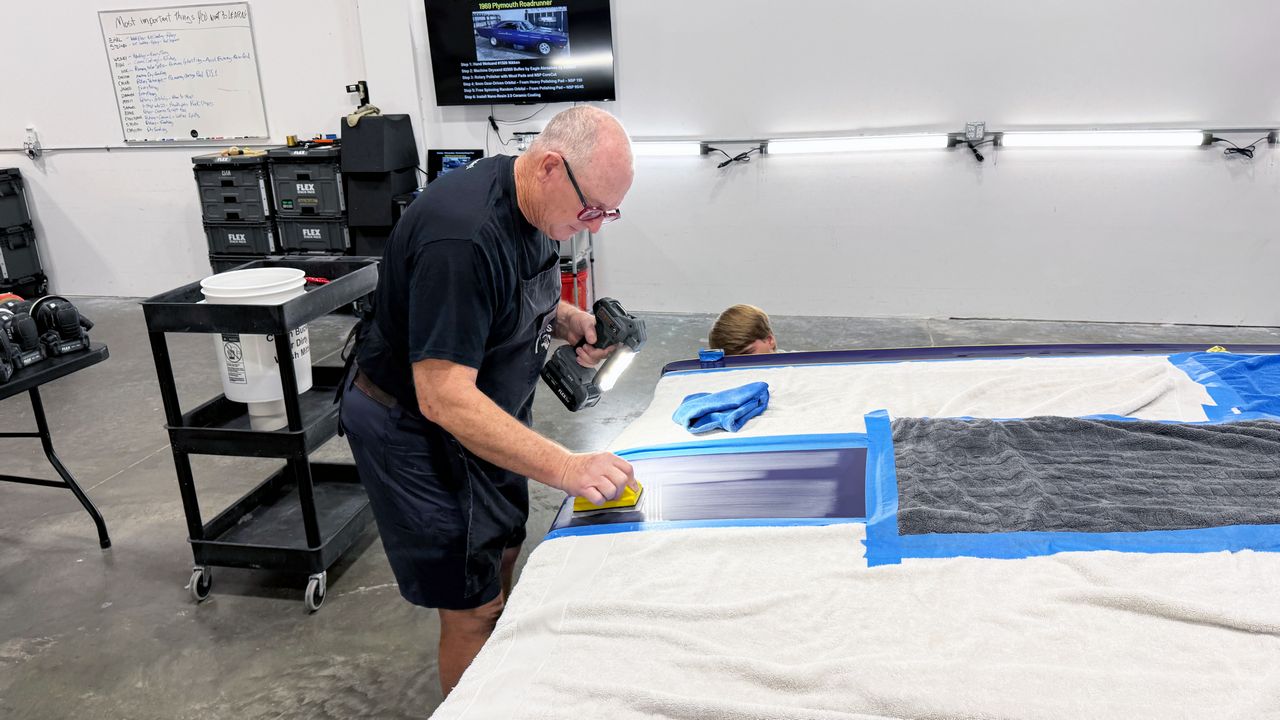
We started the hood on Training Car #7, the 1969 Plymouth Roadrunner, using the Eagle Abrasives by KOVAX hand dry sanding system with Super Assilex Peach K-1500 sheets.

This system combines flexible abrasive sheets, a foam hand block and an interface pad to produce a consistent, shallow sanding scratch pattern.

But choosing the abrasive was only part of the lesson. We also had to choose the right process for THIS paint job.

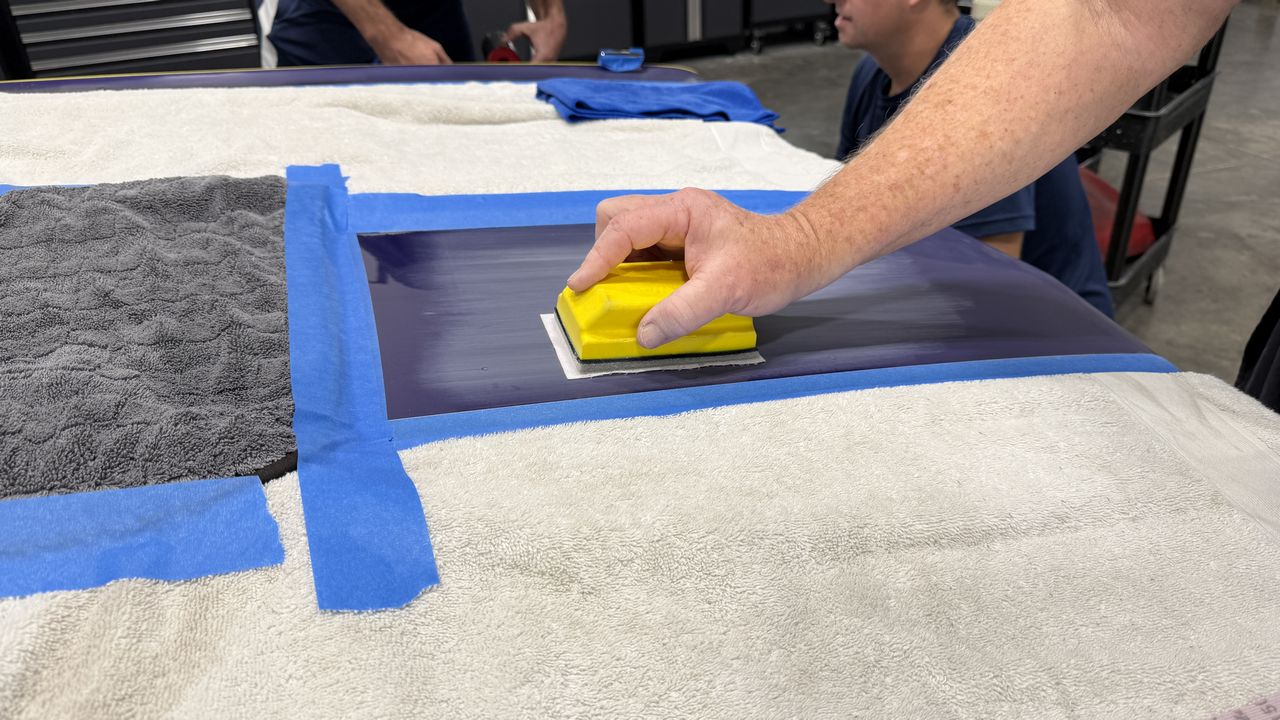
The glossy purple section running down the center of the hood was sandwiched between matte black paint on both sides, with more matte black on the tops of the fenders.

Our goal was to reduce the orange peel in the glossy paint while protecting the surrounding matte finish.

Normally, I would hand wet sand for this type of orange-peel leveling. For this section, however, I wanted to keep water away from the protective painter’s tape covering the matte black paint.

That’s why we chose hand DRY sanding.

With the matte areas masked and covered, the students could focus on carefully sanding the glossy center section. Working dry also let us wipe away the sanding dust and inspect our progress as we went.

Learning to sand paint includes learning WHY you choose a particular tool, abrasive and process.

Real paint jobs require decisions—and this class gives you firsthand experience making them!

No chairs. ZERO sitting. Tools in your hands and skills you can take home! 💪😎


full


full


full


full


Mike
 
Last edited:
More...

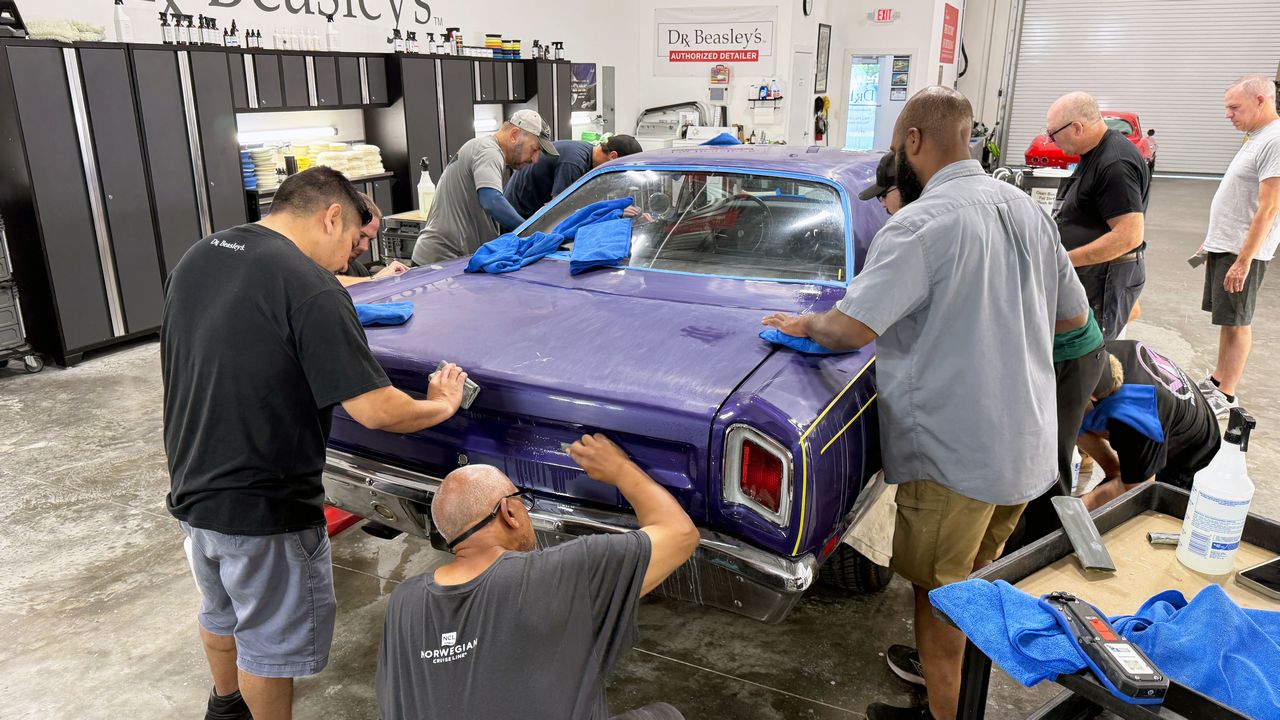
🛠️ Two sanding methods. One seriously cool muscle car!

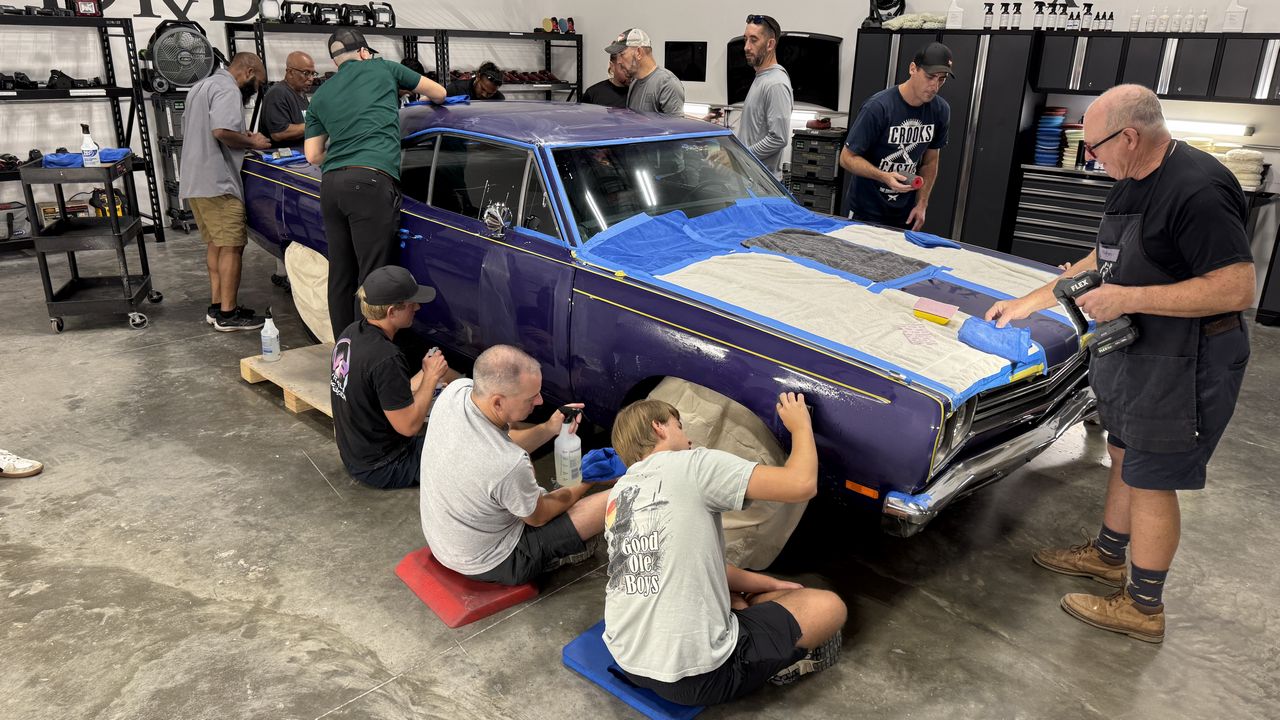
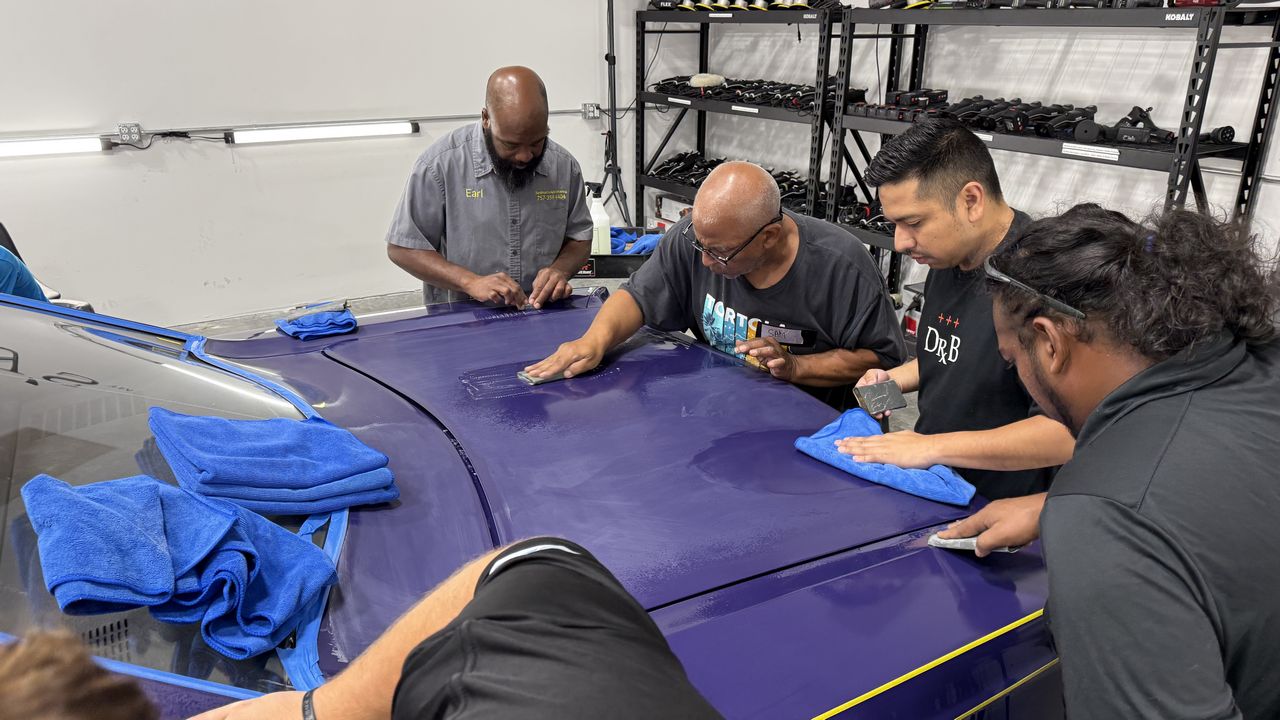
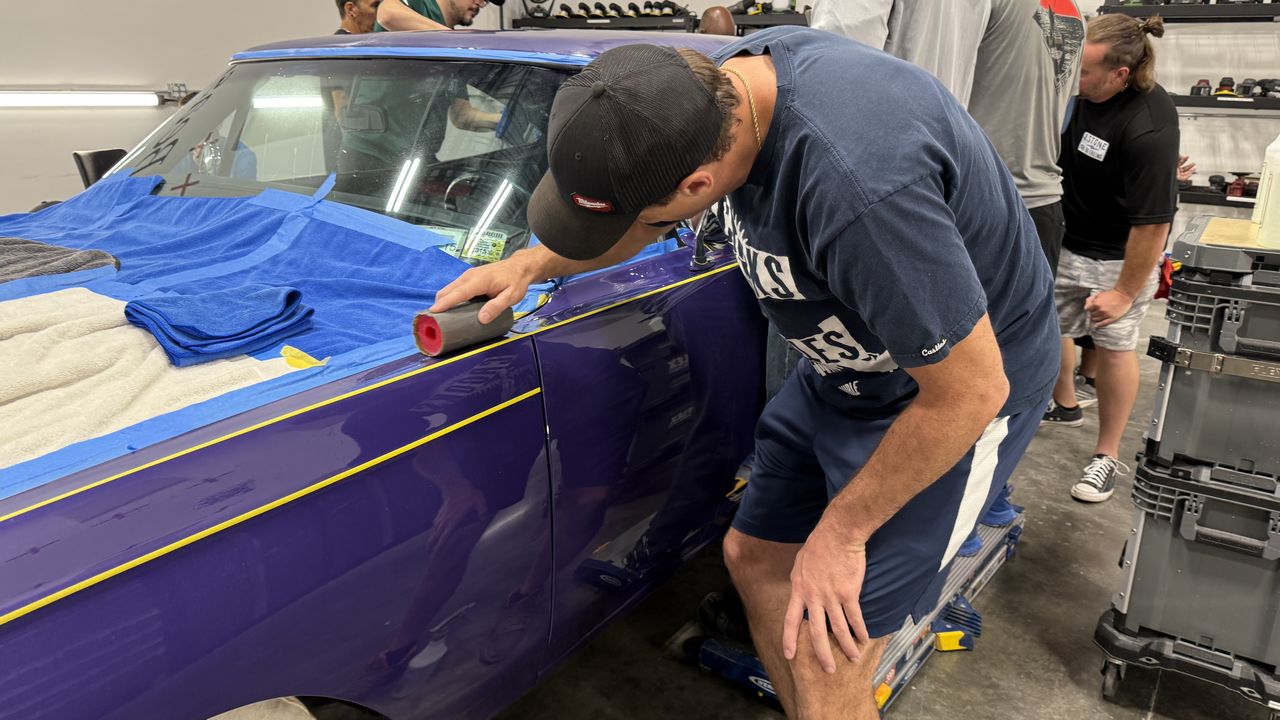
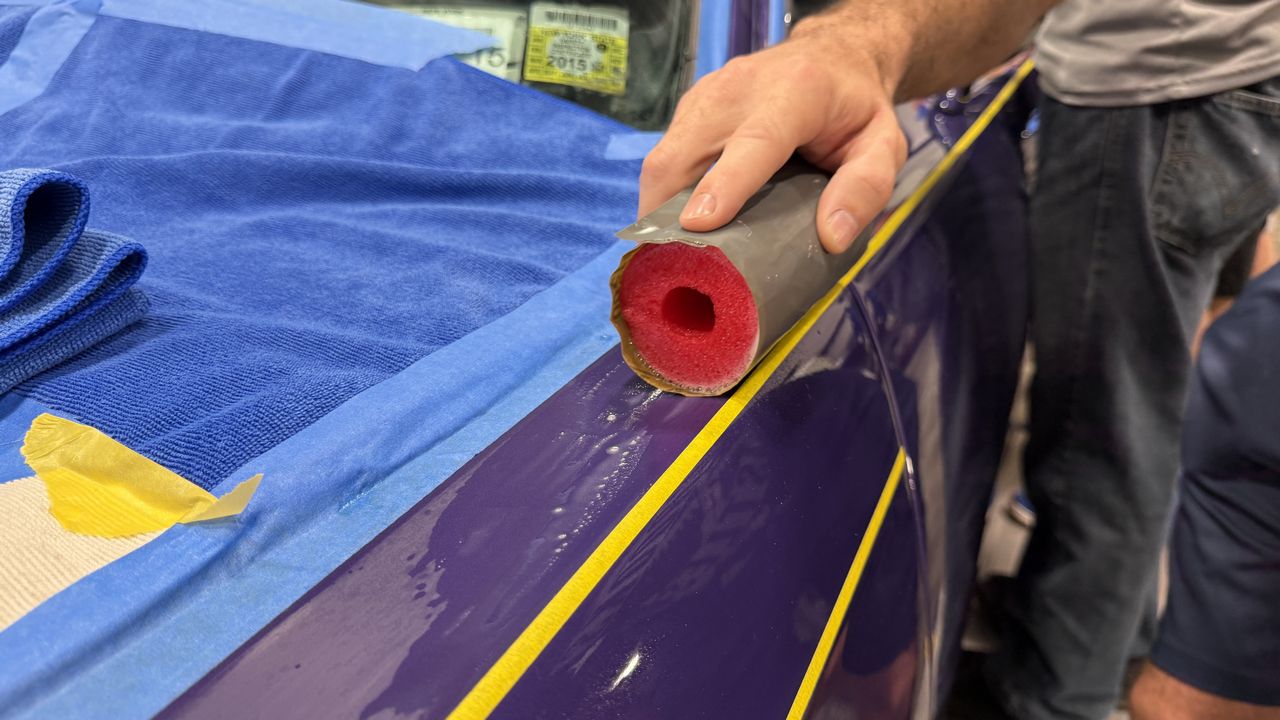
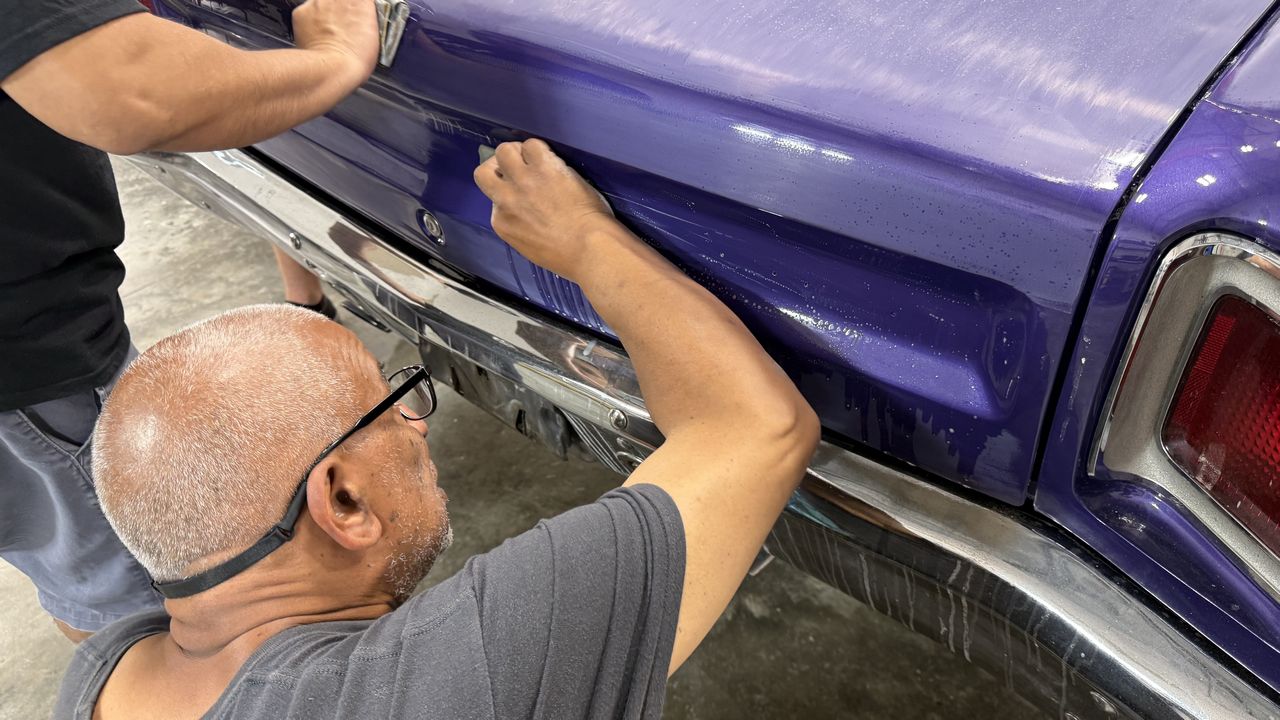
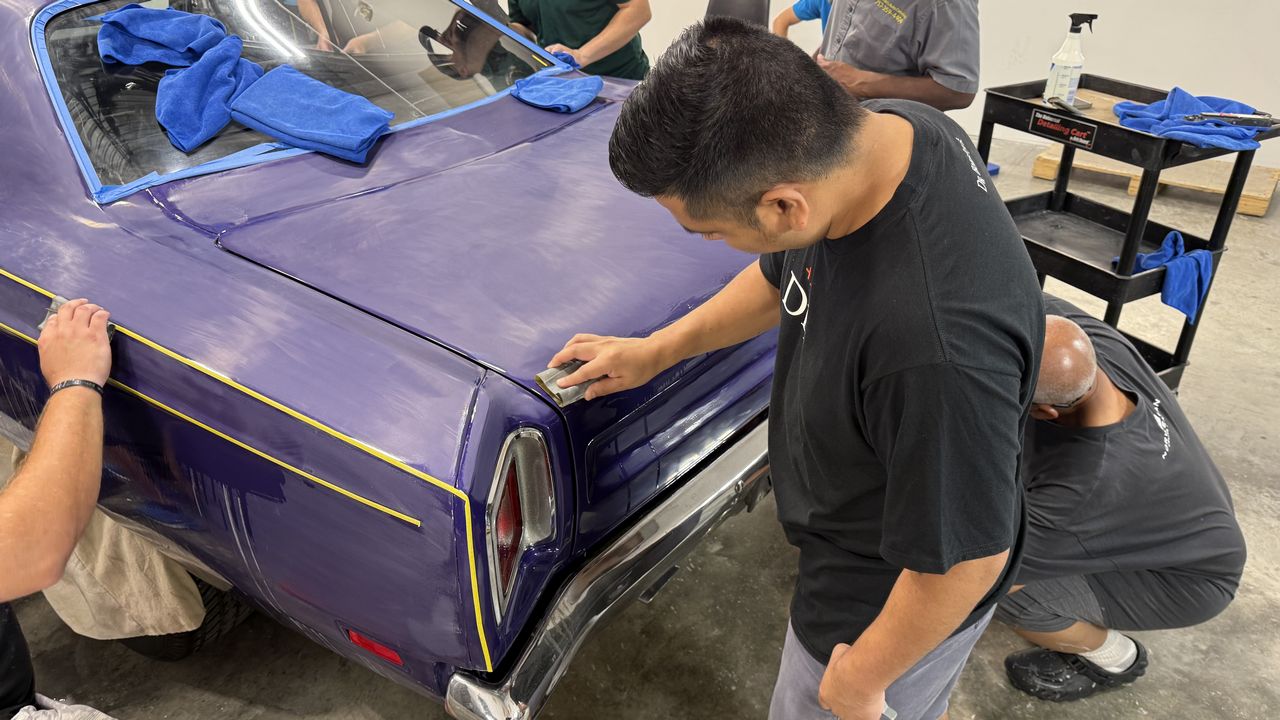
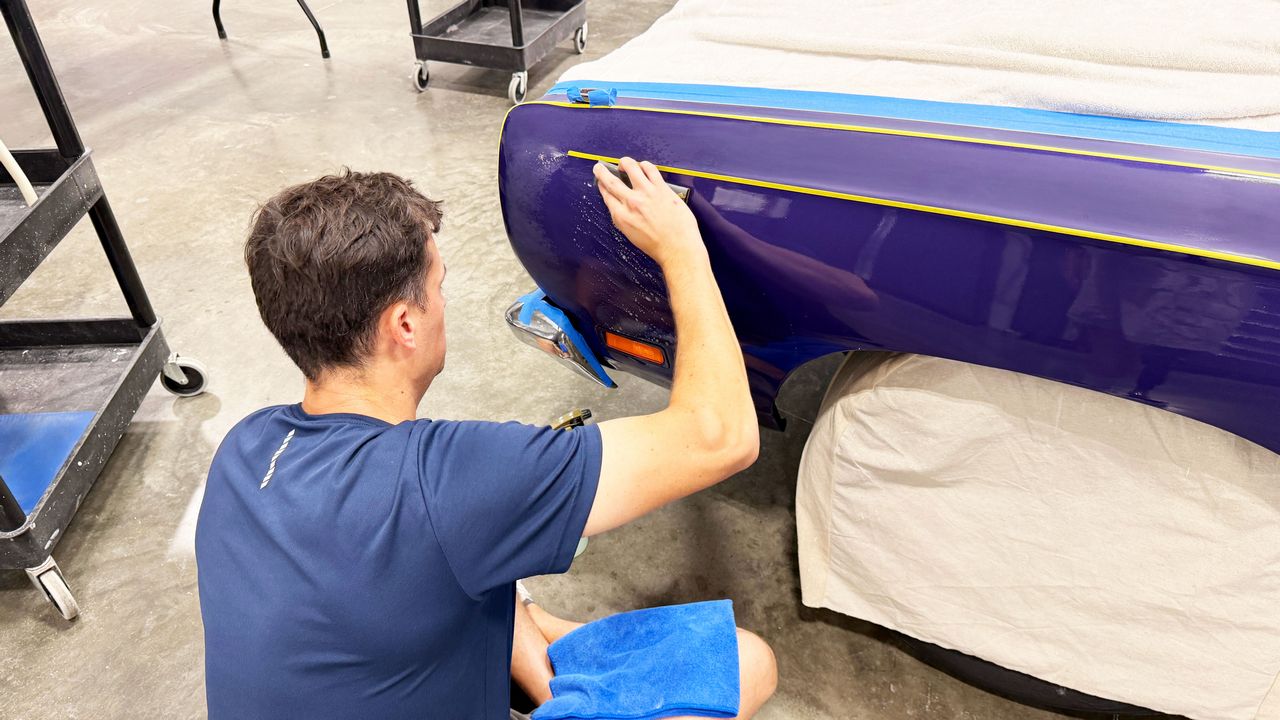
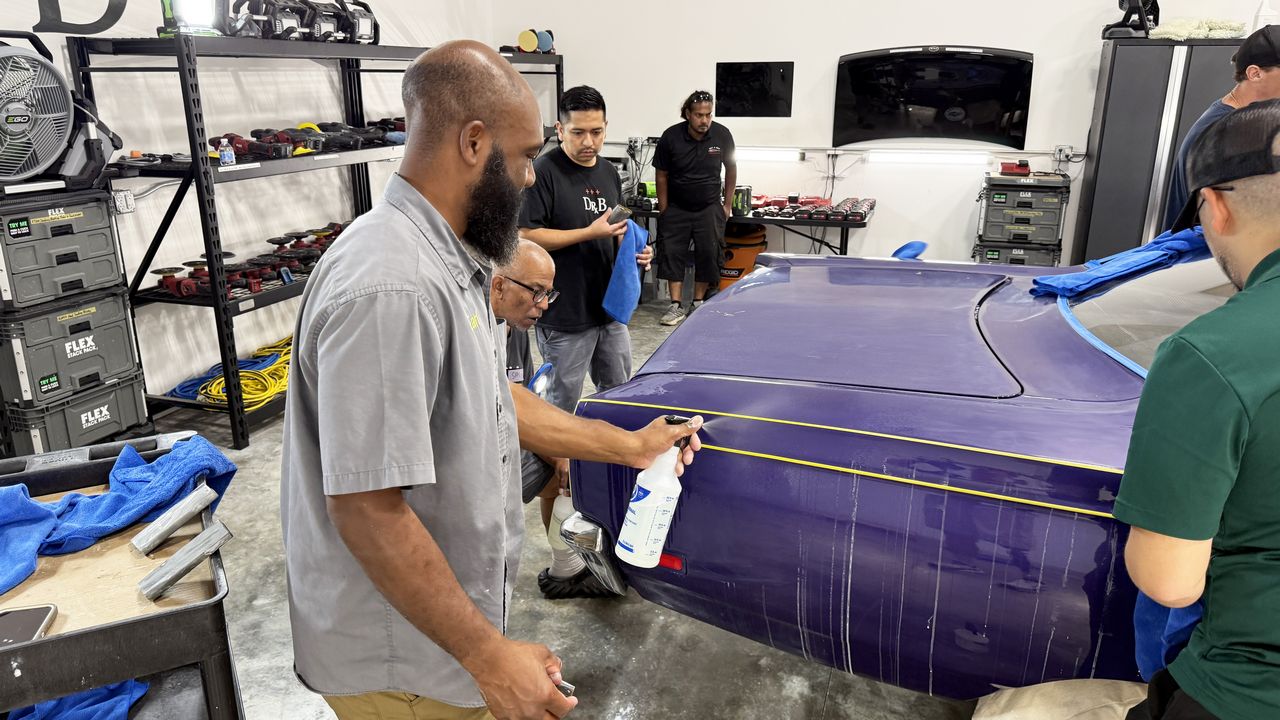
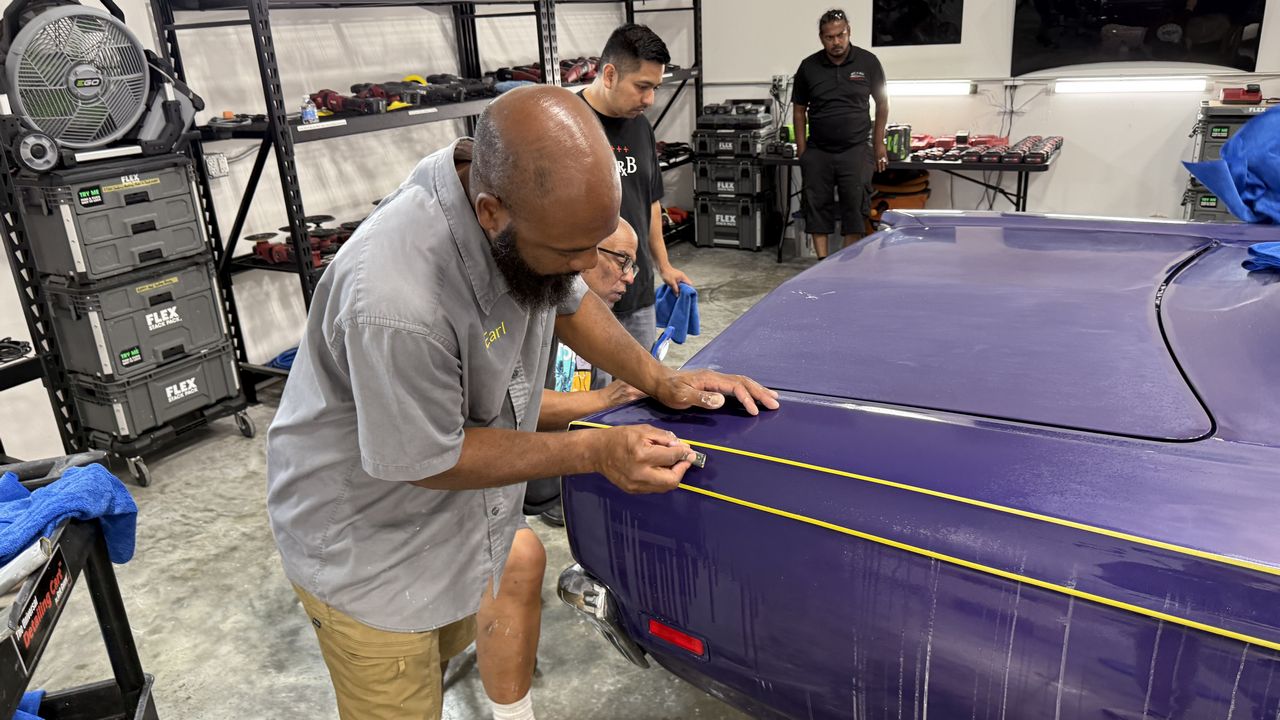
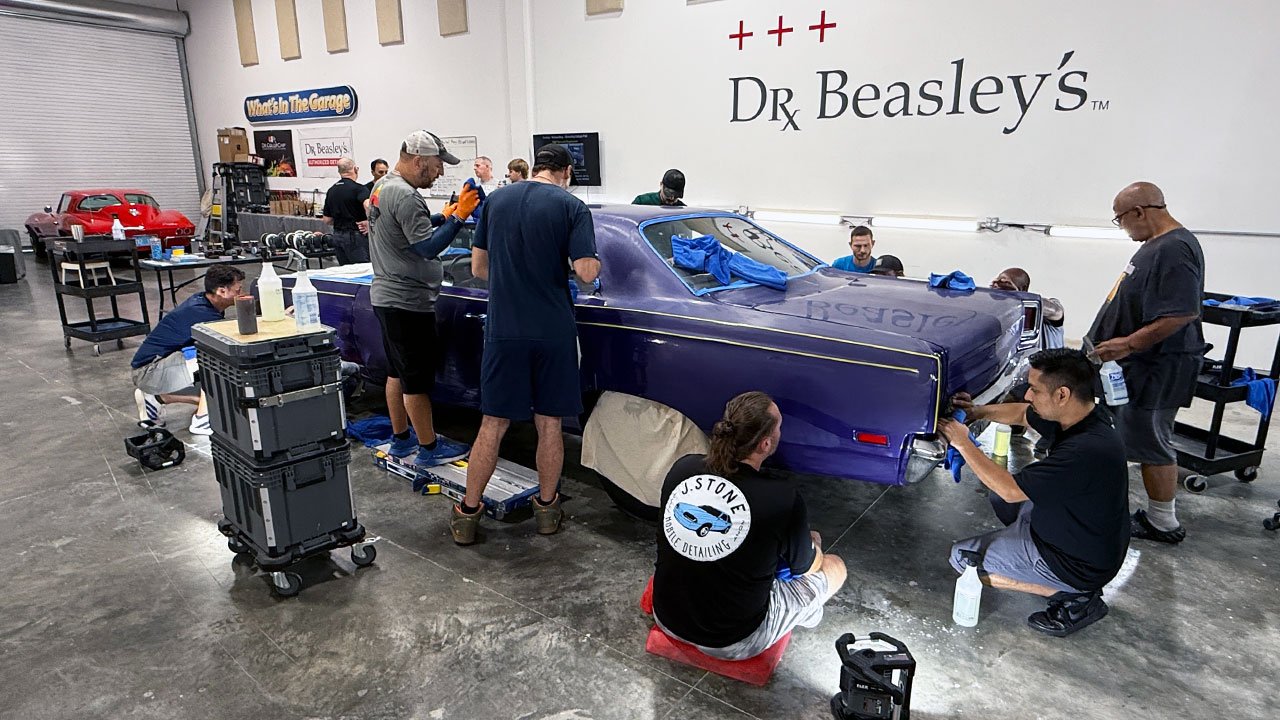
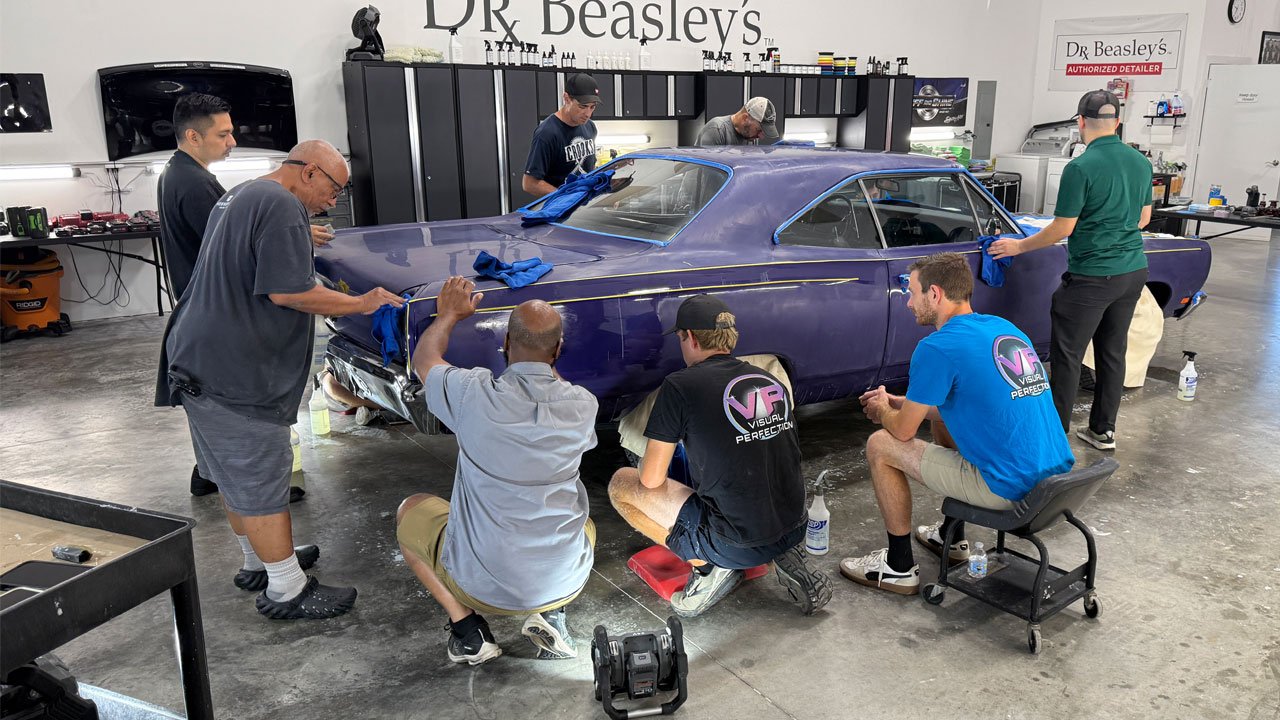
While Stephen from Minnesota hand dry sands the center section of the hood, the rest of the team begins hand wet sanding the other glossy body panels using Nikken Electronics Grade Finishing Papers in 1500 grit.
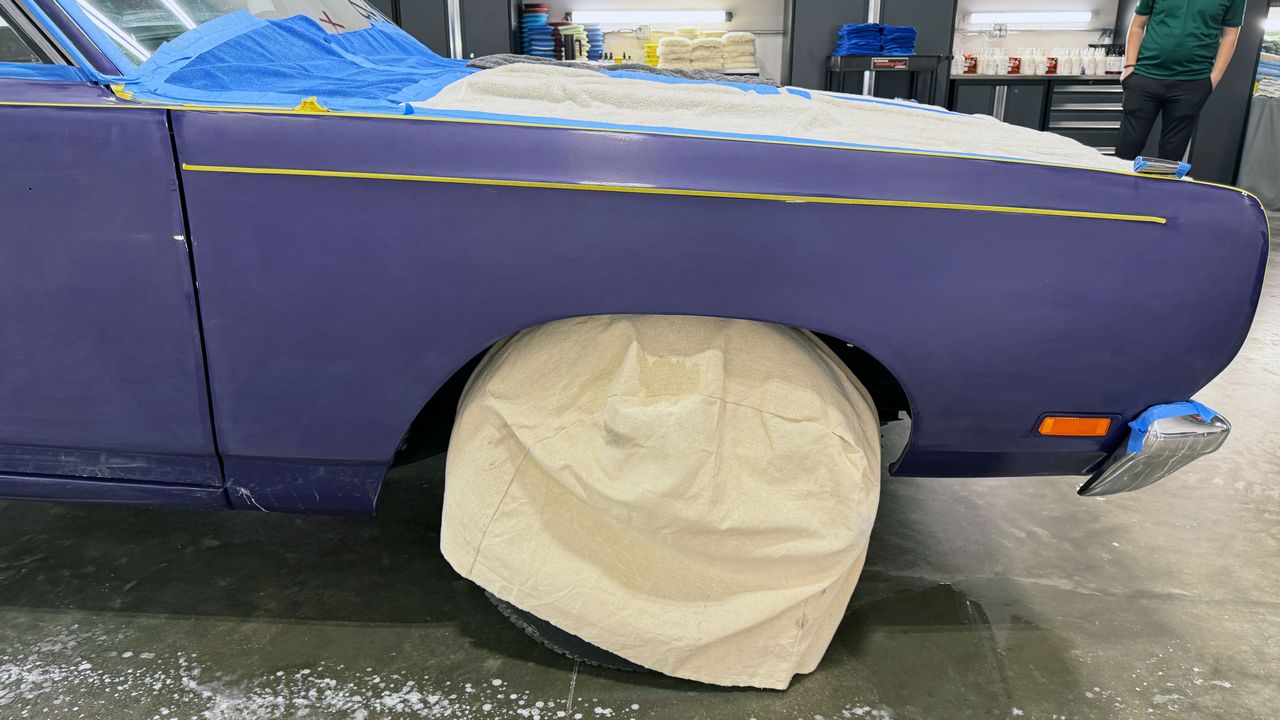
🛡️ Notice the protective masking and towels surrounding Stephen’s work area. The glossy purple center section is bordered by matte black paint, so we carefully isolate the section we’re sanding. Protecting the surrounding finish is part of the job!

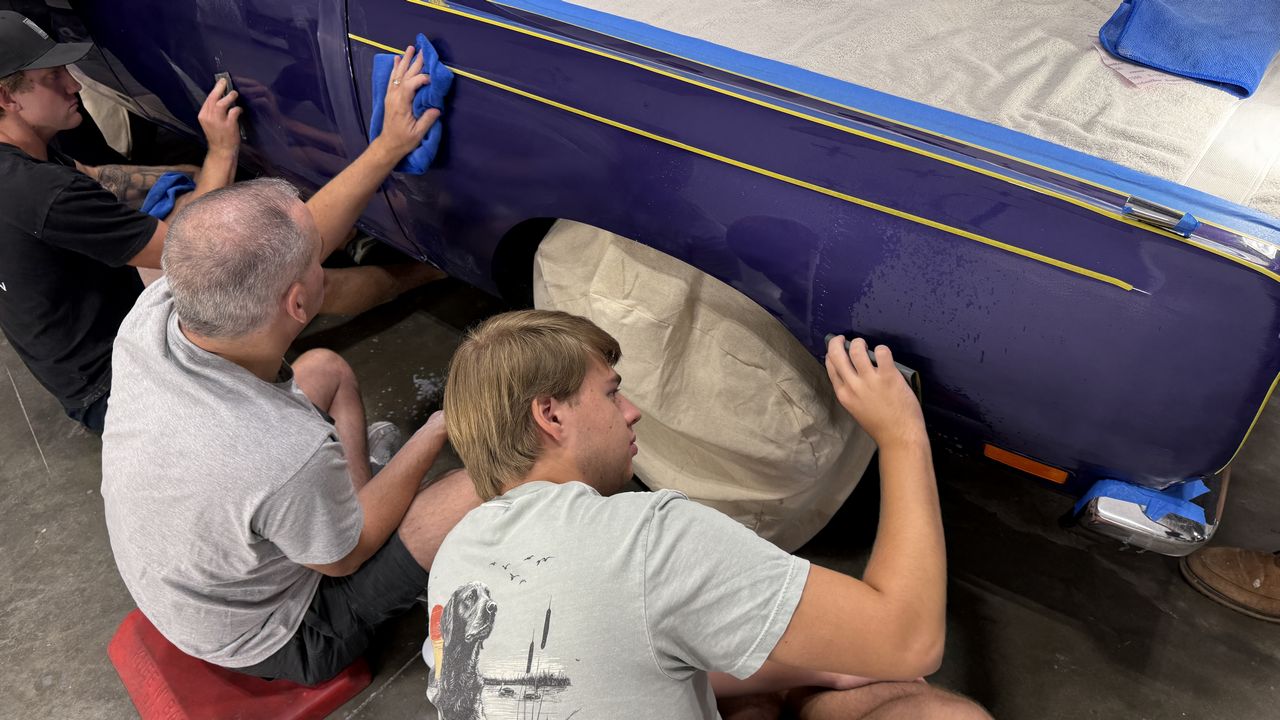
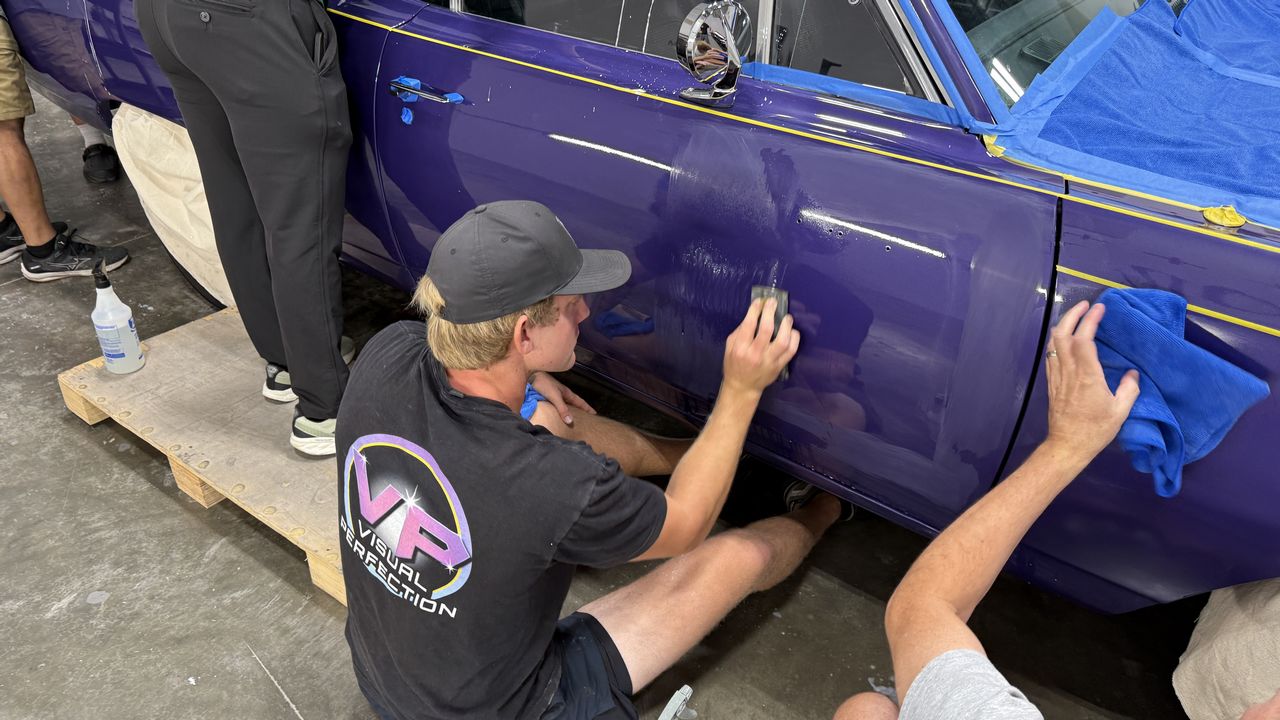
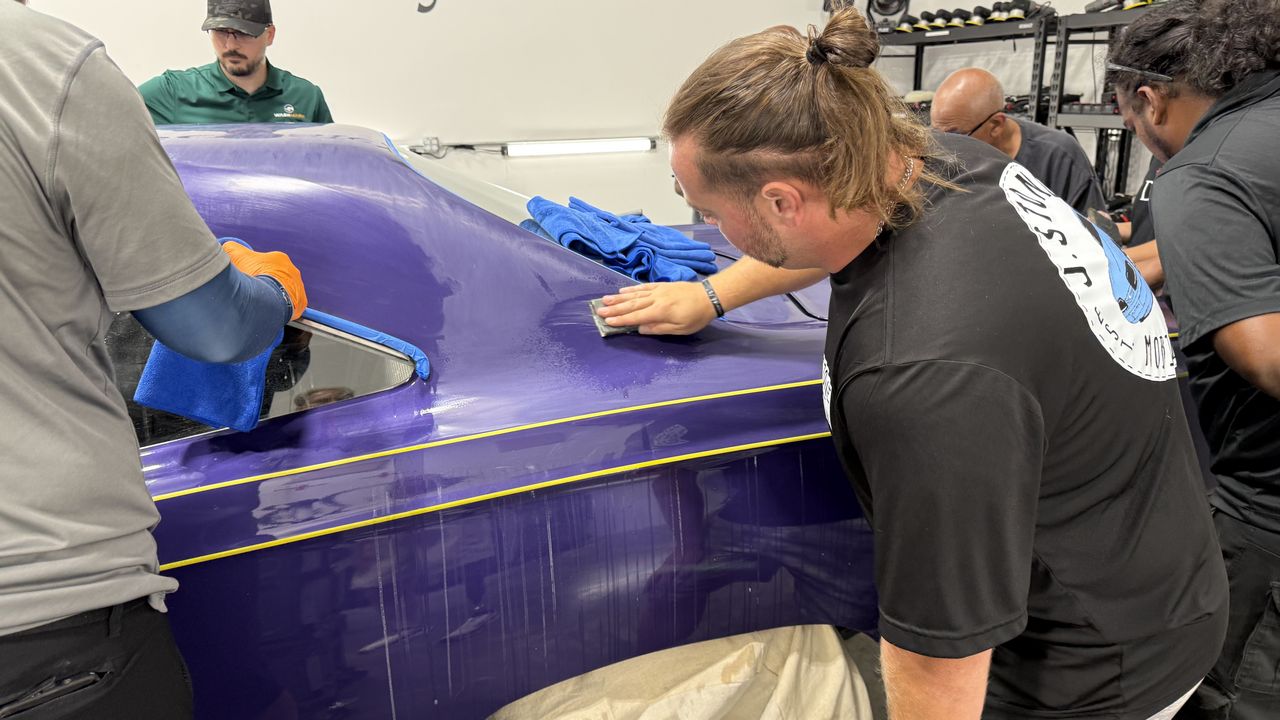
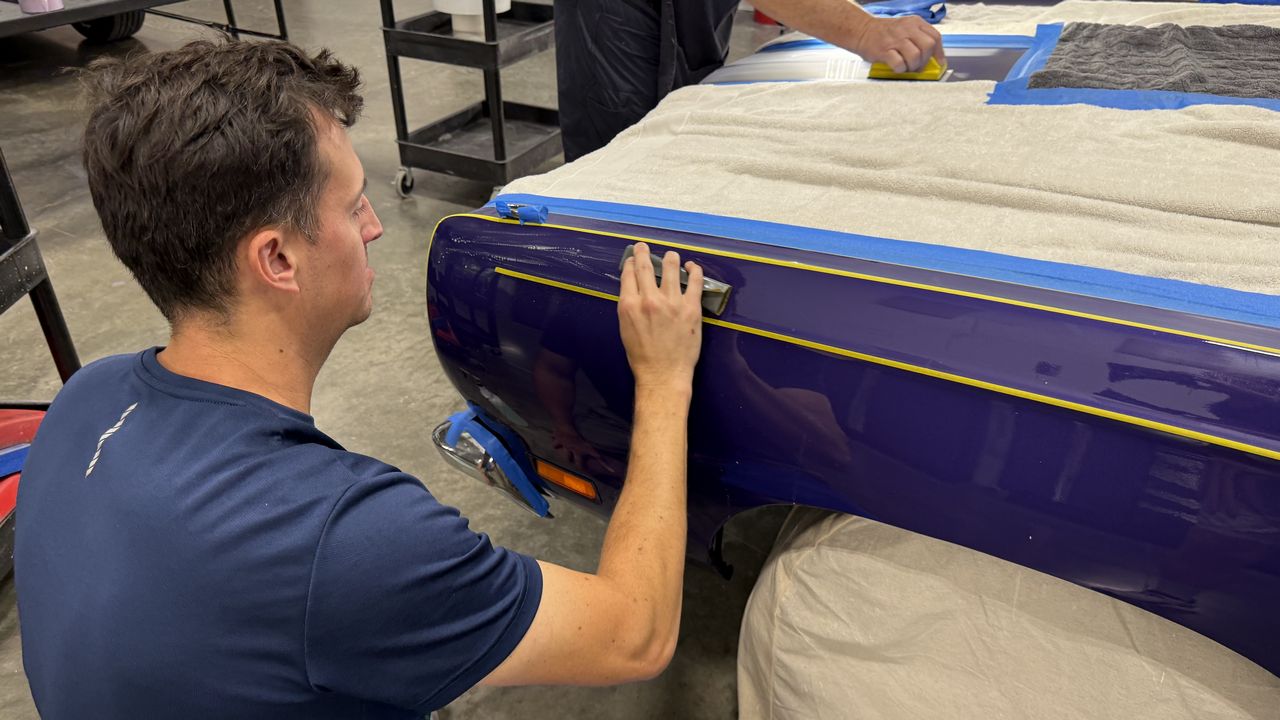
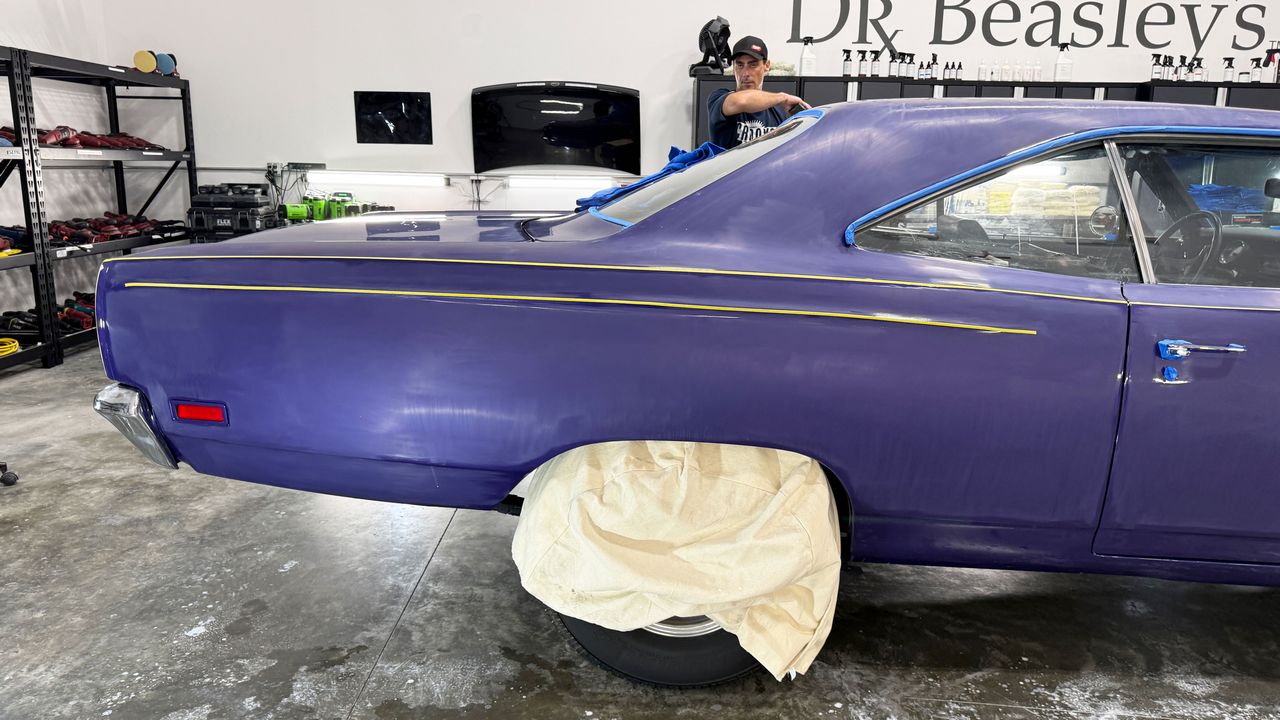
🛡️ Before sanding, the class applies a THIN strip of bright yellow painter’s tape along the top of each raised body line.

There are two reasons for this:

1️⃣ Protection:
To help prevent accidental sanding DIRECTLY on the raised body lines with 1500-grit paper.

2️⃣ Visibility: The bright yellow tape is a VISUAL INDICATOR showing the students where NOT to sand.

As you wet sand, water mixes with the removed paint residue to create a milky white sanding slurry. This slurry can obscure the raised body line, making its high point—or apex—difficult to see.

If you can’t see the body line, it’s easy to accidentally sand right over the top of it. That creates unnecessary risk. The tape helps protect these vulnerable areas and keeps their location visible as you work.

⚠️ Remember:

  1. Sanding removes paint.
  2. Compounding removes paint.
  3. Polishing removes a little paint.
Each step removes more material. If you’re not careful, you may turn your polisher over and see the color of the basecoat on your buffing pad—and that’s a REALLY BAD SIGN! 😬

On this basecoat/clearcoat paint system, that means you’ve gone through the clearcoat and reached the color underneath. The affected area now needs refinishing, which may mean repainting the panel.

This is why learning to protect edges and raised body lines is just as important as learning to sand the flat sections.

👀 As the class sands, I continually walk around and monitor each person’s technique and progress.

When someone is doing everything correctly, I let them know. That affirmation helps build confidence as they develop a new skill.

If I see an opportunity to improve their technique, I gently tap them on the shoulder to have them pause. Then I show them the adjustment and let them continue sanding.

Personal instruction. Immediate feedback. Hands-on experience. 💪

📸 Here are 22 pictures that do the talking!
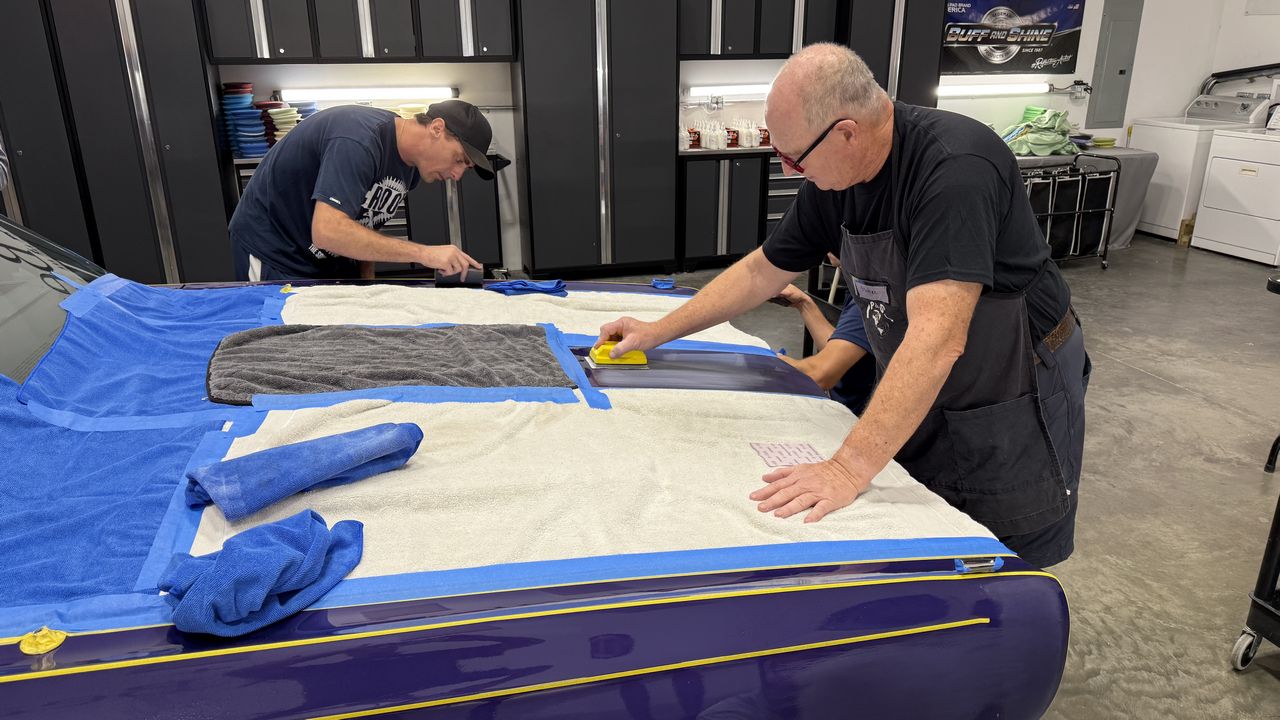
No classroom chairs. No PowerPoint. 100% hands-on training.


Standing, kneeling, or using a detailing stool to reach the lower panels—these students are learning by DOING! 💪😎


full


full


full


full


full


full


full


full


full


full


Yes - that's a Pool Floaty Noodle that has been cut to fit the widght of the Nikken 1500 grit finishing papers.

full


full


full


full


full


full


full


full


full


full


full


full


Mike
 
More...

🍊 Orange peel coming down. Shine temporarily gone!

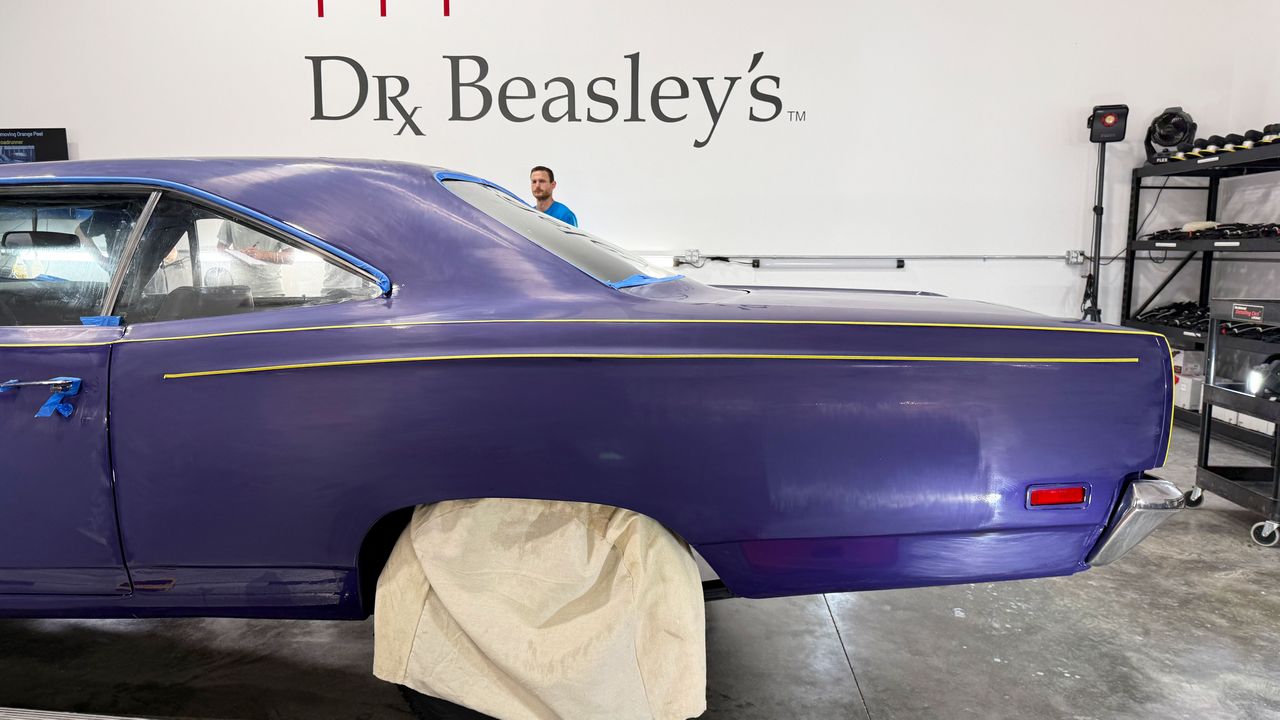
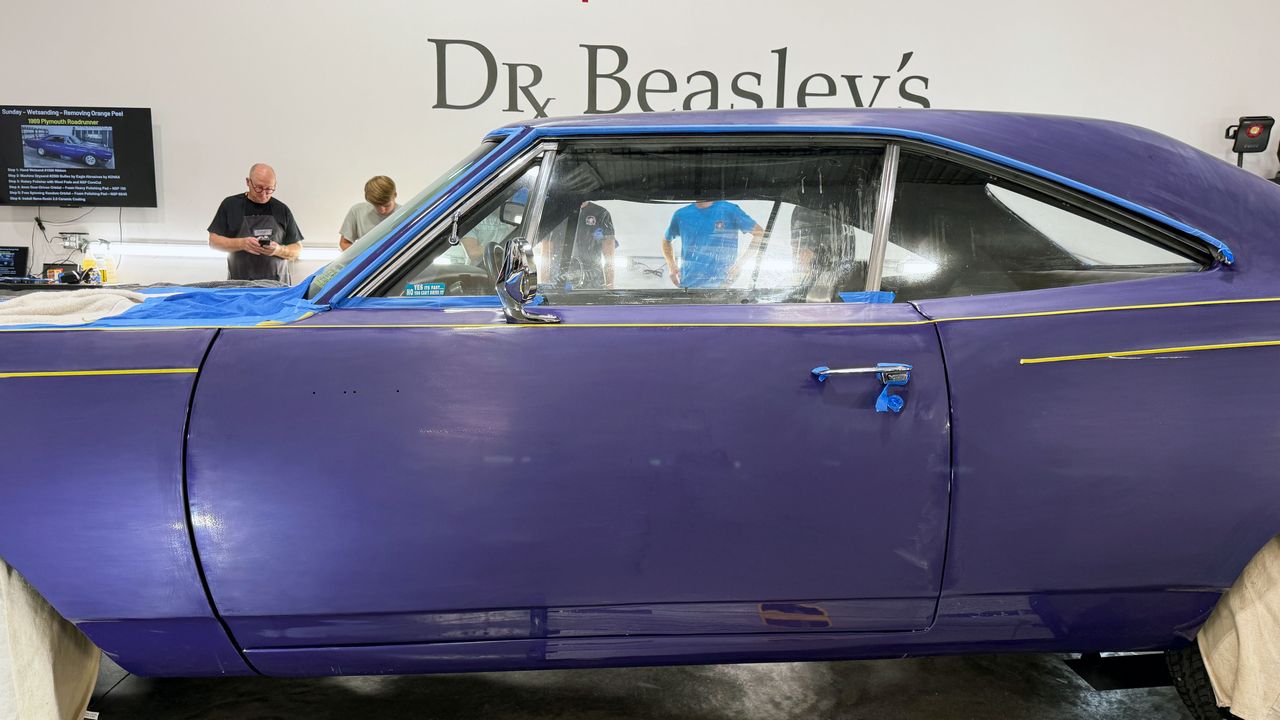
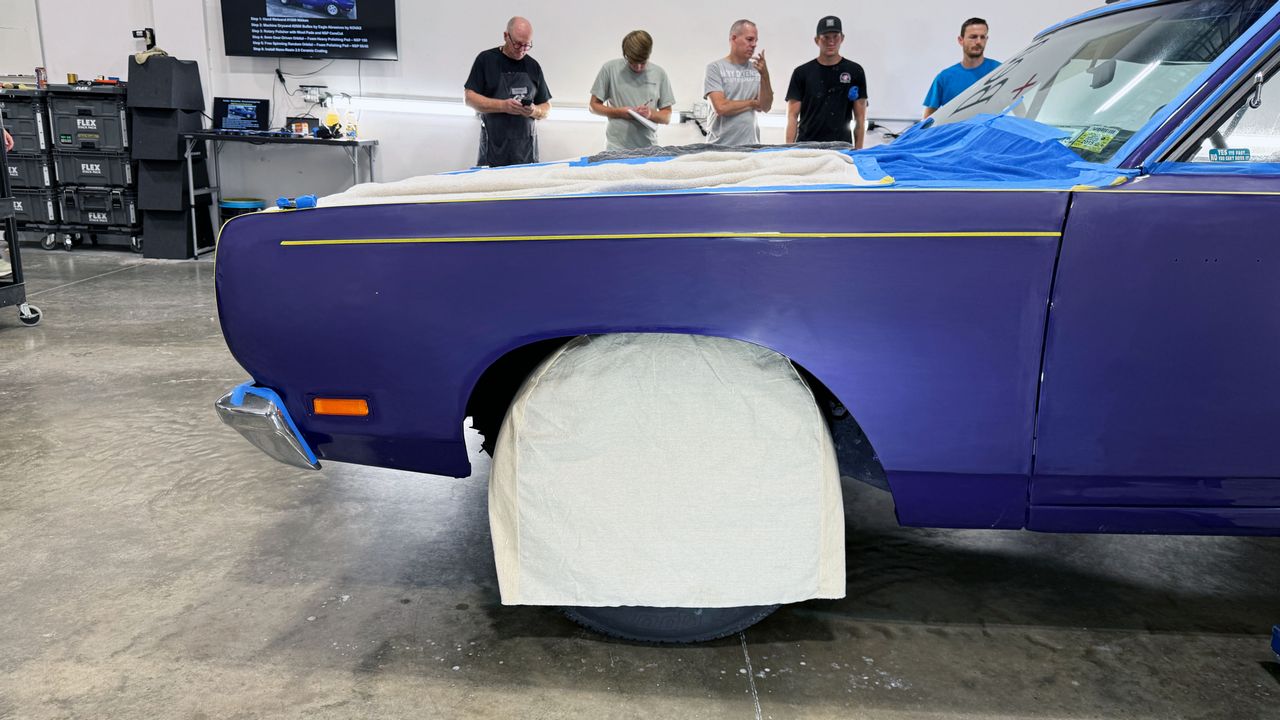
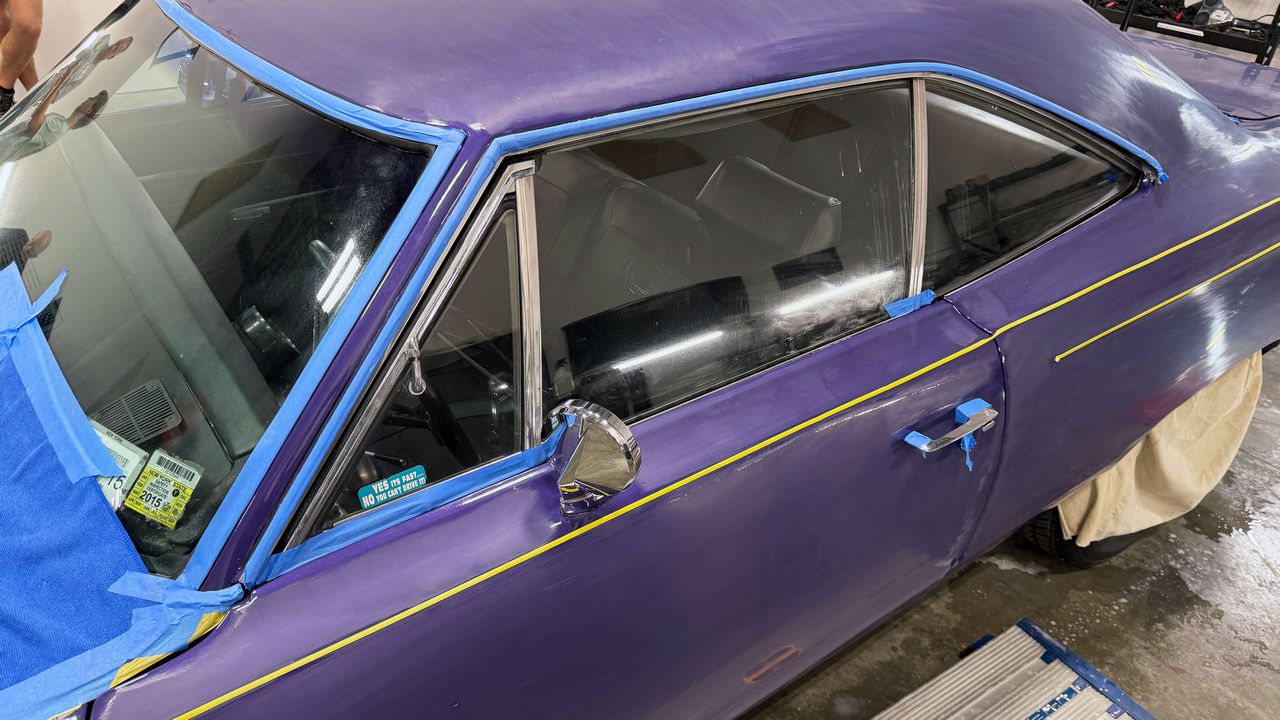
Here are the results after the first sanding step on our 1969 Plymouth Roadrunner—hand wet sanding the glossy body panels using 1500-grit Nikken Electronics Grade Finishing Papers.

🔎 Notice the dull appearance and consistent sanding pattern across the worked areas. At this stage, dull is exactly what we expect! We’re leveling the paint’s texture before bringing back the shine.
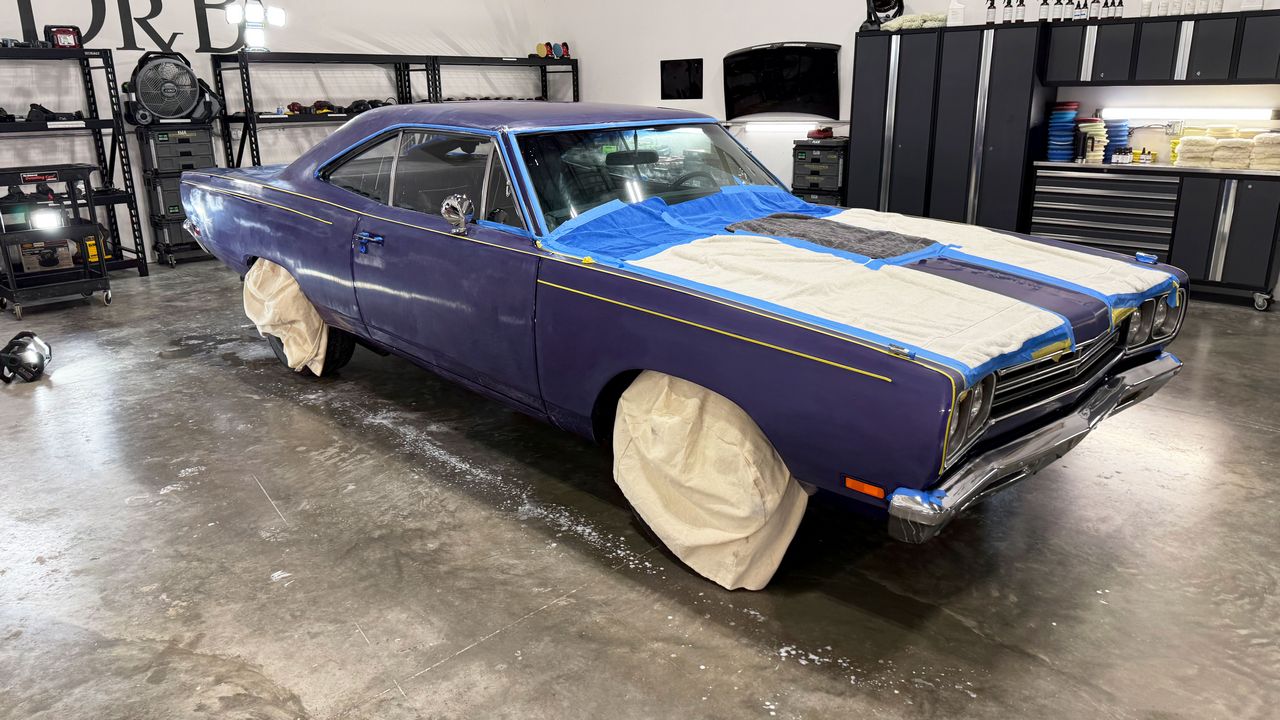
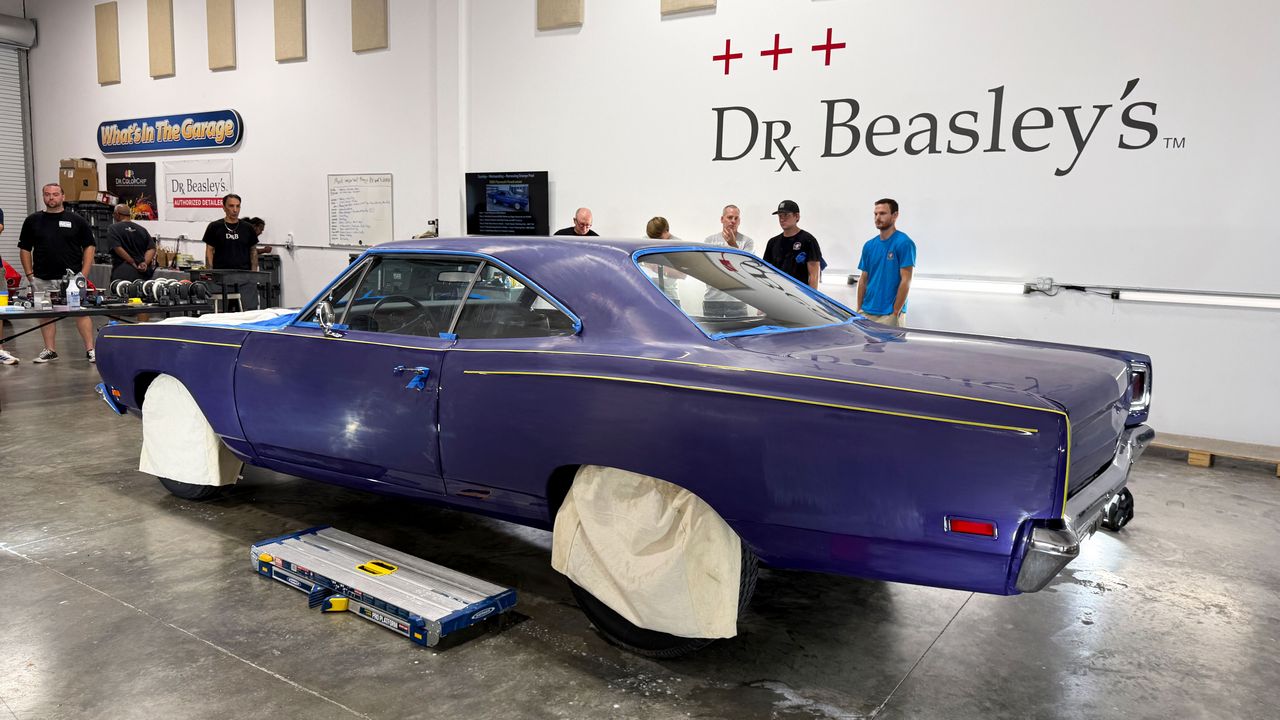
🛡️ The raised body lines remain protected with thin yellow tape, and the matte black hood sections stay covered.

Next up: refining the sanding marks with machine dry sanding! 🛠️😎


full


full


full


full


full


full


full


full


full


full


full


Nice work everyone!


Mike
 
Back
Top