- Admin
- #1
- Joined
- May 21, 2021
- Messages
- 2,530
- Reaction score
- 1,496
- Points
- 113
- Location
- Stuart, Florida
- Website
- themikephillipsforum.com
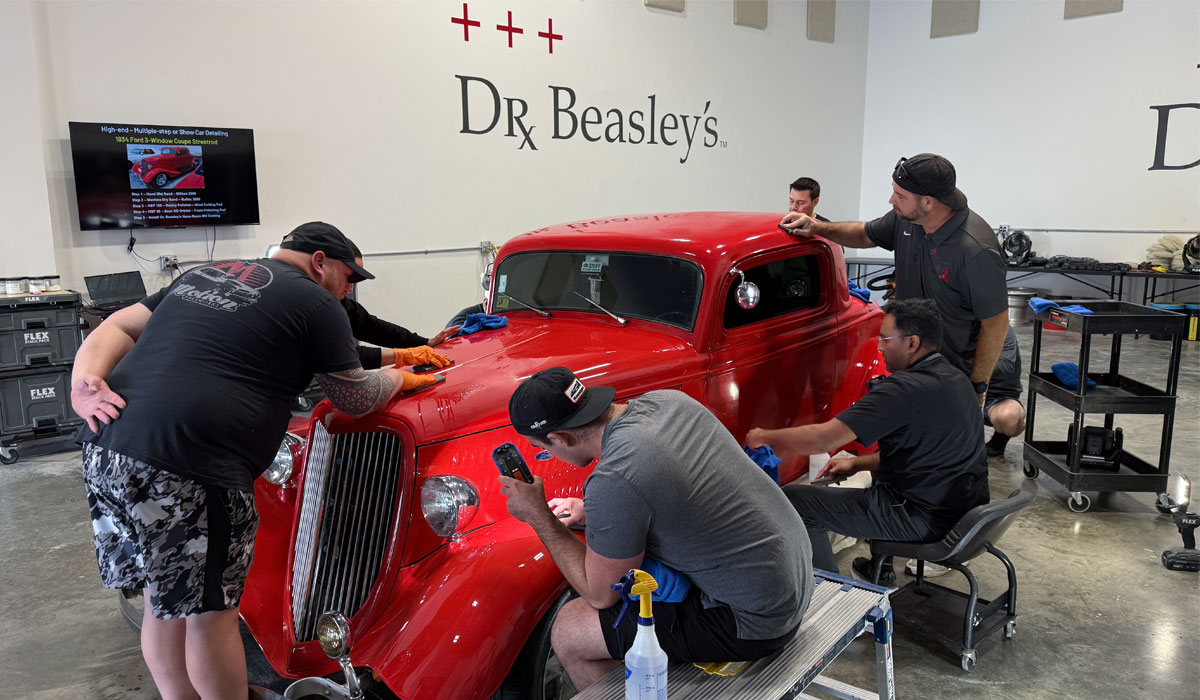
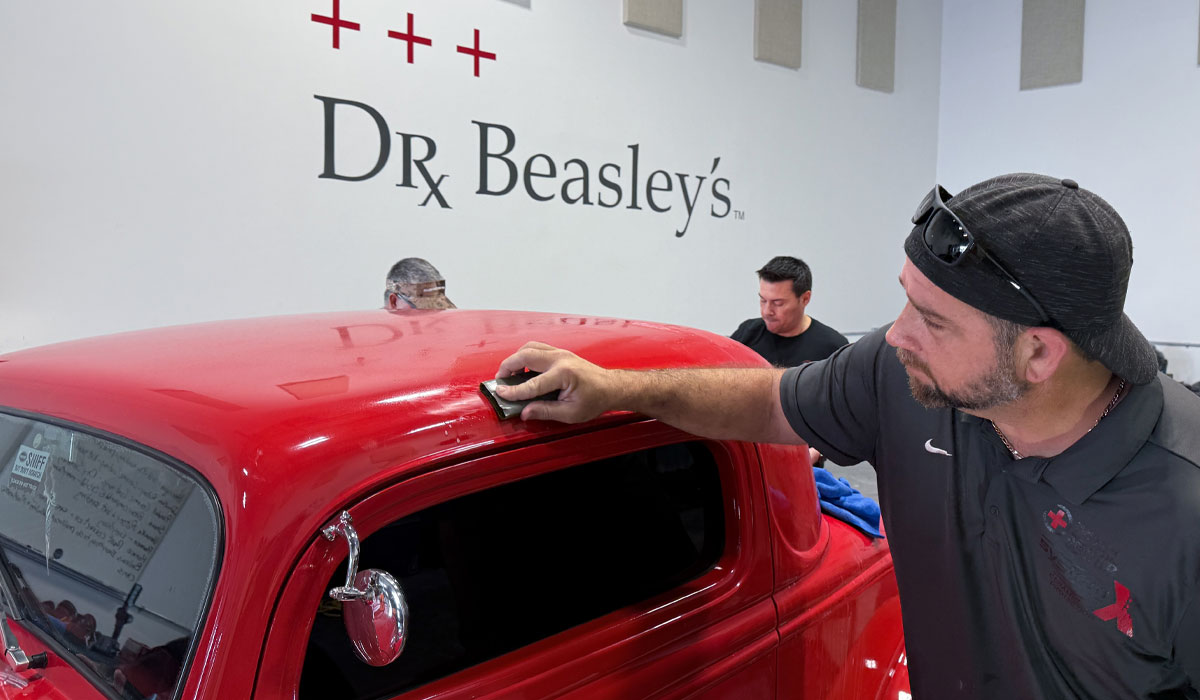
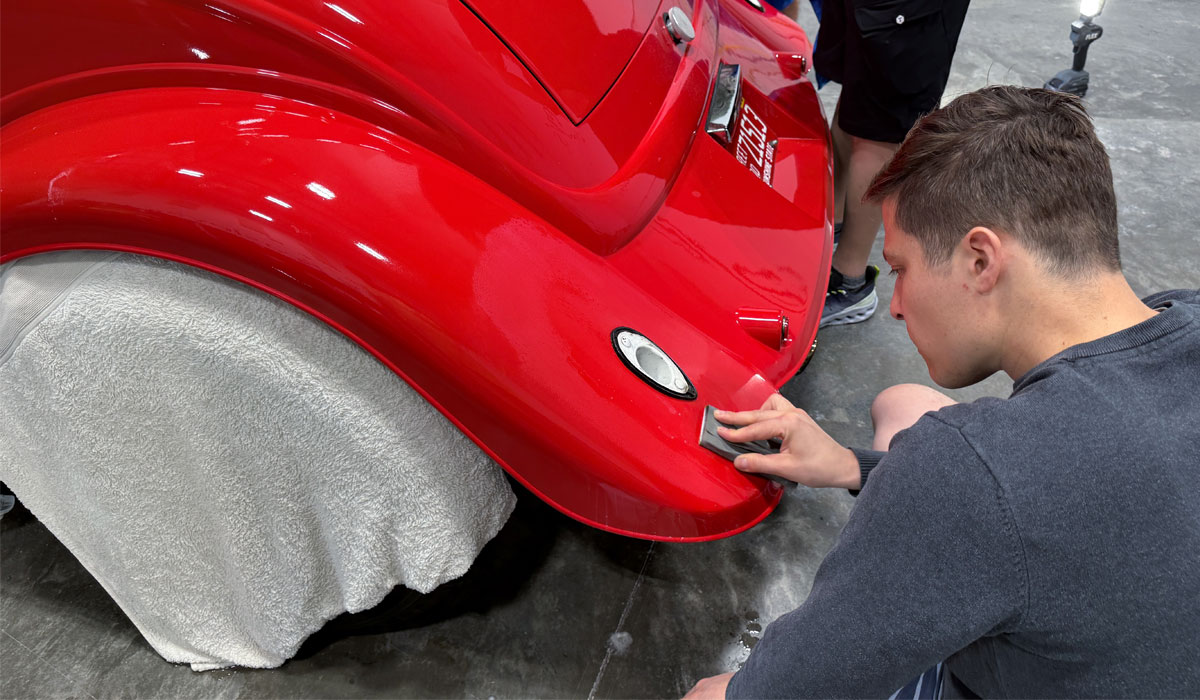
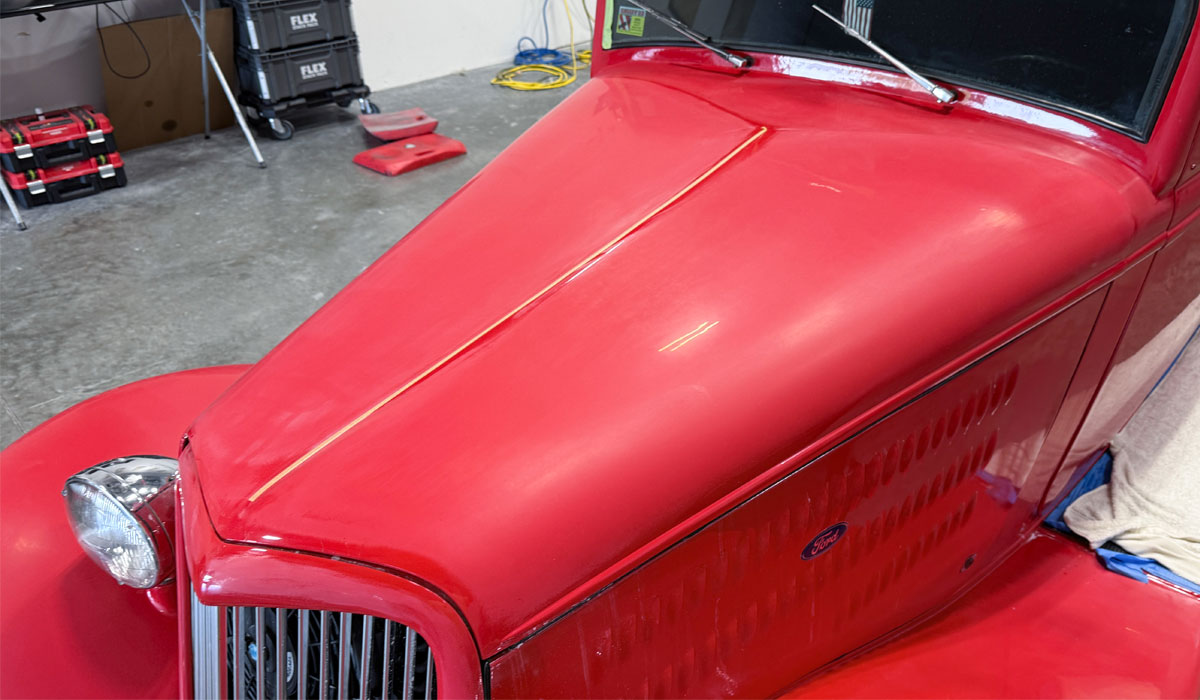
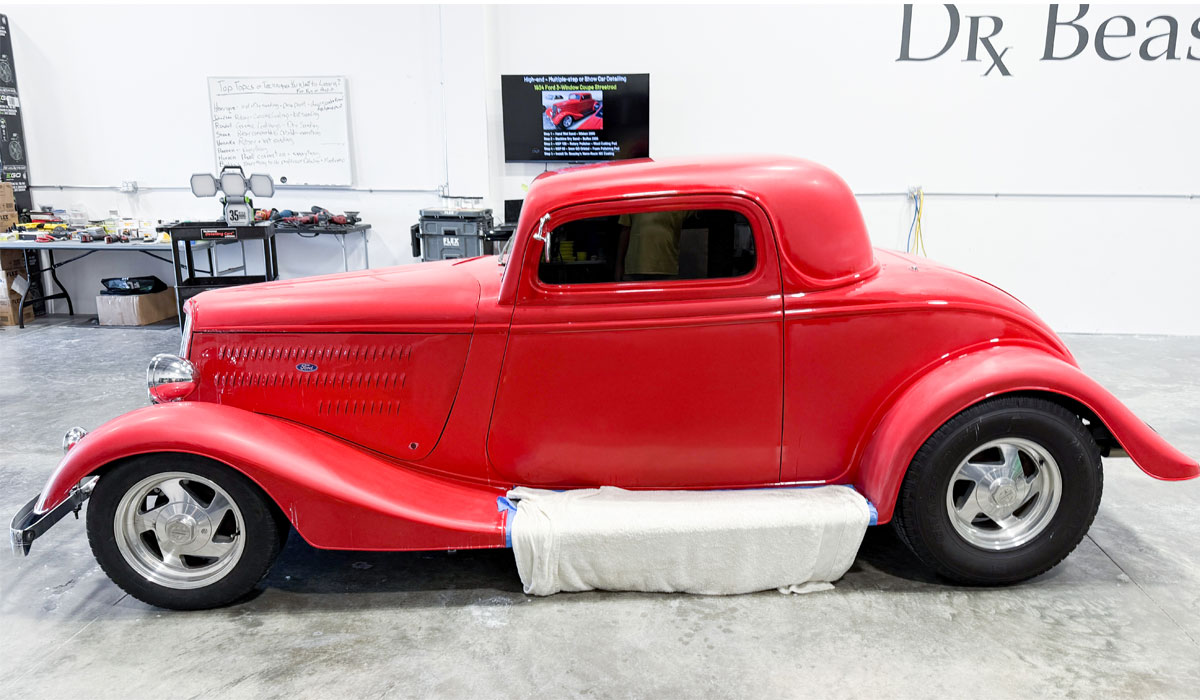
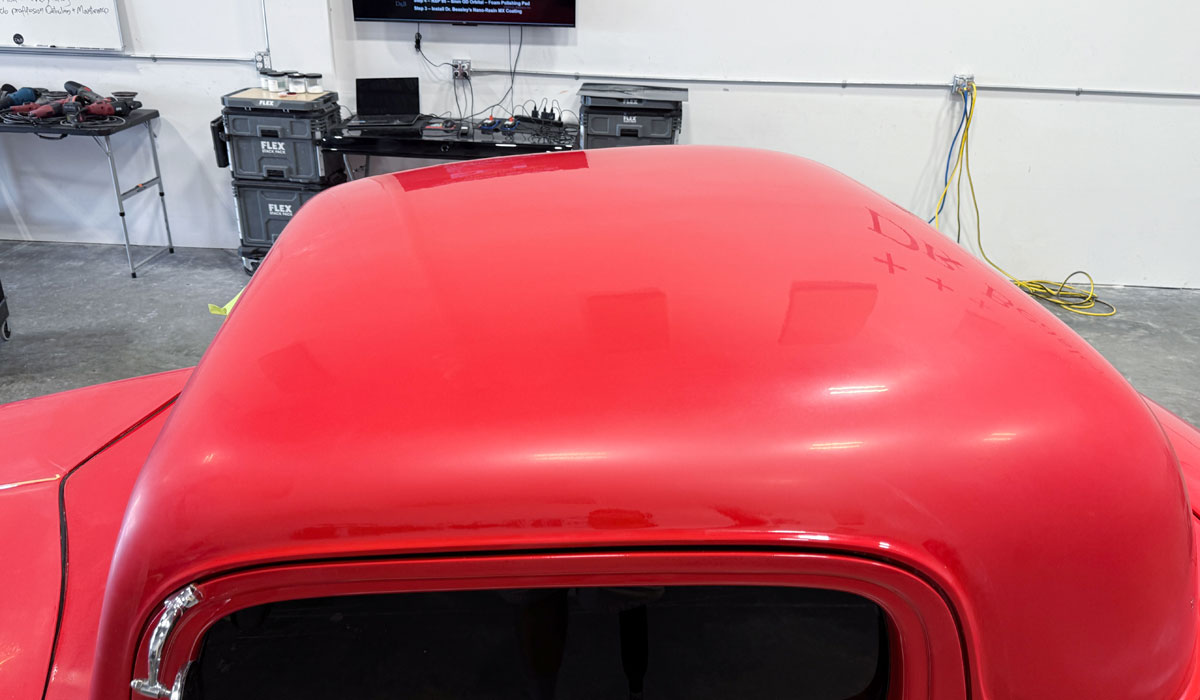
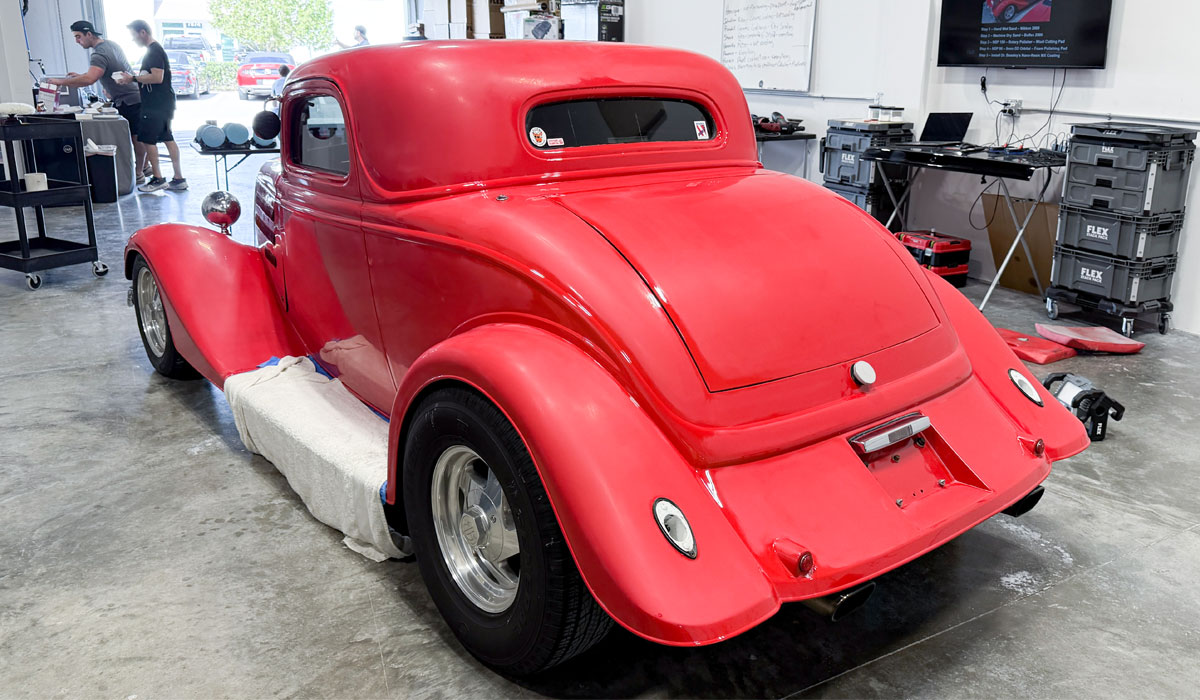
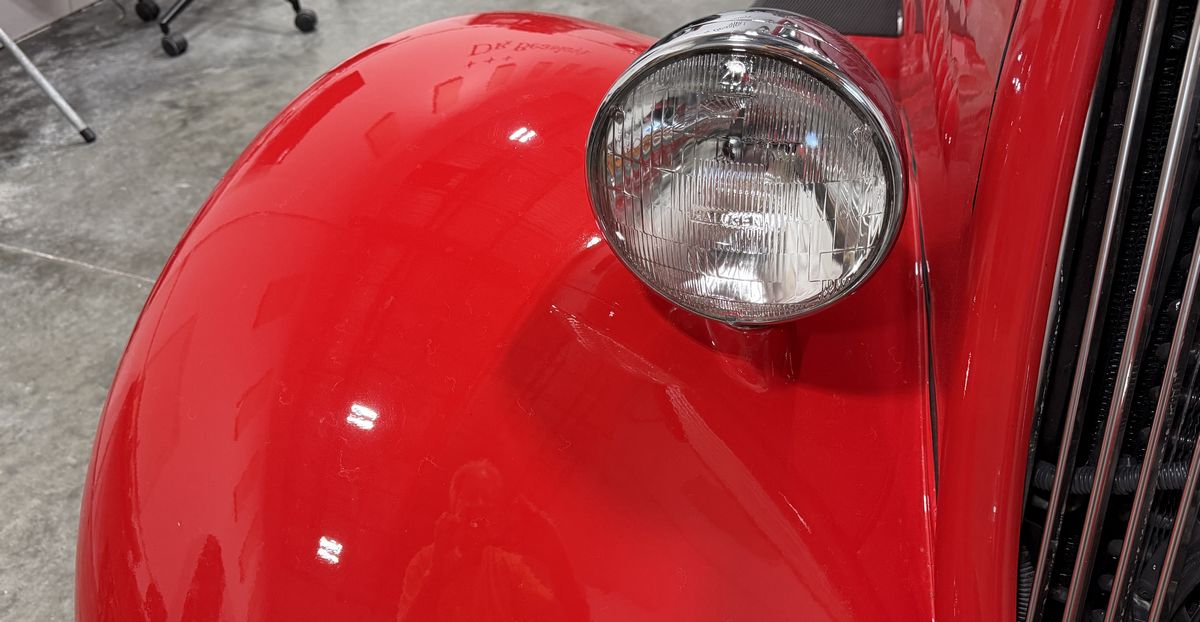
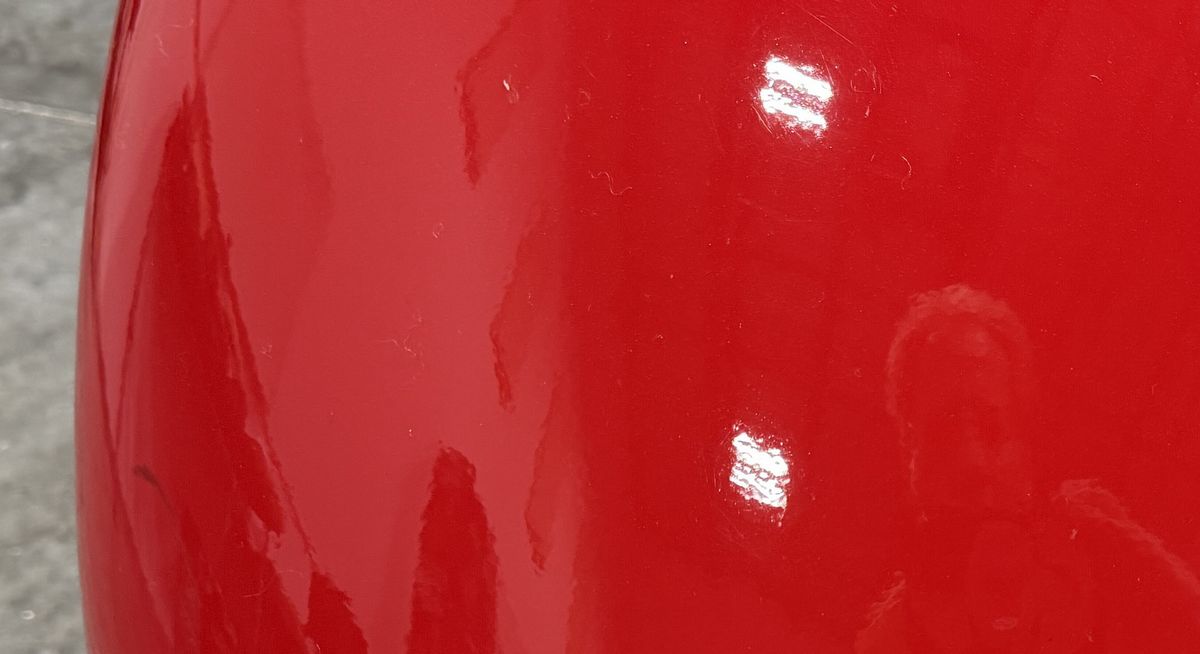
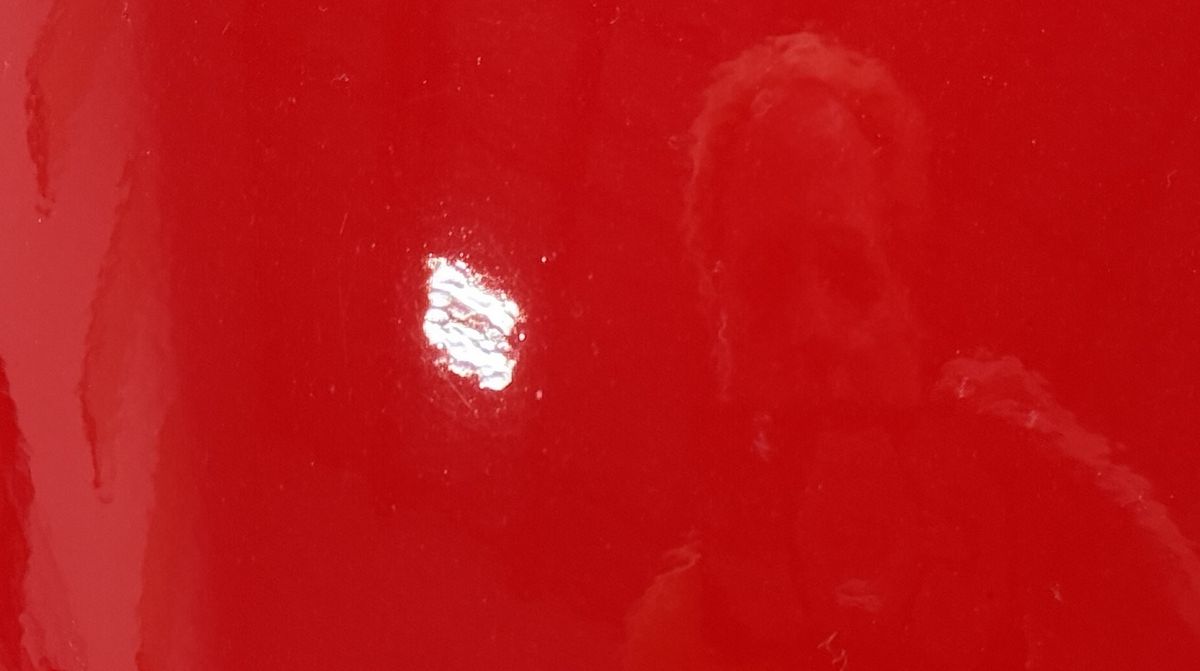
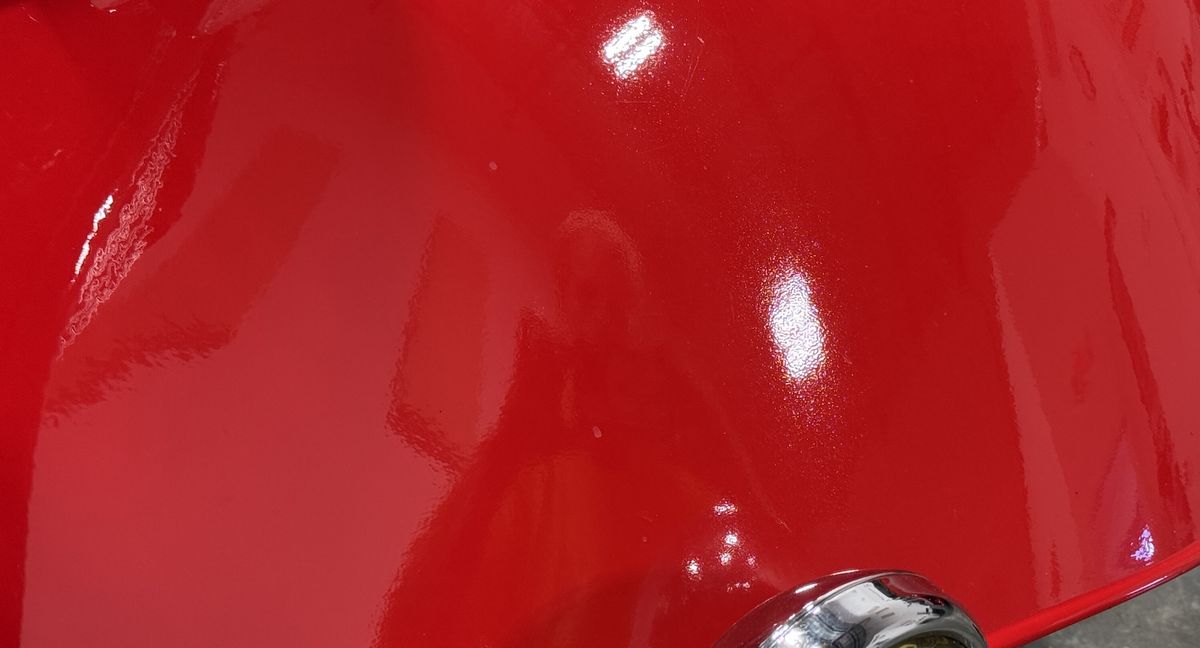
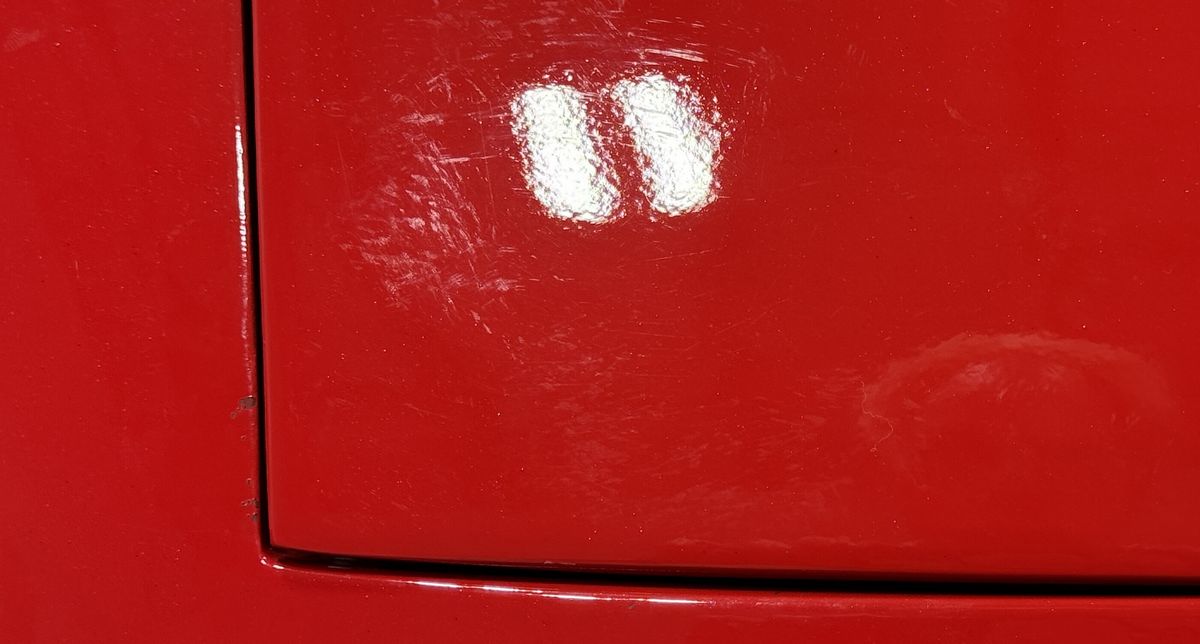
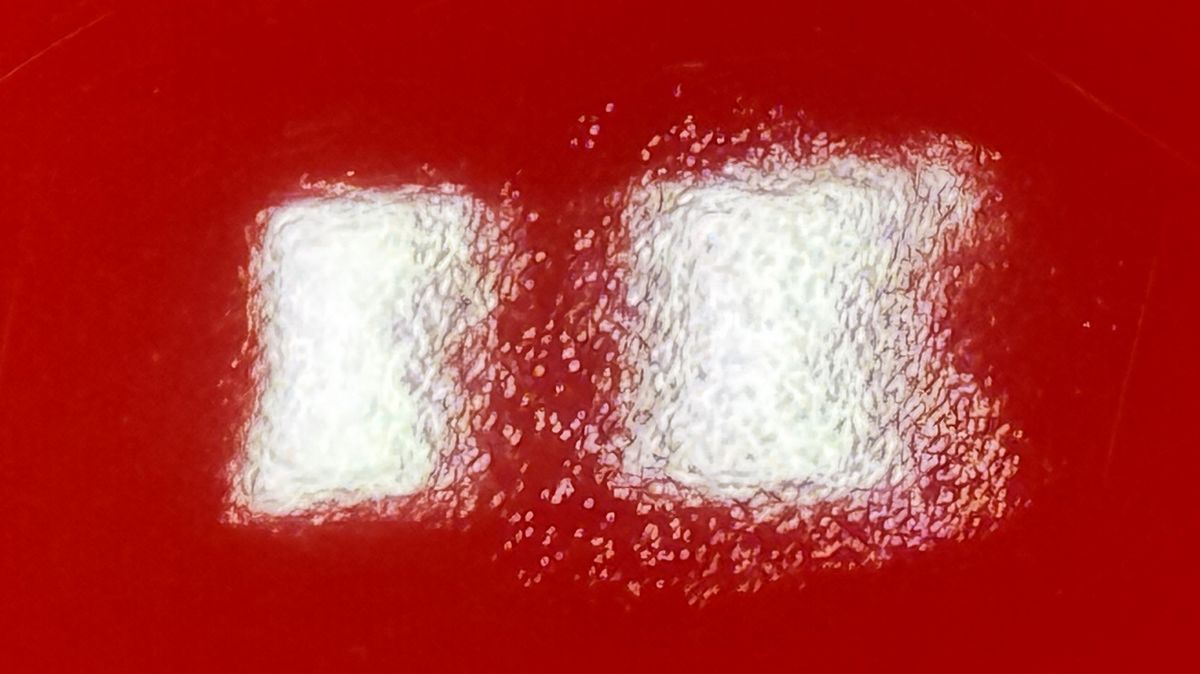
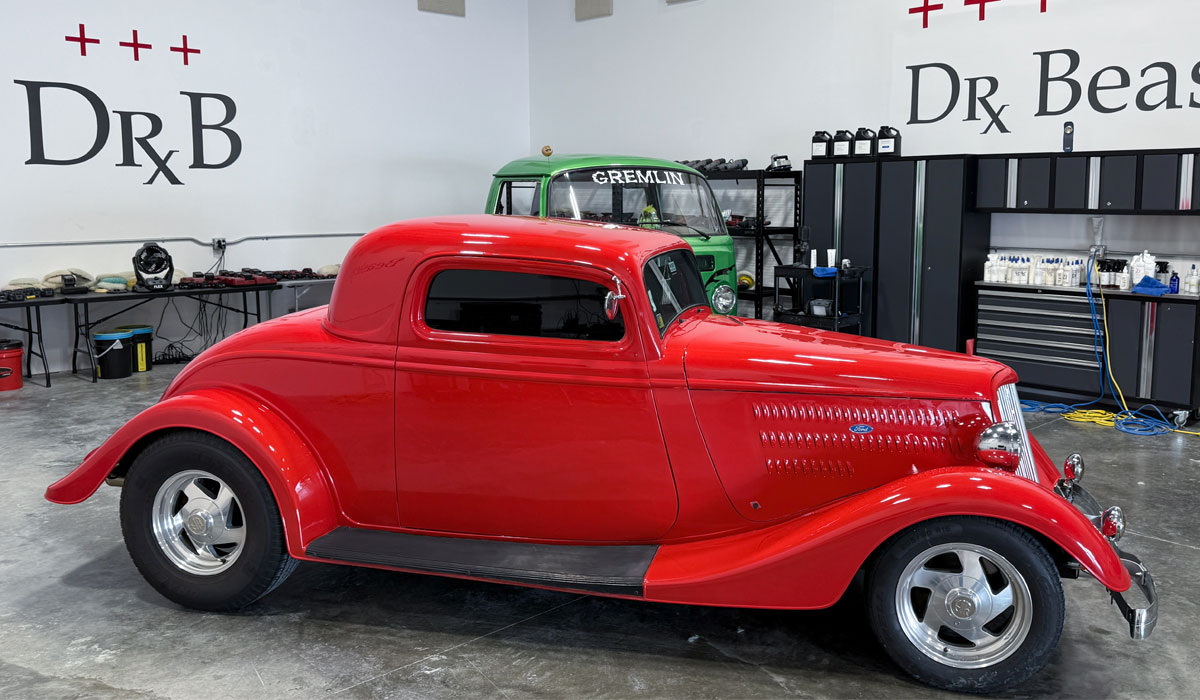
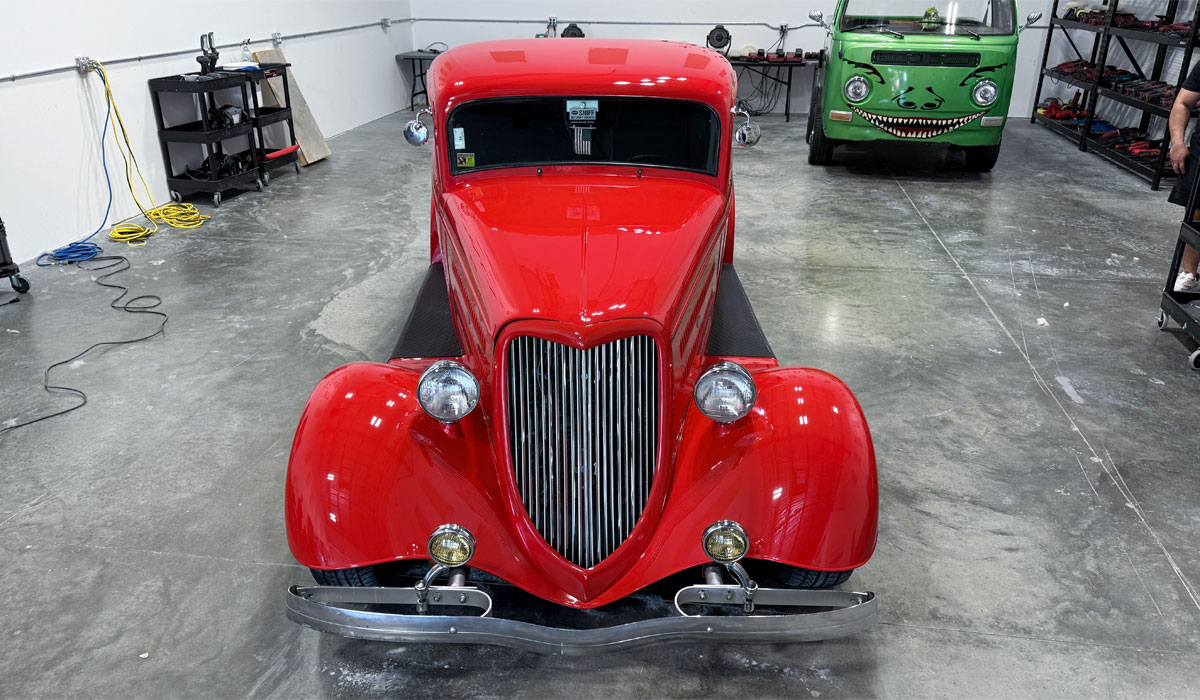
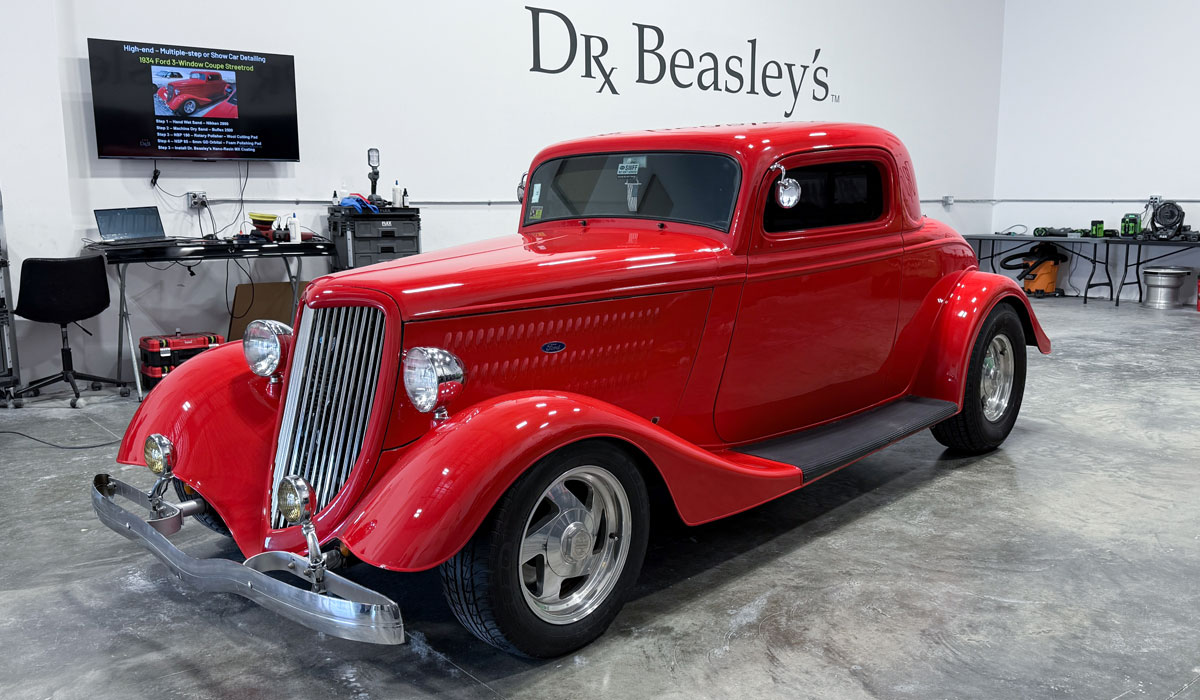
Removing Orange Peel - Full Process Video - Dr. Beasley's 2-Day Detailing Class
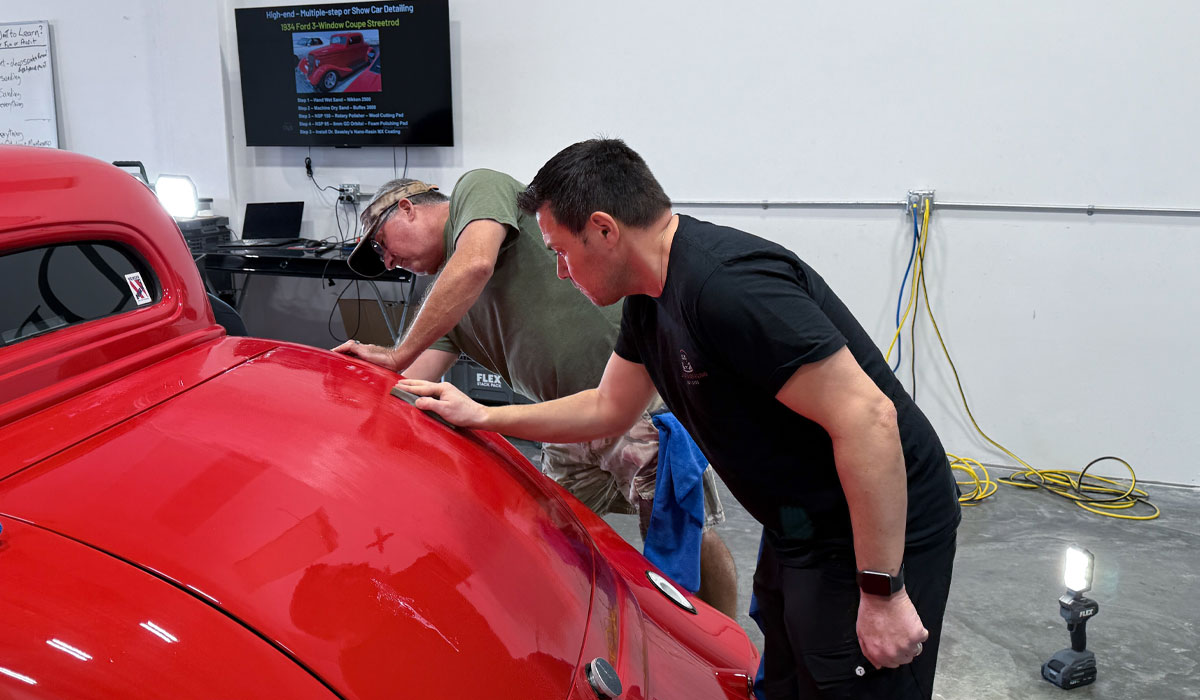
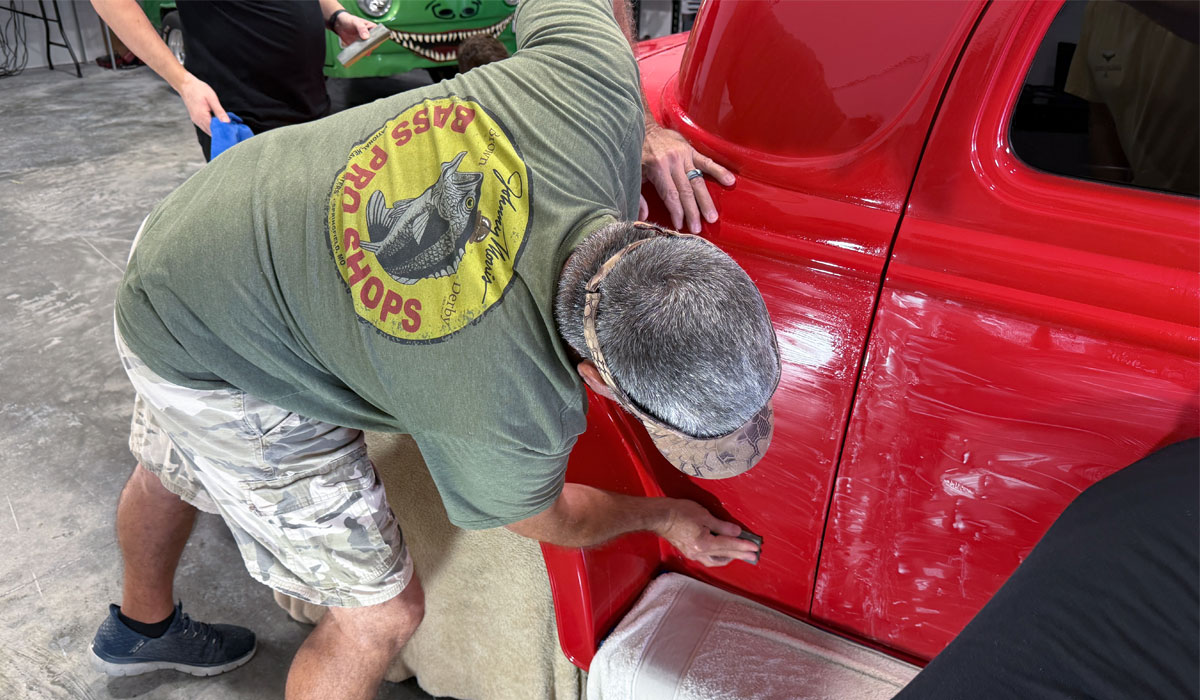
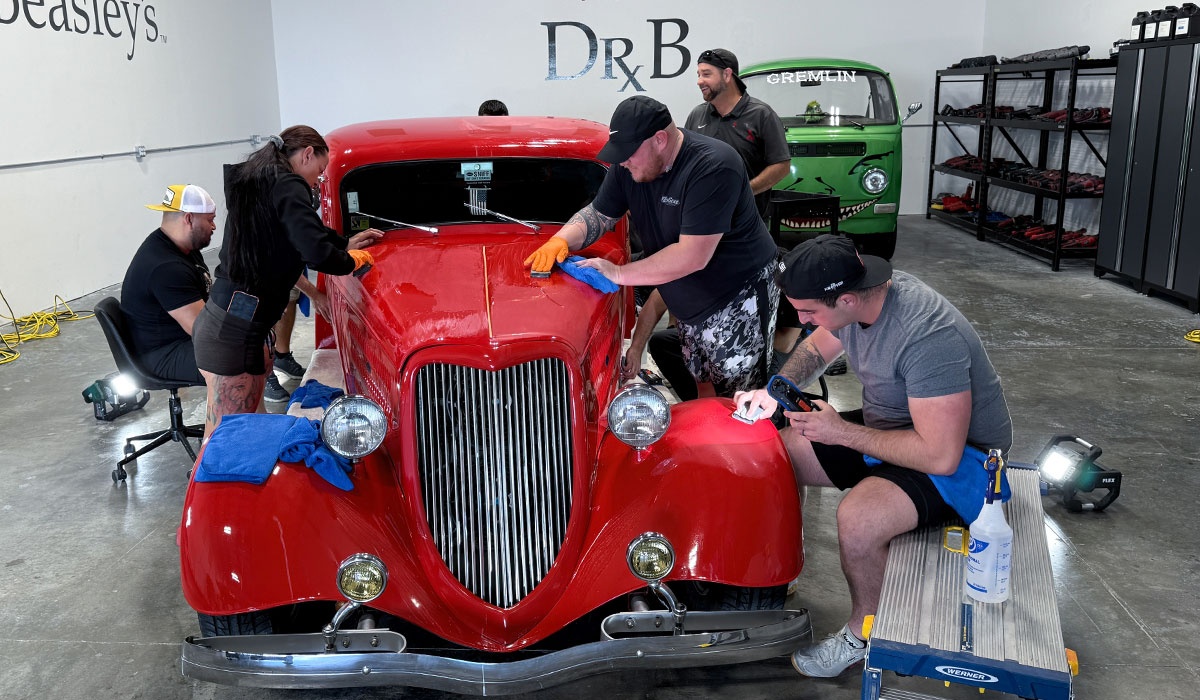
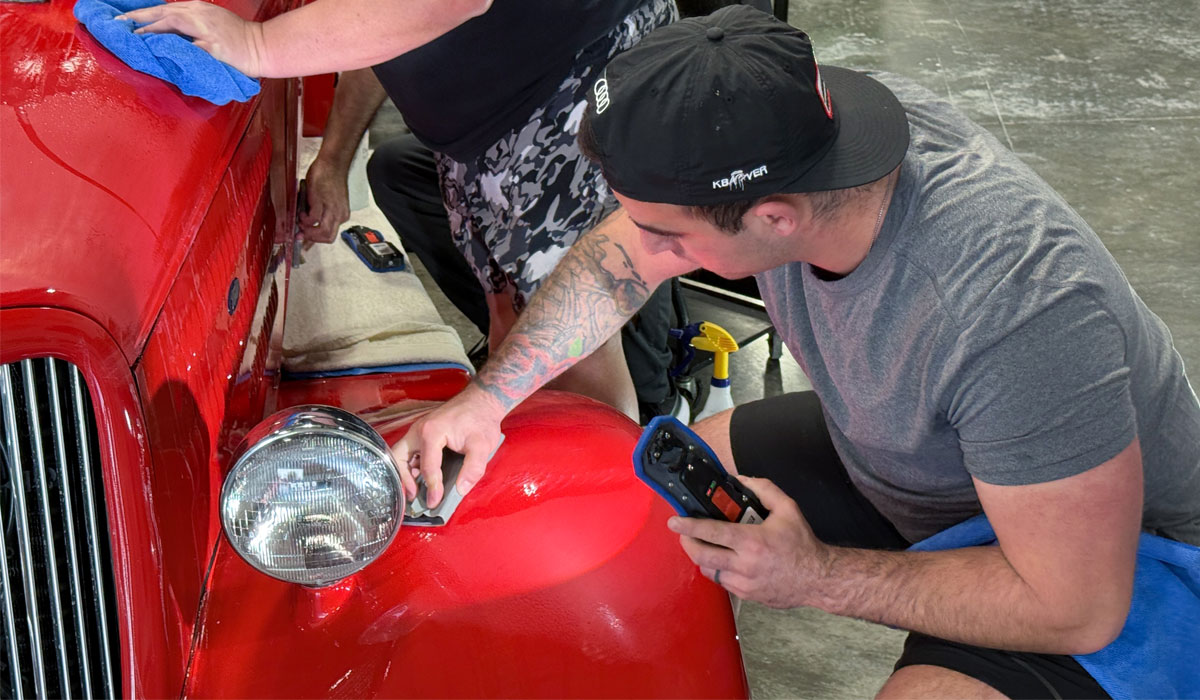
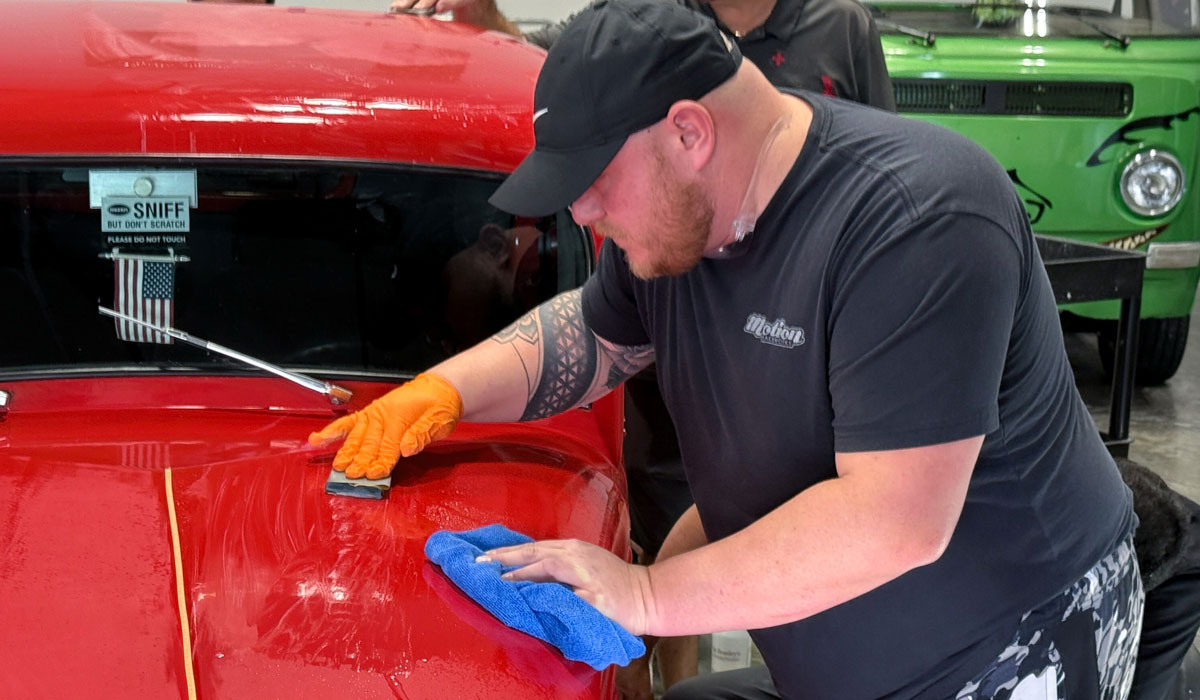
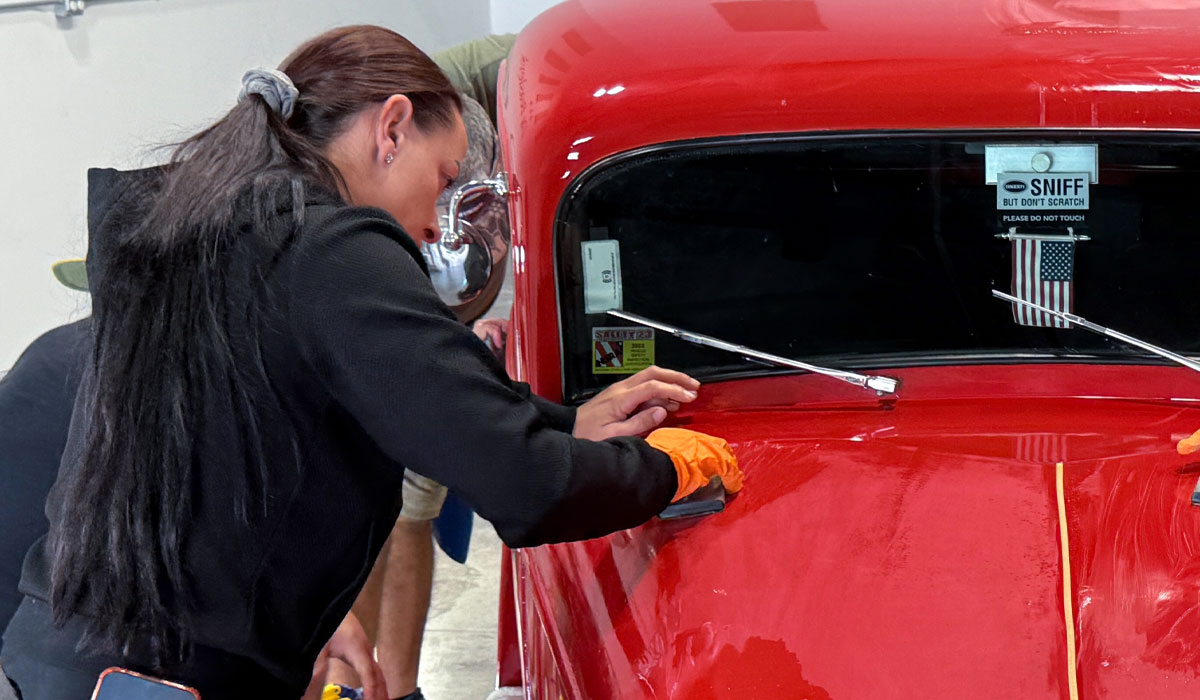
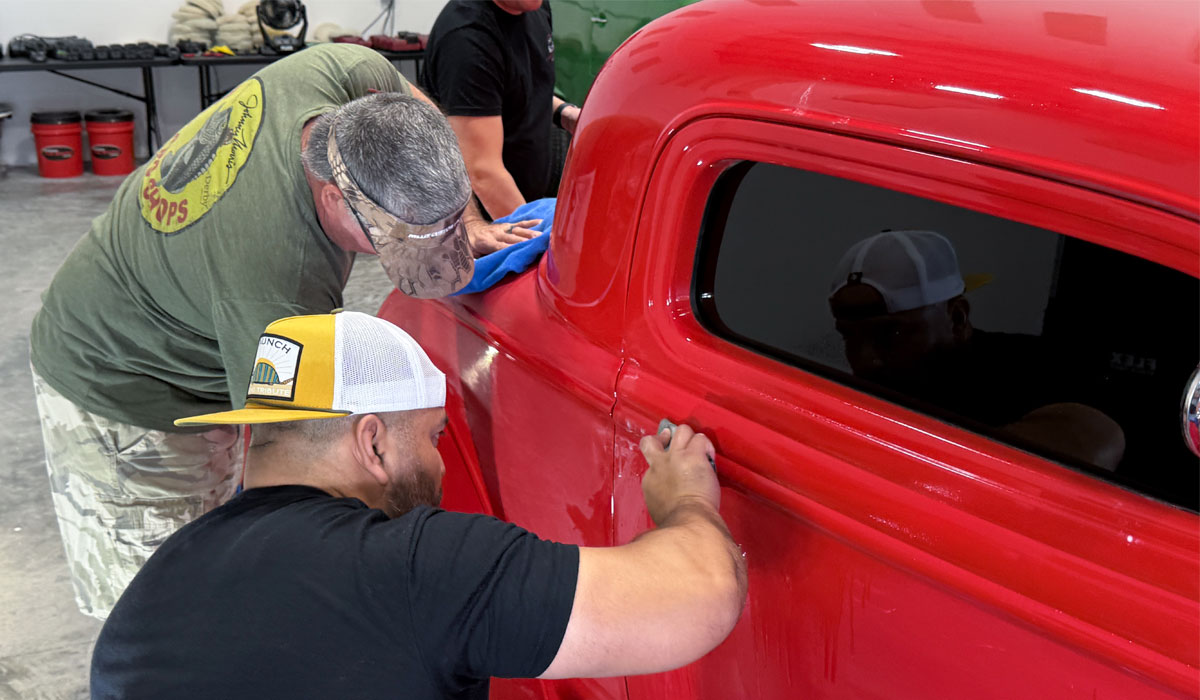
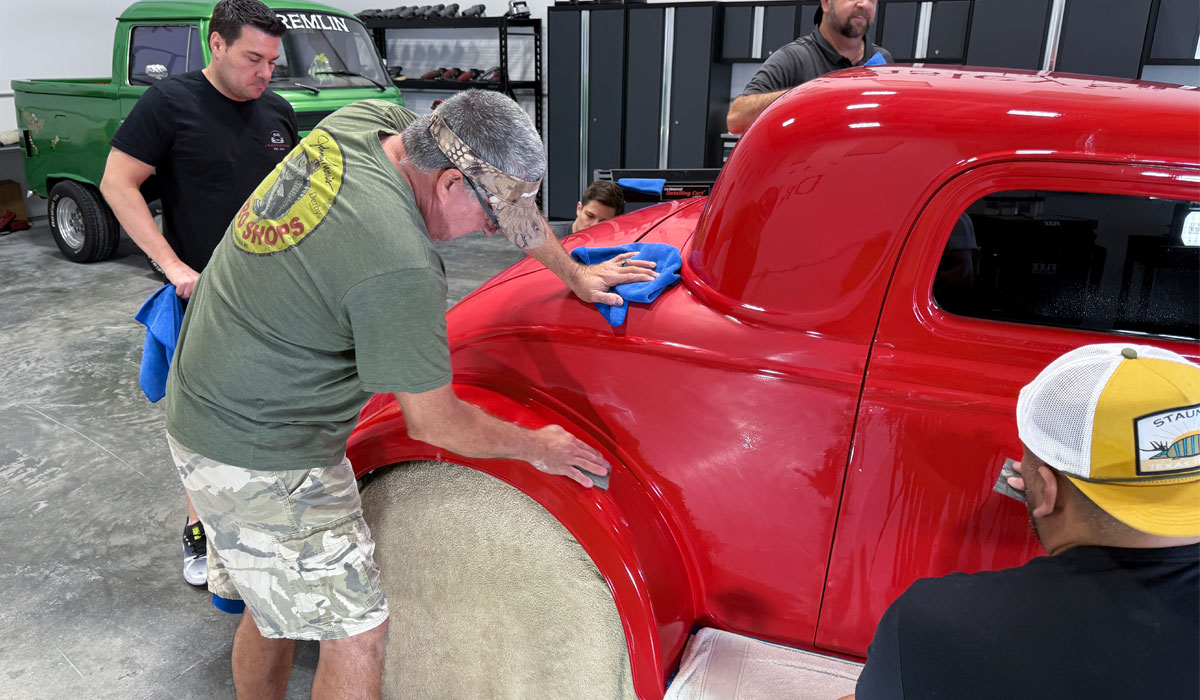
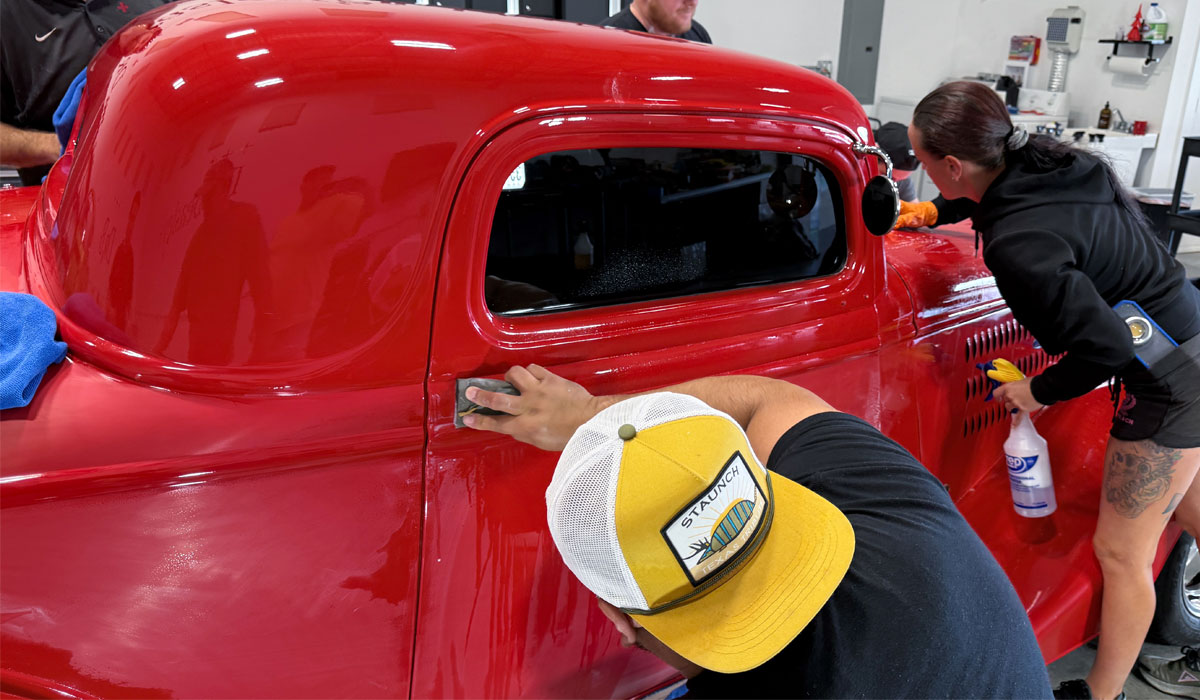
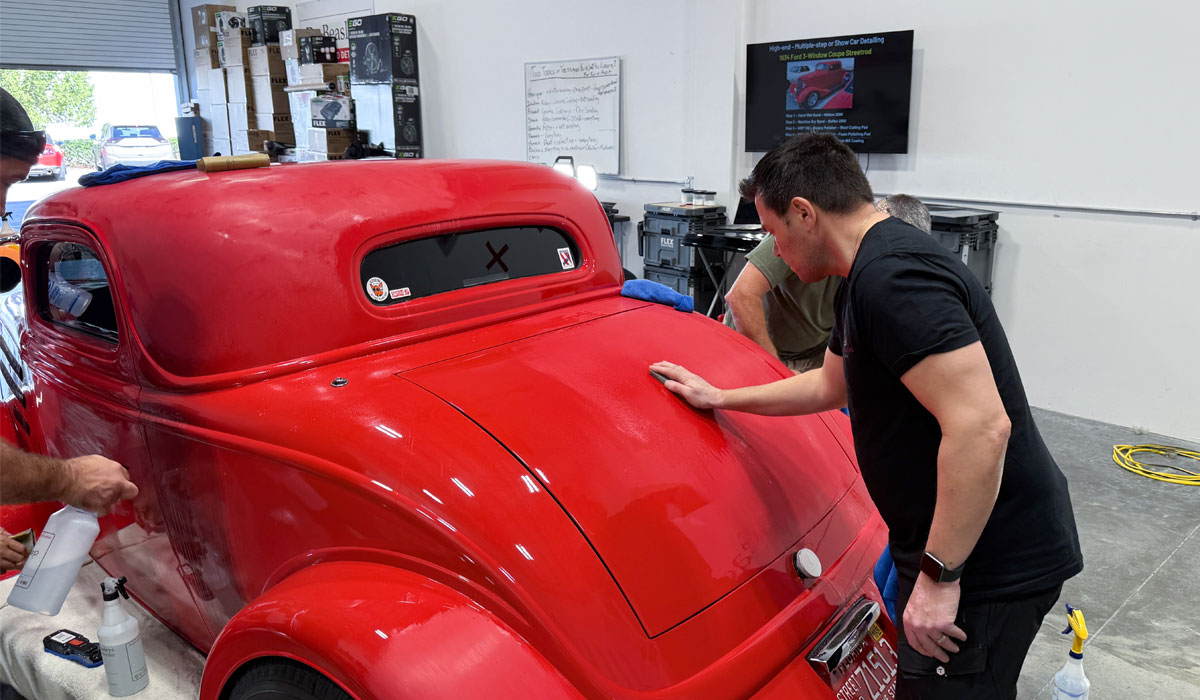
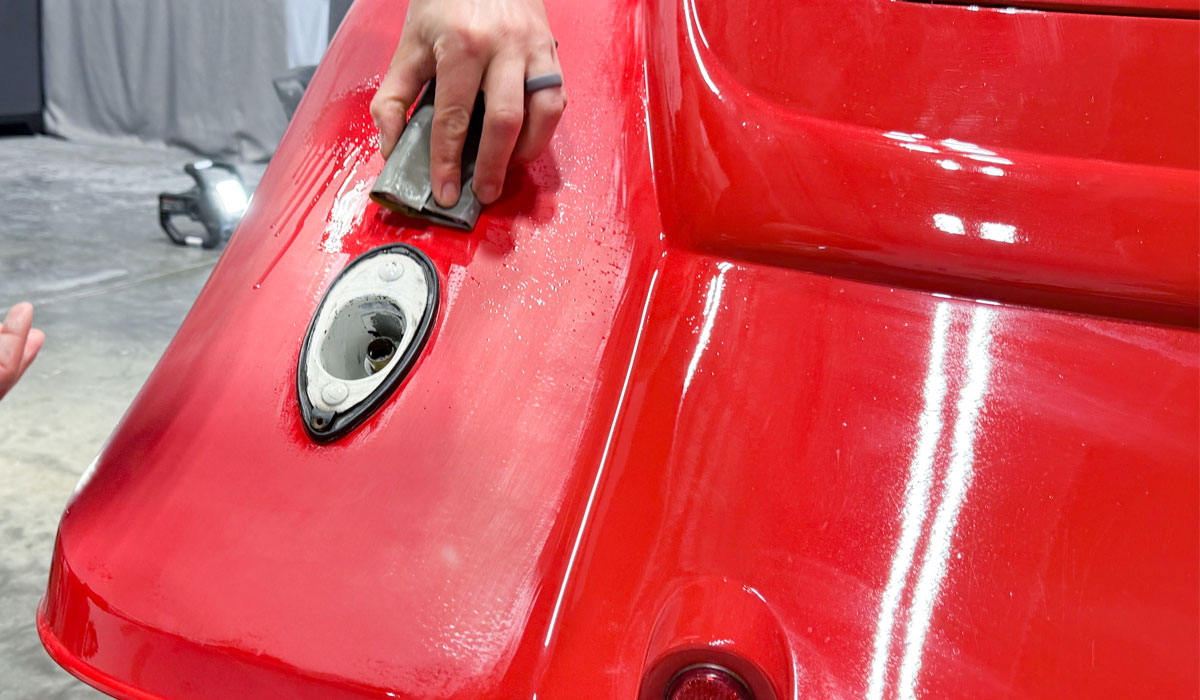
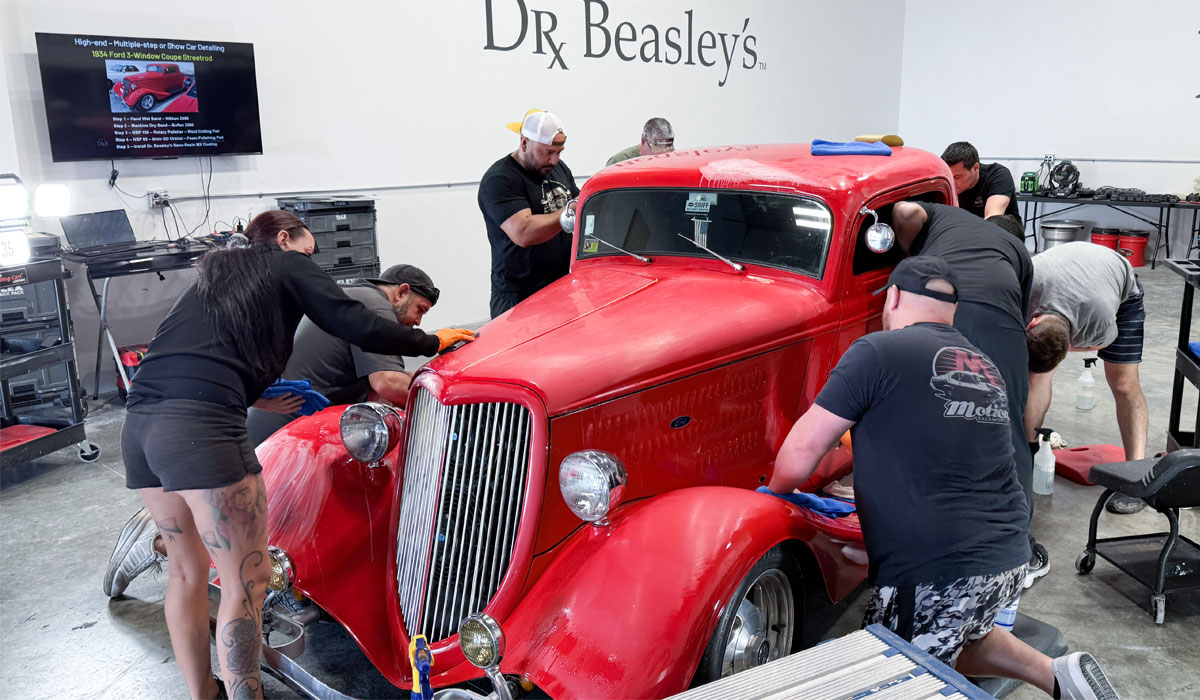
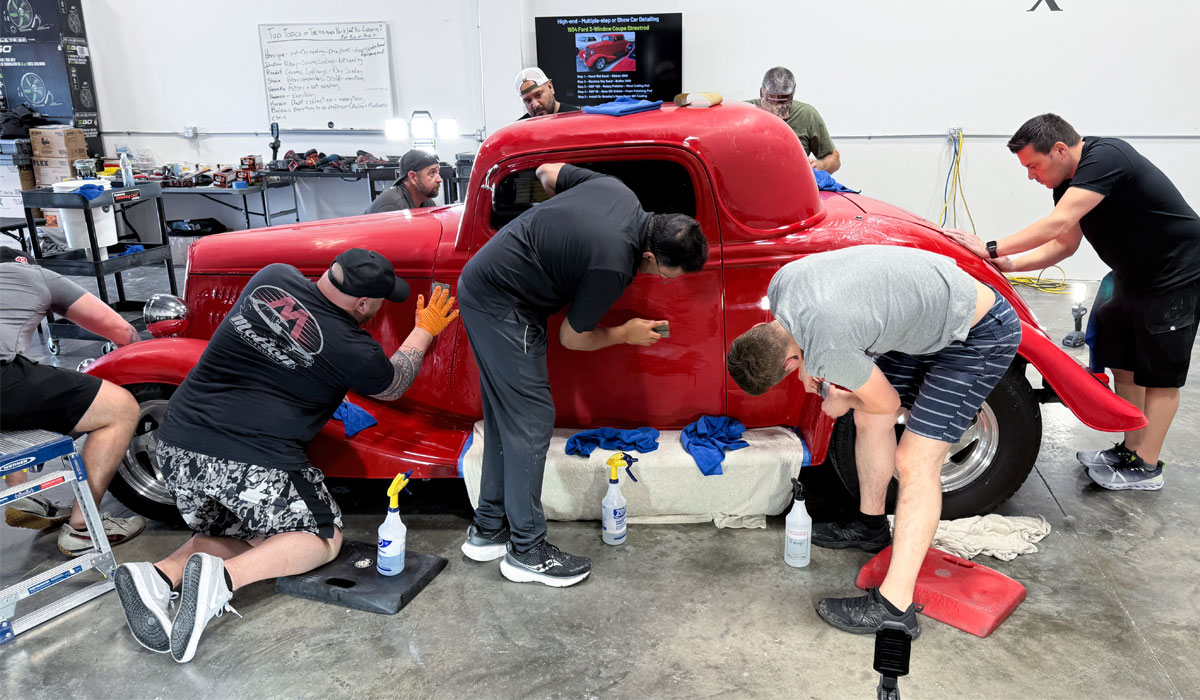
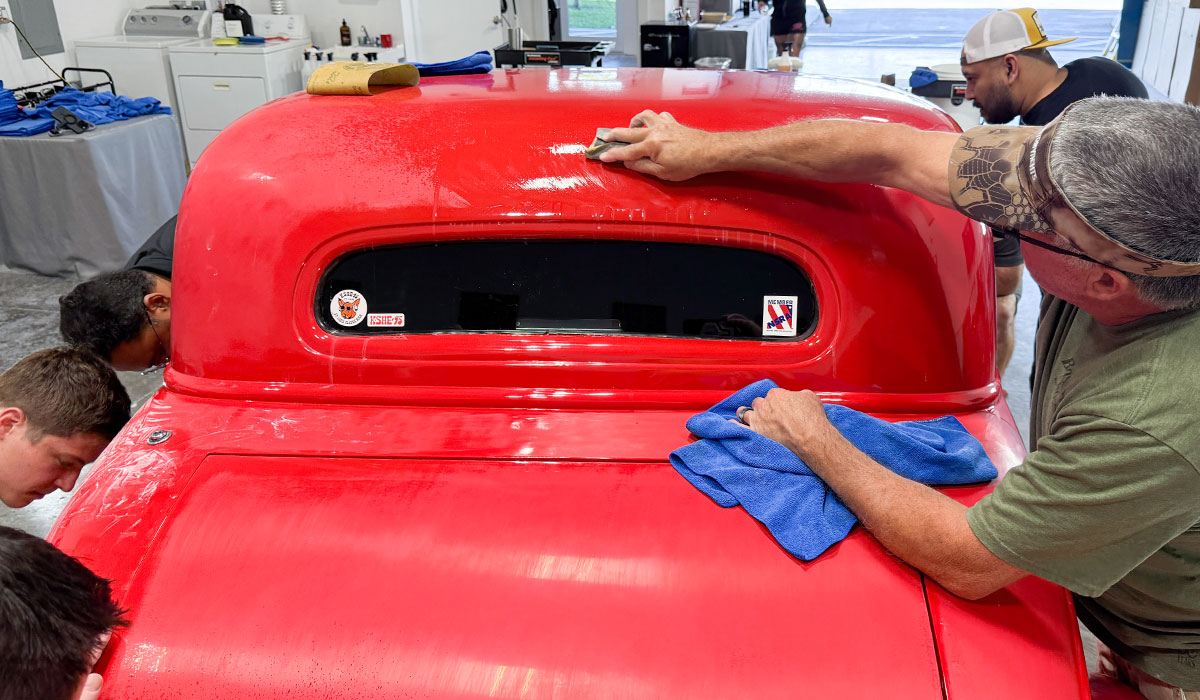
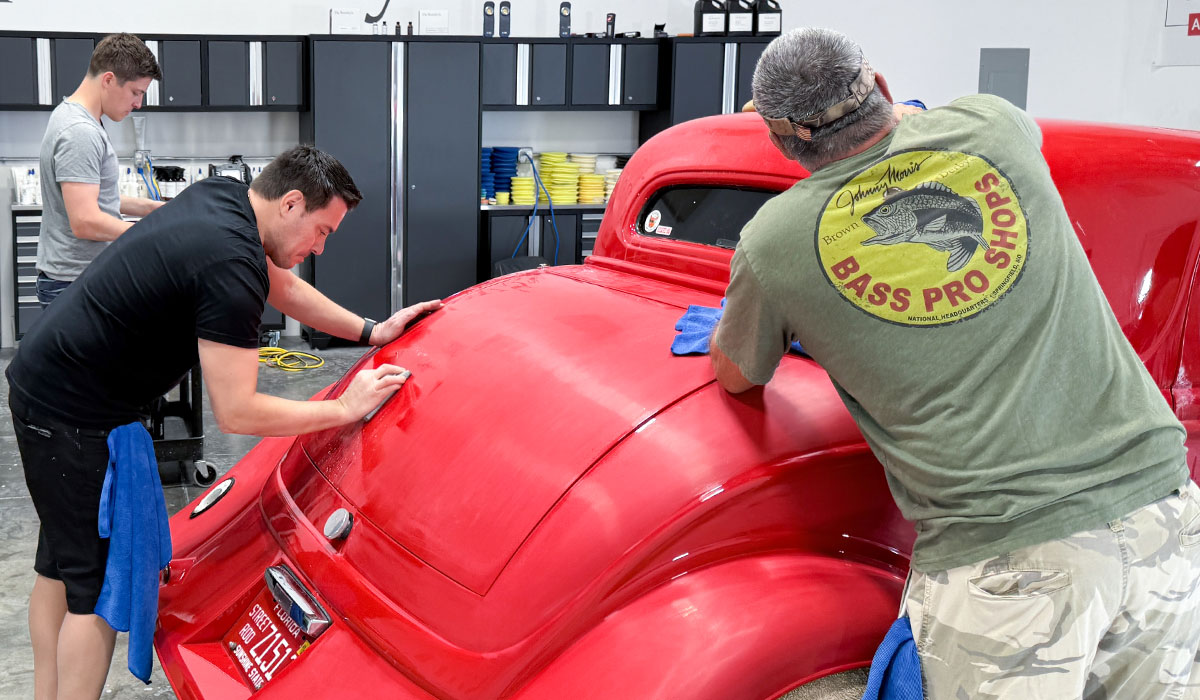
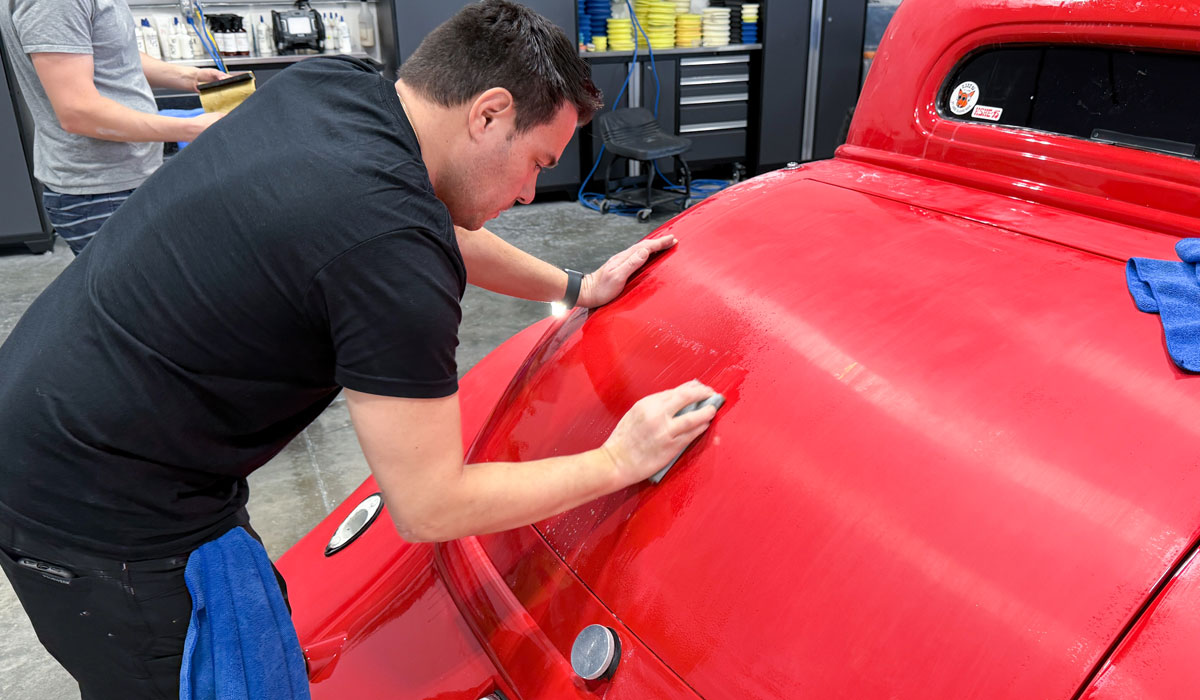
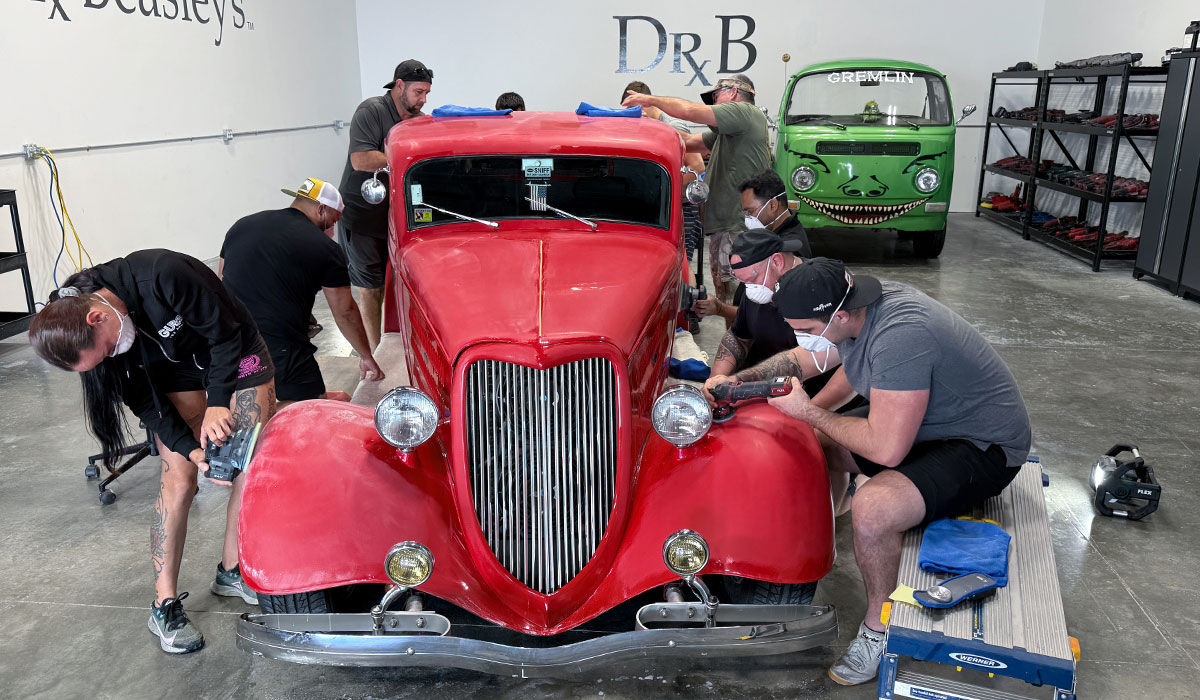
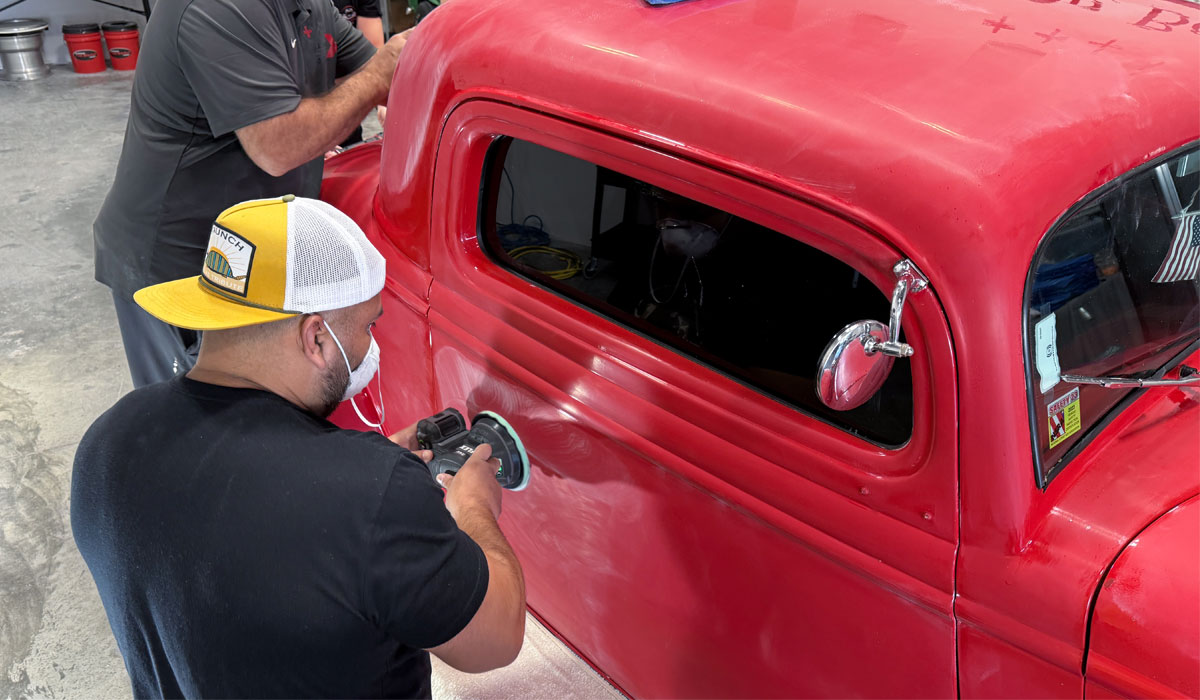
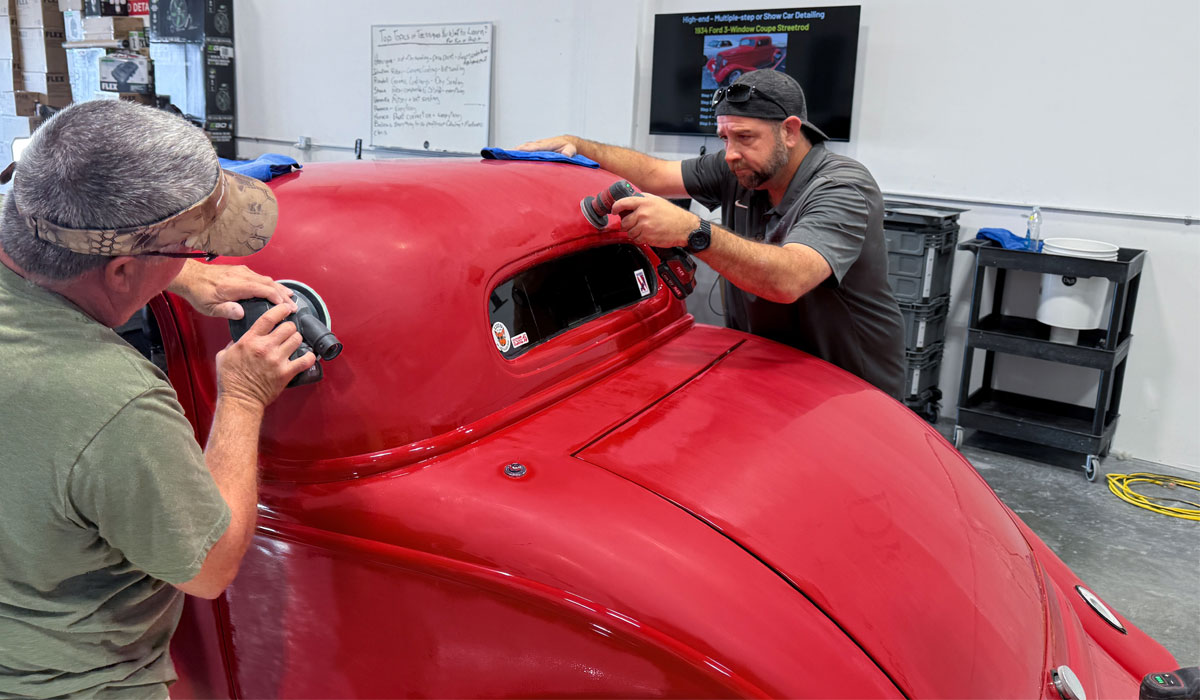
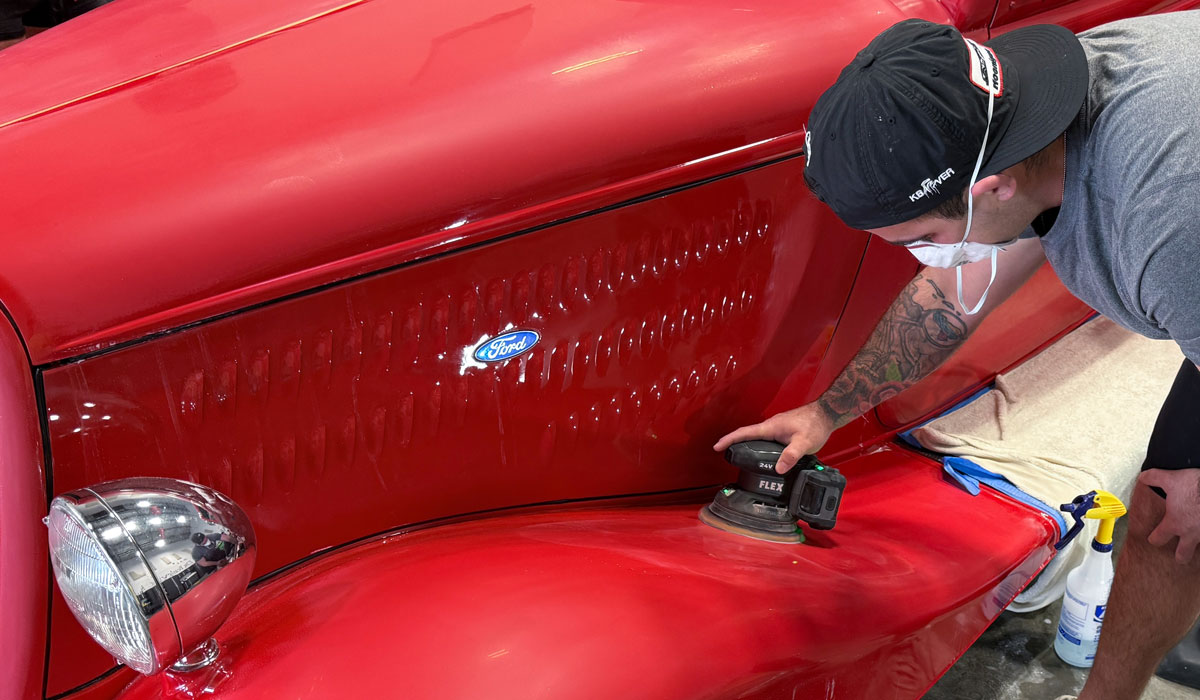
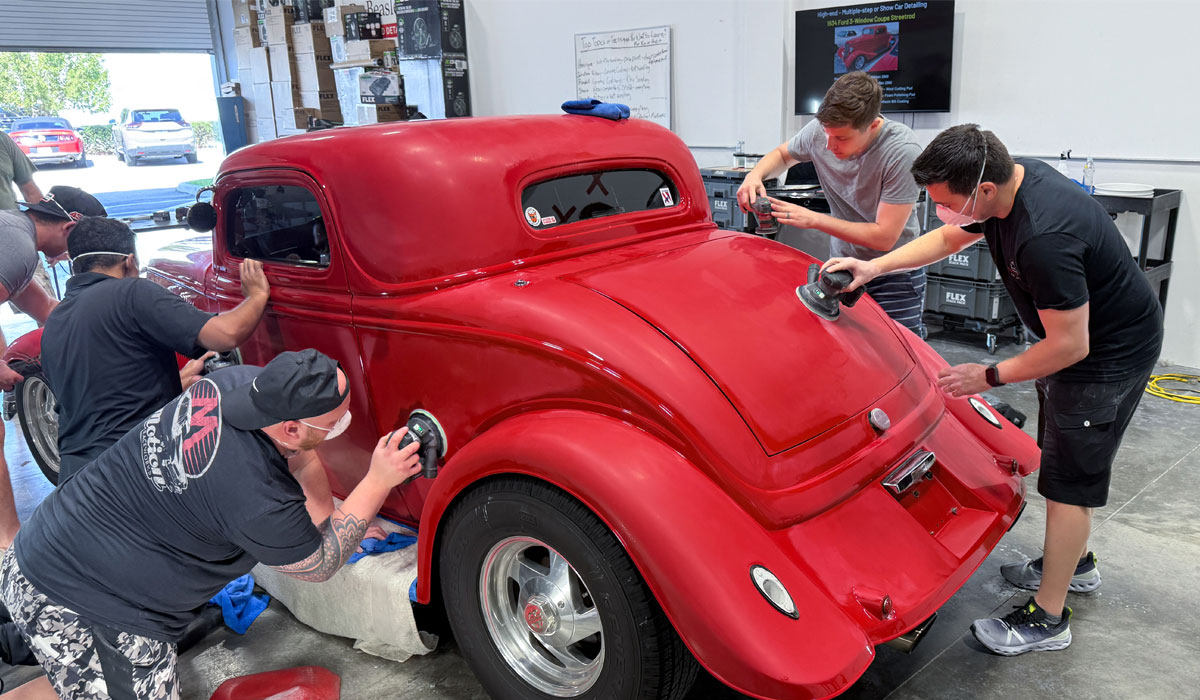
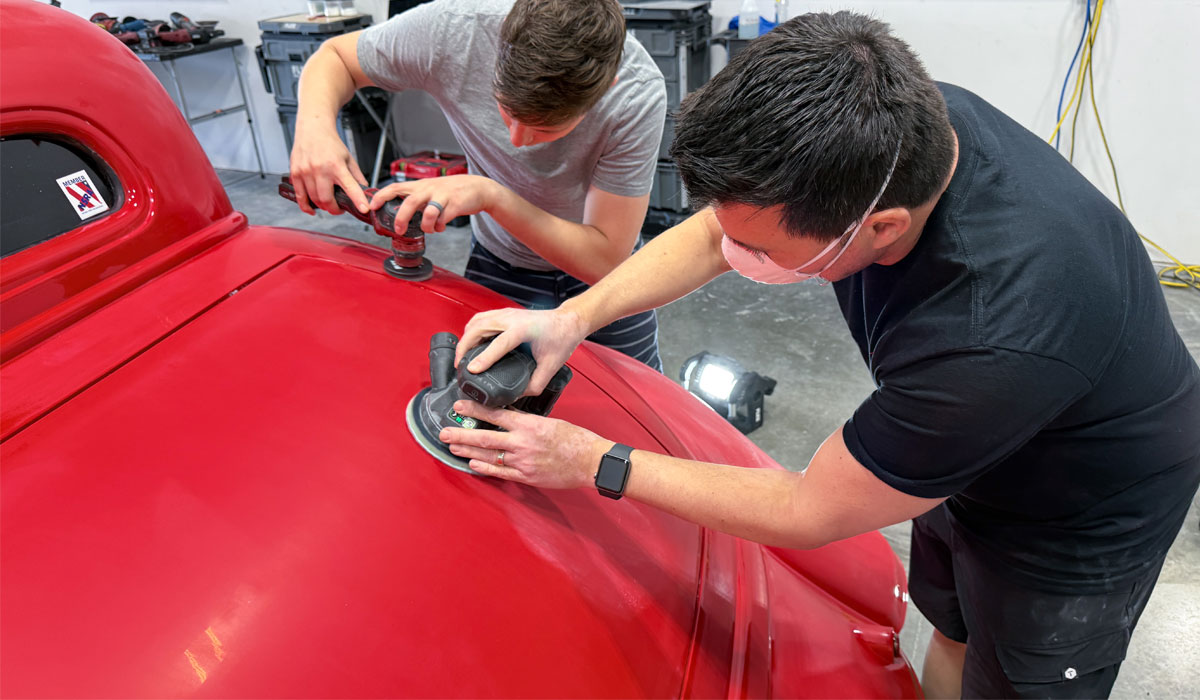
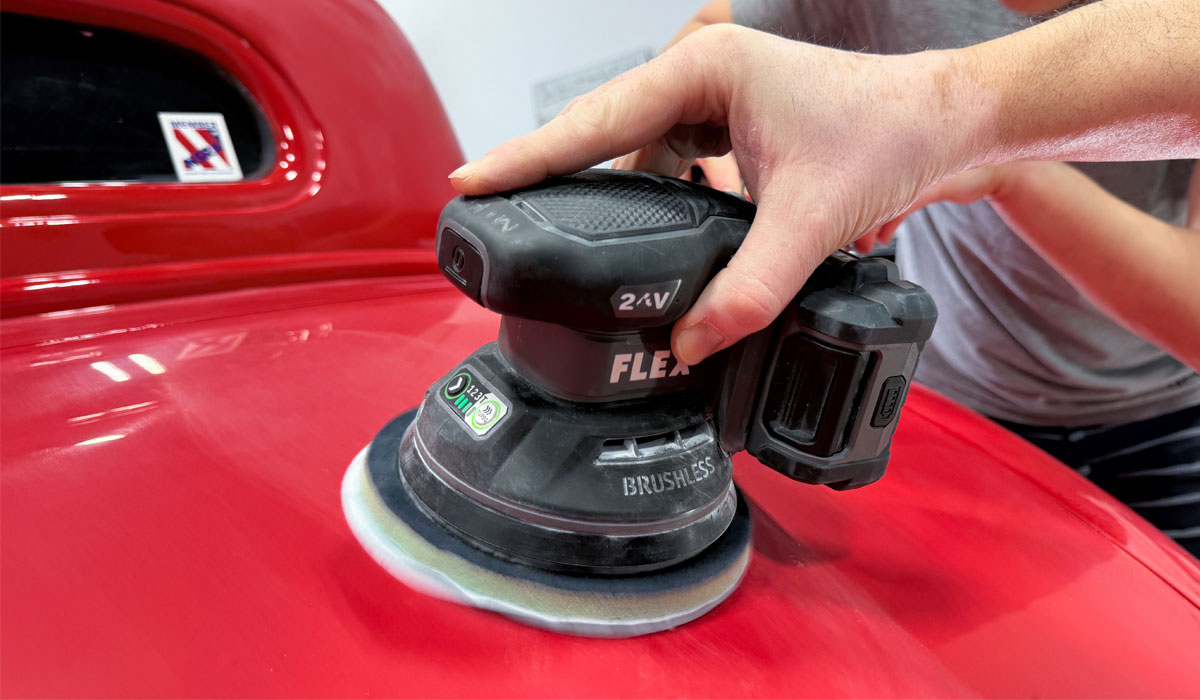
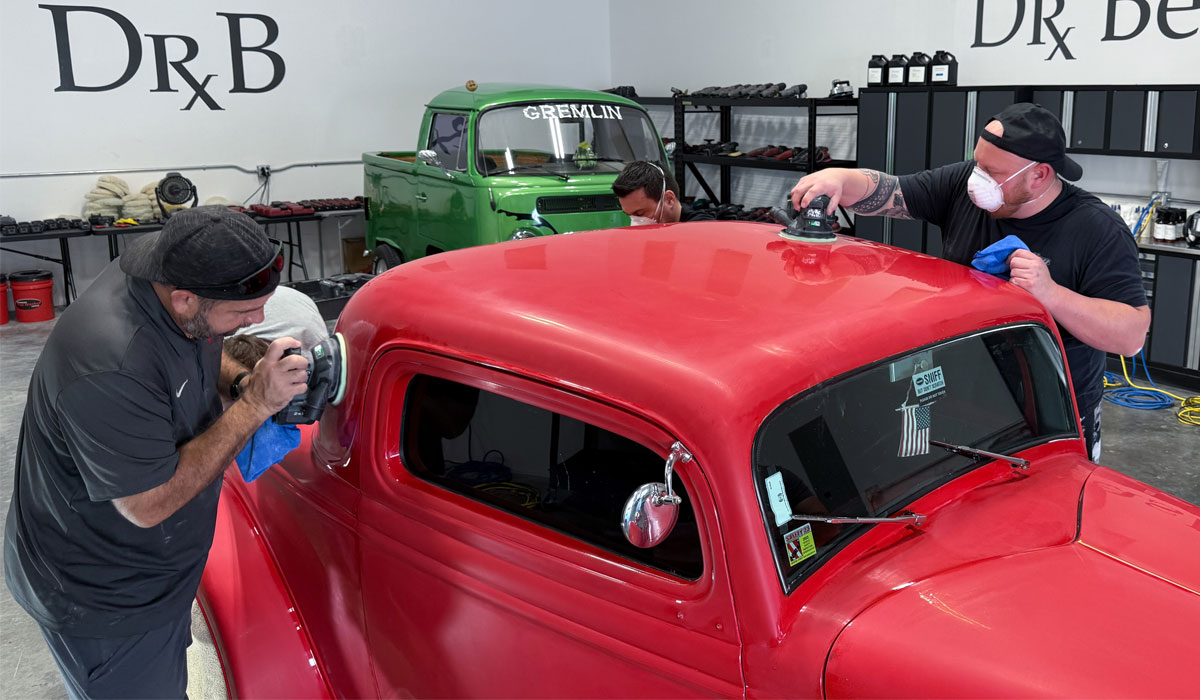
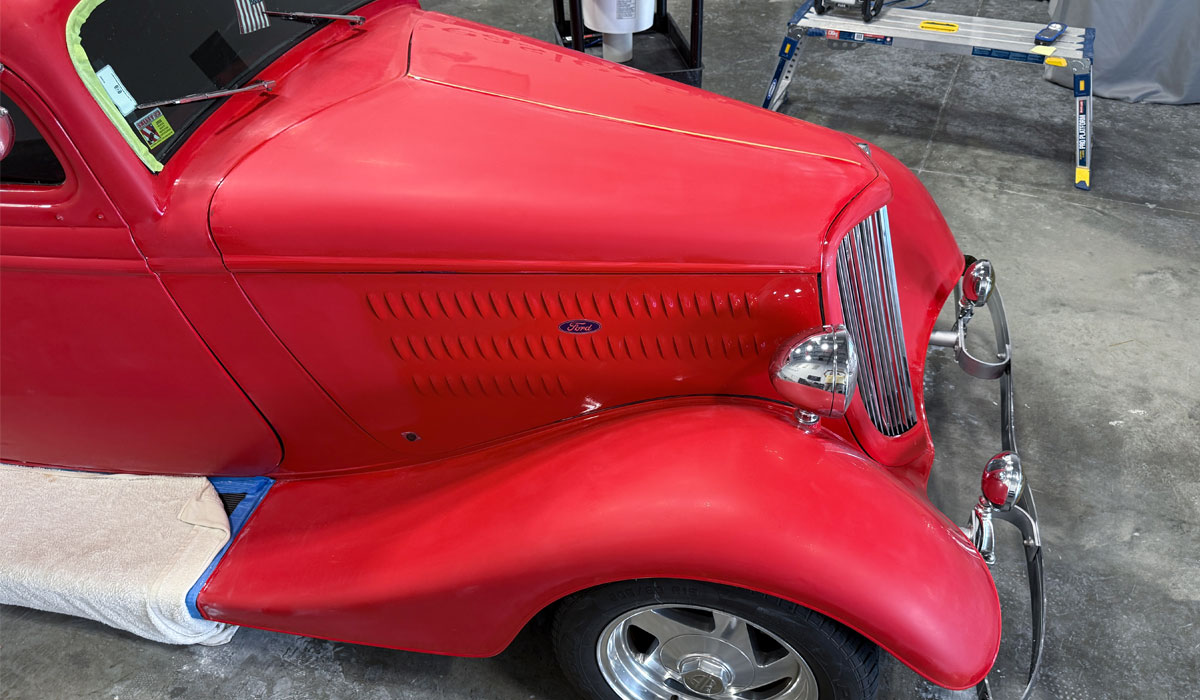
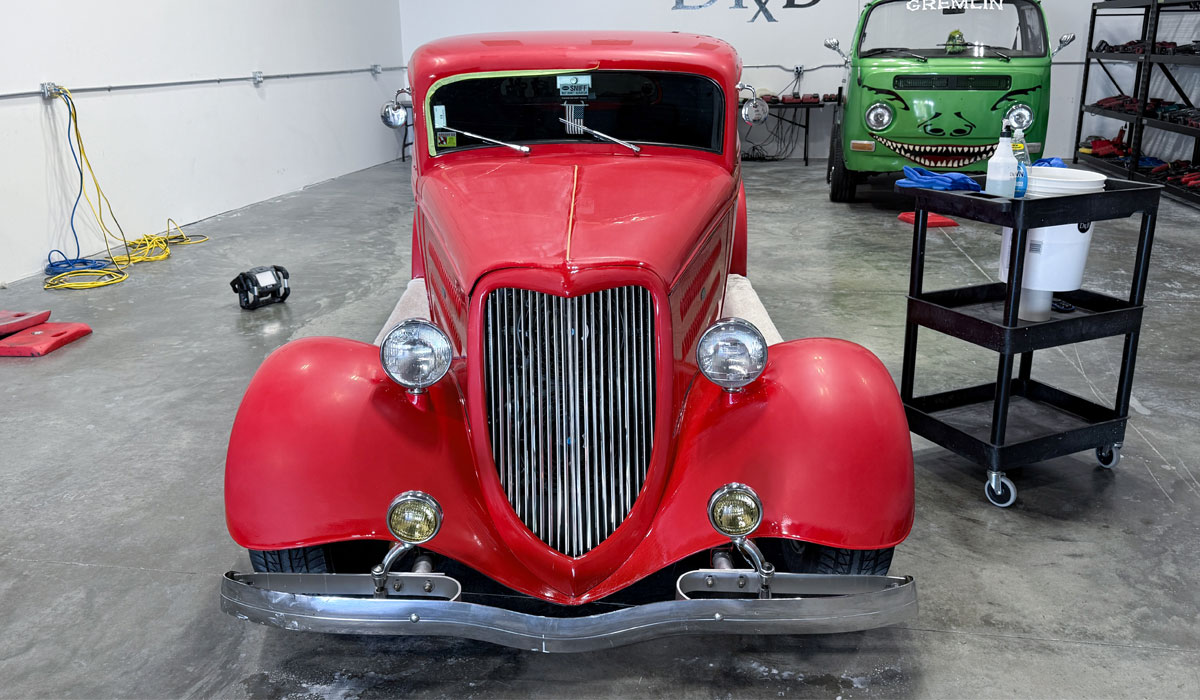
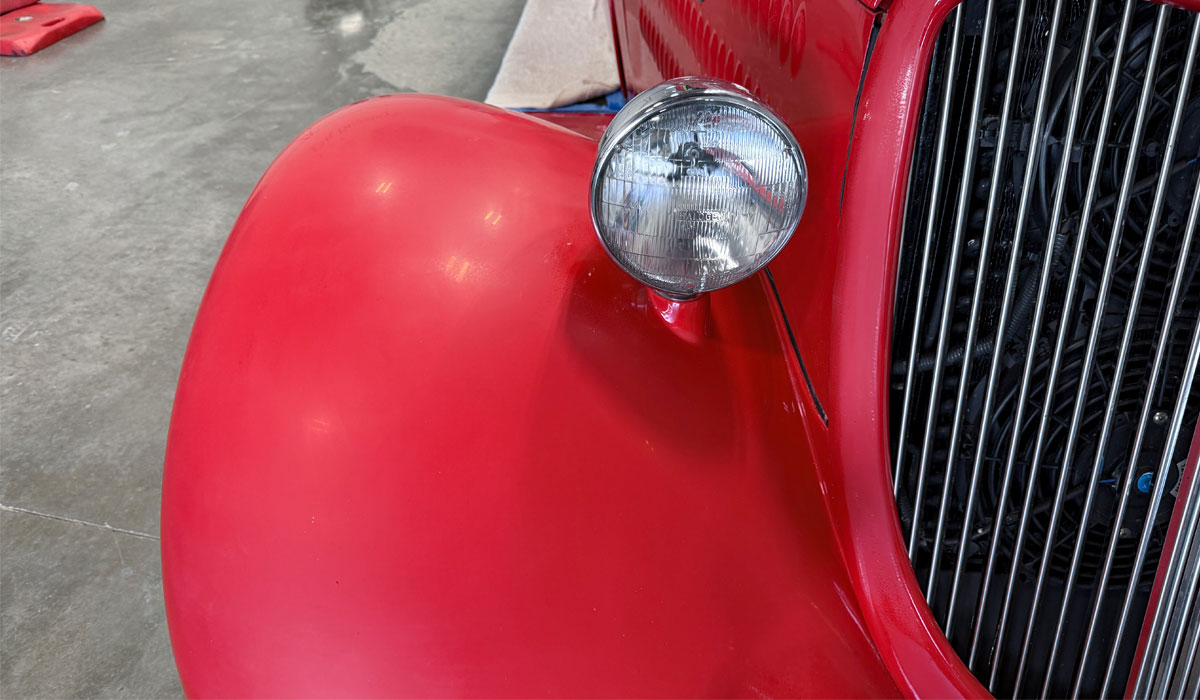
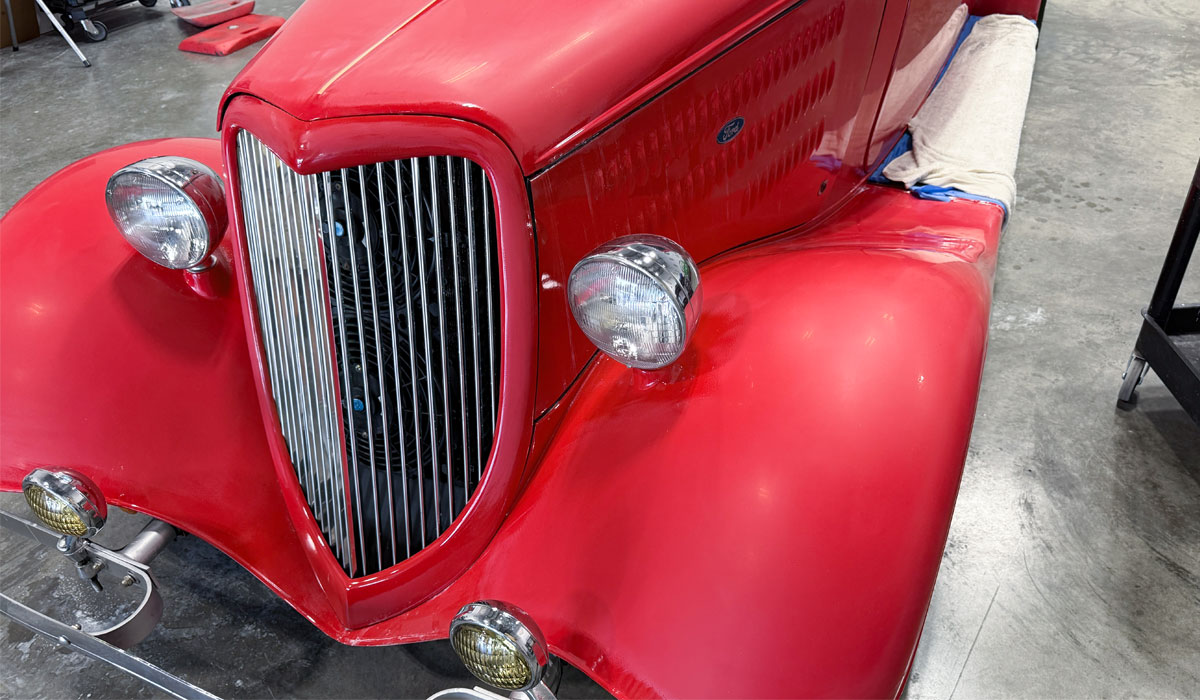
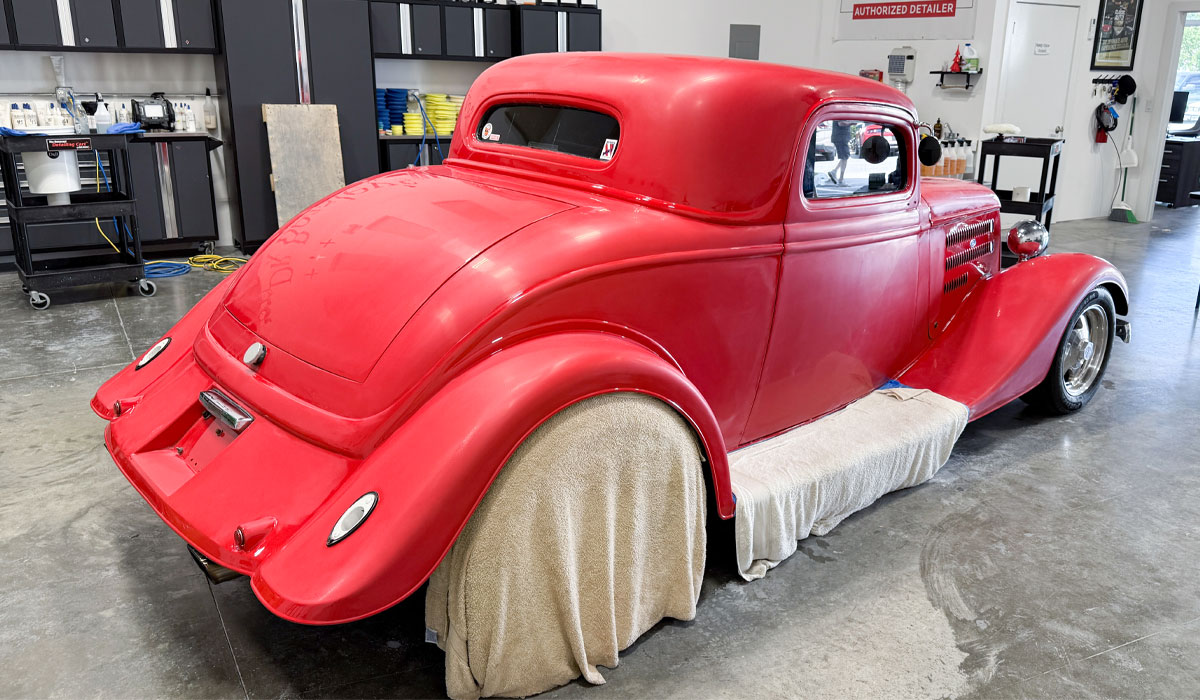
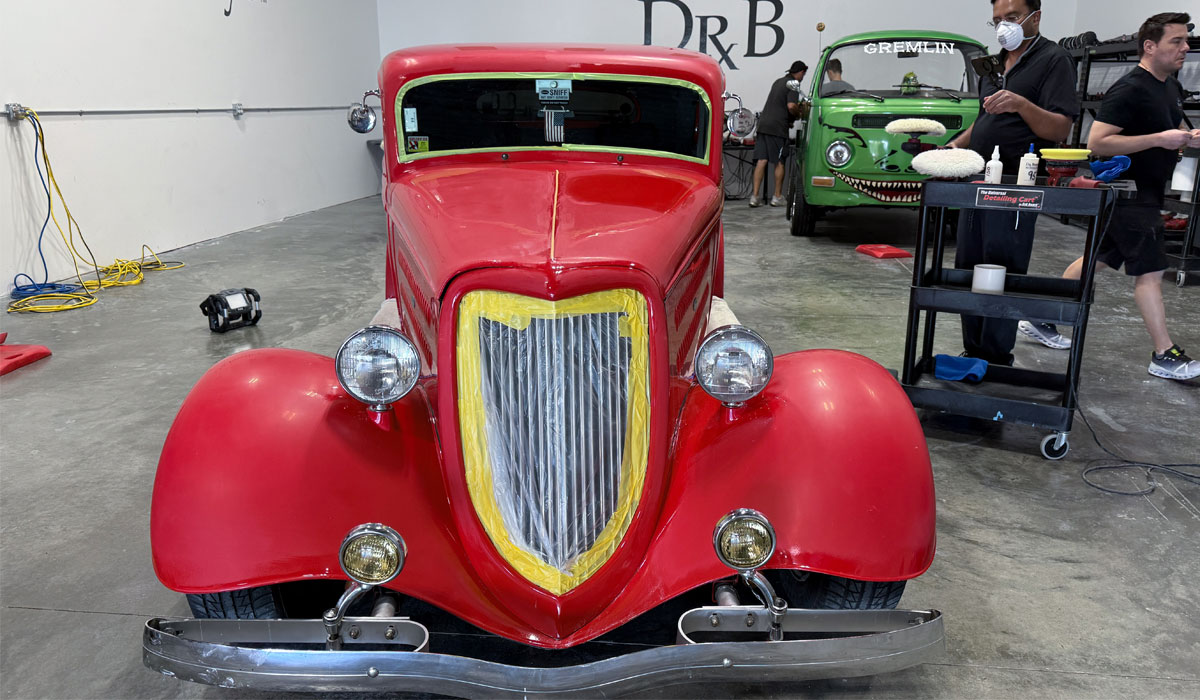
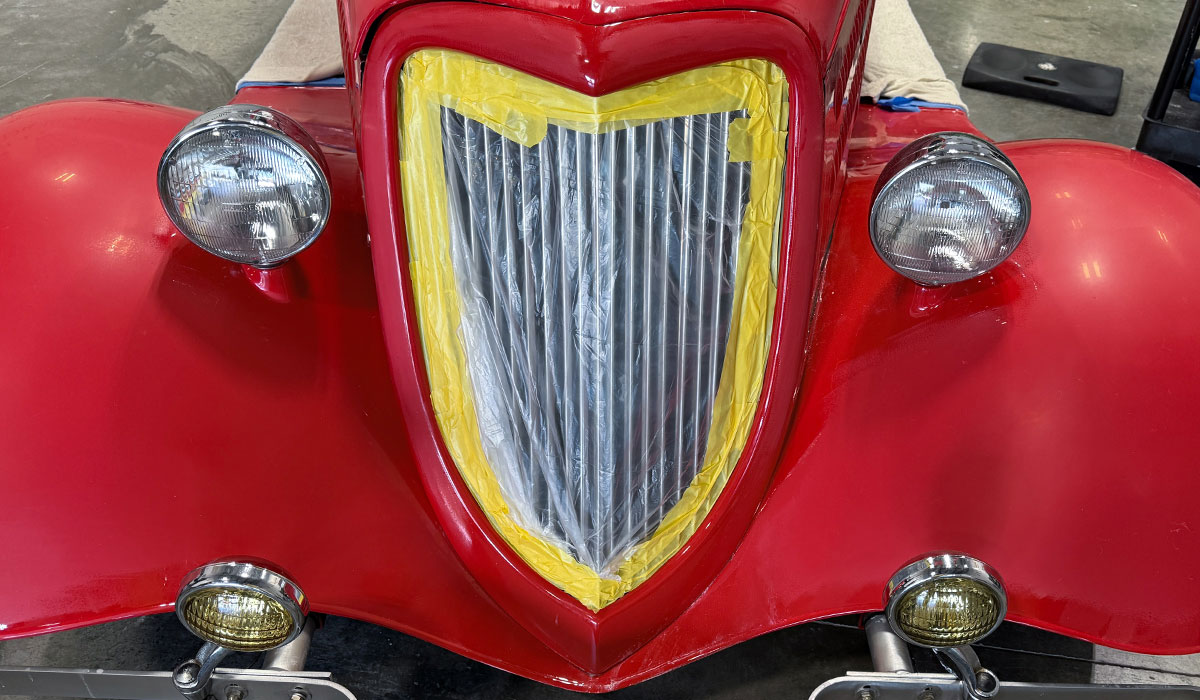
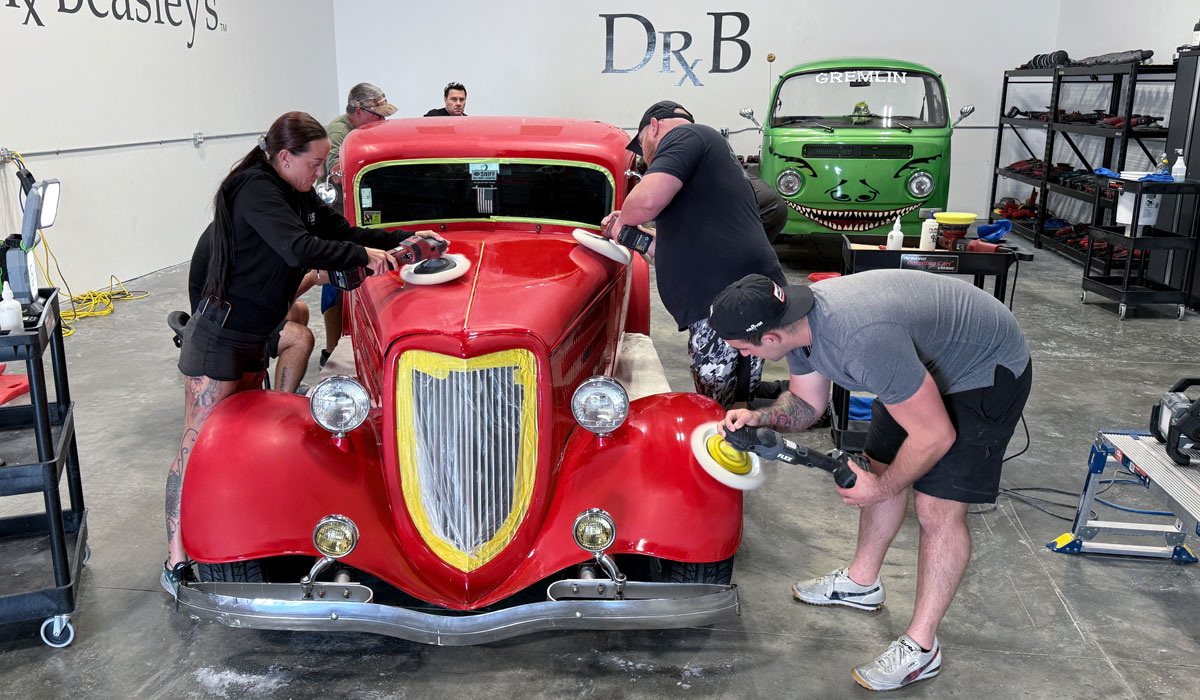
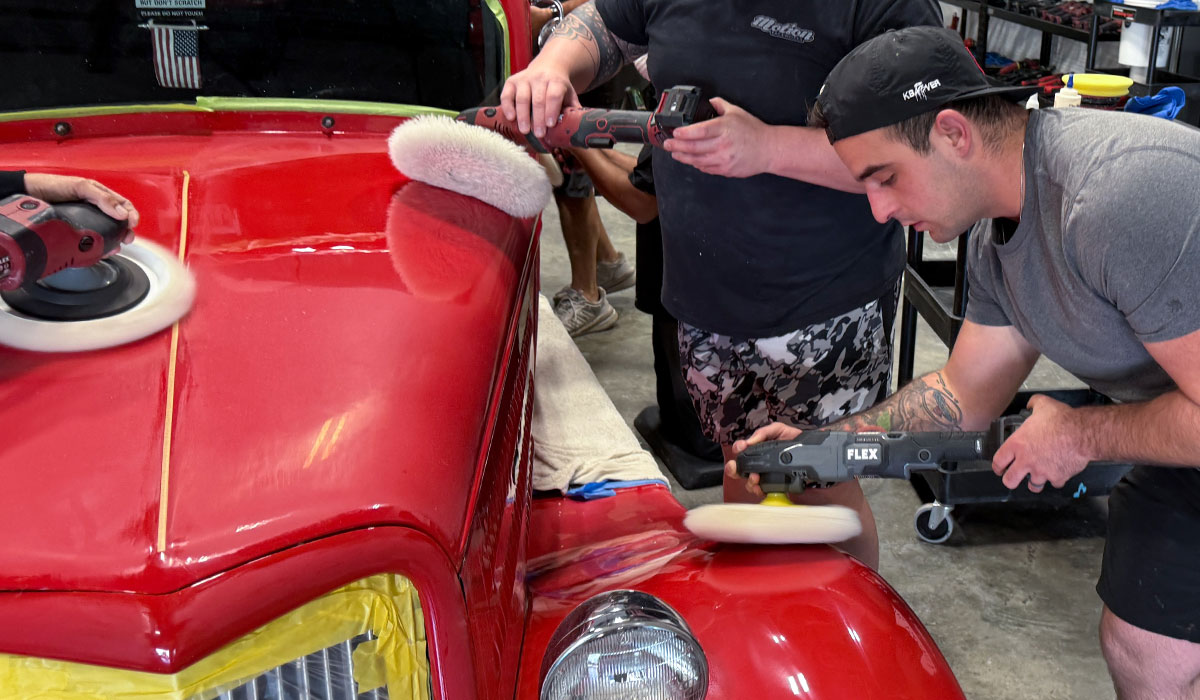
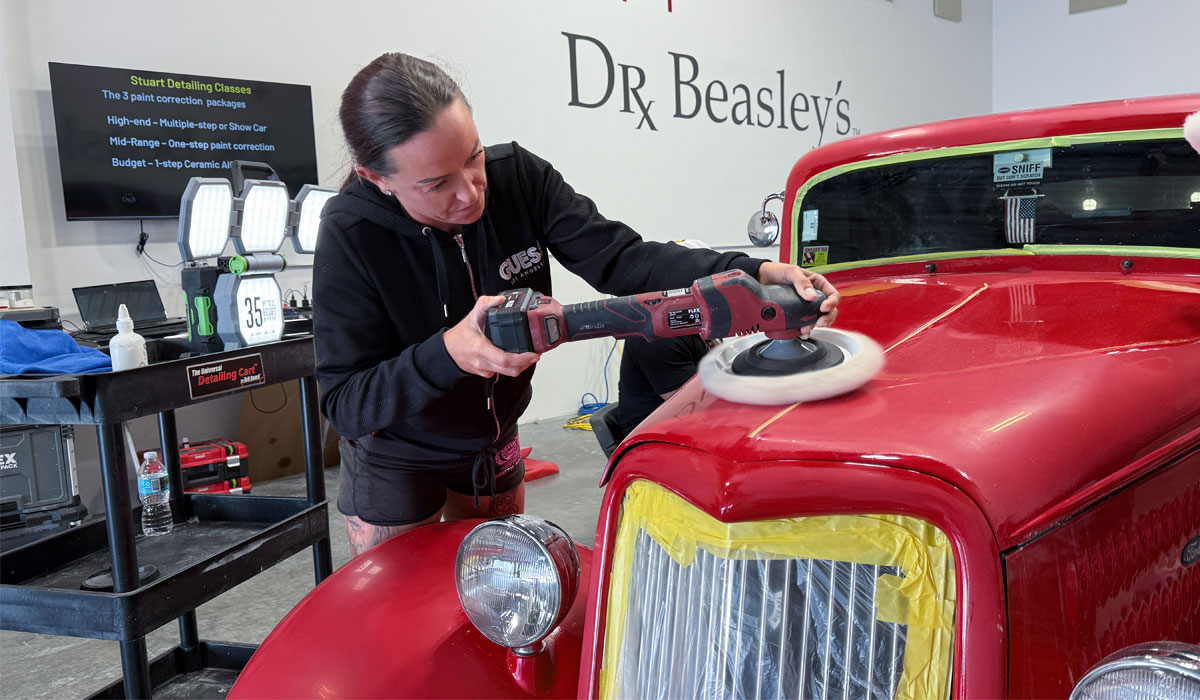
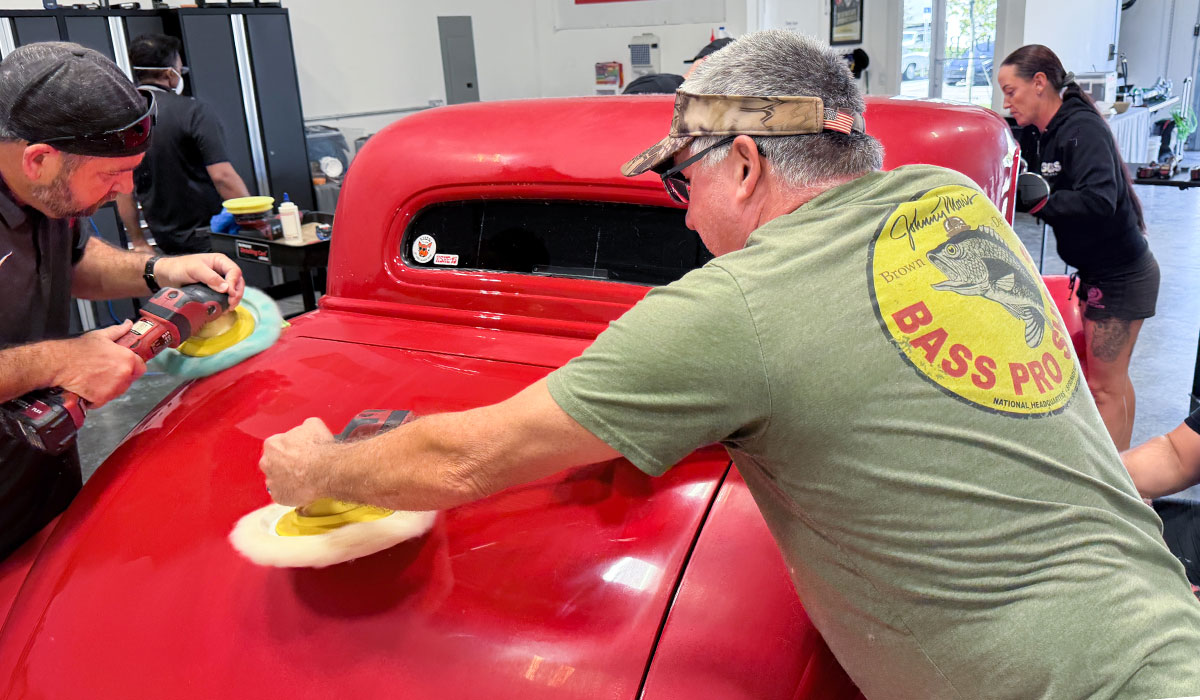
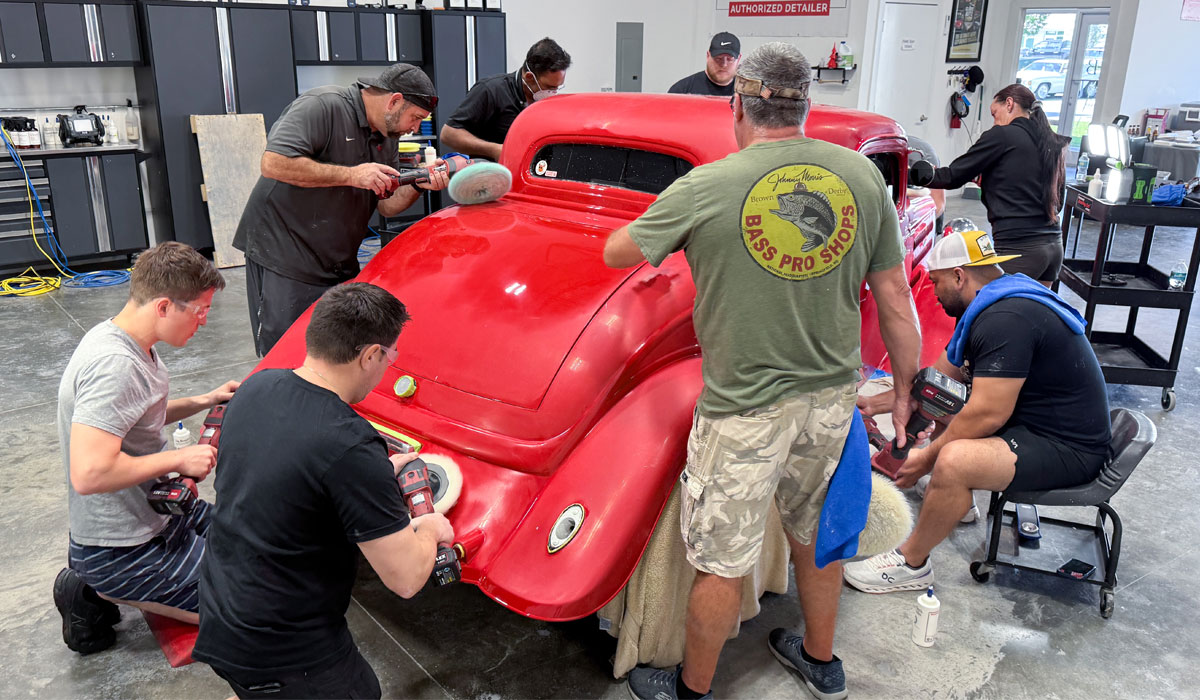
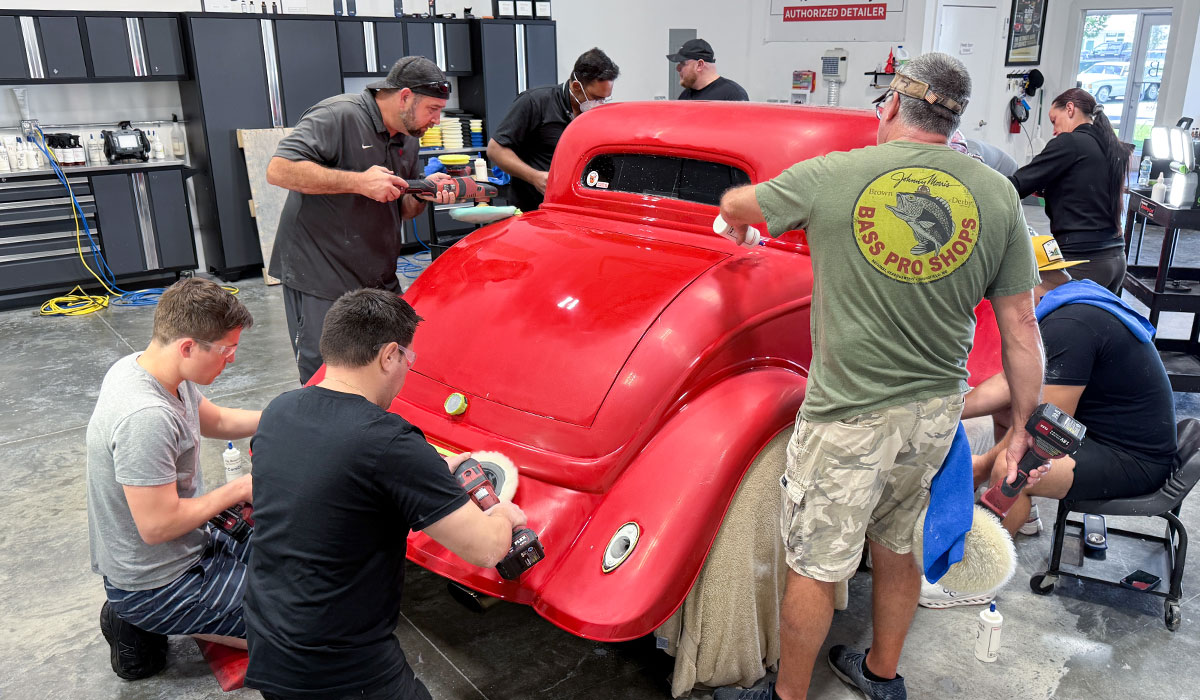
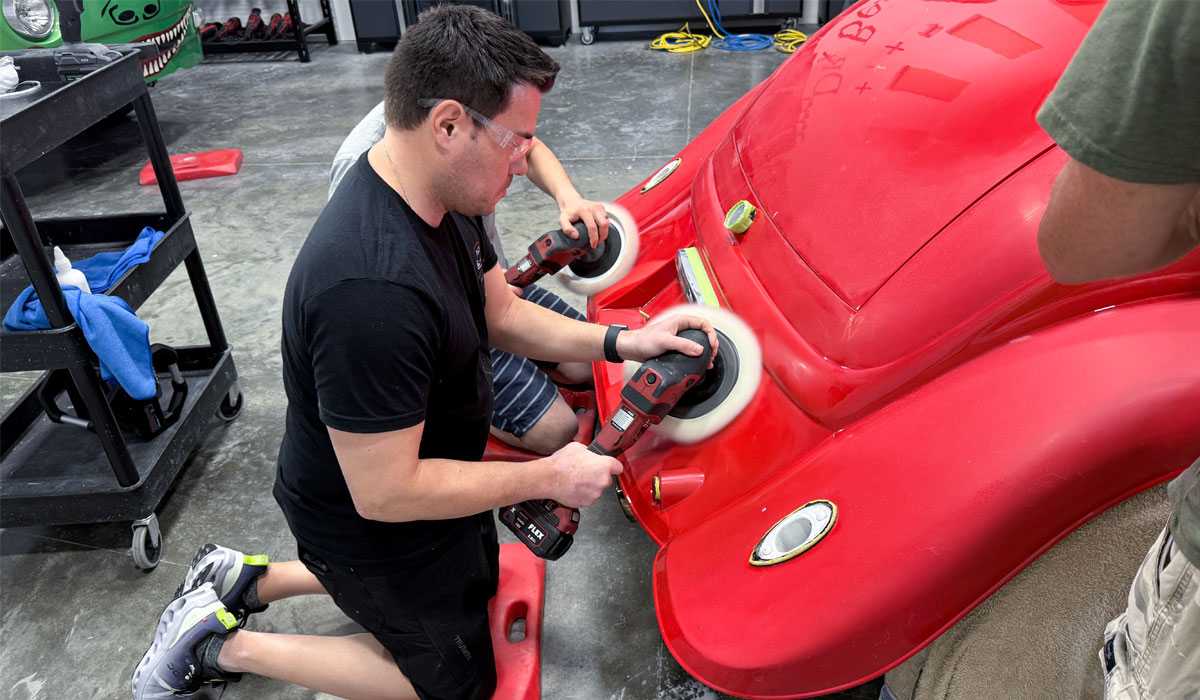
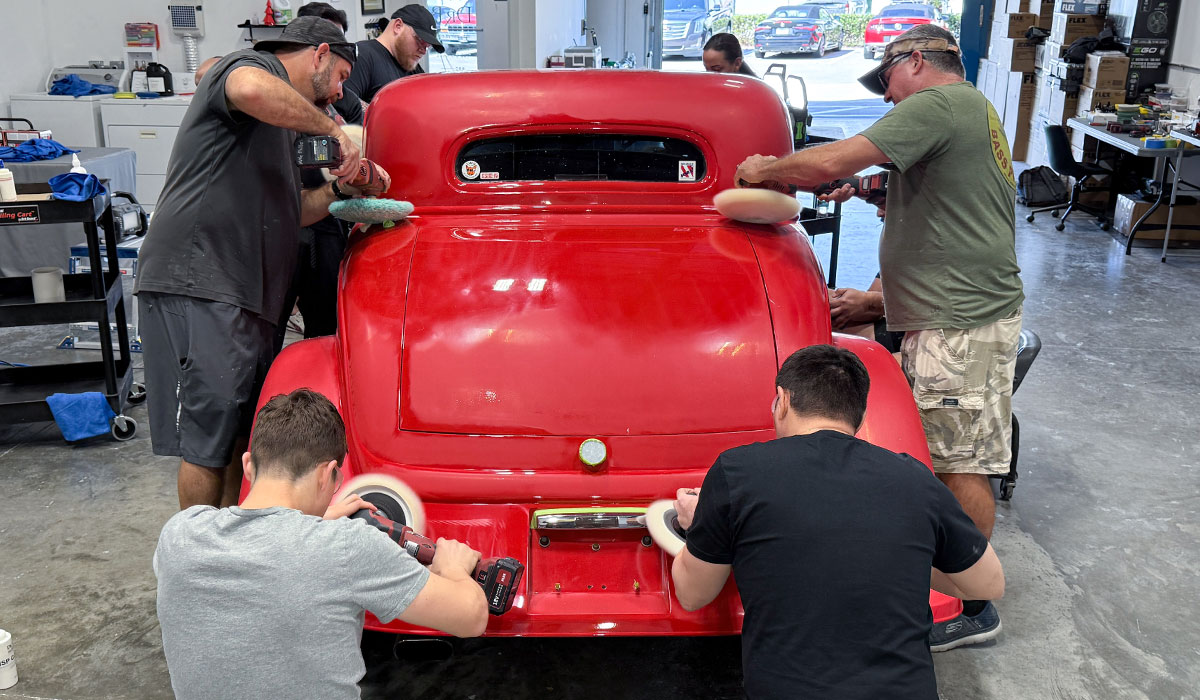
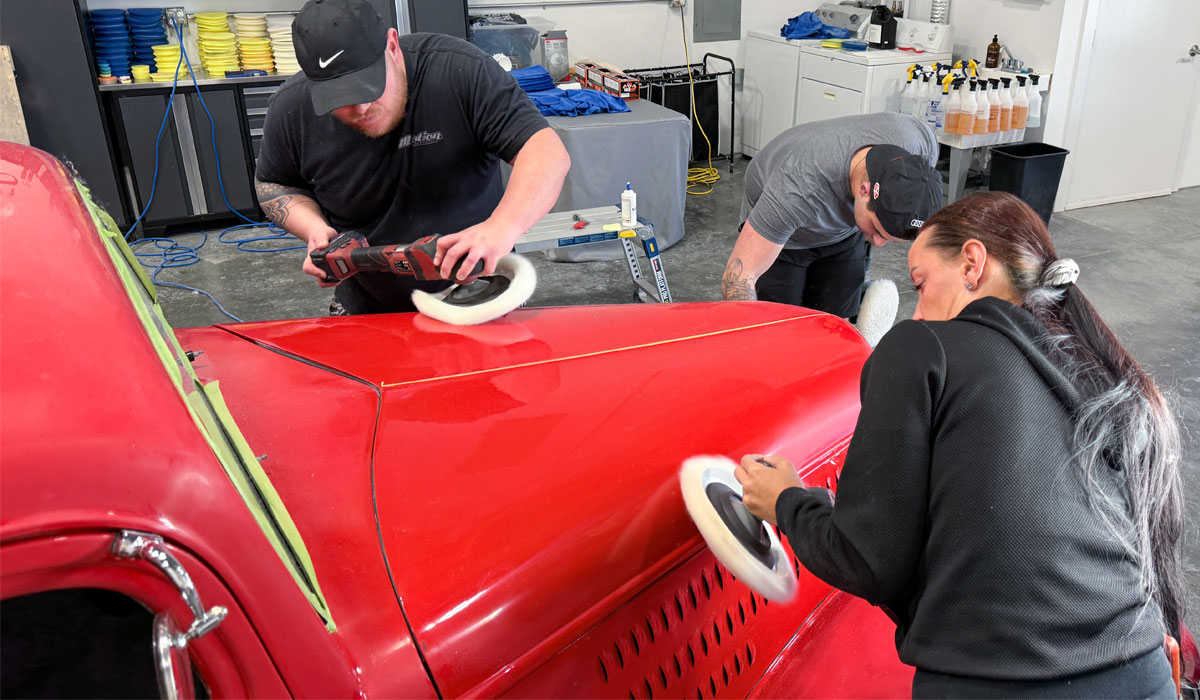
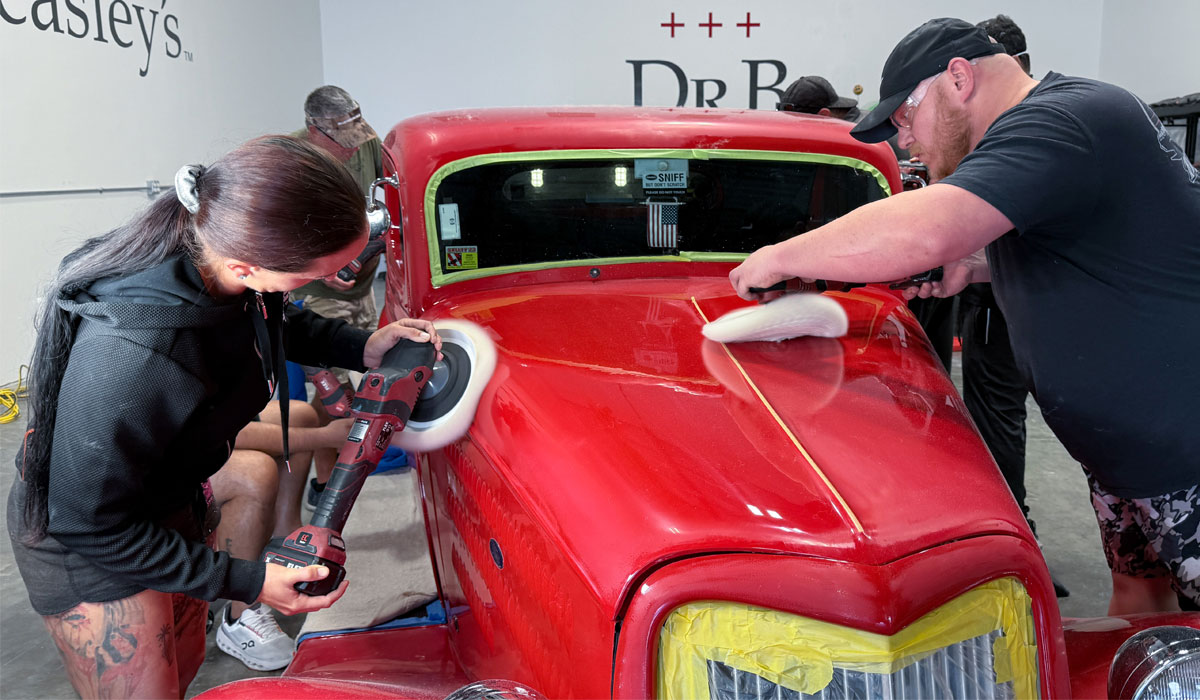
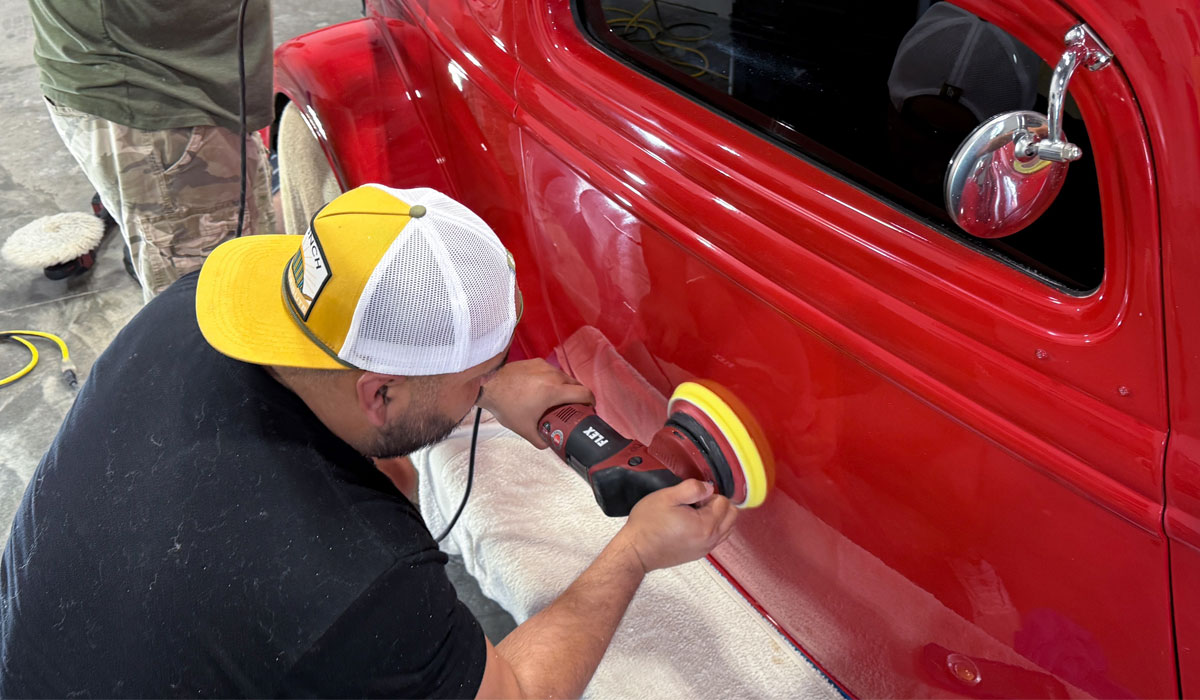
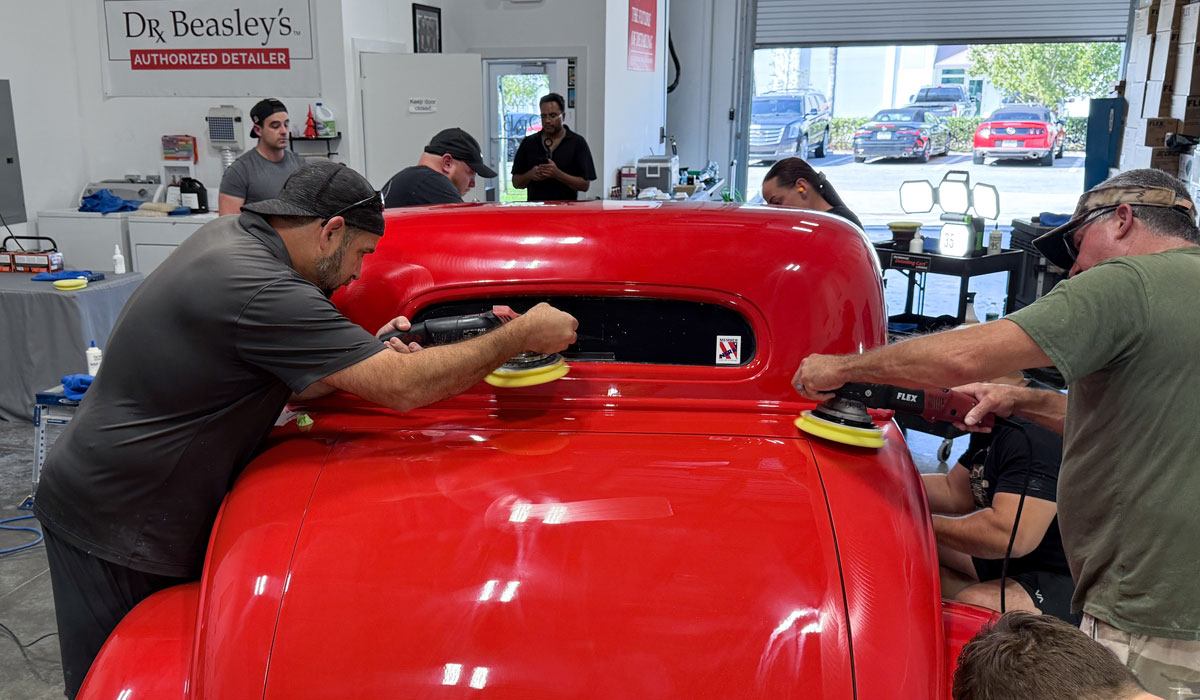
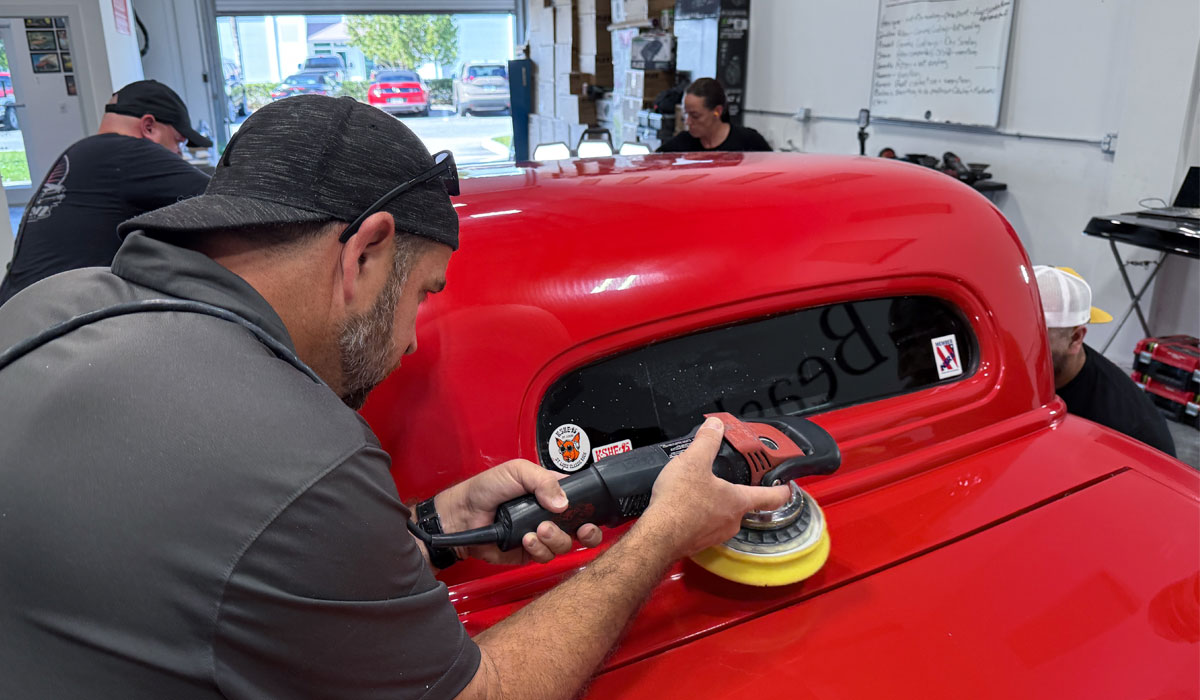
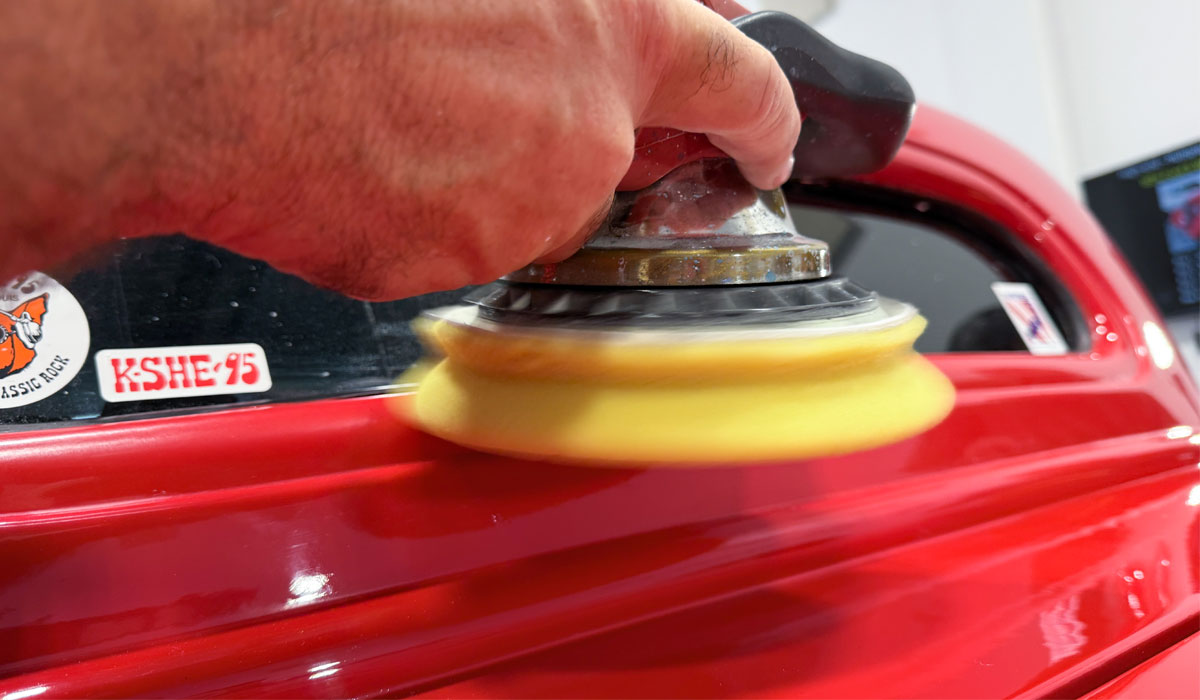
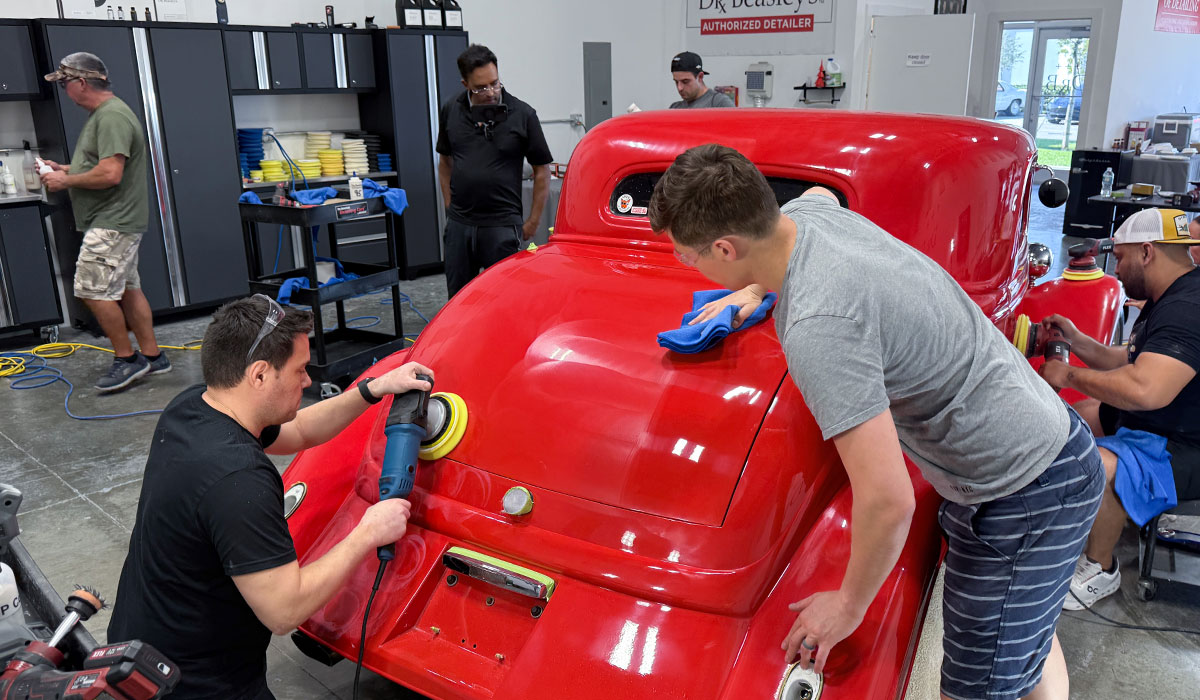
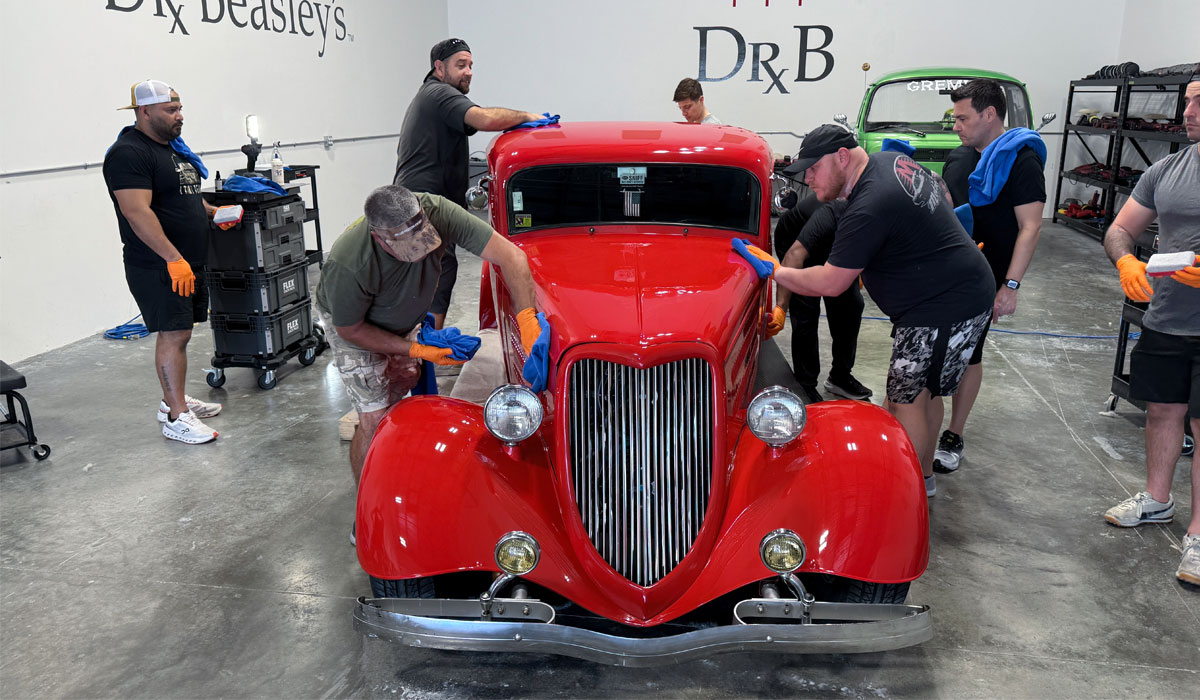
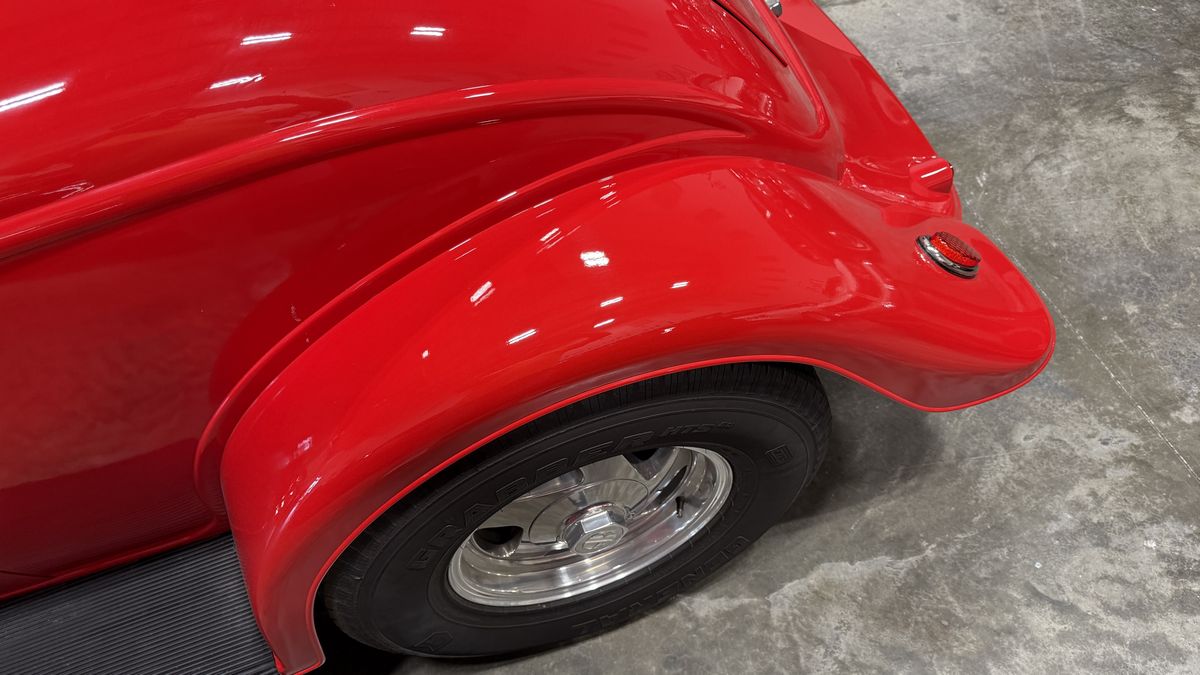
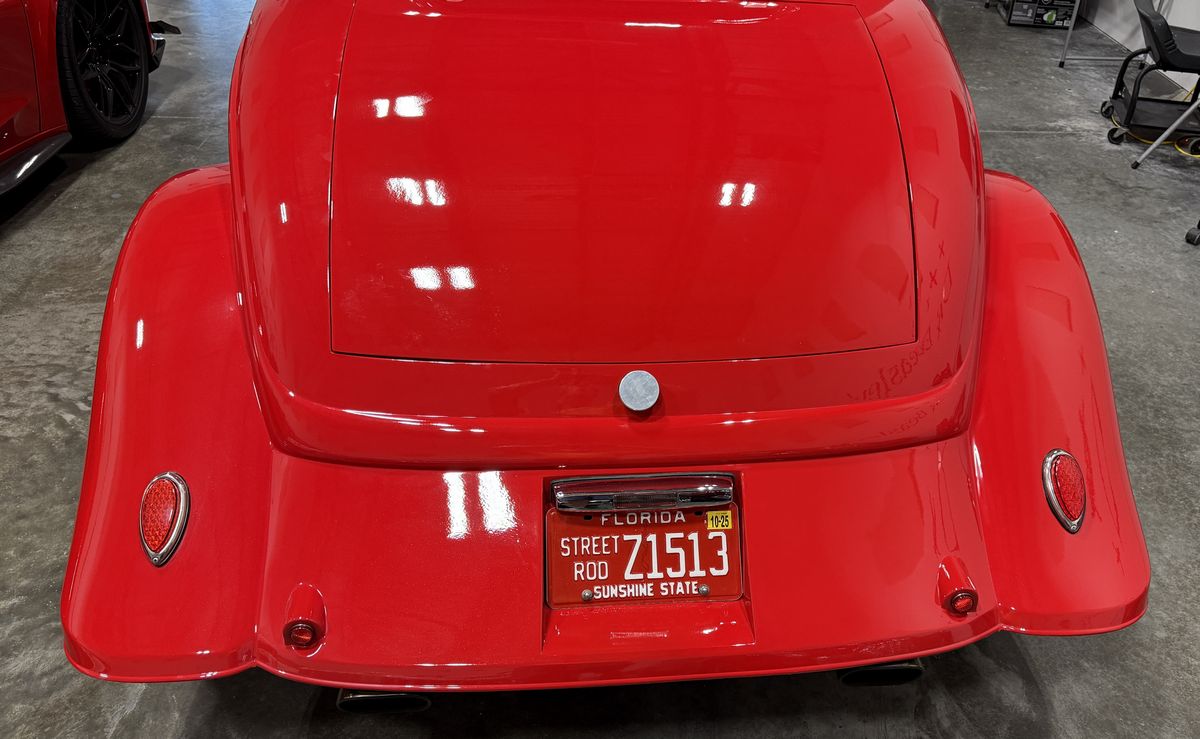
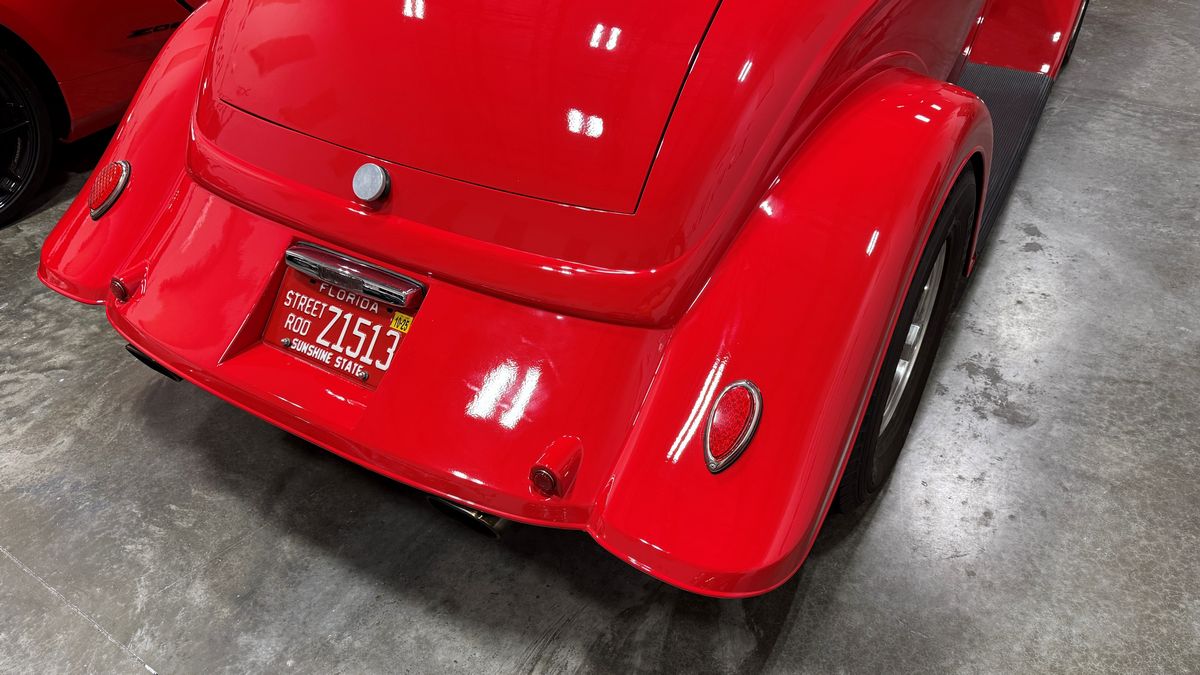
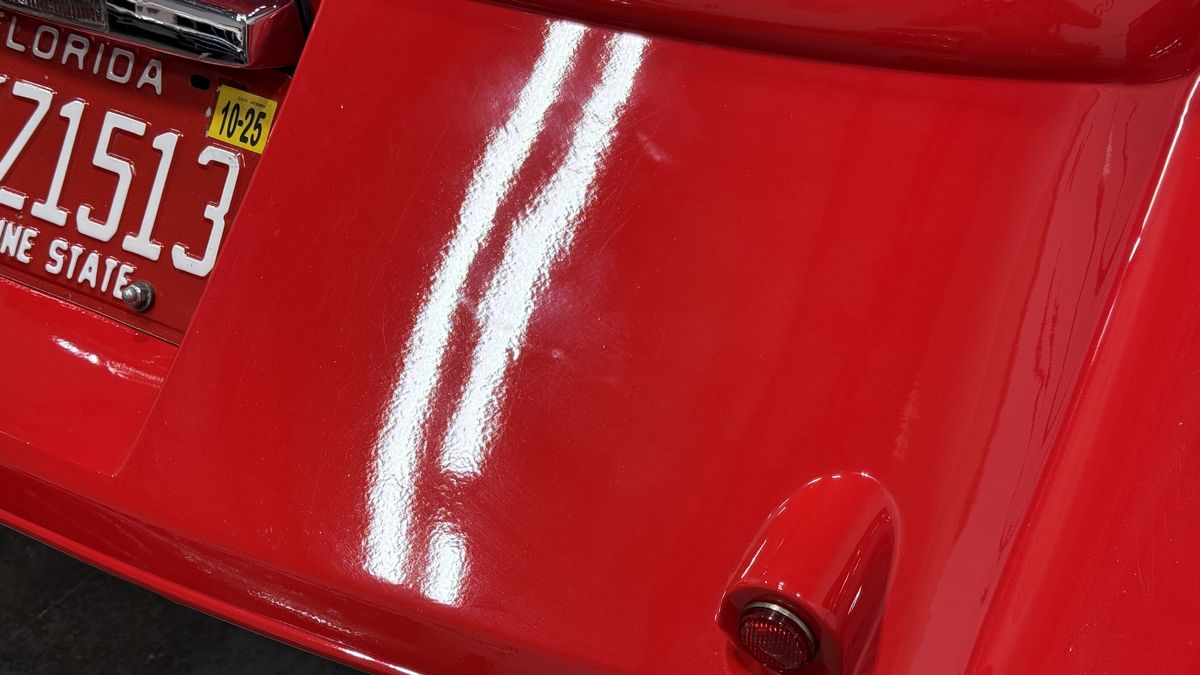
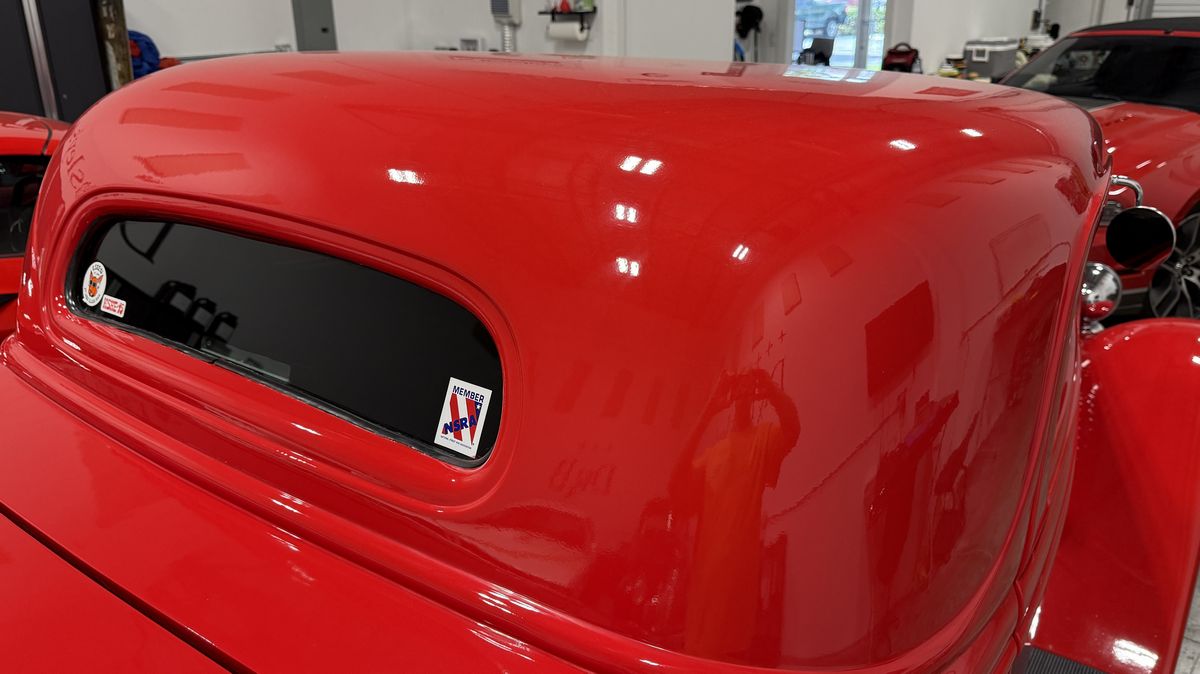
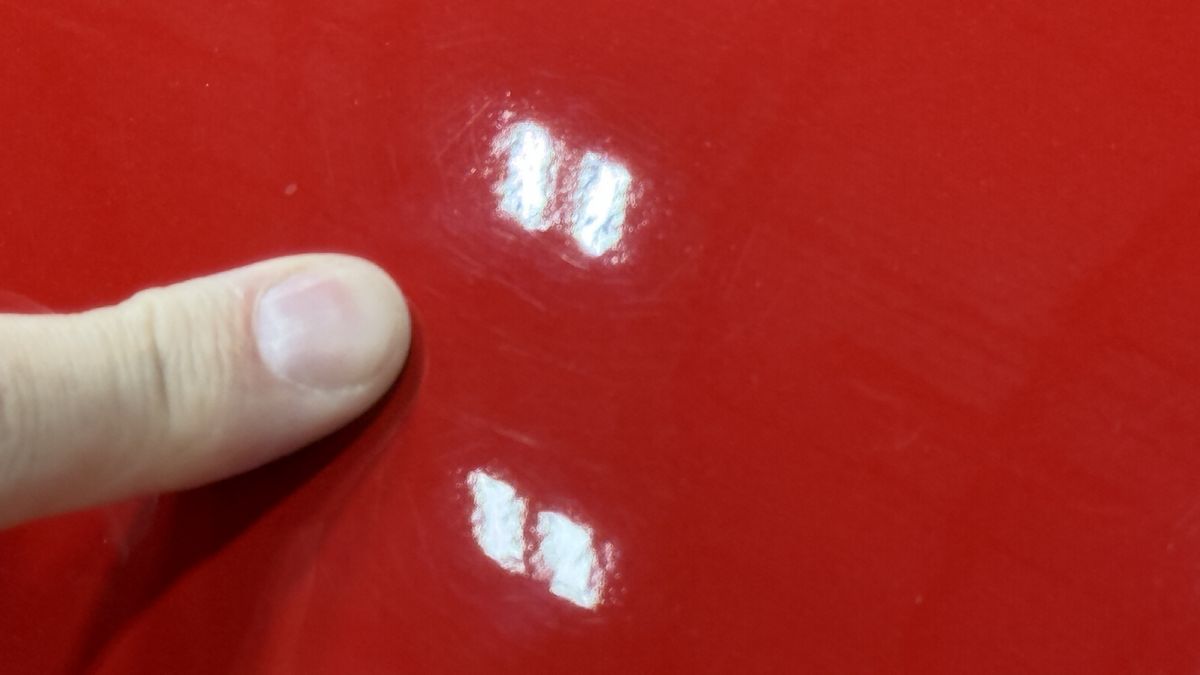
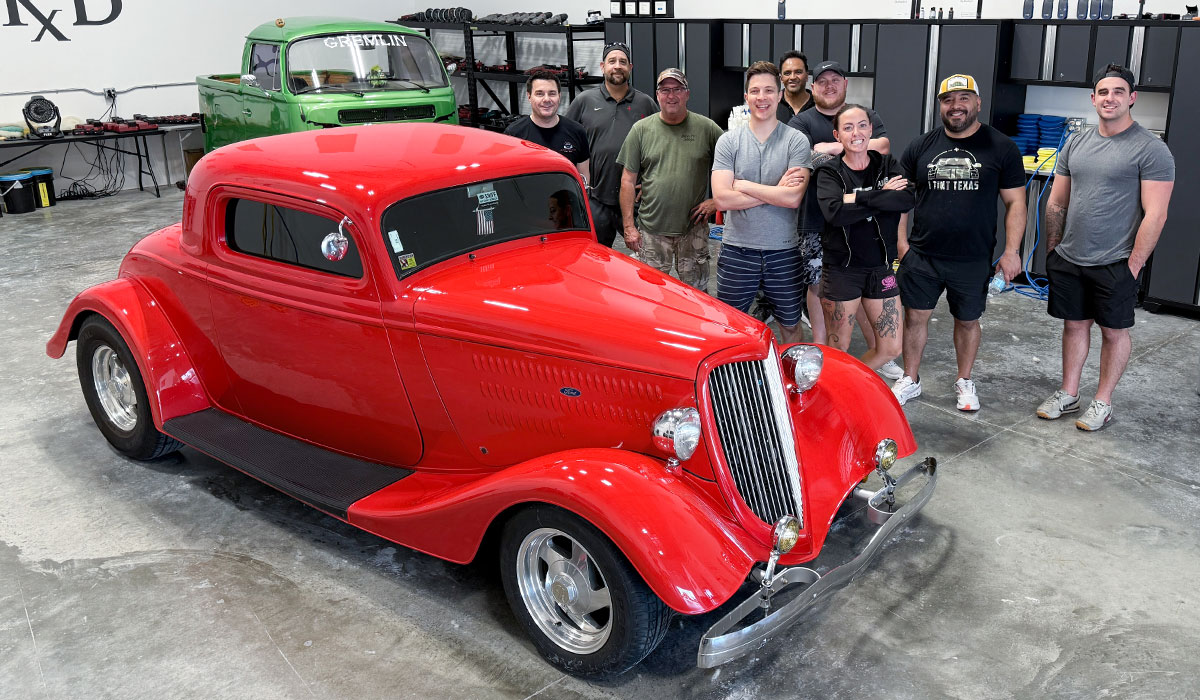
This is a recap video showing the class doing all 5 steps to from neglected to respect.
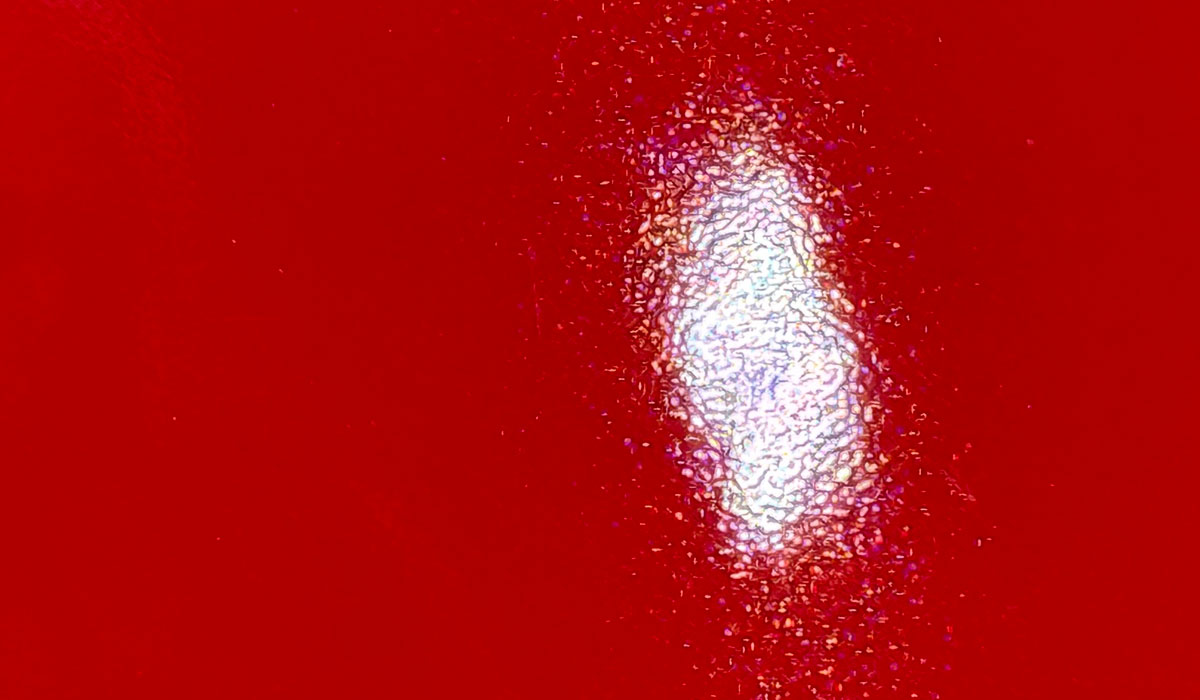
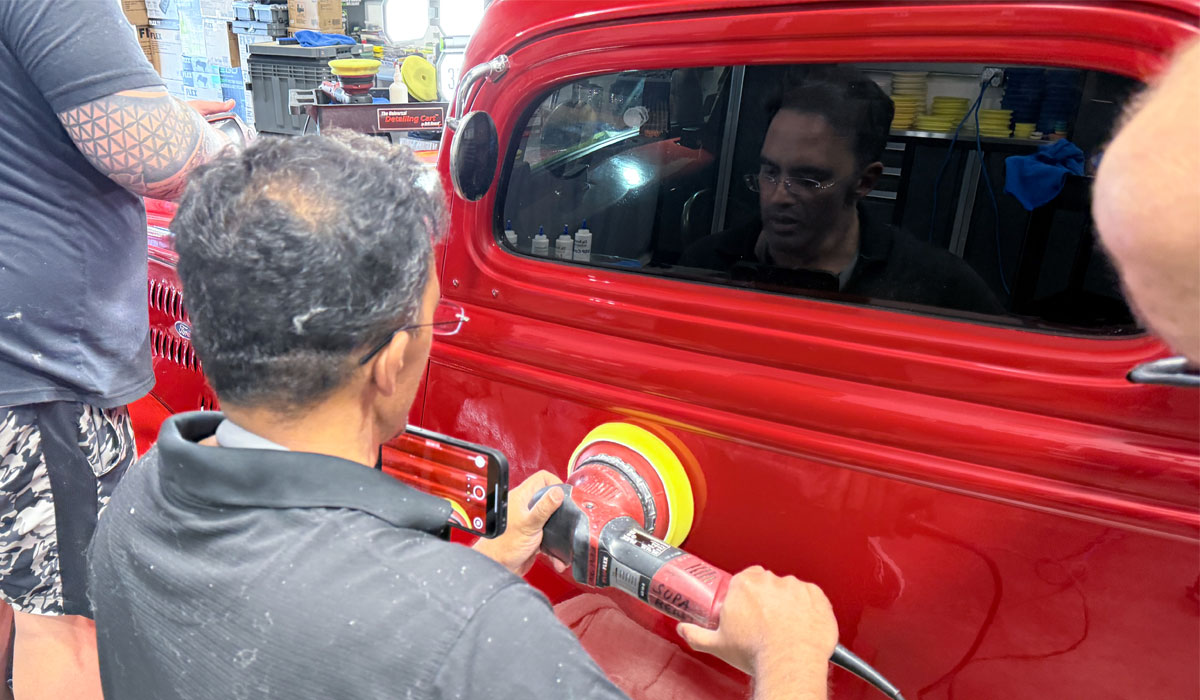
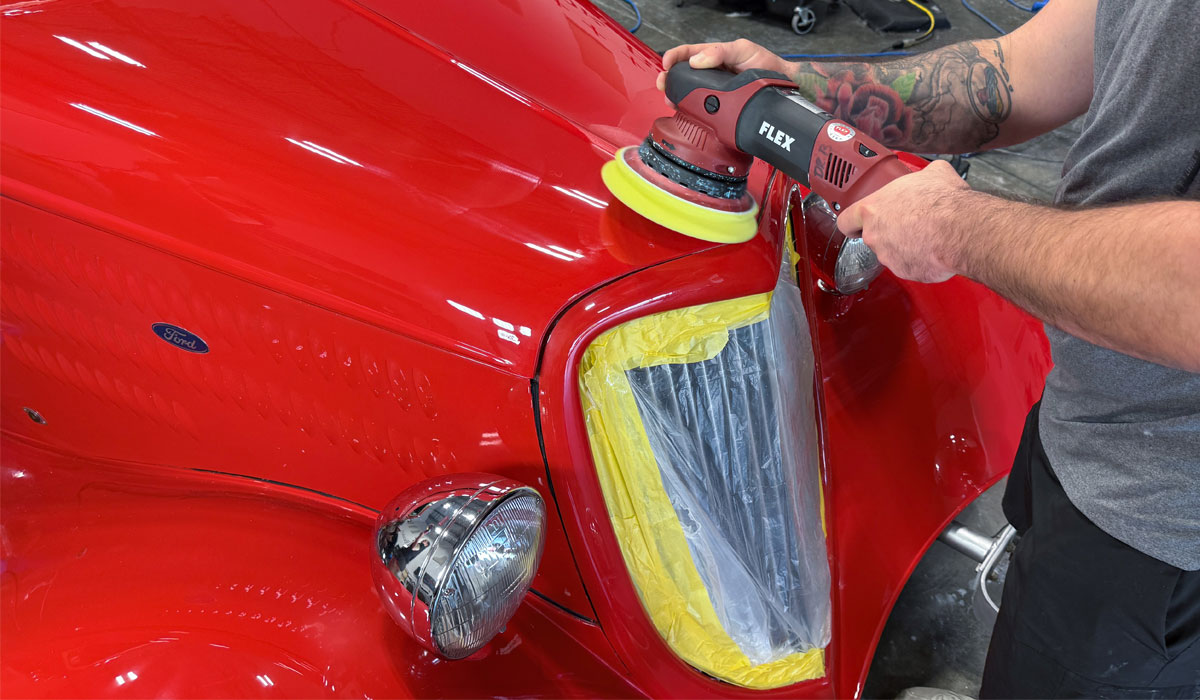
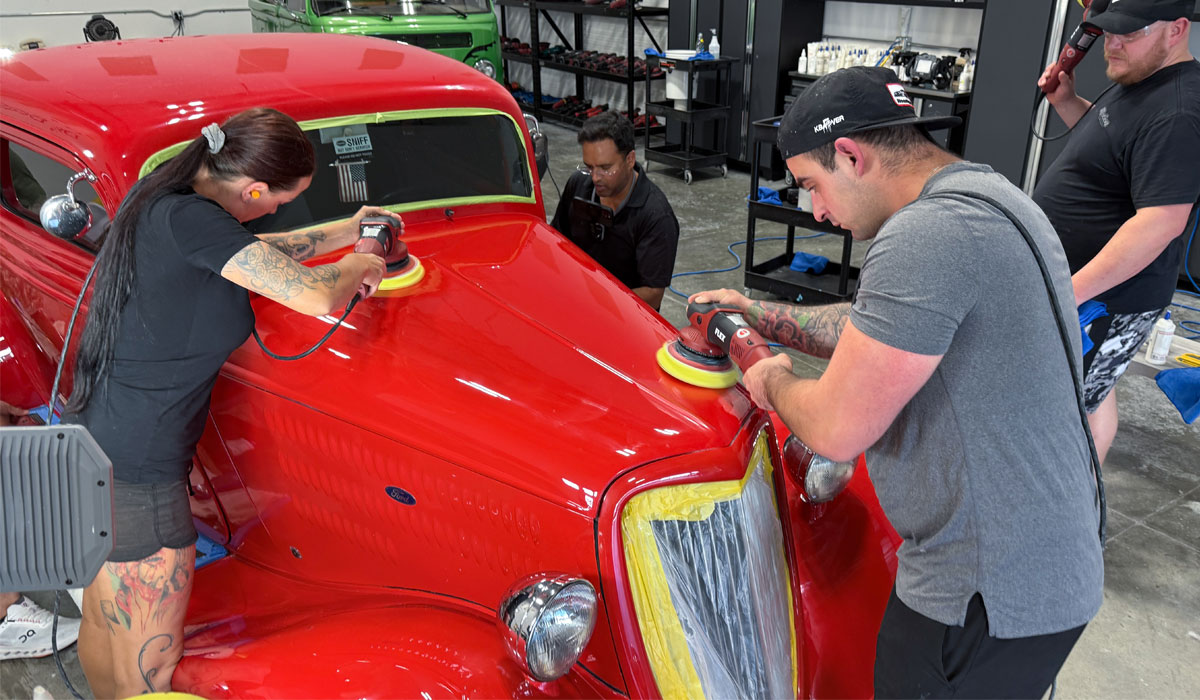
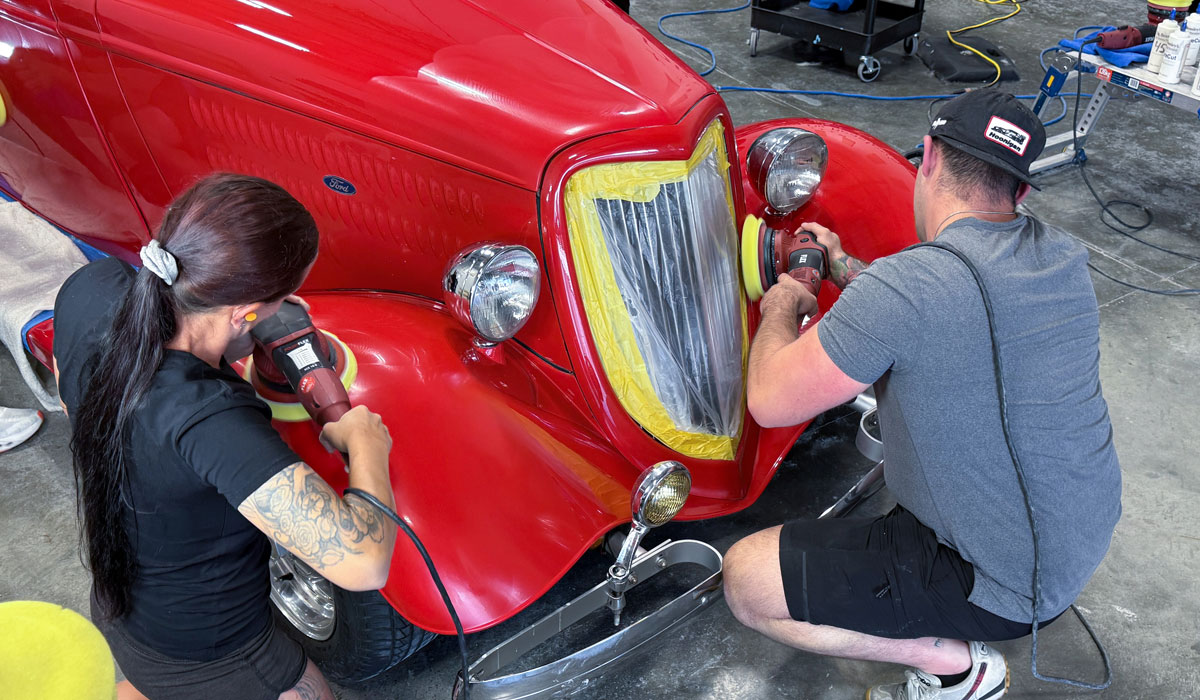
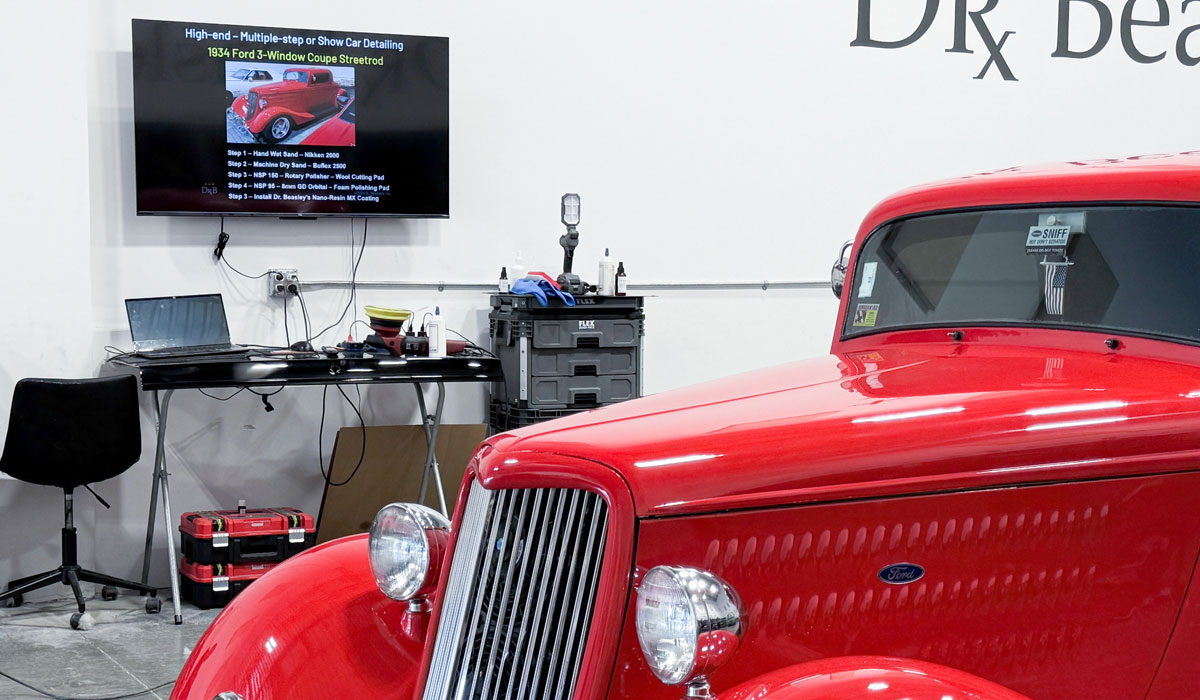
PROCESS
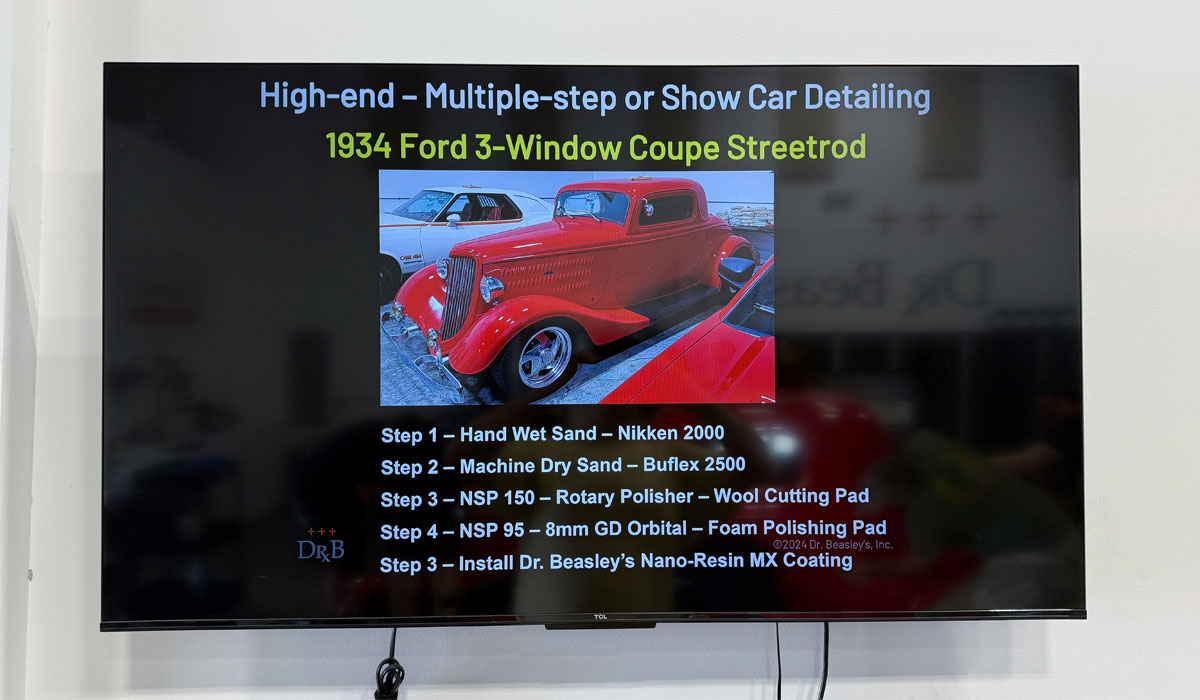
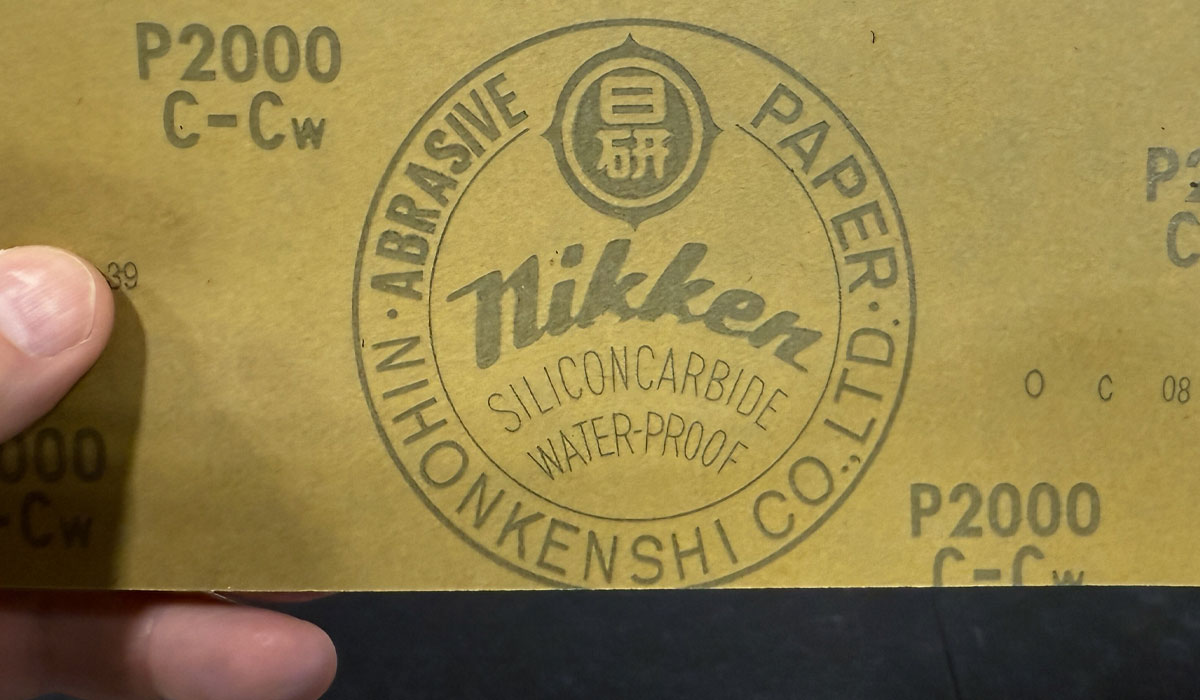
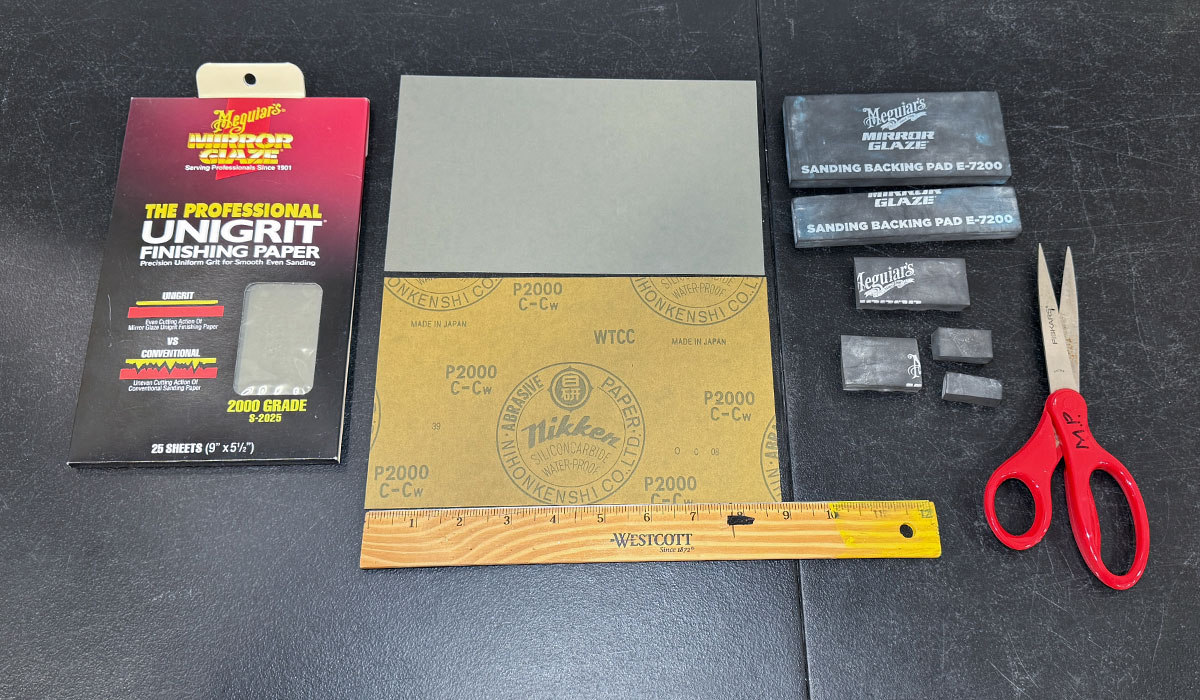
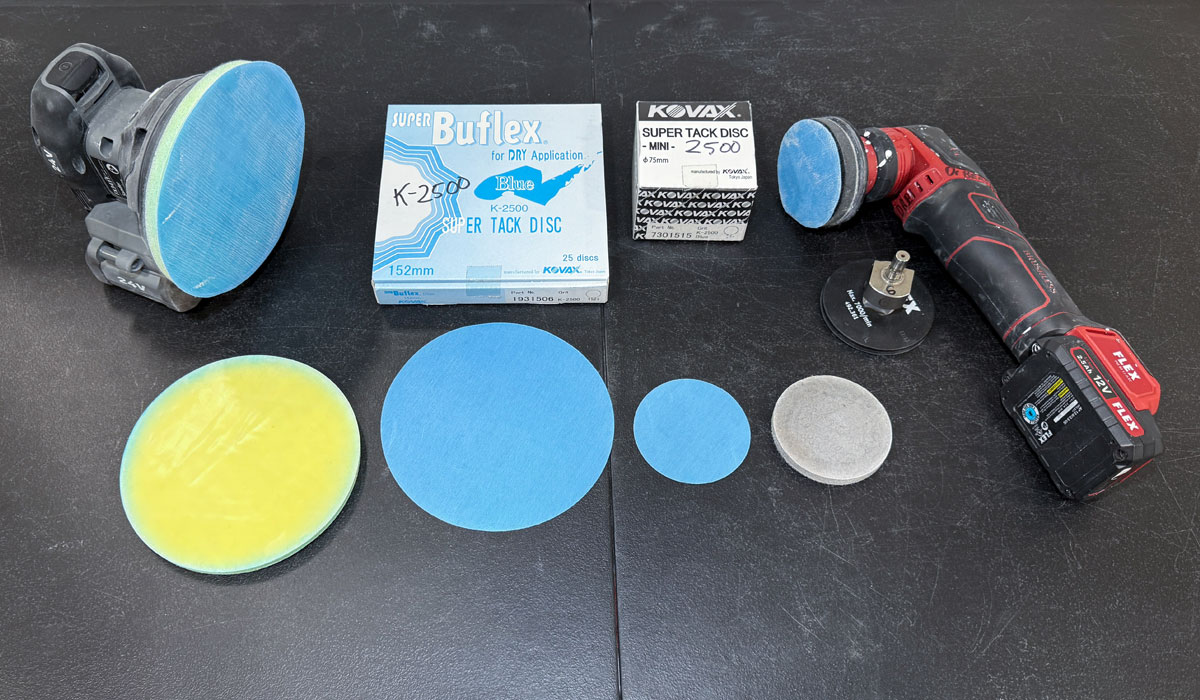
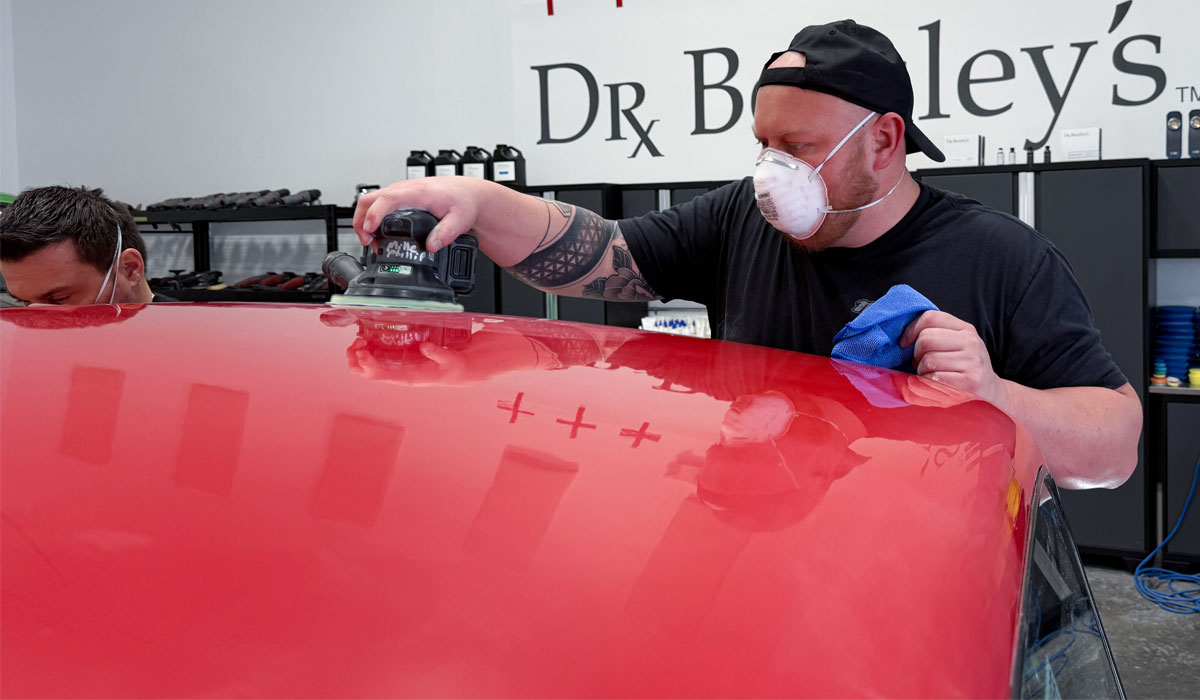
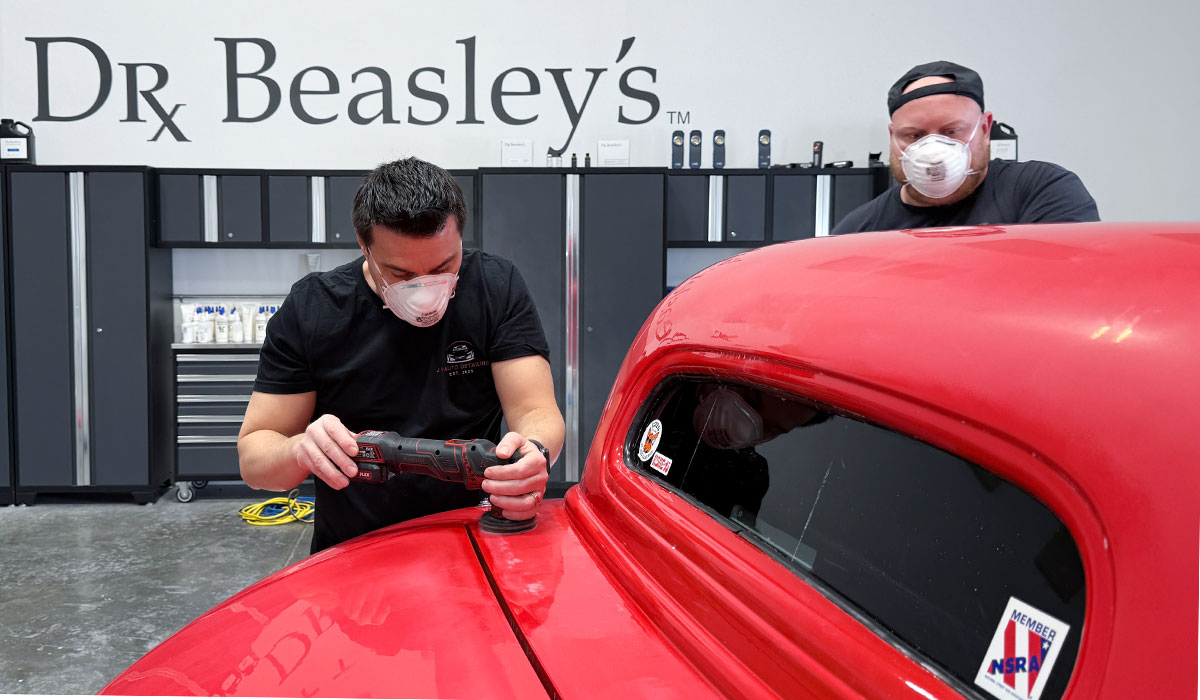
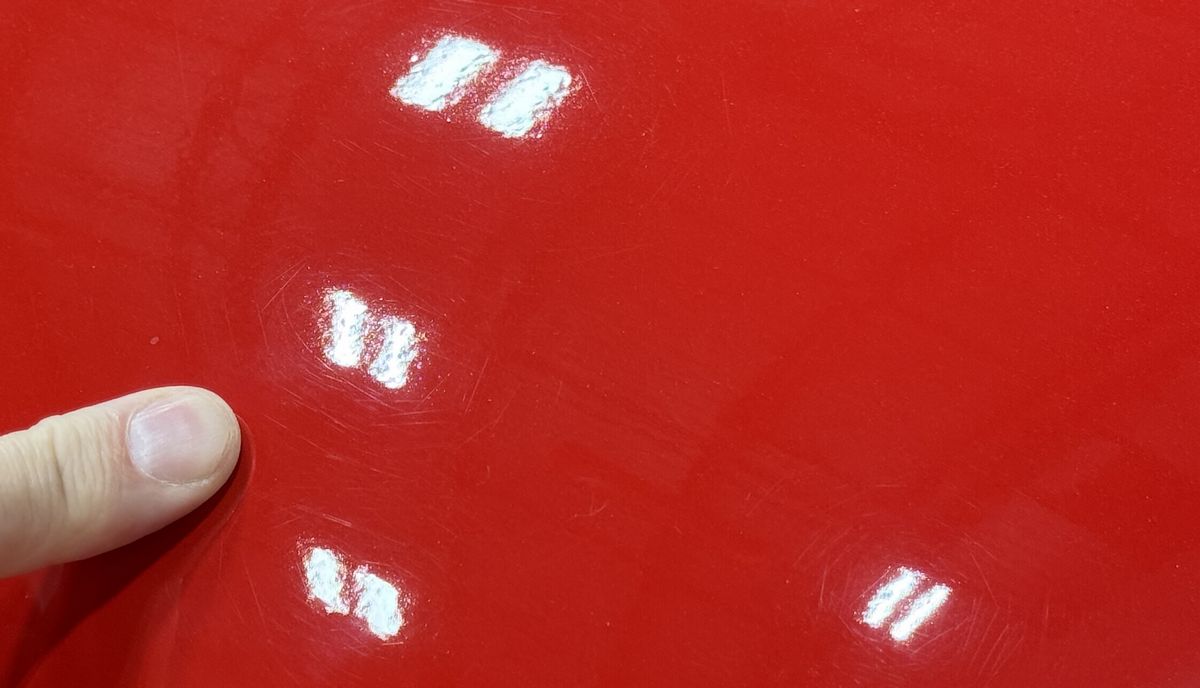
1. Wet Sanding by Hand - Nikken Finishing Papers
2. Machine Sanding Dry - Eagle Abrasives by KOVAX
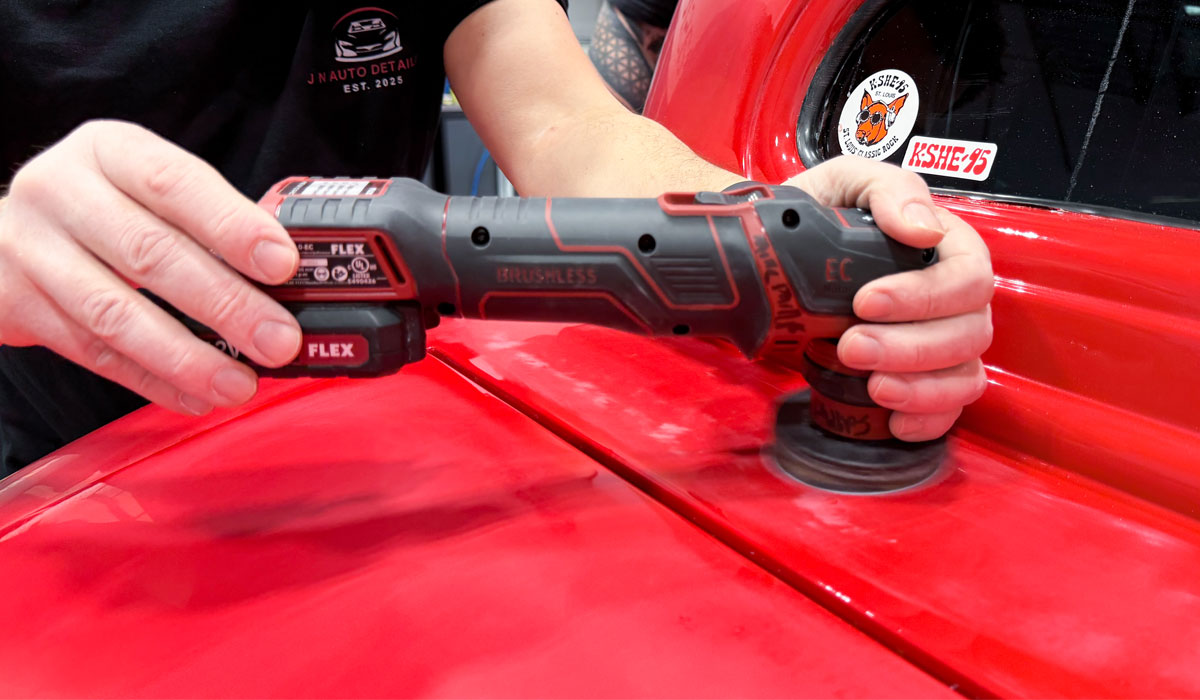
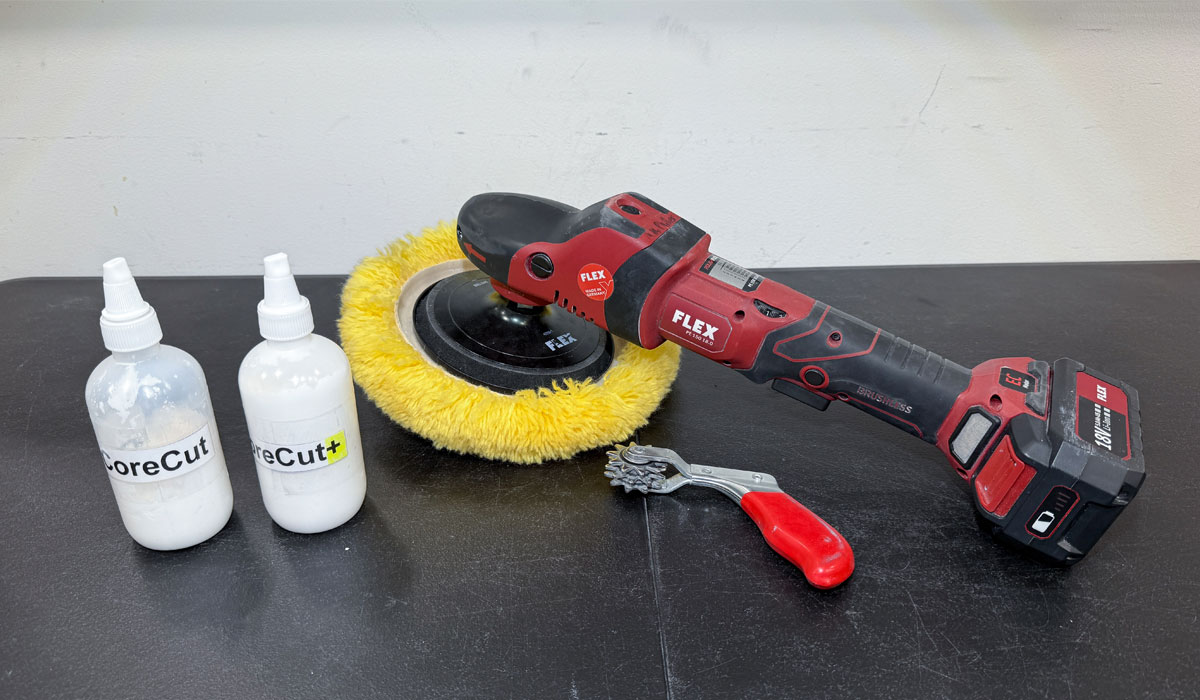
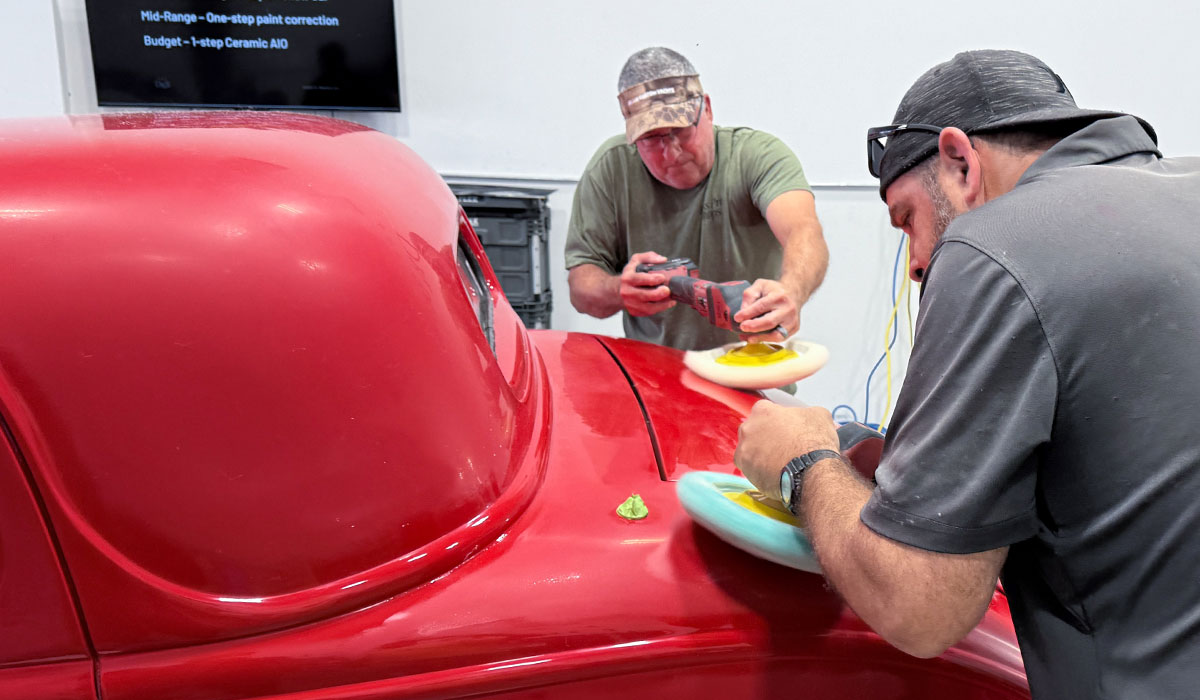
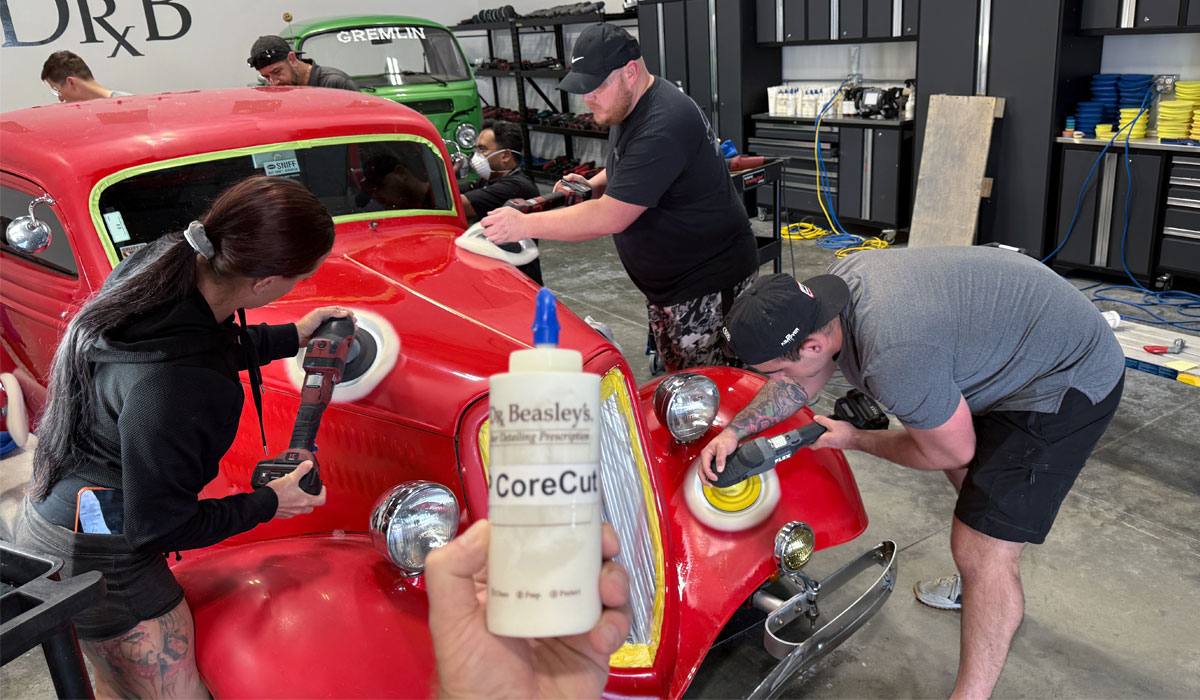
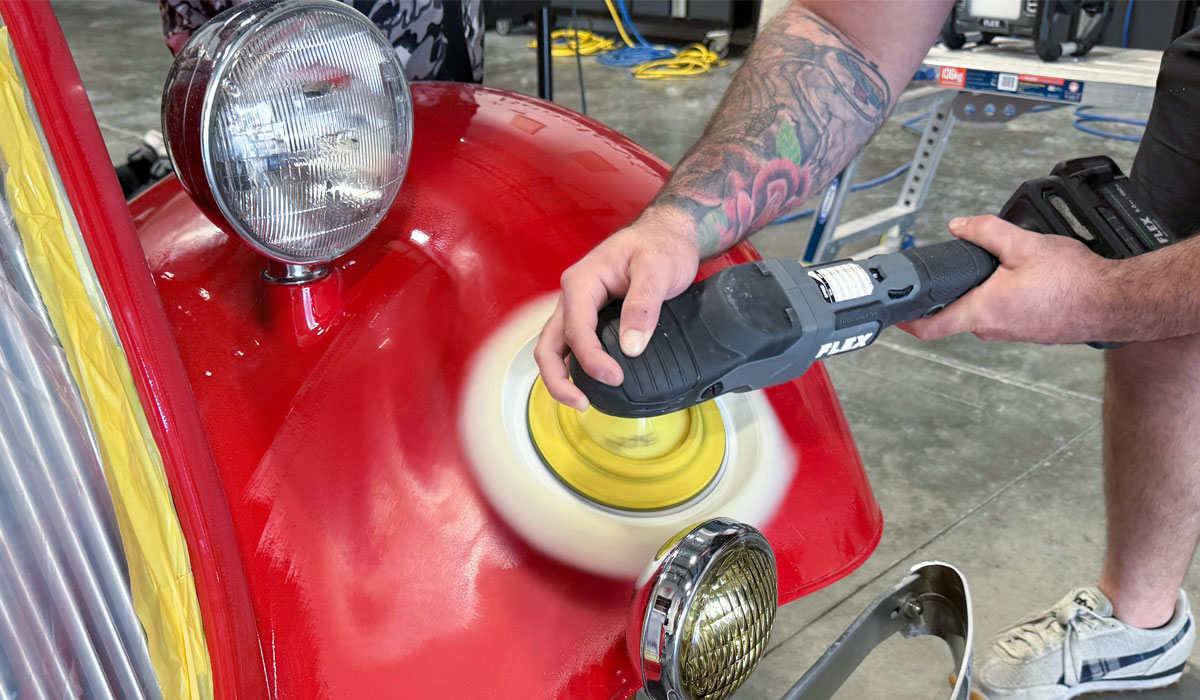
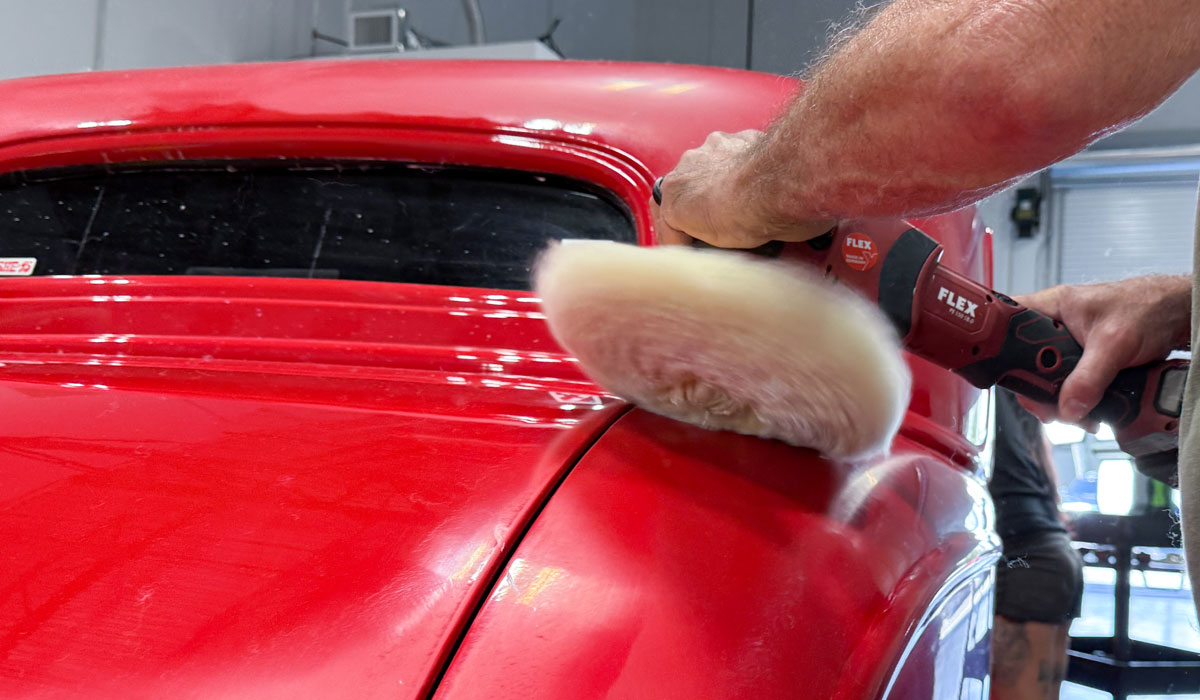
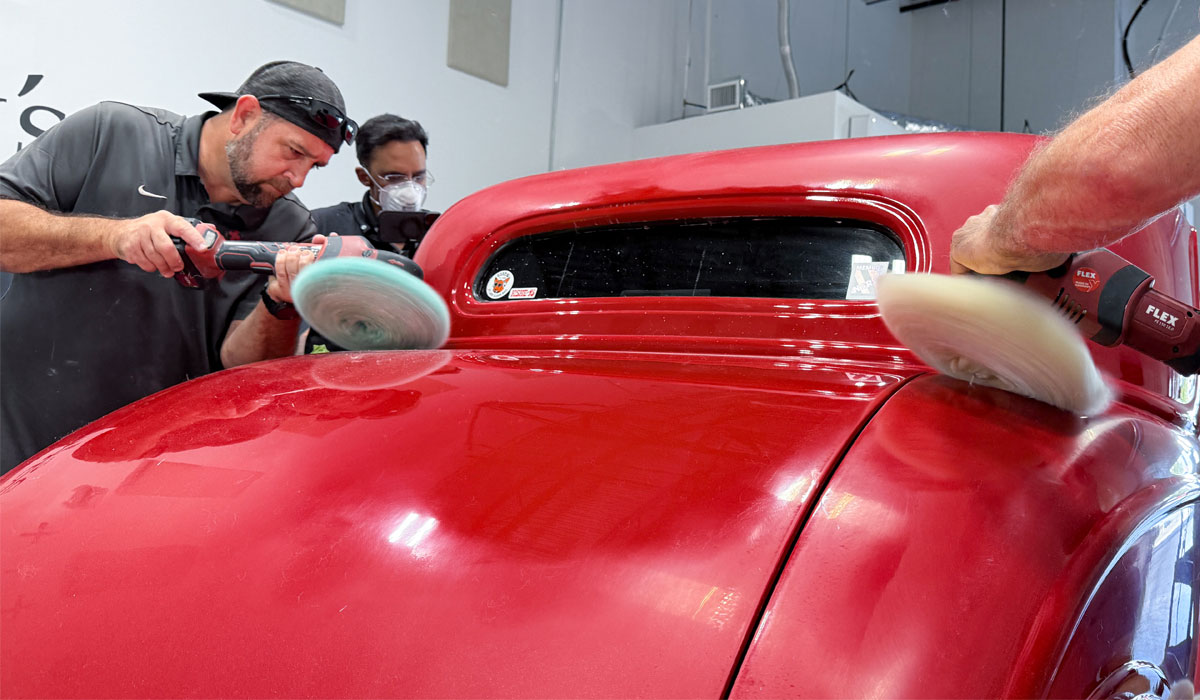
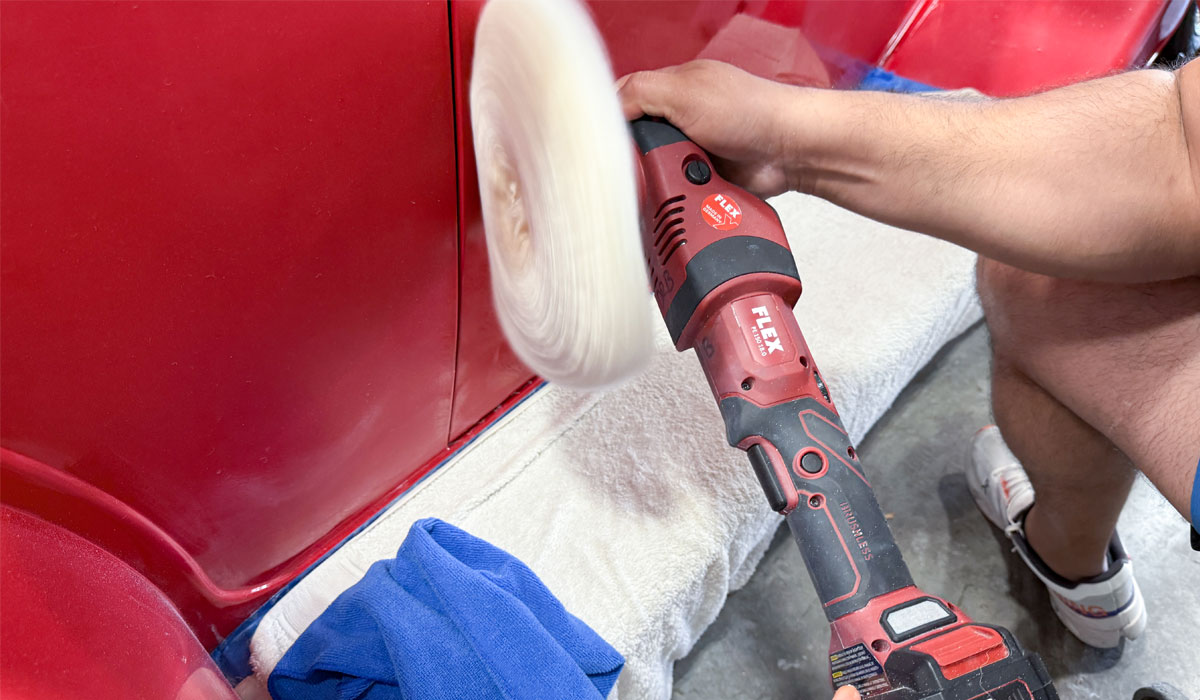
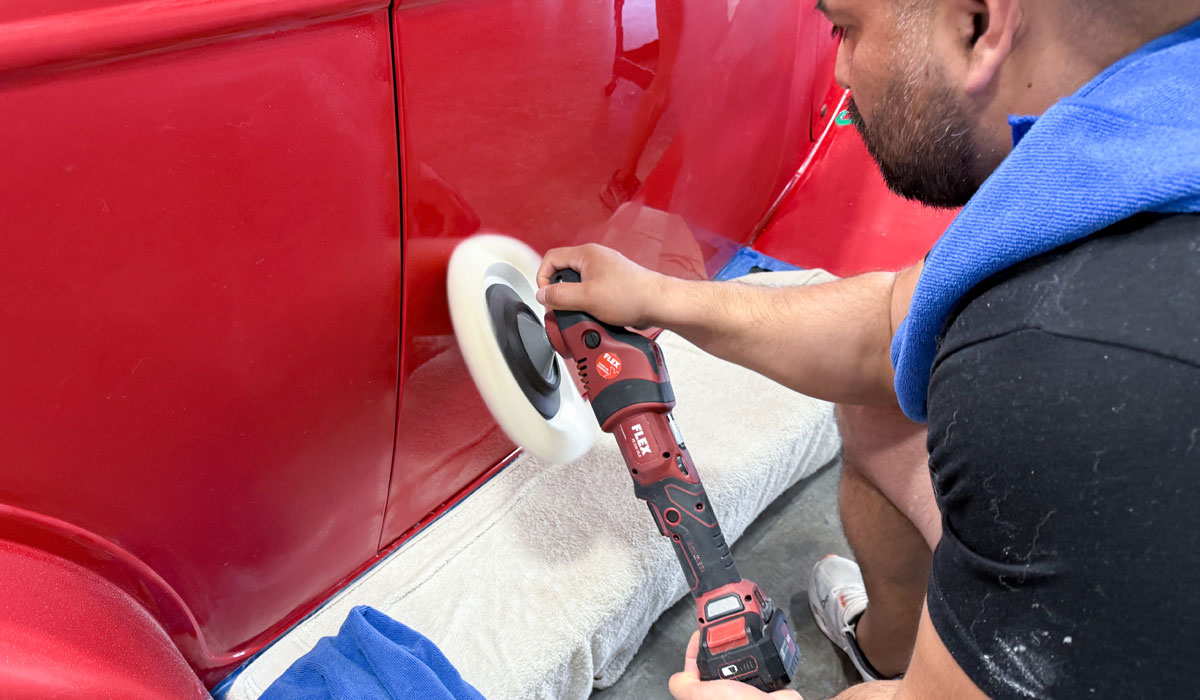
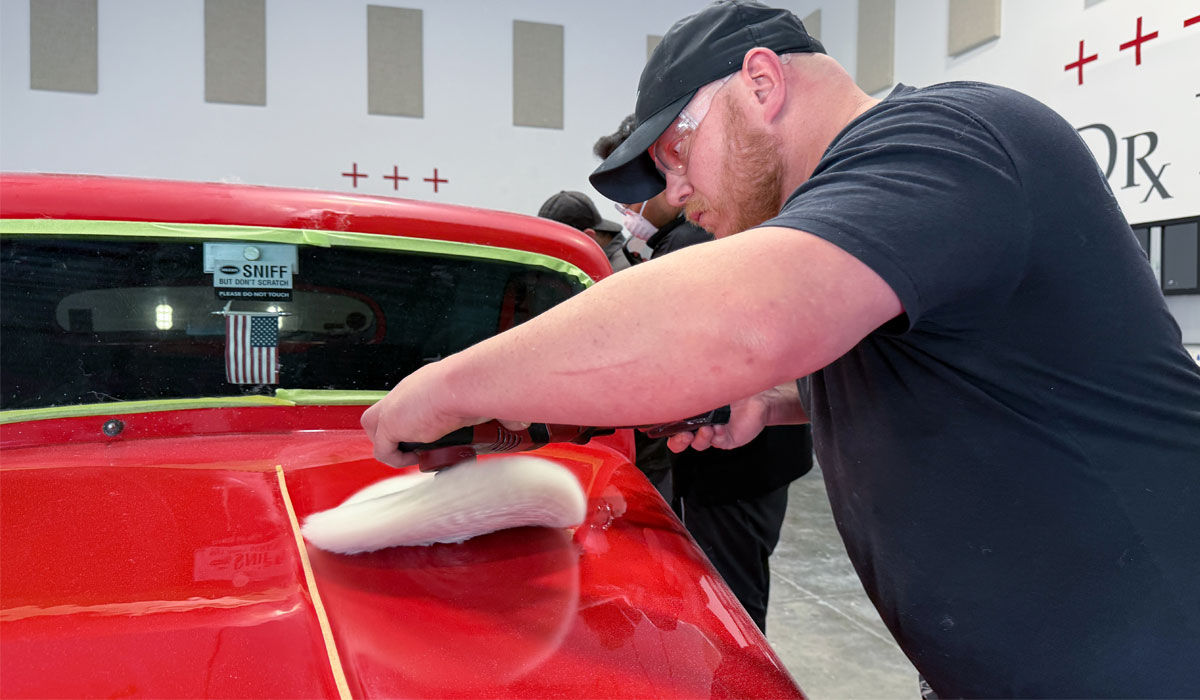
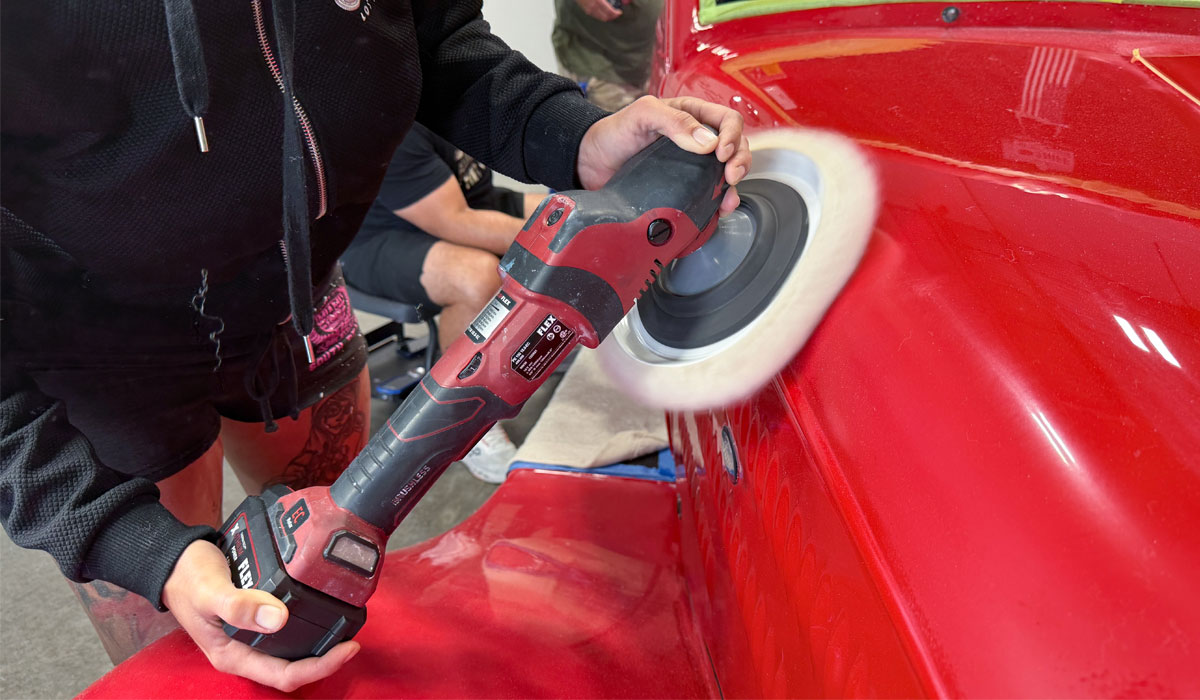
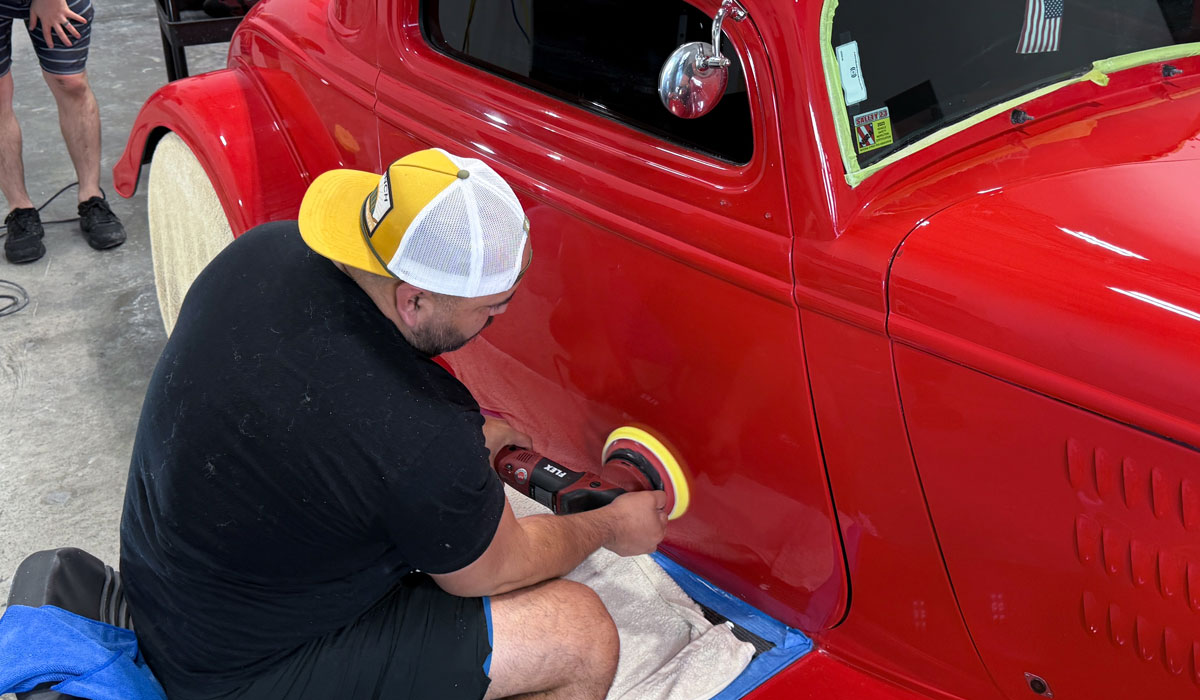
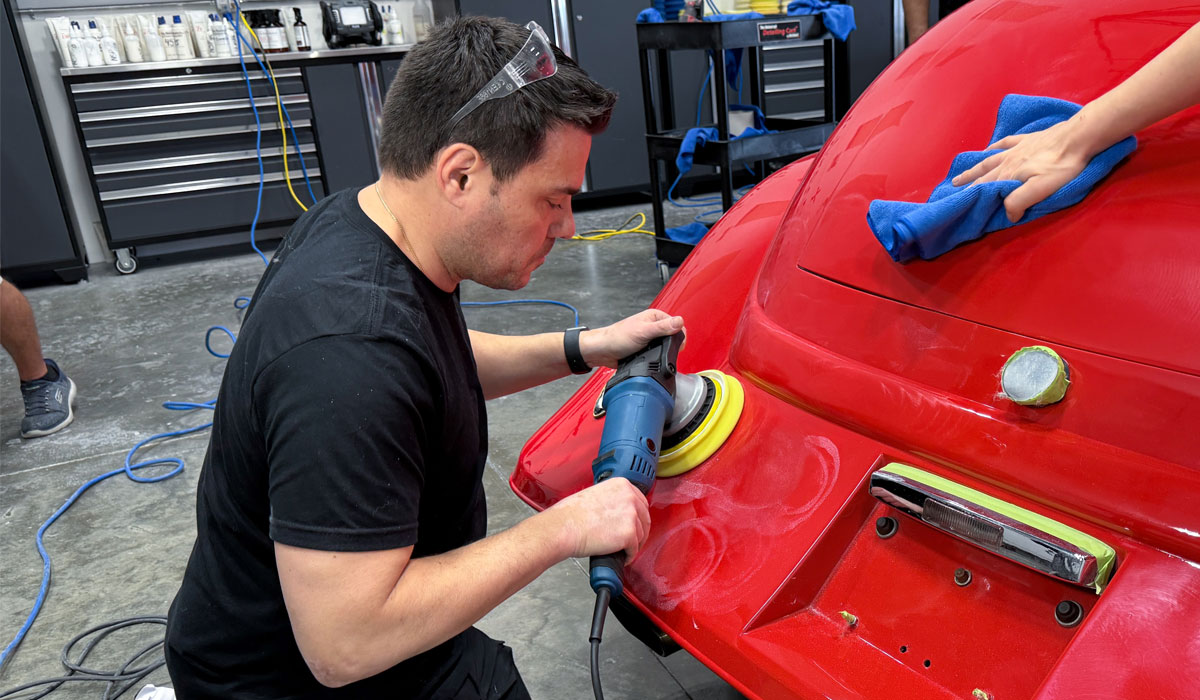
3. Rotary Polishers - Buff and Shine Wool Pad - Dr. Beasley's CoreCut - Remove Sanding Marks
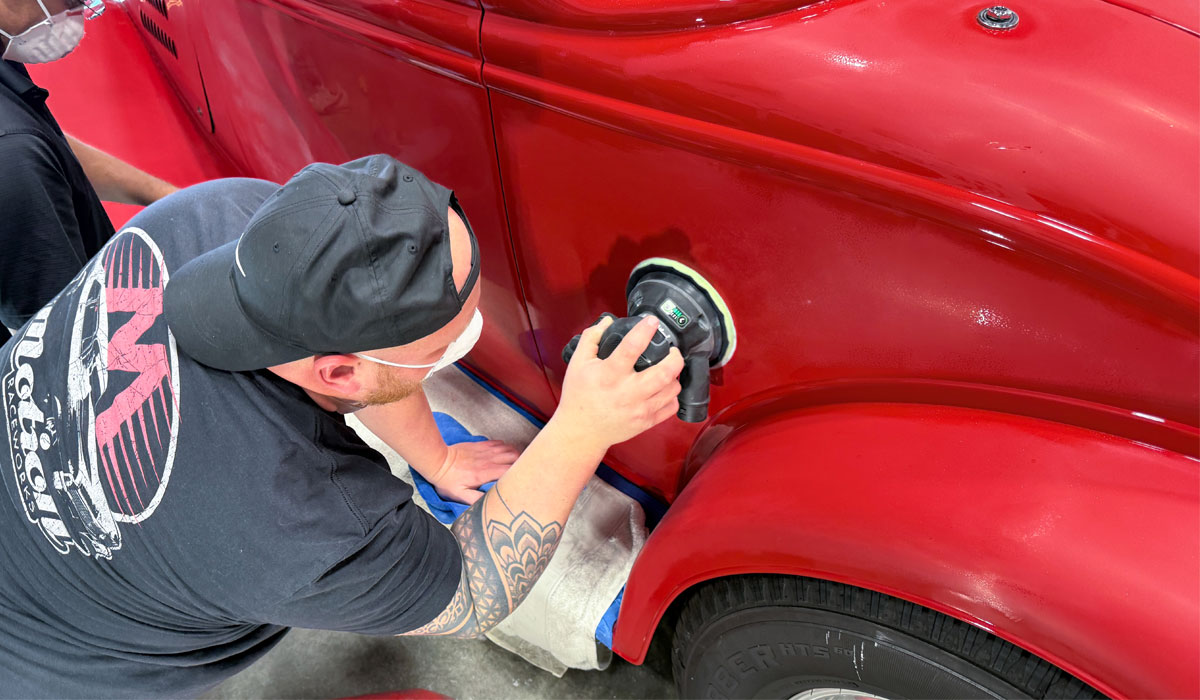
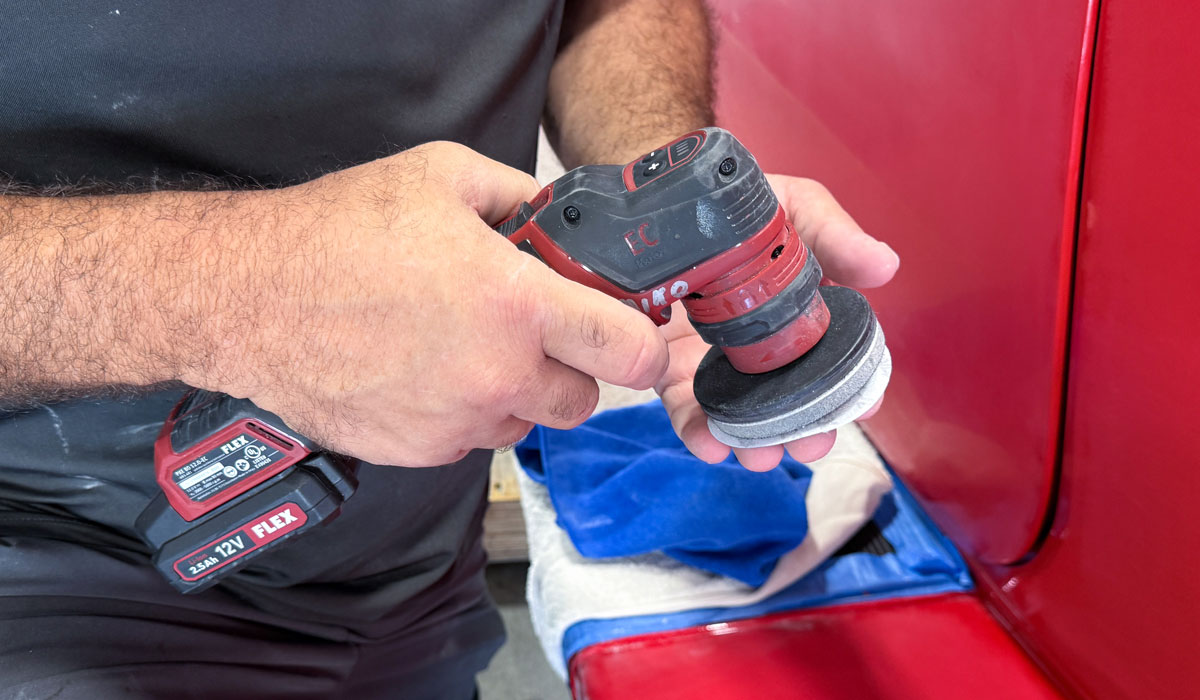
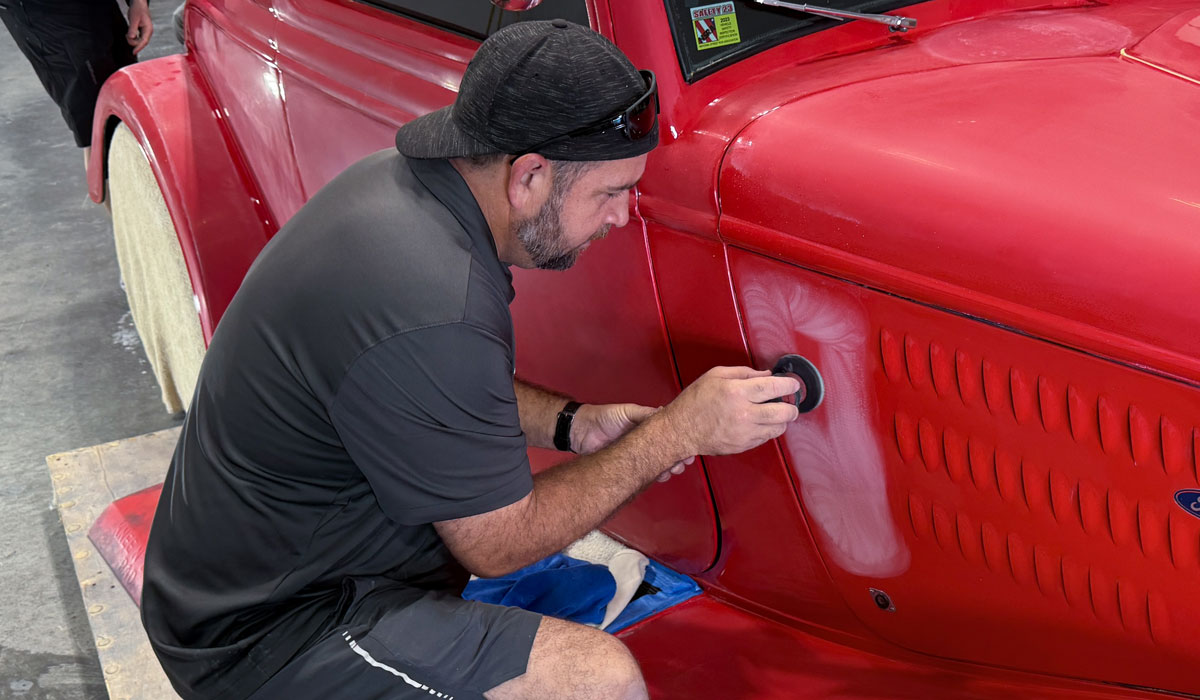
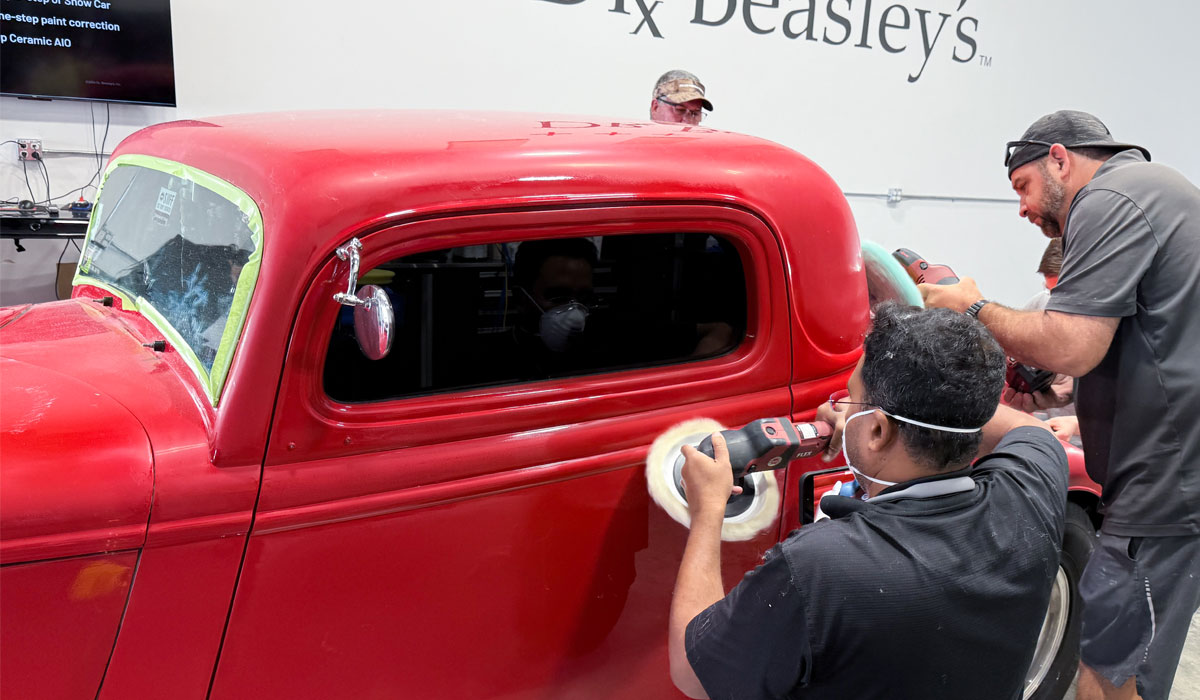
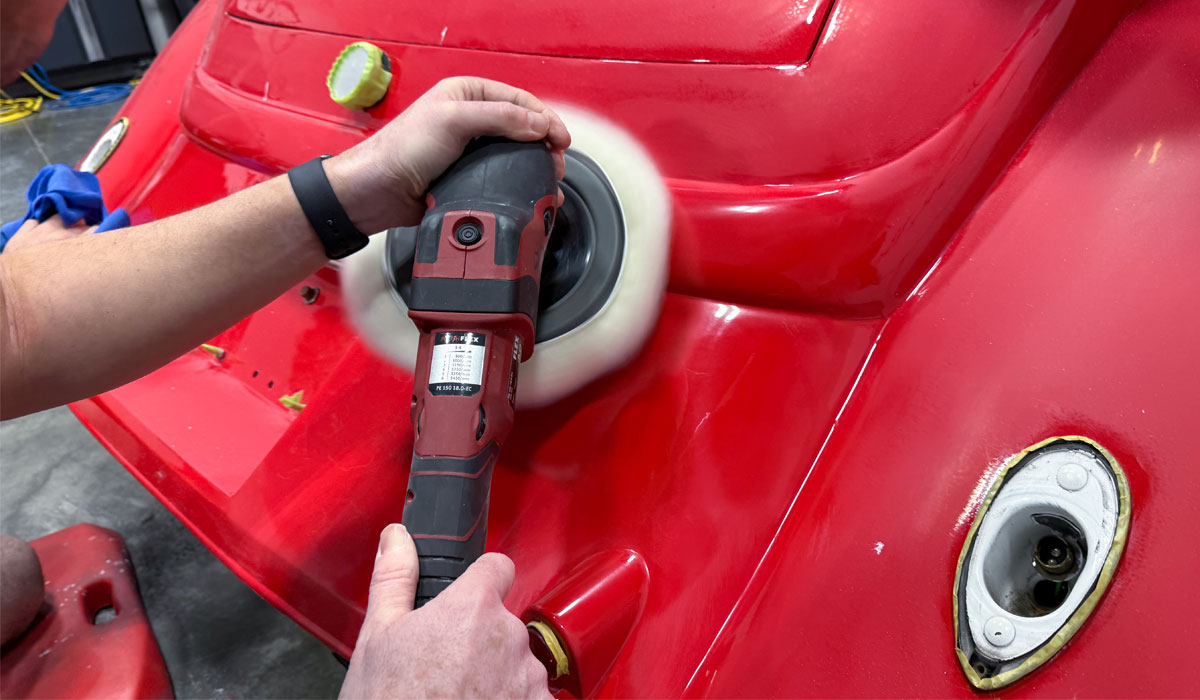
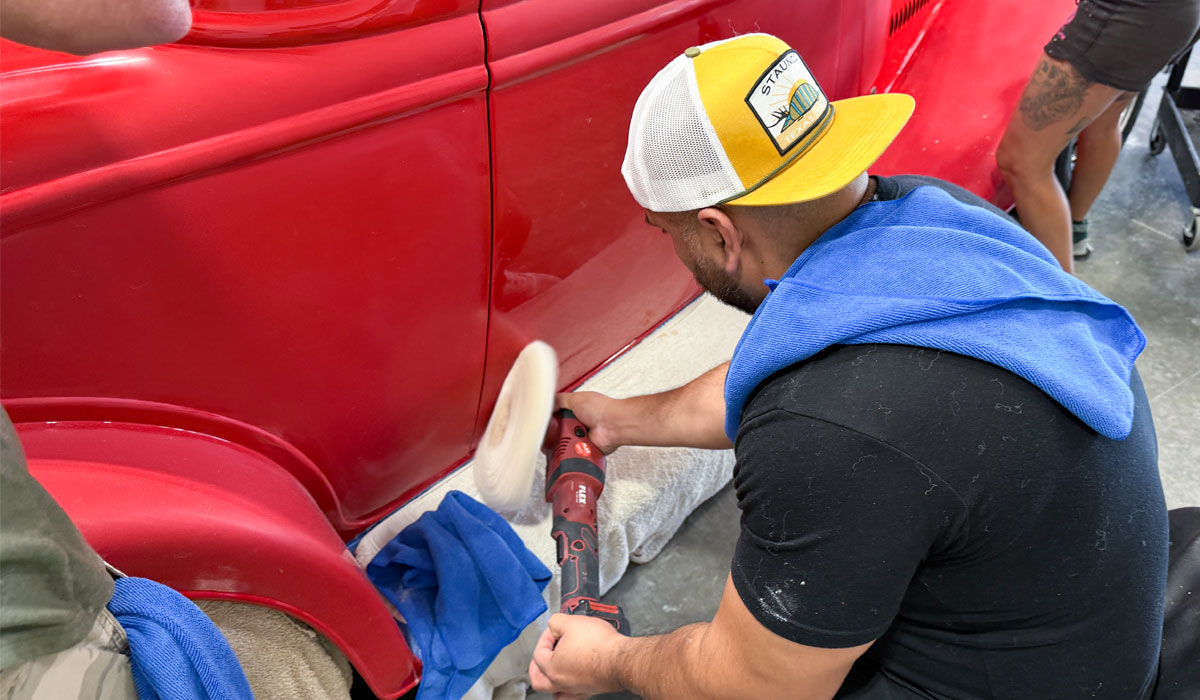
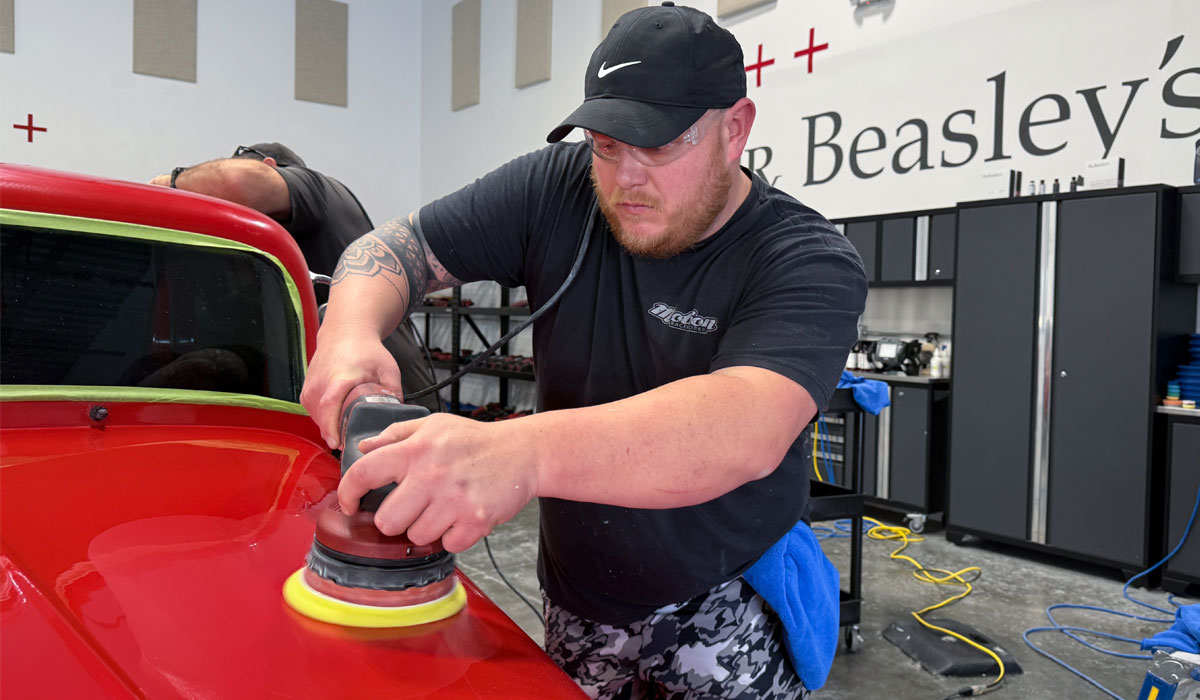
4. Orbital Polishers - Buff and Shine EdgeGuard Foam Pads - Dr. Beasley's NSP Primers
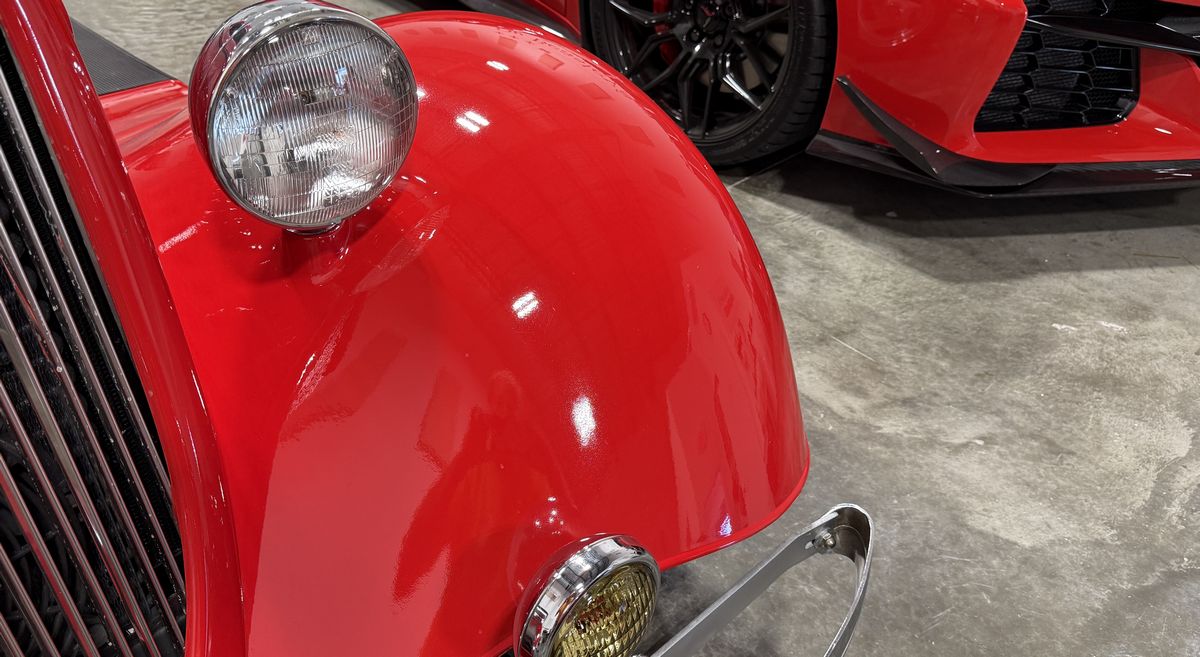
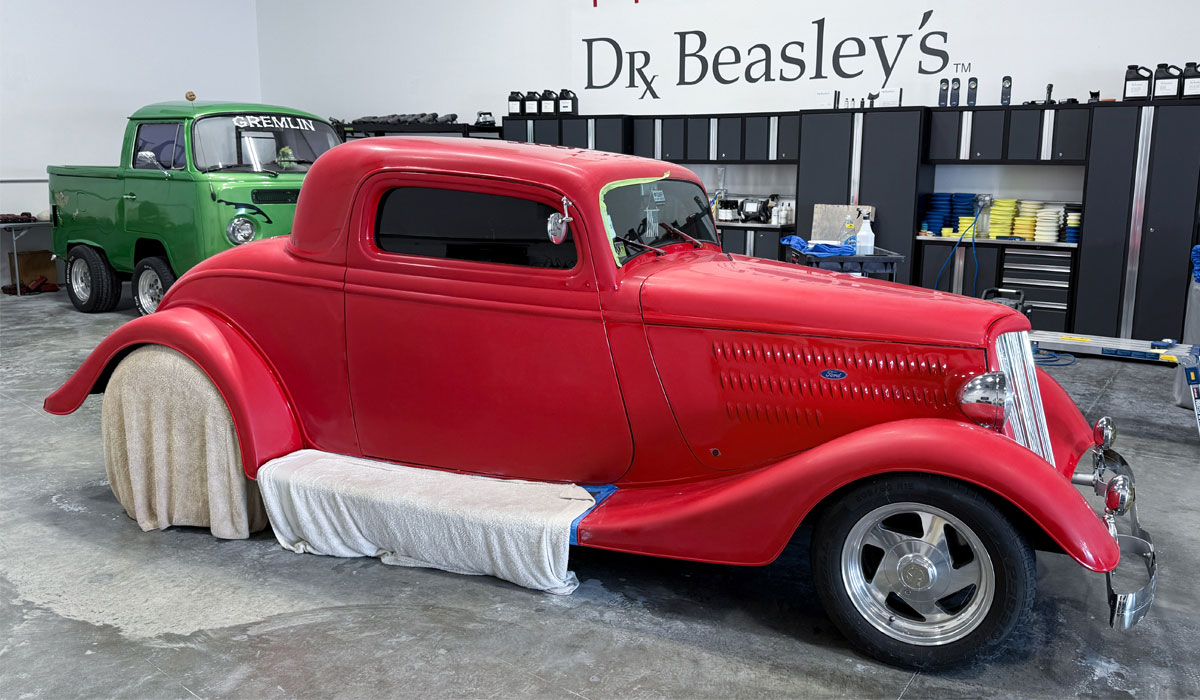
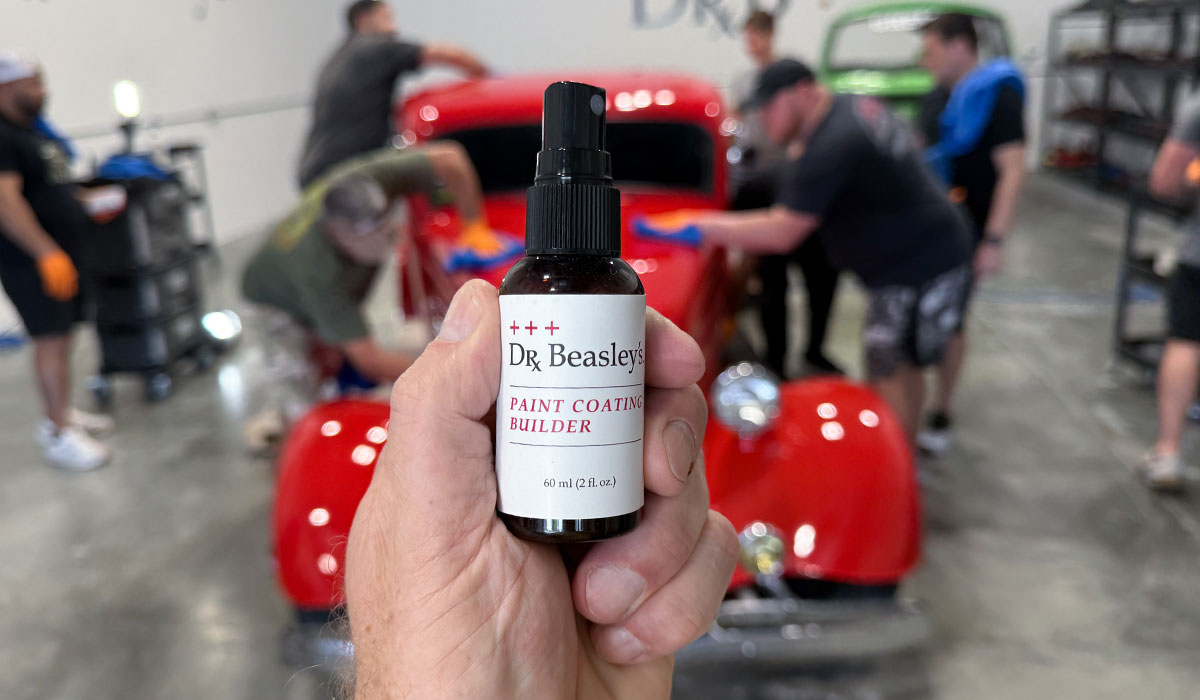
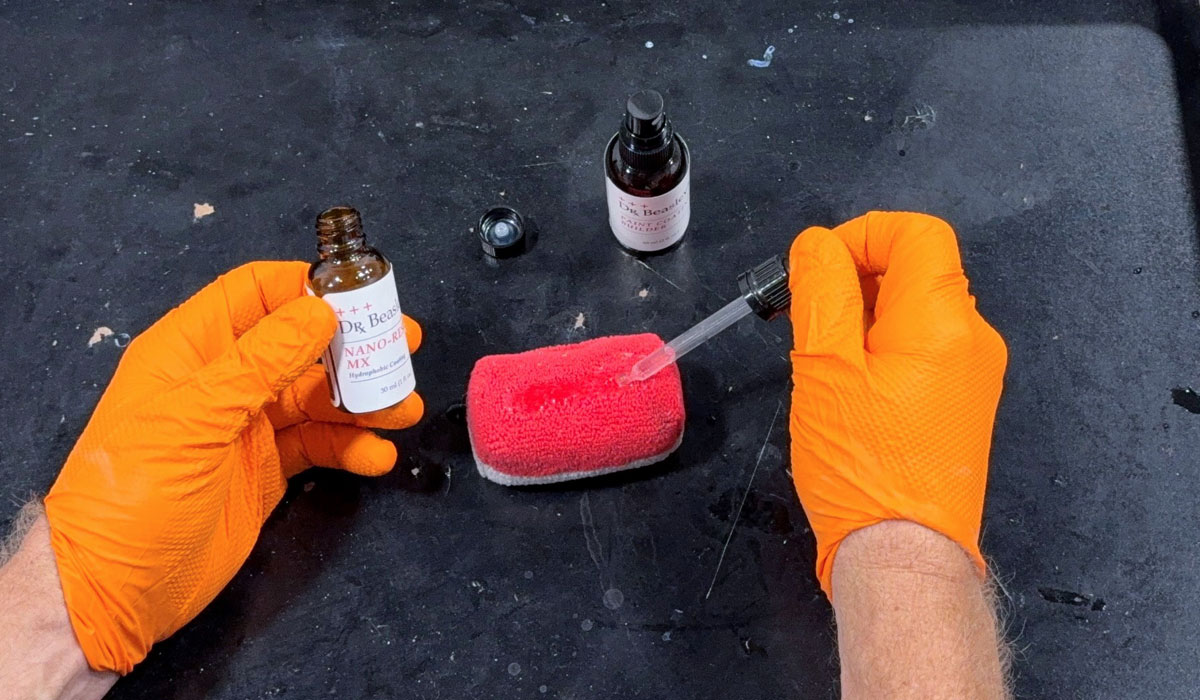
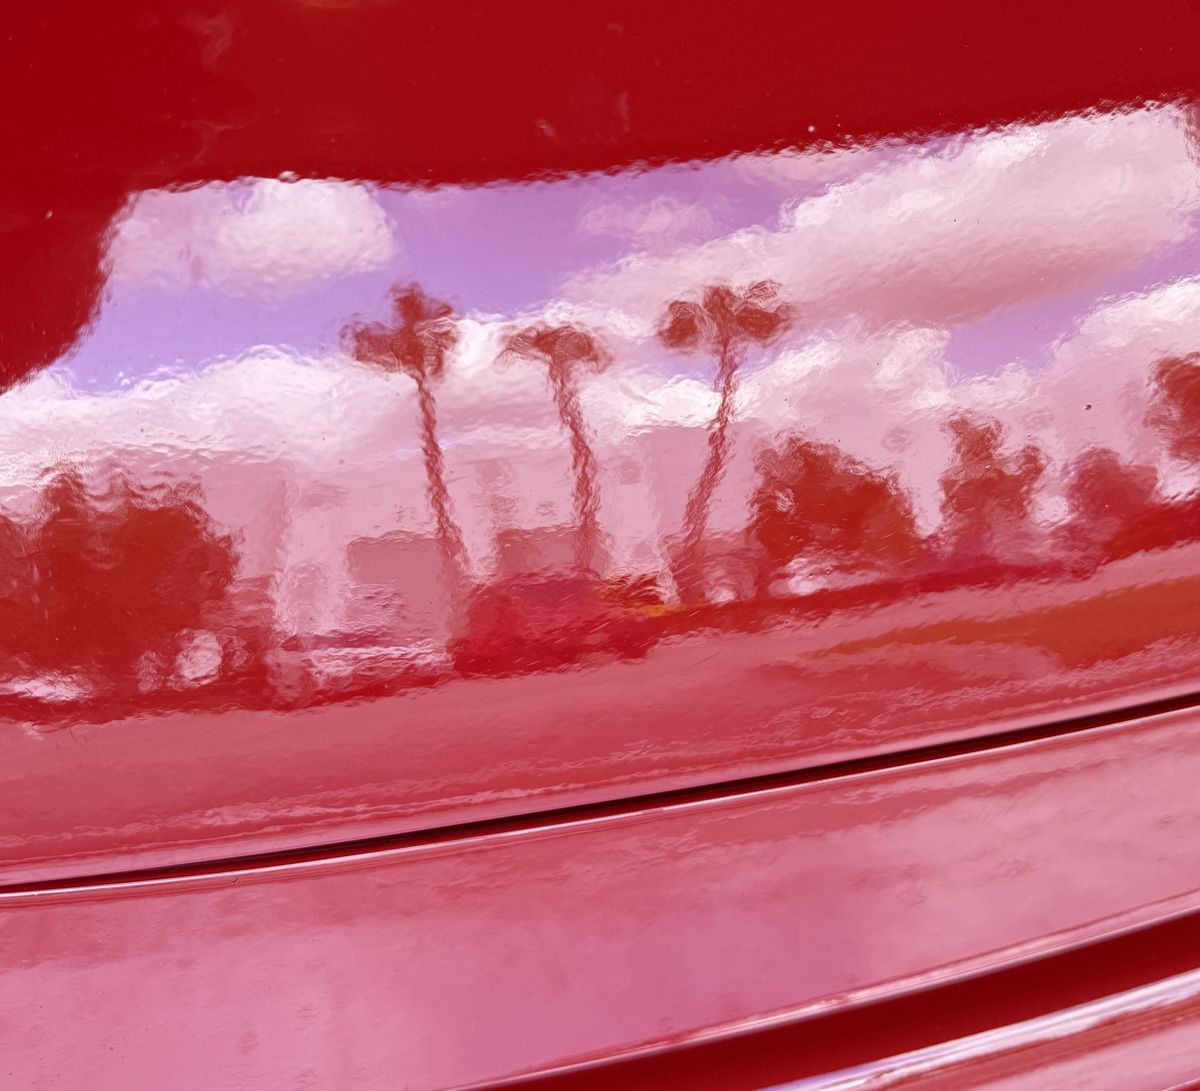
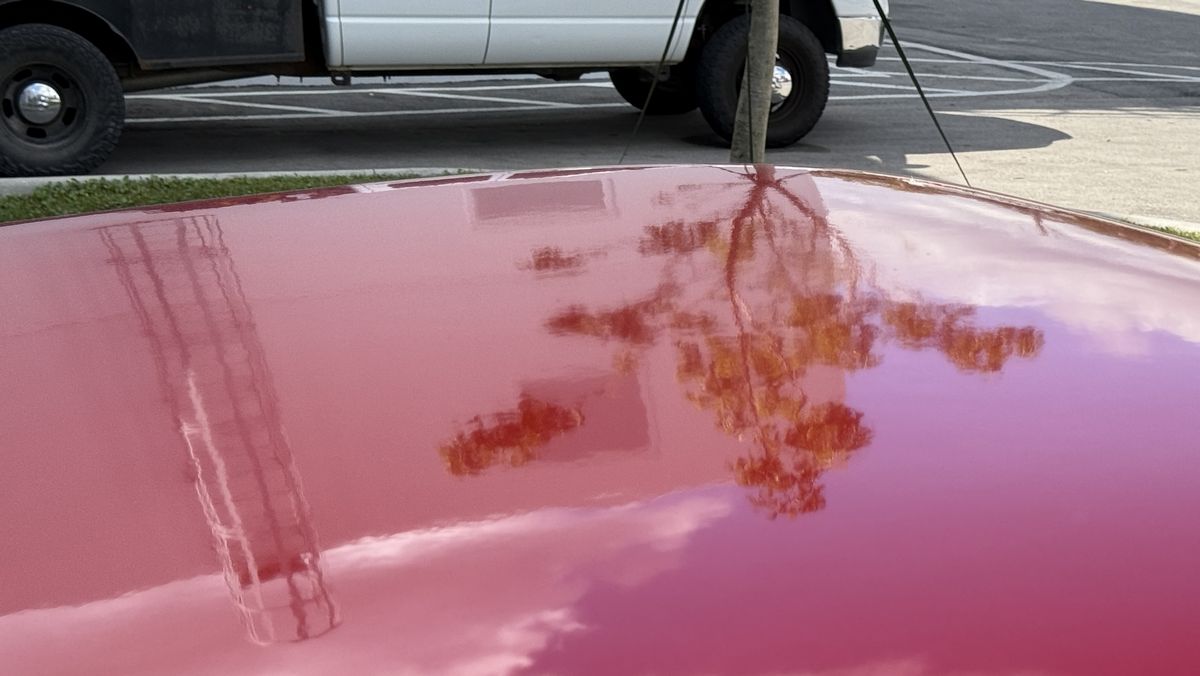
5. Ceramic Coating - Dr. Beasley's - Nano-Resin 2.0
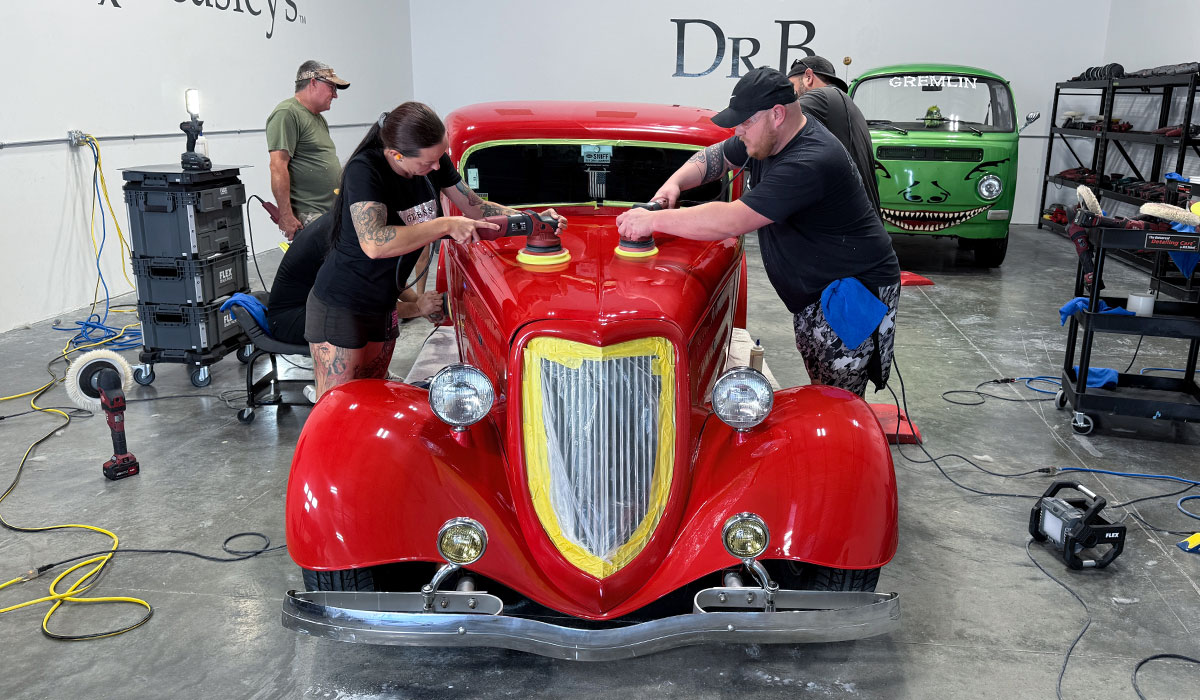
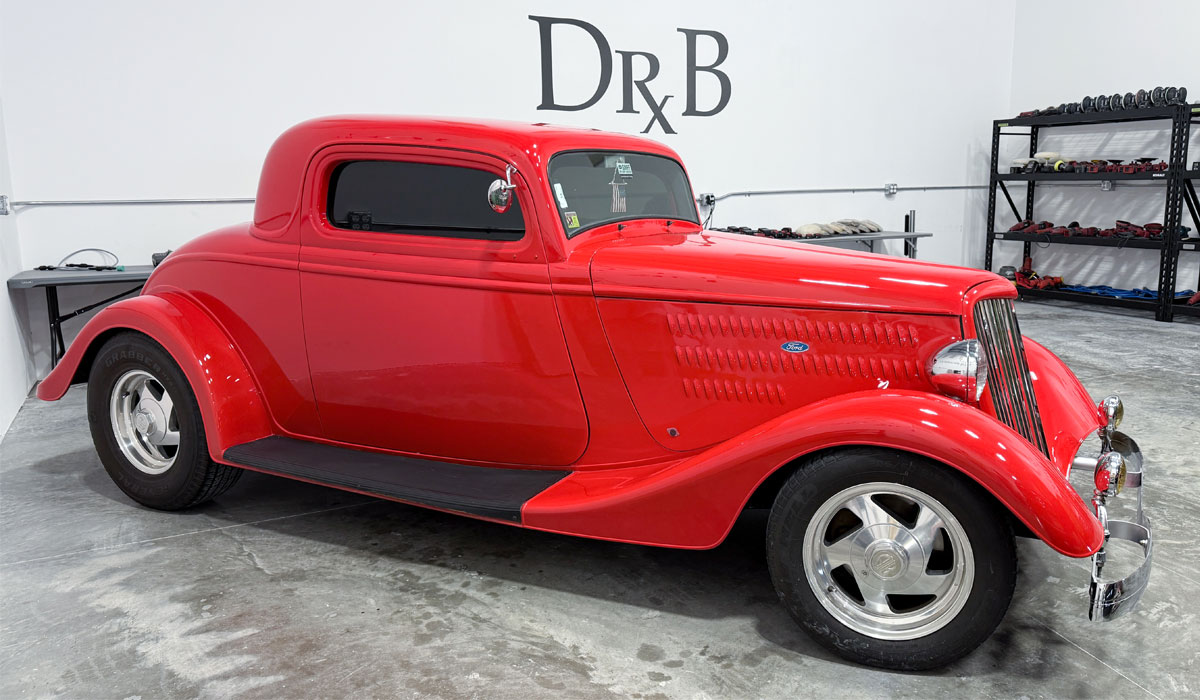
See all the cars detailed with full ACTION shots and final results here,
400+ Pictures - 2-Day Car Detailing Class in Stuart Florida - February 2025
We cover removing orange peel on the second day of our 2-day classes in sunny, Stuart, Florda. Get signed up at Dr. Beasley's website. Click link below to find dates, topics and prices.
Upcoming Detailing Class Schedule
Questions? Shoot me a text or give me a call at: 760-515-0444
-Mike Phillips
This is a recap video showing the class doing all 5 steps to from neglected to respect.
PROCESS
1. Wet Sanding by Hand - Nikken Finishing Papers
2. Machine Sanding Dry - Eagle Abrasives by KOVAX
3. Rotary Polishers - Buff and Shine Wool Pad - Dr. Beasley's CoreCut - Remove Sanding Marks
4. Orbital Polishers - Buff and Shine EdgeGuard Foam Pads - Dr. Beasley's NSP Primers
5. Ceramic Coating - Dr. Beasley's - Nano-Resin 2.0
See all the cars detailed with full ACTION shots and final results here,
400+ Pictures - 2-Day Car Detailing Class in Stuart Florida - February 2025
We cover removing orange peel on the second day of our 2-day classes in sunny, Stuart, Florda. Get signed up at Dr. Beasley's website. Click link below to find dates, topics and prices.
Upcoming Detailing Class Schedule
Questions? Shoot me a text or give me a call at: 760-515-0444
-Mike Phillips
Last edited: