JR107
New member
So I have been building an airplane the last couple of years, and one the the not so fun parts of it is the process of making molds. (Building - or rather modifying an existing one for racing)
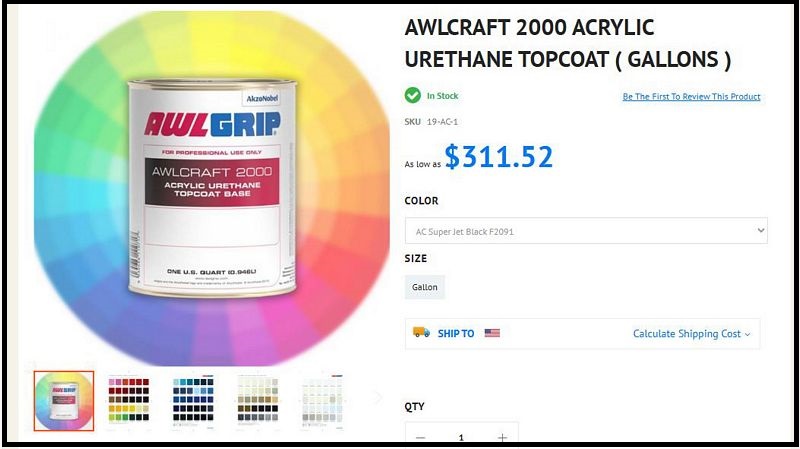
The paint used on the plugs that the molds will be pulled from is a modified polyester urethane. Essentially a cross between a gel coat and an old school urethane. All I can say is that it is absolutely humbling how much it sucks to correct in order to achieve a "Class A" finish.
Mike - I may have found the perfect training aid for some of your classes. This is the 6th plug I have made and it doesn't get any easier. The main reason is due to how hard the paint is, every defect has to be fixed as you progress or it just will not be removed by the time you get to the compounding stage.
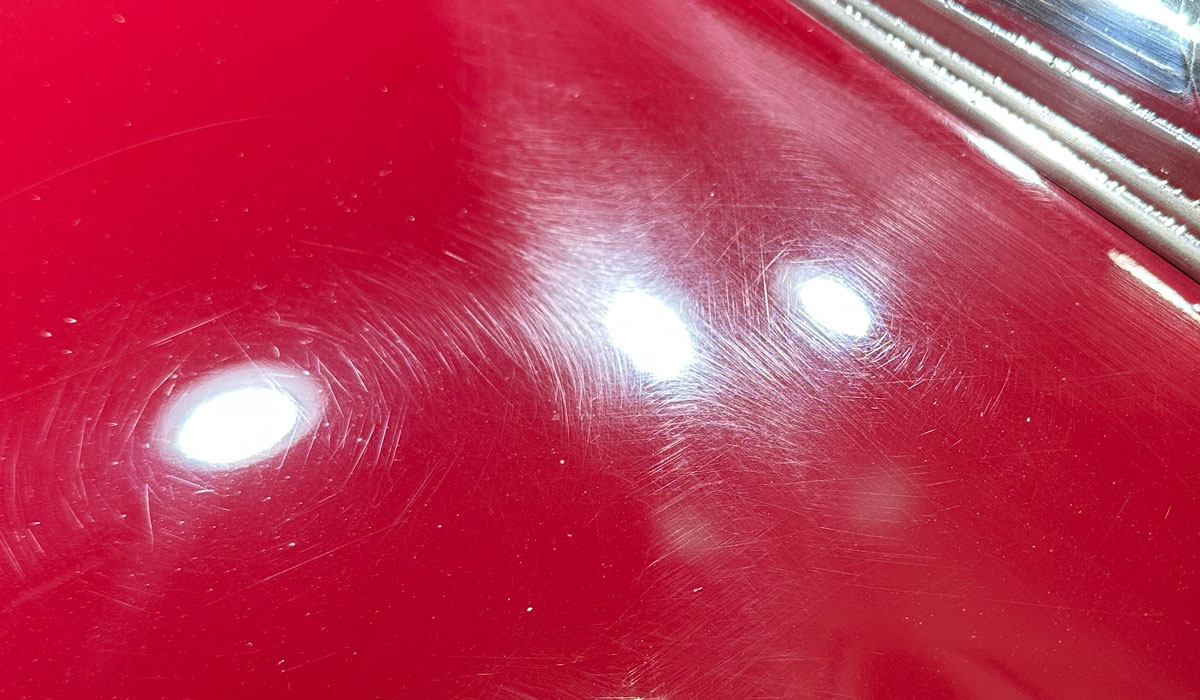
Here are the pics (click for full size): 1st image has been blocked from 80 grit, 120, 220, 320, 400, and then wet sanded 400, 600, 800, 1000, 1200, & 1500. Sanding aid is 10ml ONR in 16oz water.

2nd image is one pass with Meguire's M100 on a rotary with wool pad. One pass = L to R, up to down, L to R slow to medium movement at ~ 2500 rpm.
I have found that Menzerna SH Cut 300 works faster but produces significantly more heat so therefore I switched back to M100.

Shocking just how many 1500 grit scratches are left. This was mainly to demonstrate just how hard the paint is. I learned by about the 2nd plug that sanding to 2000 was required.
3rd image wet sanded compounded area with 2000 grit cross hatched like the rest of them.

4th image is yet another pass with rotary and M100

5th image is another pass with rotary and M100. Gyeon Prep was used between each pass and before each picture. Still a few marks remaining after a total of 3 passes or 9 times overlapping.

Last image is after a fourth pass with rotary and then a finish pass with Sonax Perfect Finish, Rupes Fine Microfiber on a Flex XCE. On some vehicles you would have some shinny metal after 12 total passes of a rotary

Another strange behavior of this paint is the lack of holograms. The overhead shop lights are 30,000 lumens each and are 25 foot off the ground so plenty bright to be able to see one or two, but even with a Scangrip w/out overhead lights there is not the first hologram.
The paint used on the plugs that the molds will be pulled from is a modified polyester urethane. Essentially a cross between a gel coat and an old school urethane. All I can say is that it is absolutely humbling how much it sucks to correct in order to achieve a "Class A" finish.
Mike - I may have found the perfect training aid for some of your classes. This is the 6th plug I have made and it doesn't get any easier. The main reason is due to how hard the paint is, every defect has to be fixed as you progress or it just will not be removed by the time you get to the compounding stage.
Here are the pics (click for full size): 1st image has been blocked from 80 grit, 120, 220, 320, 400, and then wet sanded 400, 600, 800, 1000, 1200, & 1500. Sanding aid is 10ml ONR in 16oz water.
2nd image is one pass with Meguire's M100 on a rotary with wool pad. One pass = L to R, up to down, L to R slow to medium movement at ~ 2500 rpm.
I have found that Menzerna SH Cut 300 works faster but produces significantly more heat so therefore I switched back to M100.
Shocking just how many 1500 grit scratches are left. This was mainly to demonstrate just how hard the paint is. I learned by about the 2nd plug that sanding to 2000 was required.
3rd image wet sanded compounded area with 2000 grit cross hatched like the rest of them.
4th image is yet another pass with rotary and M100
5th image is another pass with rotary and M100. Gyeon Prep was used between each pass and before each picture. Still a few marks remaining after a total of 3 passes or 9 times overlapping.
Last image is after a fourth pass with rotary and then a finish pass with Sonax Perfect Finish, Rupes Fine Microfiber on a Flex XCE. On some vehicles you would have some shinny metal after 12 total passes of a rotary
Another strange behavior of this paint is the lack of holograms. The overhead shop lights are 30,000 lumens each and are 25 foot off the ground so plenty bright to be able to see one or two, but even with a Scangrip w/out overhead lights there is not the first hologram.


")