- Admin
- #13
- Joined
- May 21, 2021
- Messages
- 2,636
- Reaction score
- 1,572
- Points
- 113
- Location
- Stuart, Florida
- Website
- themikephillipsforum.com
More...
Next up...
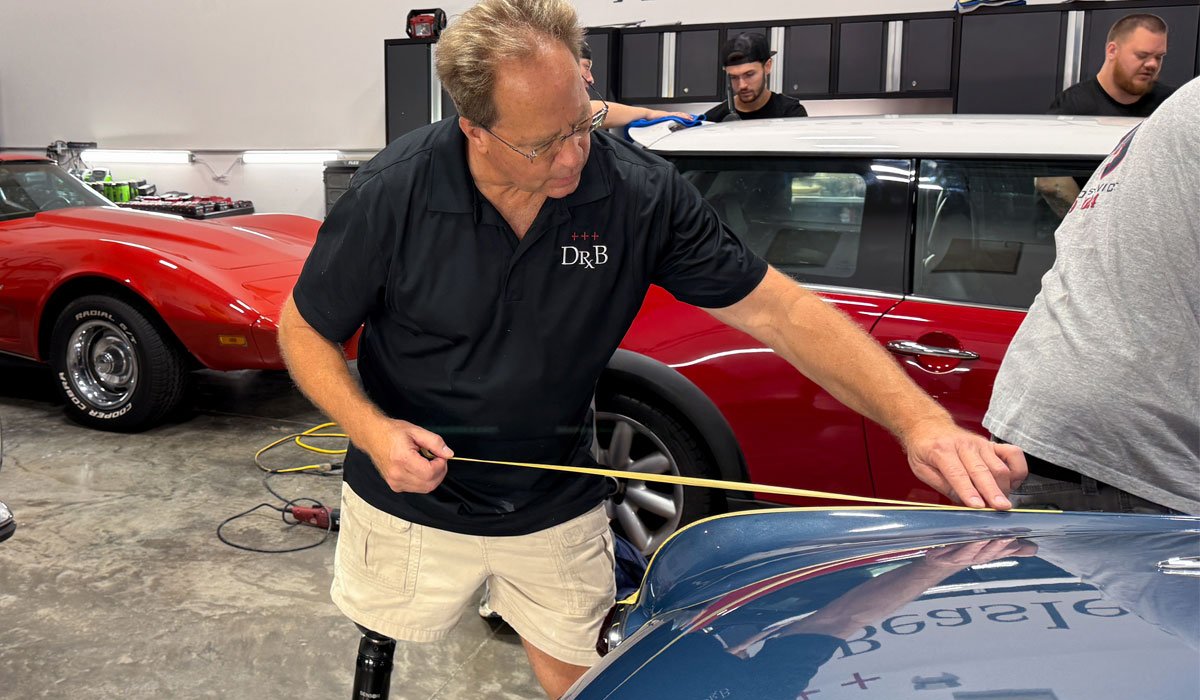
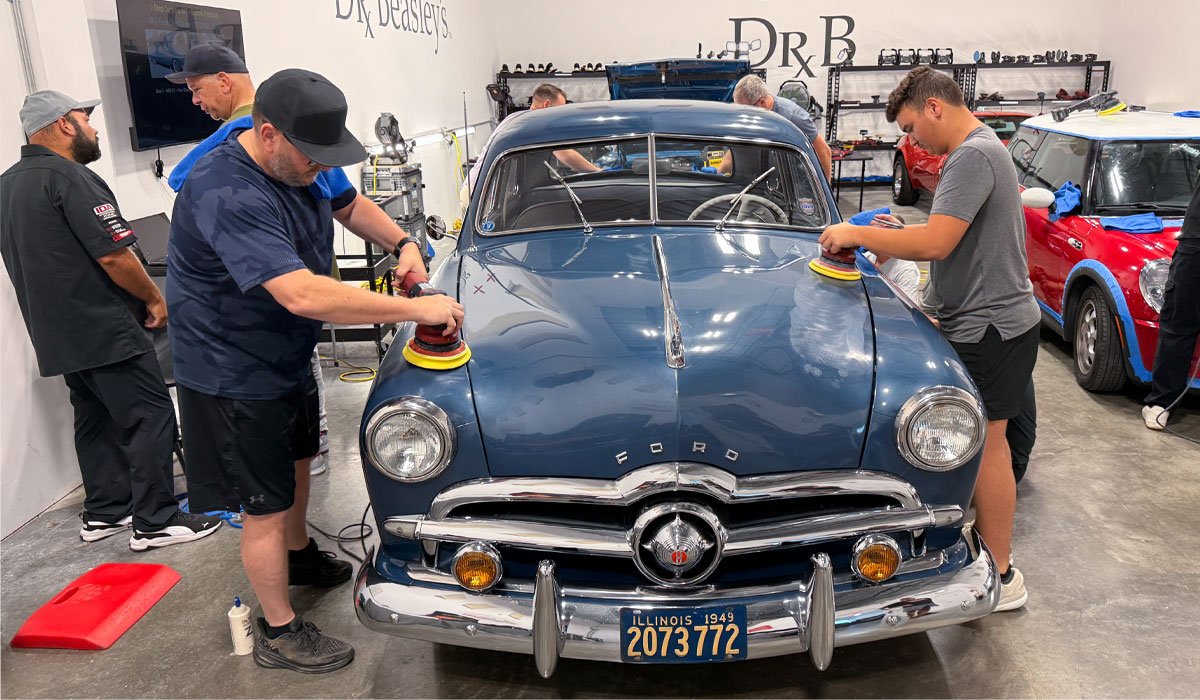
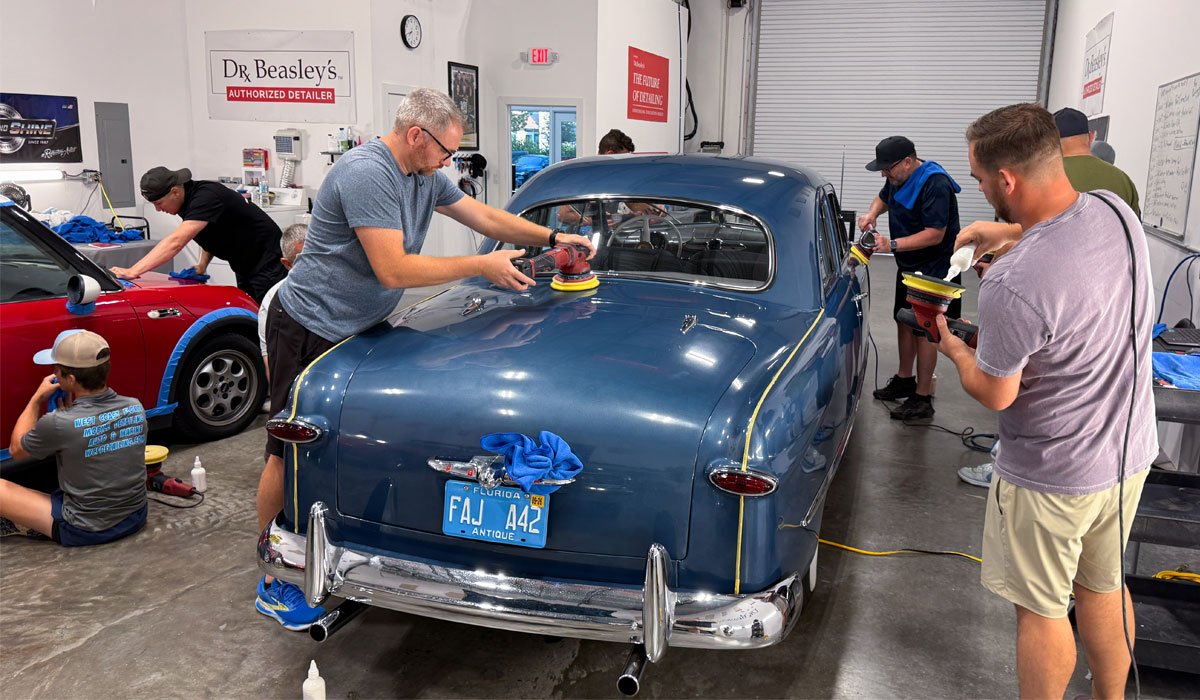
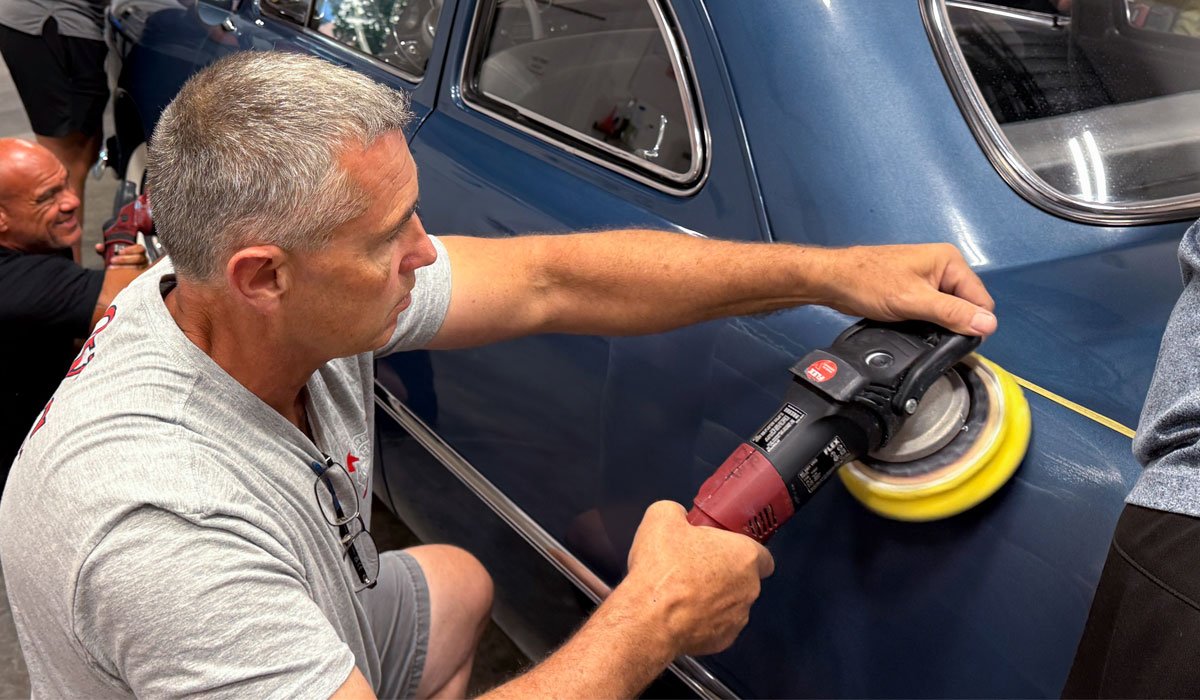
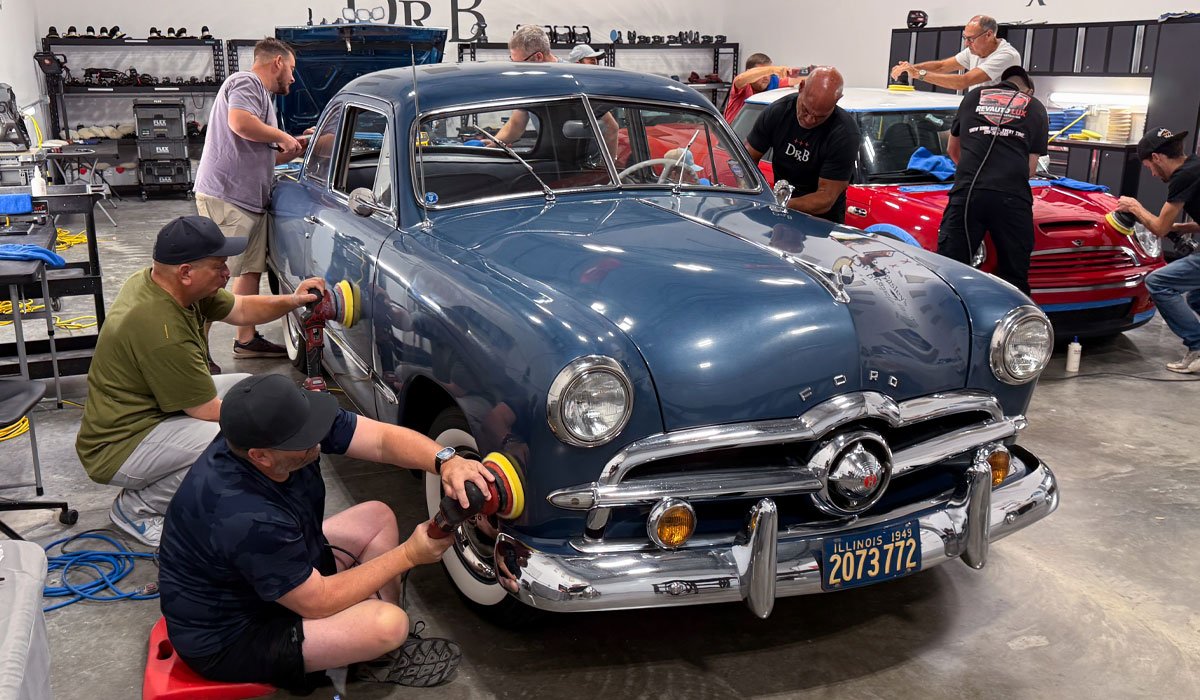
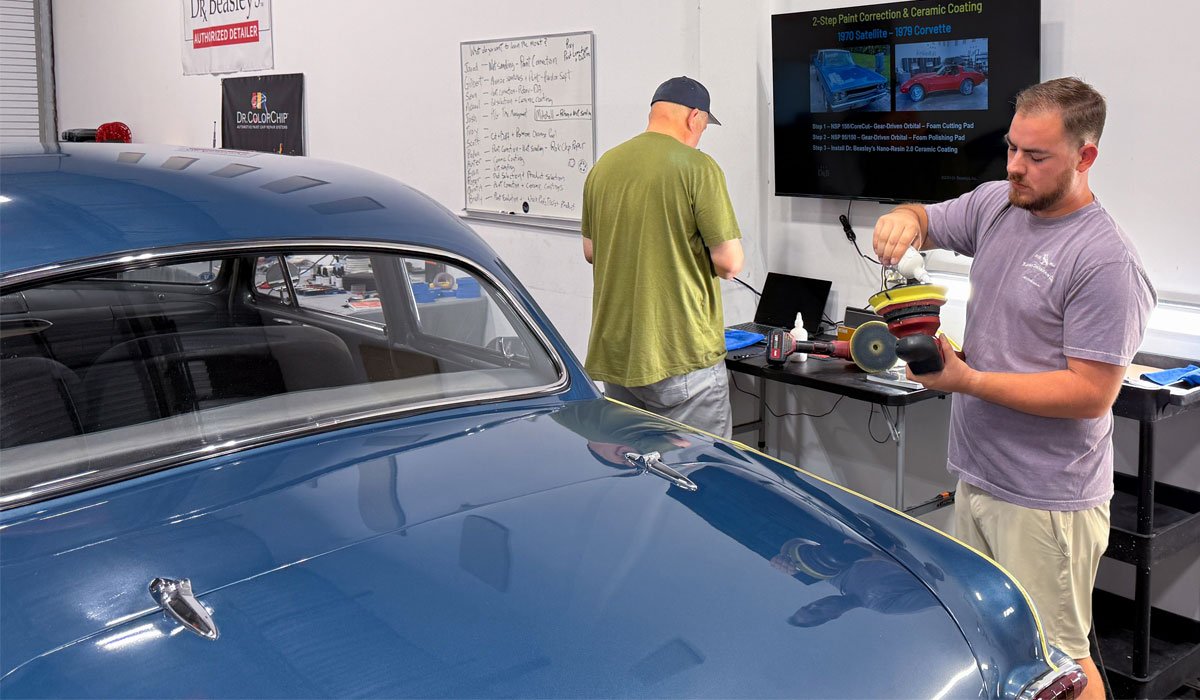
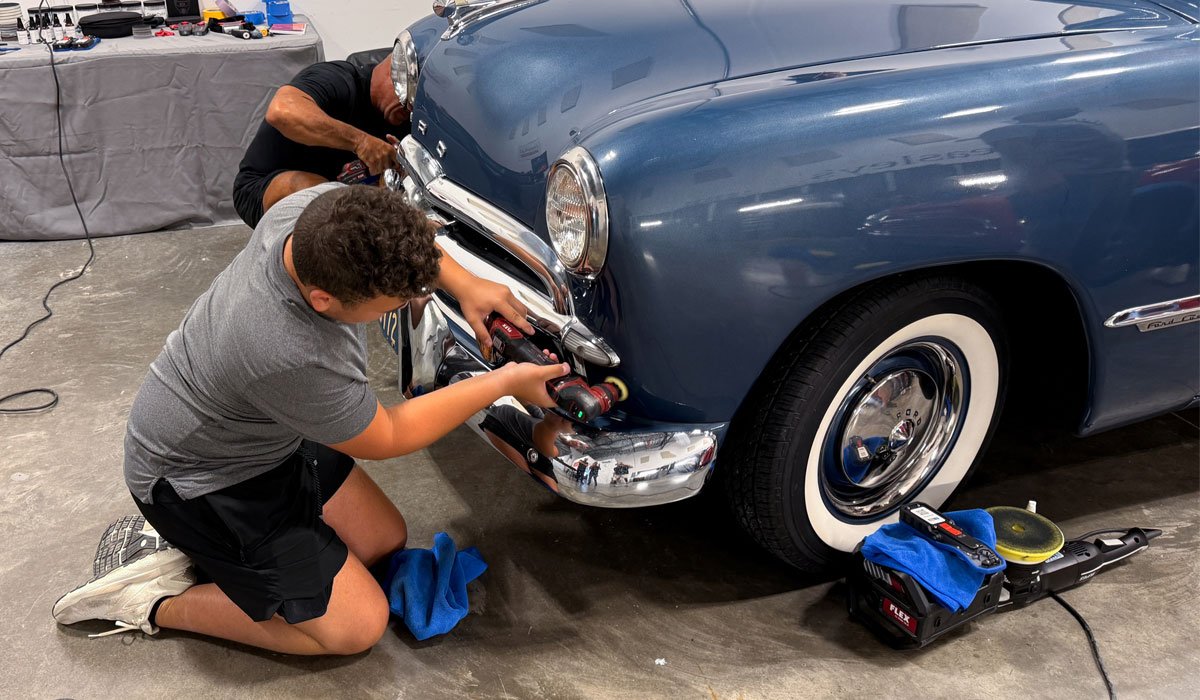
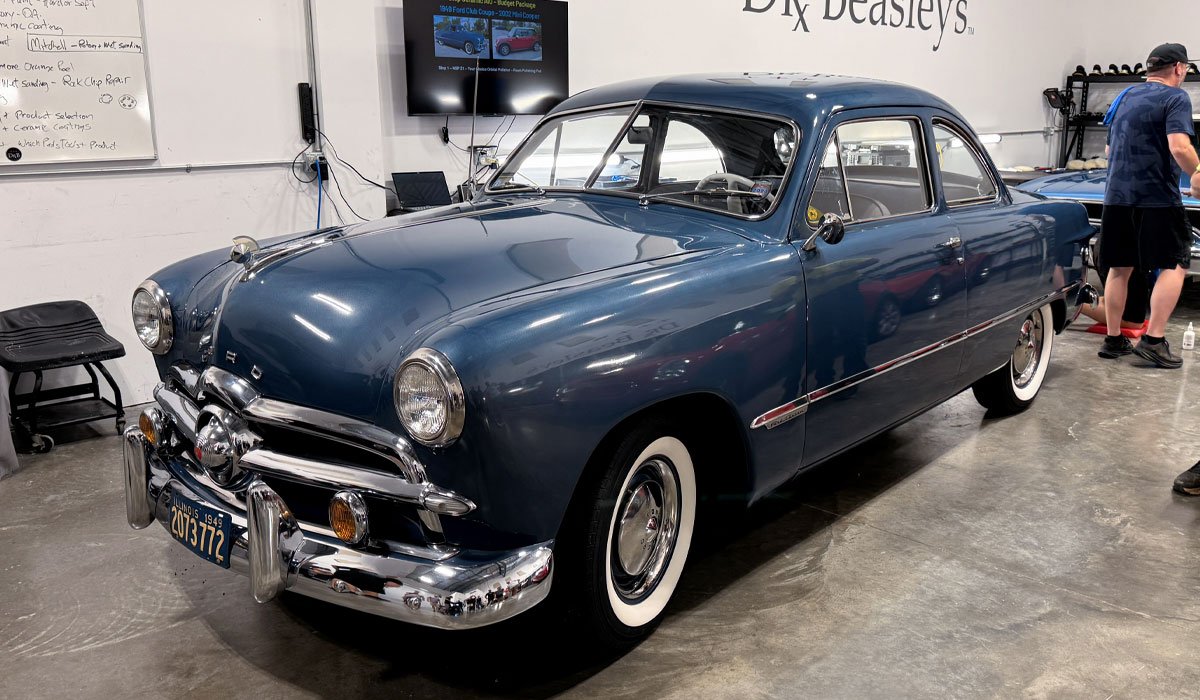
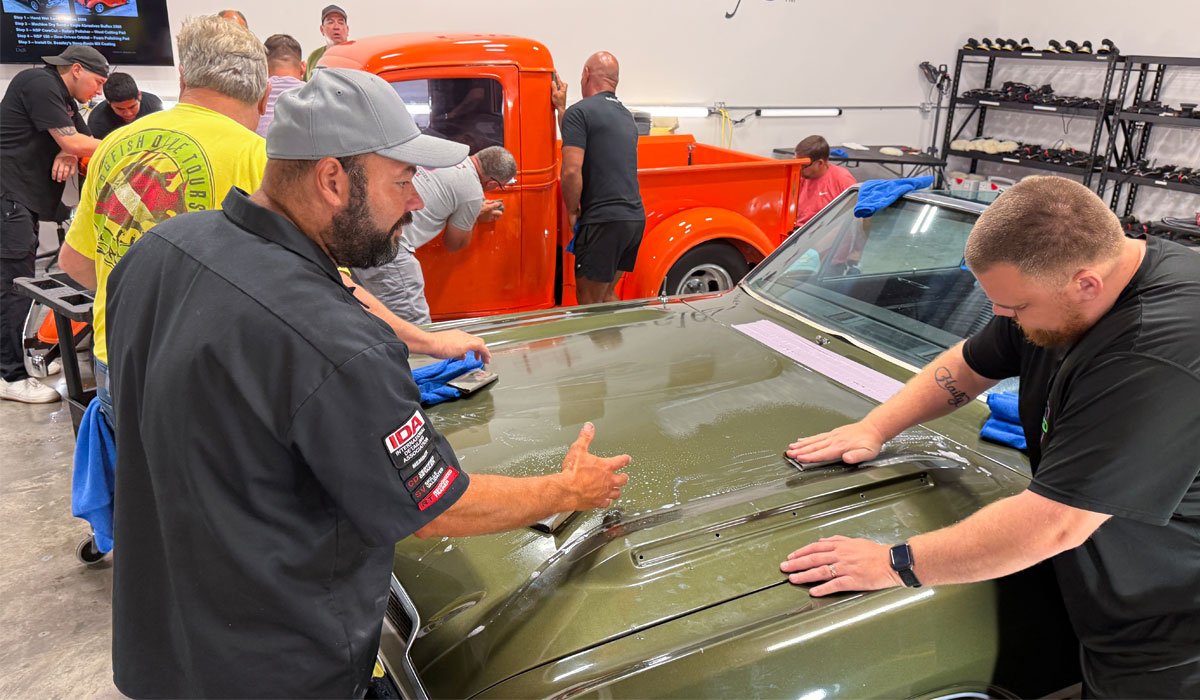
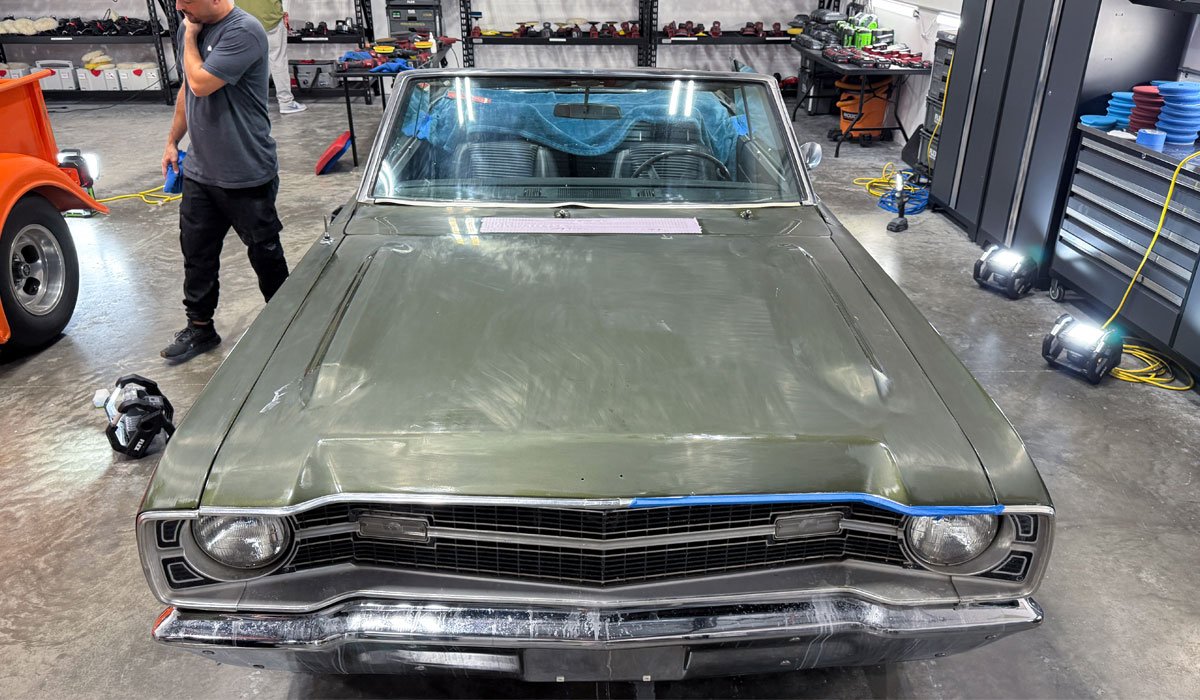
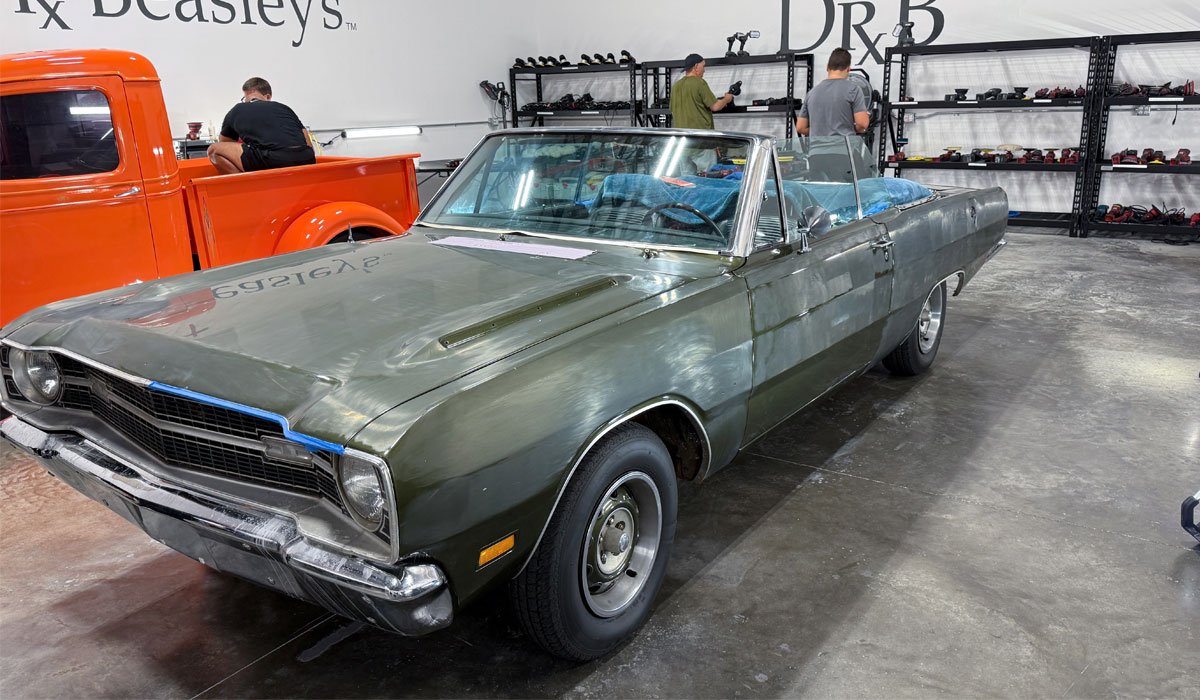
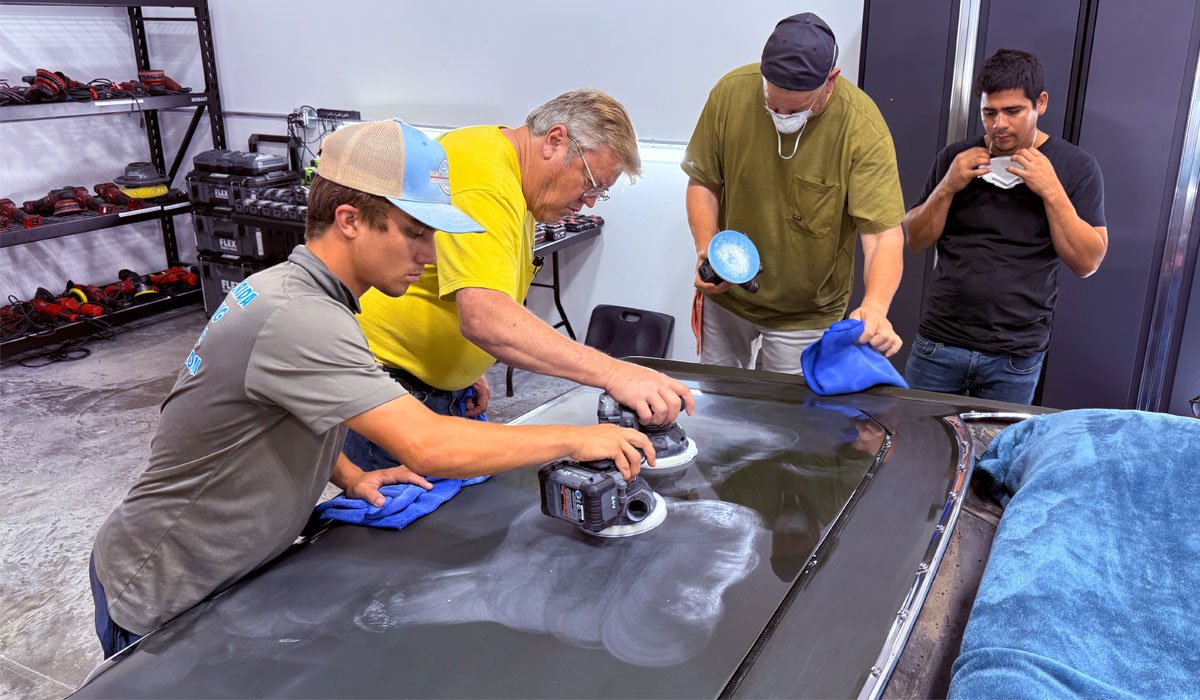
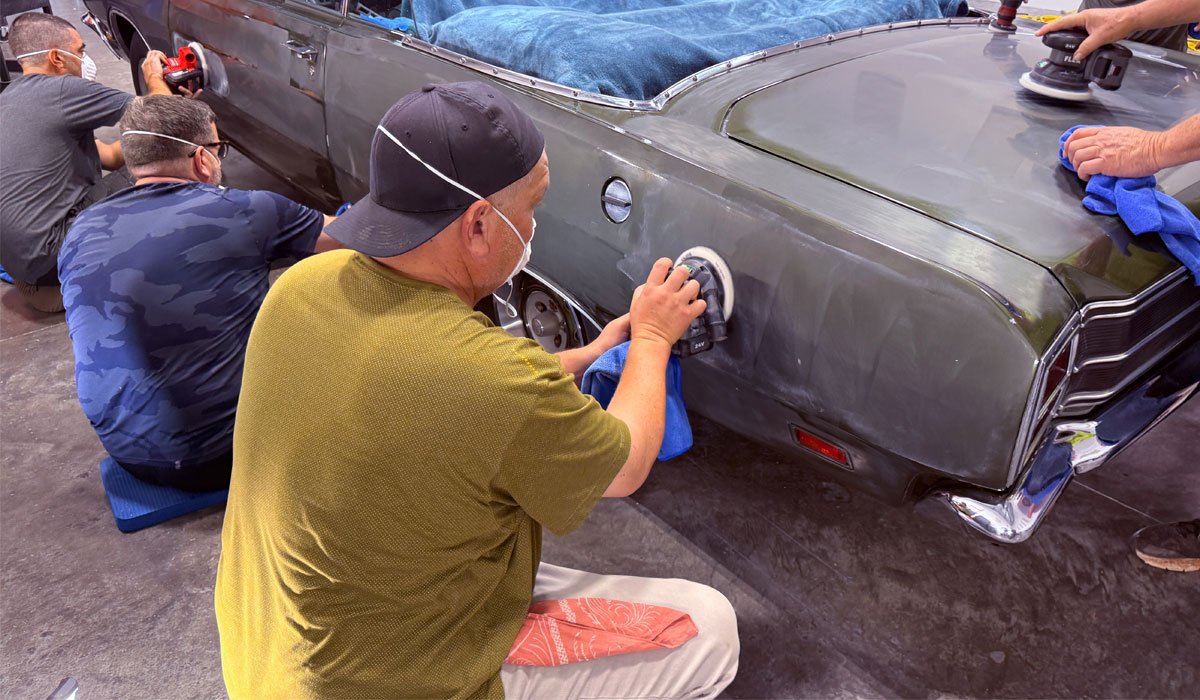
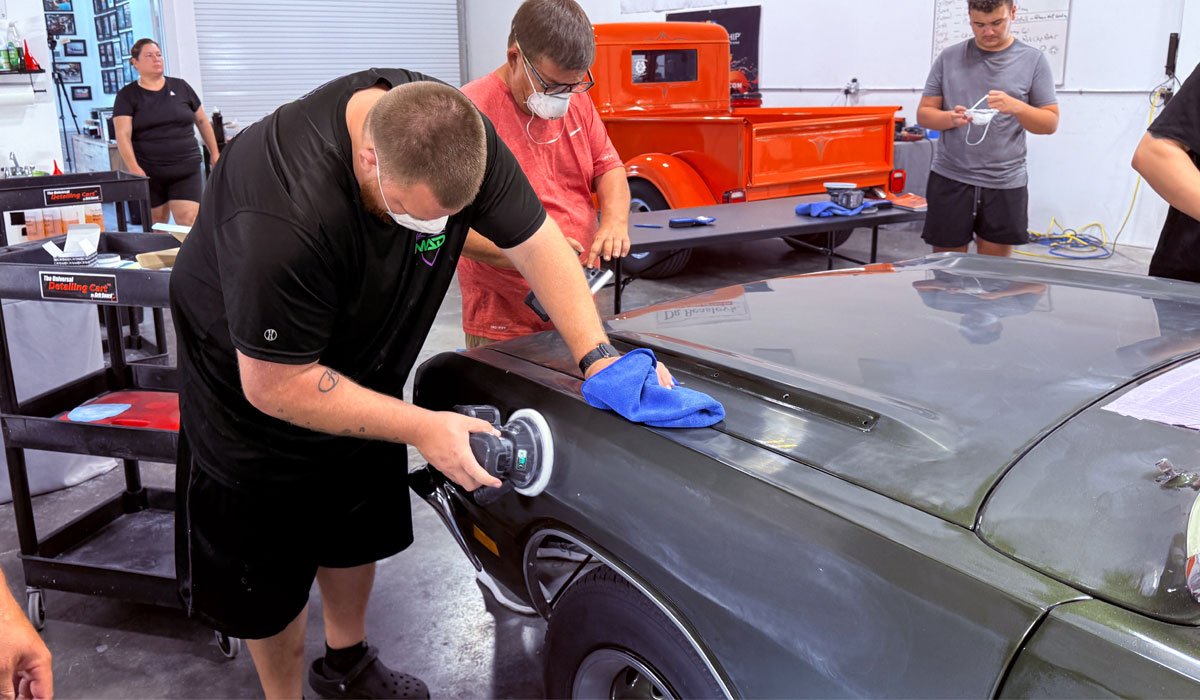
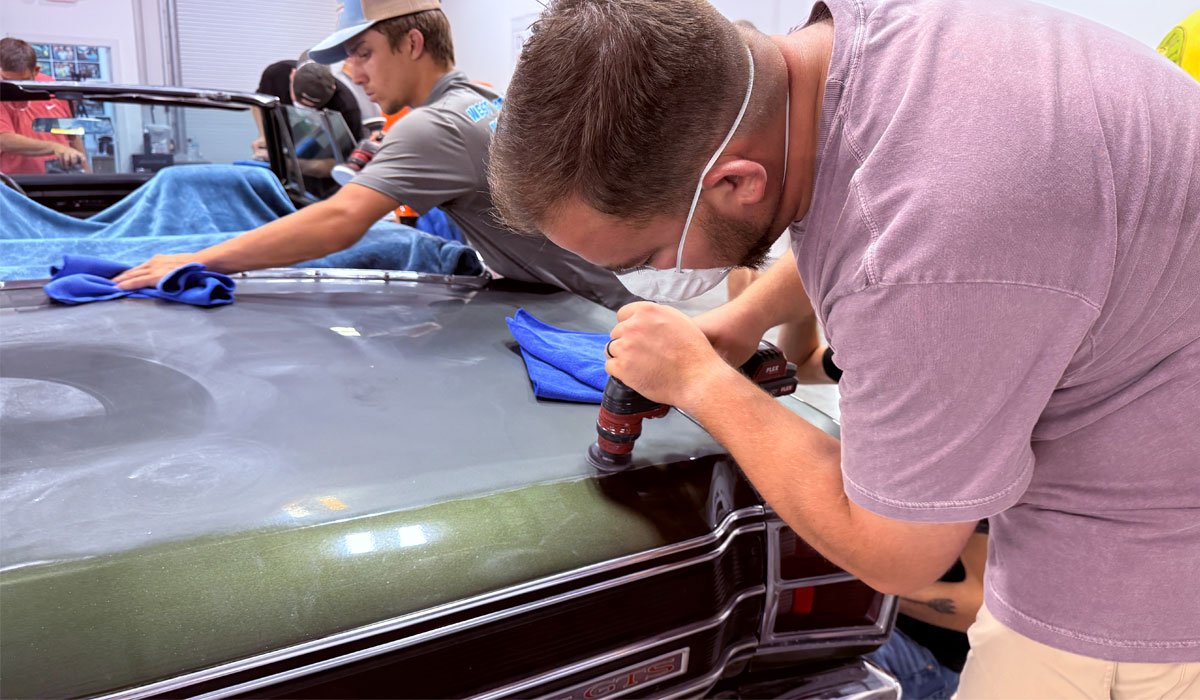
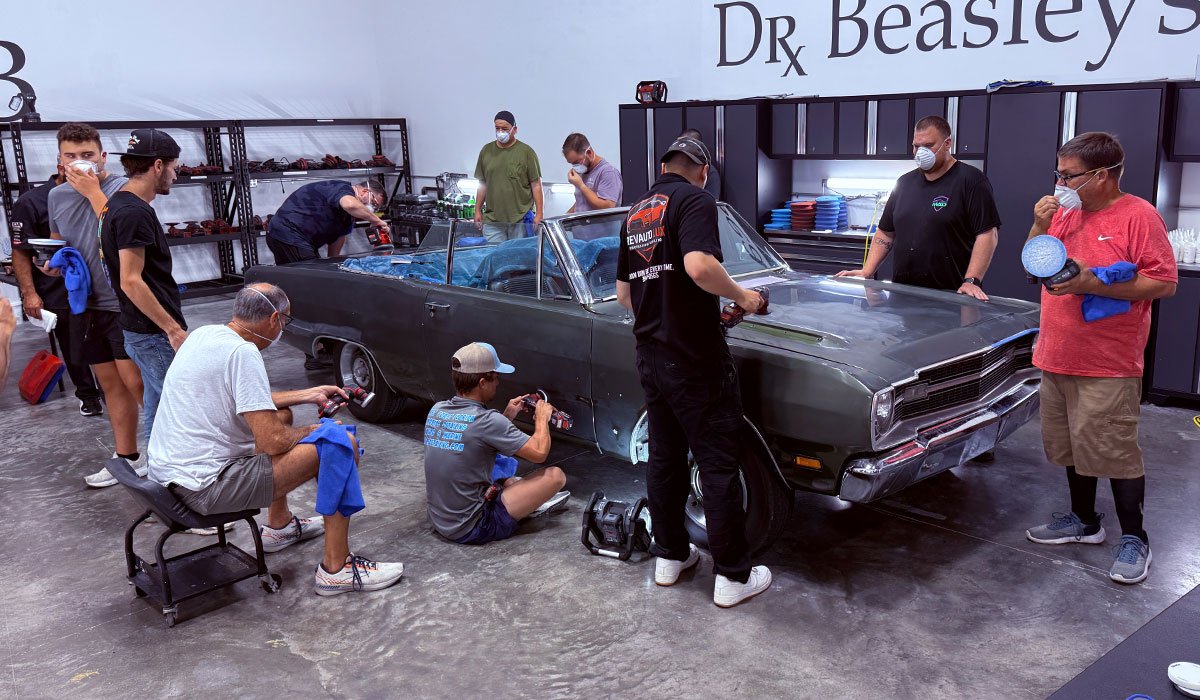
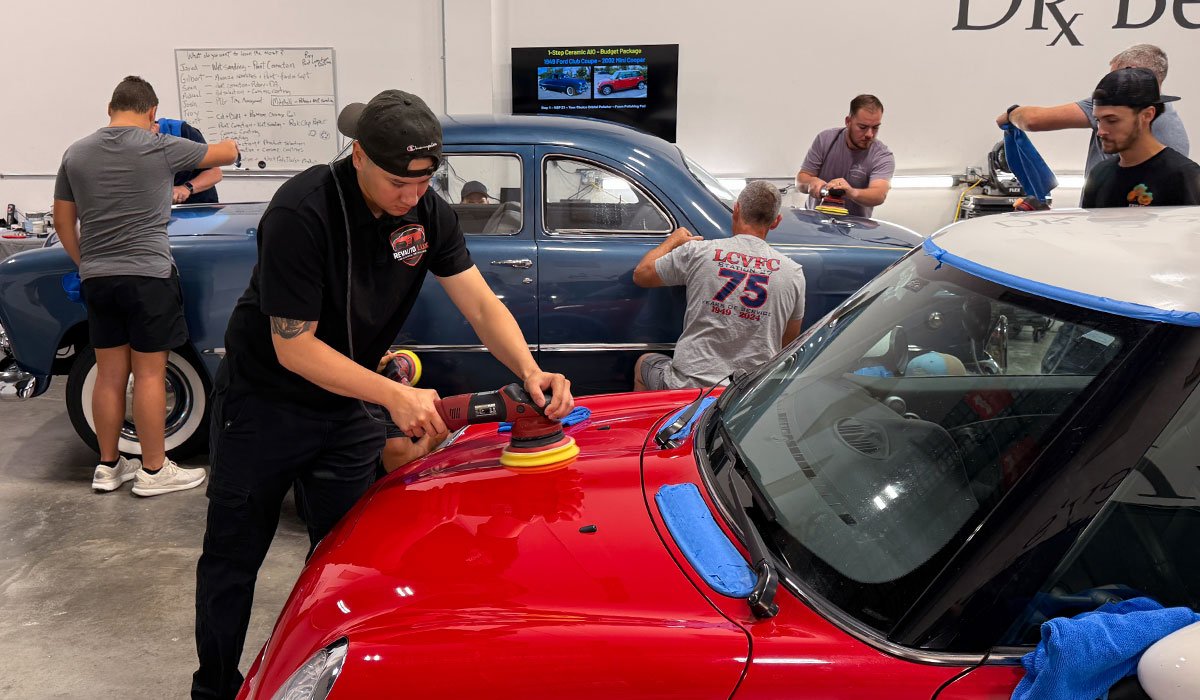
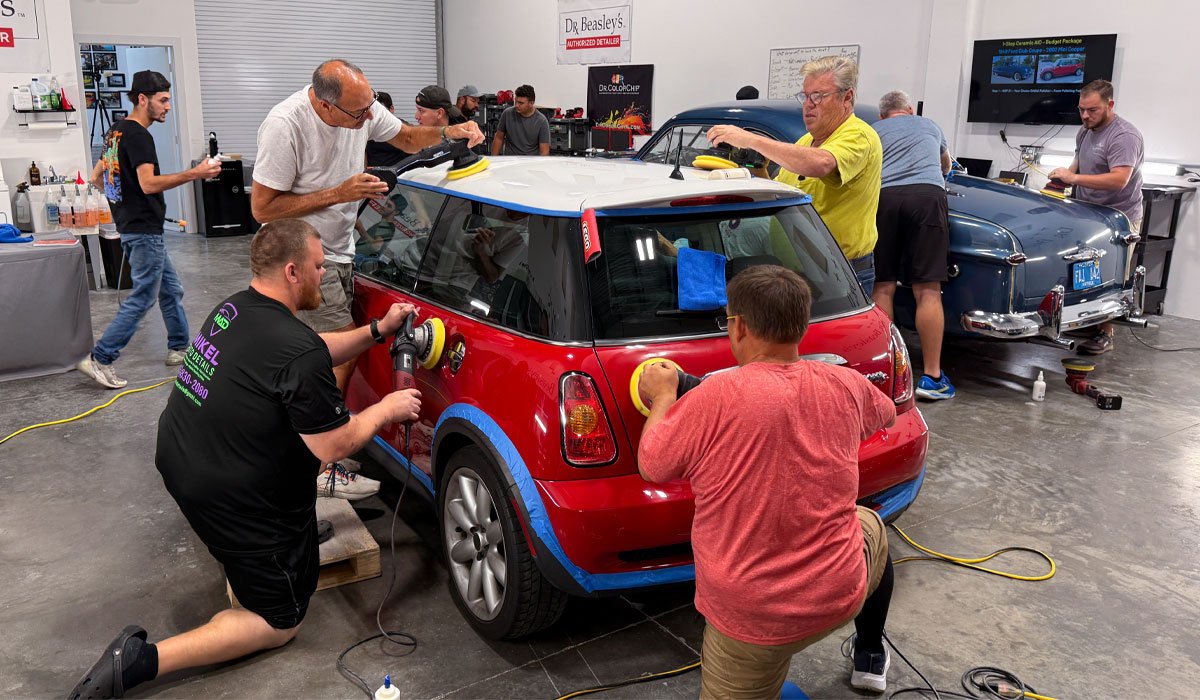
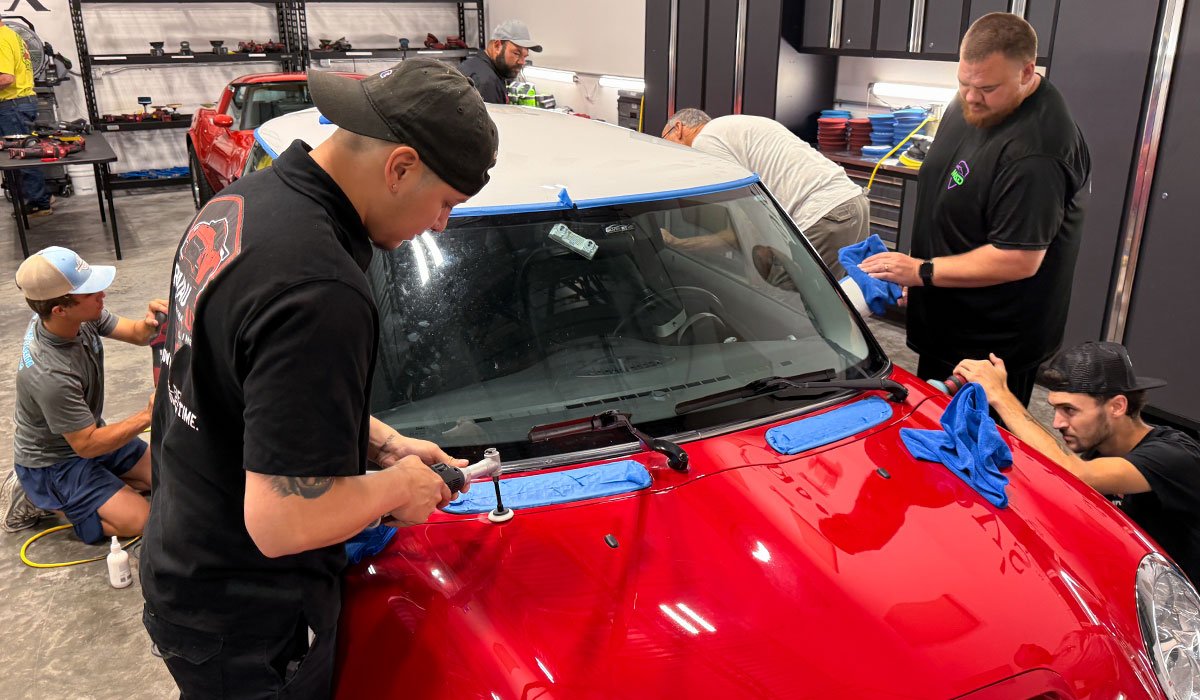
We get started at 7:30am SHARP! We left off Saturday, late afternoon, by finishing the 1970 Satellite and the 1979 Corvette. So, we pick back up covering the third of the three primary topics for the paint correction and ceramic coating class by learning how to do a 1-Step Ceramic AIO Paint Correction.
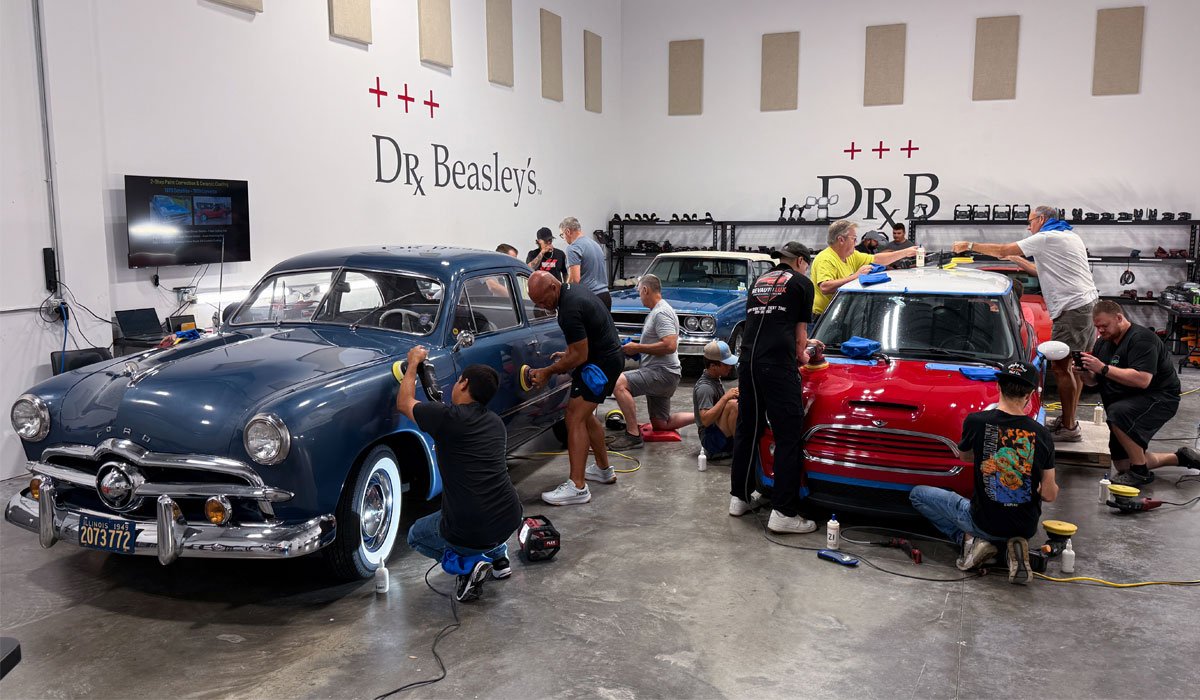
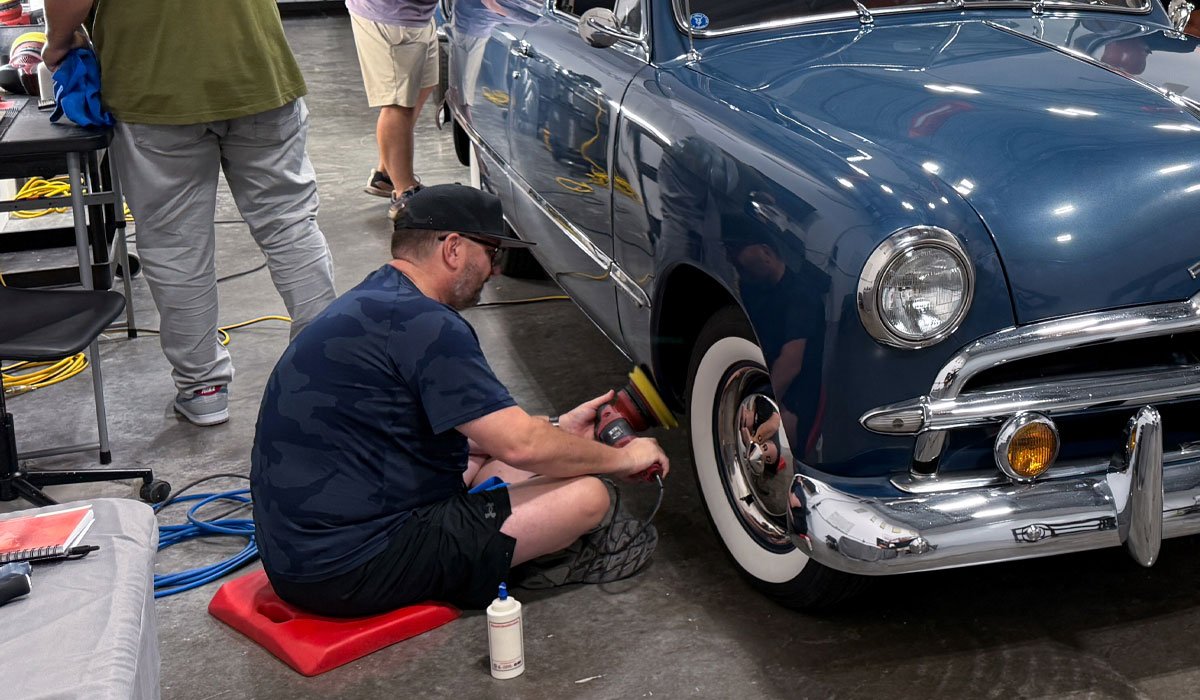
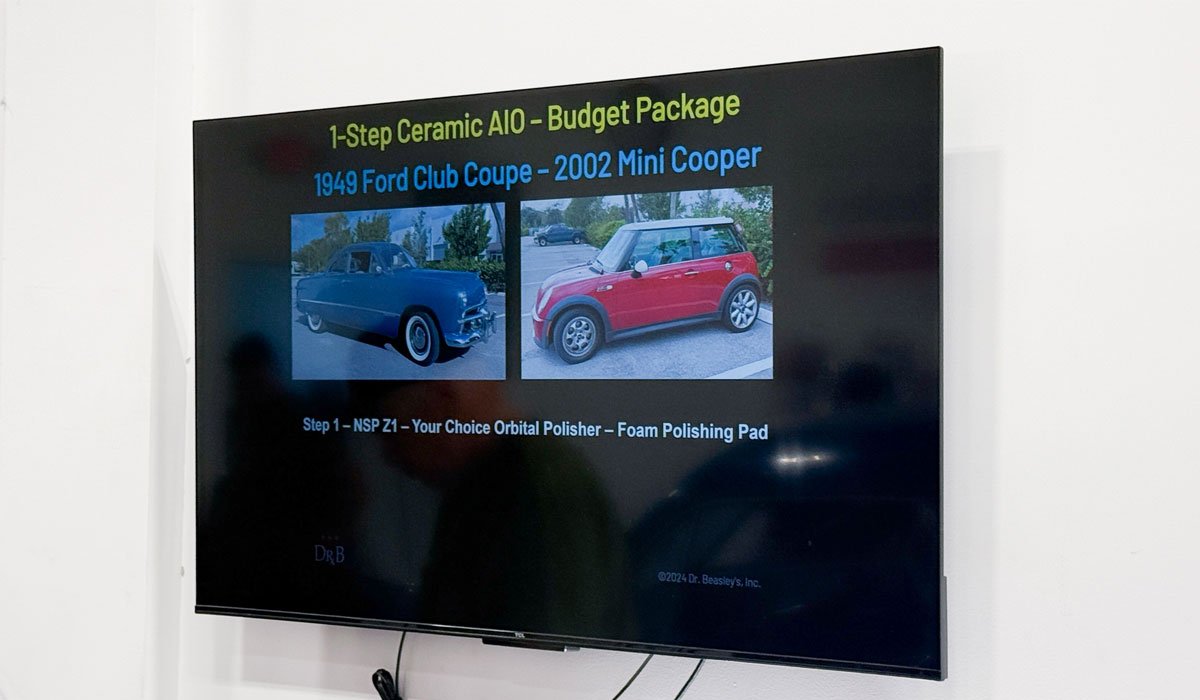
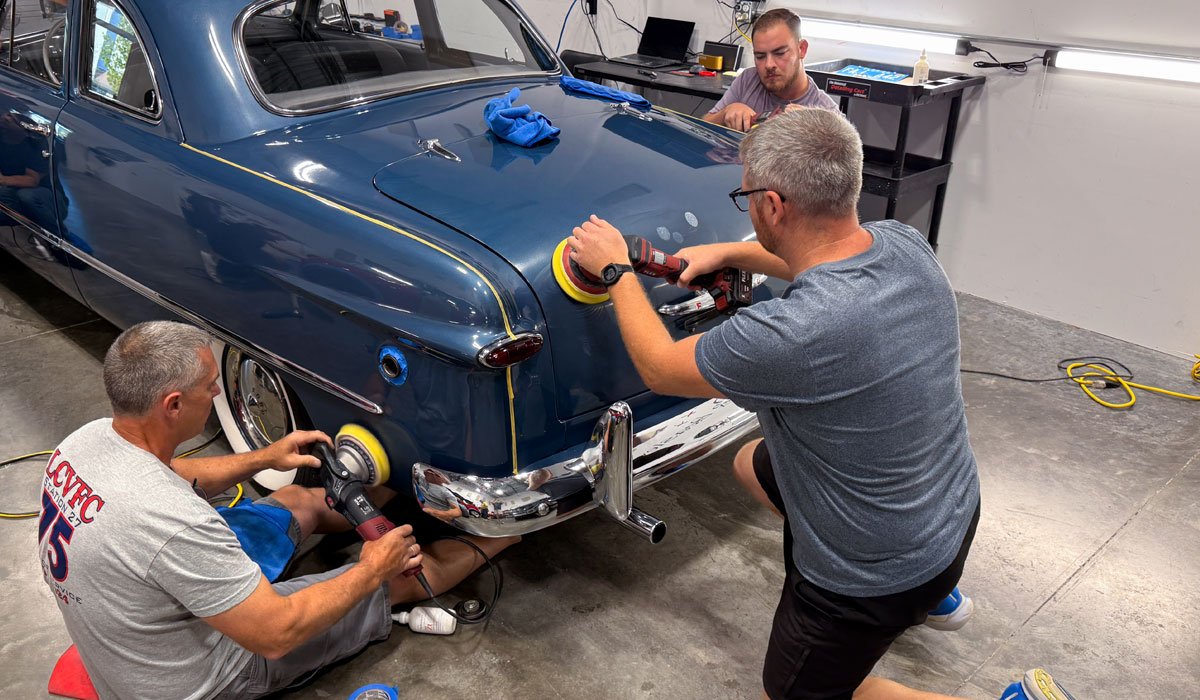
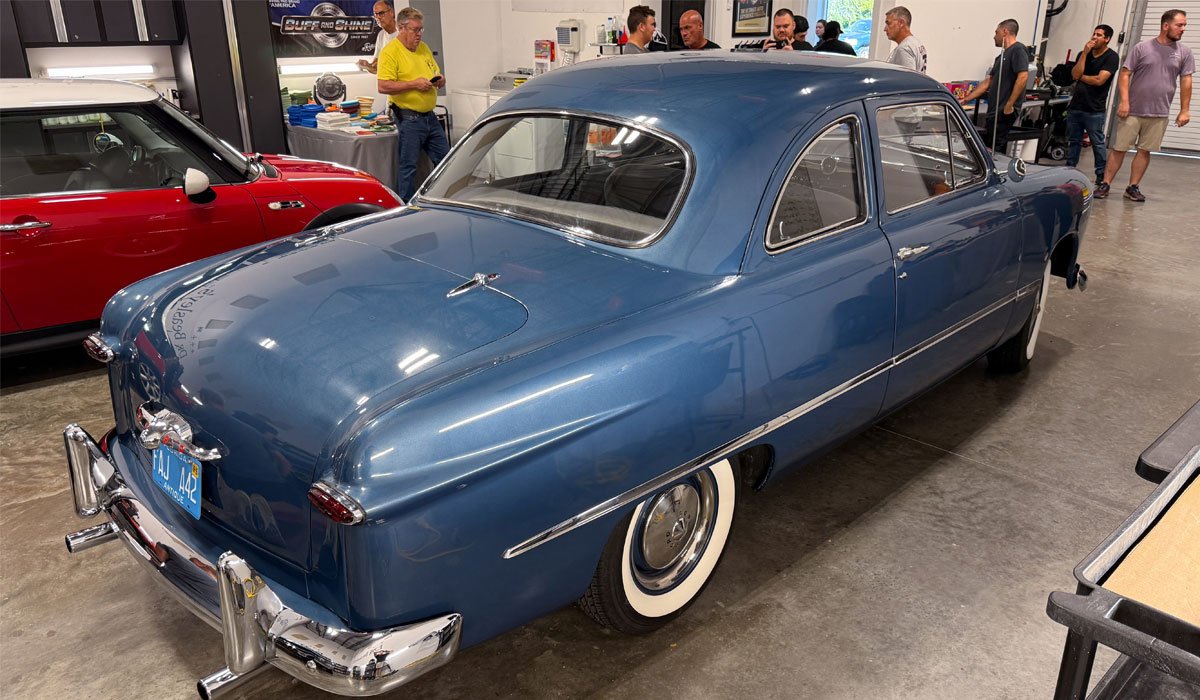
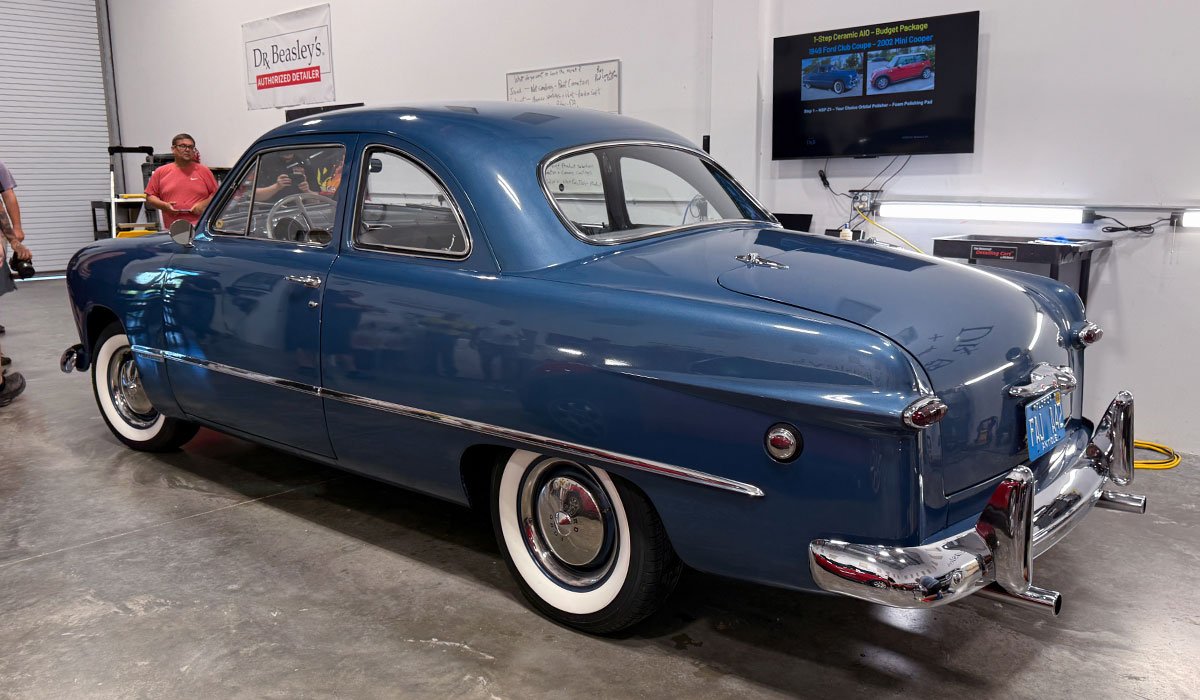
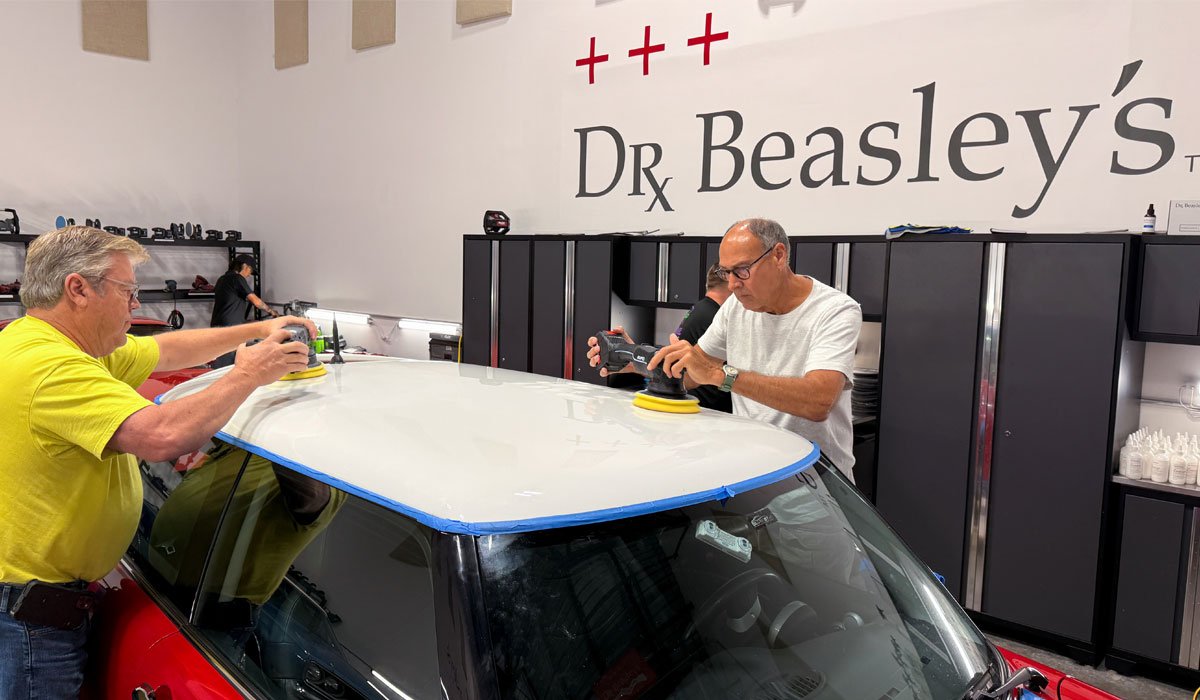
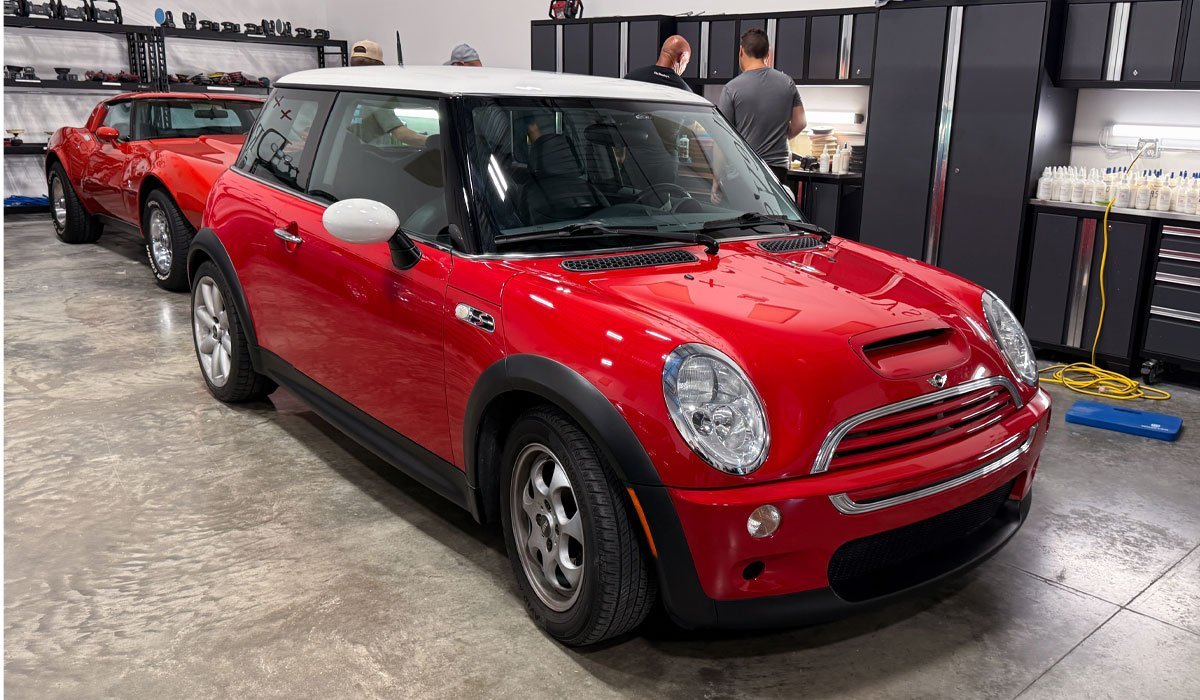
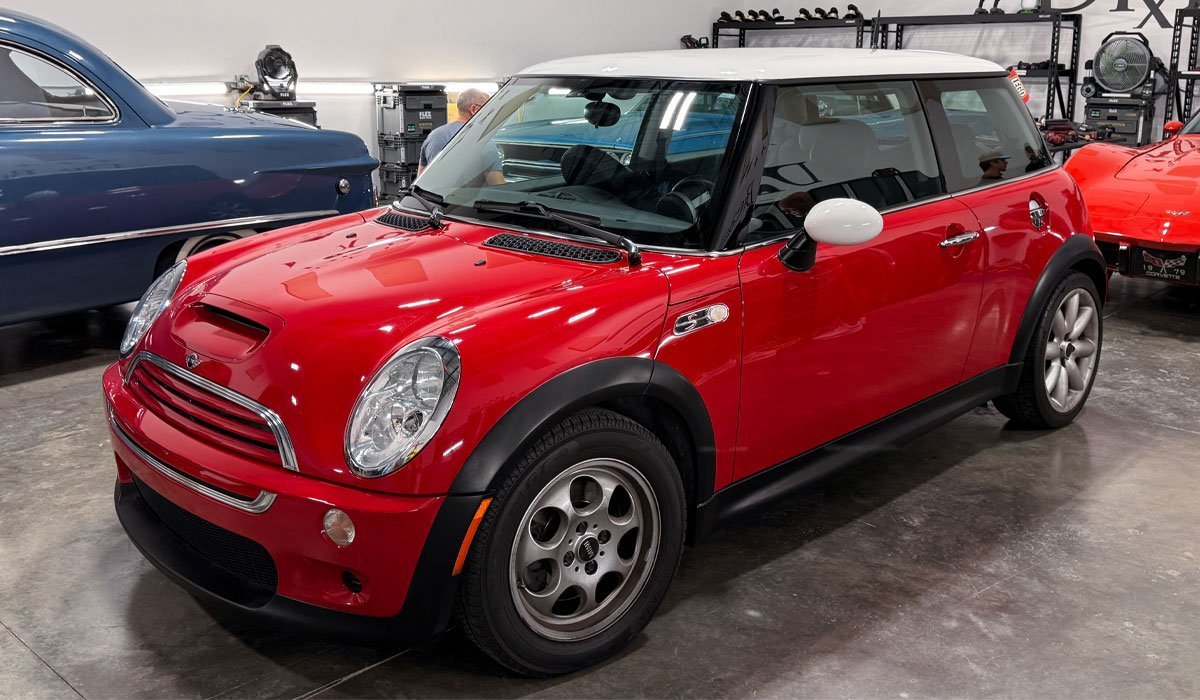
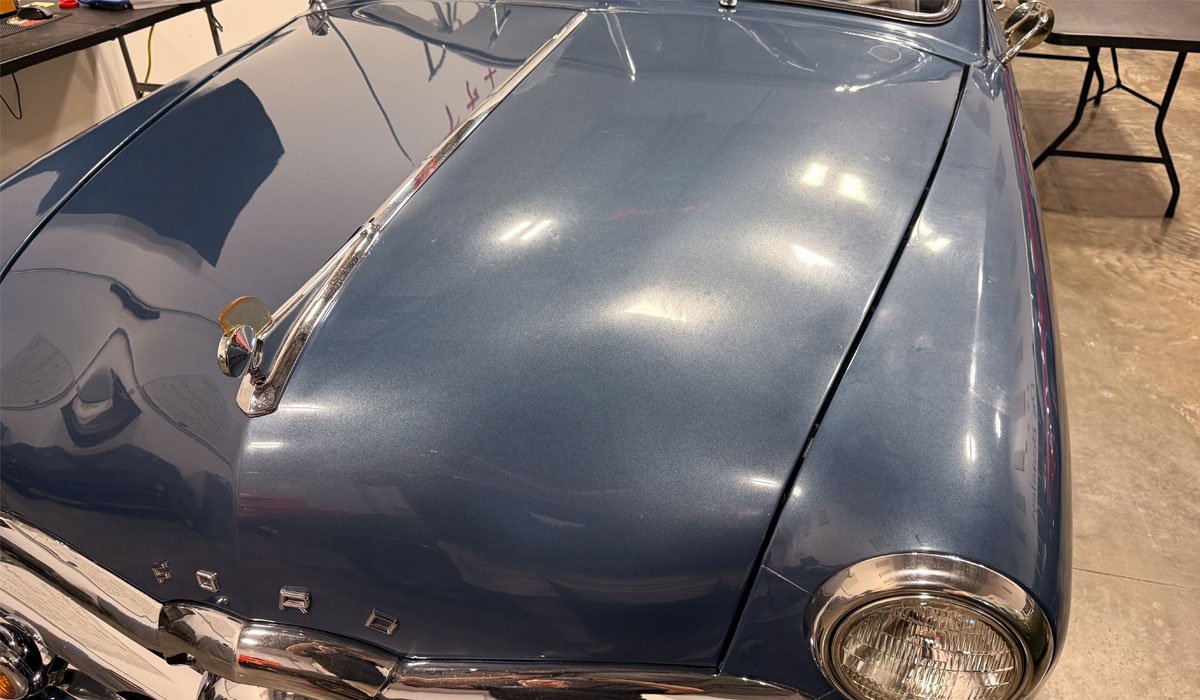
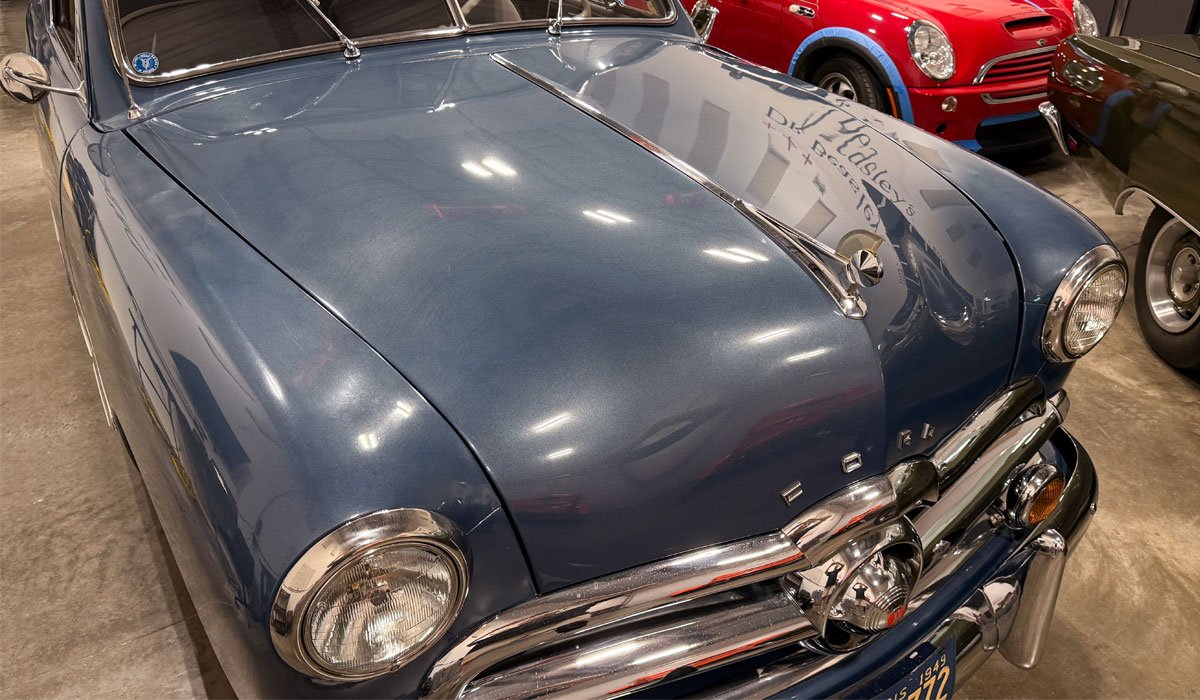
For this the class will be training on a 1949 Ford Club Coupe and a 2002 Mini Cooper.
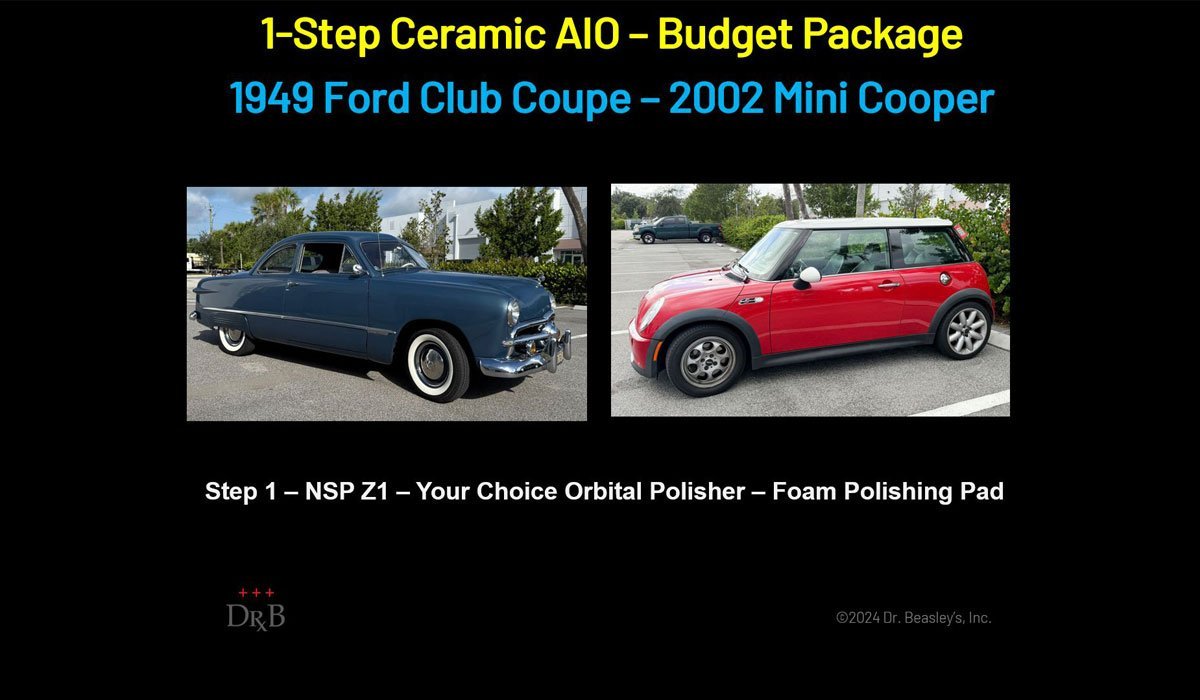
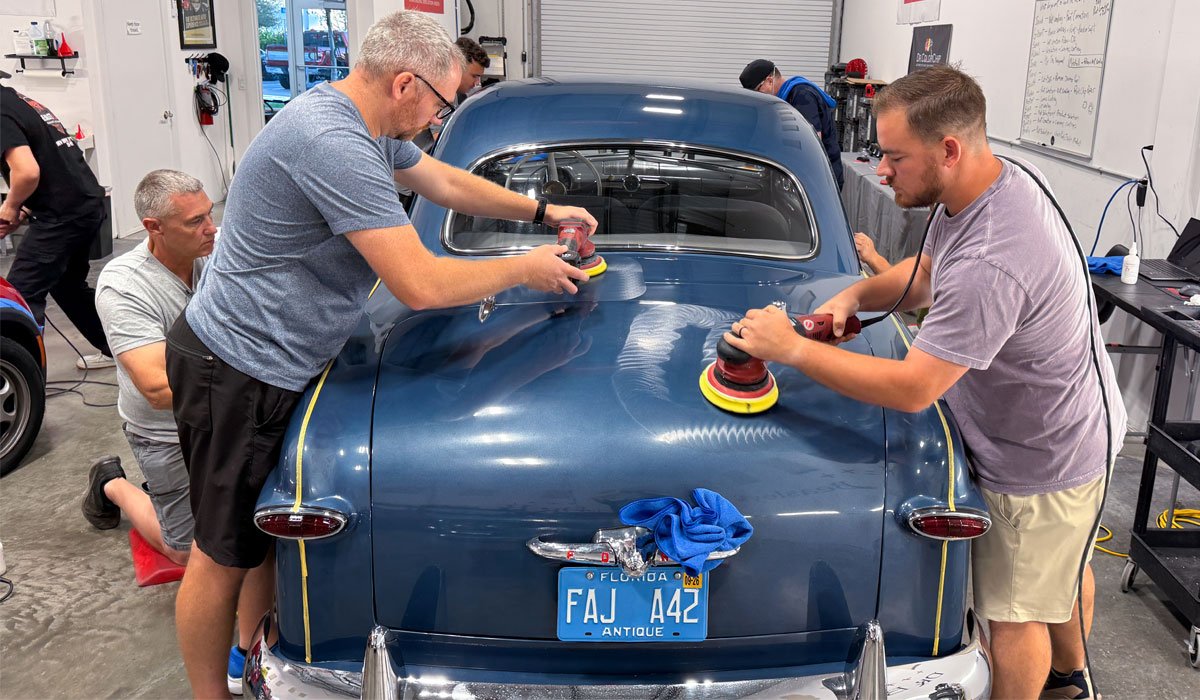
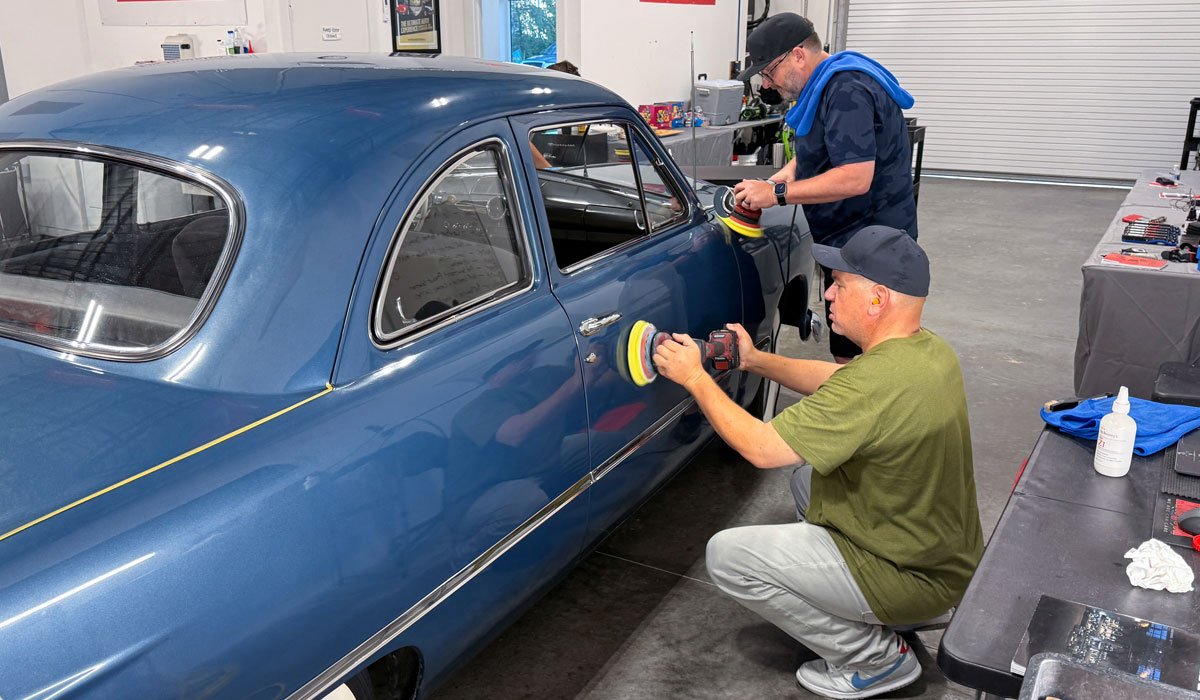
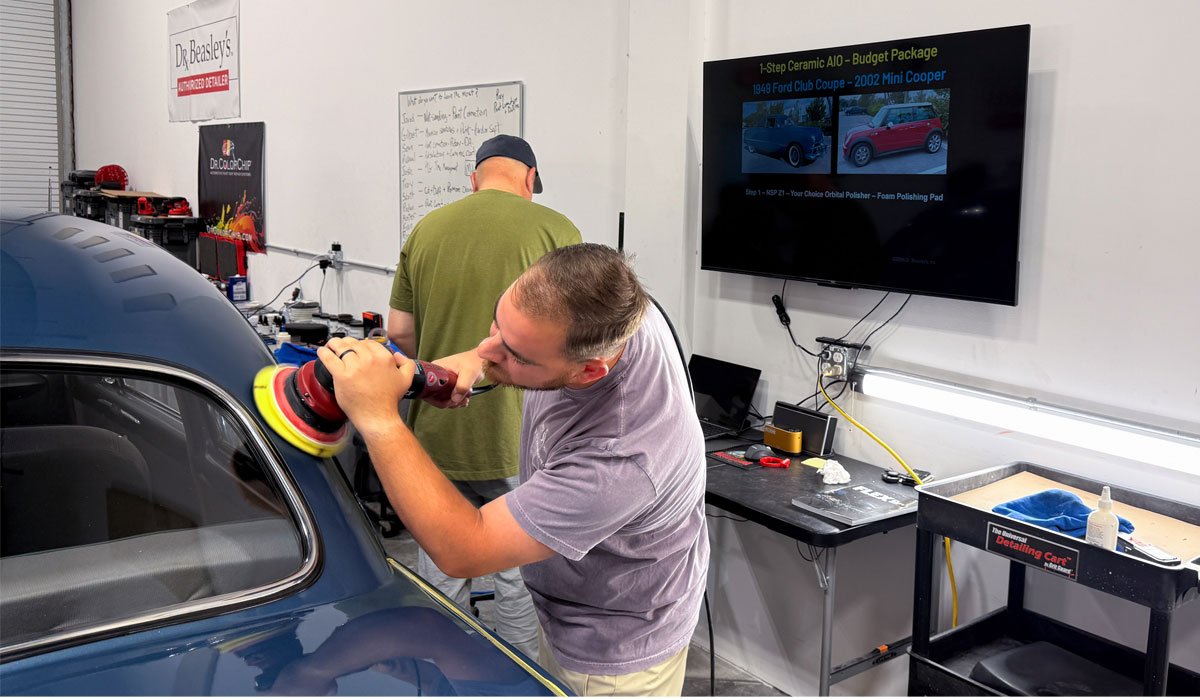
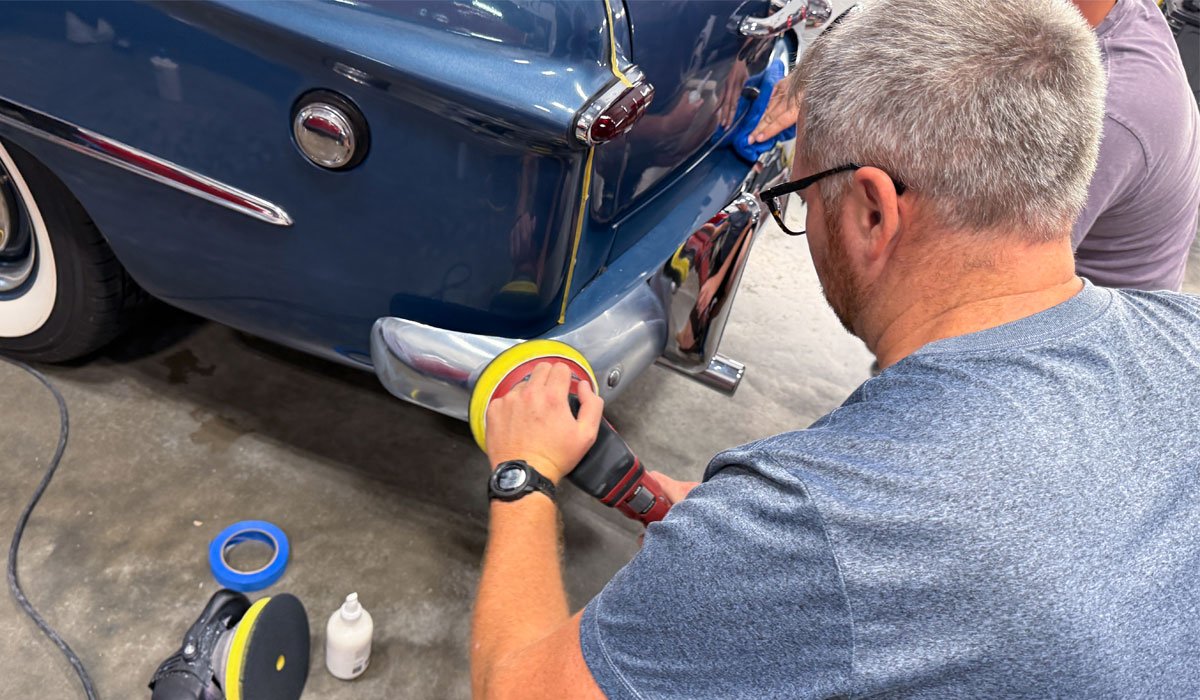
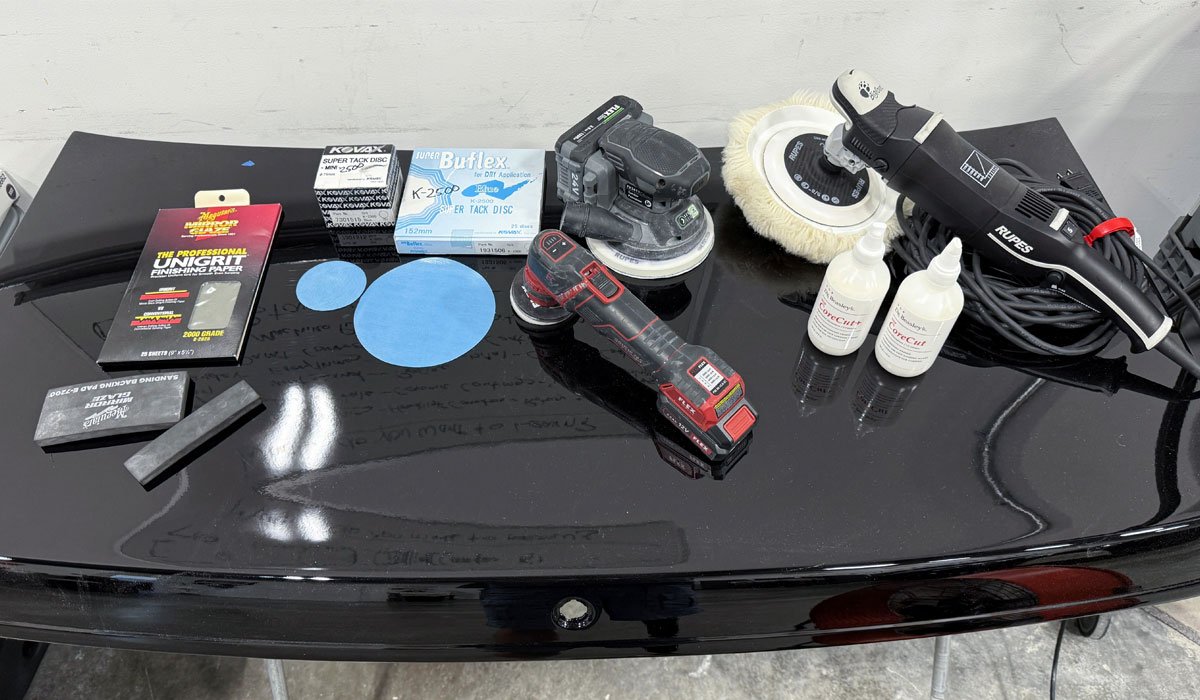
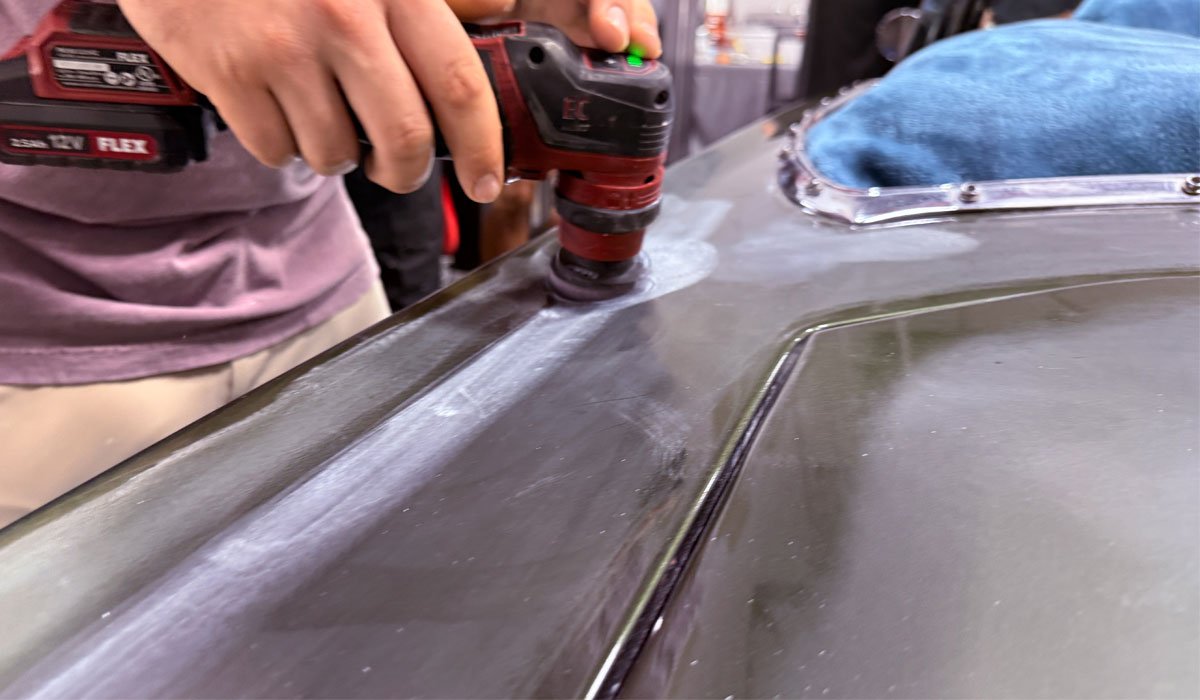
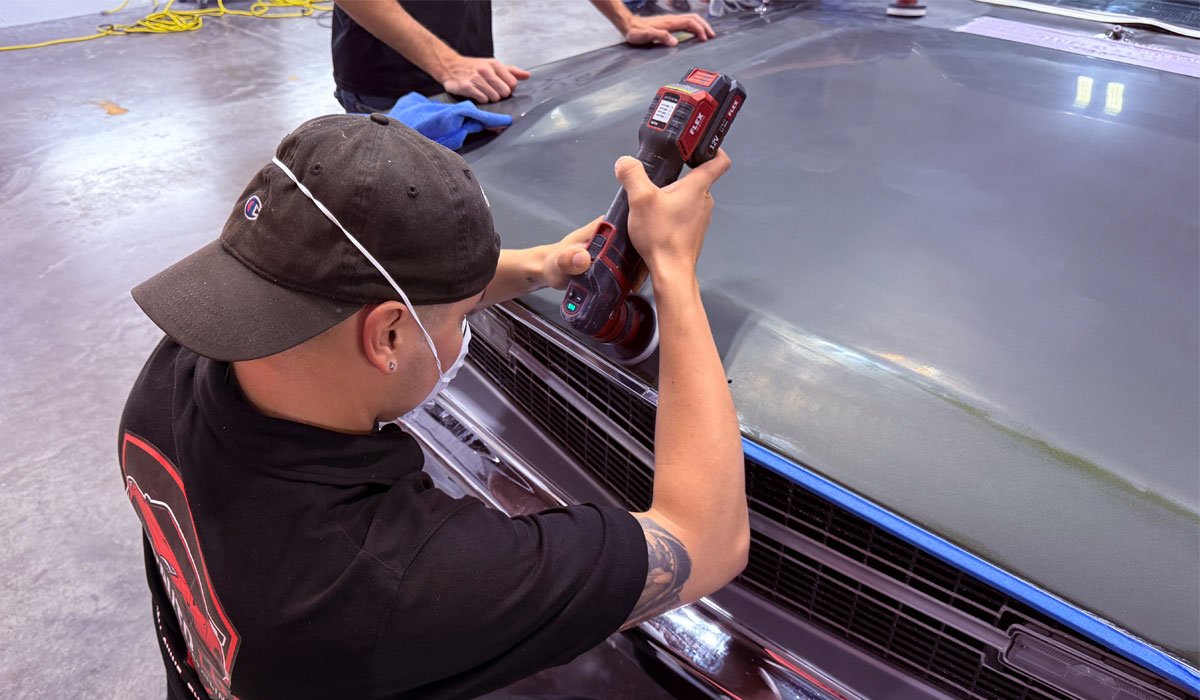
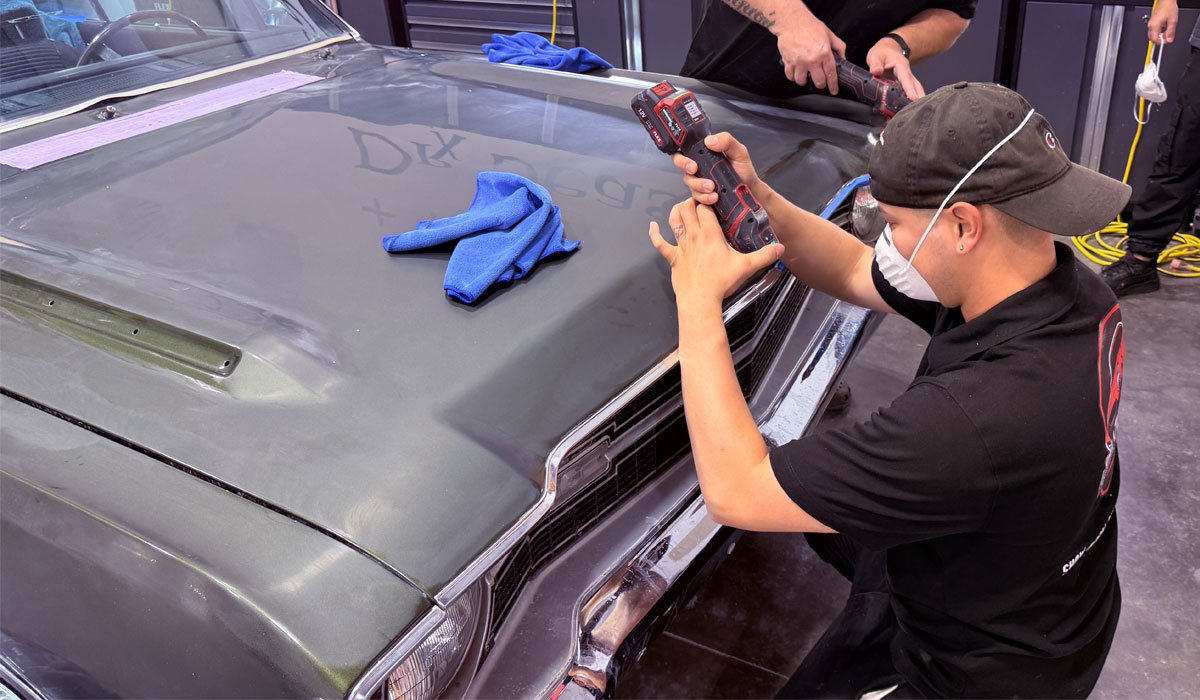
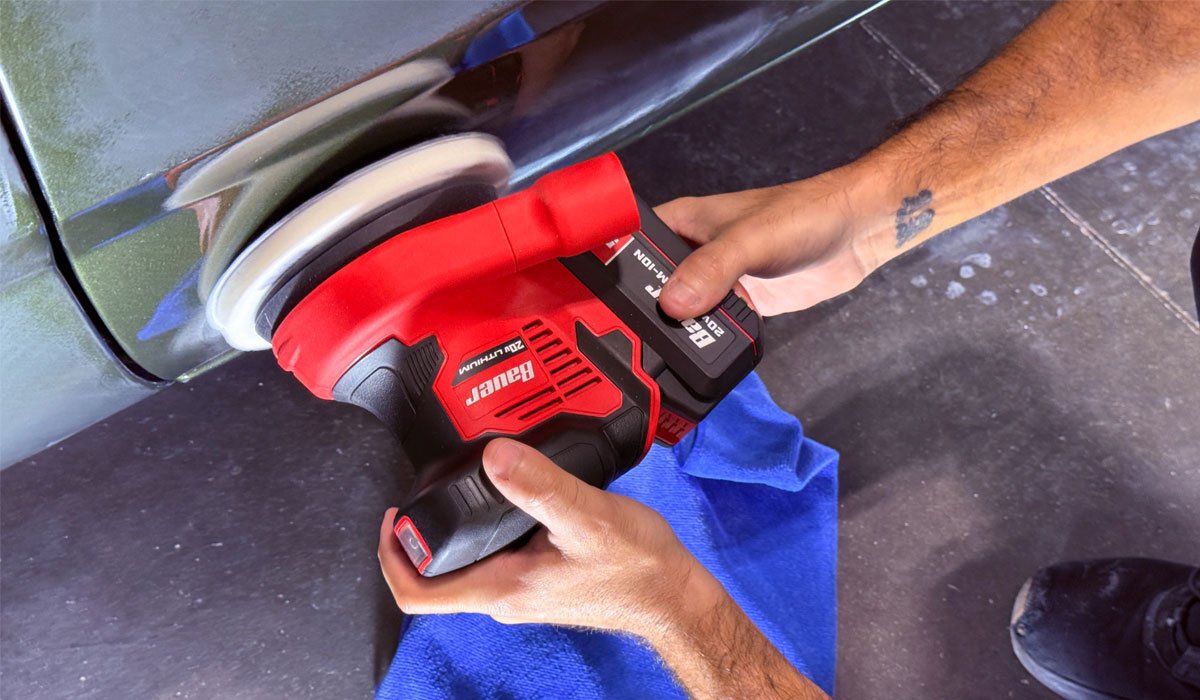
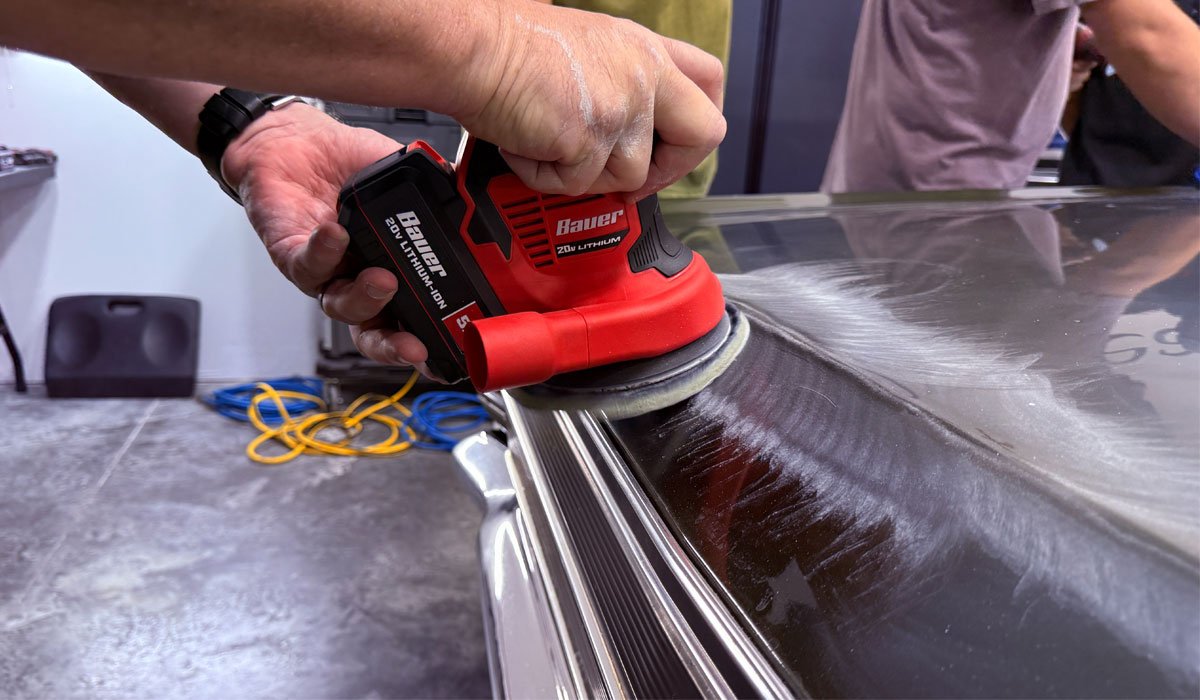
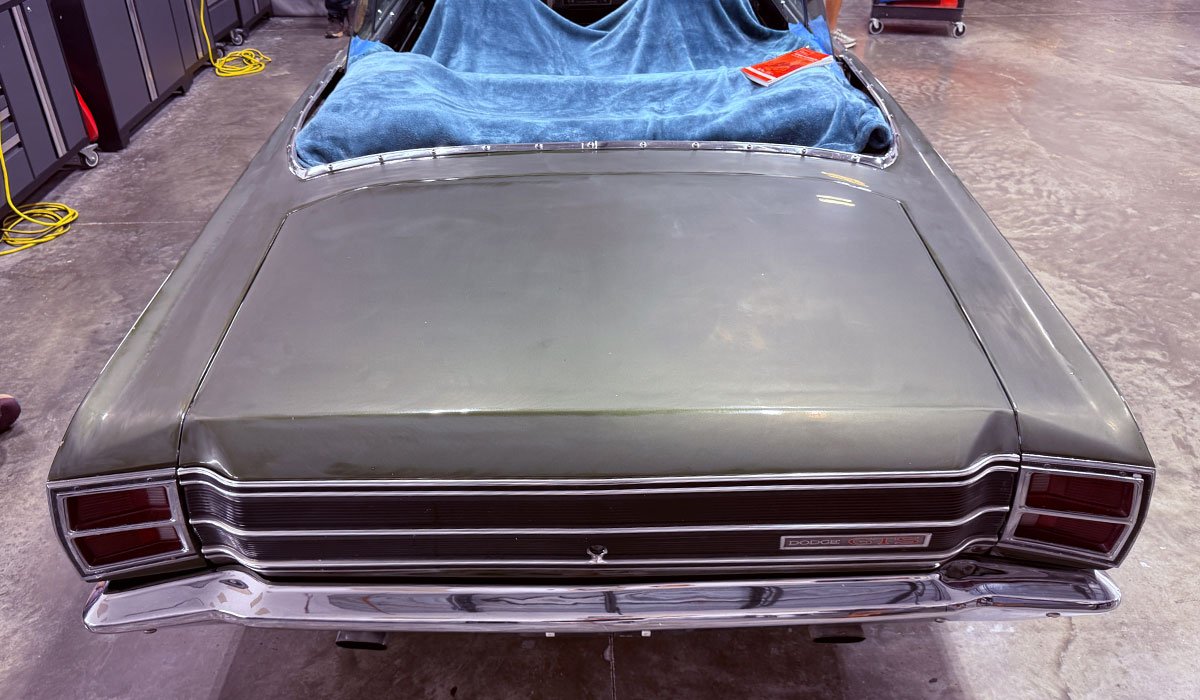
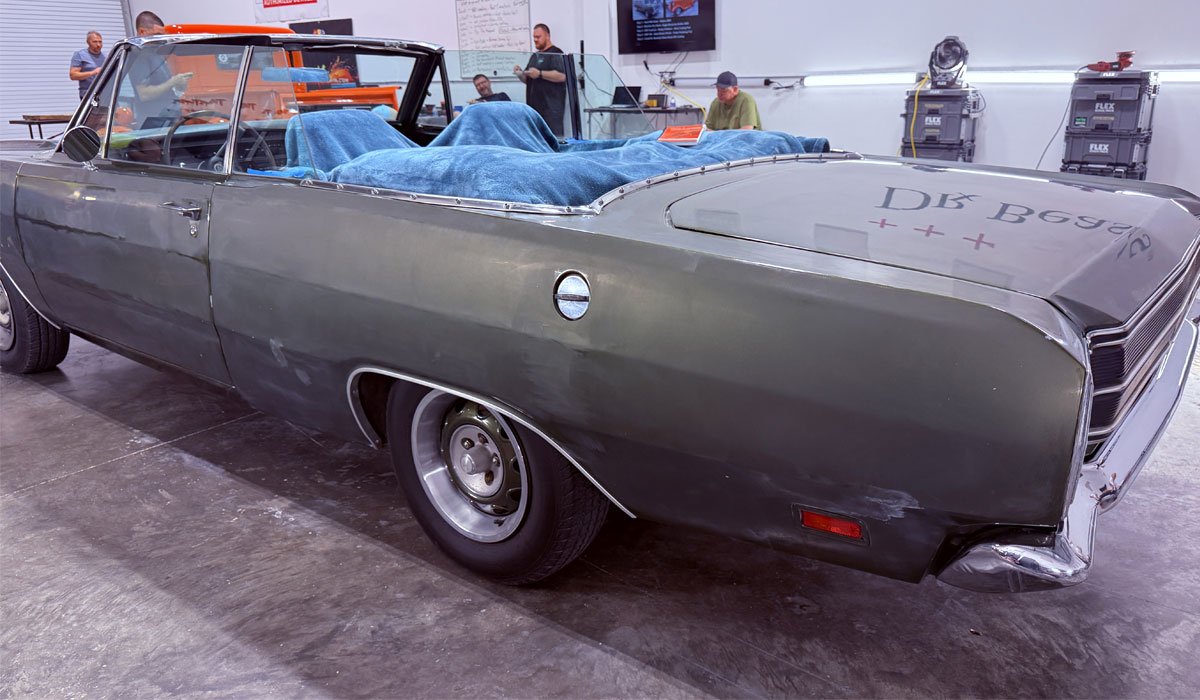
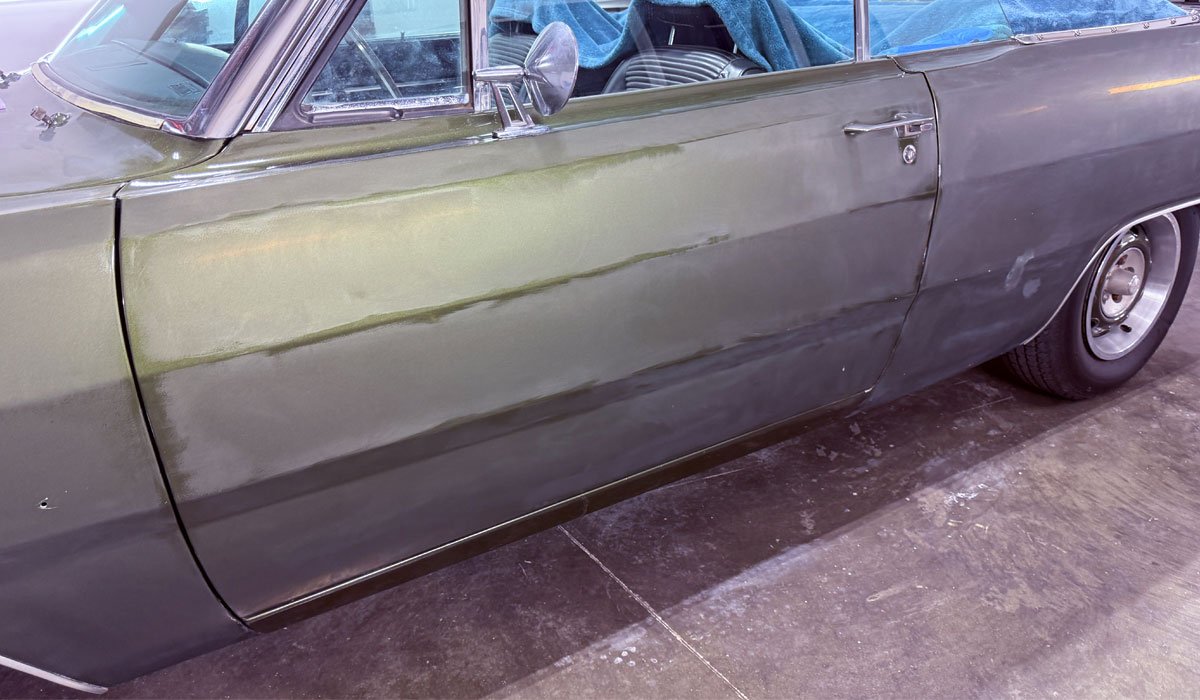
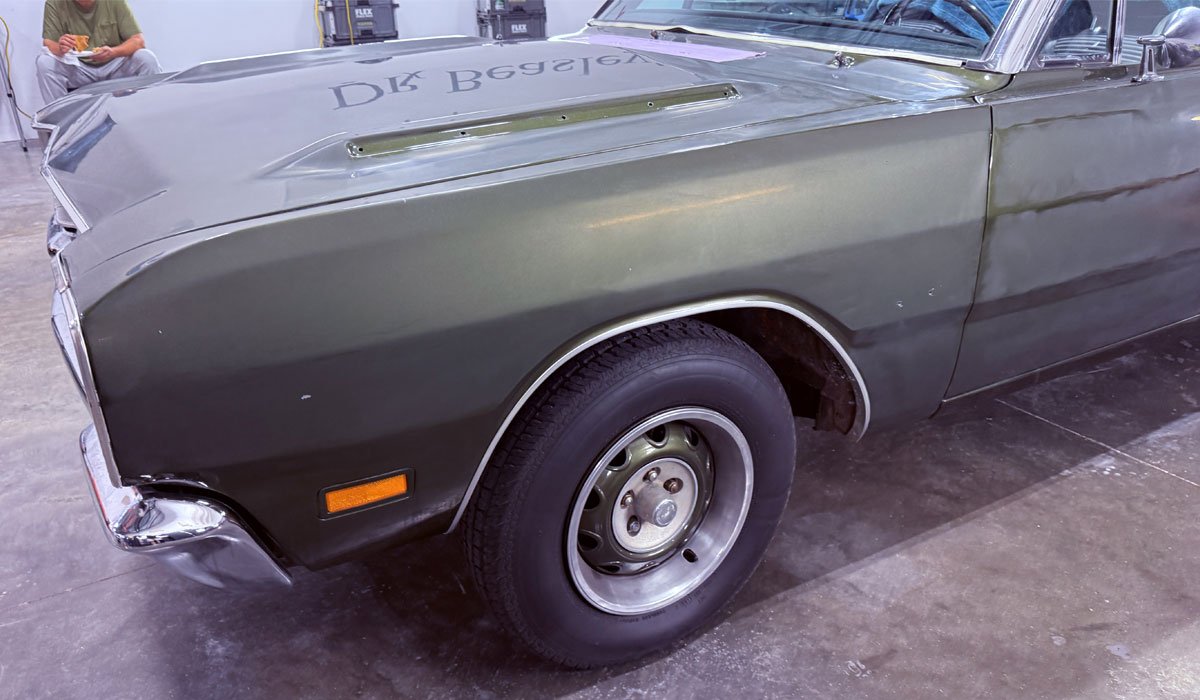
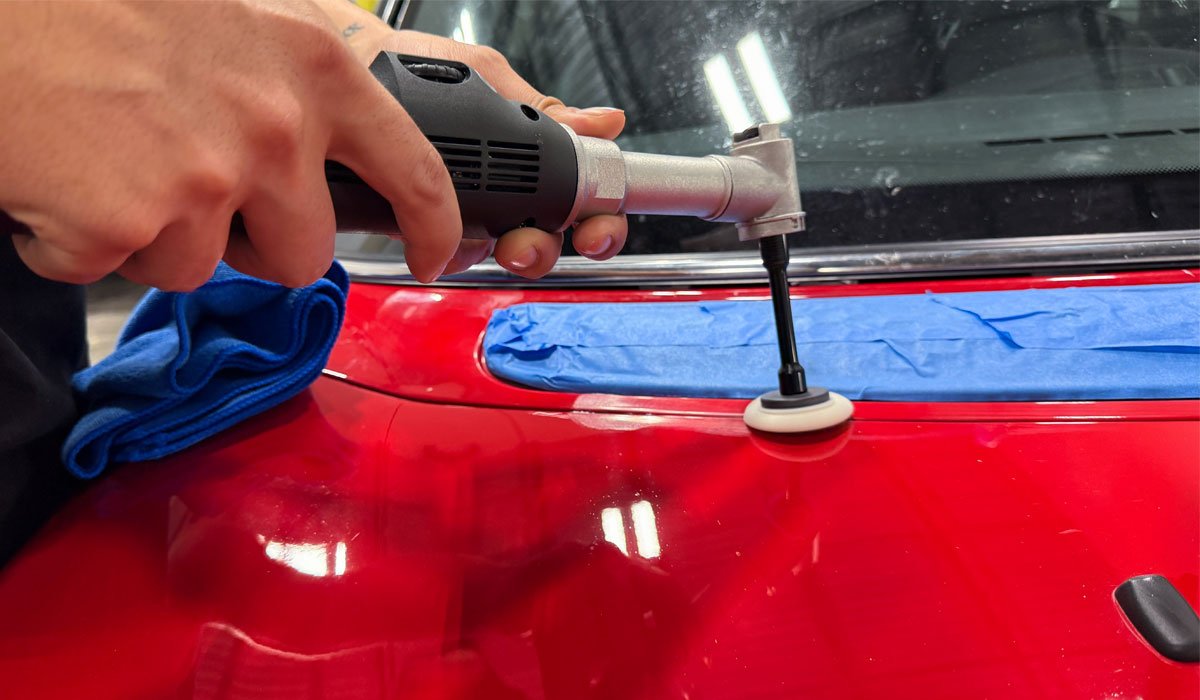
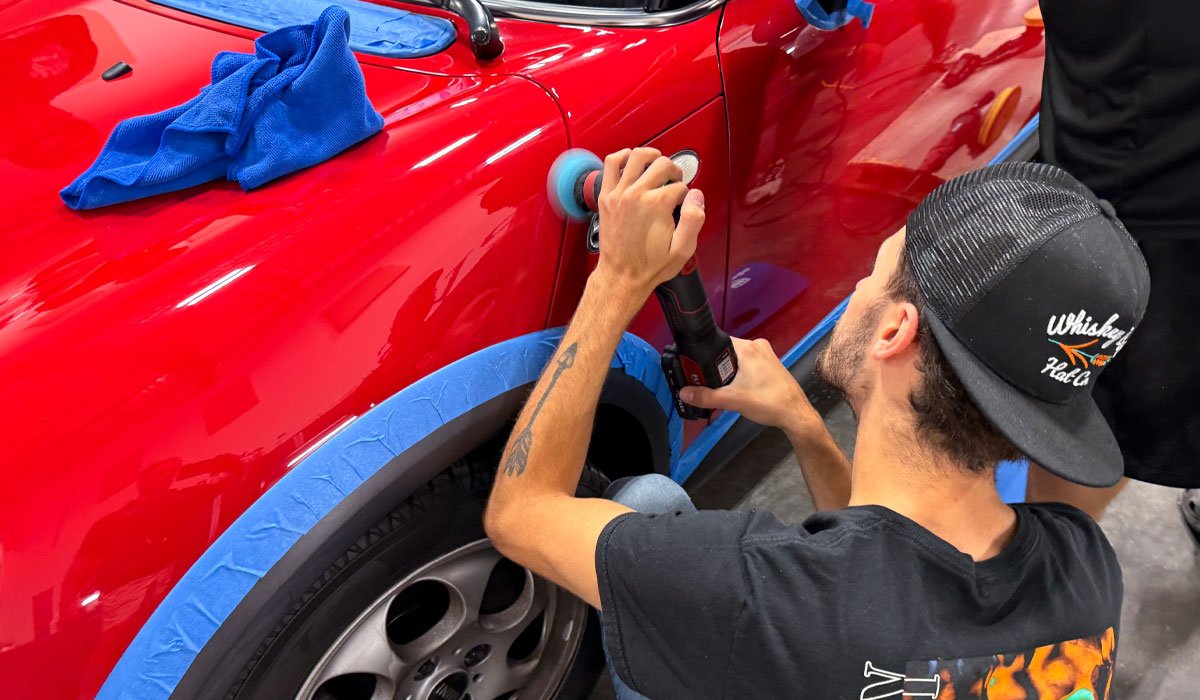
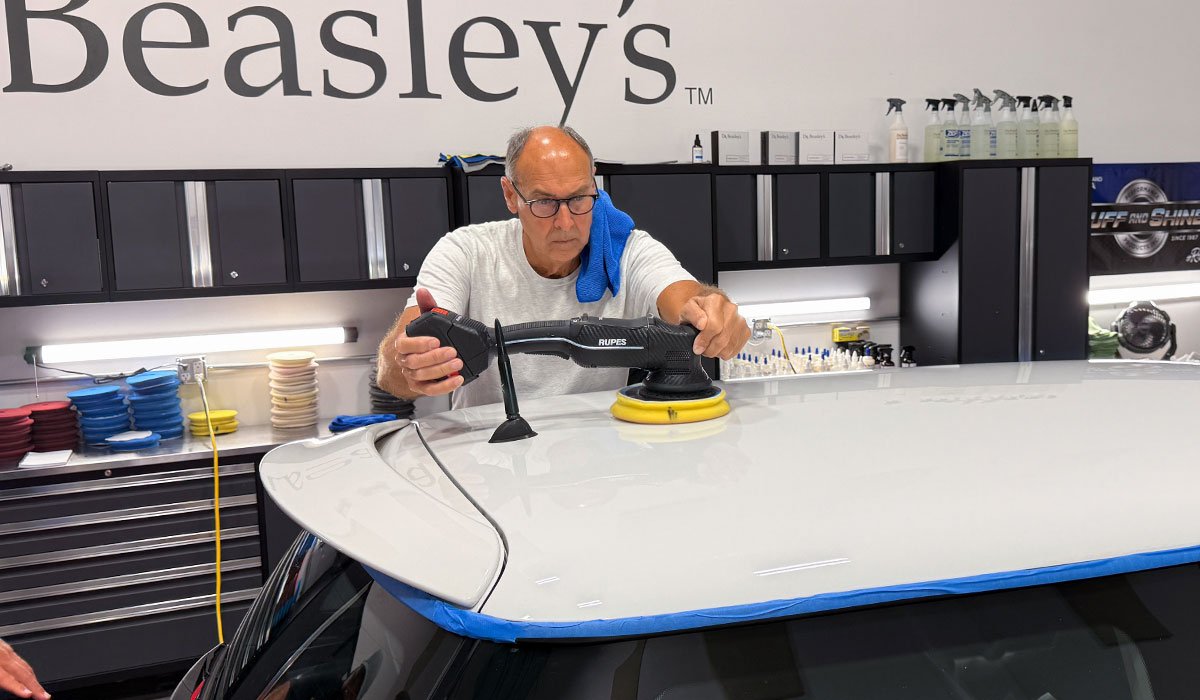
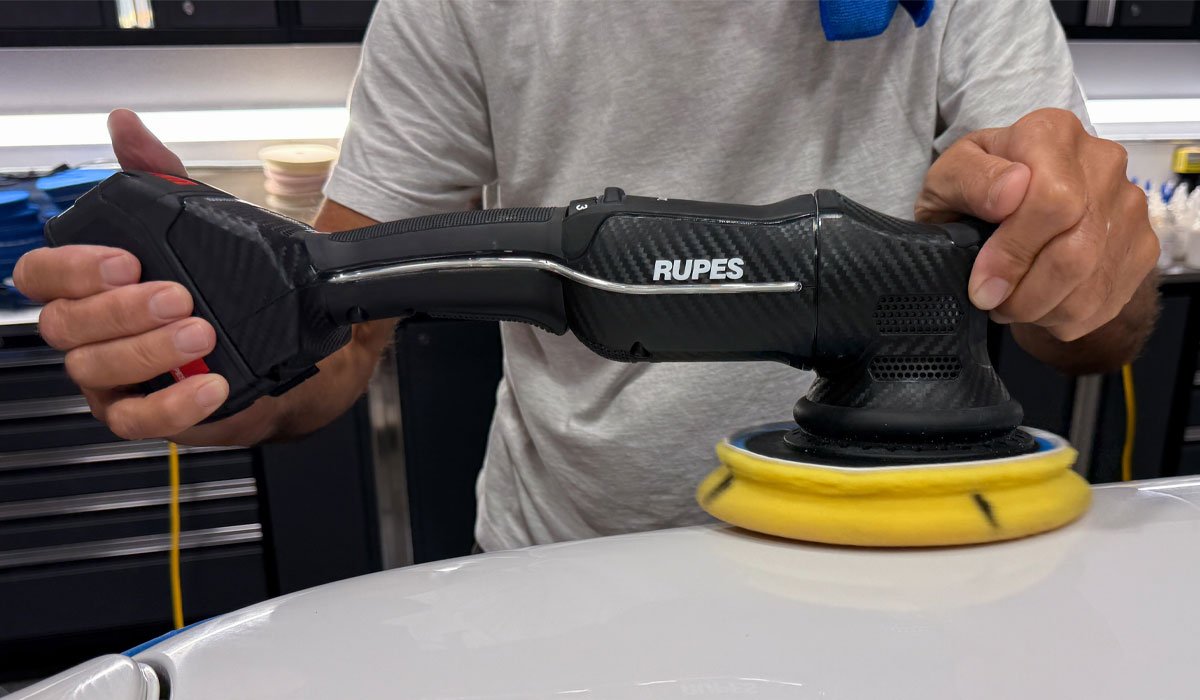
1-Step Ceramic AIO Paint Correction using Dr. Beasley's Z1
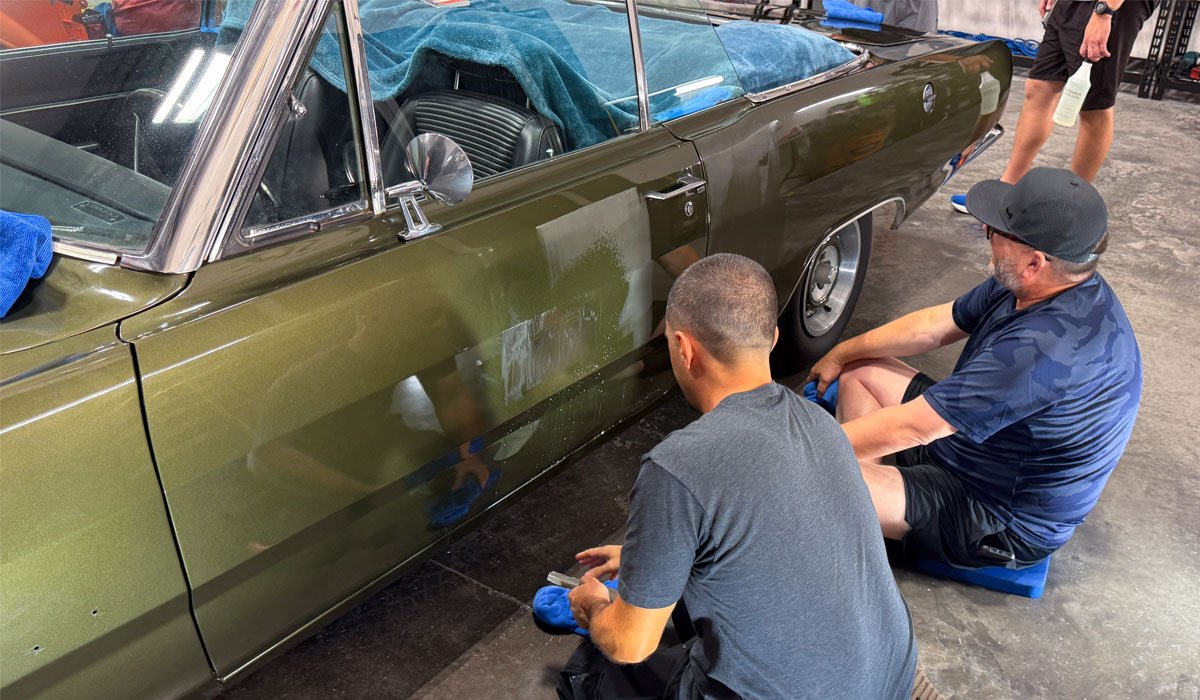
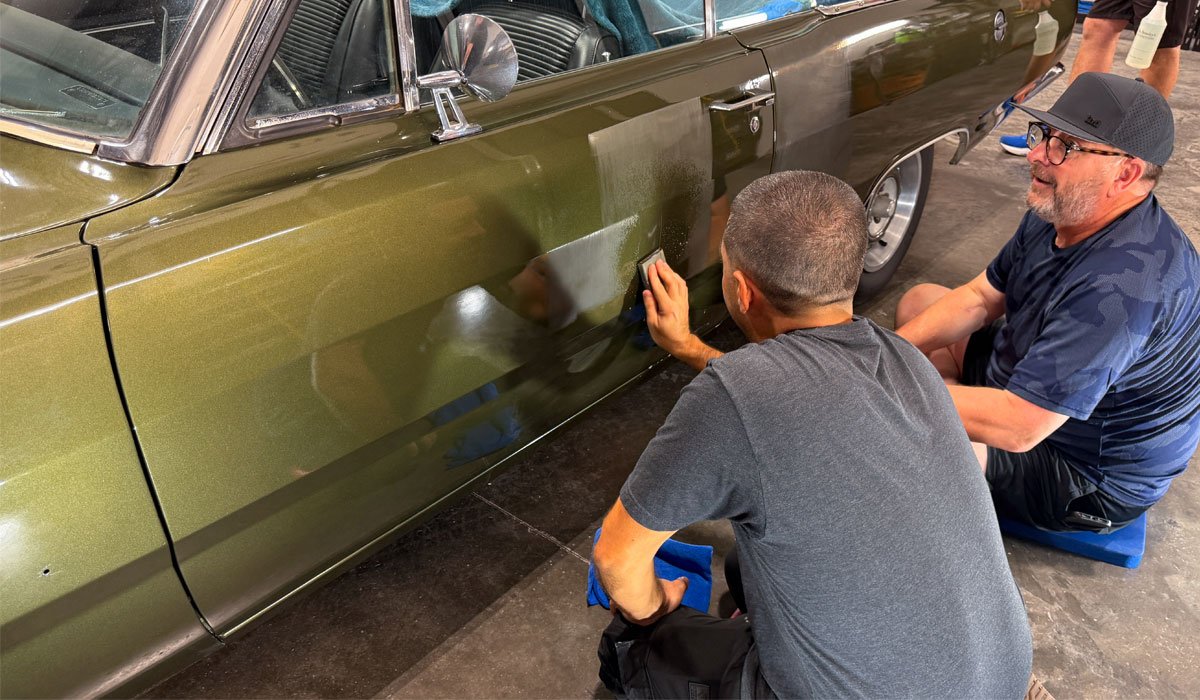
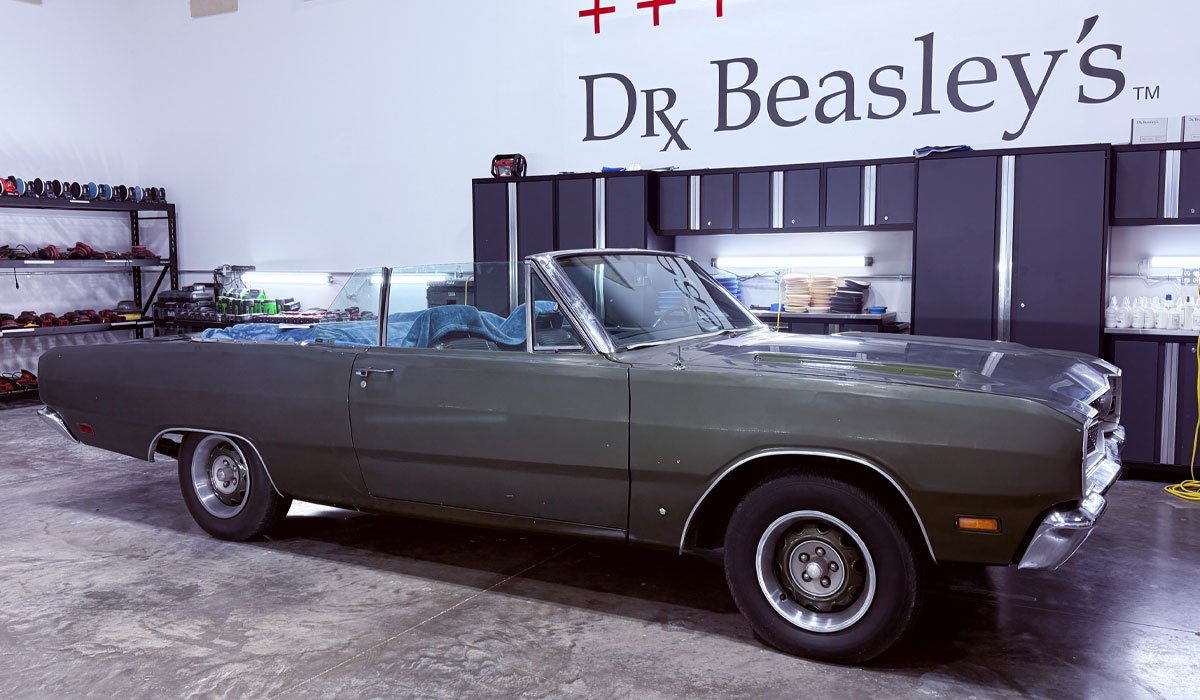
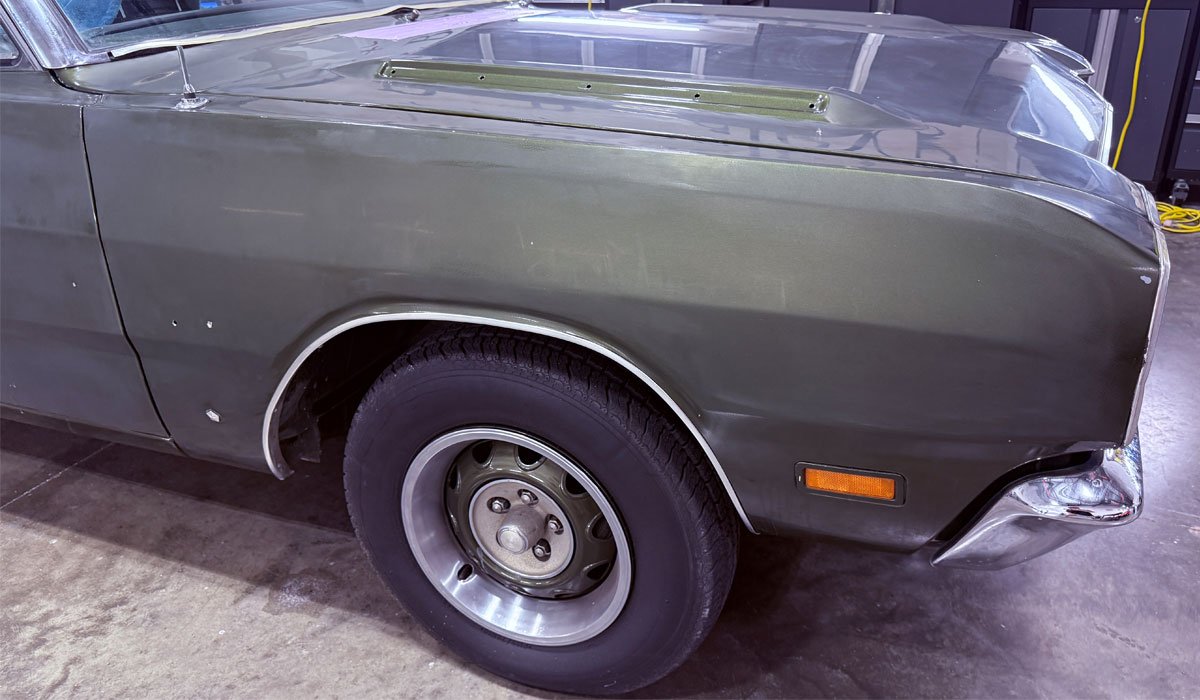
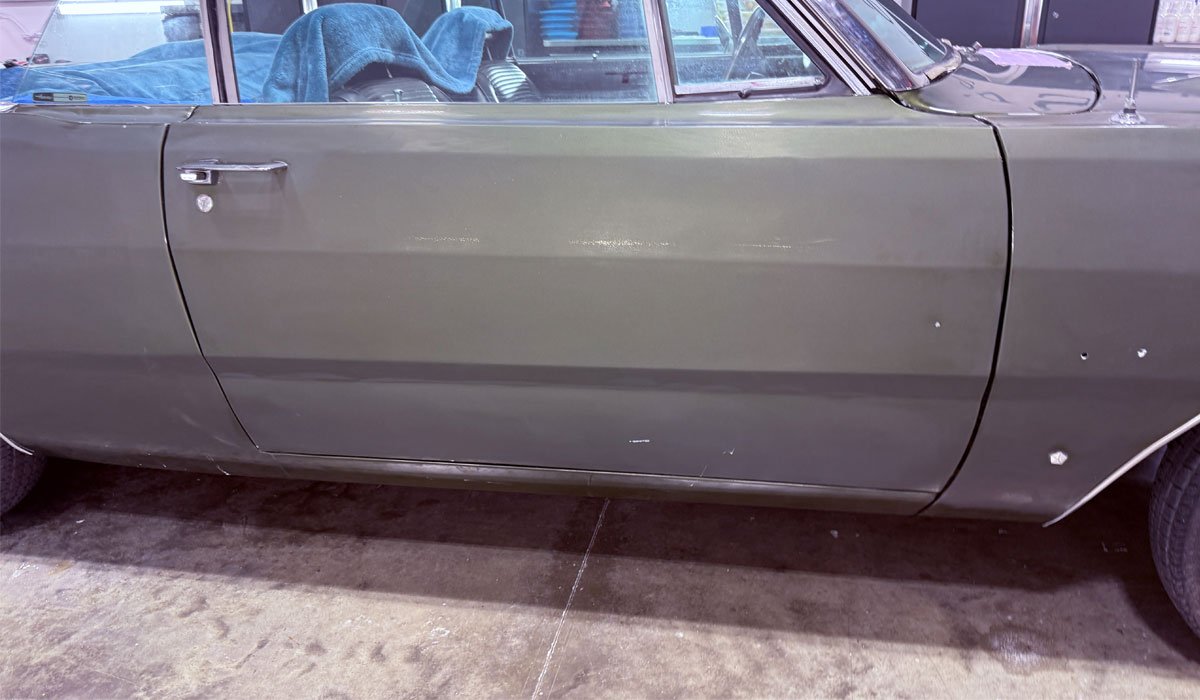
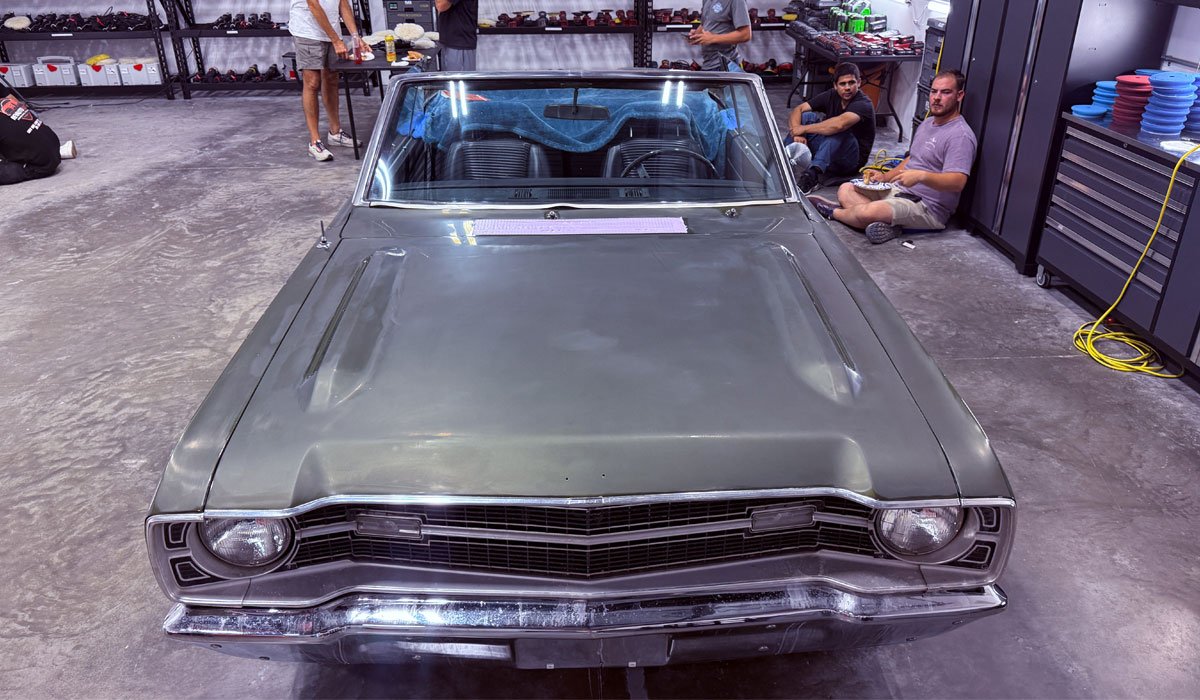
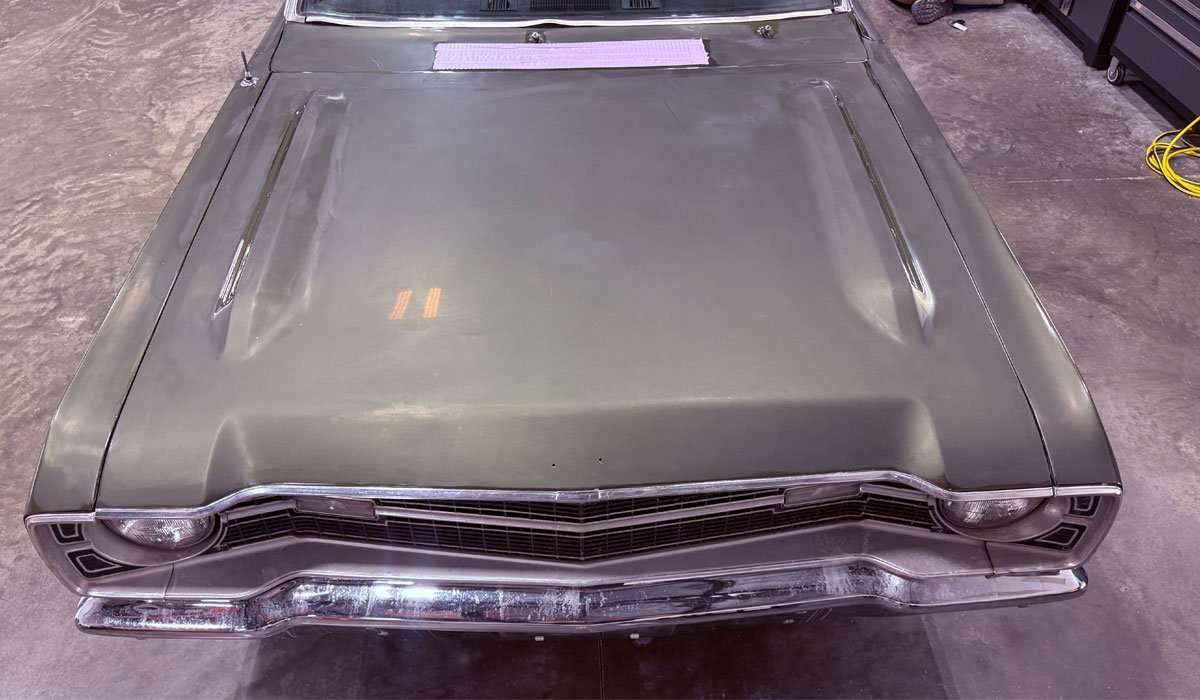
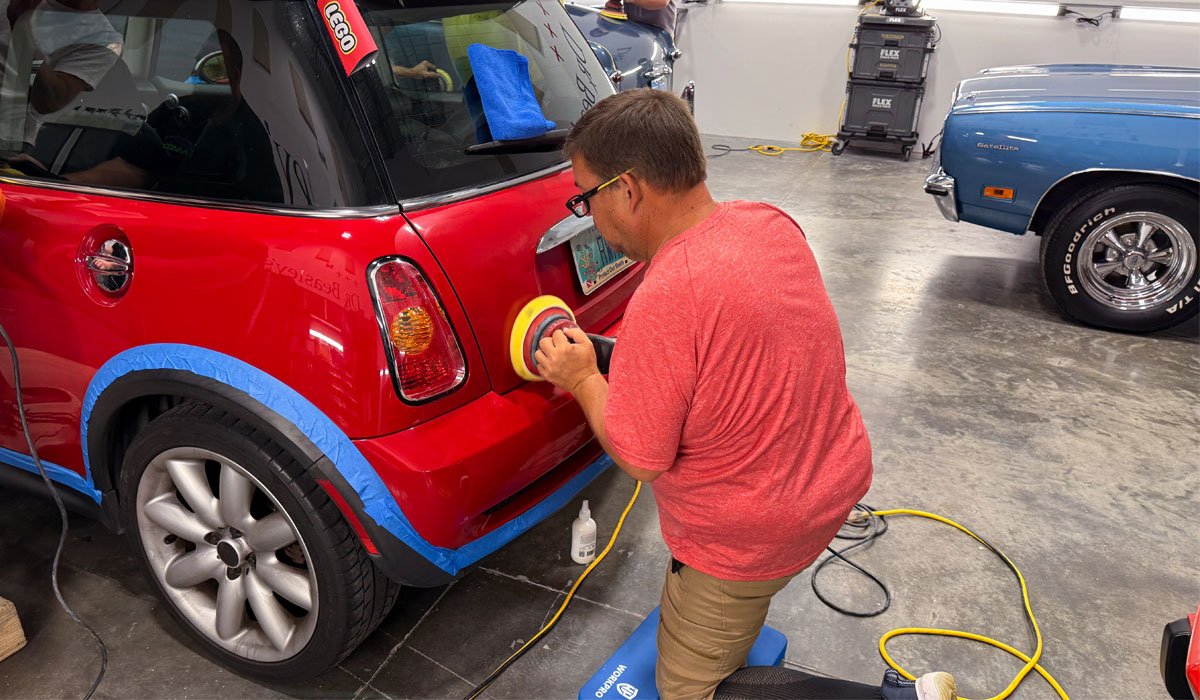
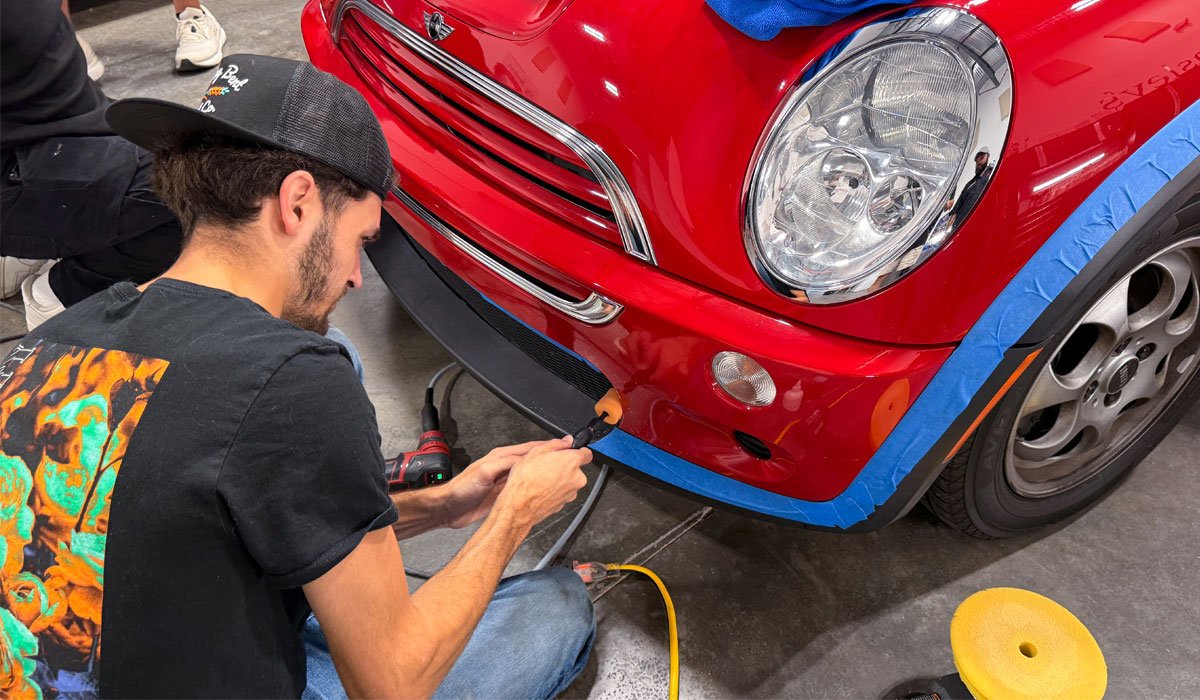
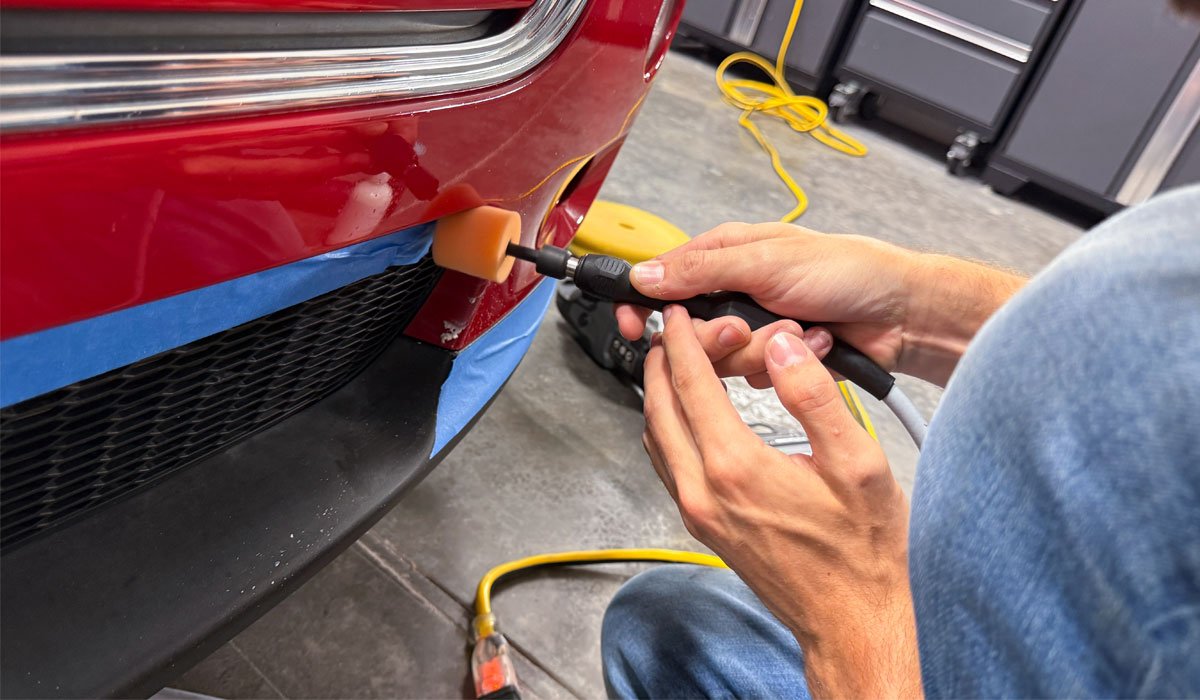
Z1 is a one-step ceramic all in one, this means, it compounds, polishes and protects in a single step. For this type of detailing, I bring in cars that have problems, but their not near as bad as the first 4 cars this class detailed. And this is by DESIGN. But look at the after pictures and understand, these results were achieved doing a SINGLE PAINT POLISHING STEP to the paint. Pretty amazing.
First, here's an arrival video that shows the before condition
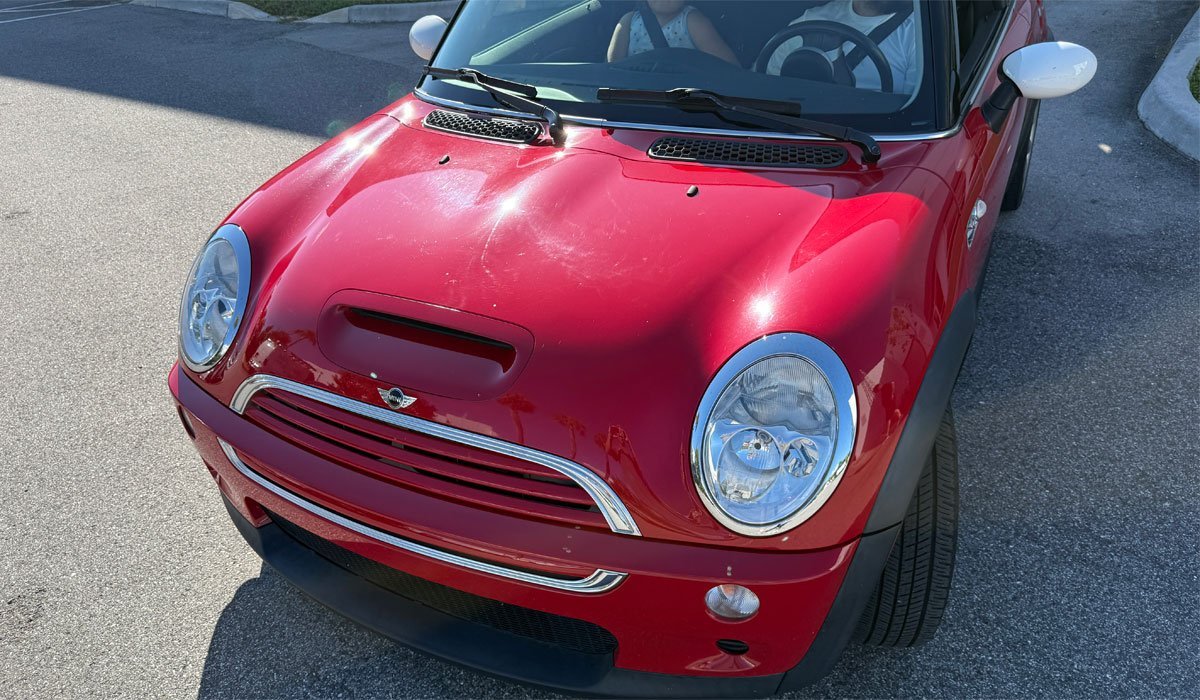
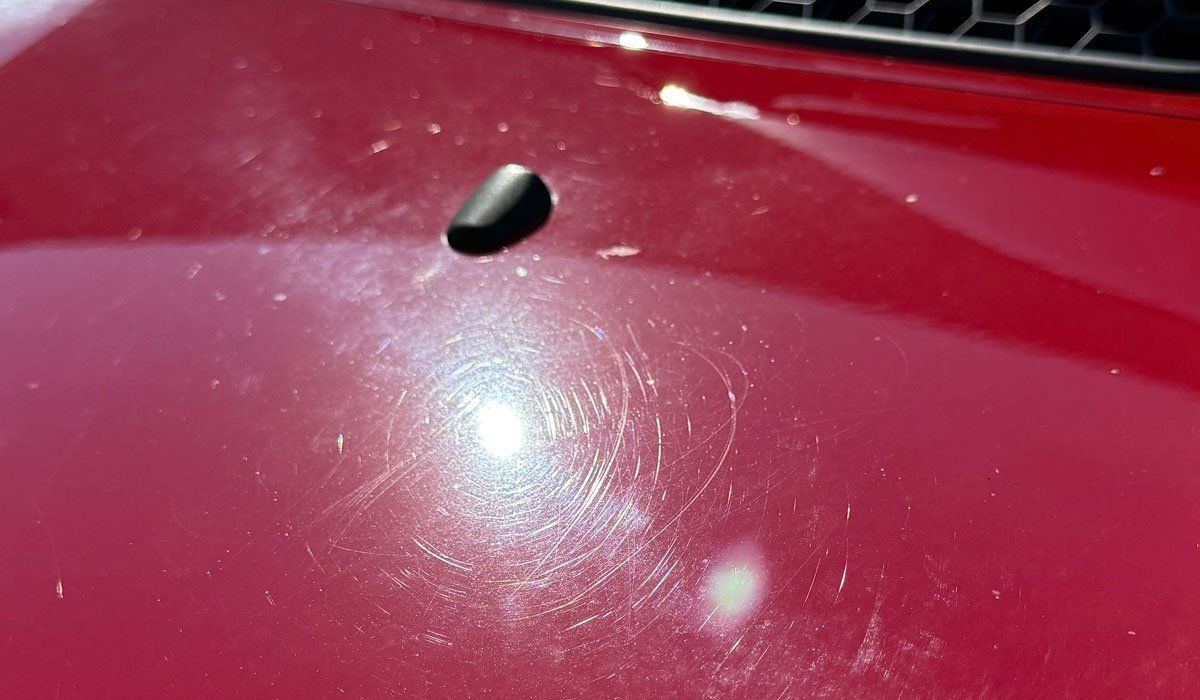
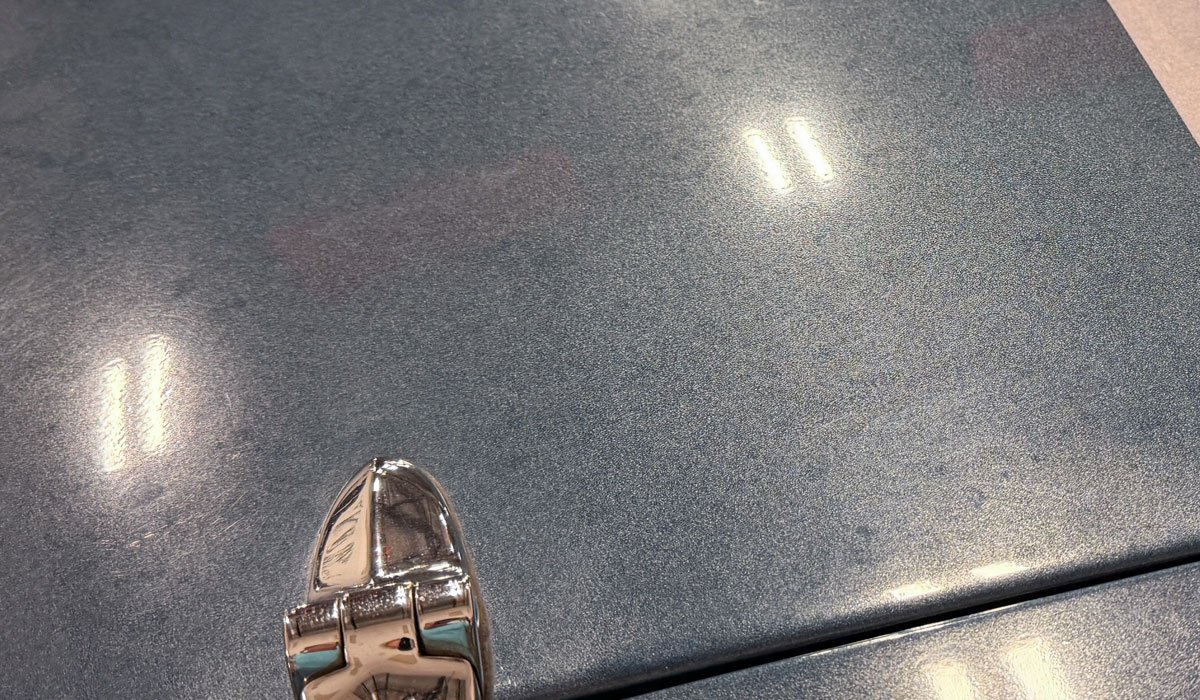
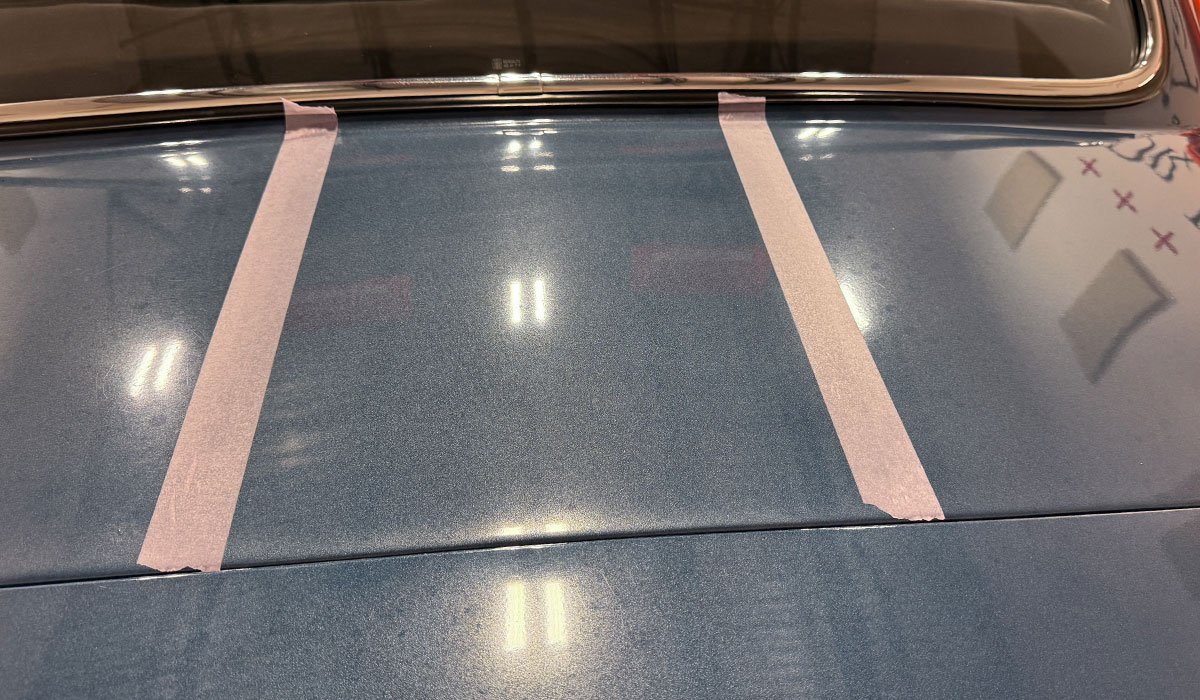
2002 Mini Cooper - Before Shots
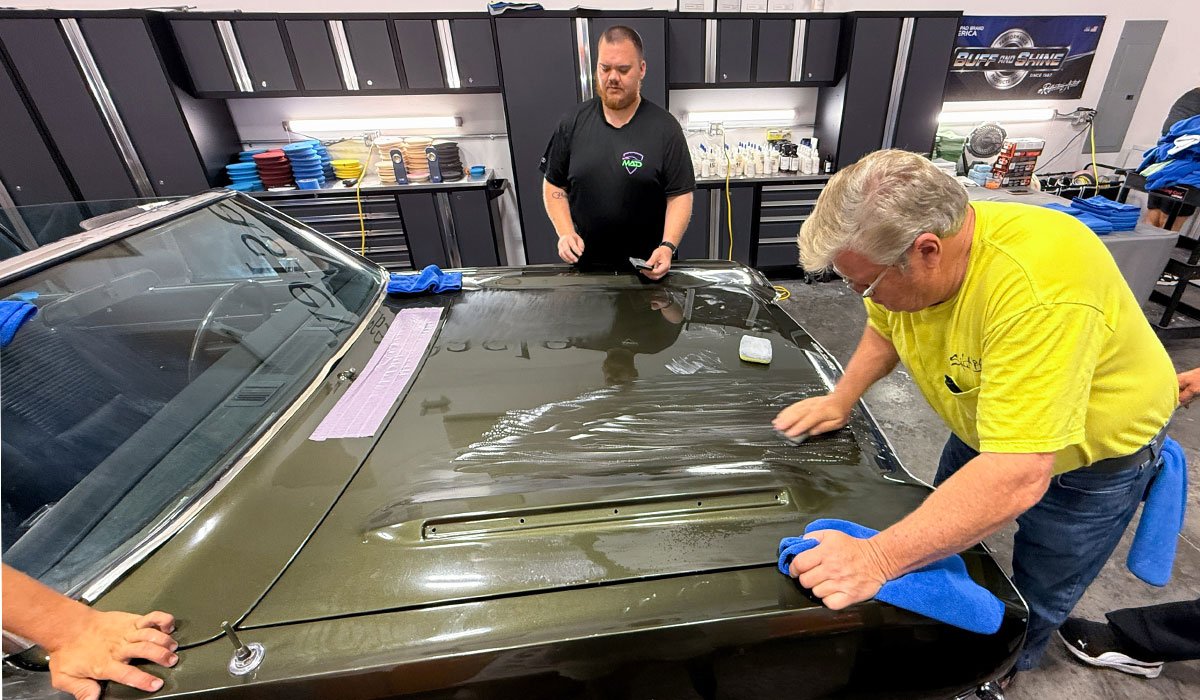
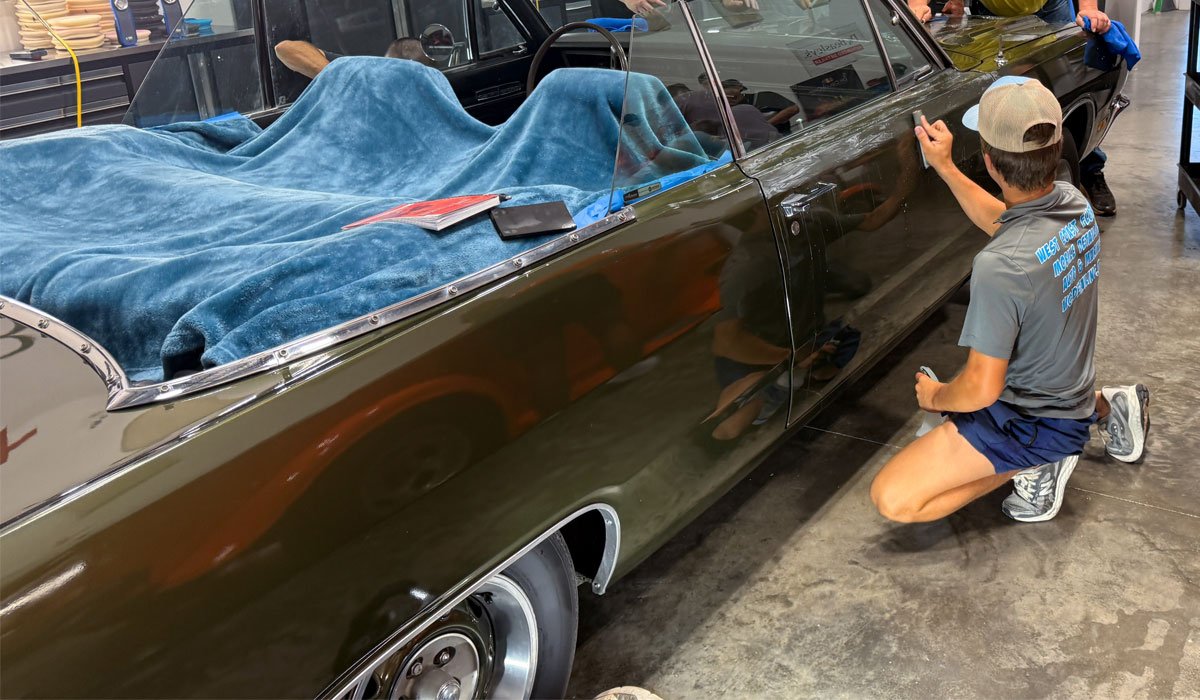
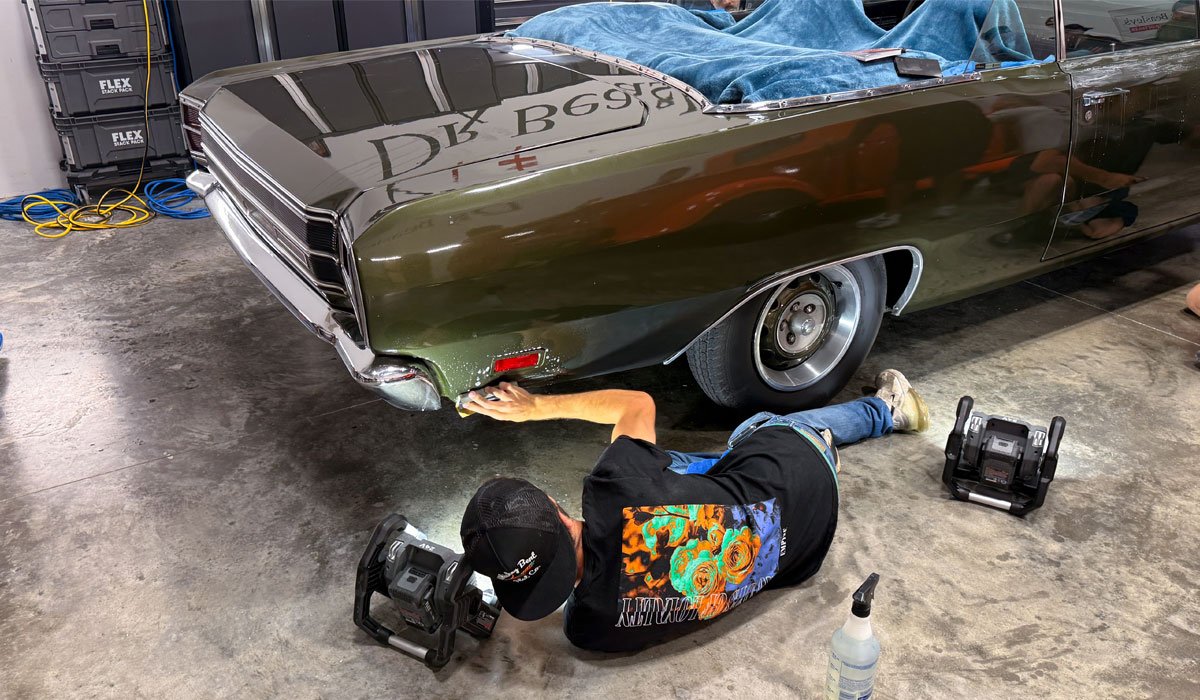
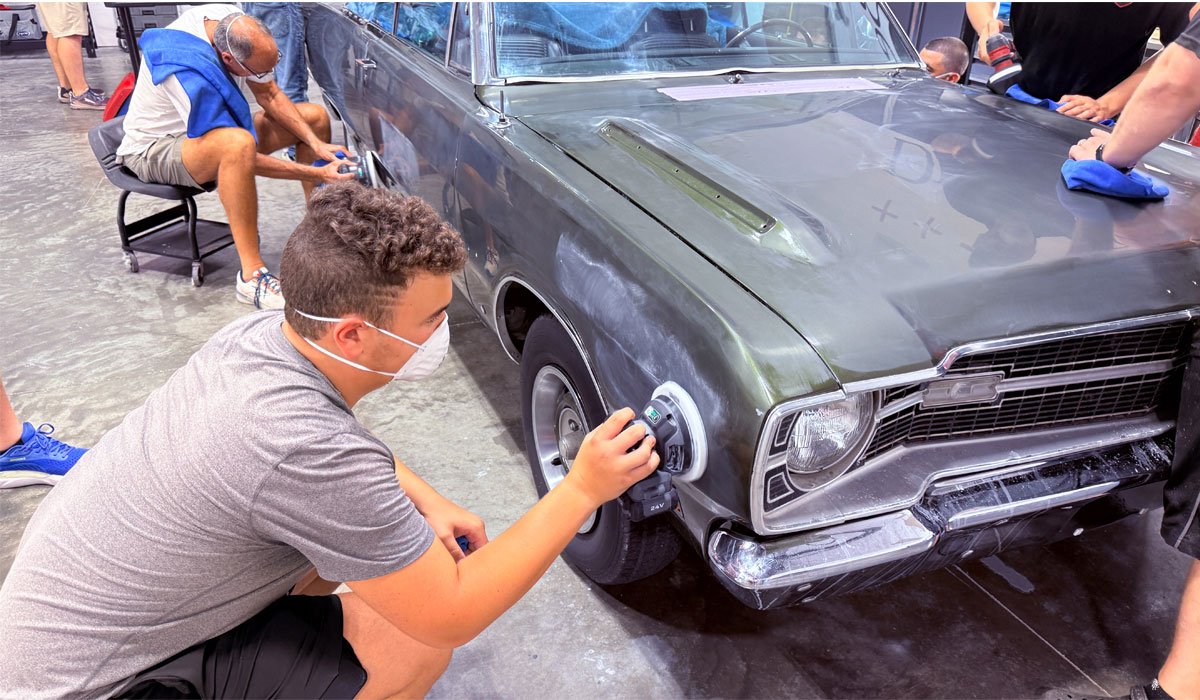
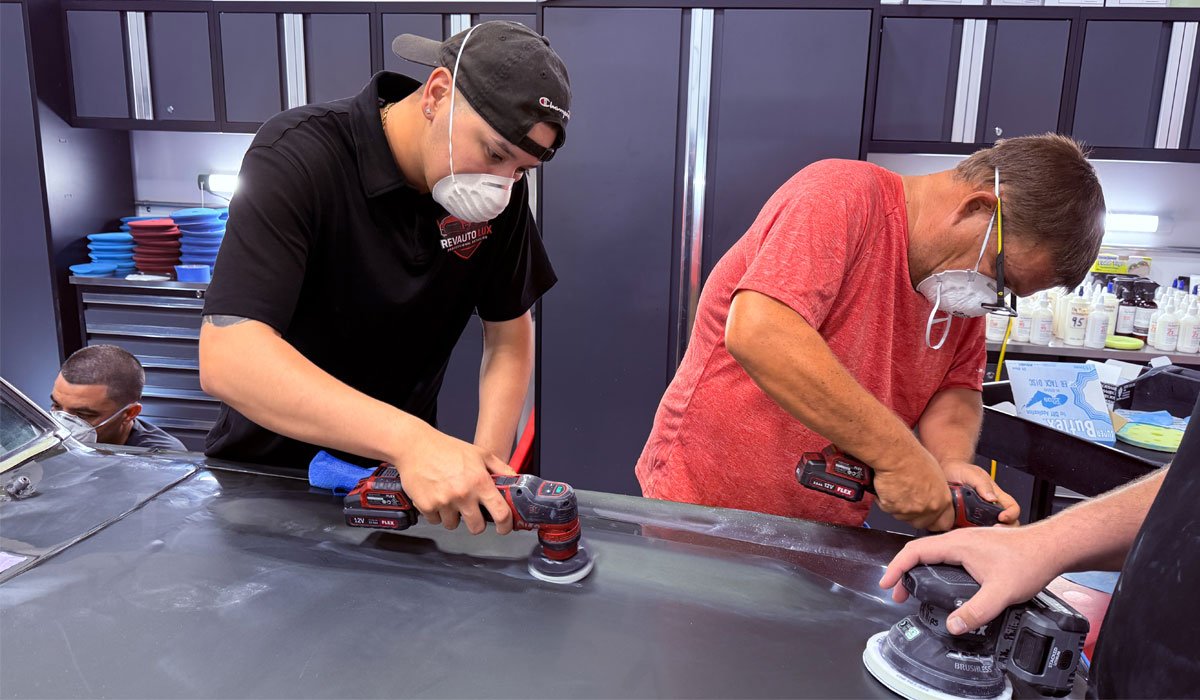
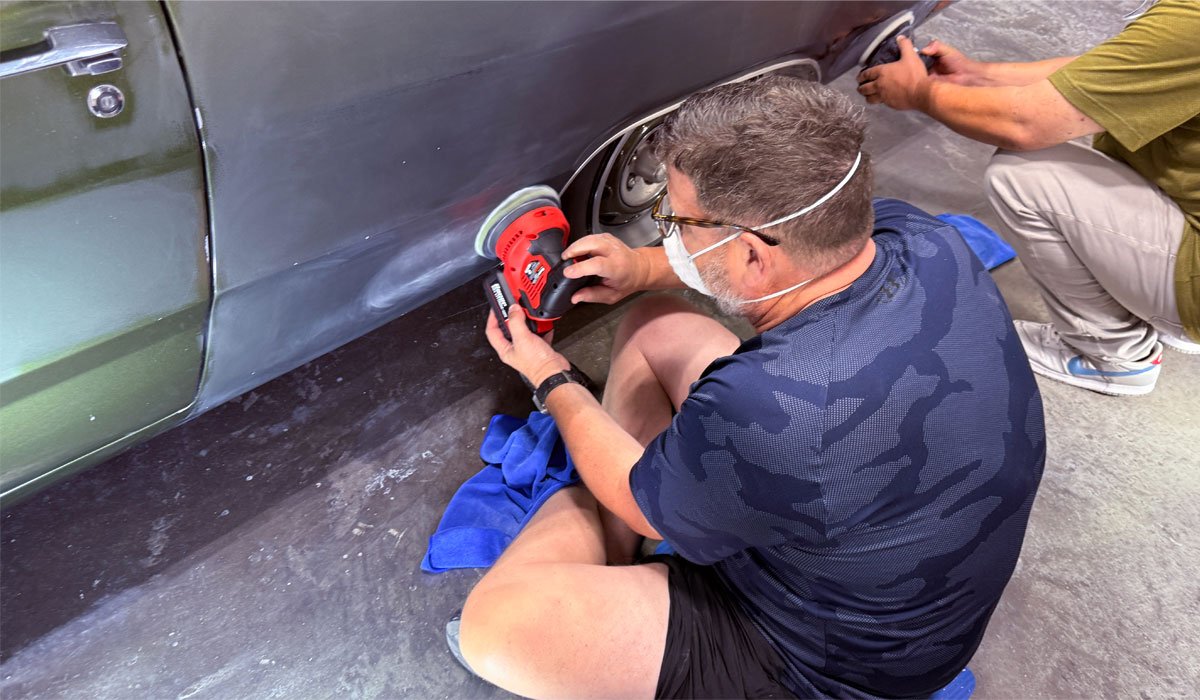
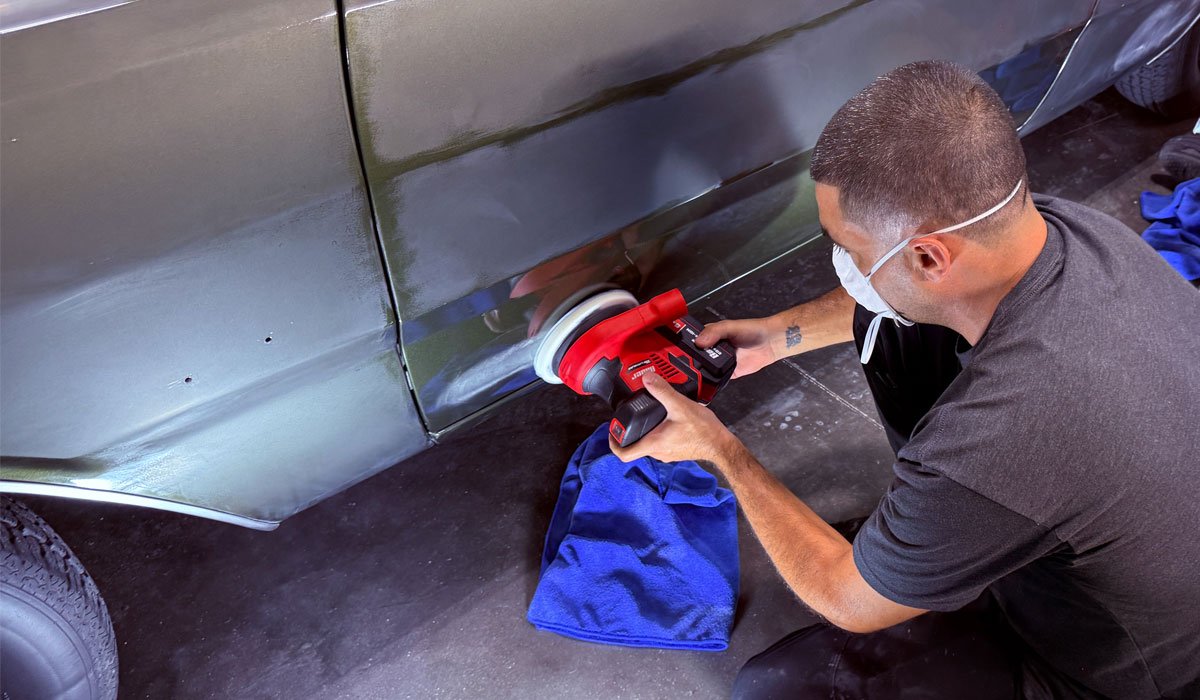
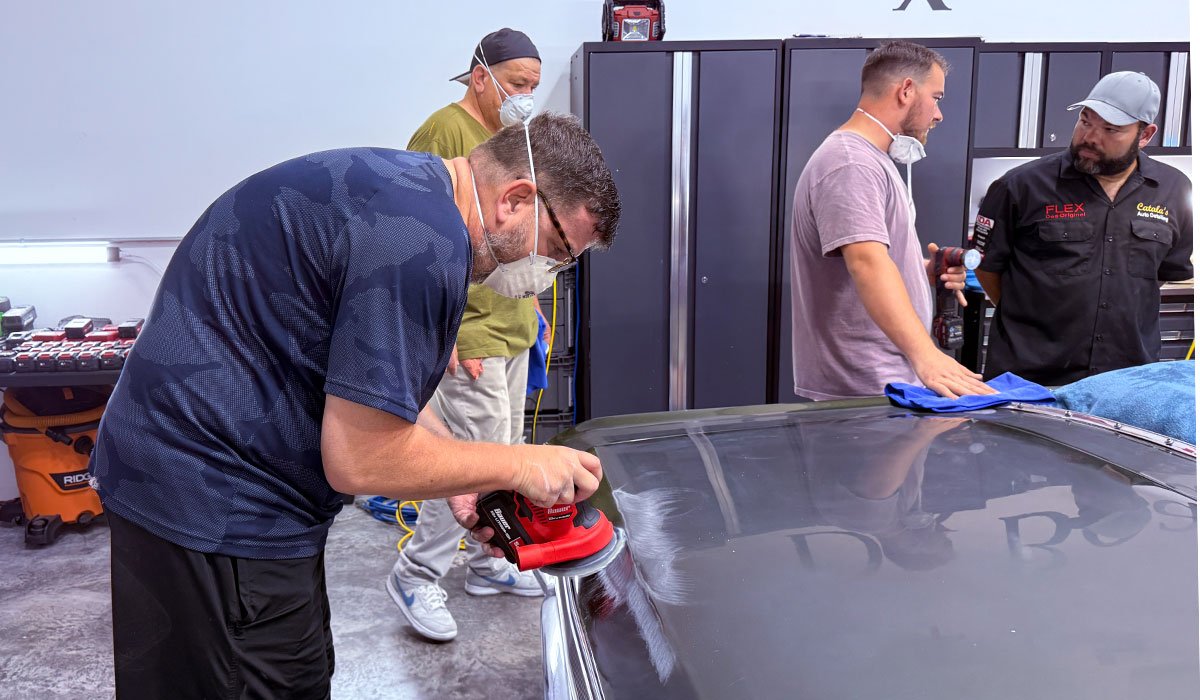
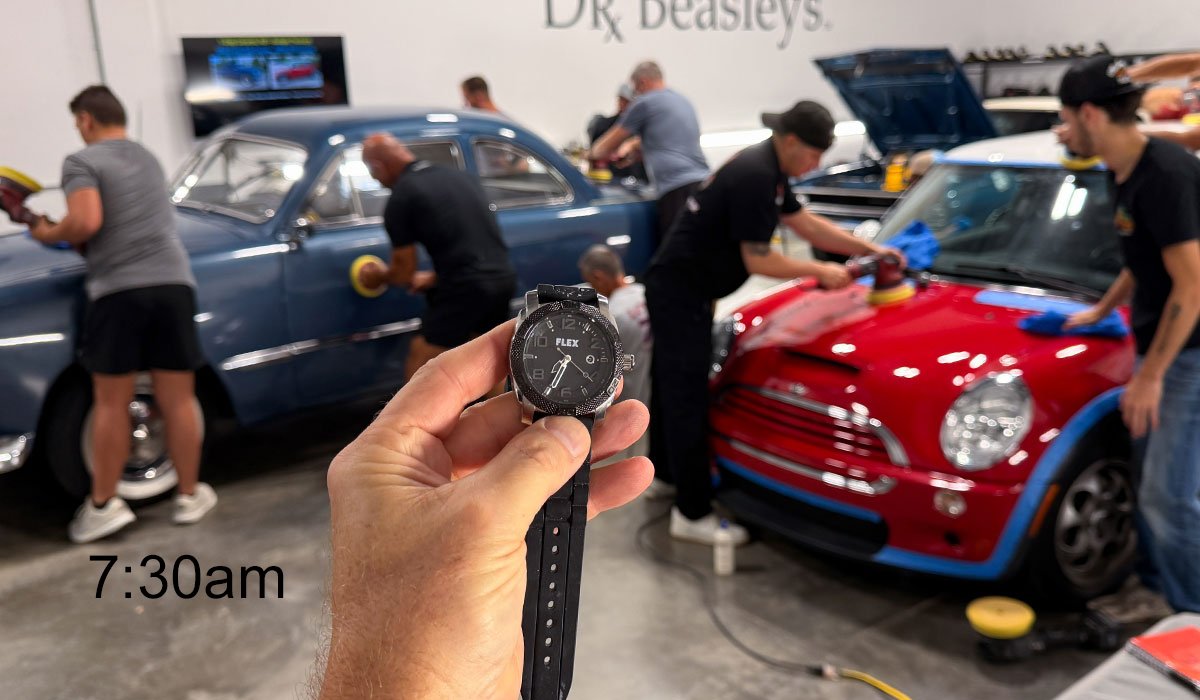
It's GO TIME!
If you can't get out of bed early for our class, might want to find a cushier class with chairs that starts at the crack of afternoon.

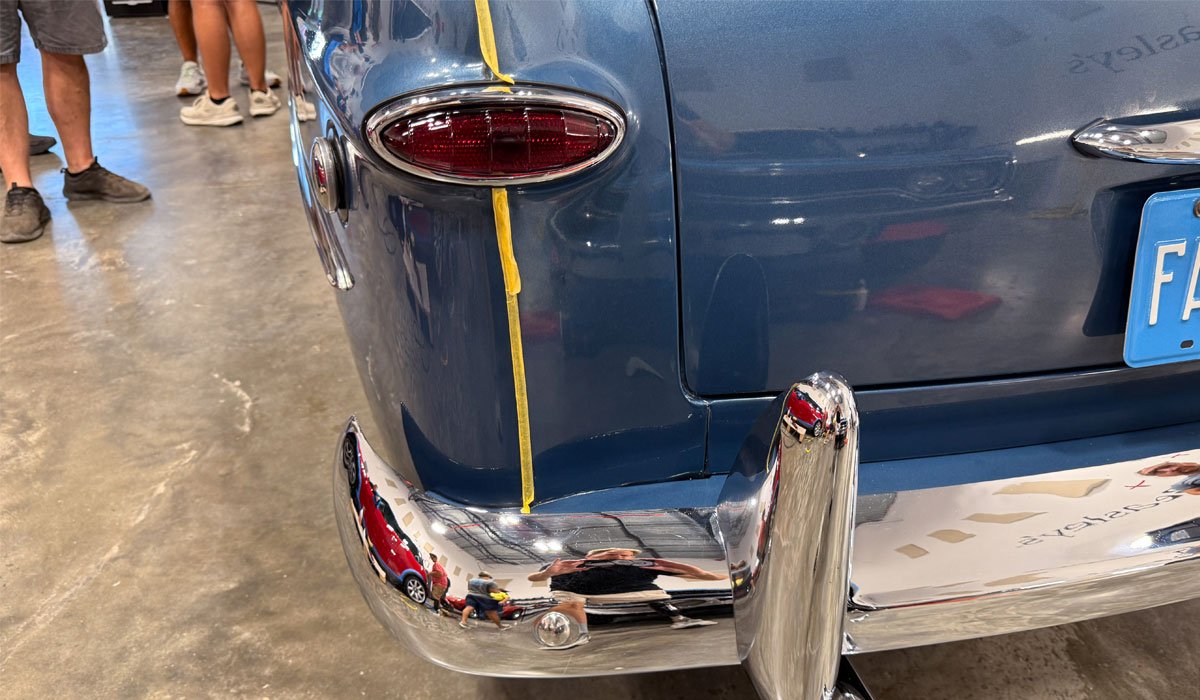
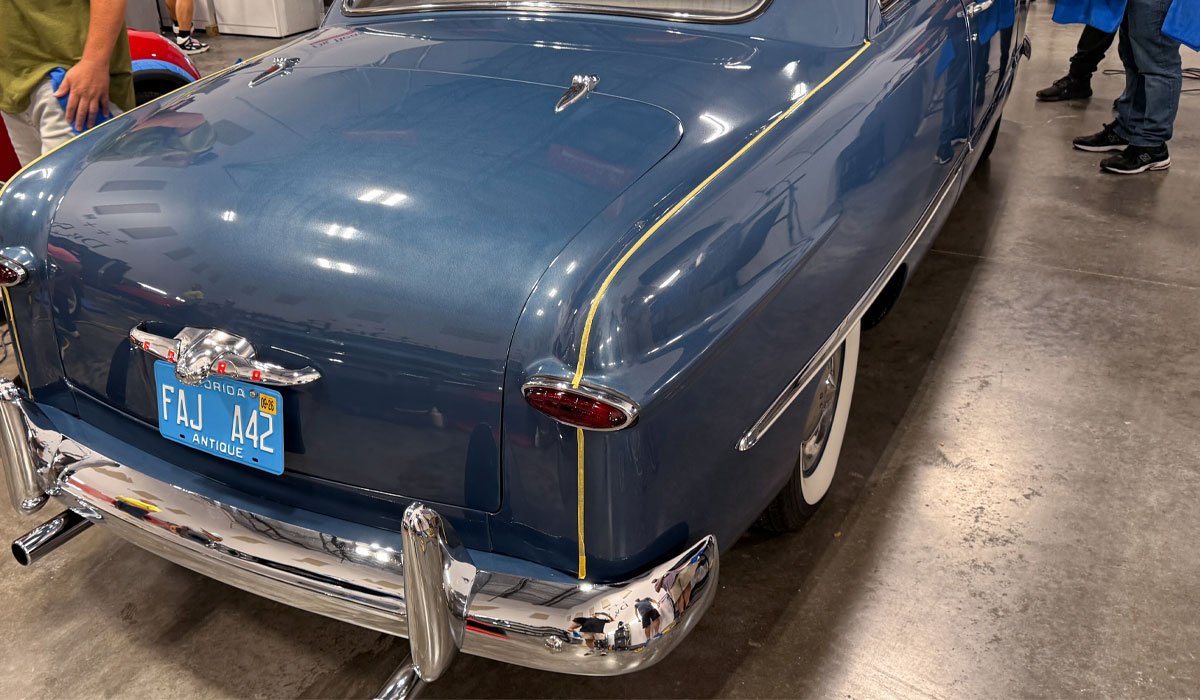
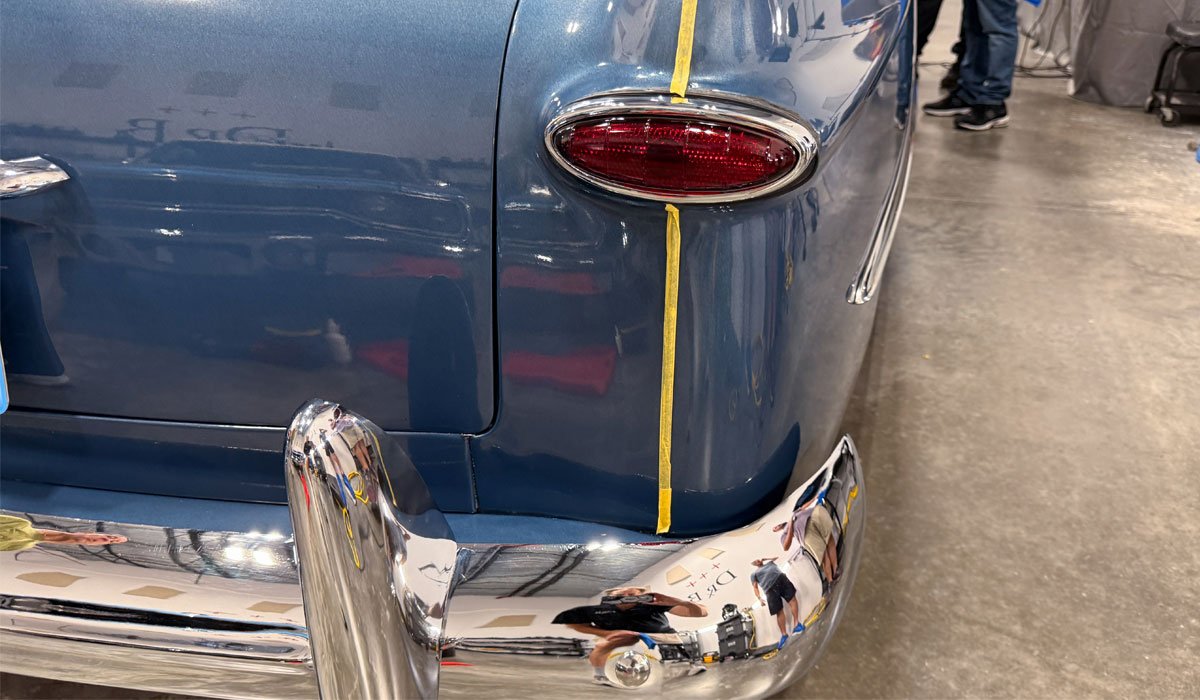
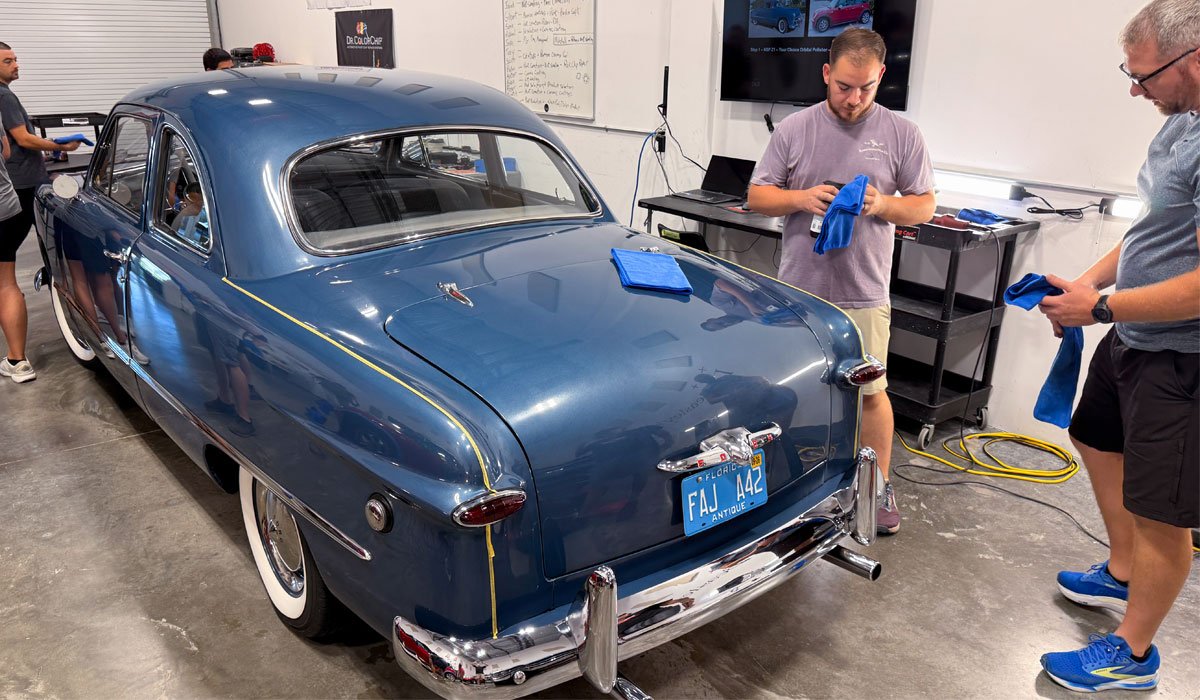
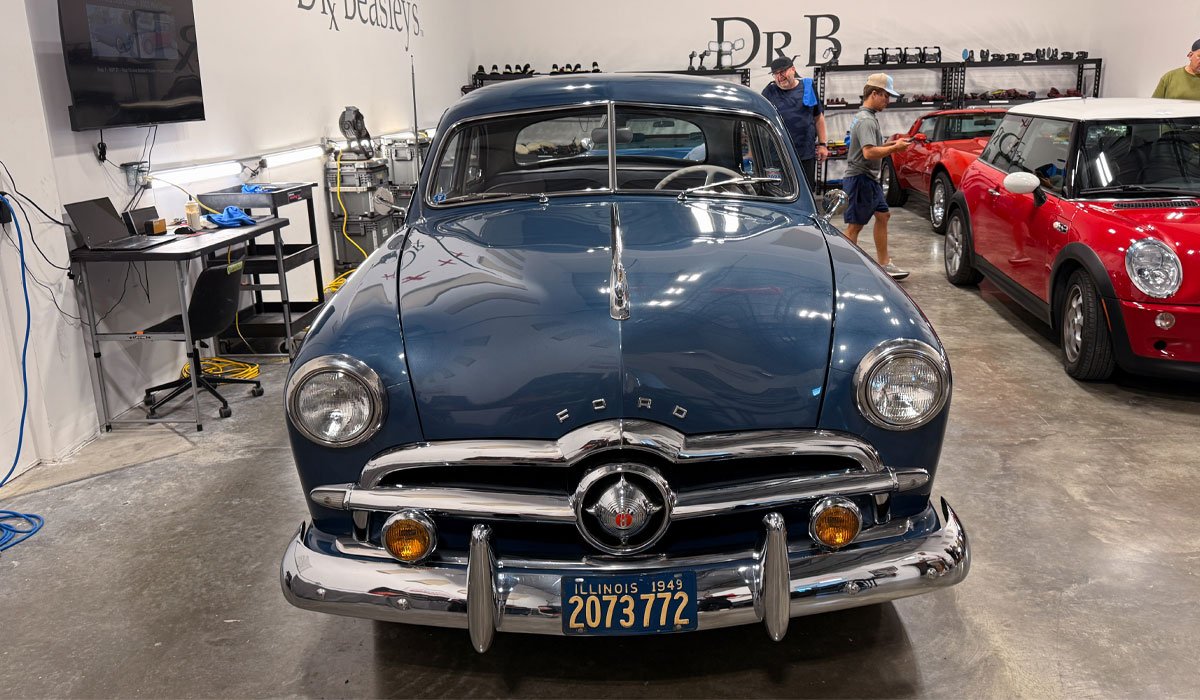
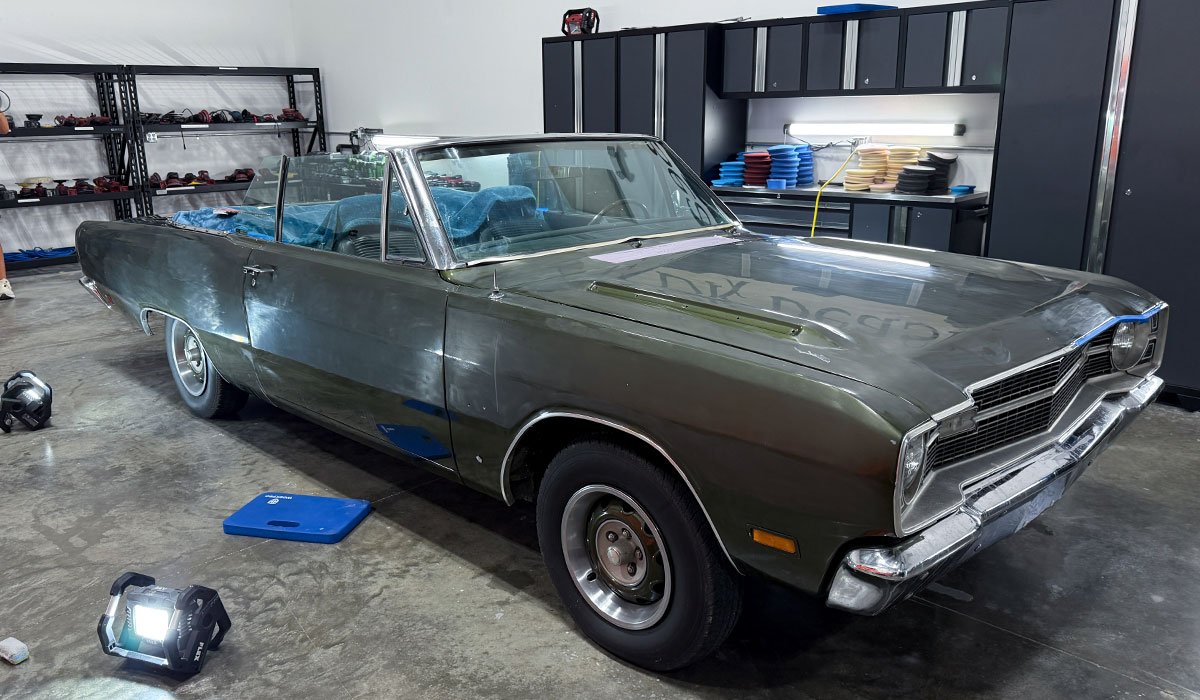
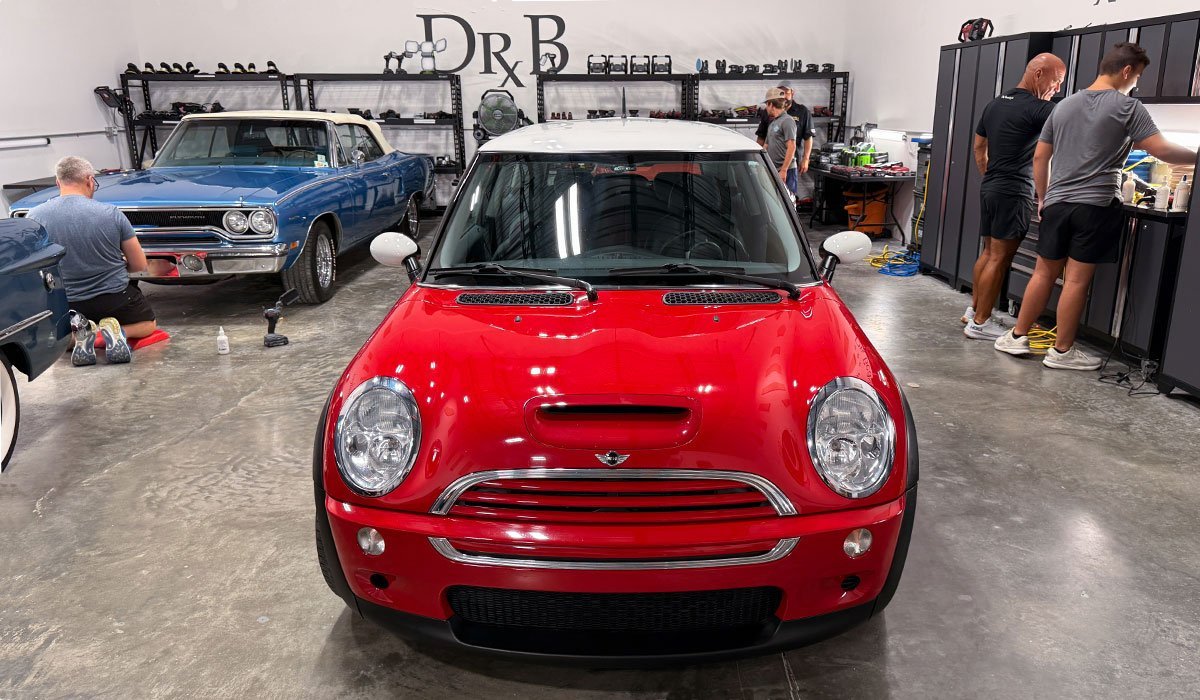
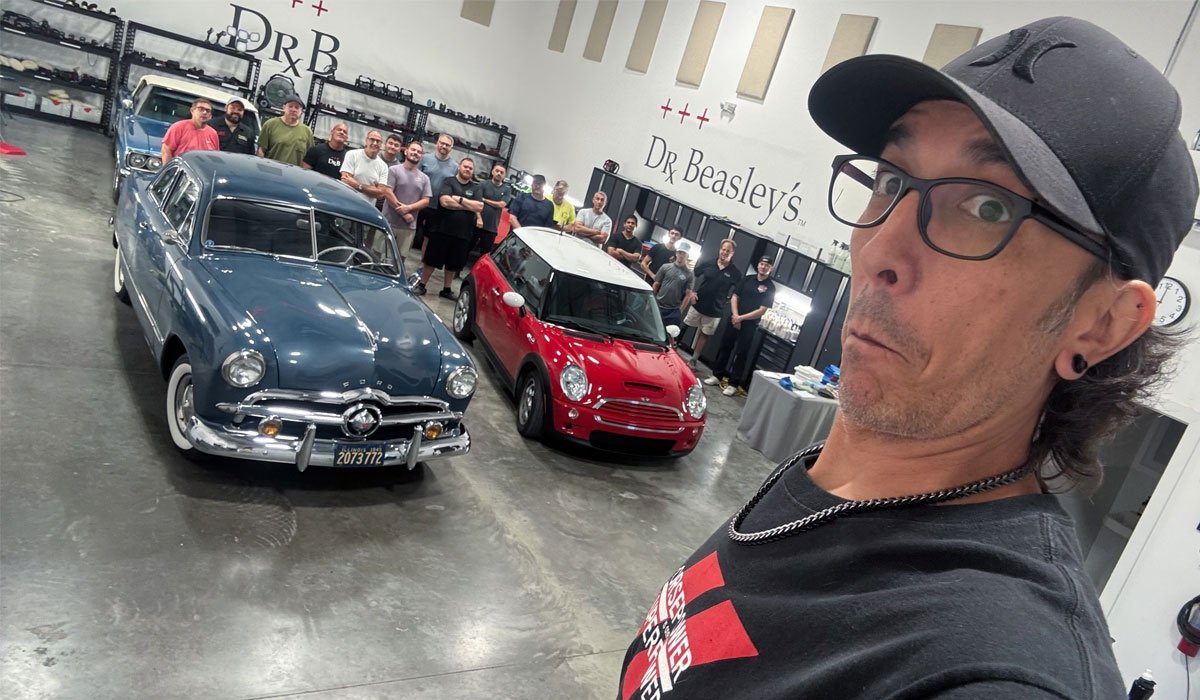
Here's the final results!
Here's the group shot with Yancy taking a great shot!
Mike
Next up...
We get started at 7:30am SHARP! We left off Saturday, late afternoon, by finishing the 1970 Satellite and the 1979 Corvette. So, we pick back up covering the third of the three primary topics for the paint correction and ceramic coating class by learning how to do a 1-Step Ceramic AIO Paint Correction.
For this the class will be training on a 1949 Ford Club Coupe and a 2002 Mini Cooper.
1-Step Ceramic AIO Paint Correction using Dr. Beasley's Z1
Z1 is a one-step ceramic all in one, this means, it compounds, polishes and protects in a single step. For this type of detailing, I bring in cars that have problems, but their not near as bad as the first 4 cars this class detailed. And this is by DESIGN. But look at the after pictures and understand, these results were achieved doing a SINGLE PAINT POLISHING STEP to the paint. Pretty amazing.
First, here's an arrival video that shows the before condition
2002 Mini Cooper - Before Shots
It's GO TIME!
If you can't get out of bed early for our class, might want to find a cushier class with chairs that starts at the crack of afternoon.
Here's the final results!
Here's the group shot with Yancy taking a great shot!
Mike
Last edited:


")