Continued....
2-Step Paint Correction and Ceramic Coating
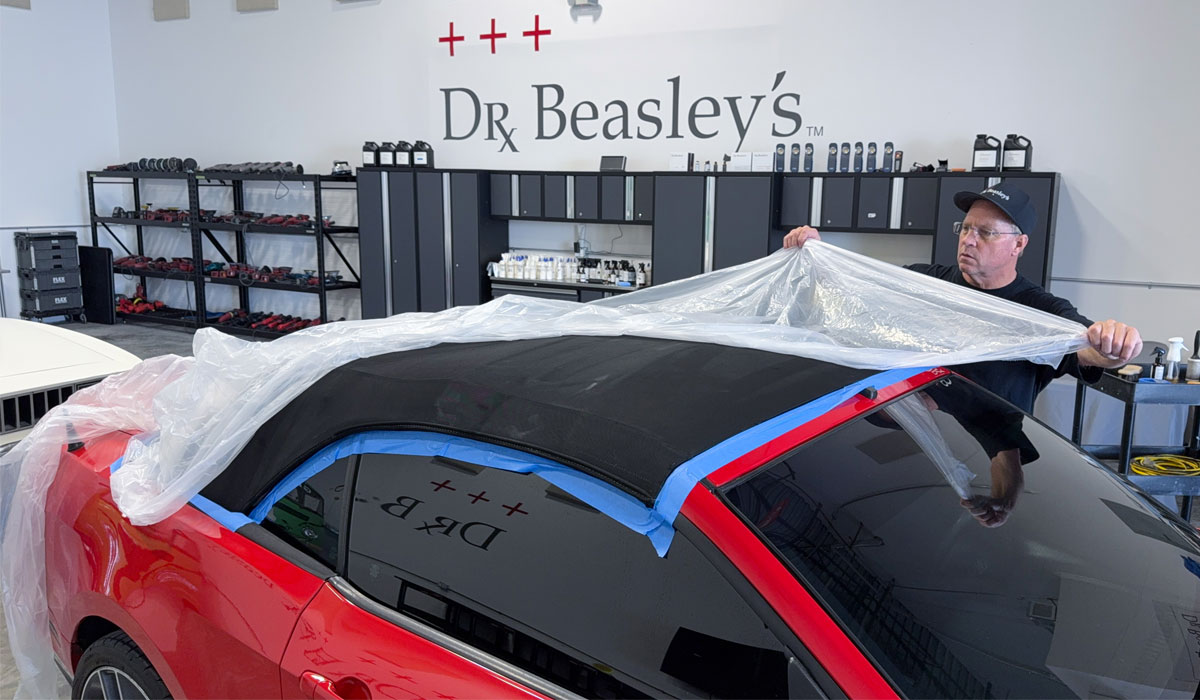
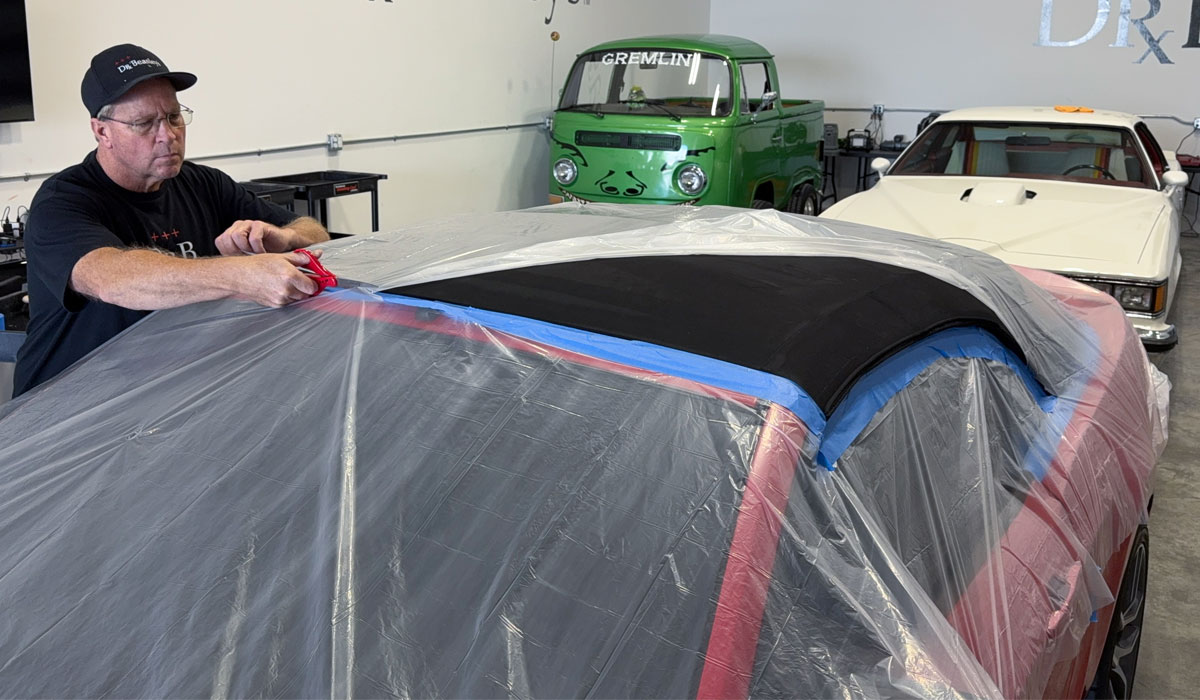
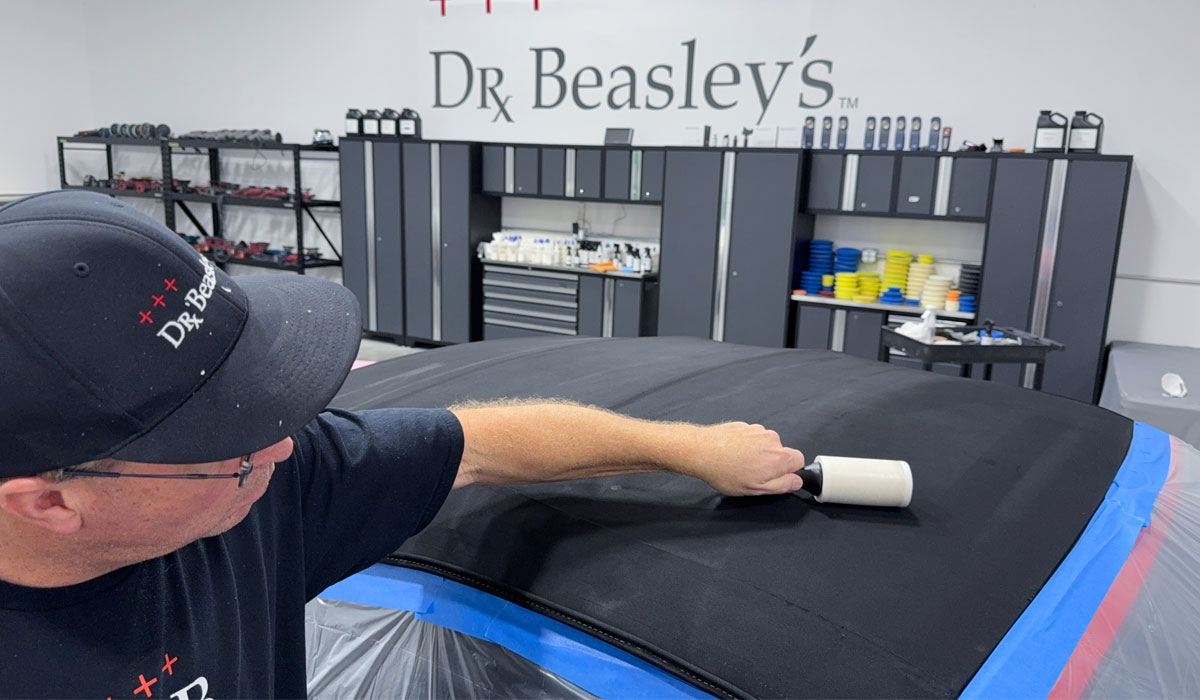
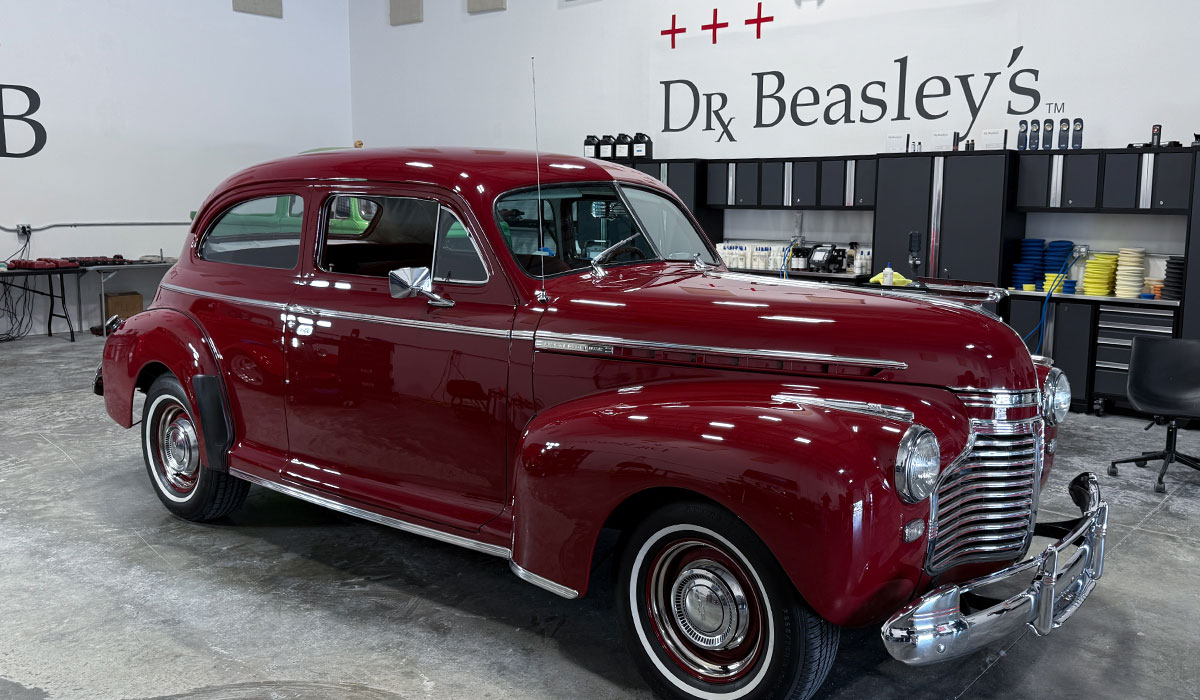
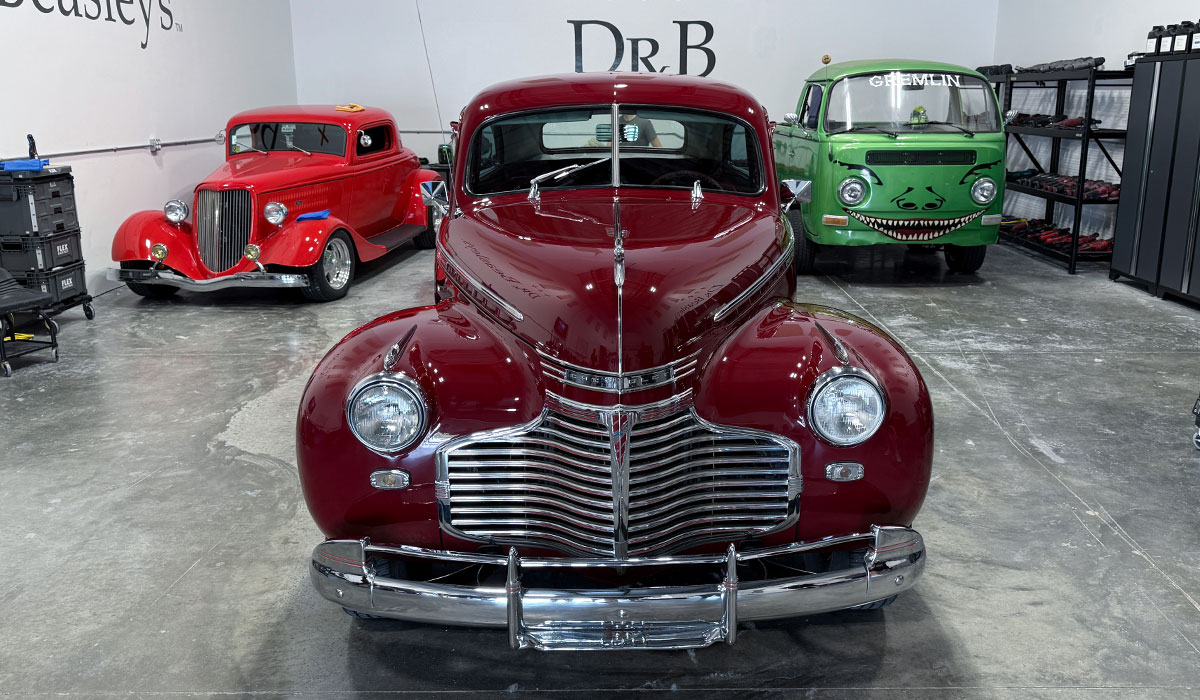
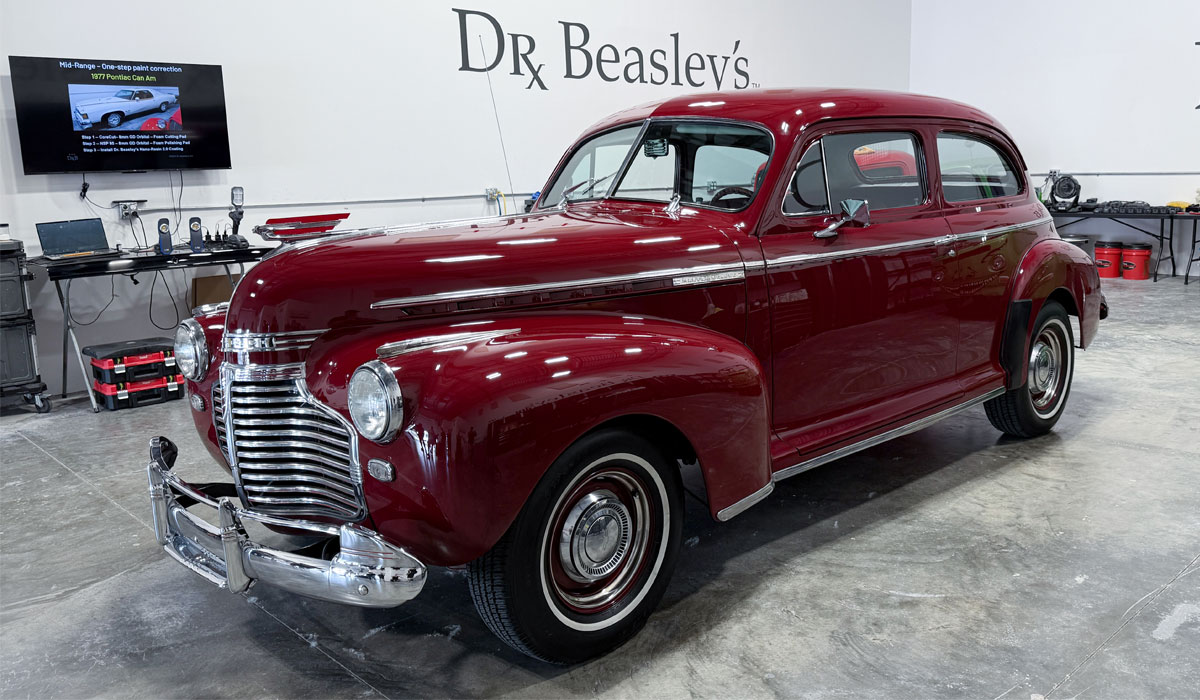
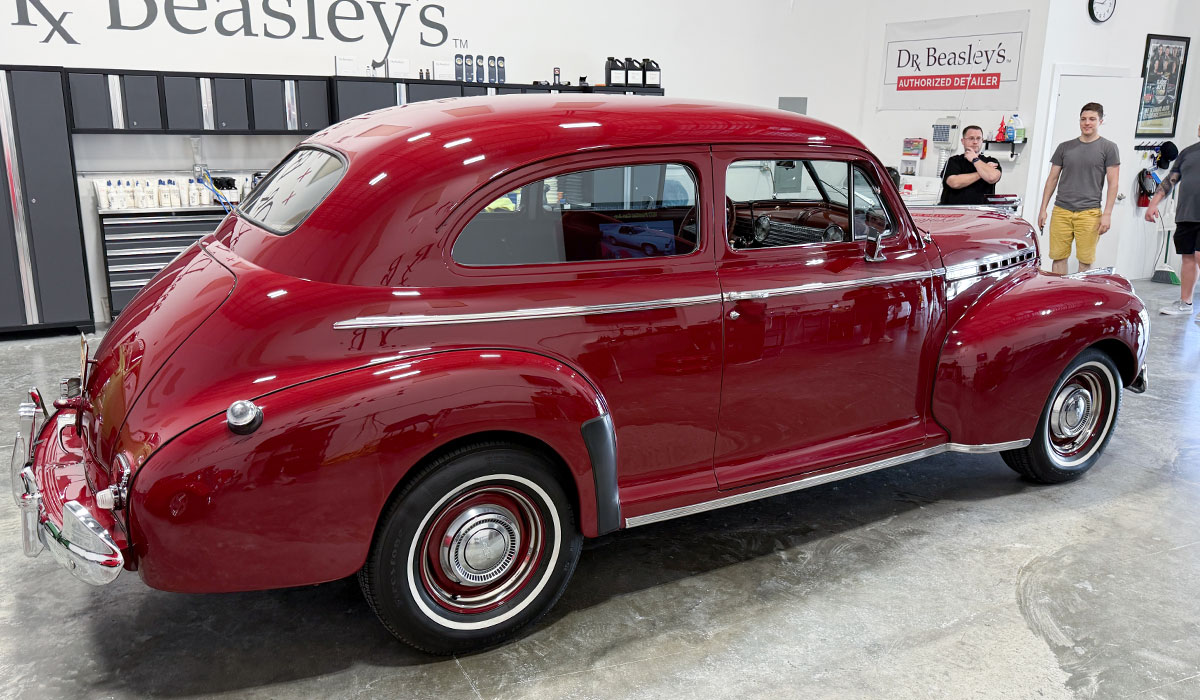
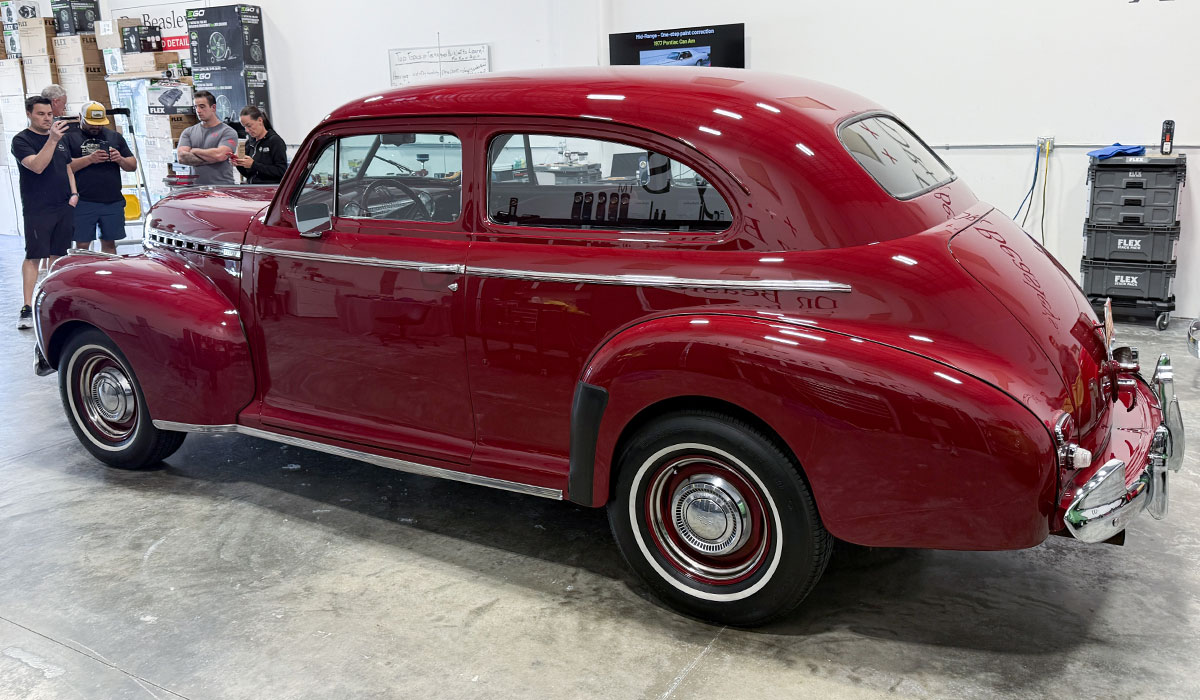
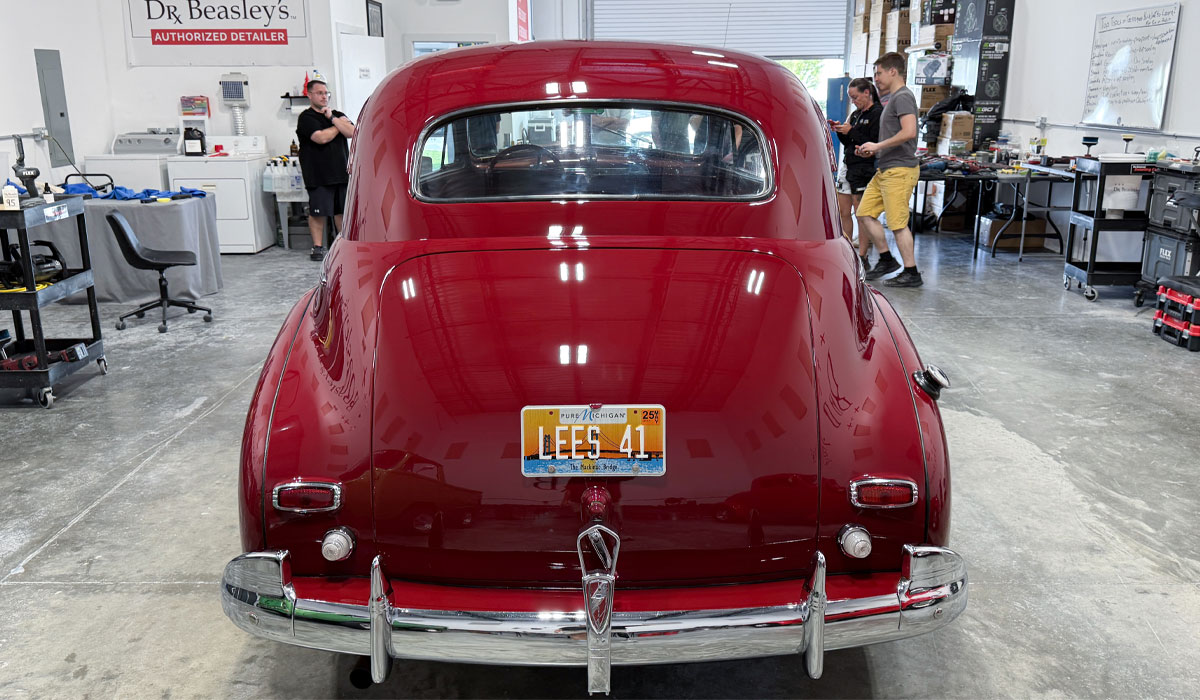
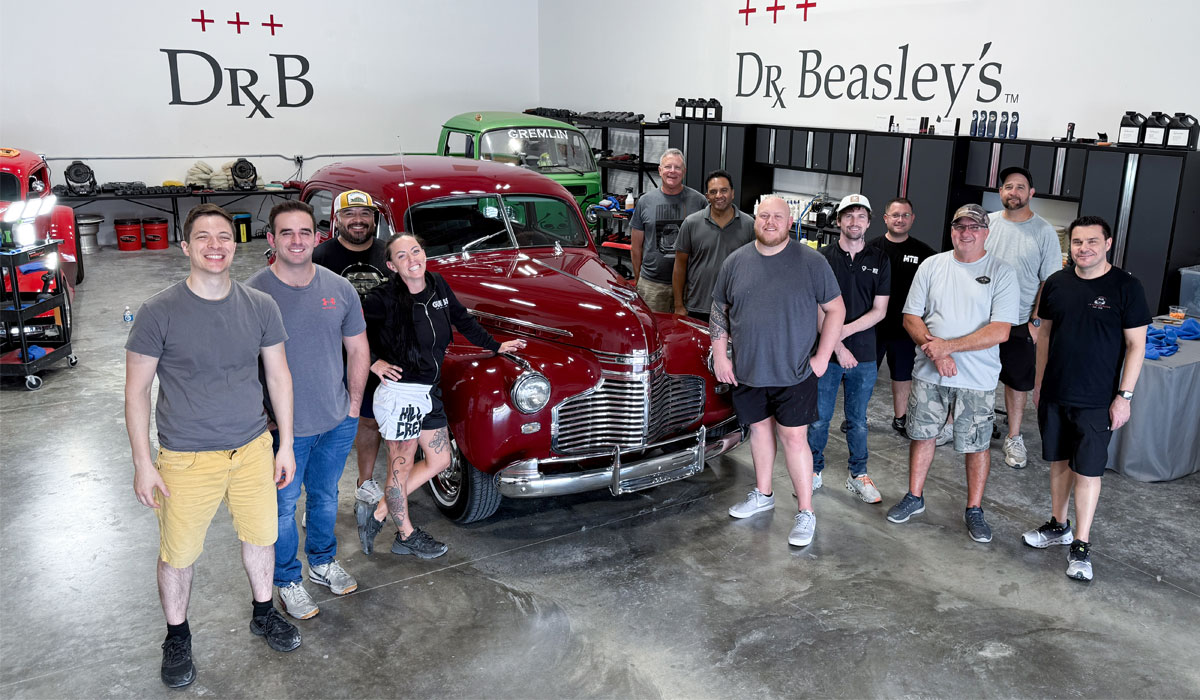
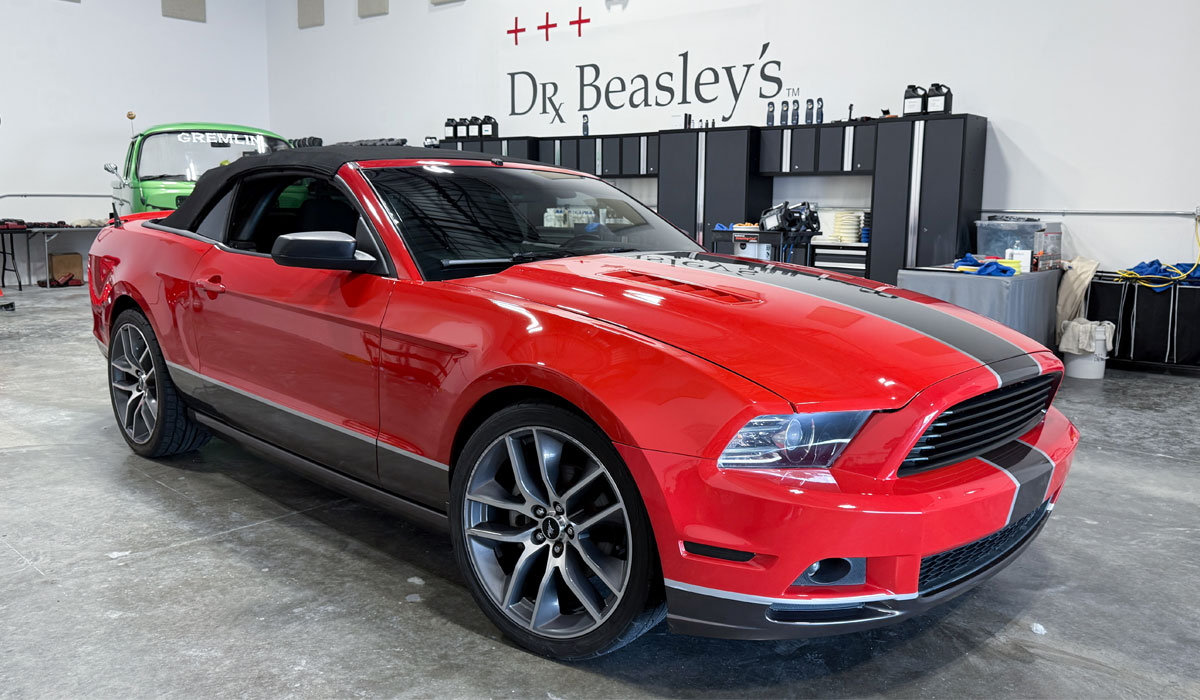
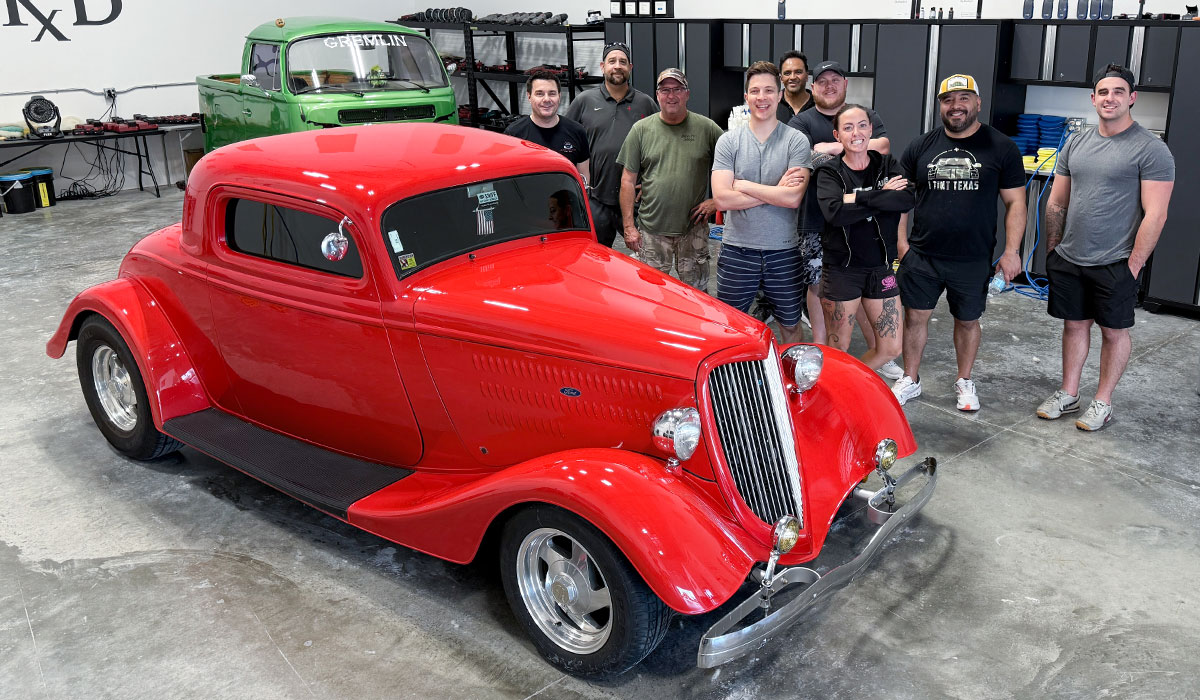
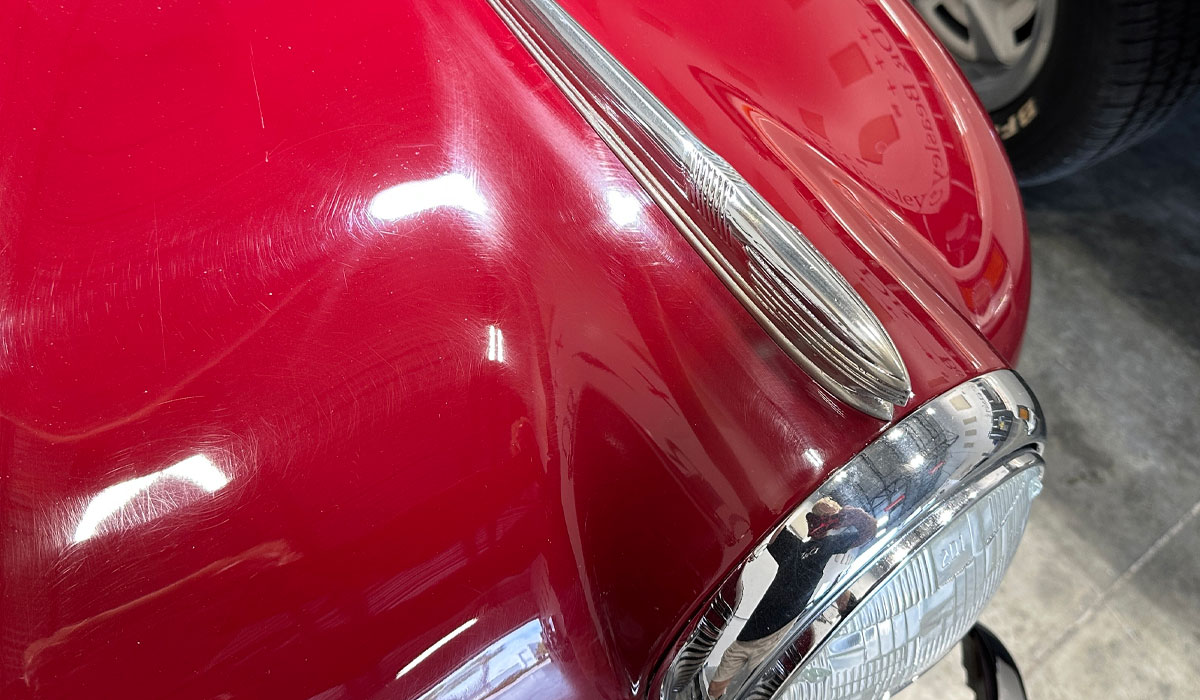
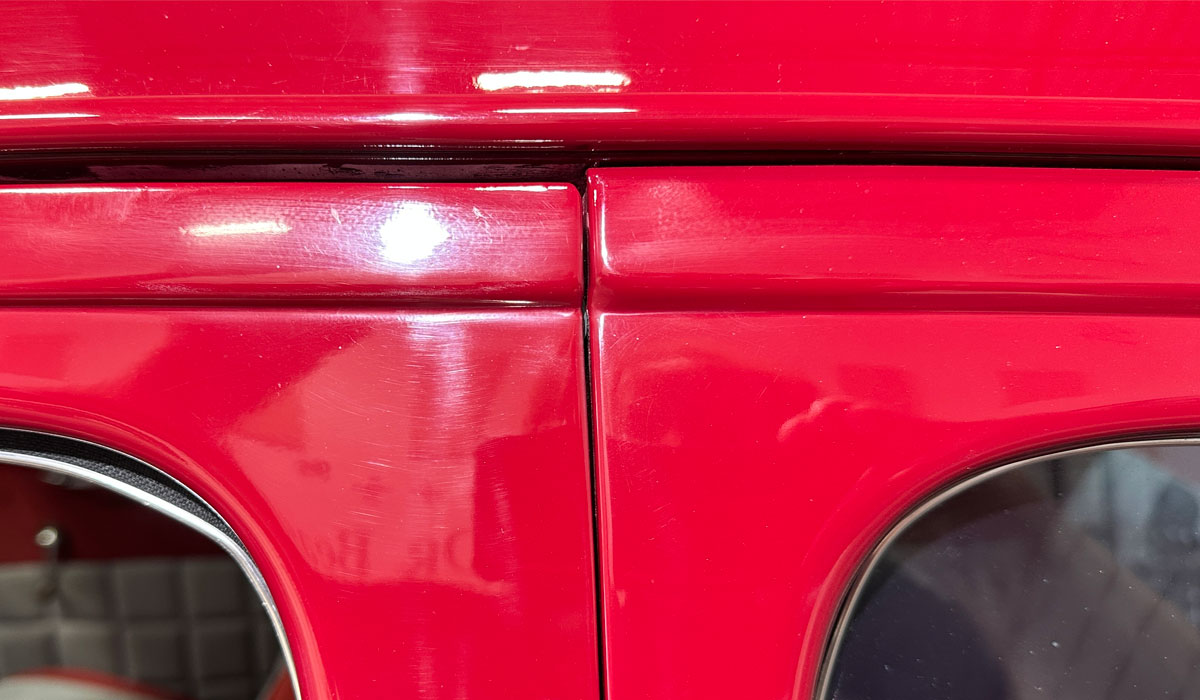
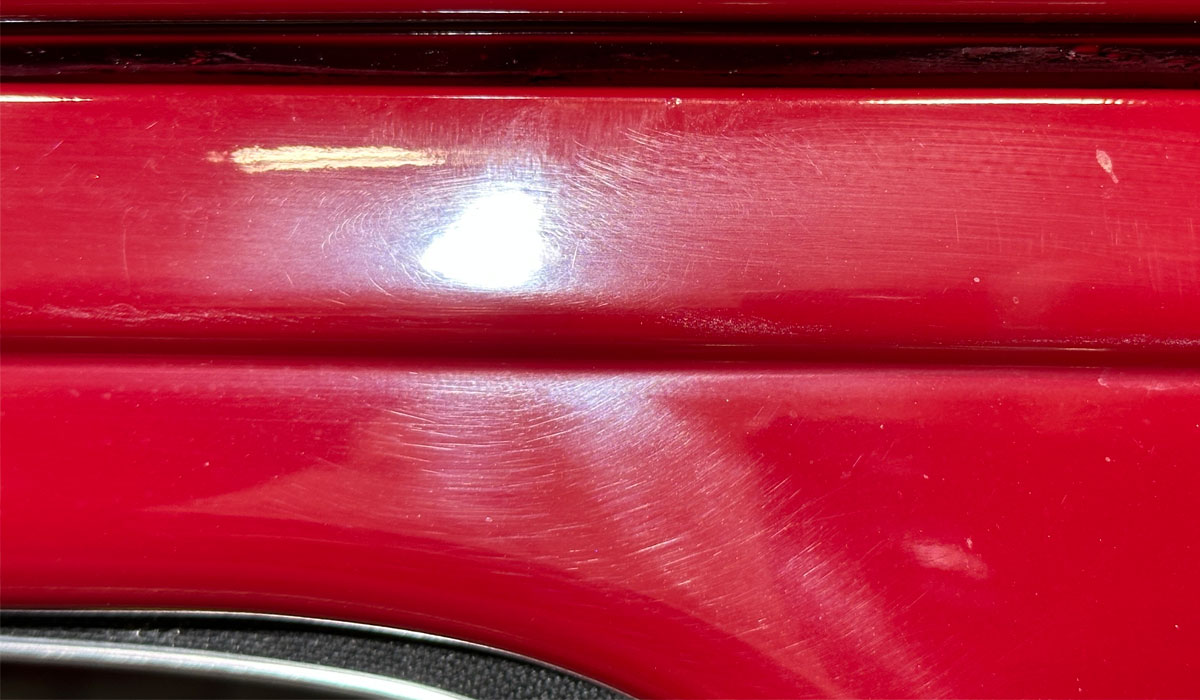
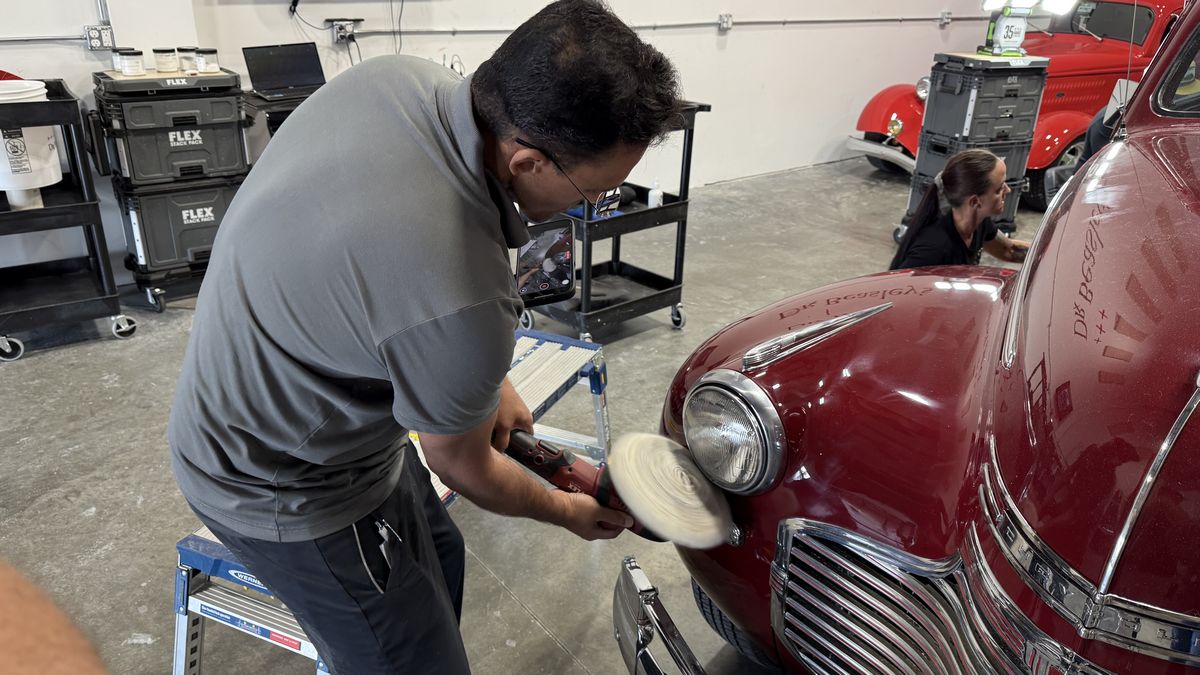
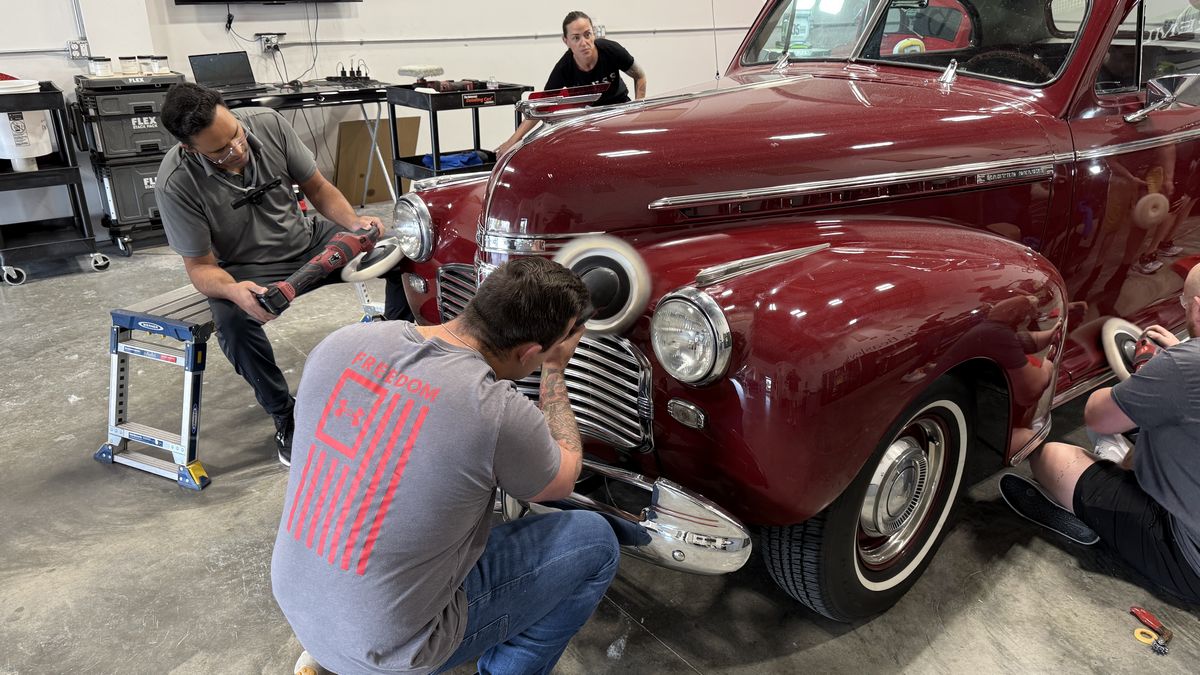
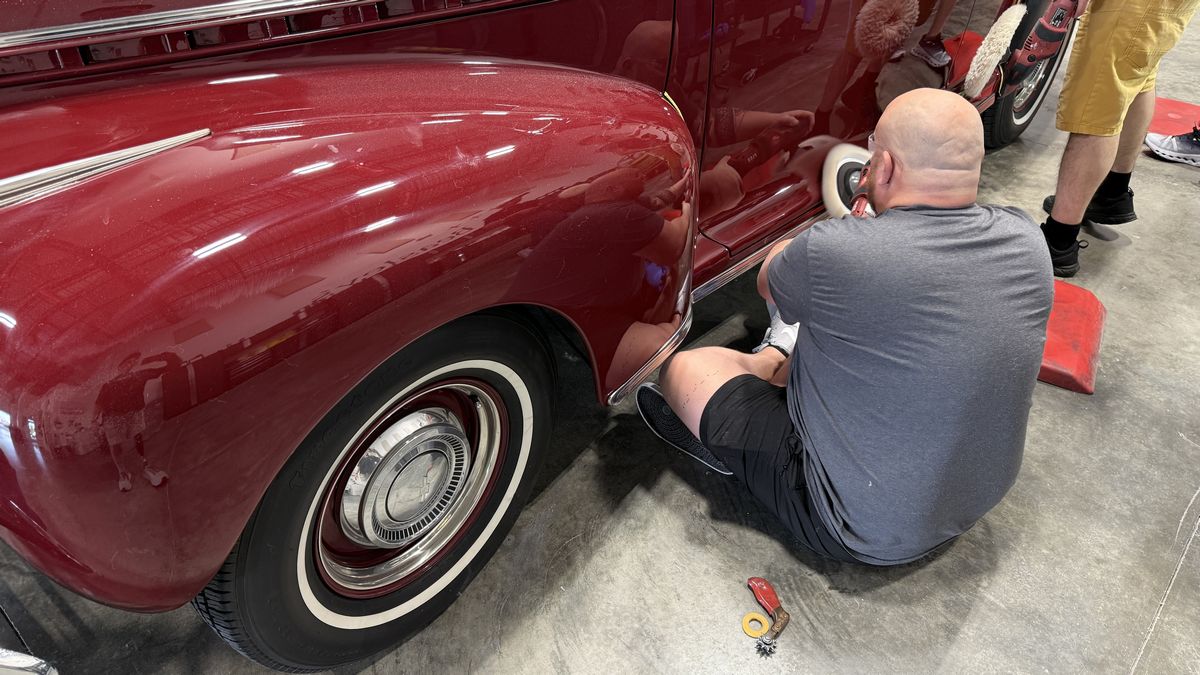
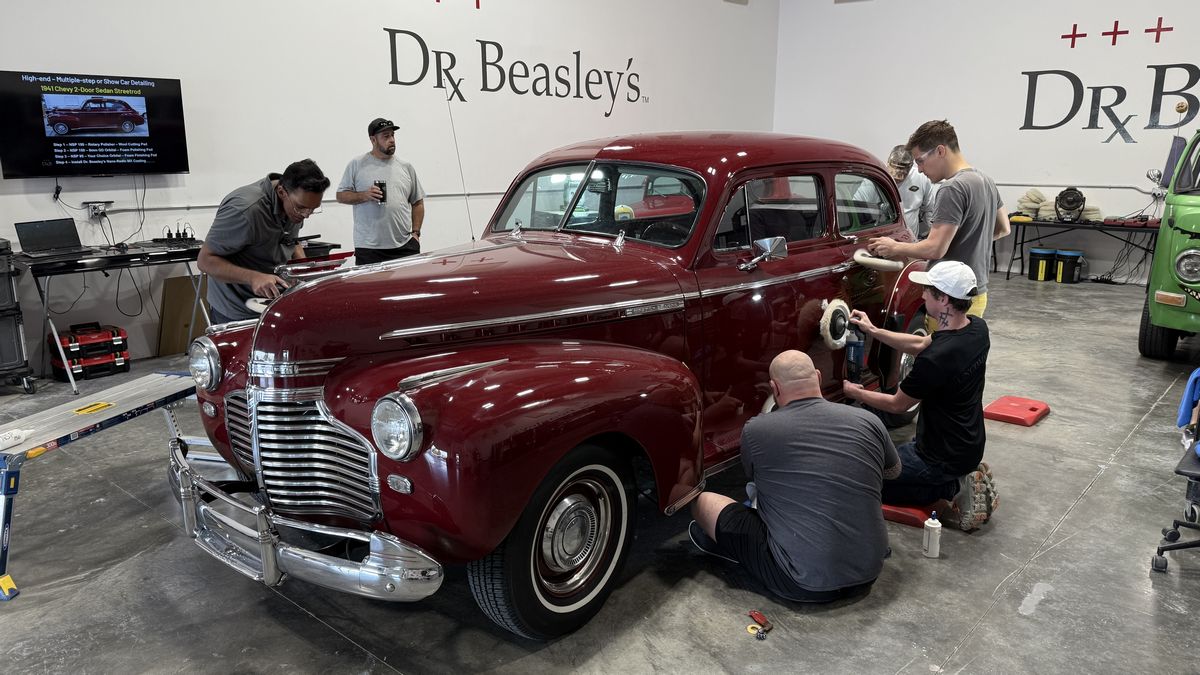
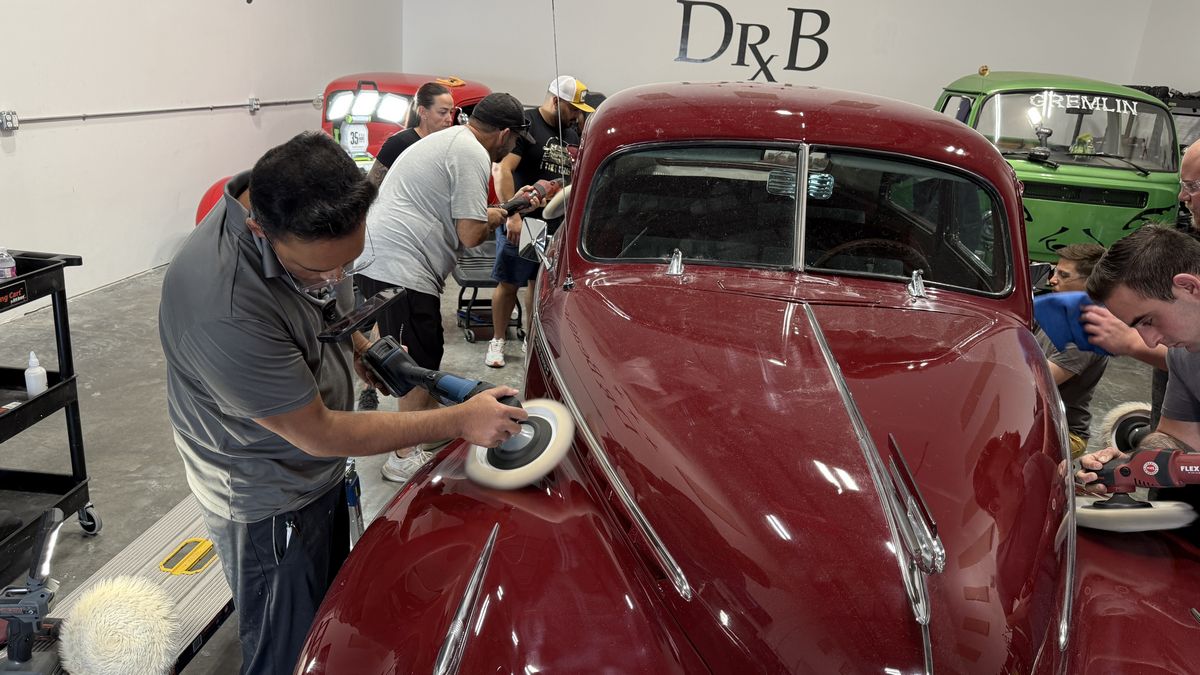
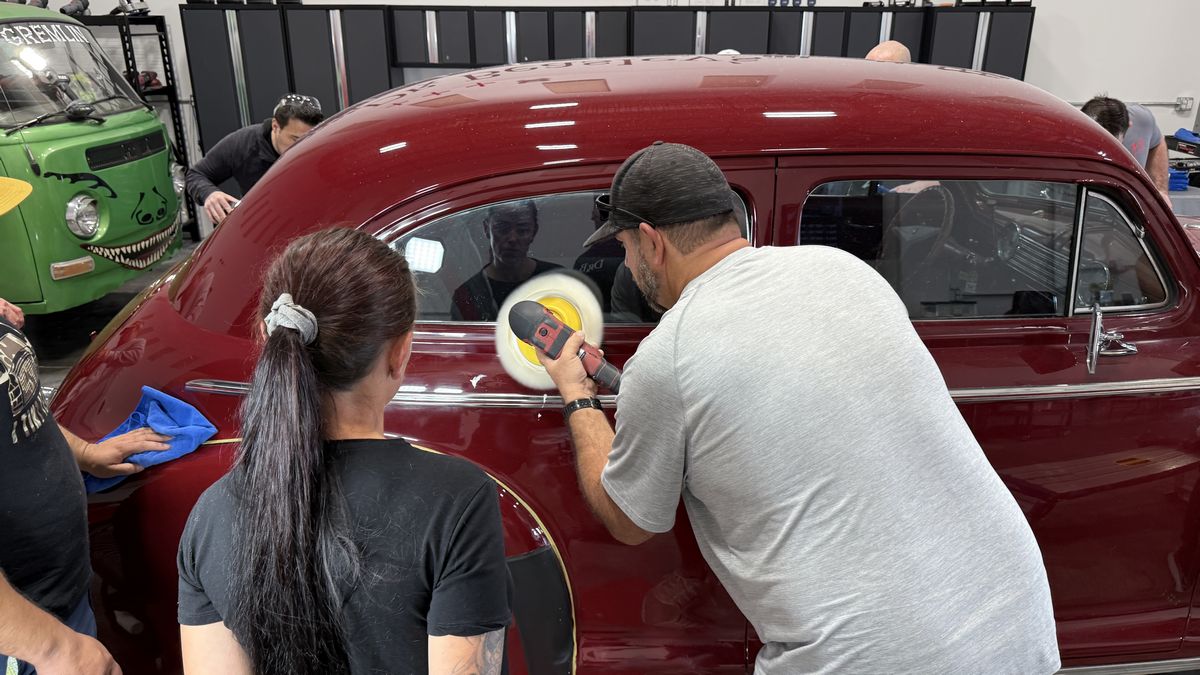
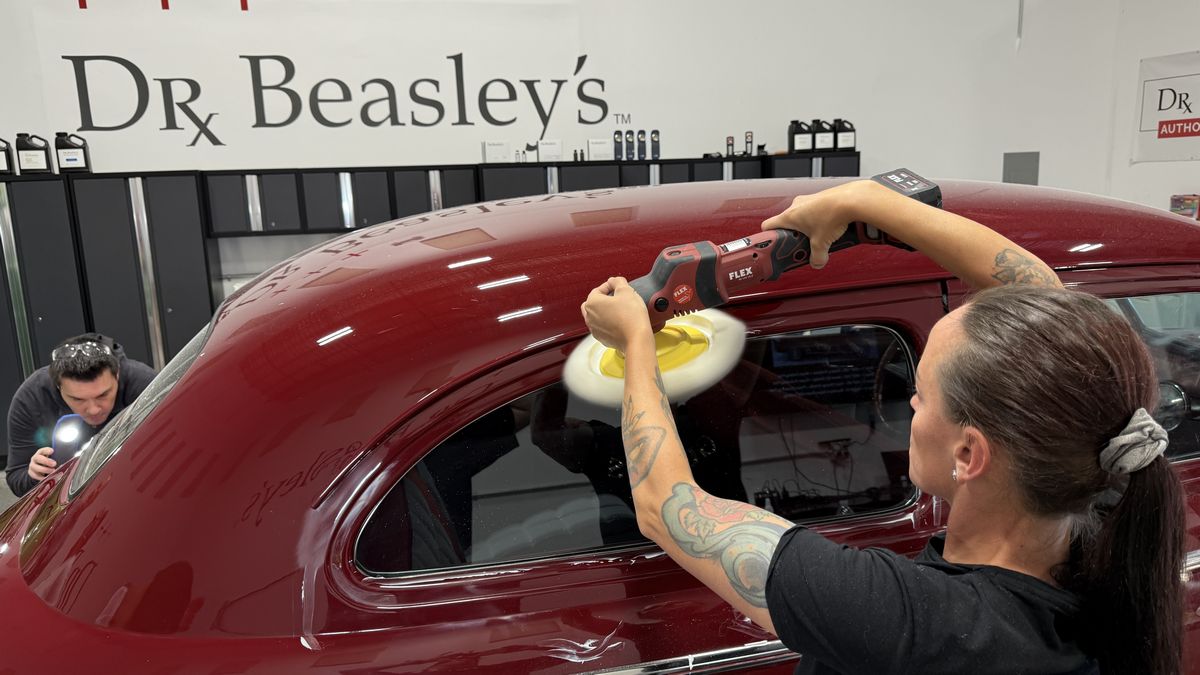
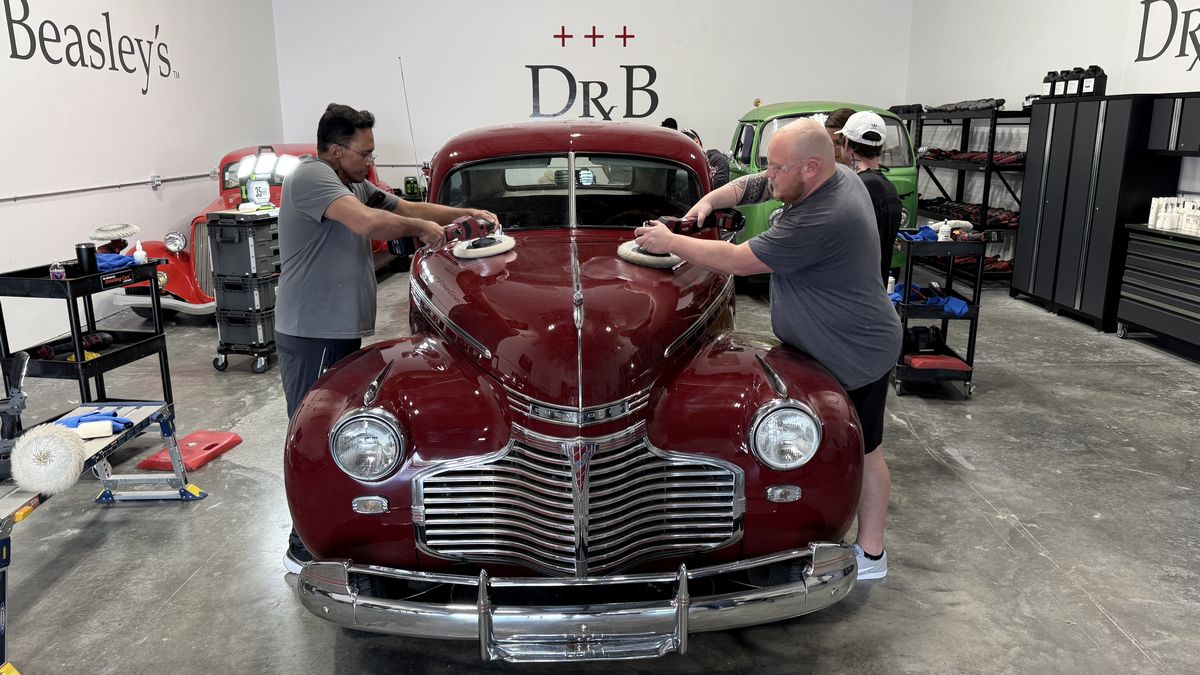
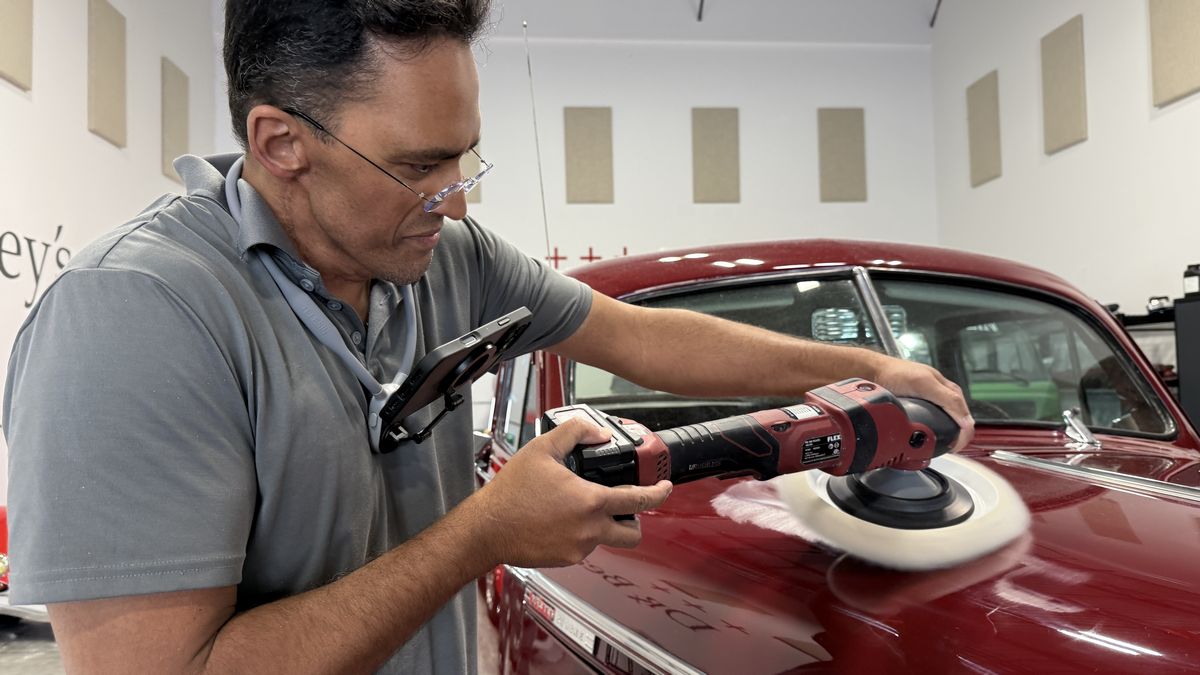
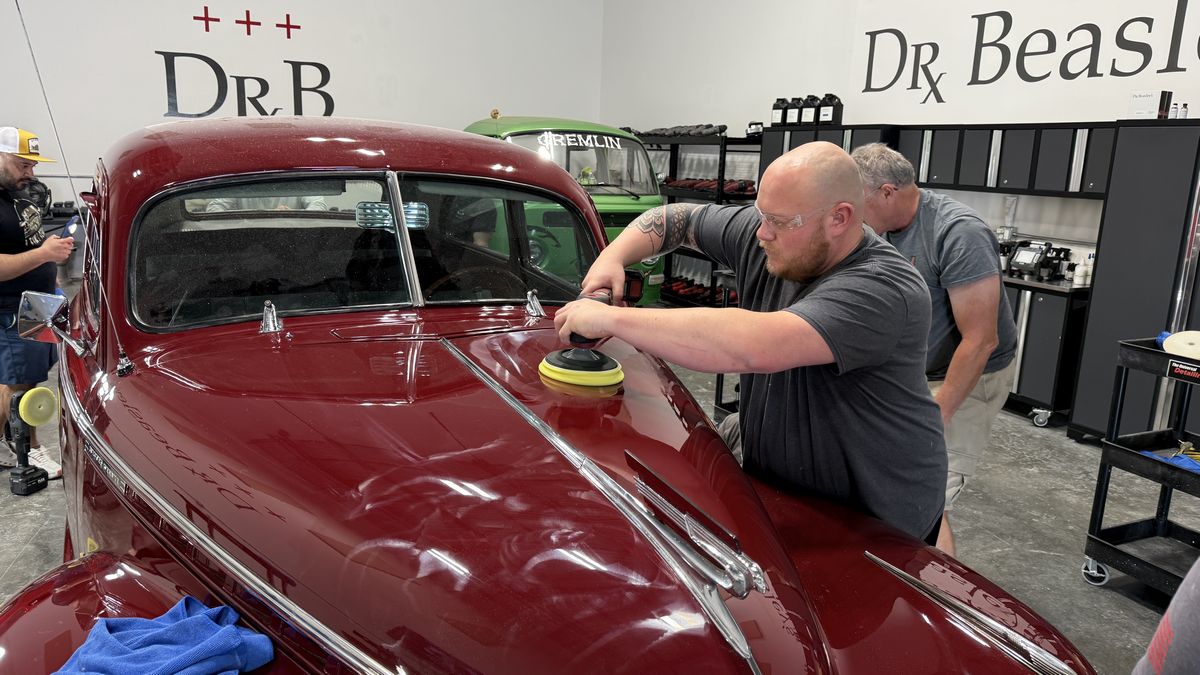
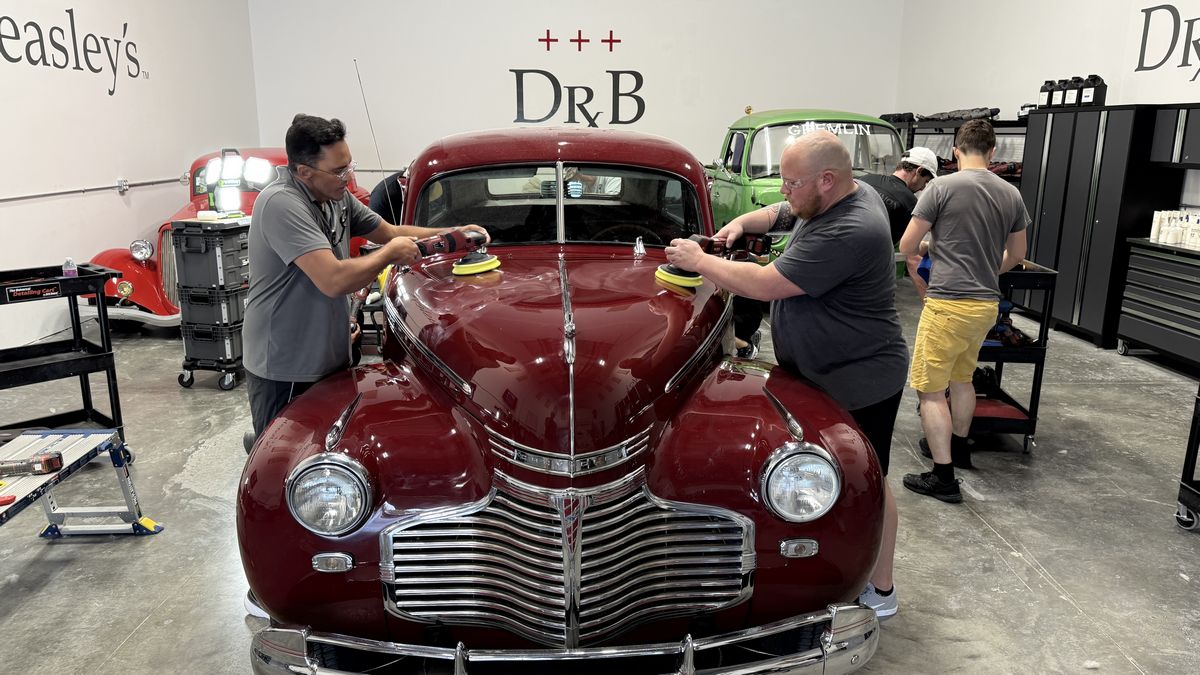
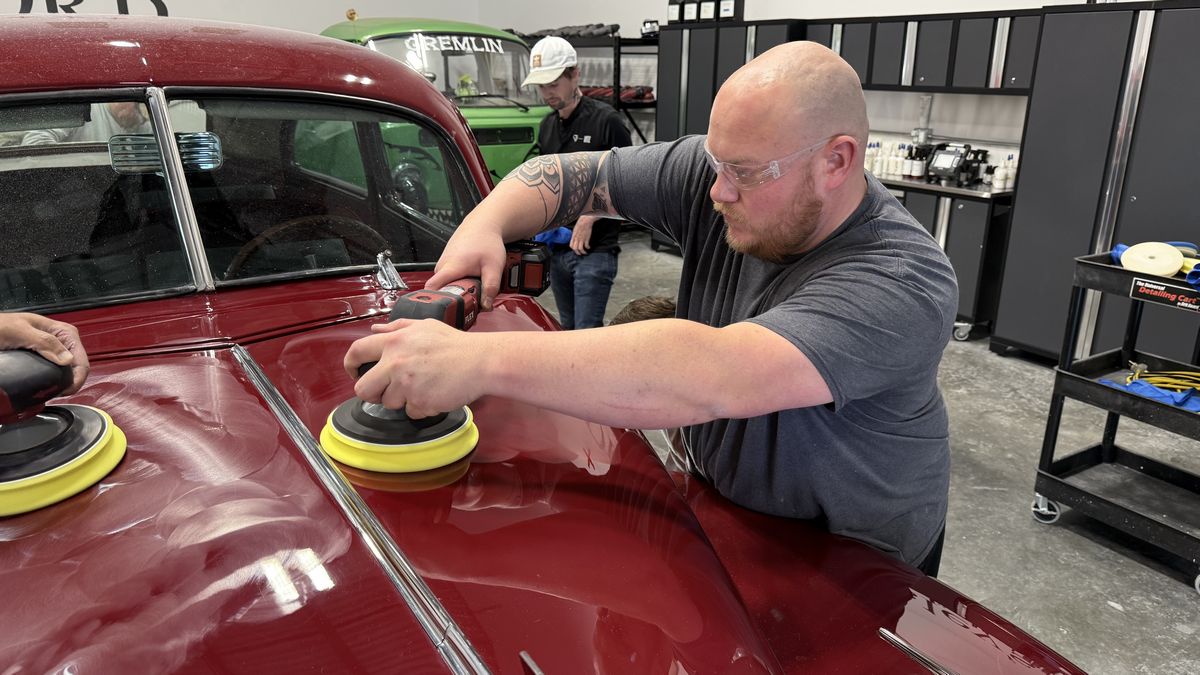
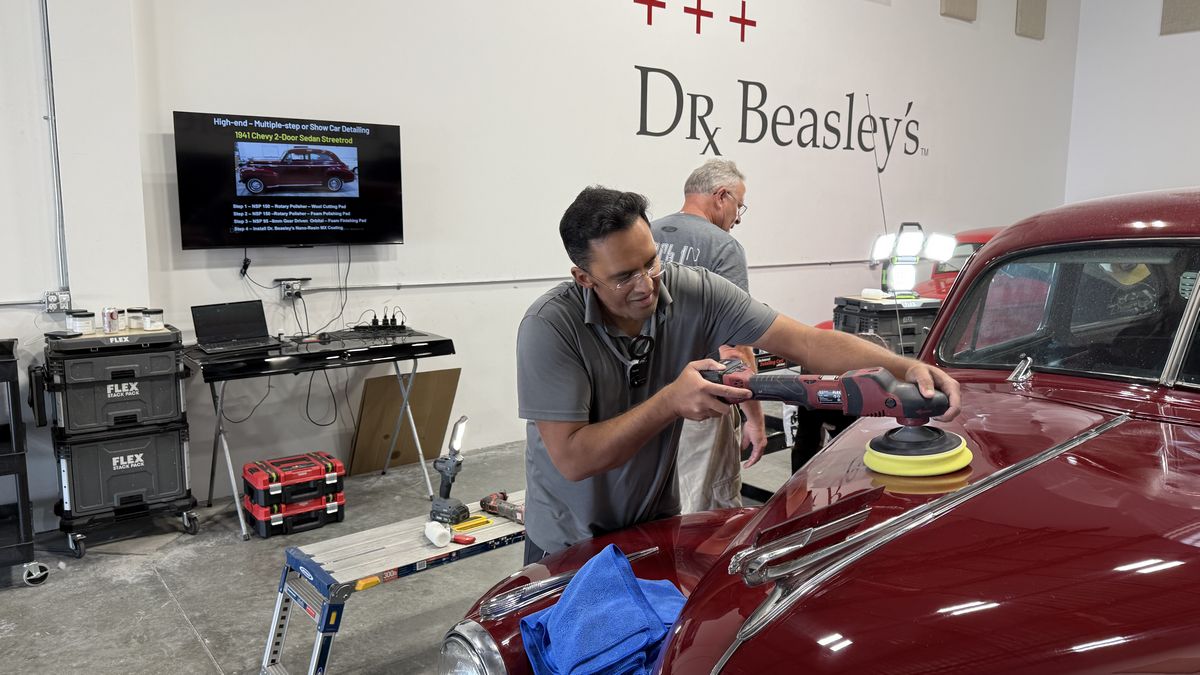
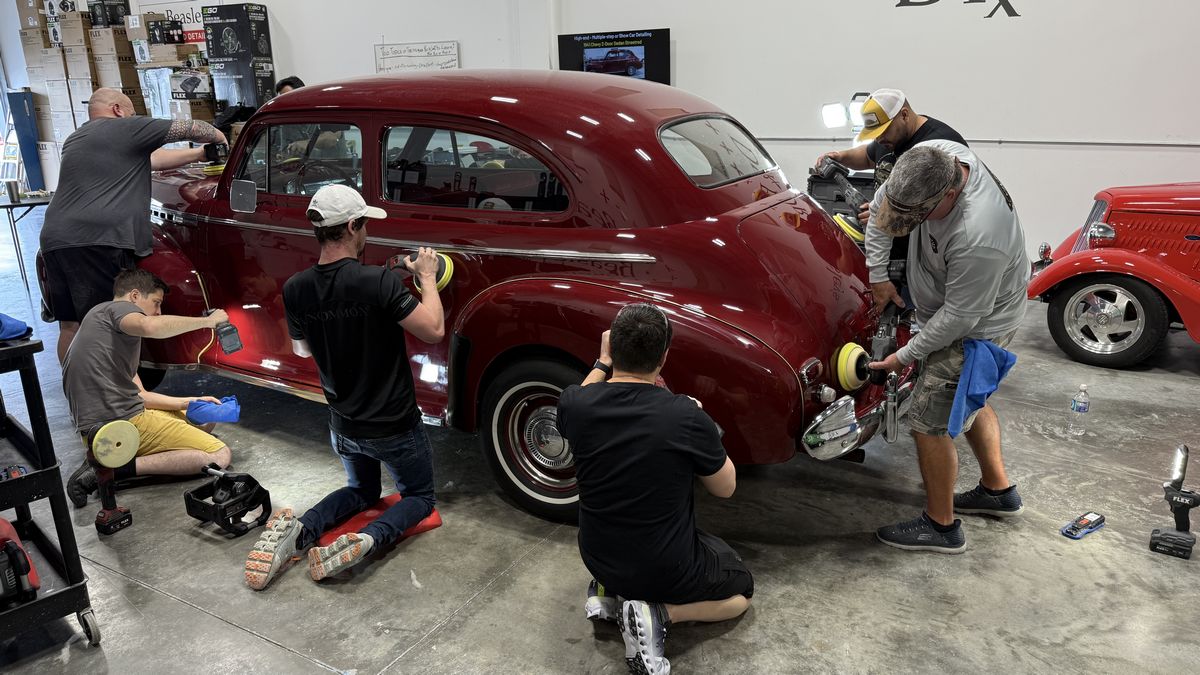
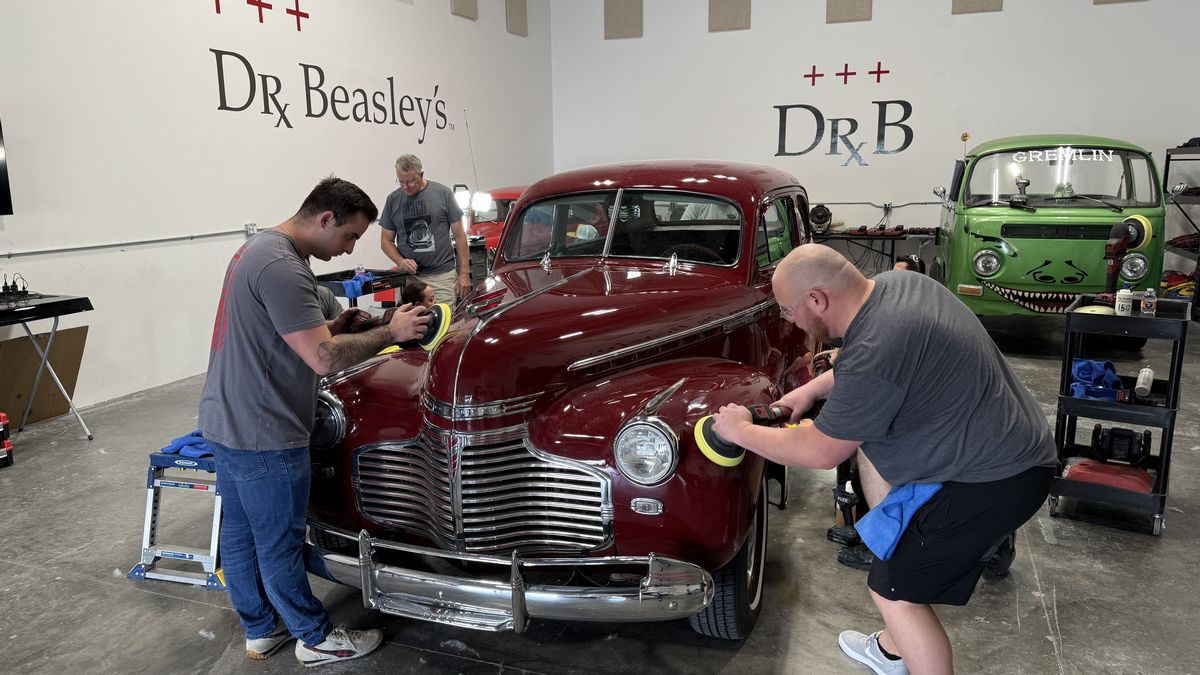
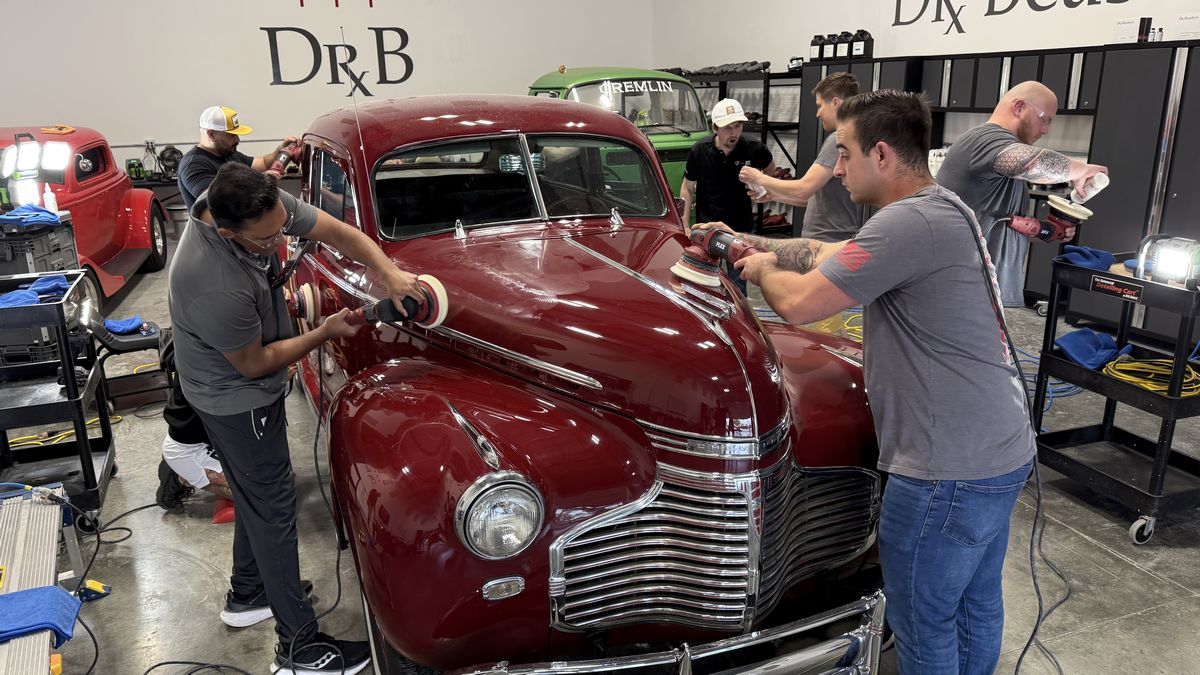
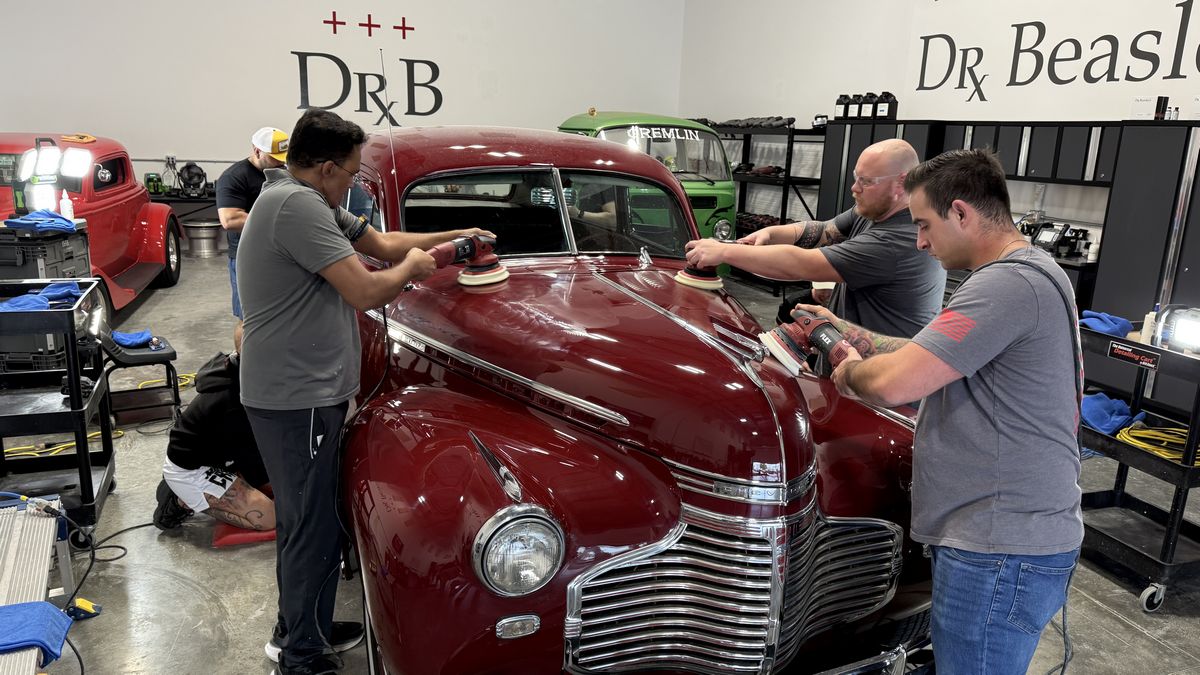
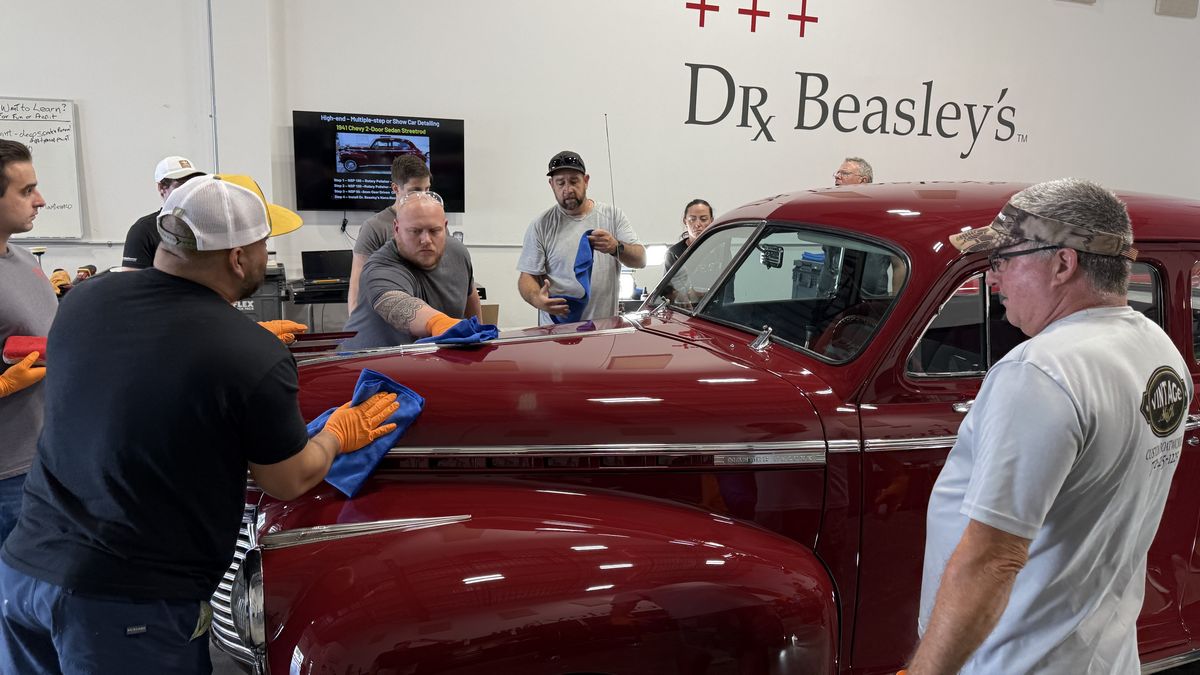
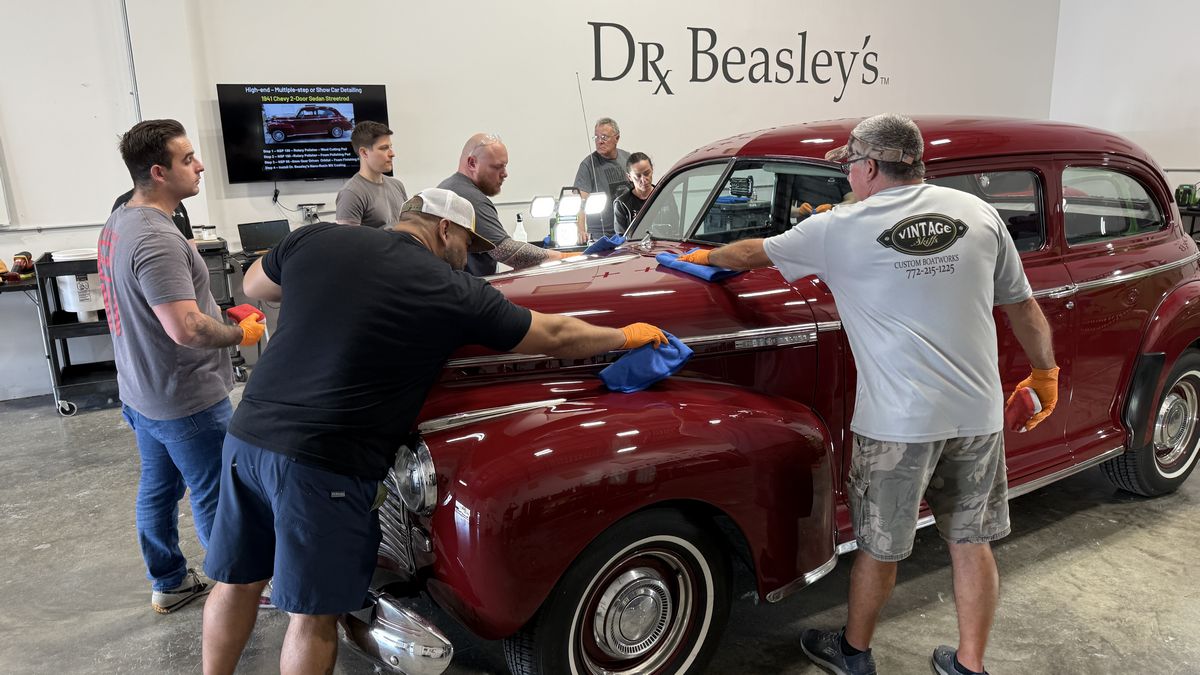
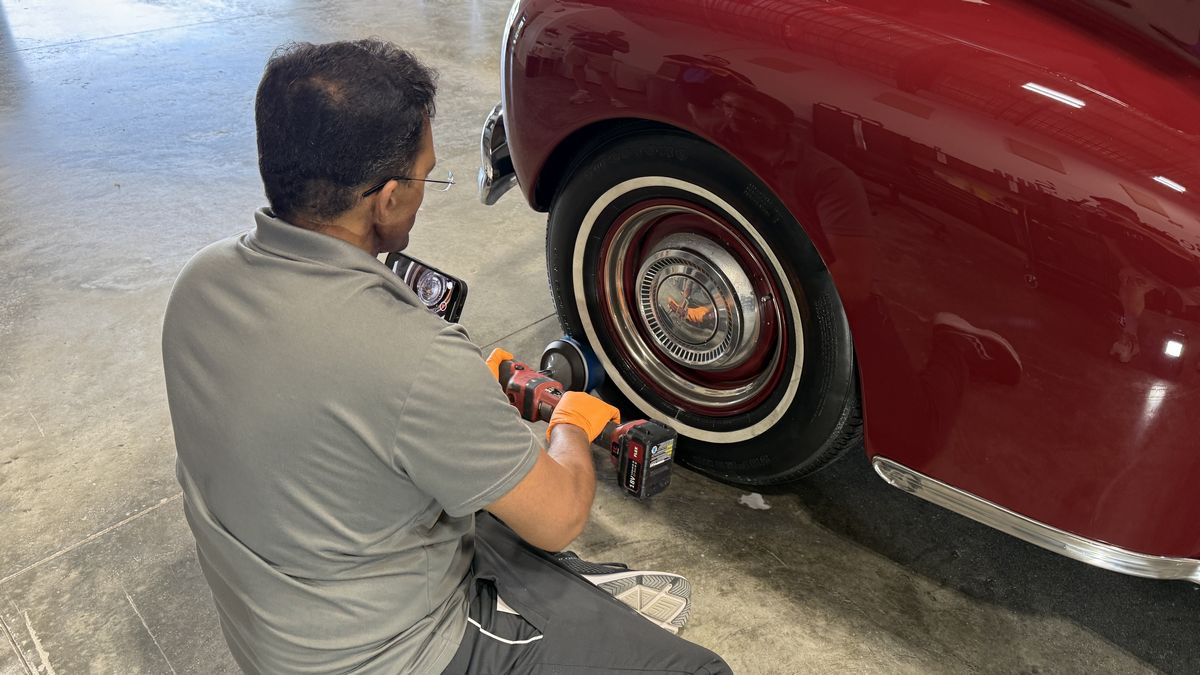
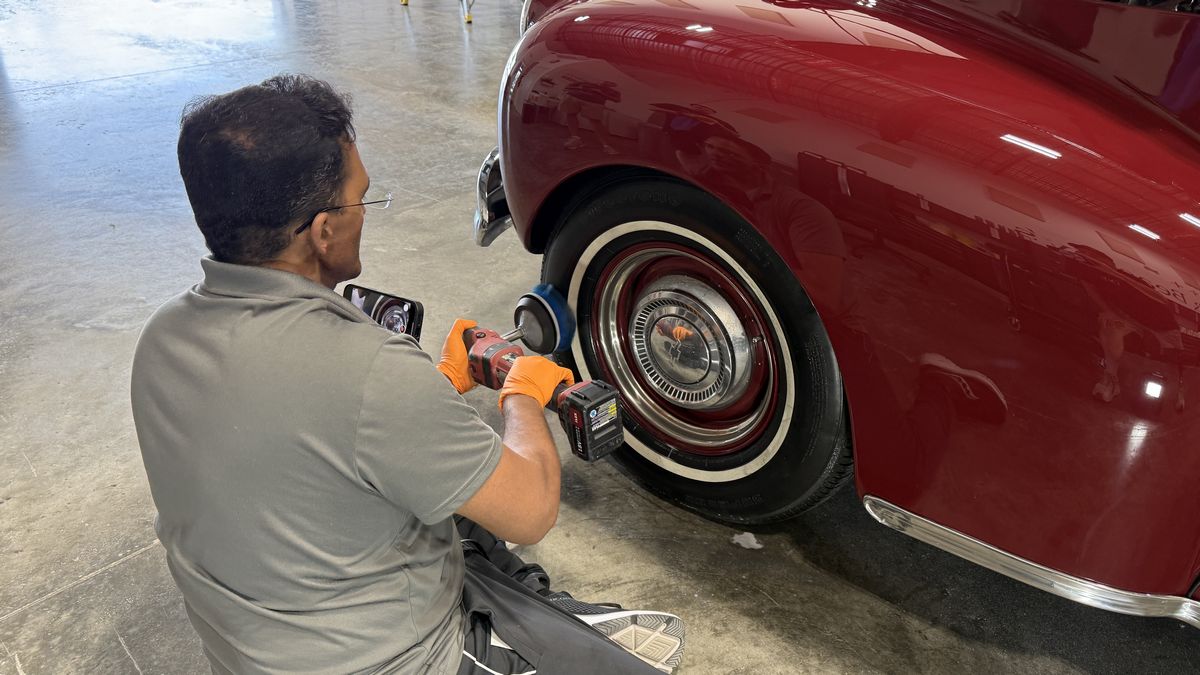
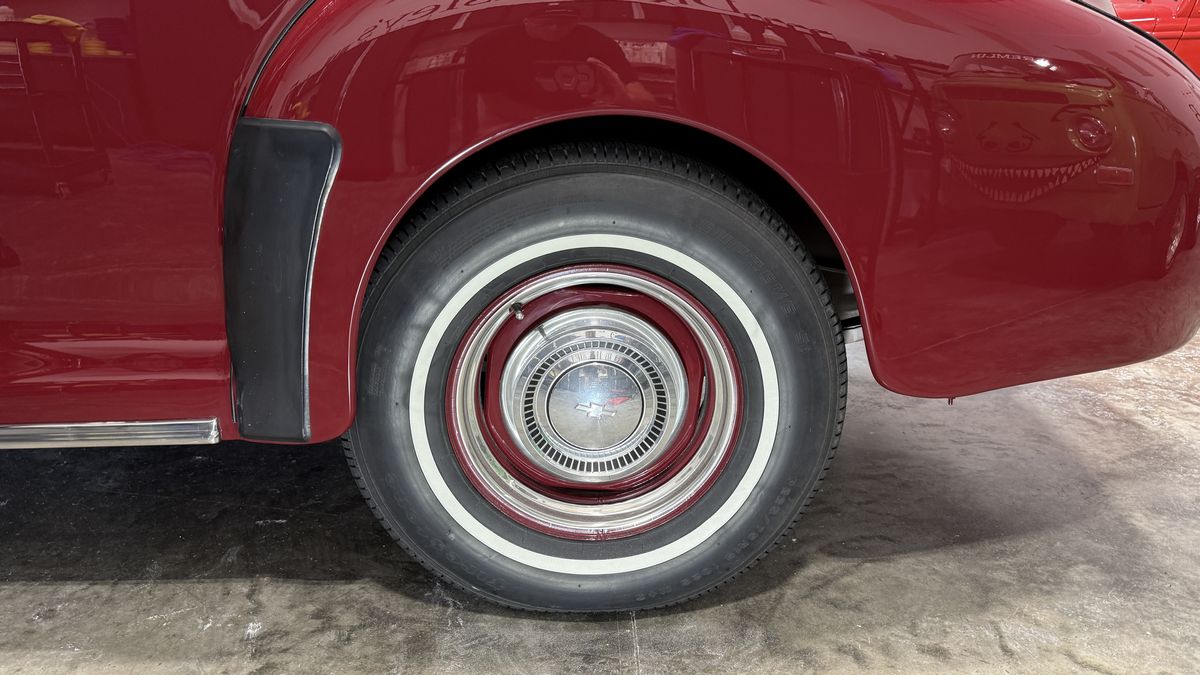
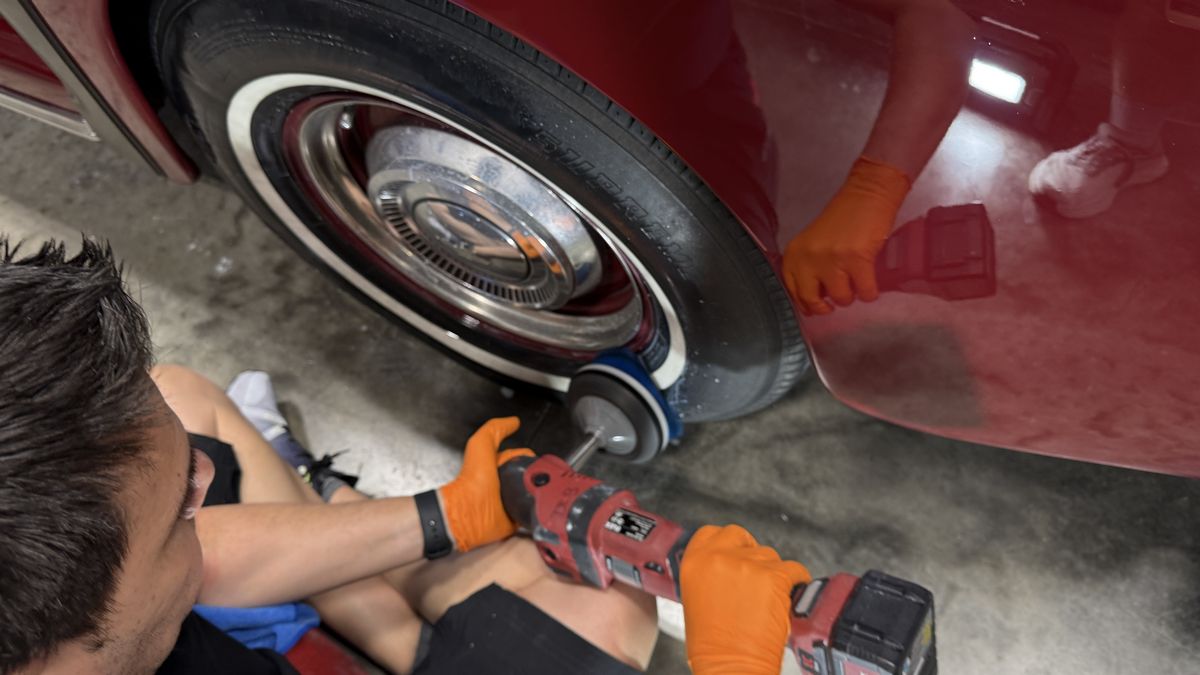
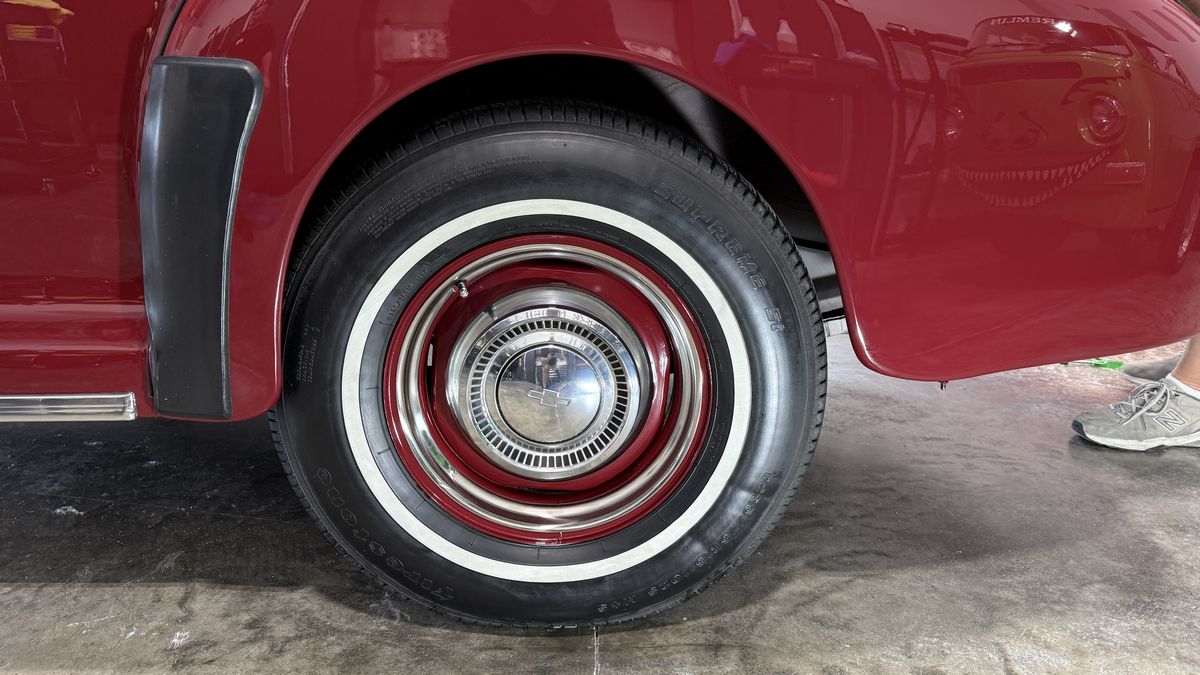
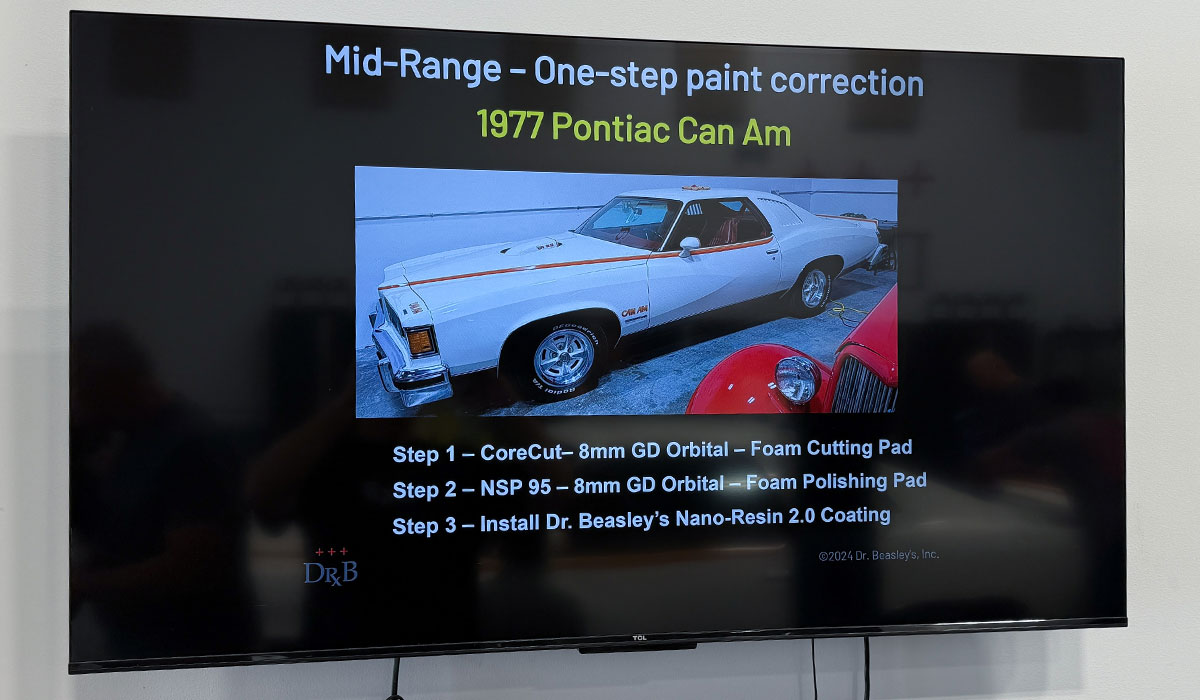
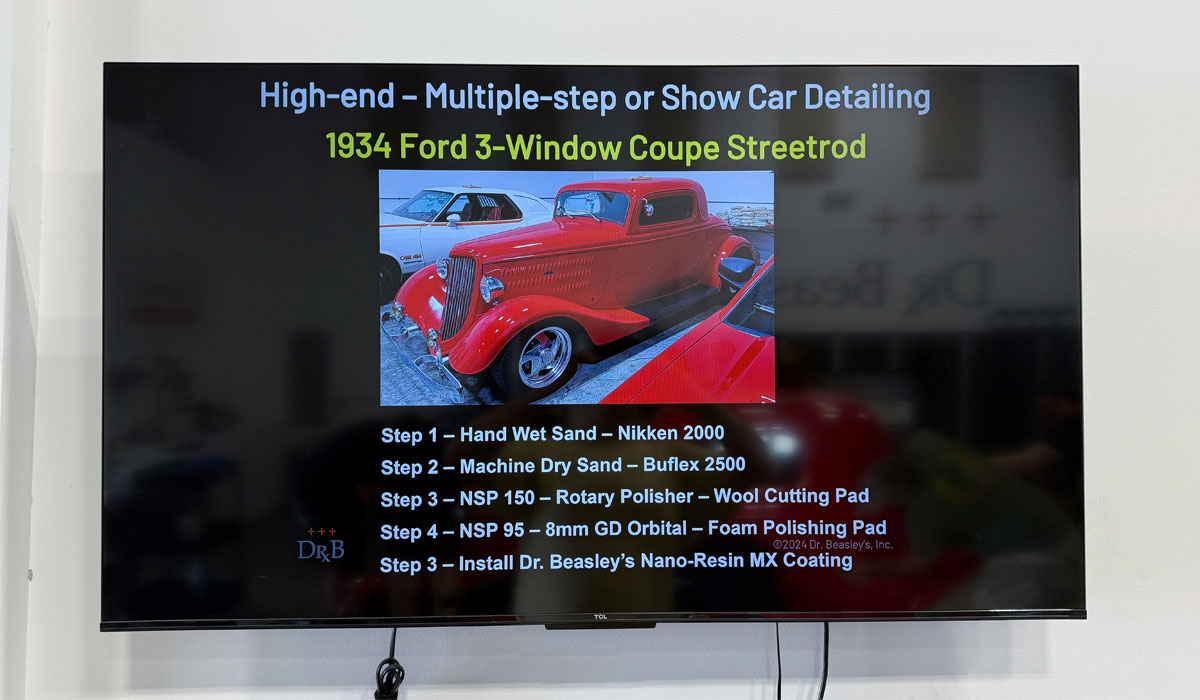
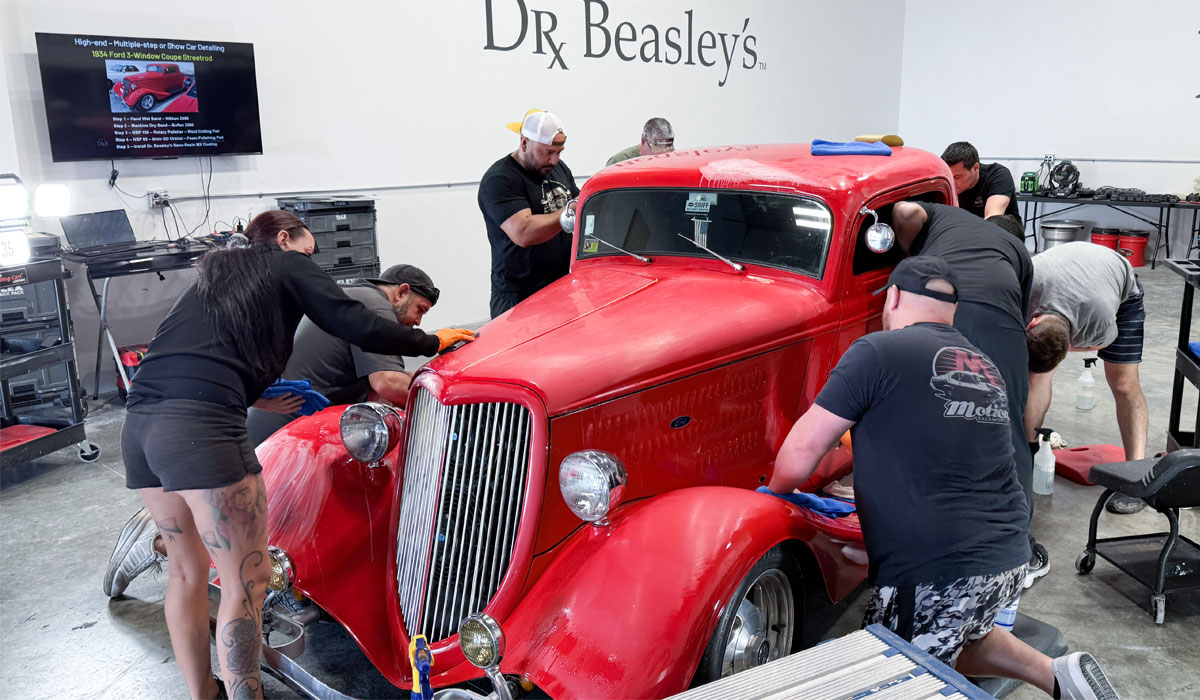
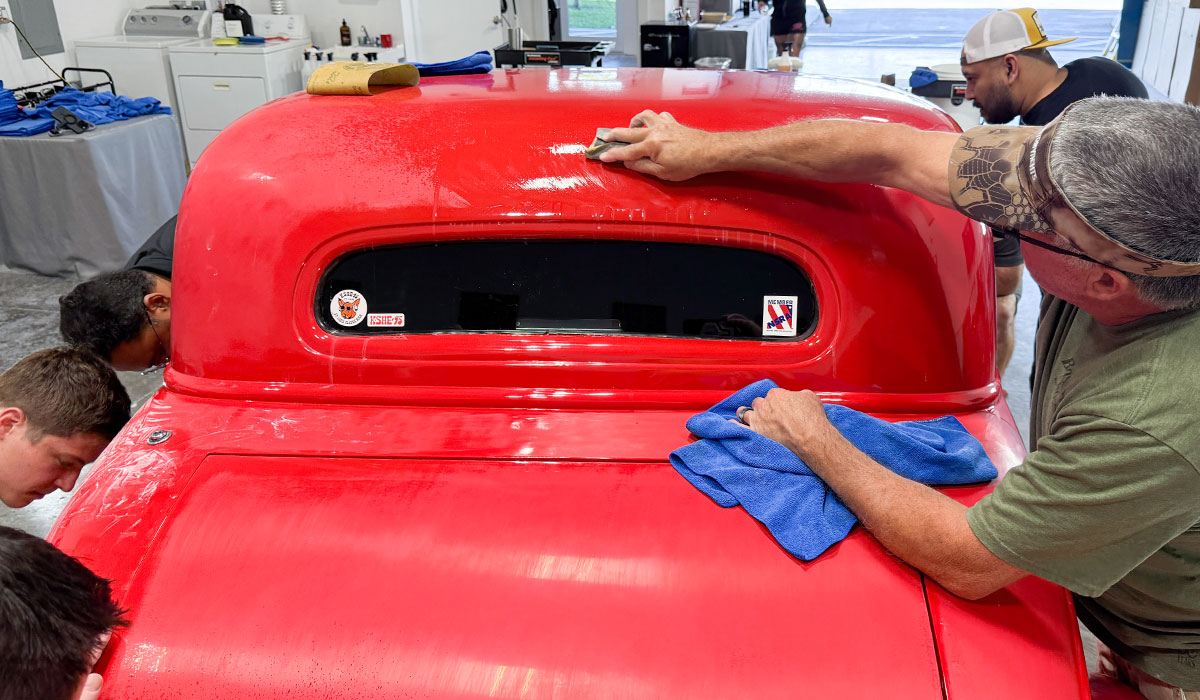
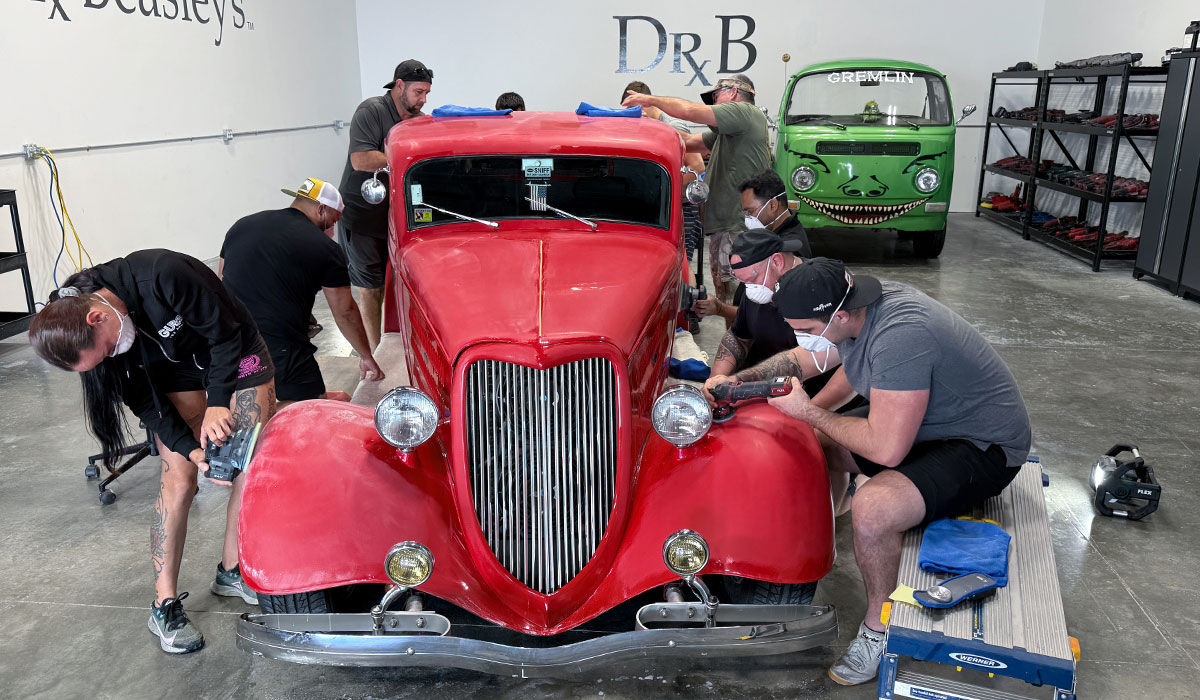
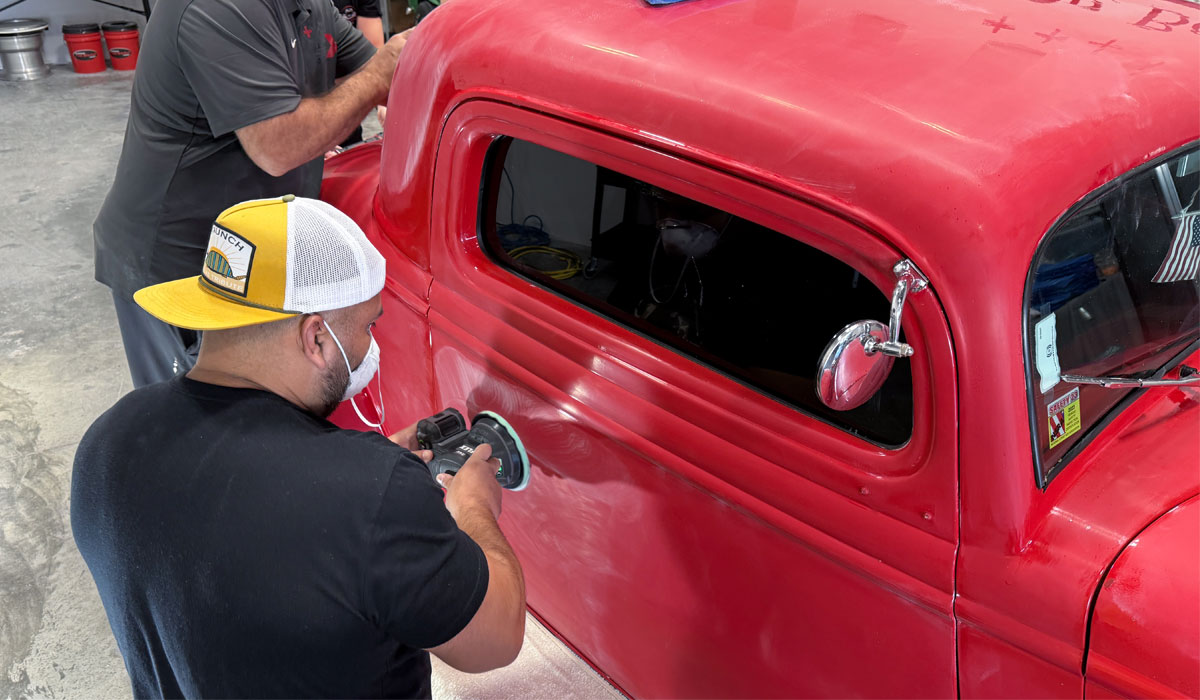
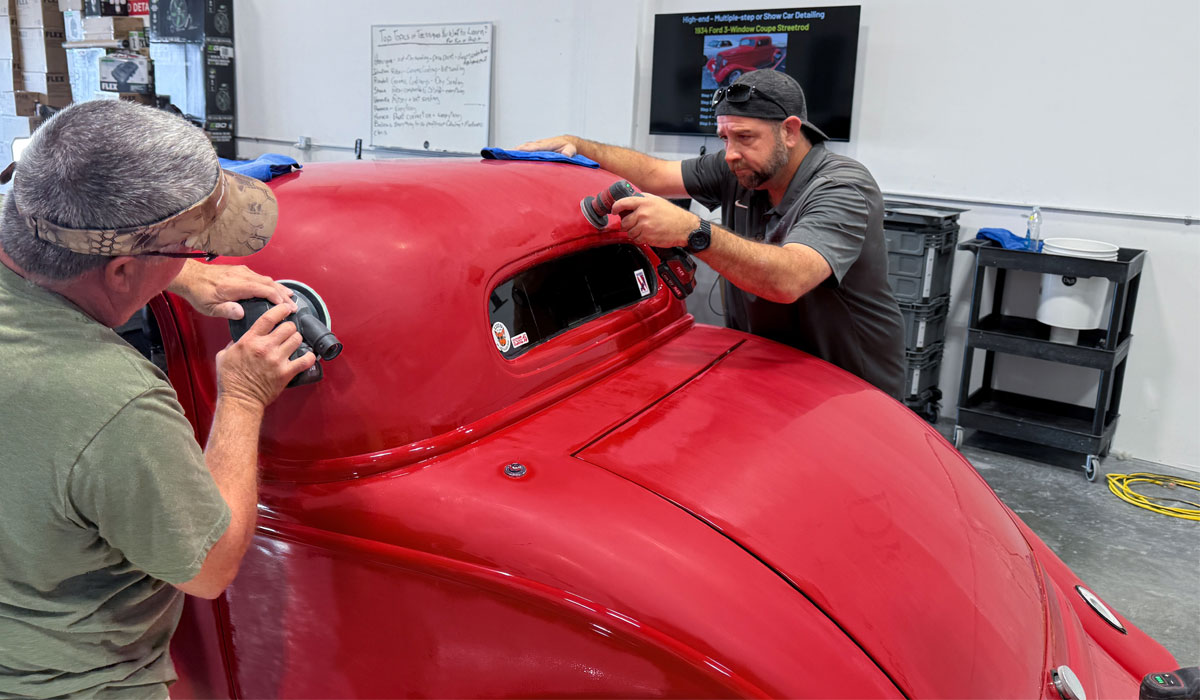
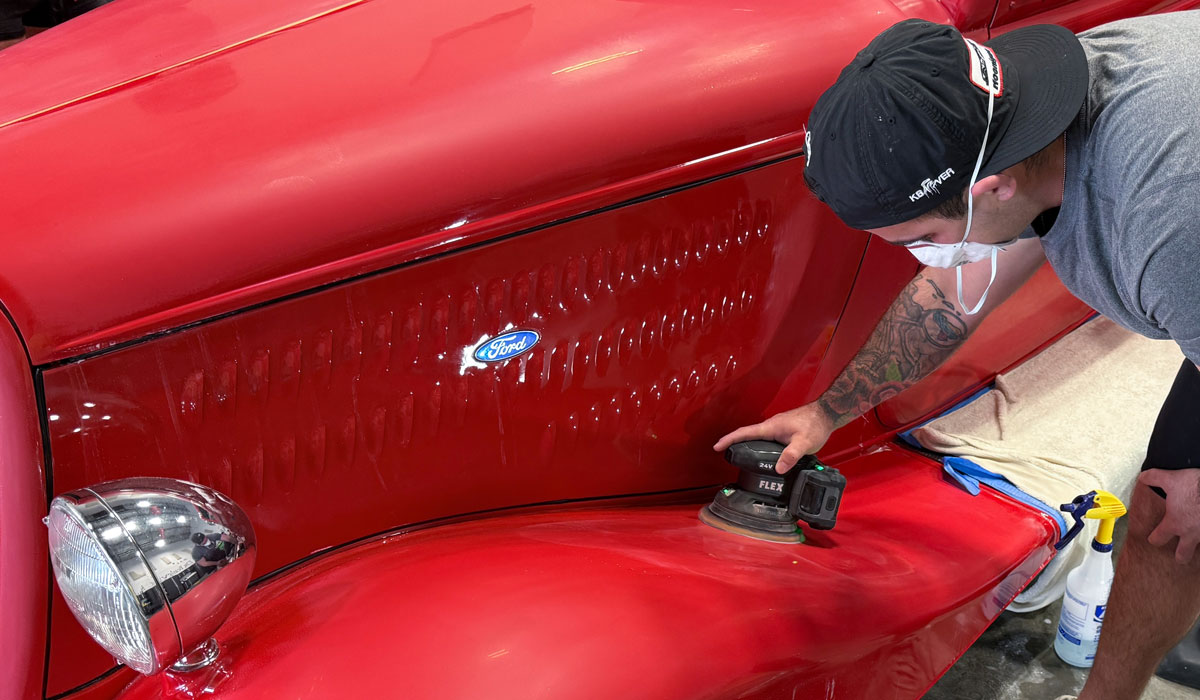
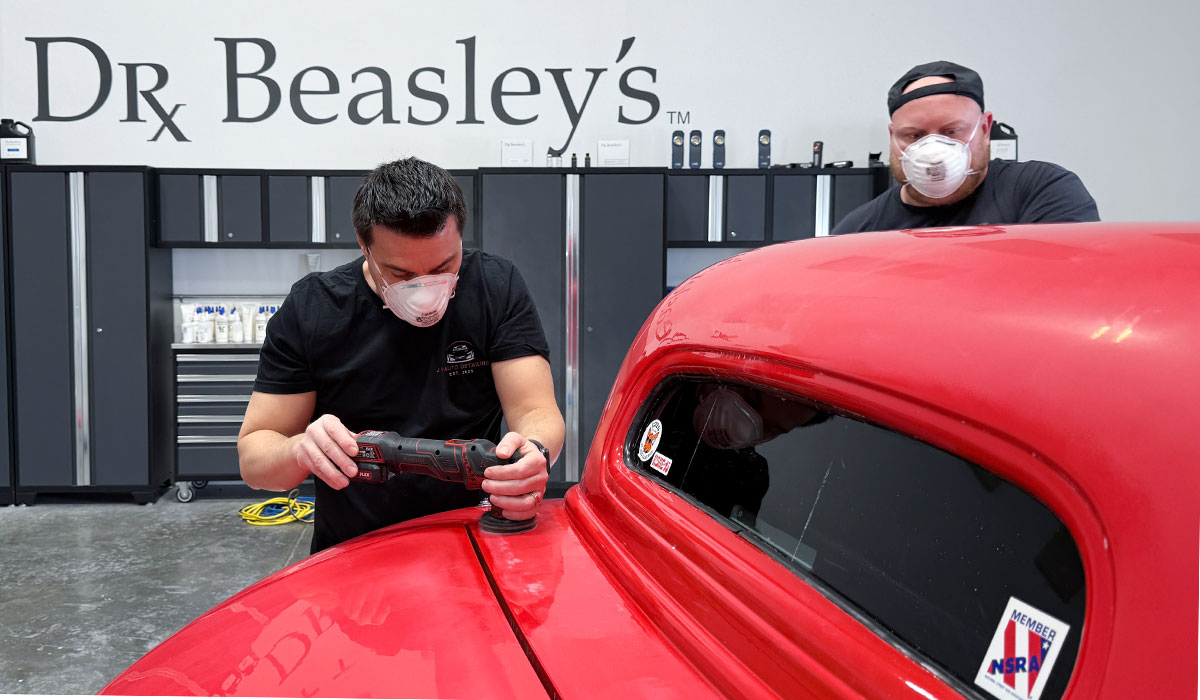
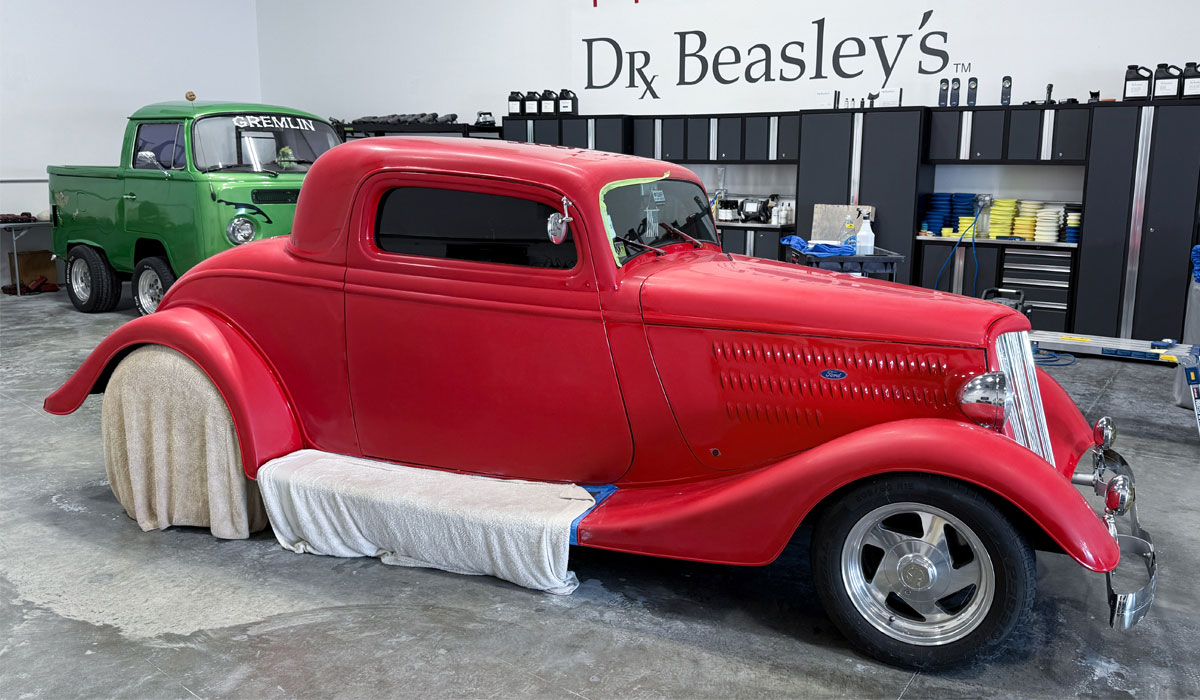
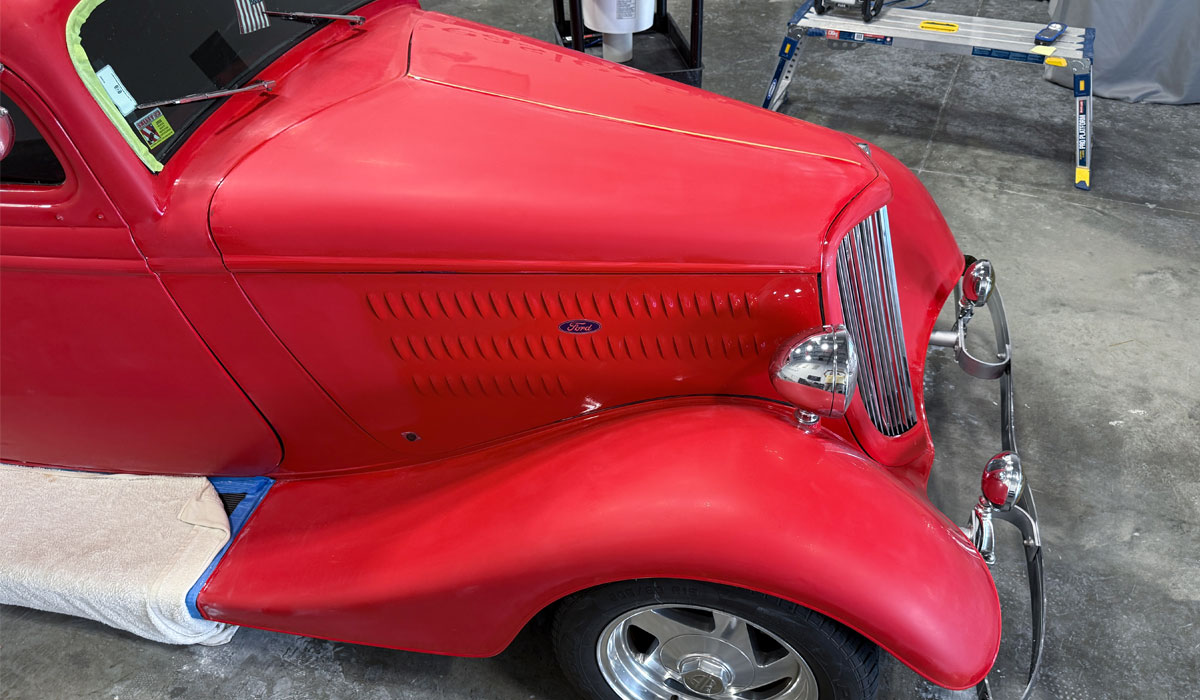
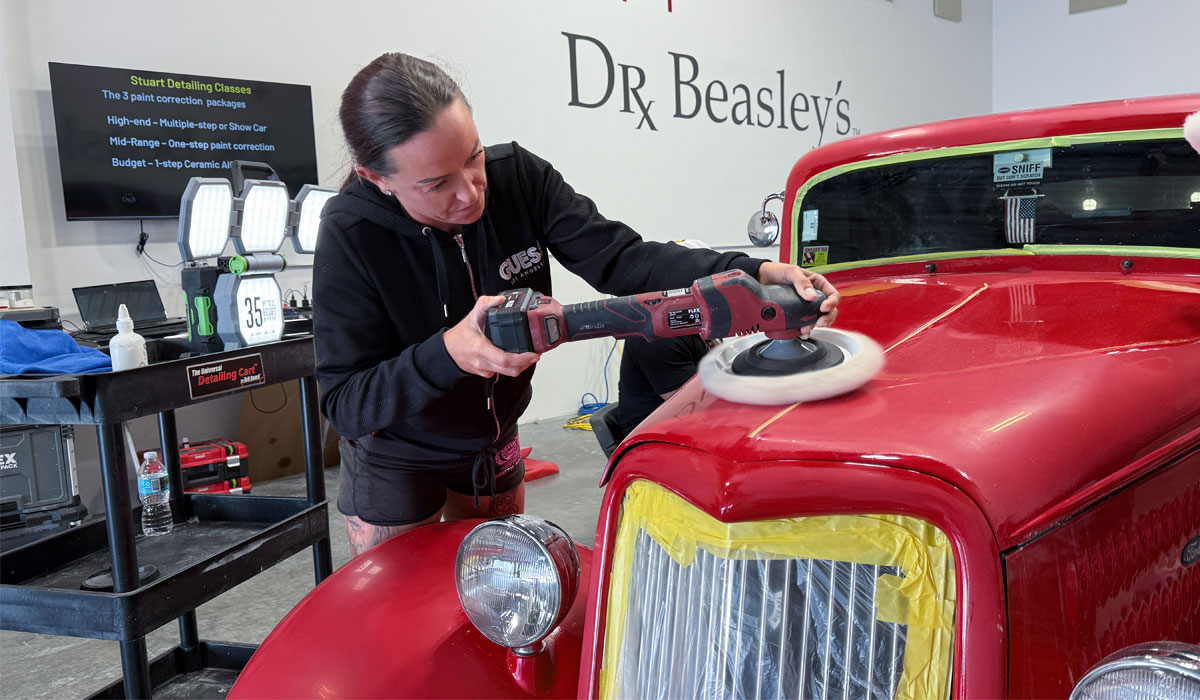
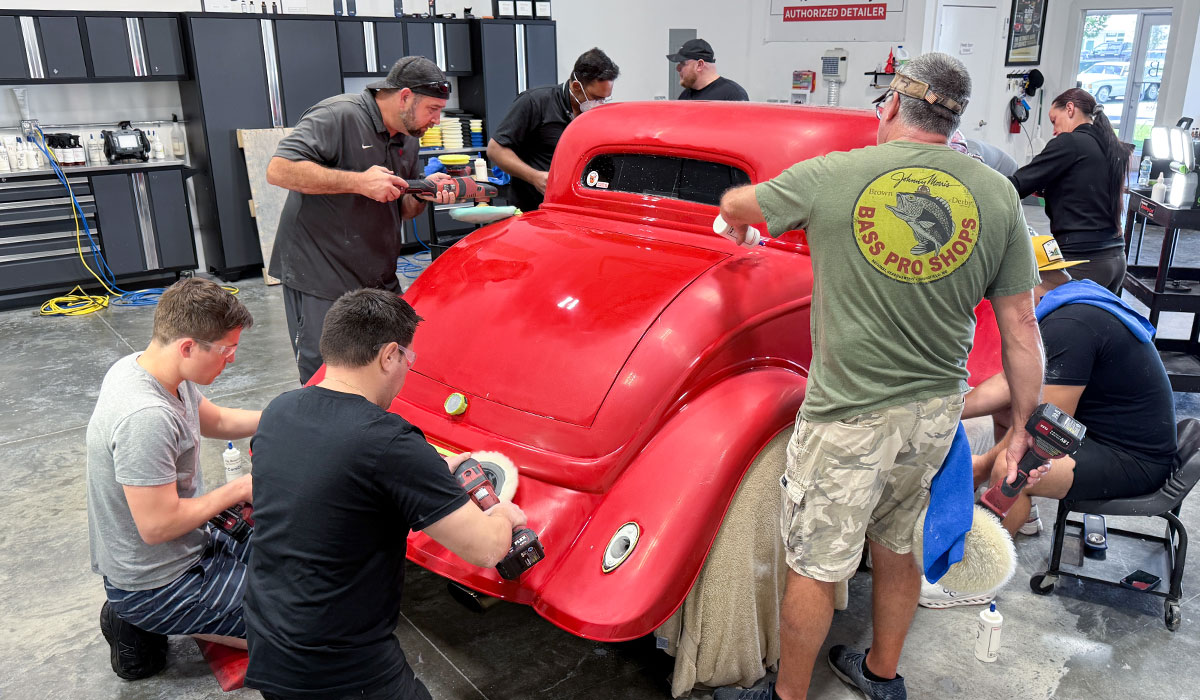
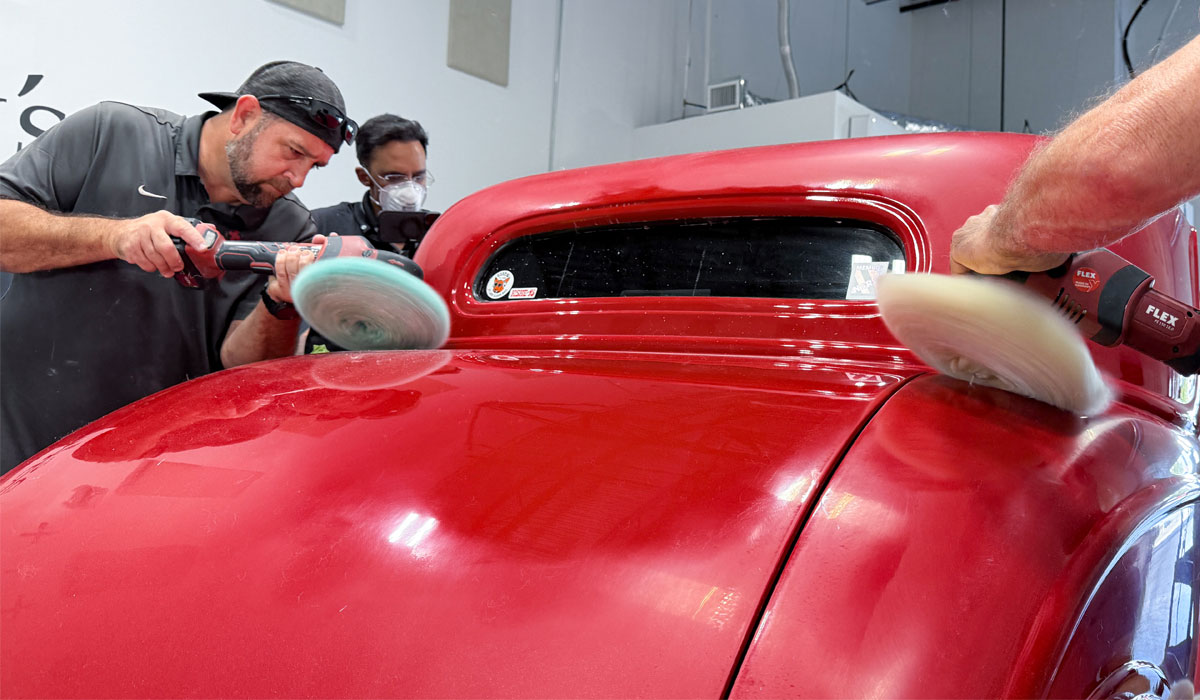
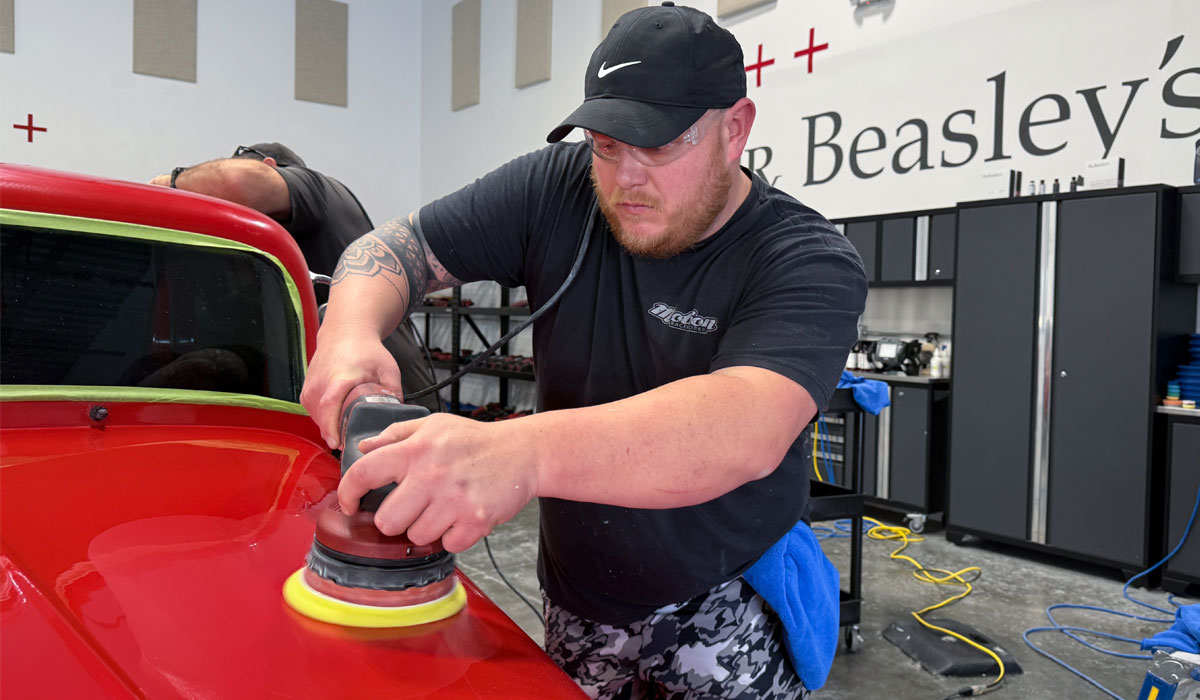
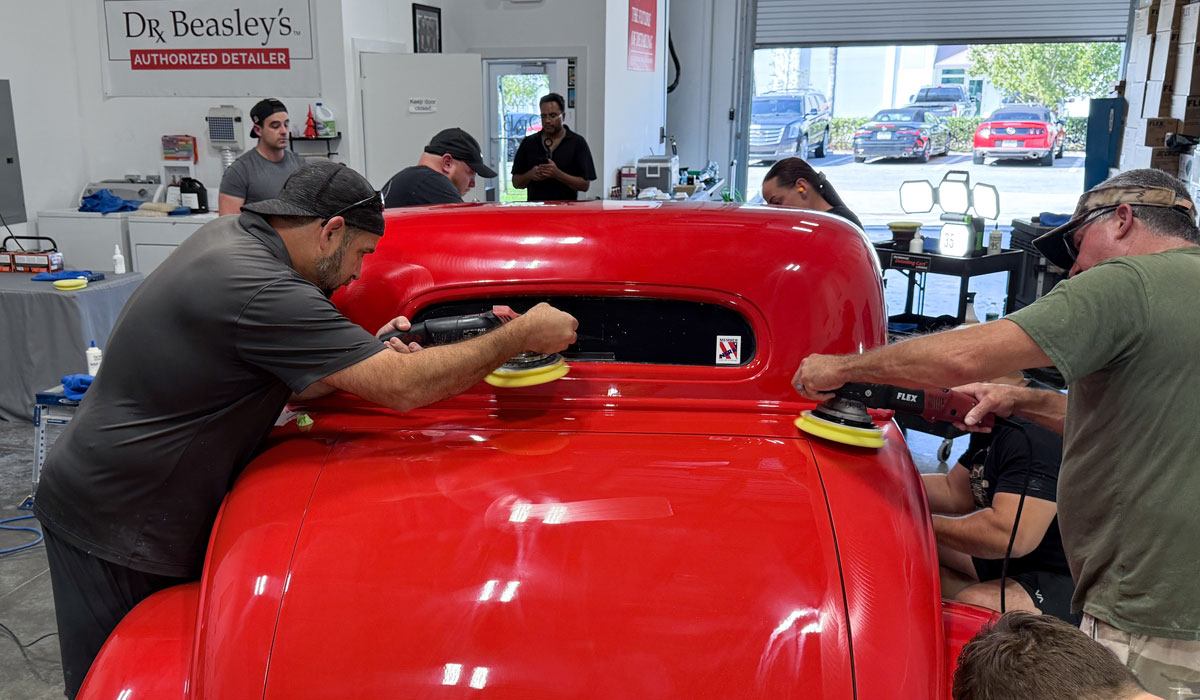
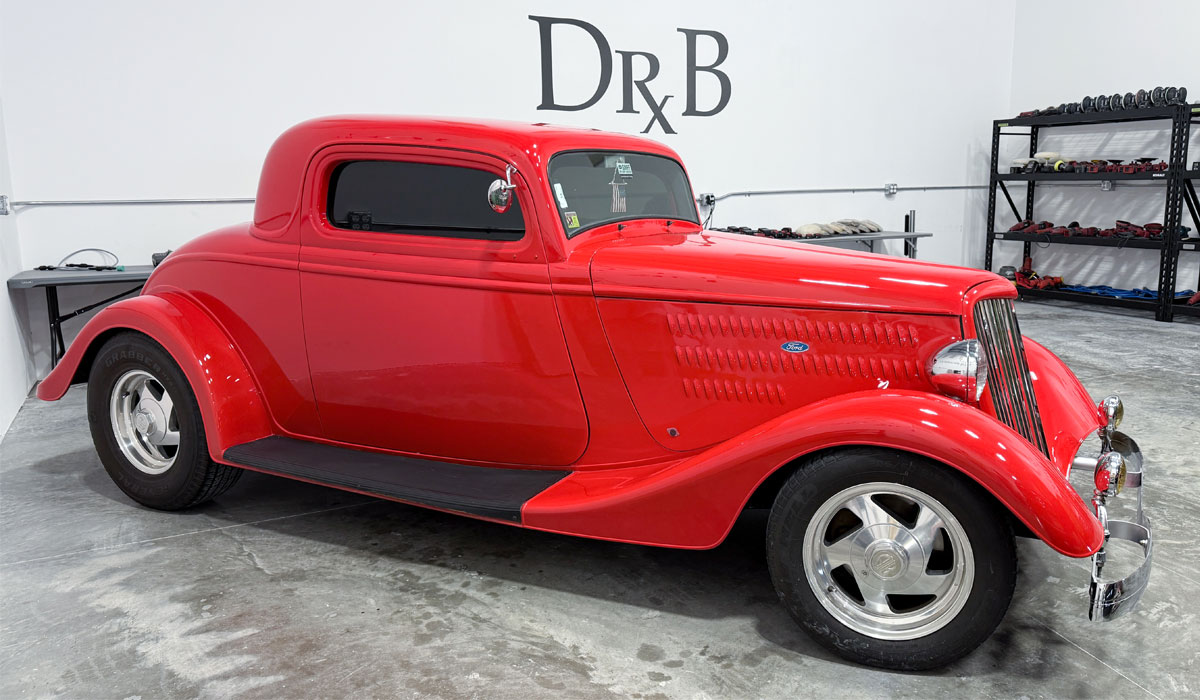
Now that the class has learned a 3-step process, (show car detailing), with the 1941 Chevy, next we're going to go over how to do a 2-step process. If you're a Do-it-Yourselfer, this would be a 2-step approach, if you're a professional, this would be your mid-range package. A package that is priced between your show car detailing package, and your budget package.
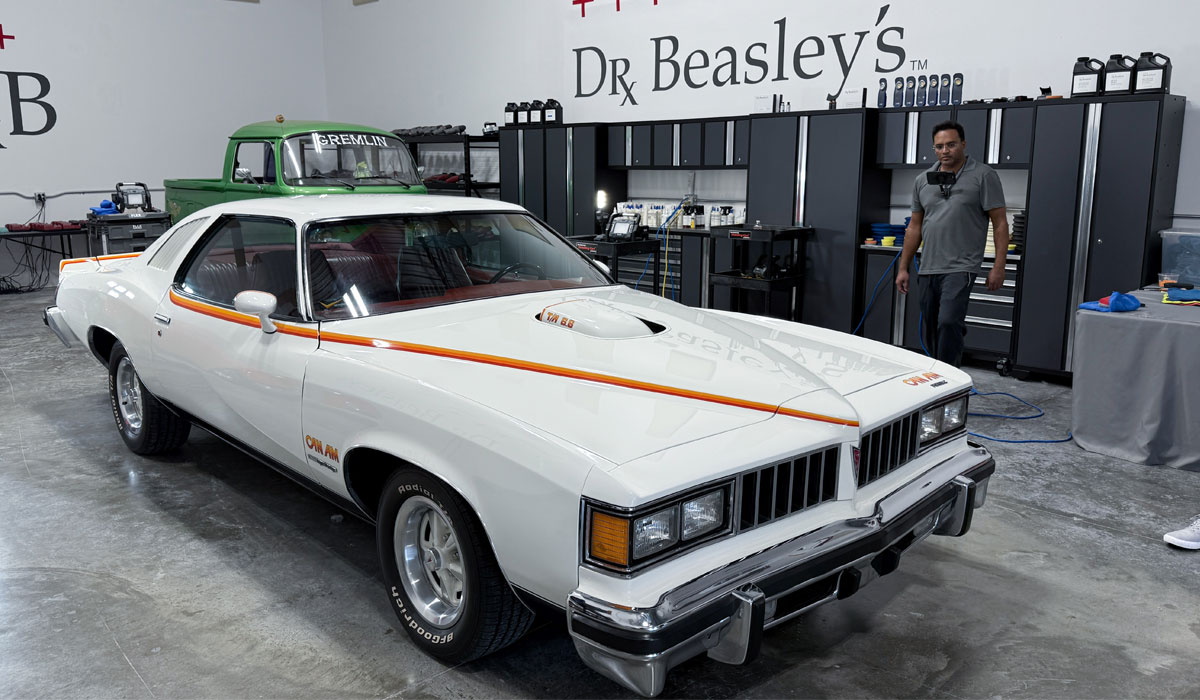
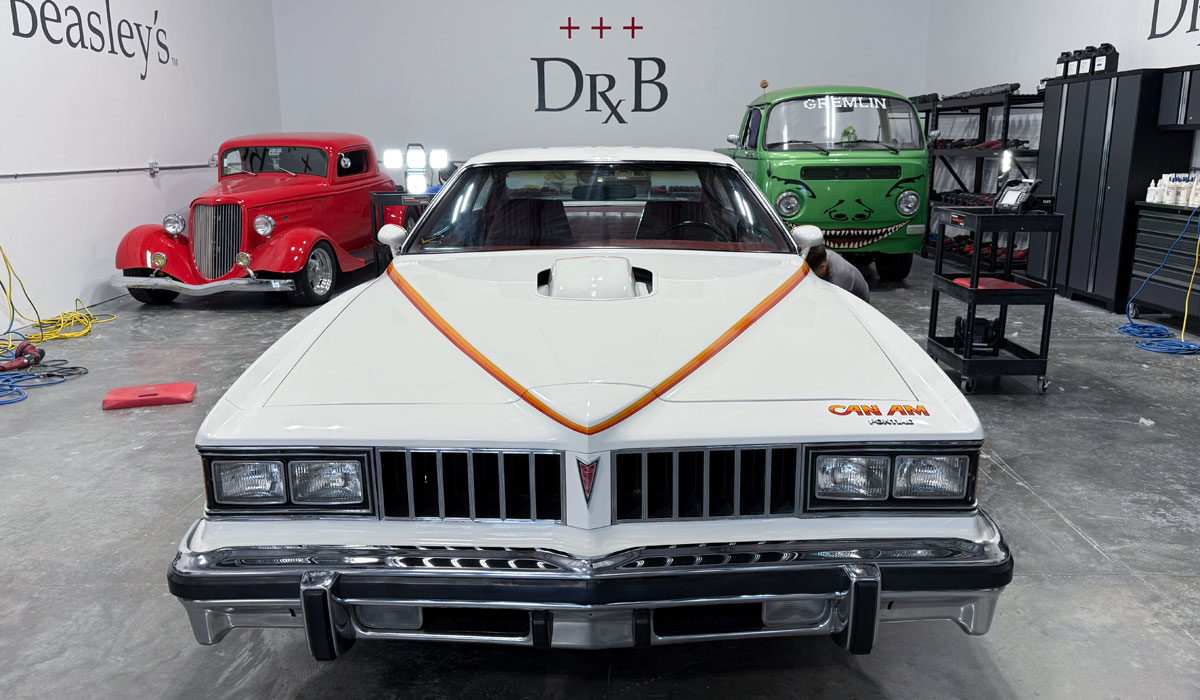
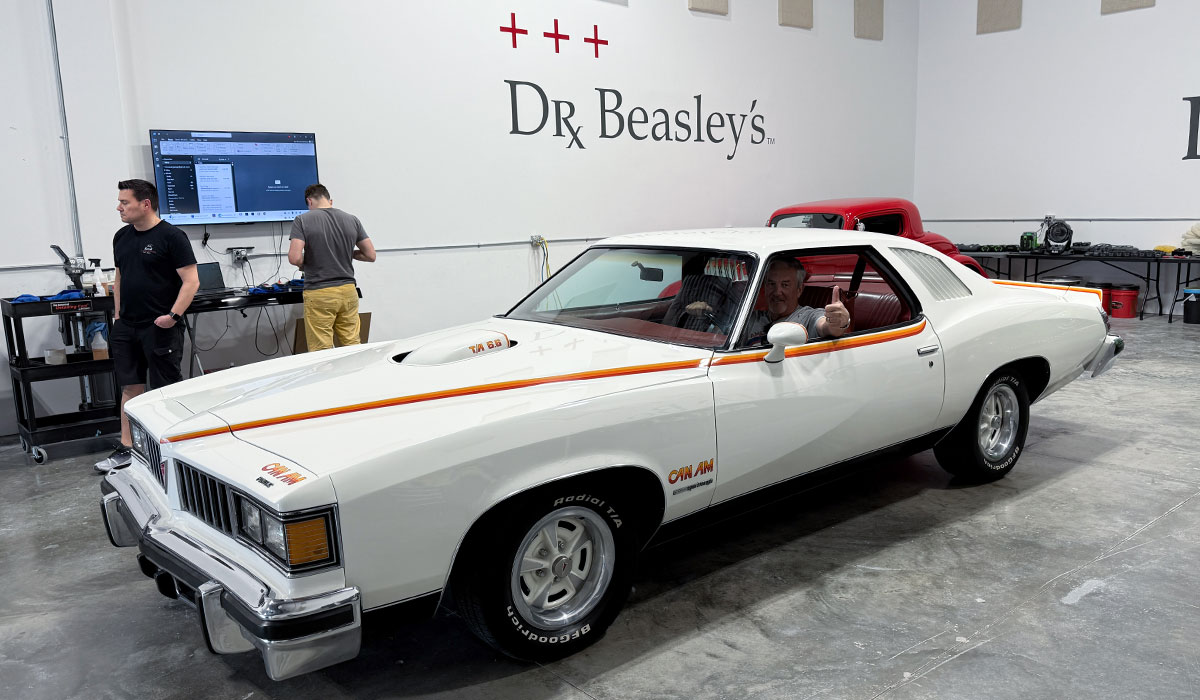
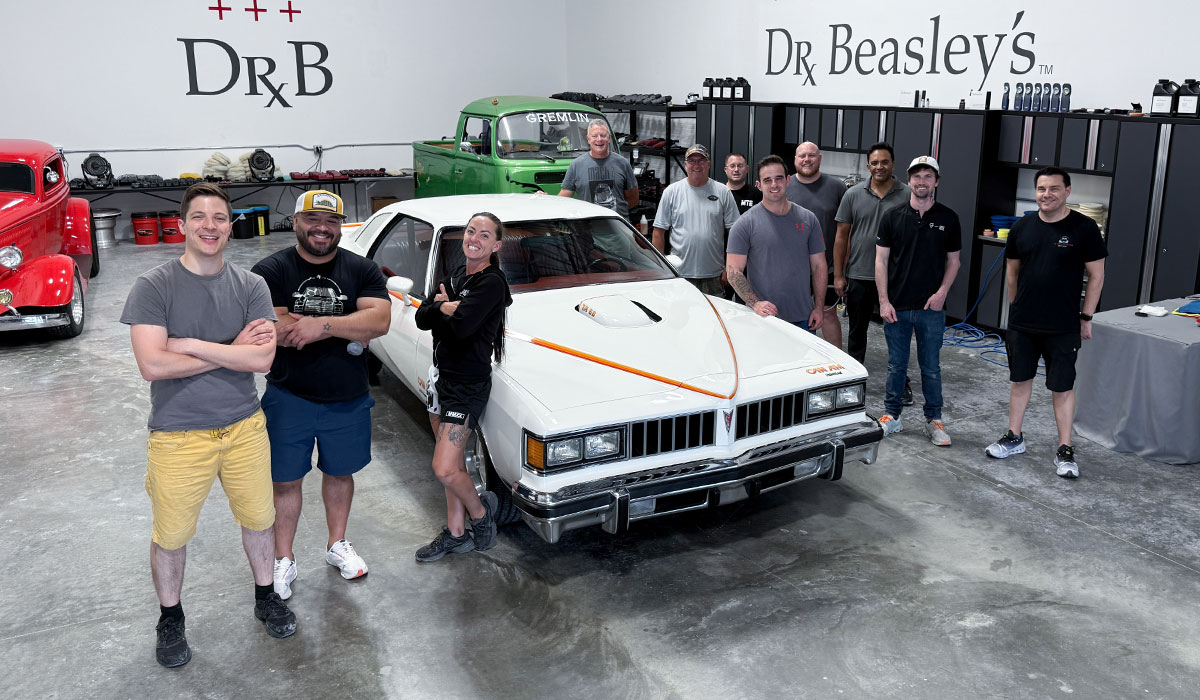
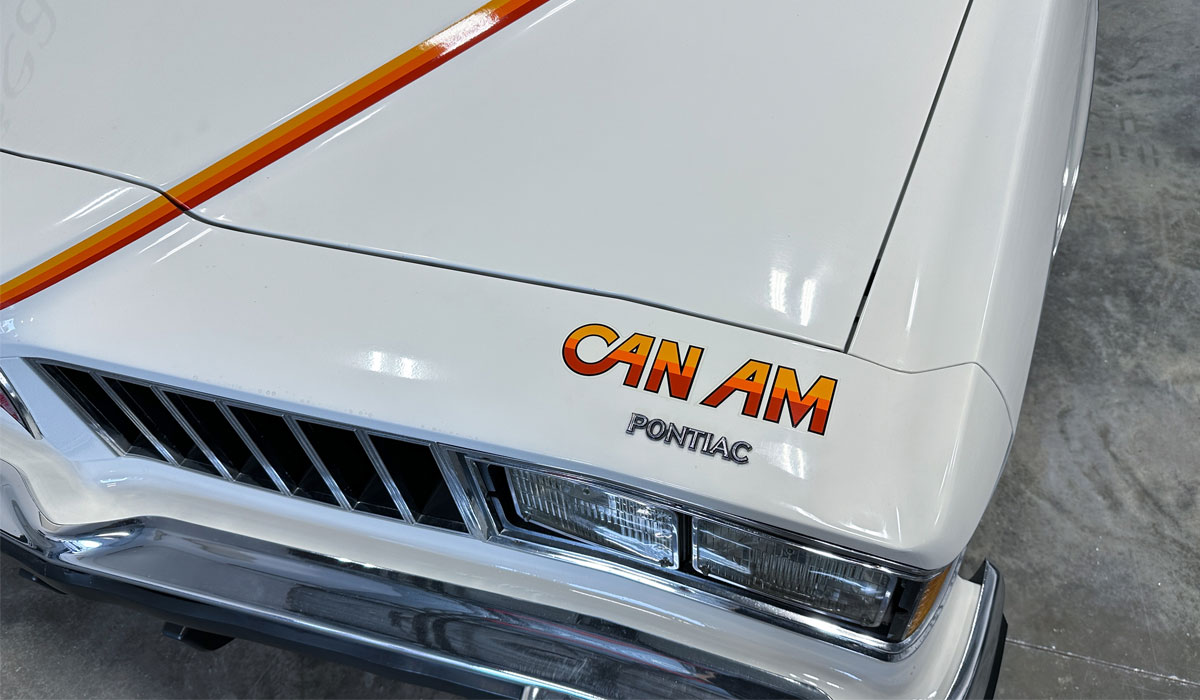
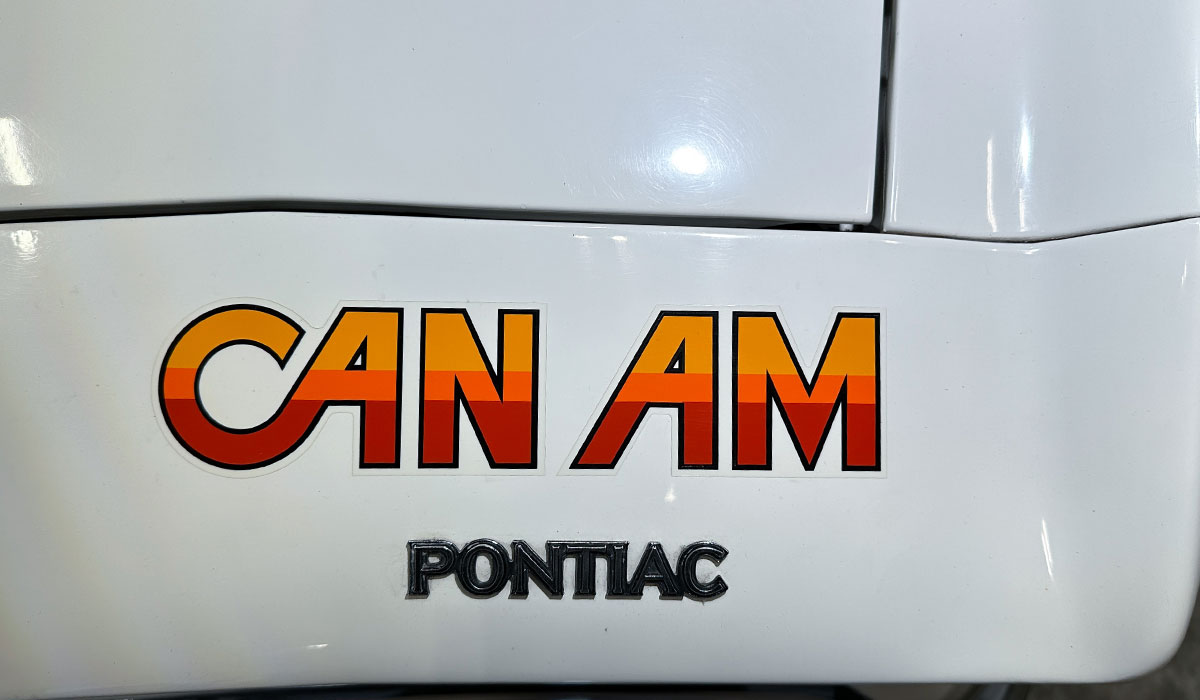
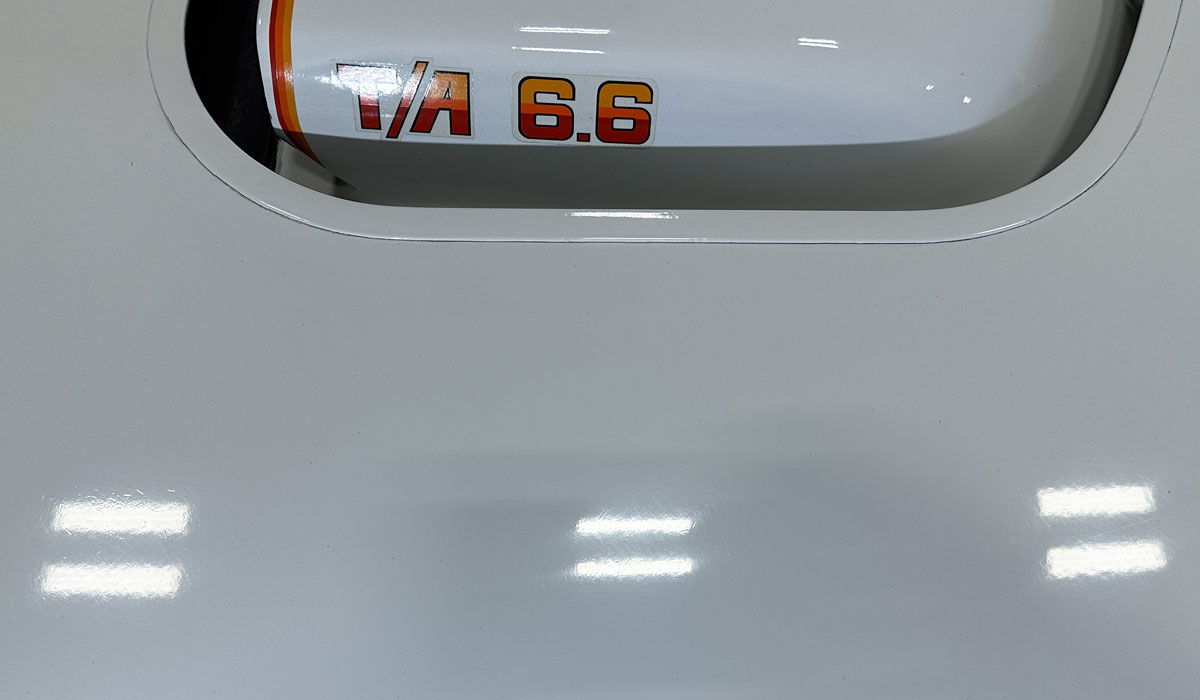
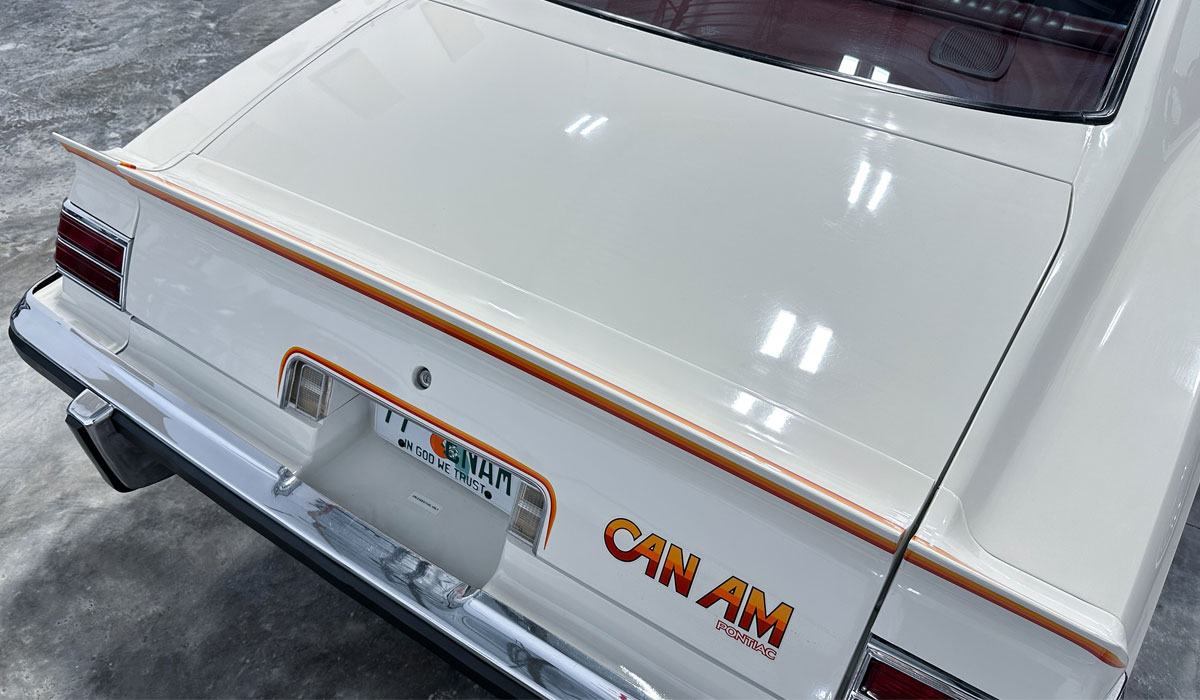
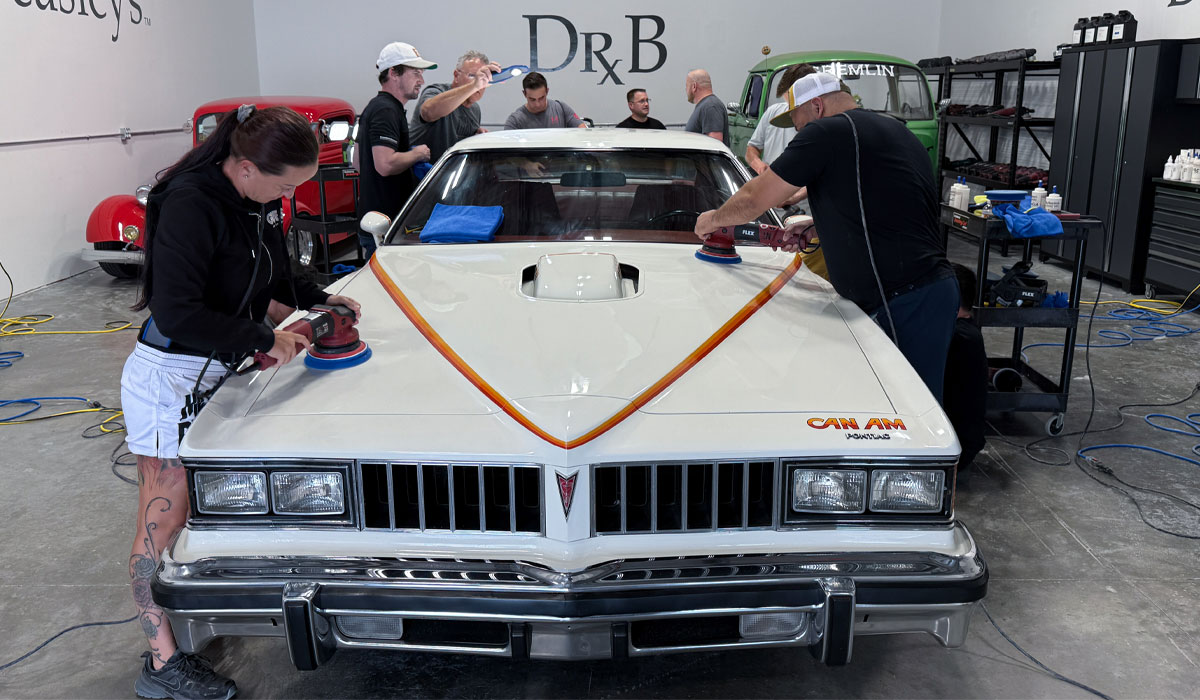
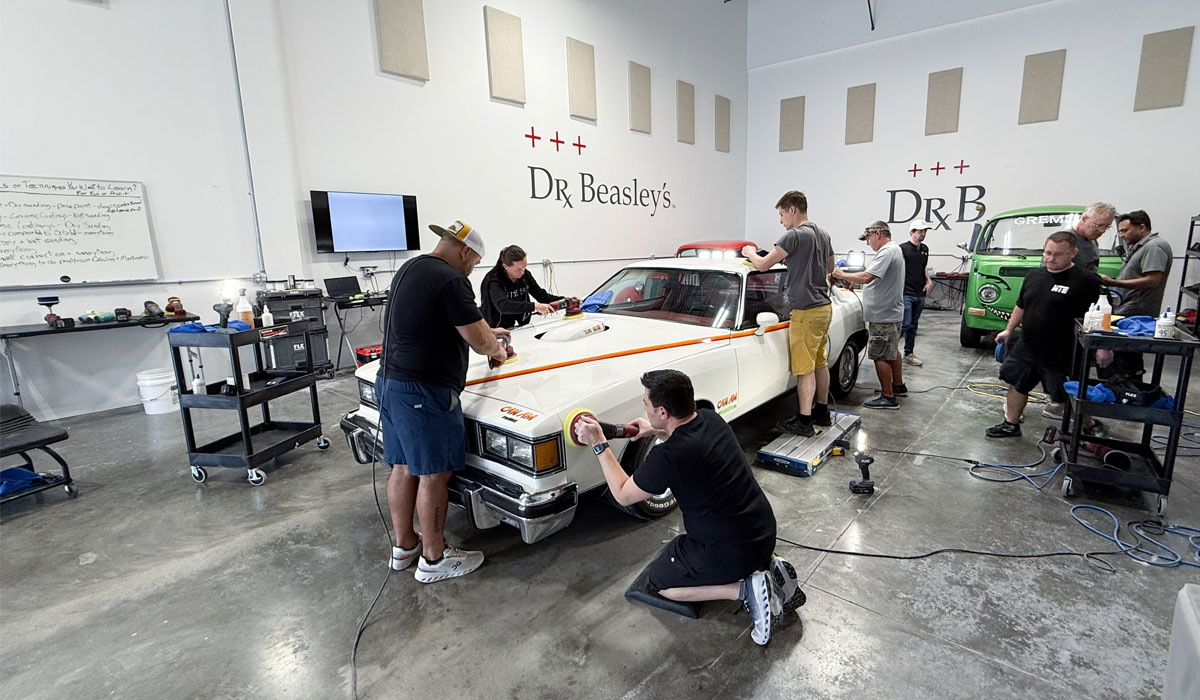
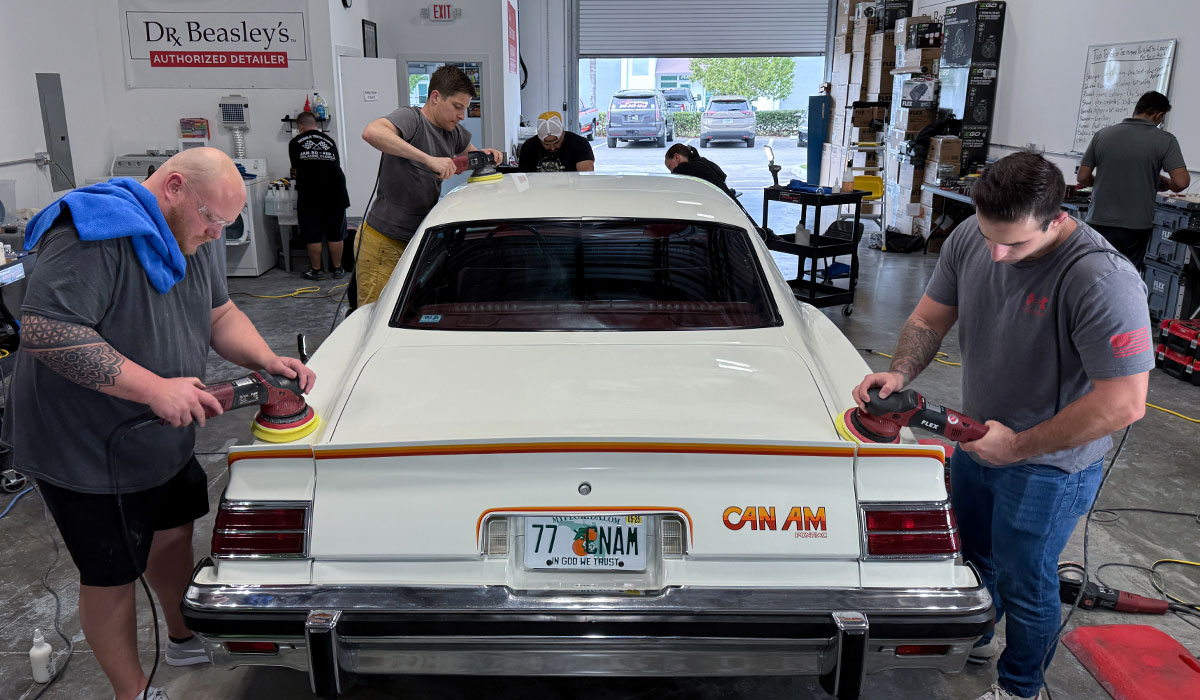
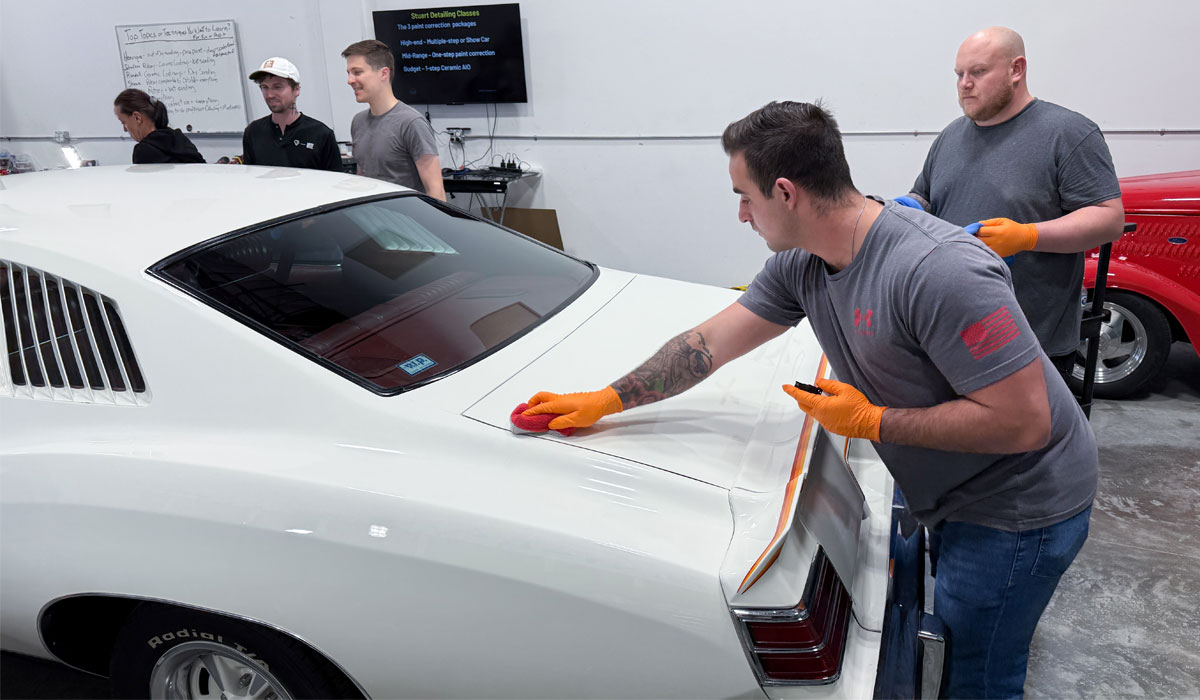
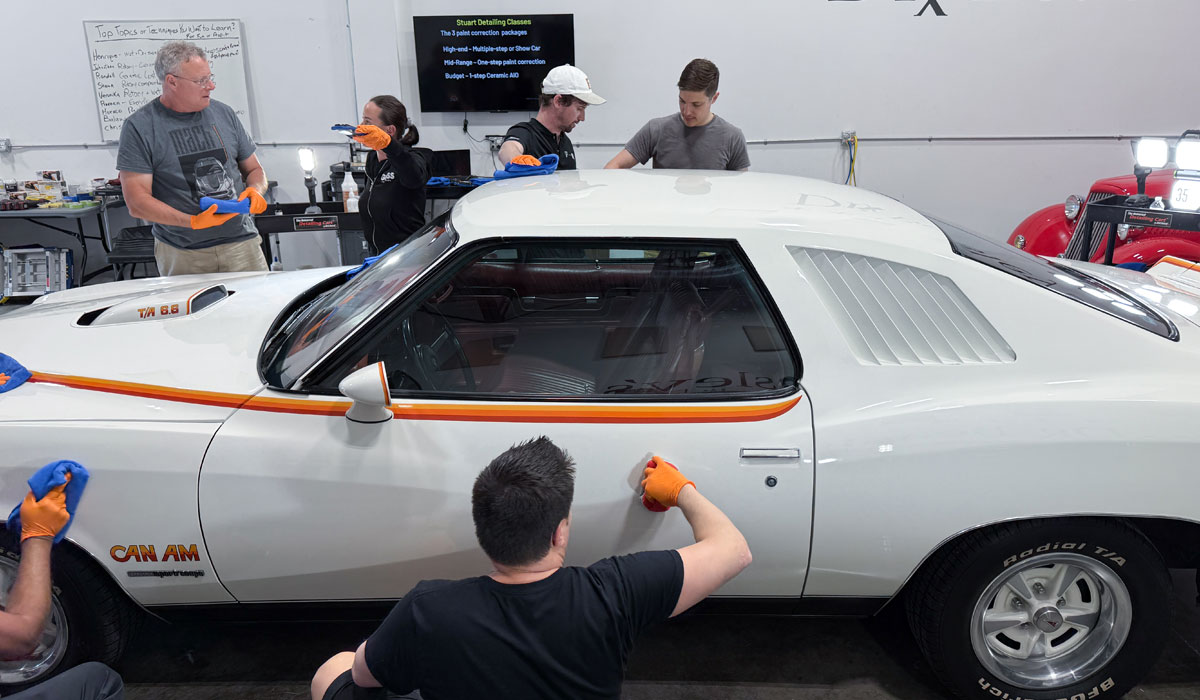
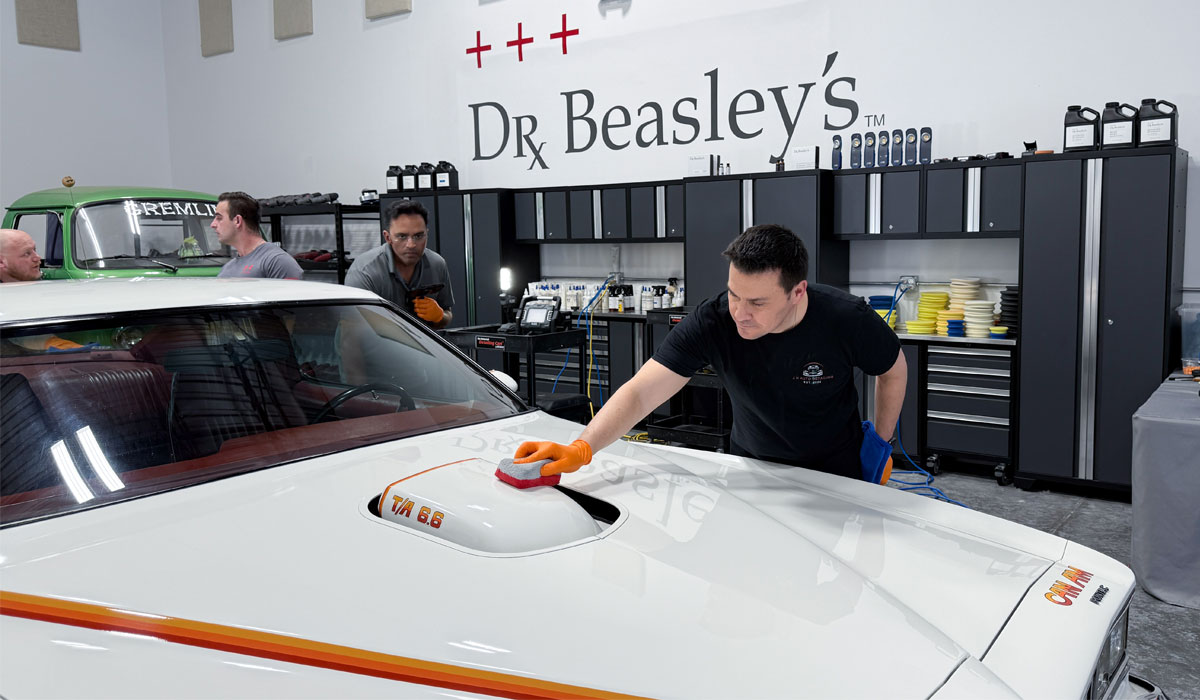
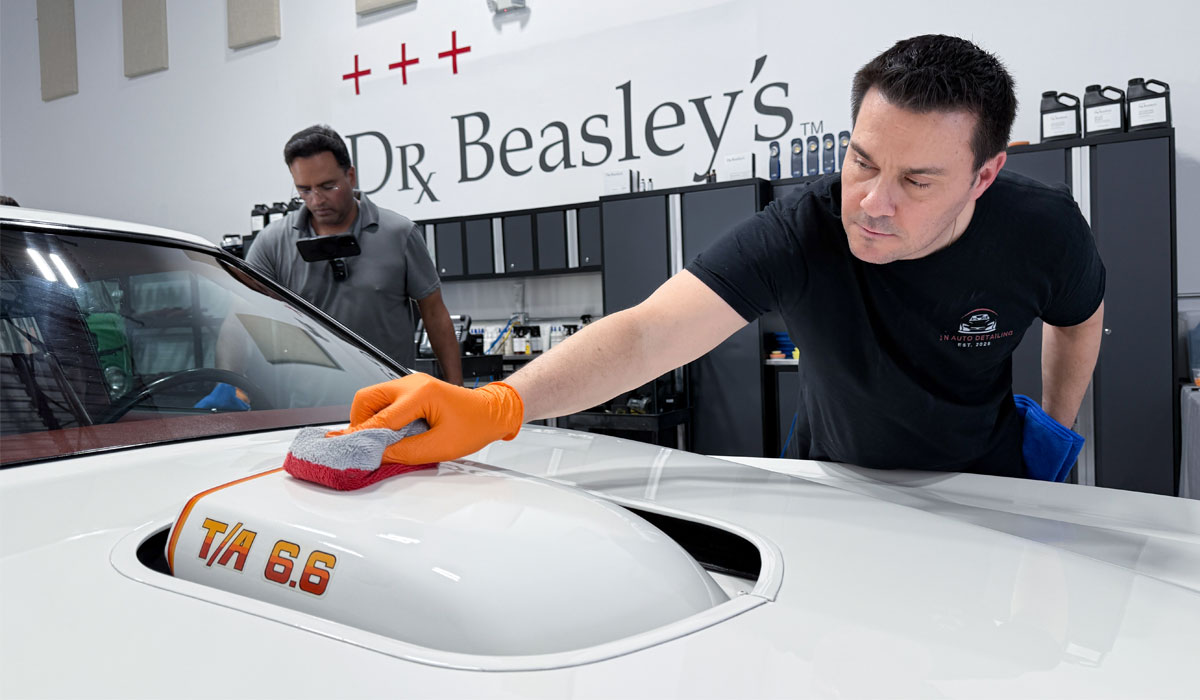
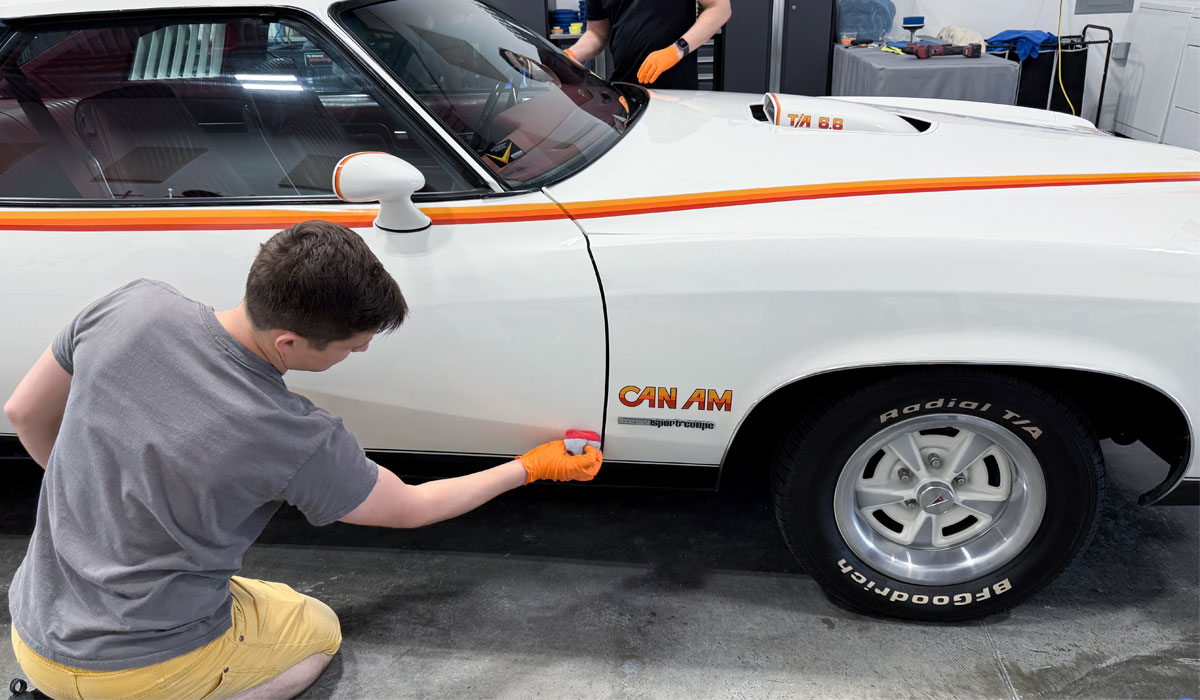
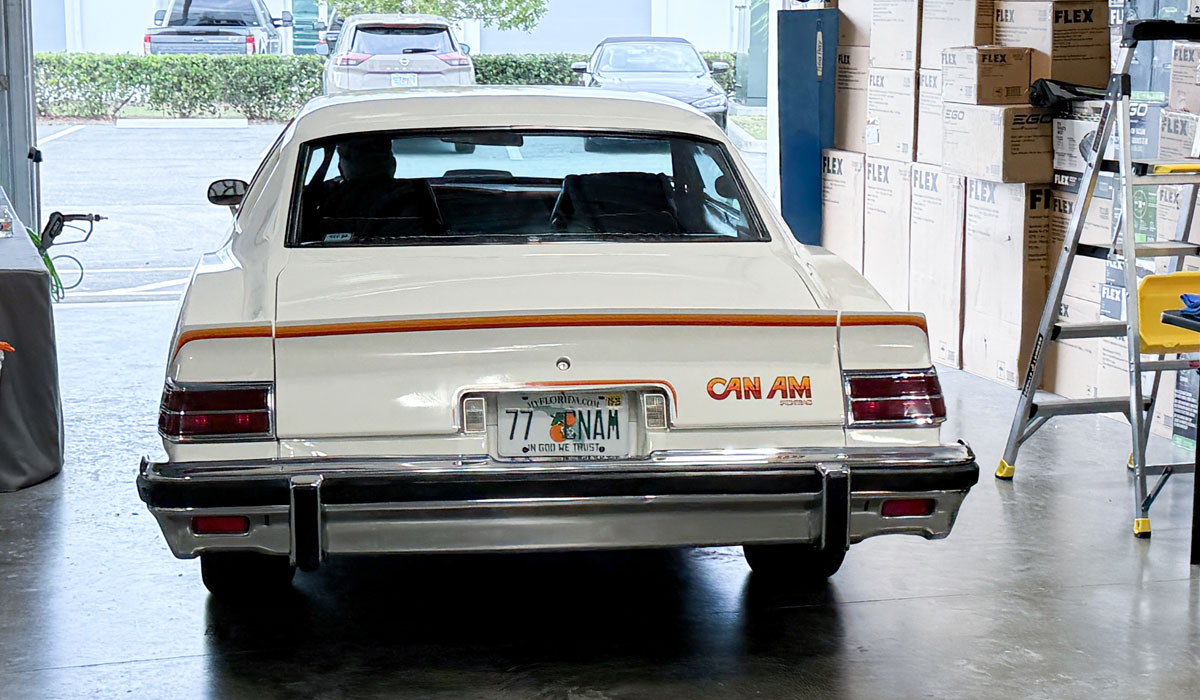
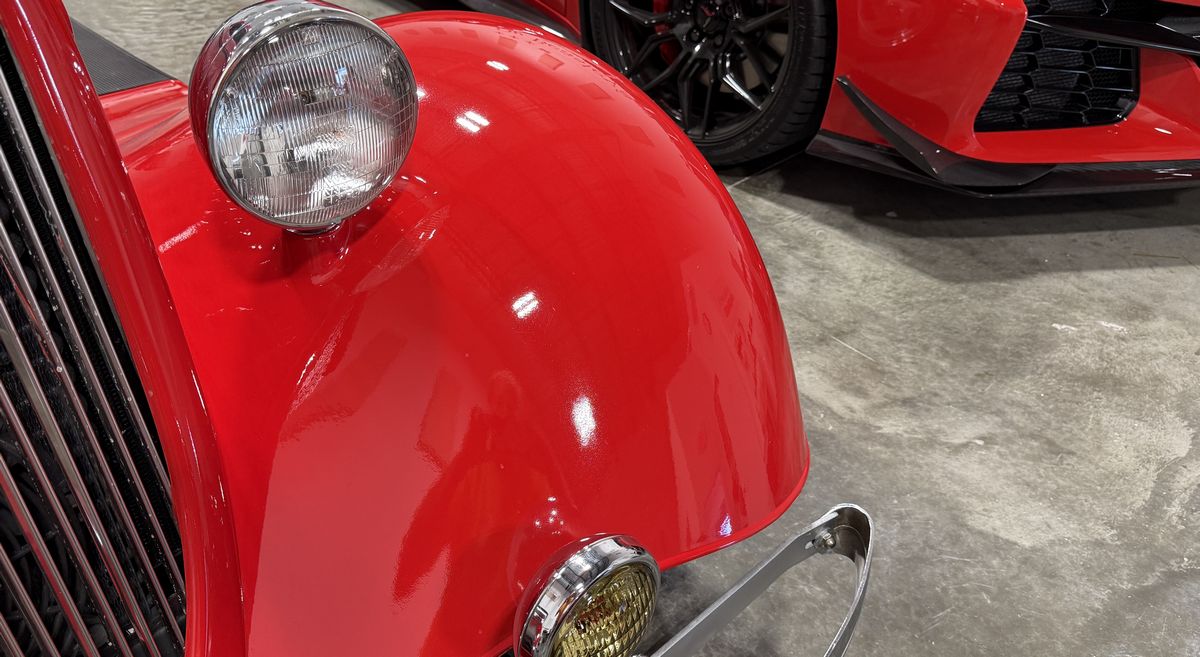
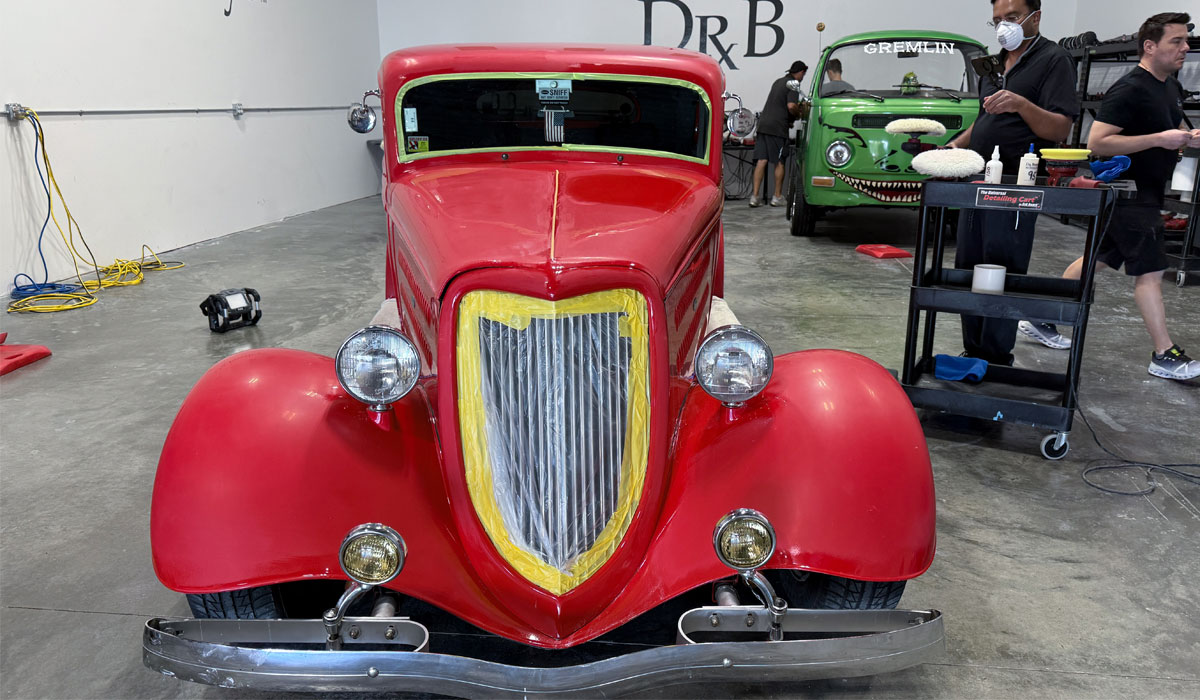
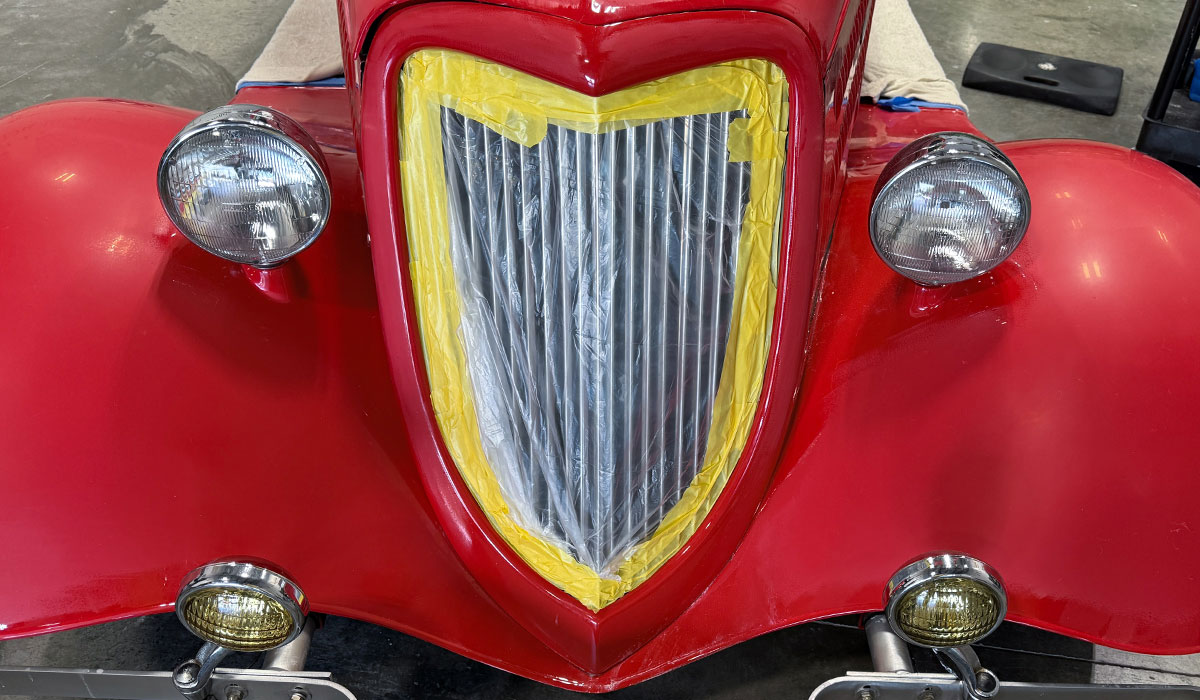
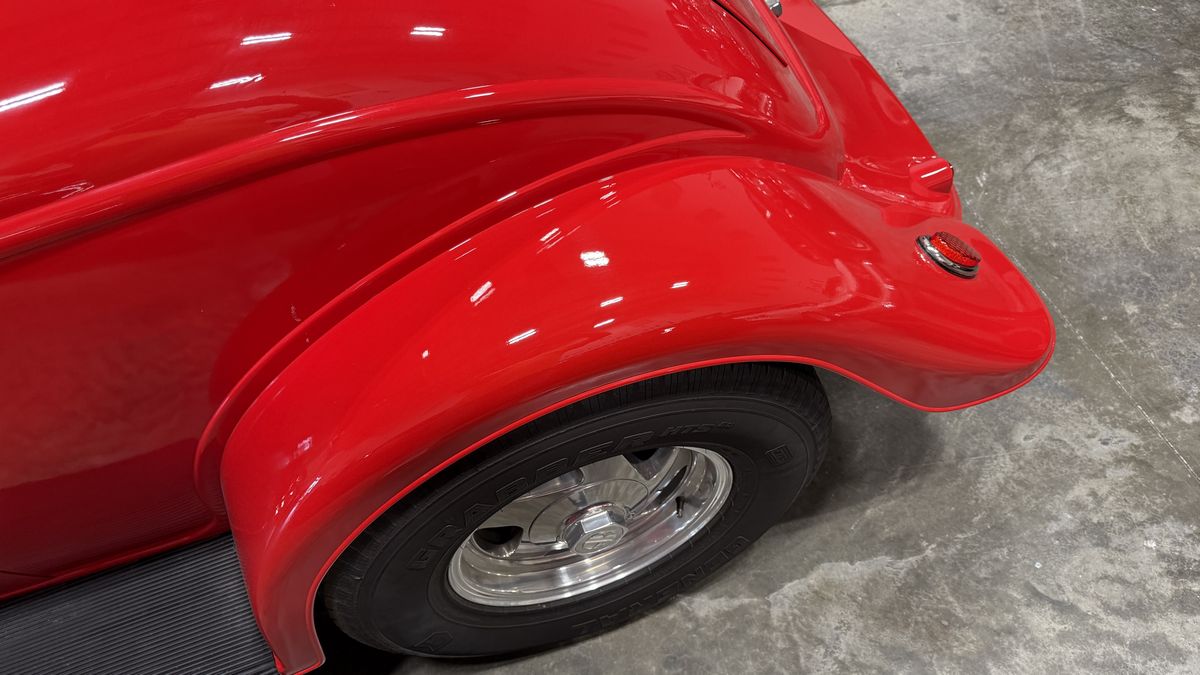
1977 Pontiac Can Am - Rare Muscle Car
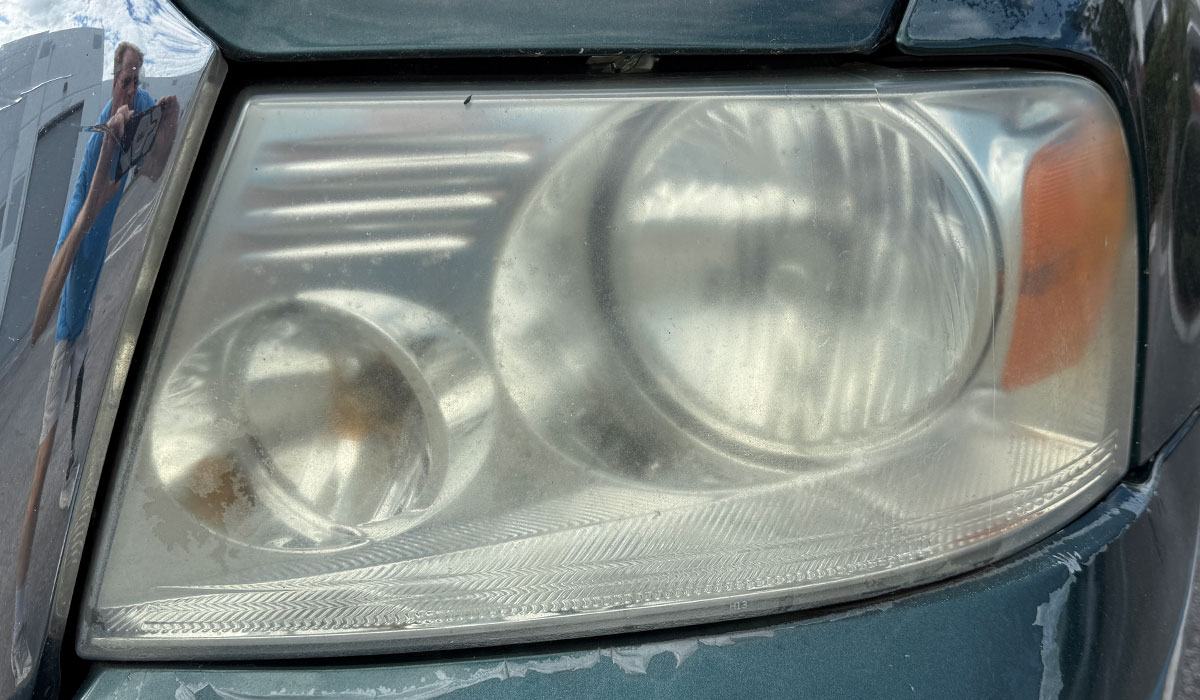
I don't normally like to use white and light colored cars for detailing classes for 3 reasons.
1: Too difficult for the students to see DRAMATIC before and after results from all their hard work.
2: Too difficult to capture great before and after pictures.
3: Too difficult to capture great before and after videos.
And after this class and this car, I'll likely never use another white car, it's just not as effective as black and dark colored cars.
Hologram Video
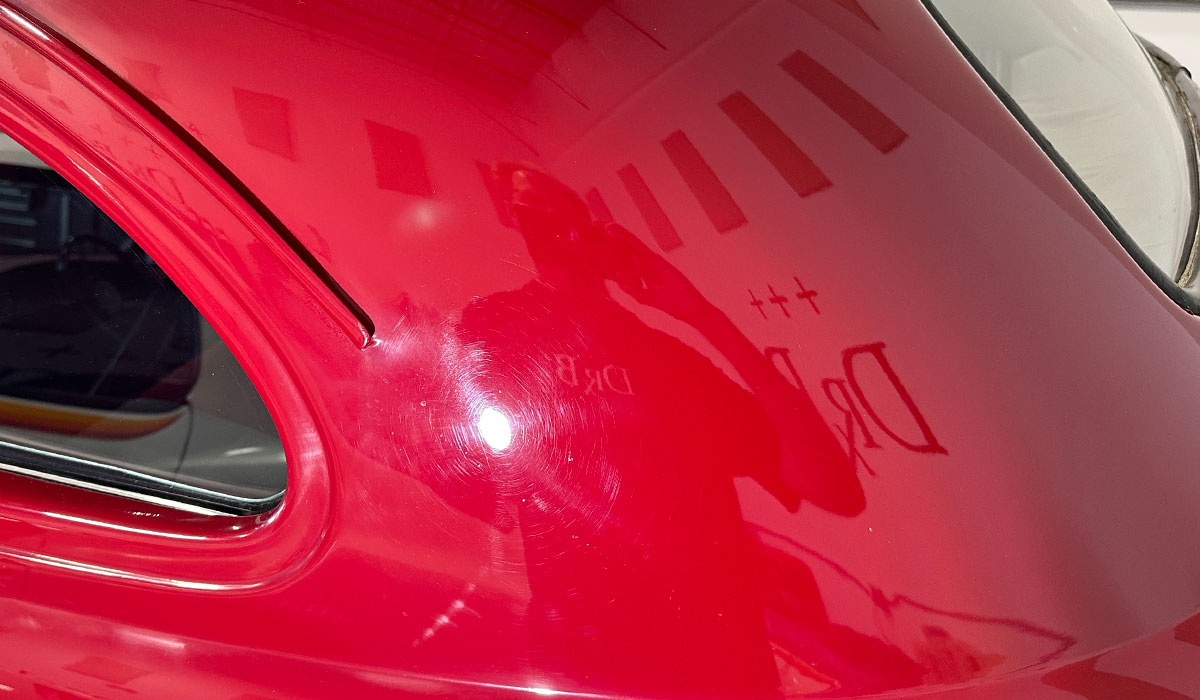
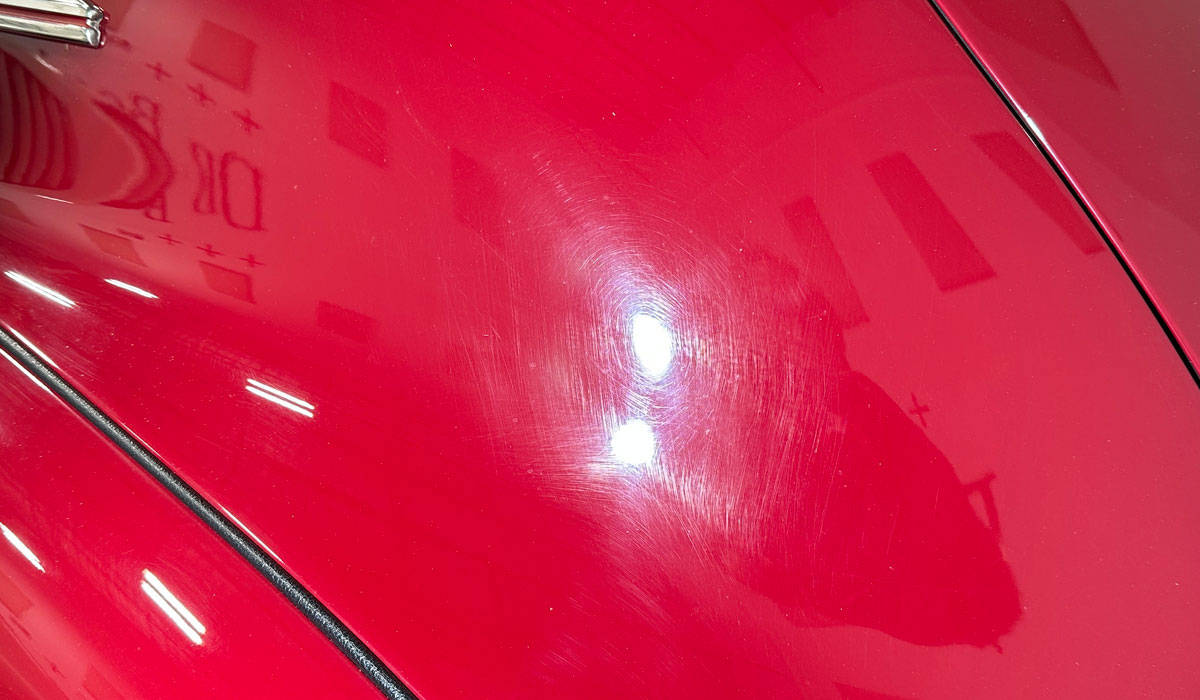
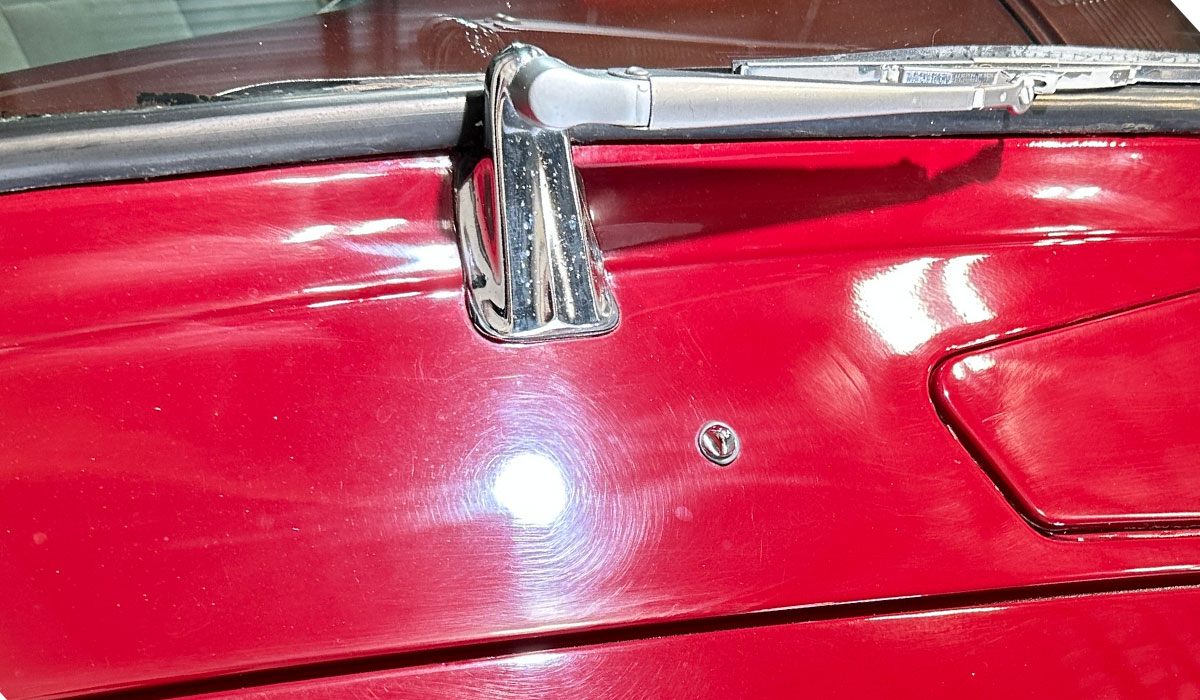
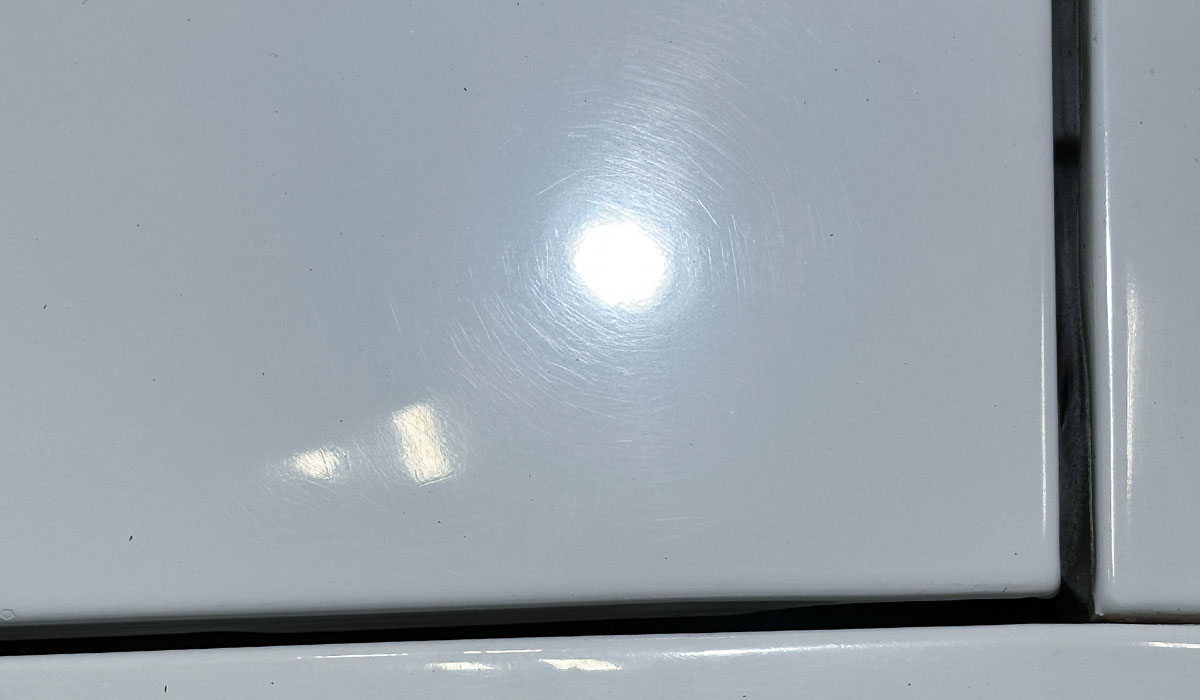
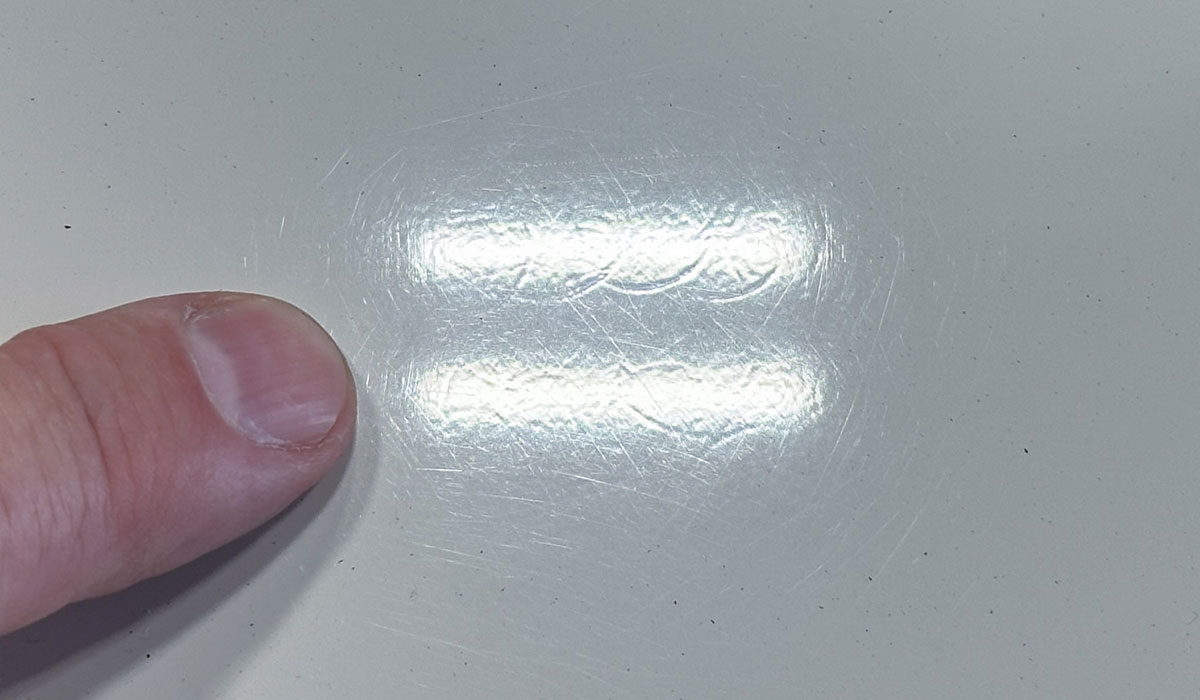
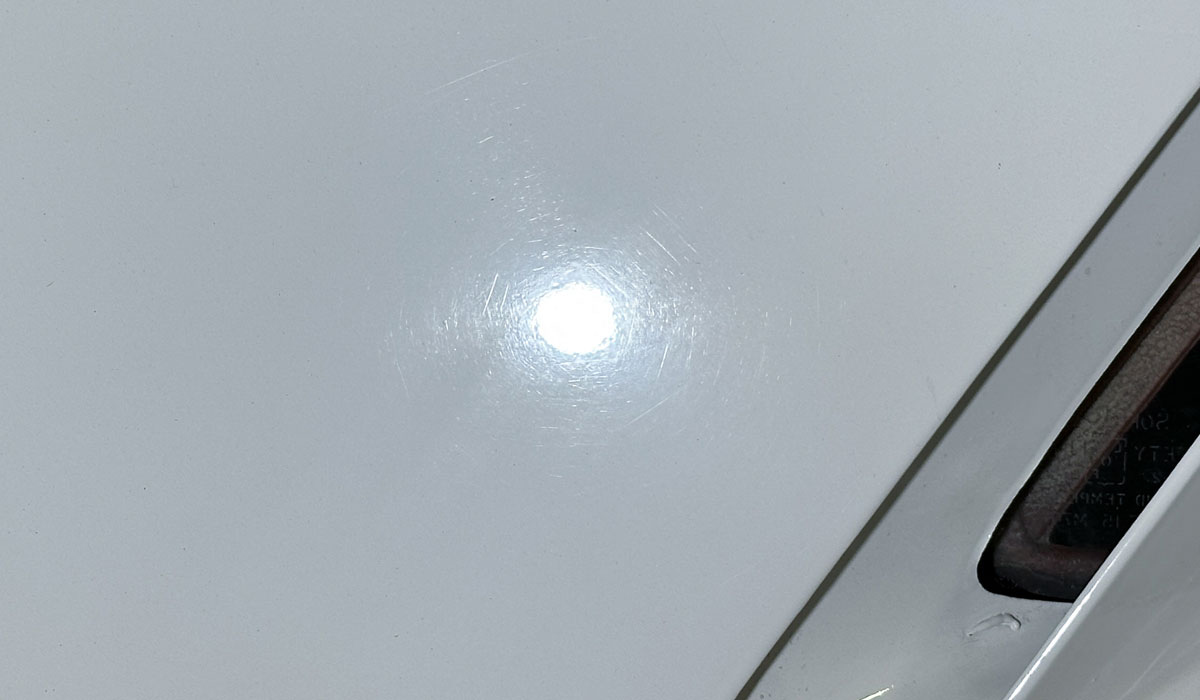
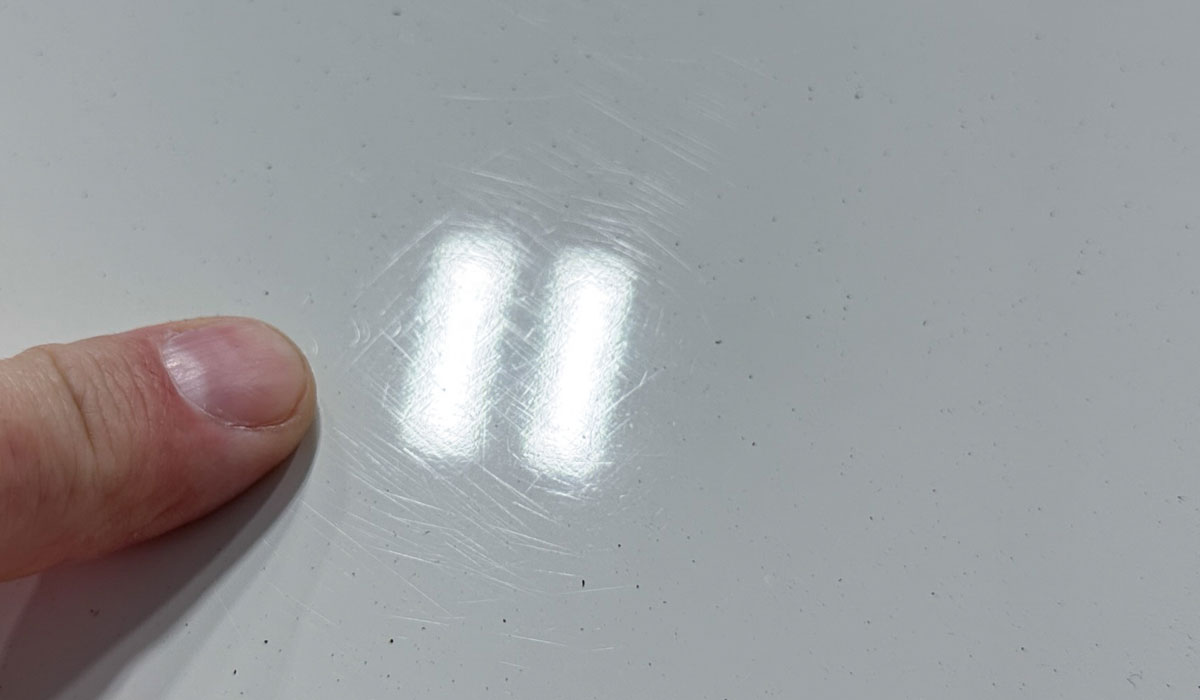
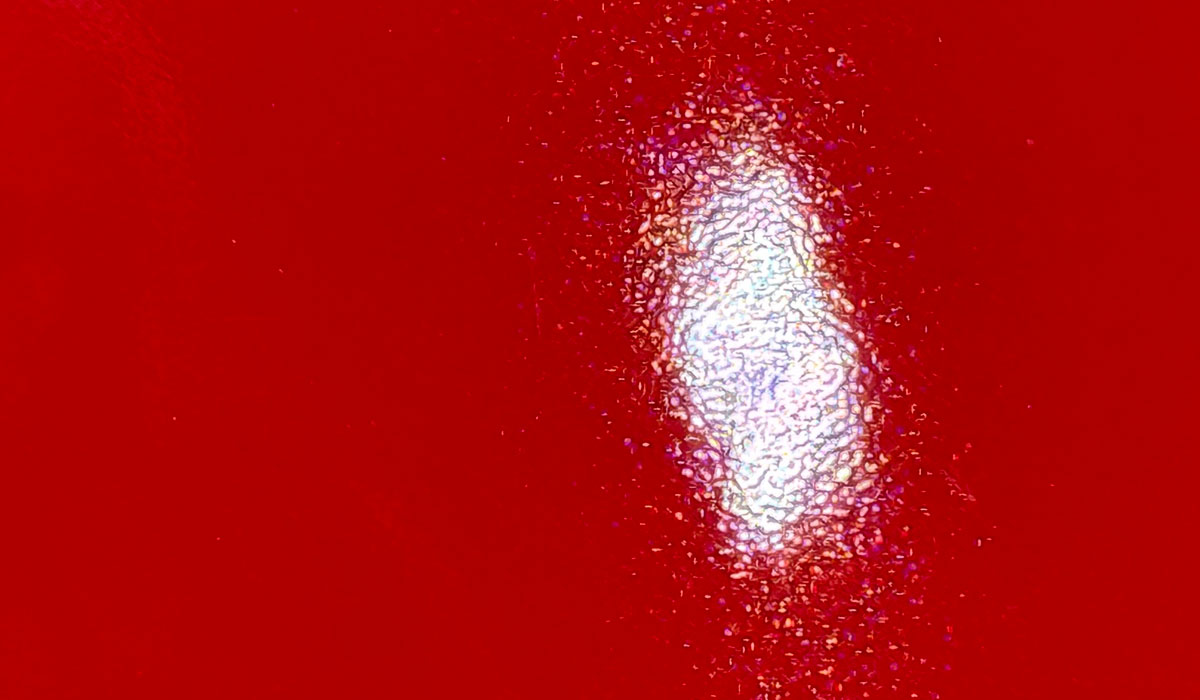
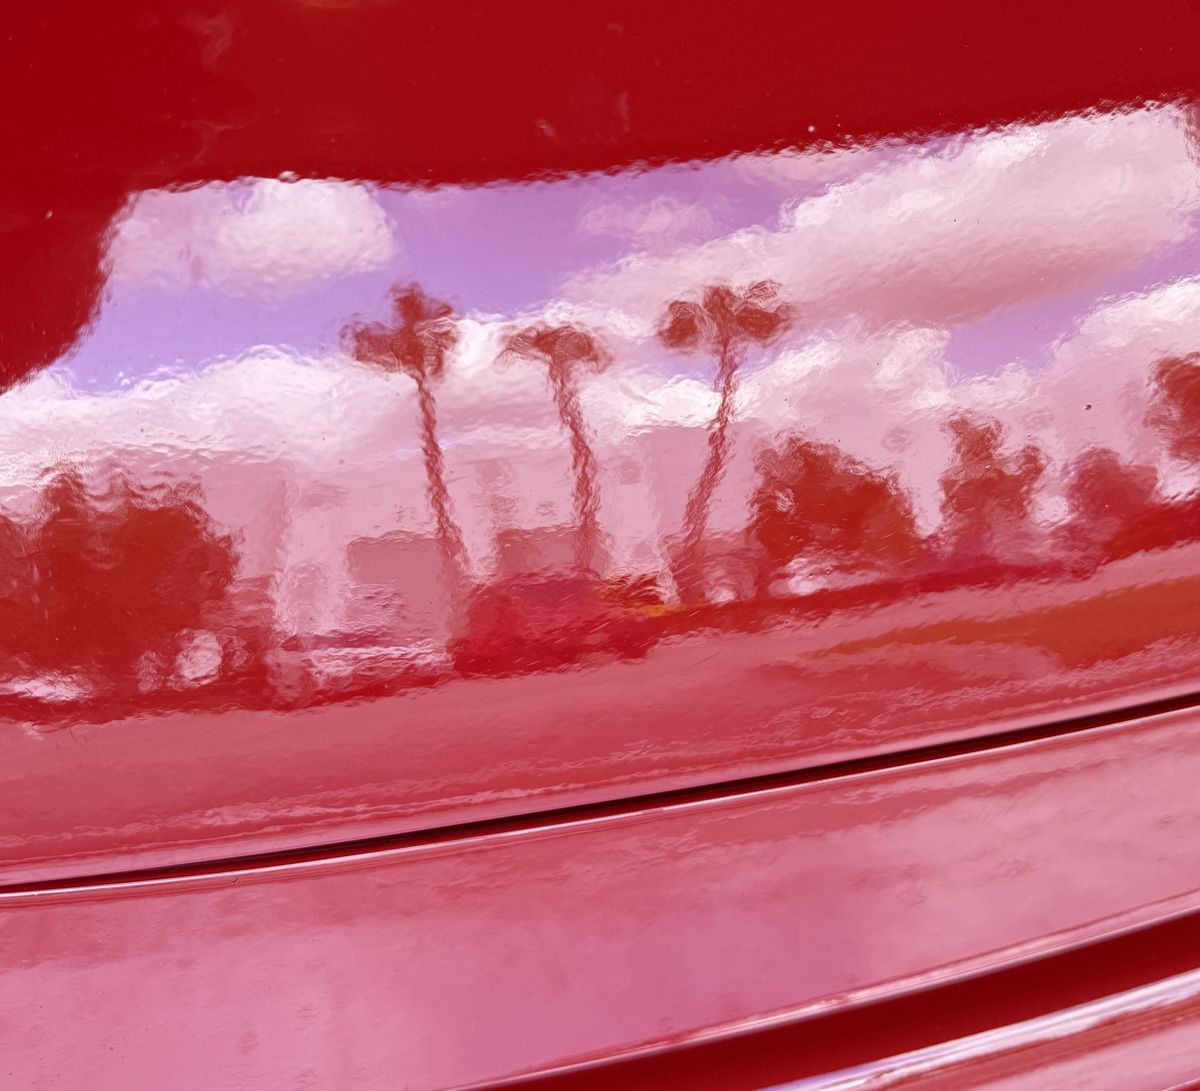
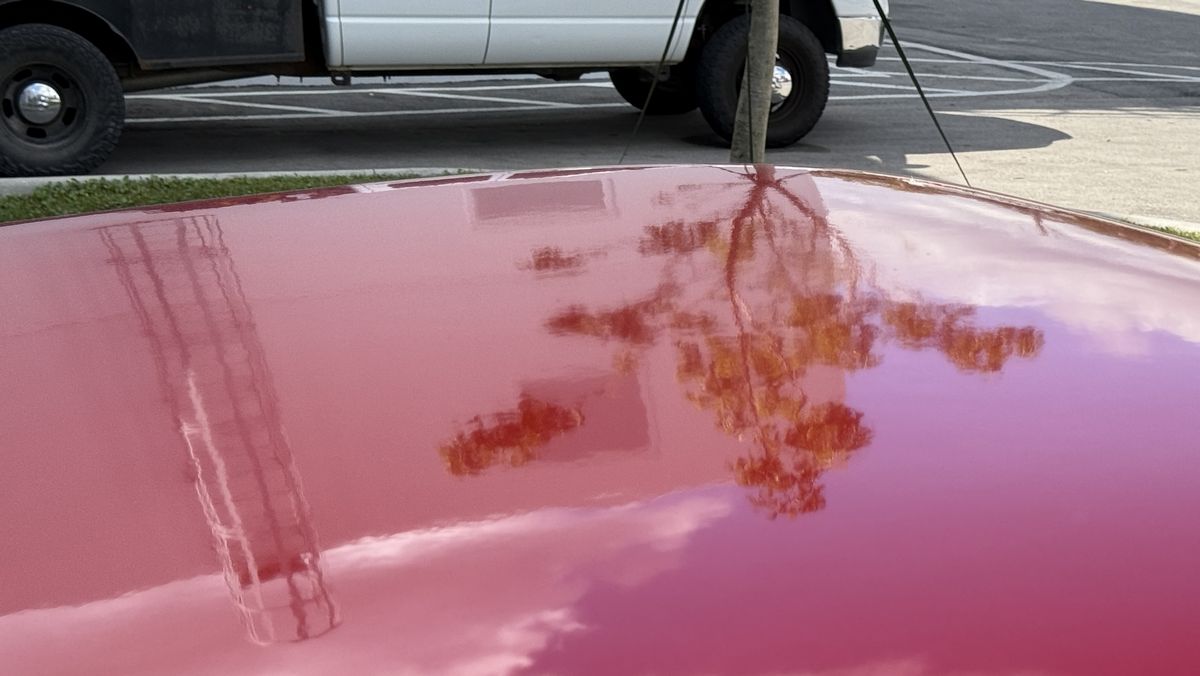
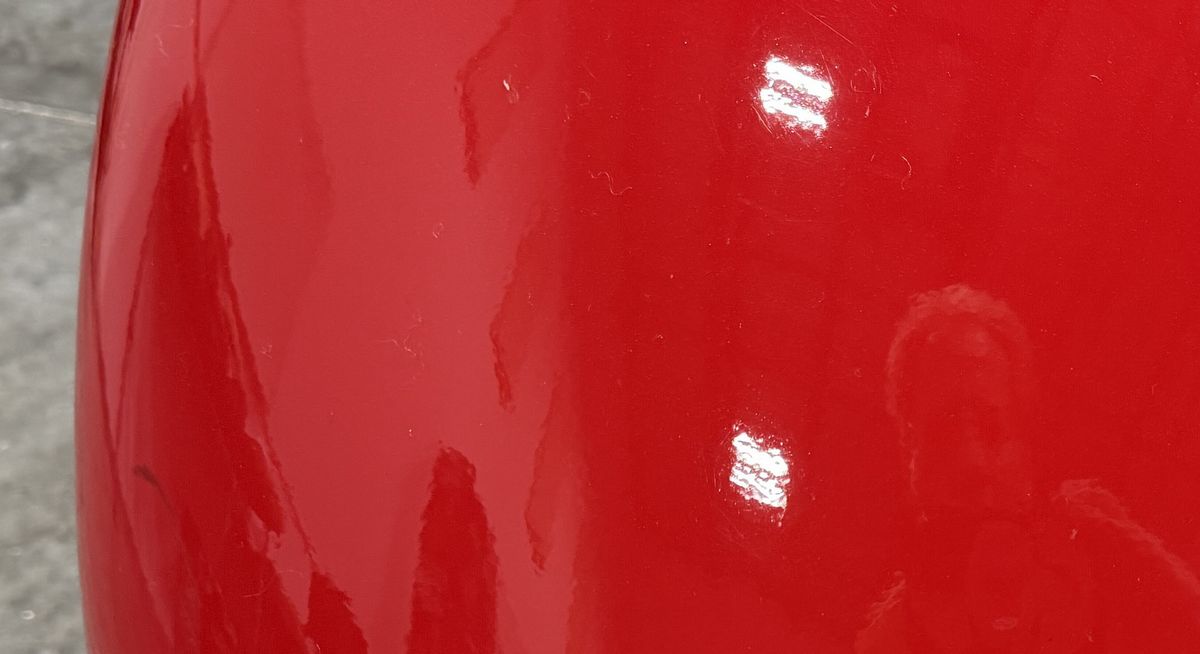
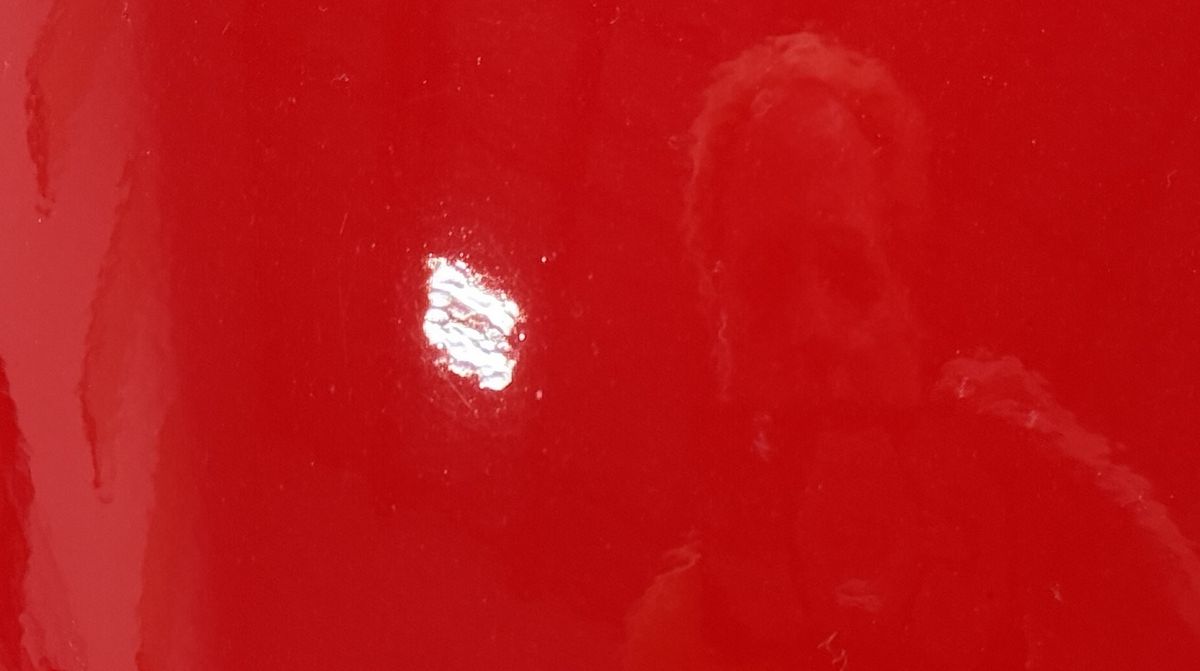
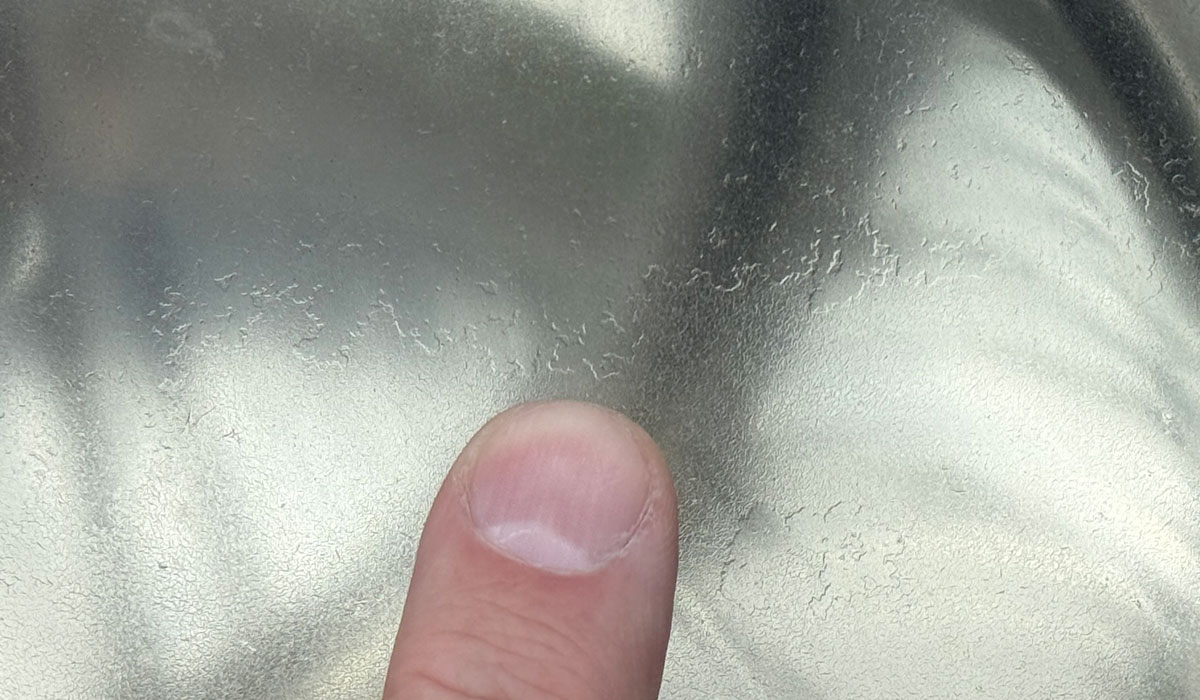
As you can see from the video below taken with the car outside and the sun high overhead, the paint on this Can Am has been butchered by some other detailer and the misuse of a rotary polisher.
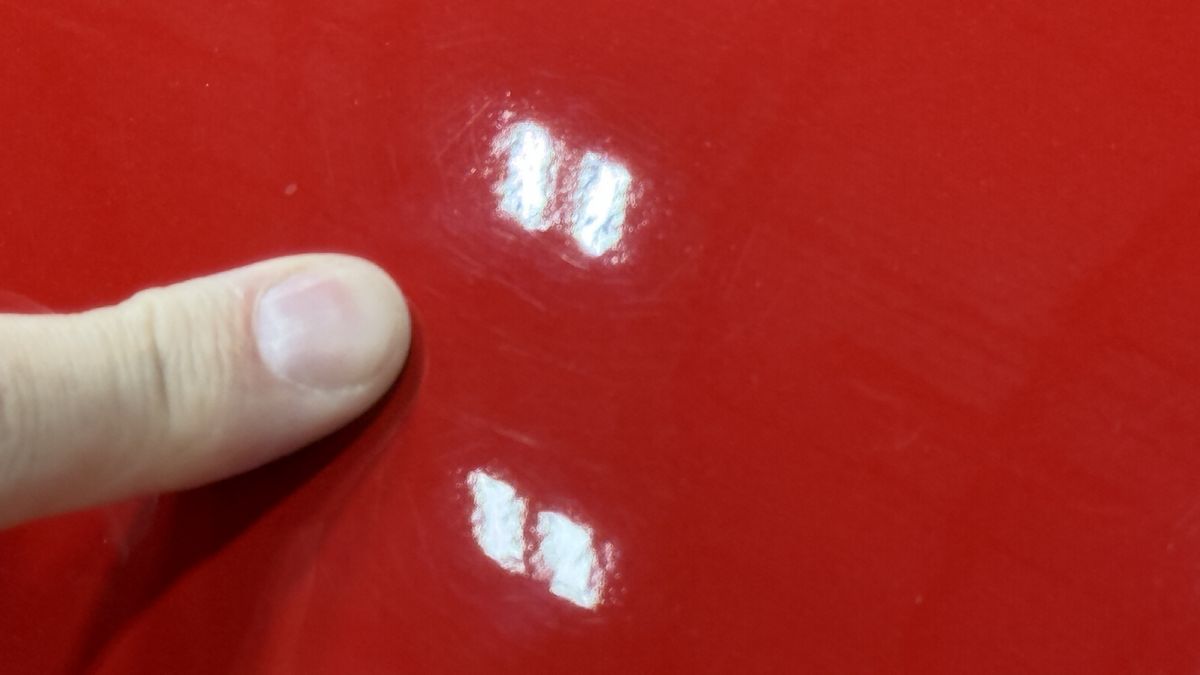
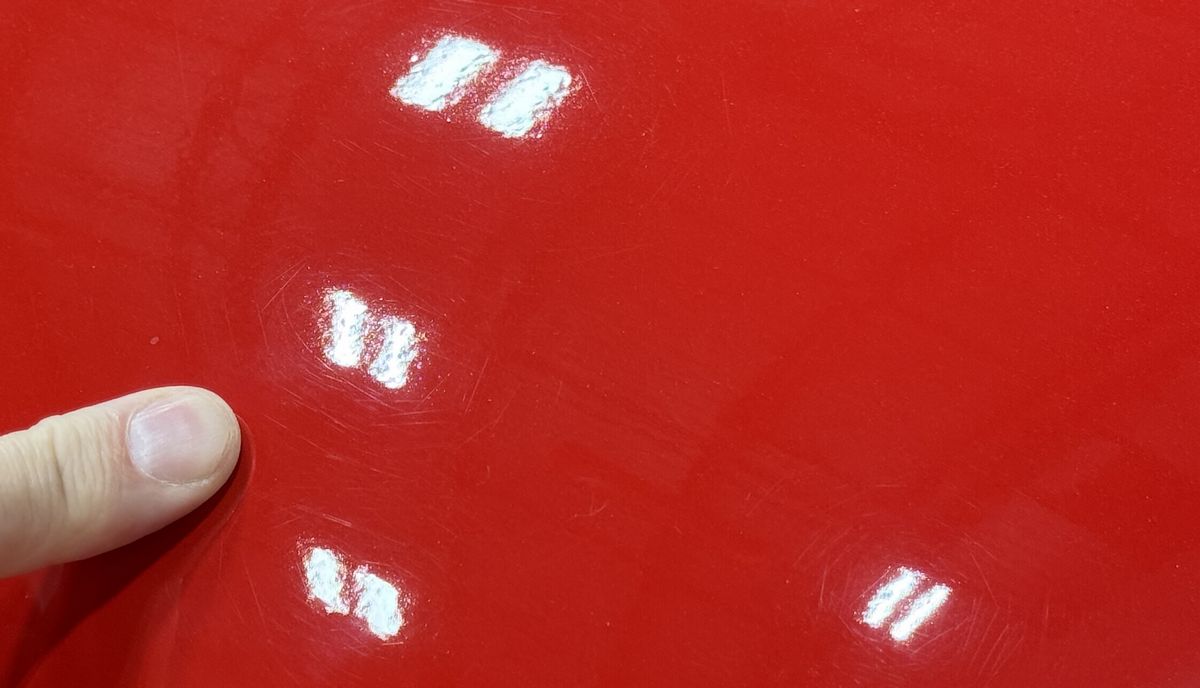
Before Pictures
Like mentioned above, it's more difficult to get GREAT before pictures when photographing white paint, so here's the best I could do. The video of the car outside does a much better job of showing the holograms. The below pictures are still pictures of holograms, you just don't see the tell-tell signs that indicate holograms like shared in the video.
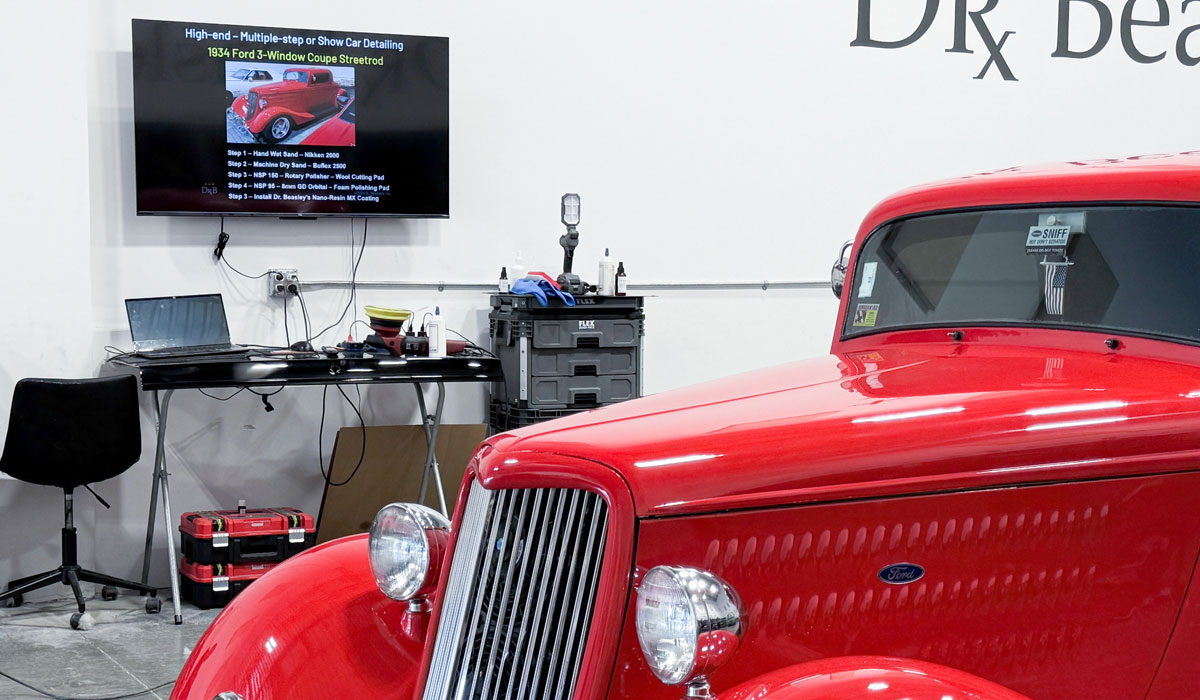
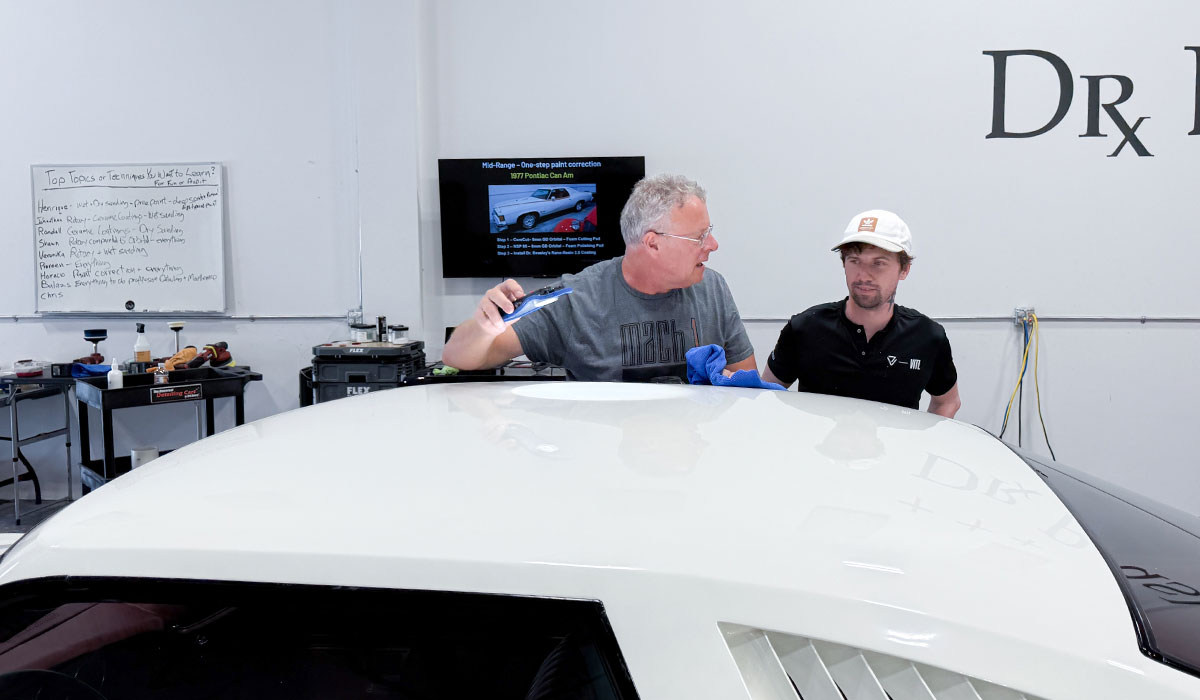
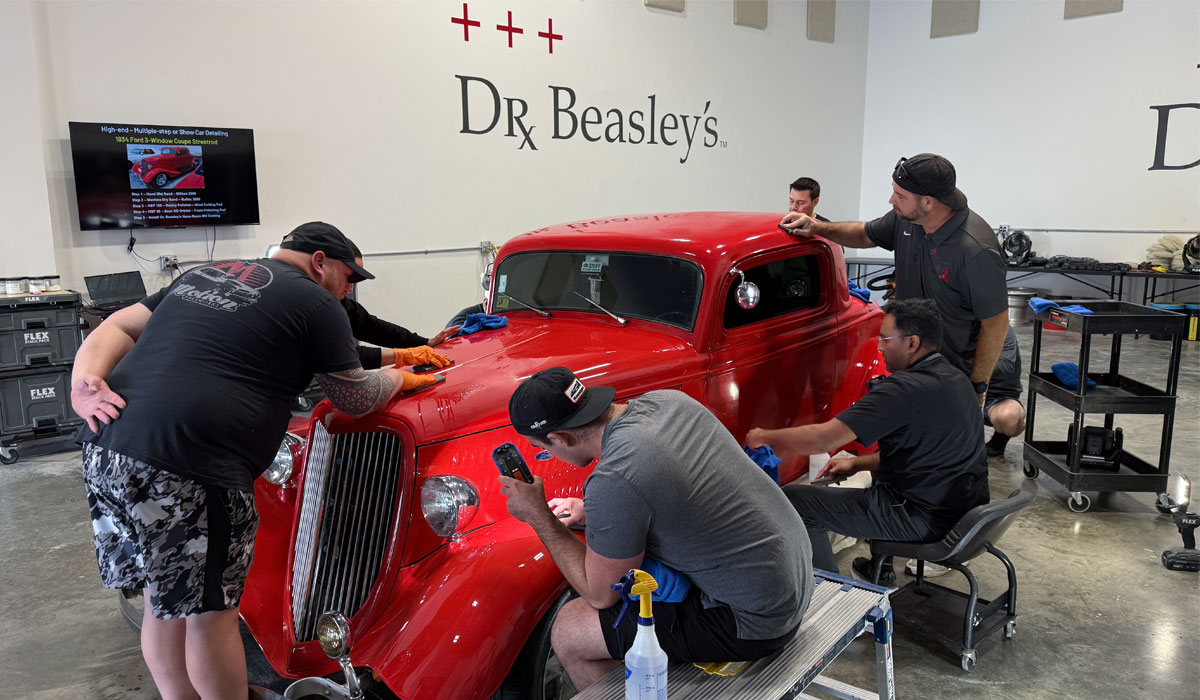
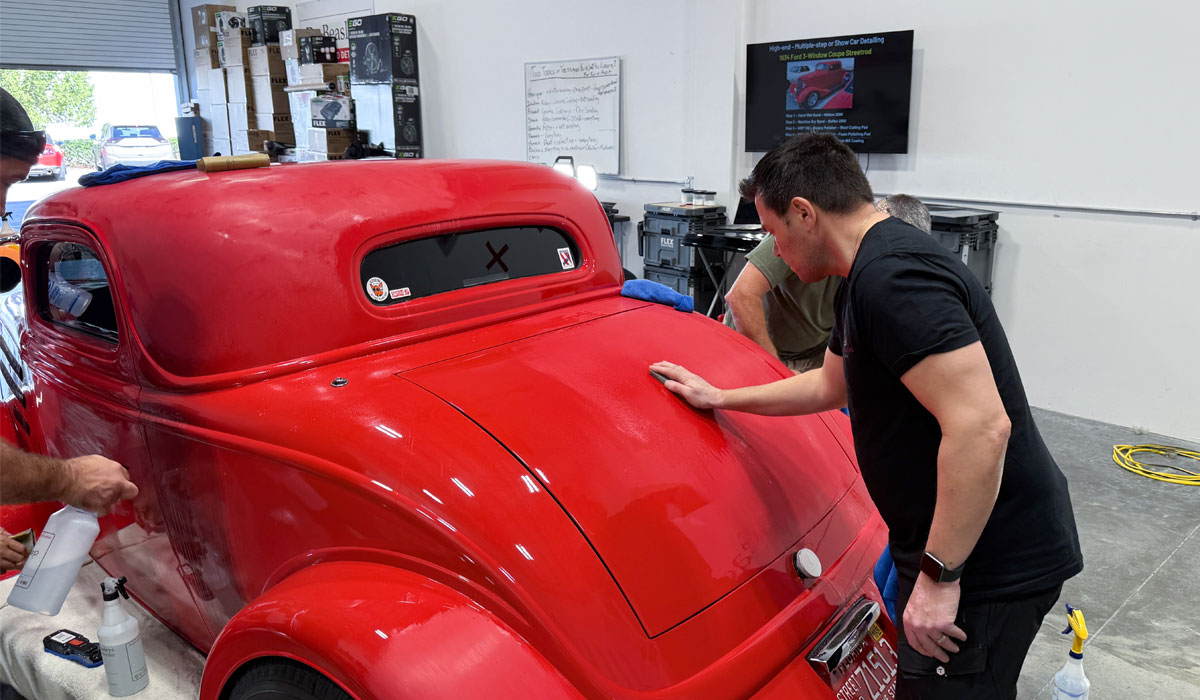
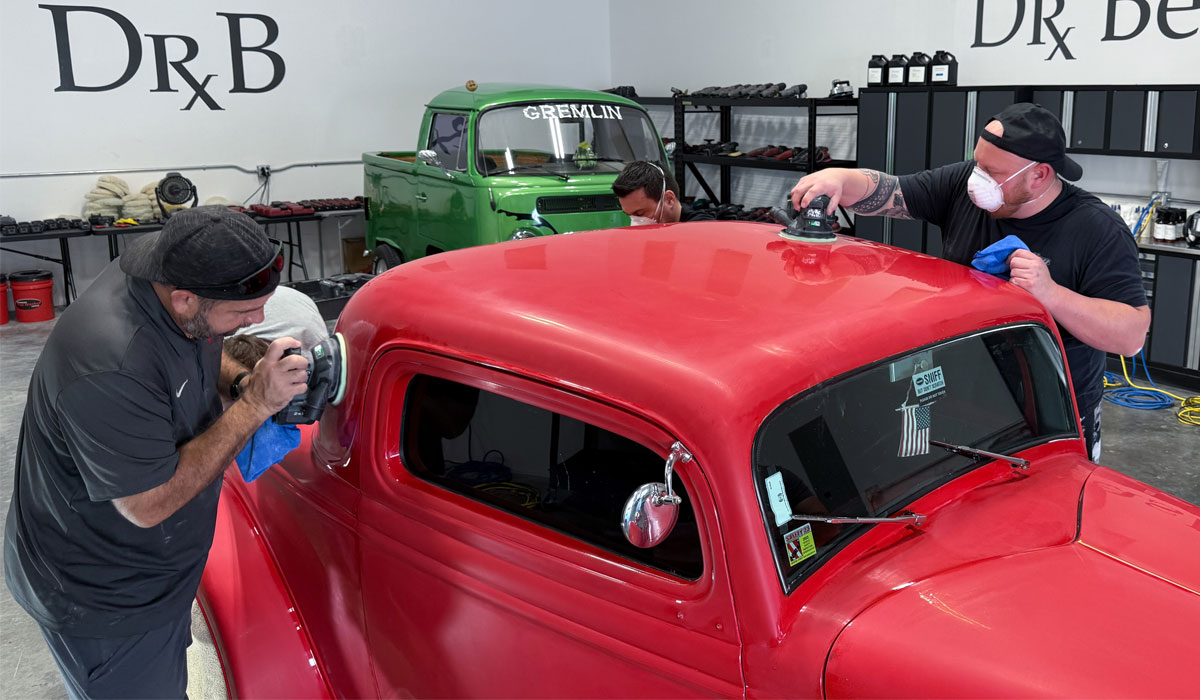
Limited PowerPoint Presentation
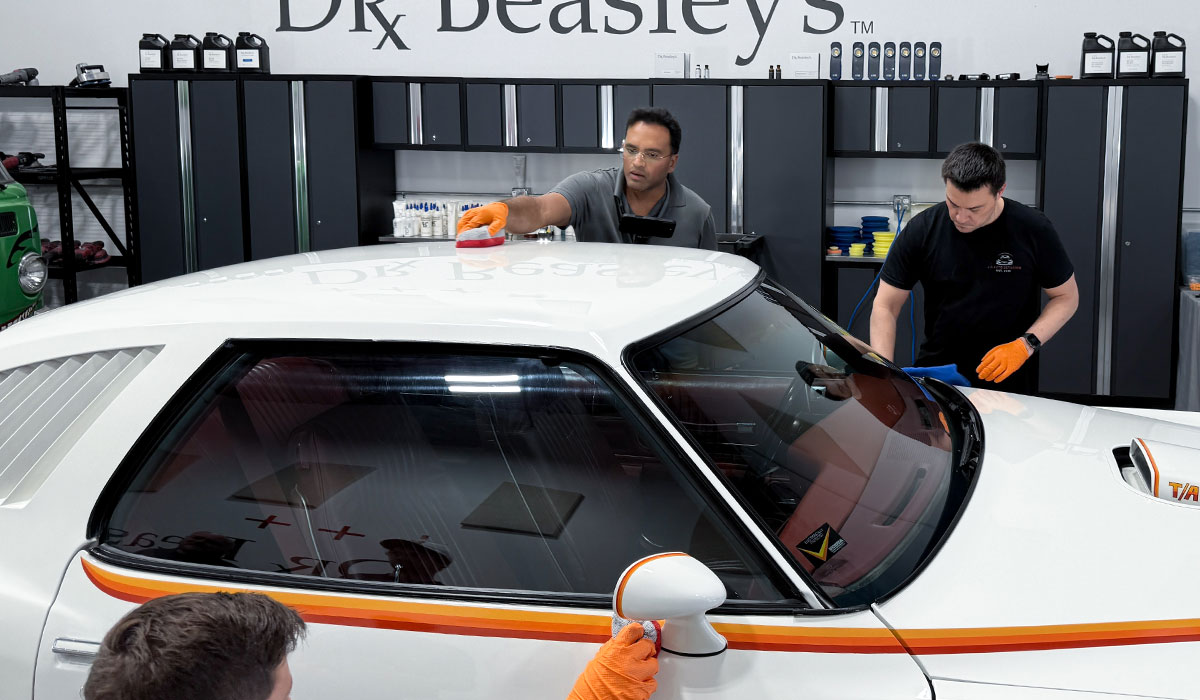
I don't use PowerPoints to teach in my class, I do that part. I do like to use a PowerPoint to simply share the process in a way my students can use to remember the cars, the process and the tools, pads and products used. Plus, I think it's cool and powerful that in some of the pictures, the car the students are working on is the same car in the PowerPoint. No other class ever does this but then most classes don't bring in this volume of cool cars for the class to train on.
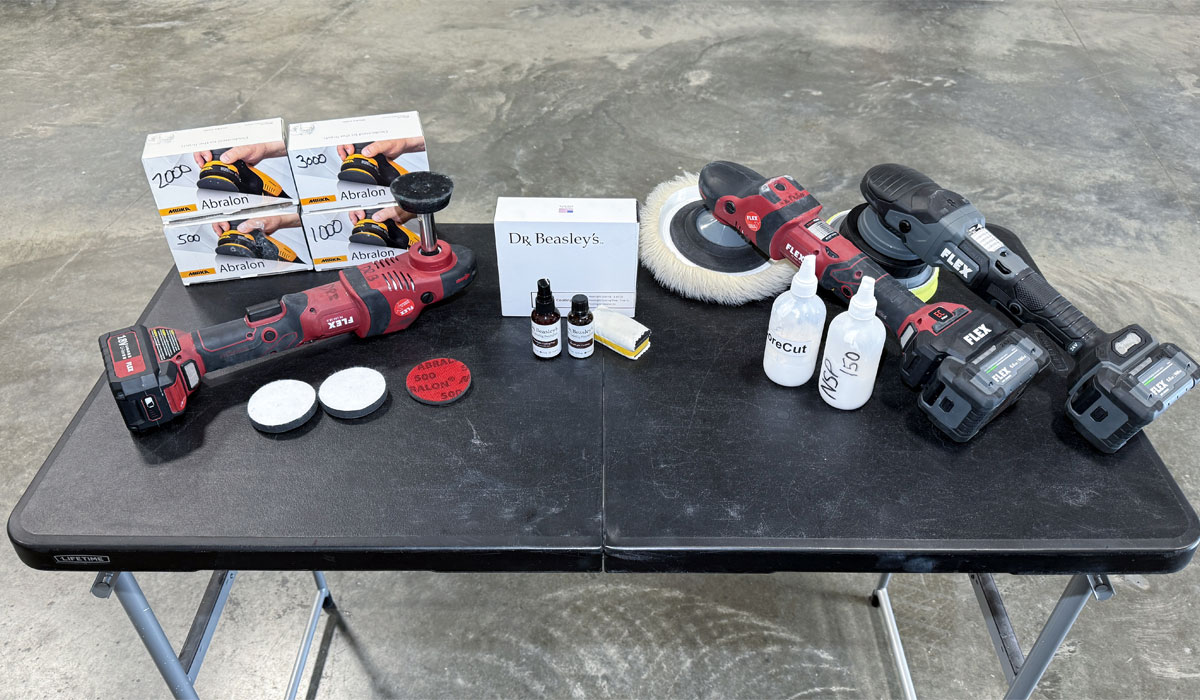
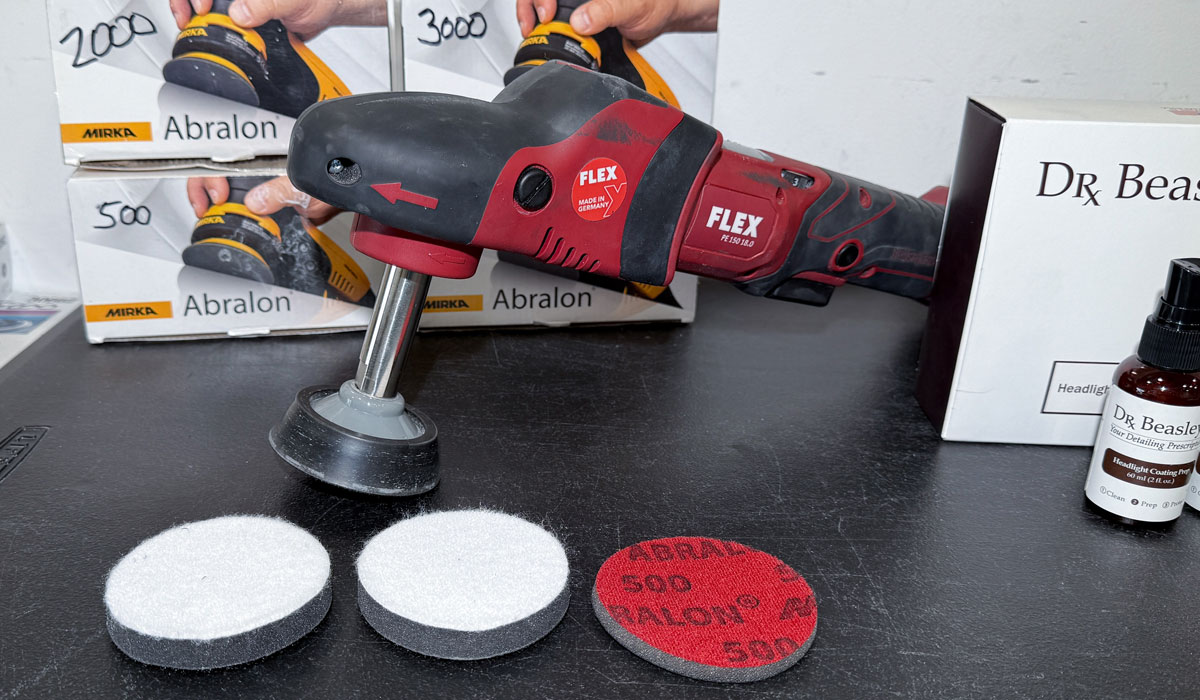
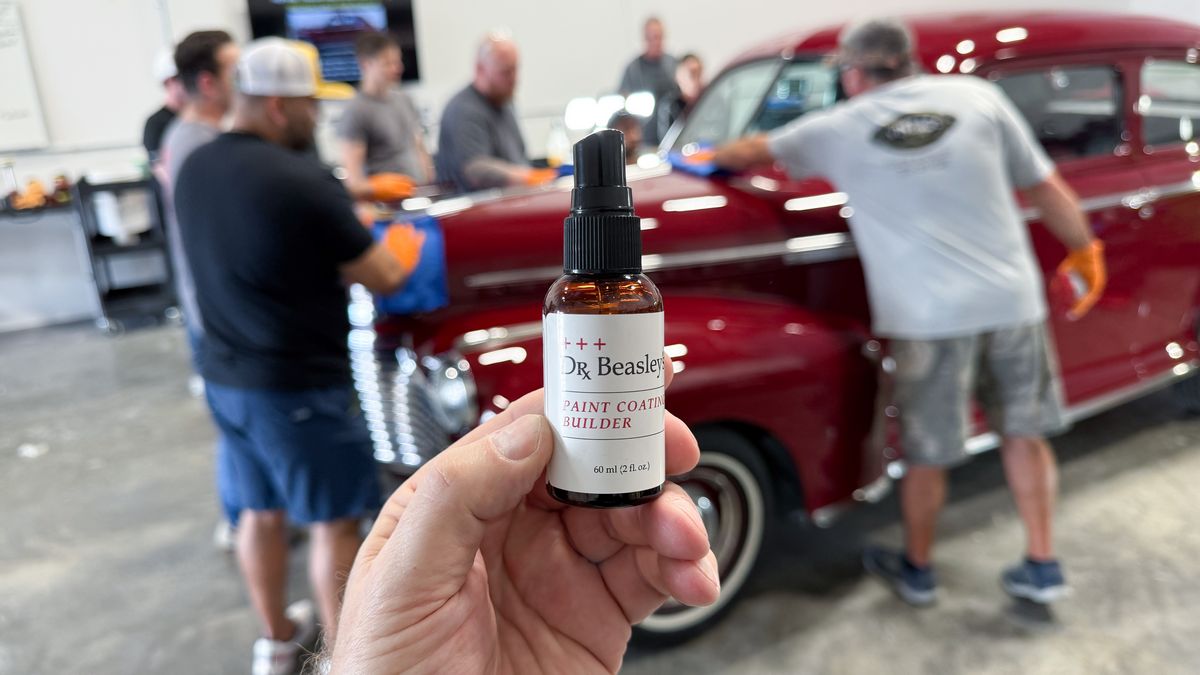
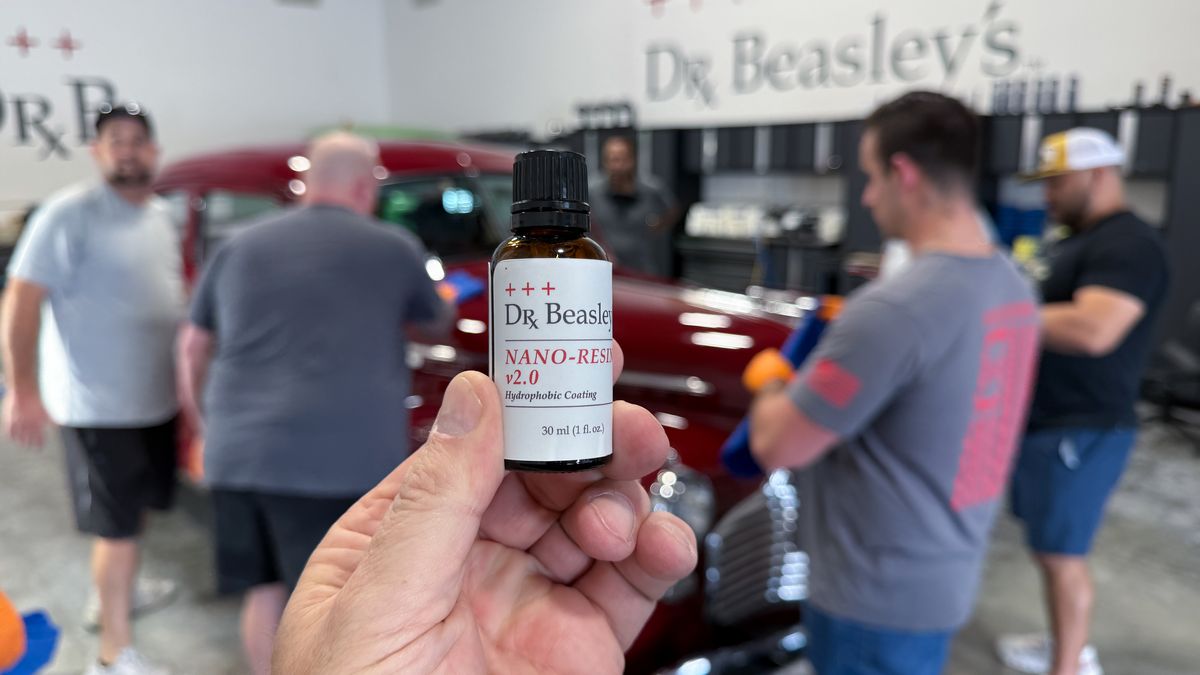
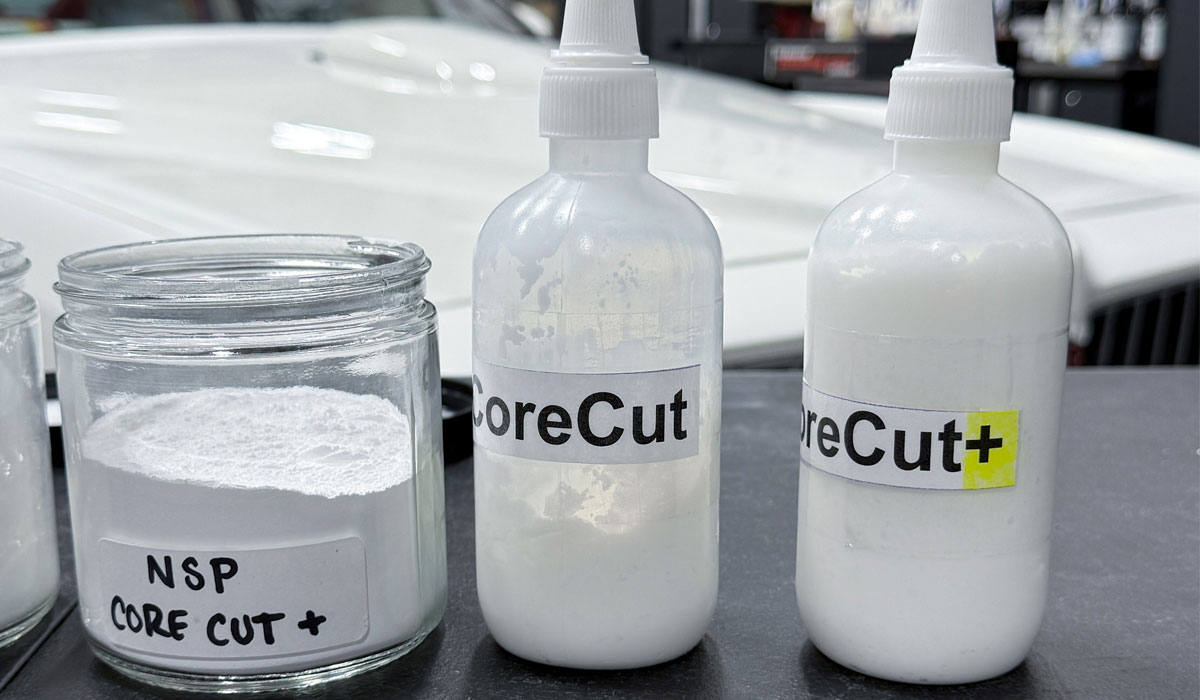
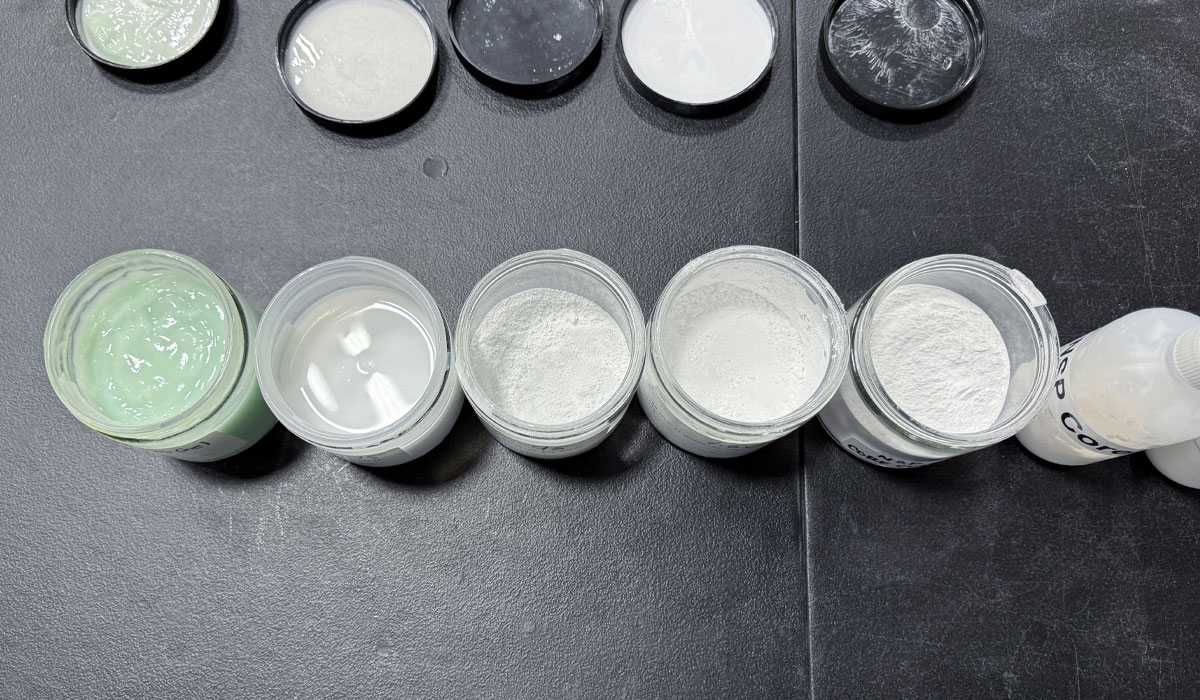
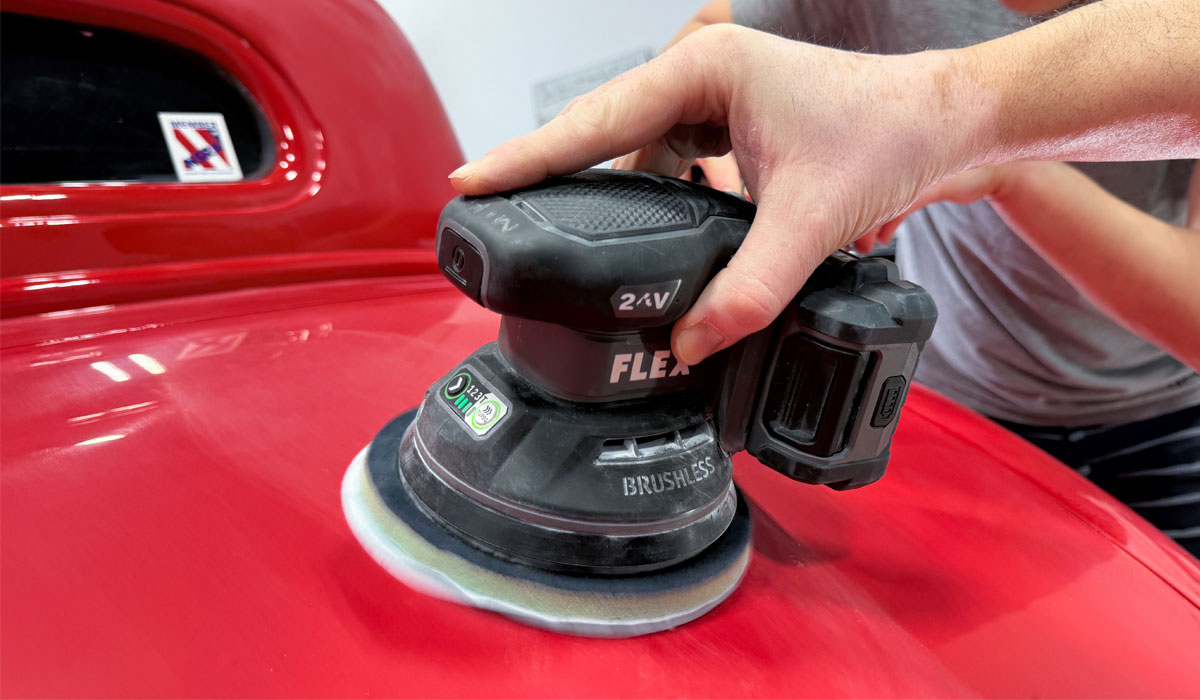
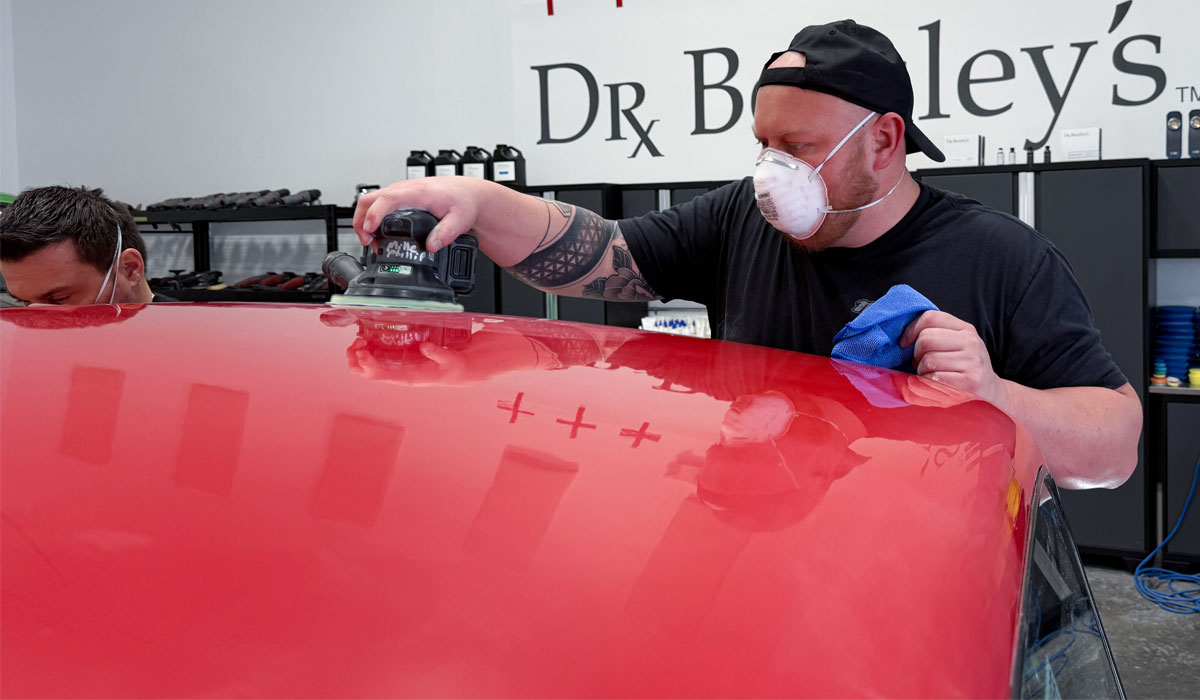
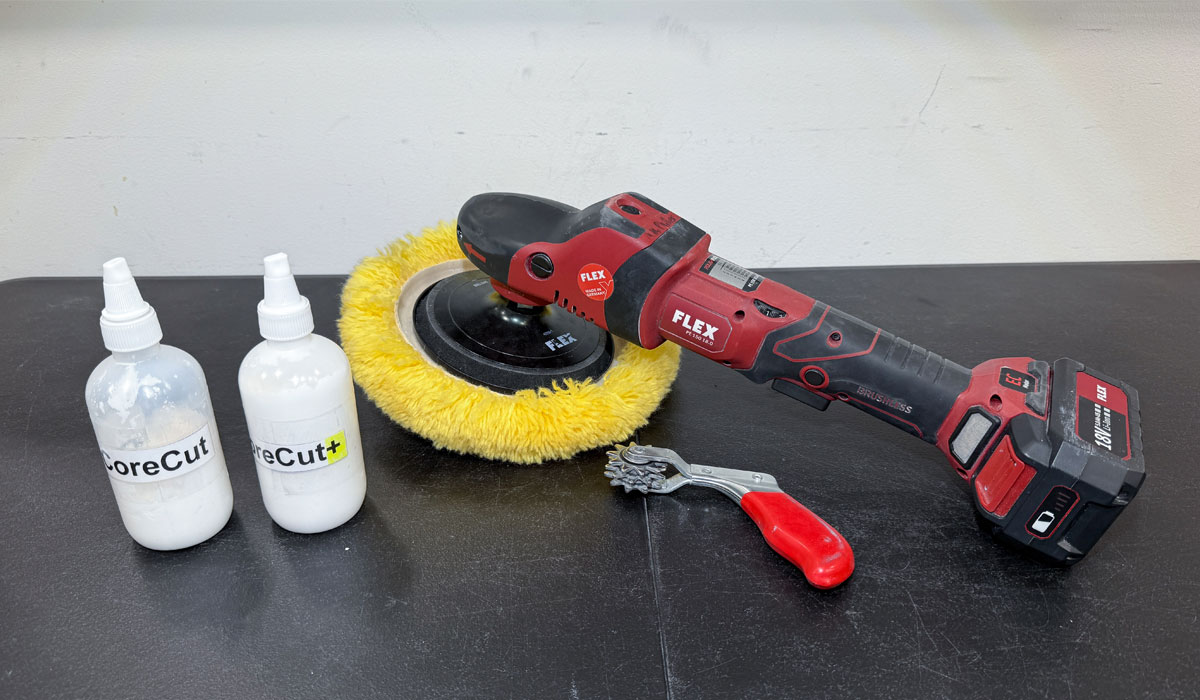
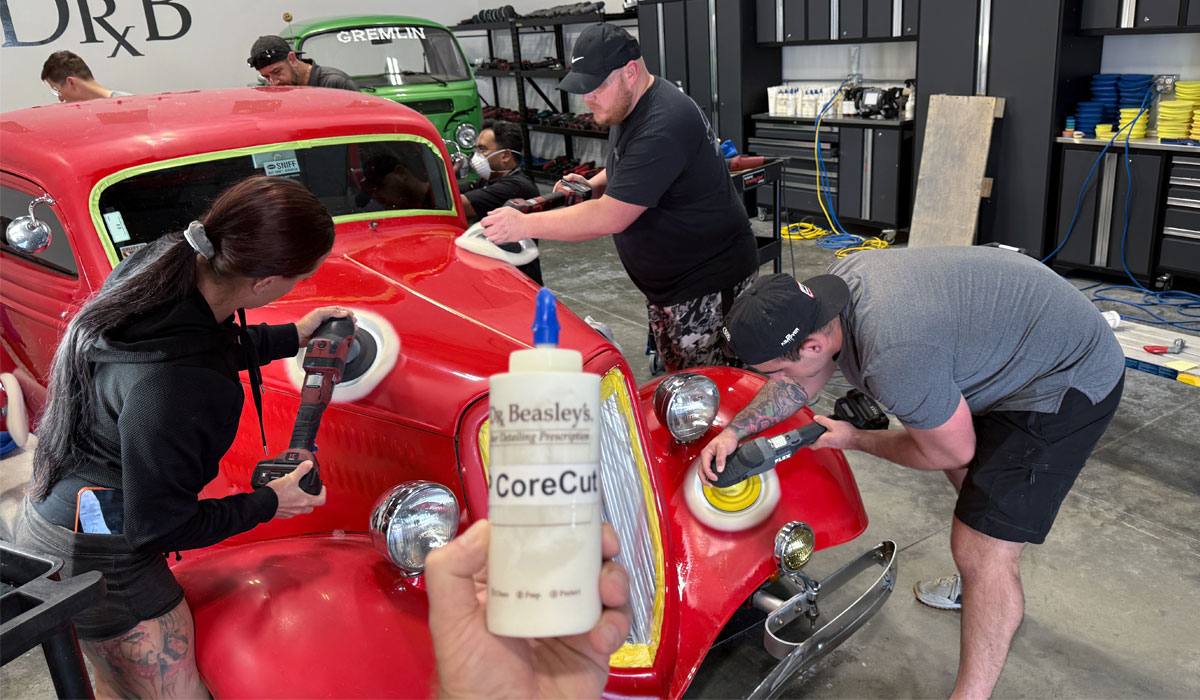
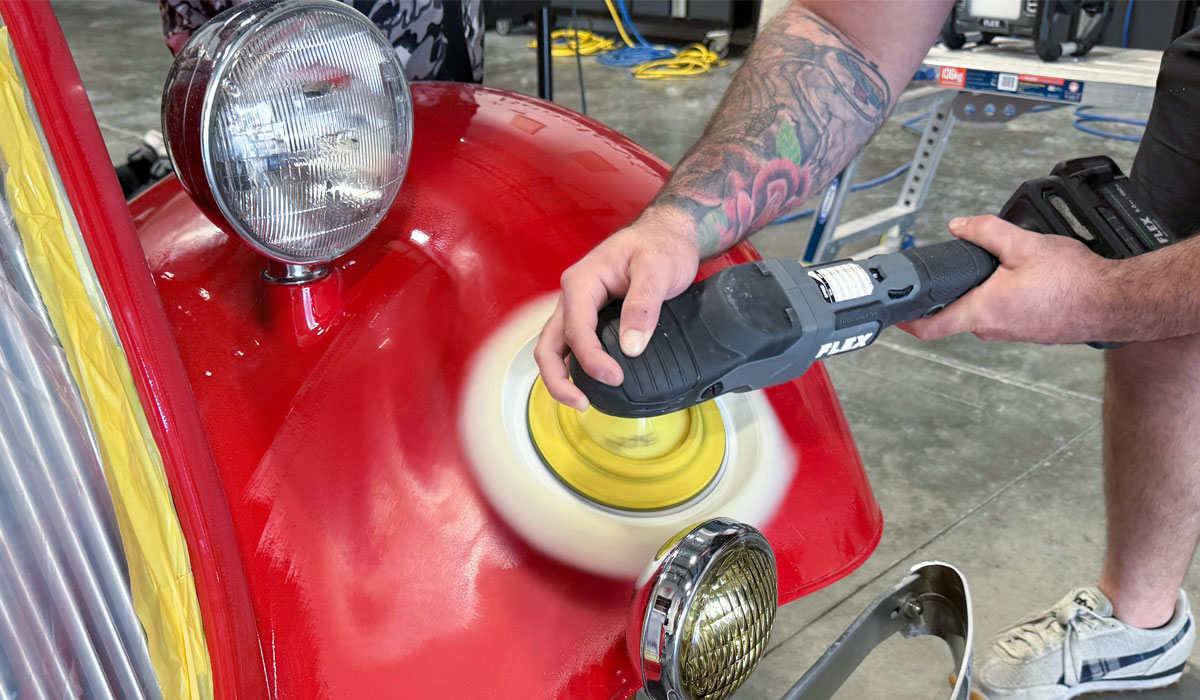
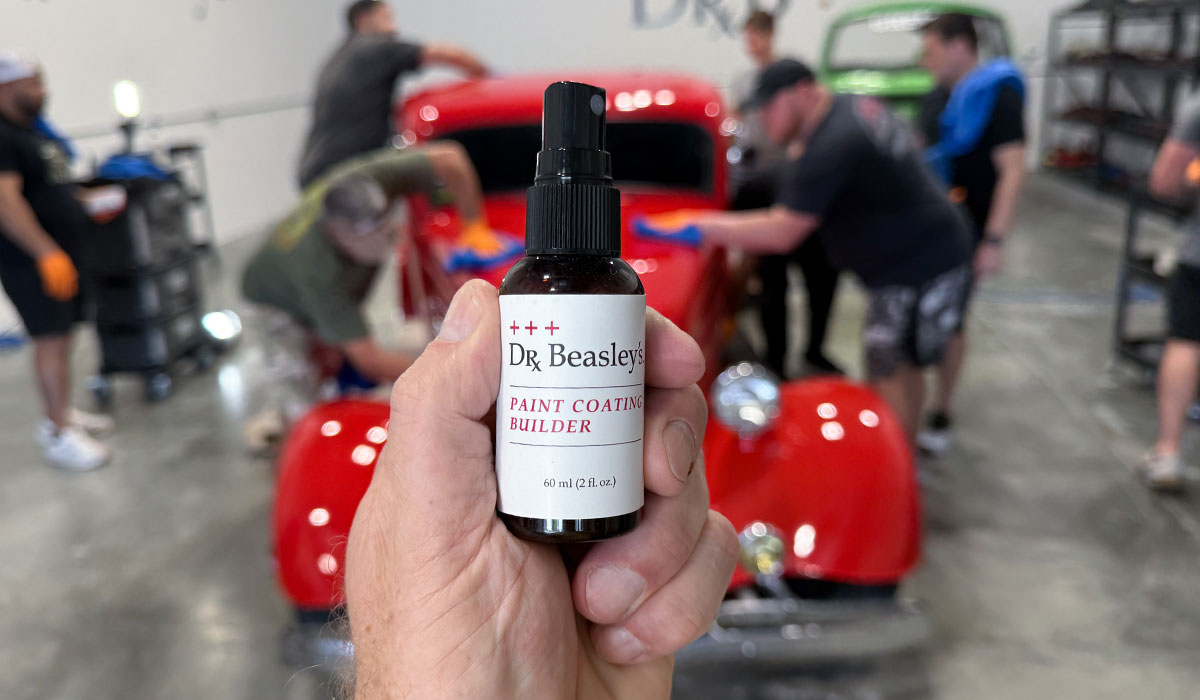
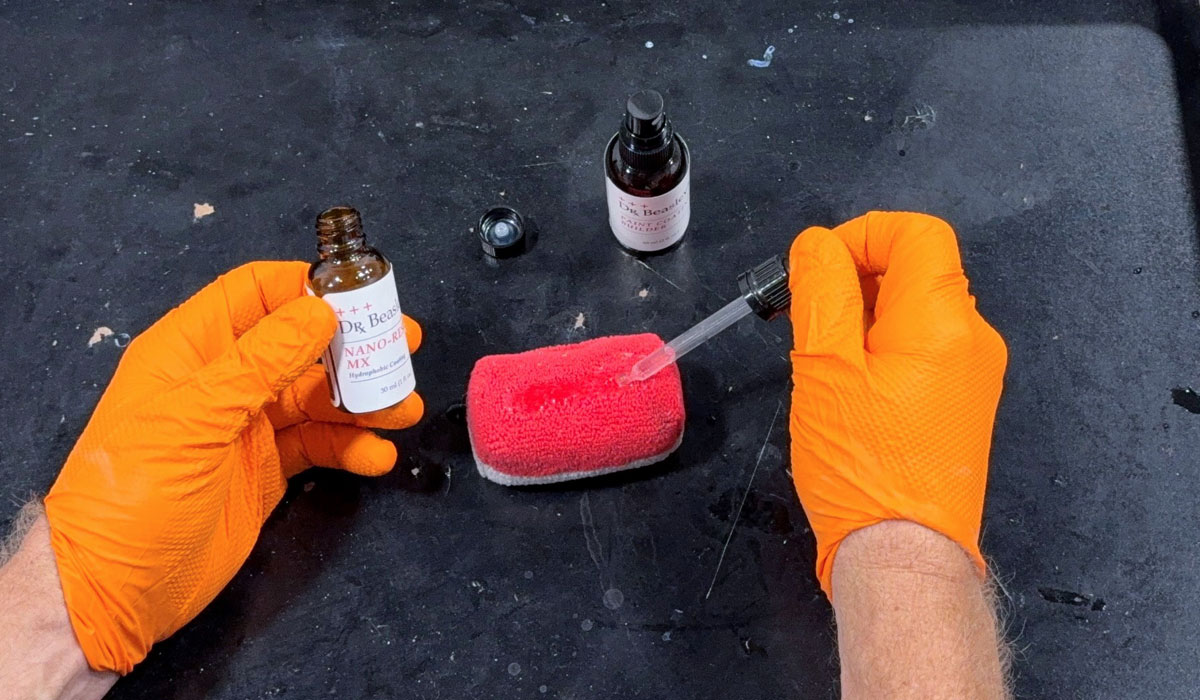
CoreCut and CoreCut+
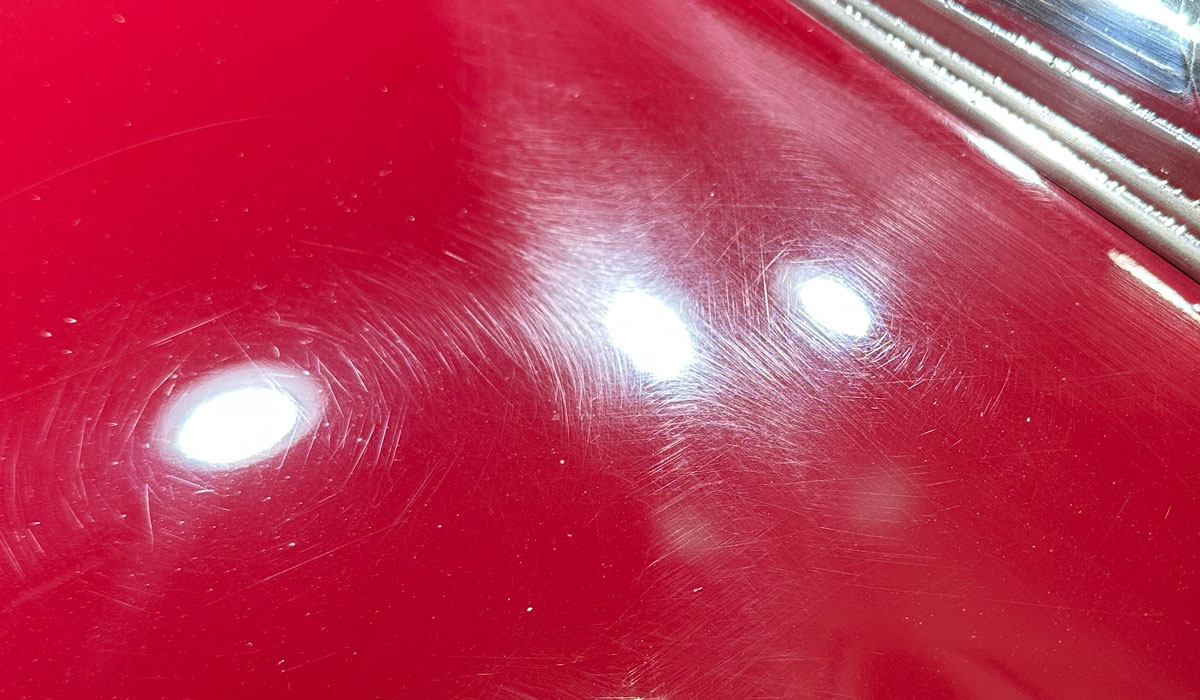
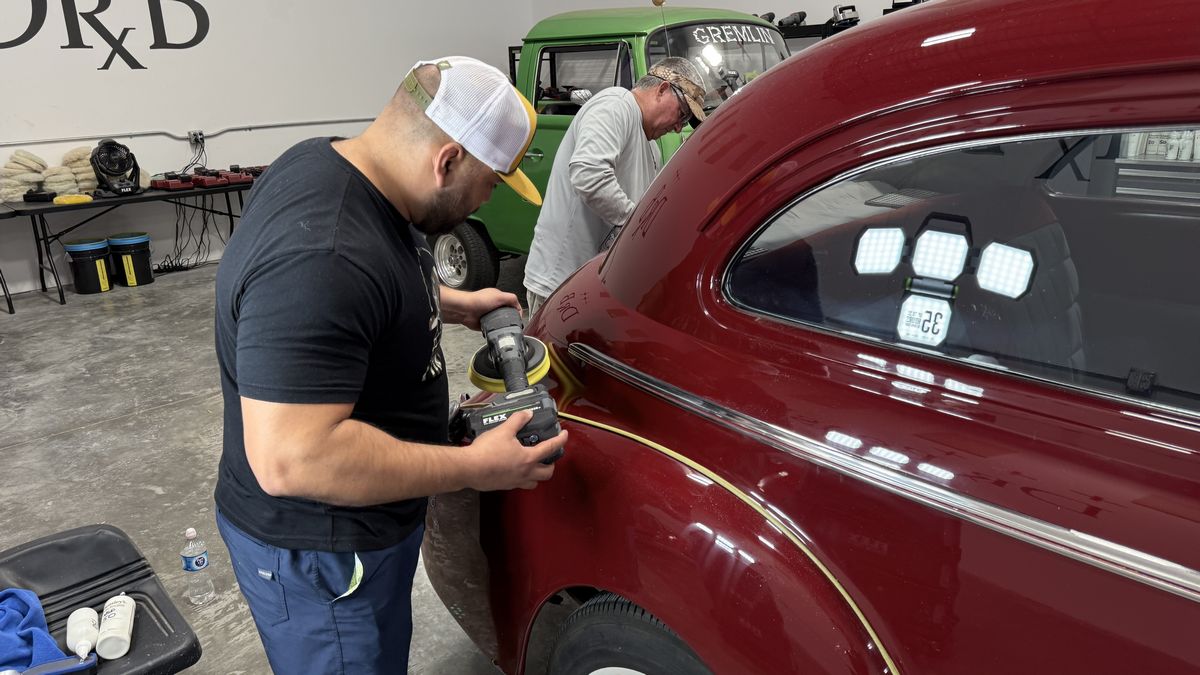
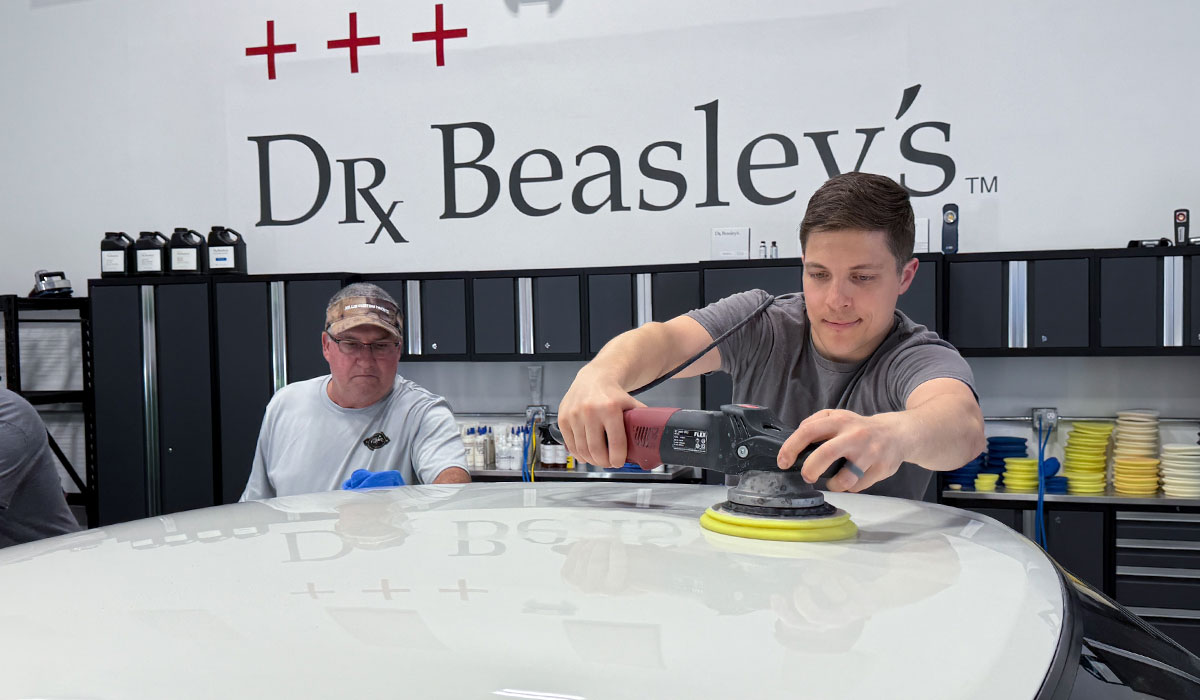
These are two brand new compounds Dr. Beasley's is launching in the spring of 2025. These use the same spherical abrasive technology except these cut incredibly fast. This was good timing as our Test Spot revealed this car and incredibly HARD paint. So, in order to remove the holograms from the other guy, using the new CoreCut and CoreCut+ enabled us to easily remove the holograms as well as all the other normal paint defects like swirls, scratches, water spots and oxidation.
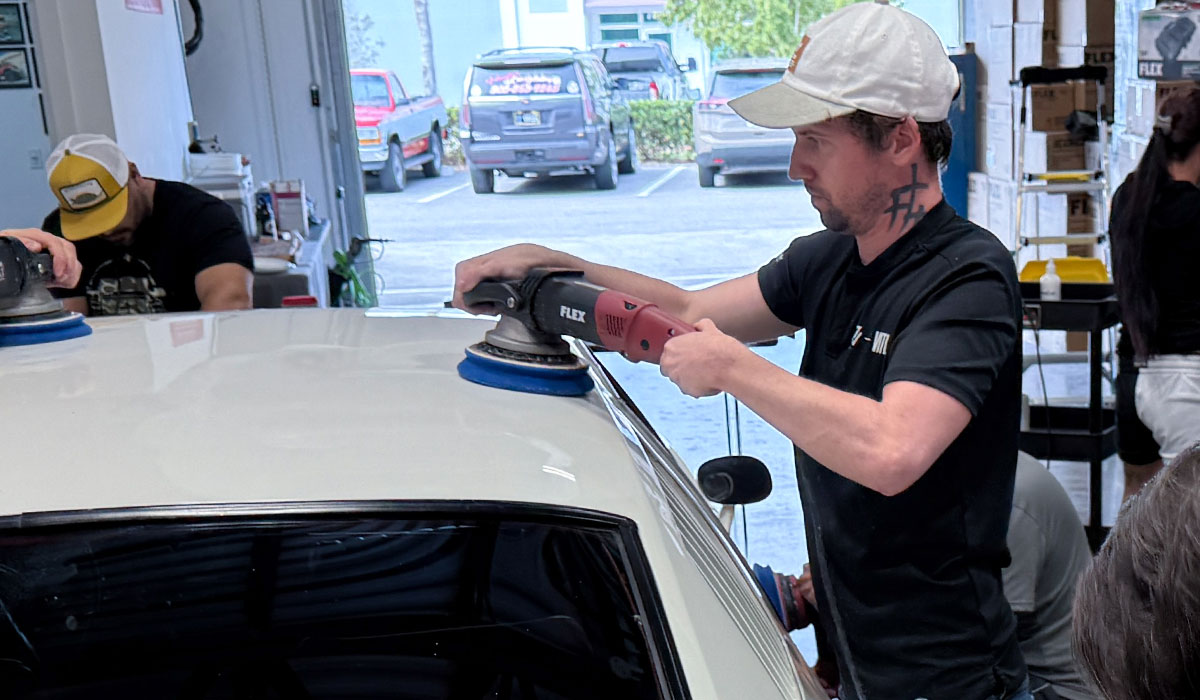
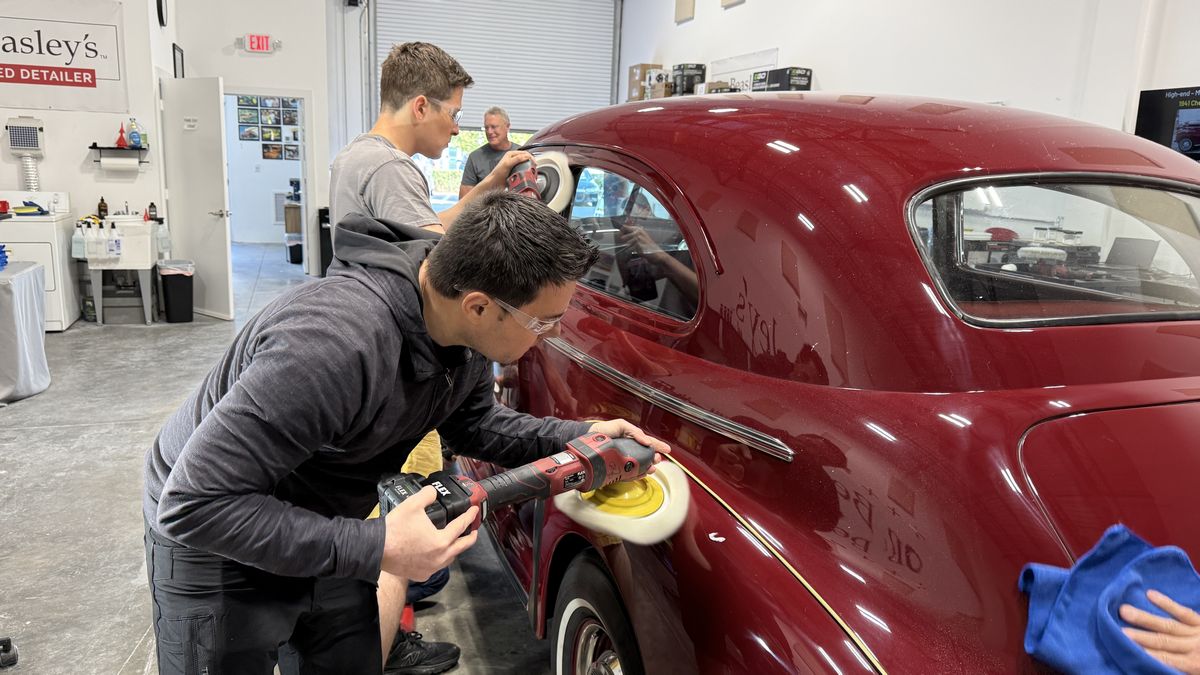
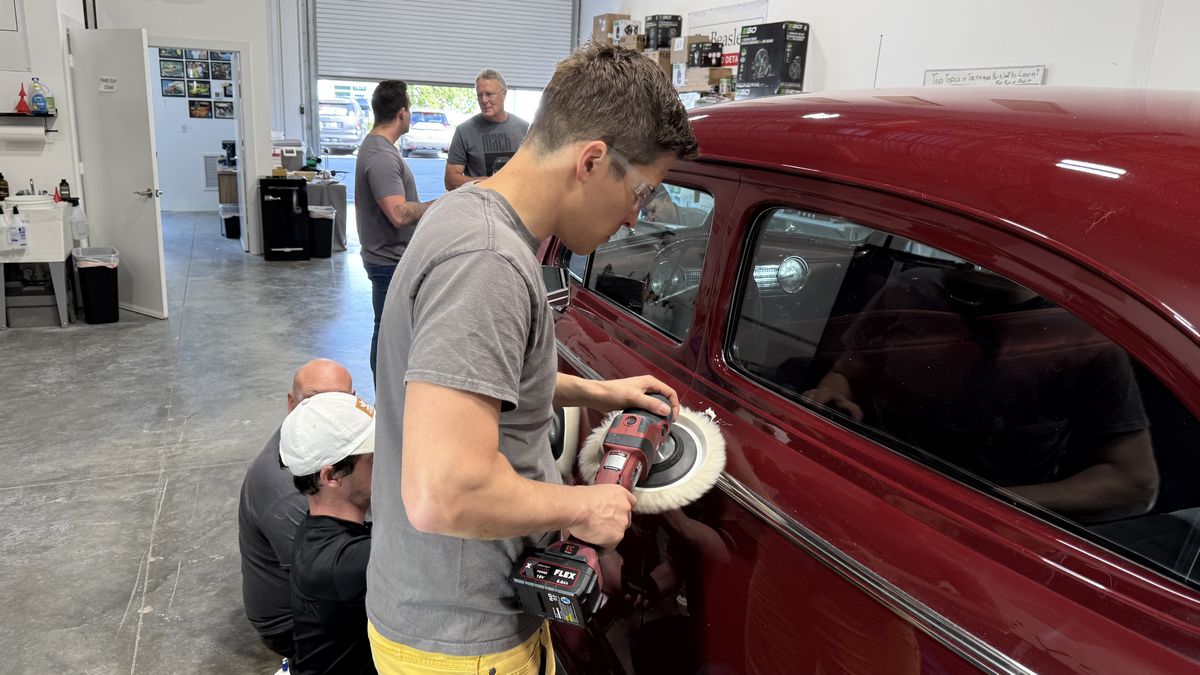
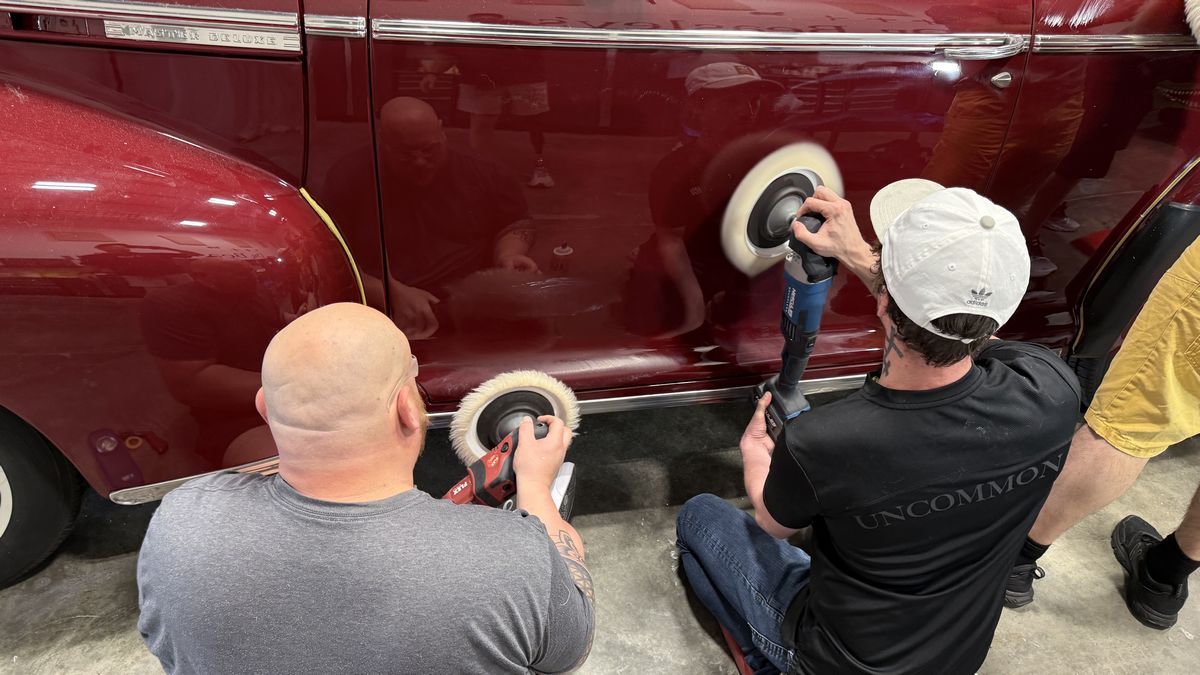
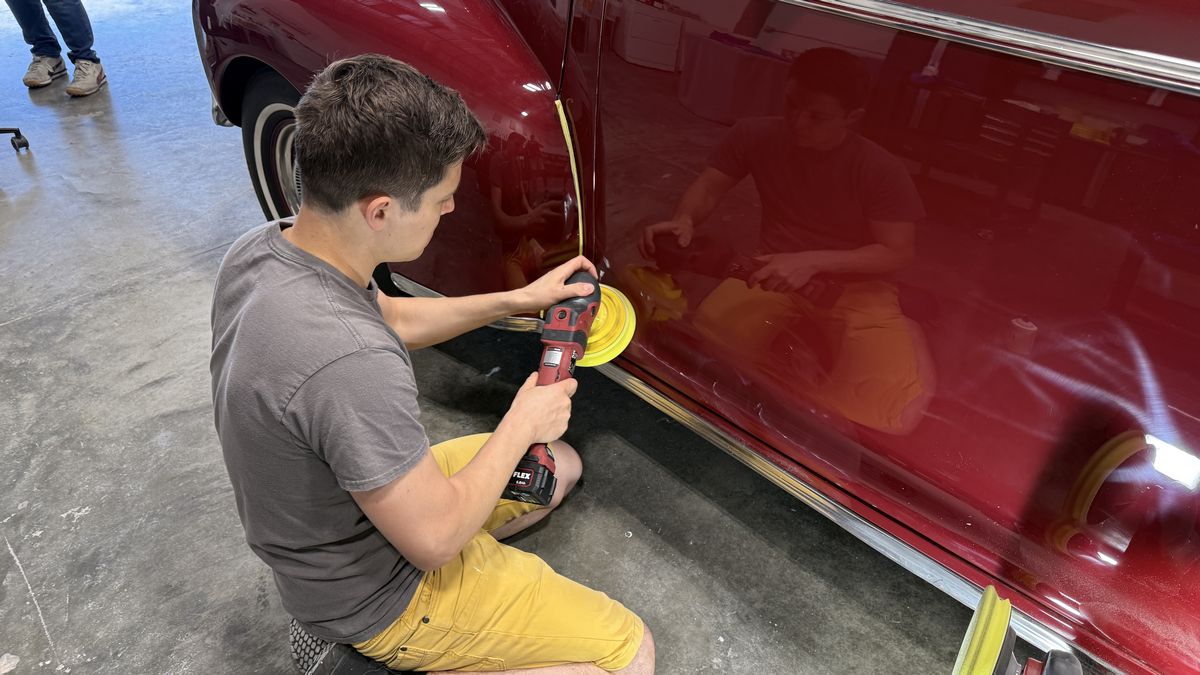
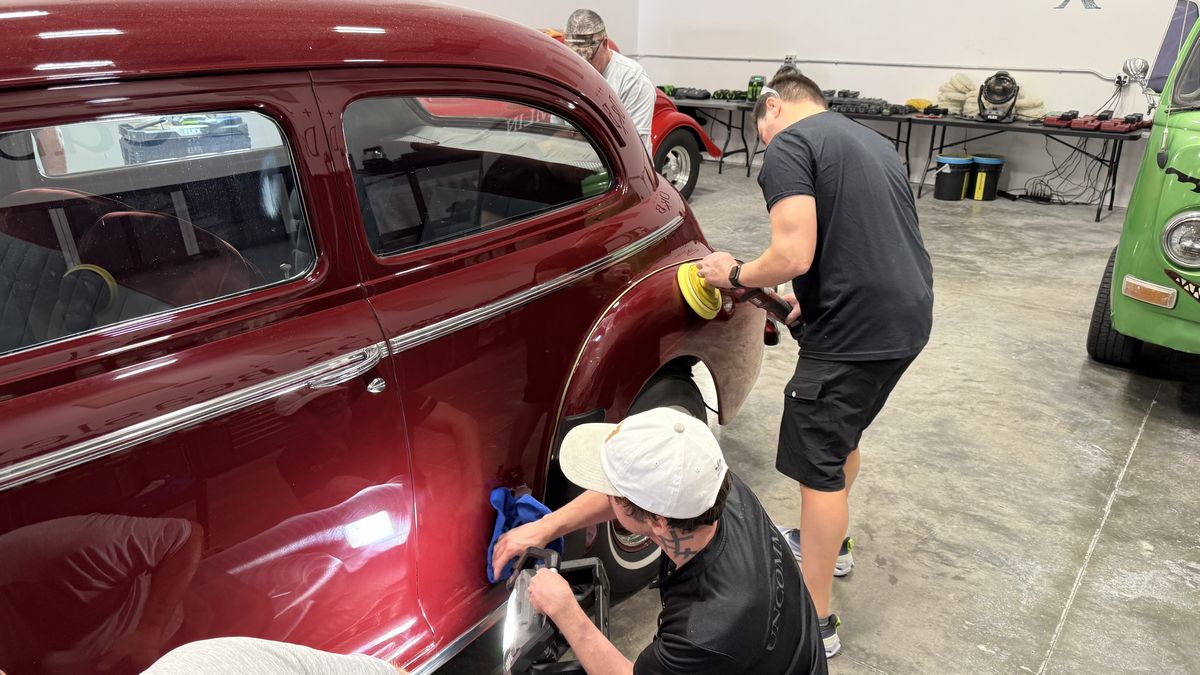
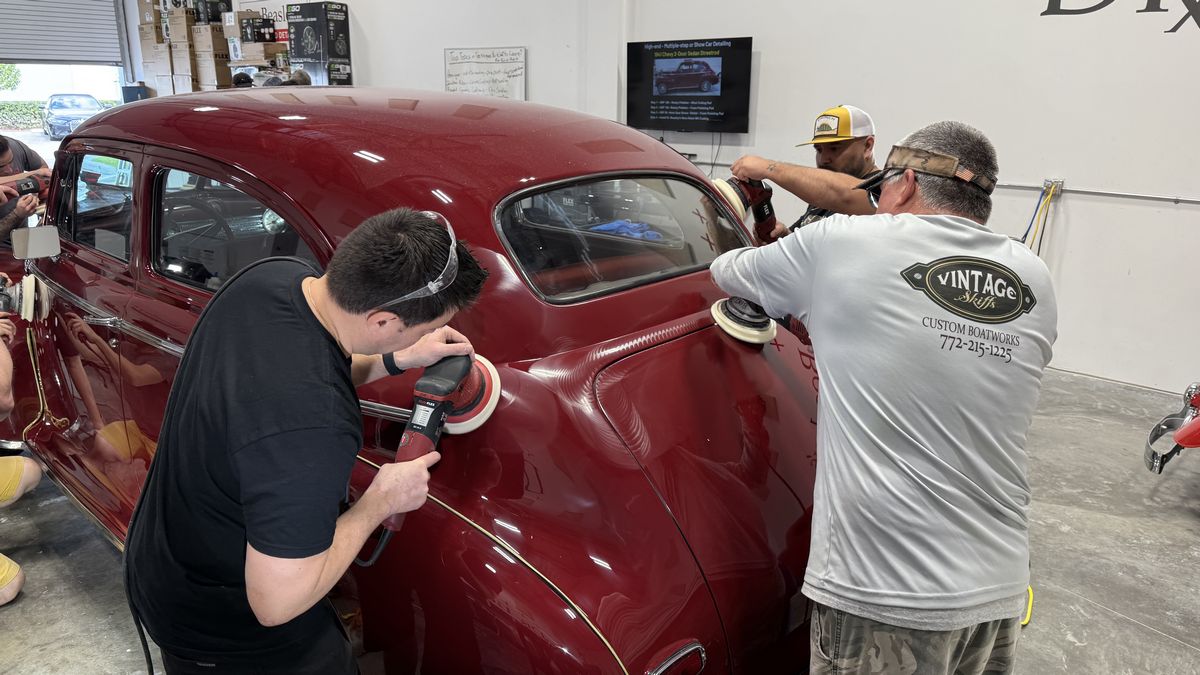
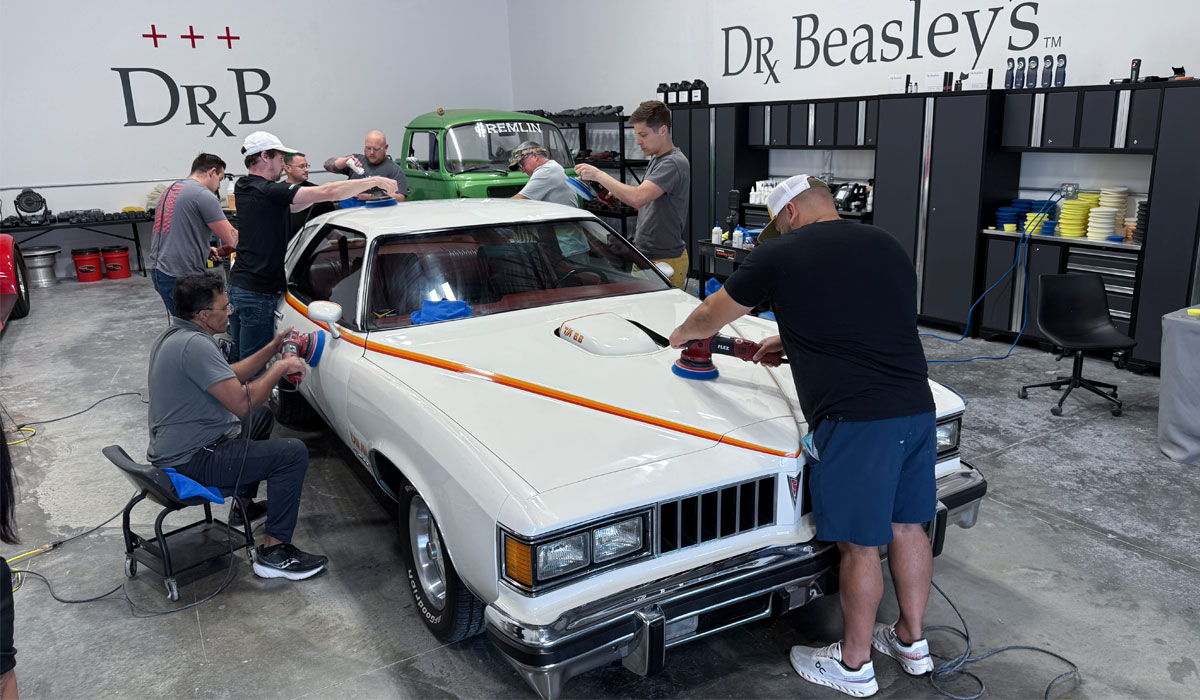
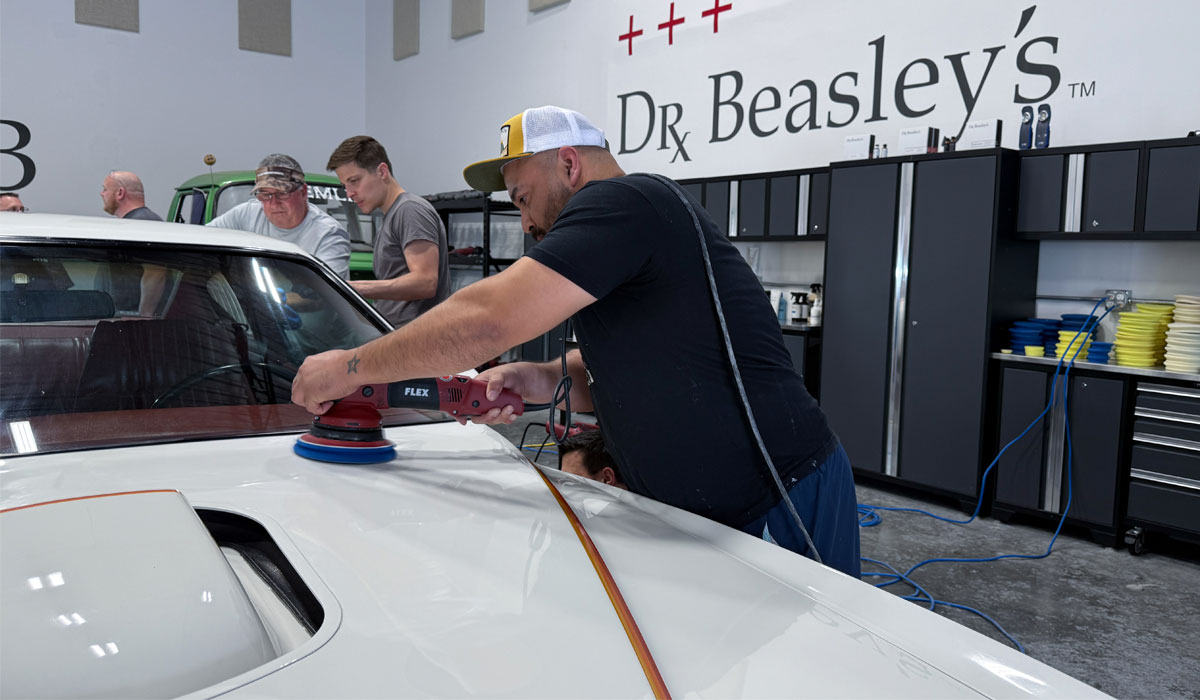
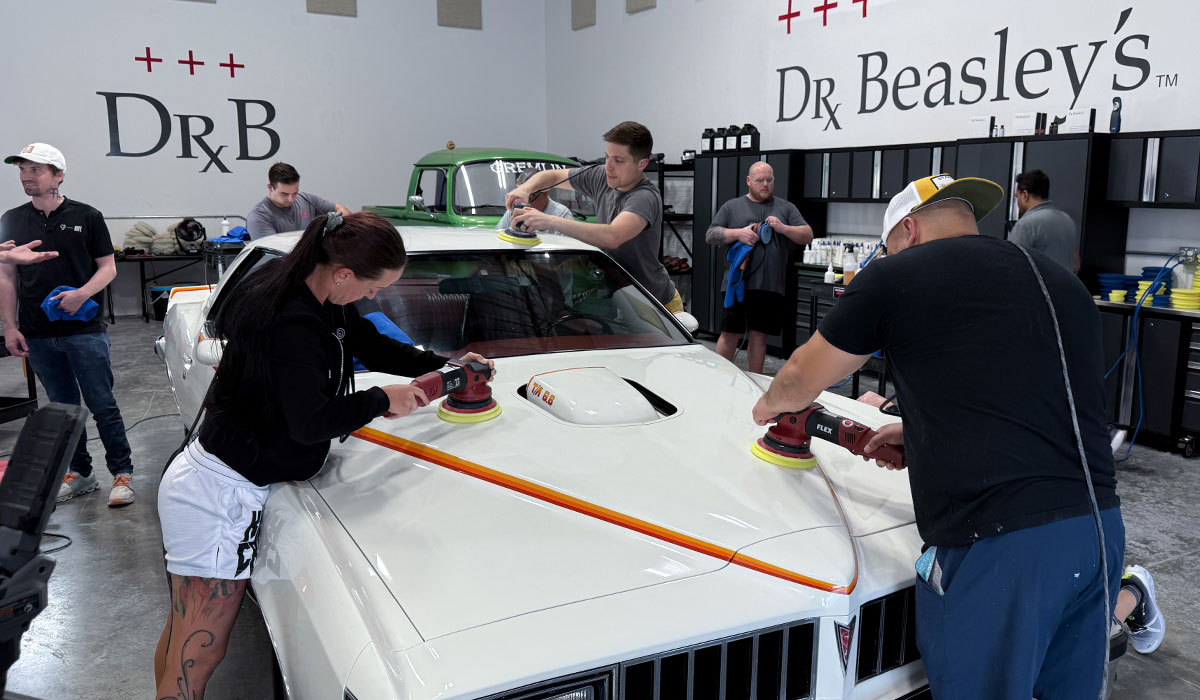
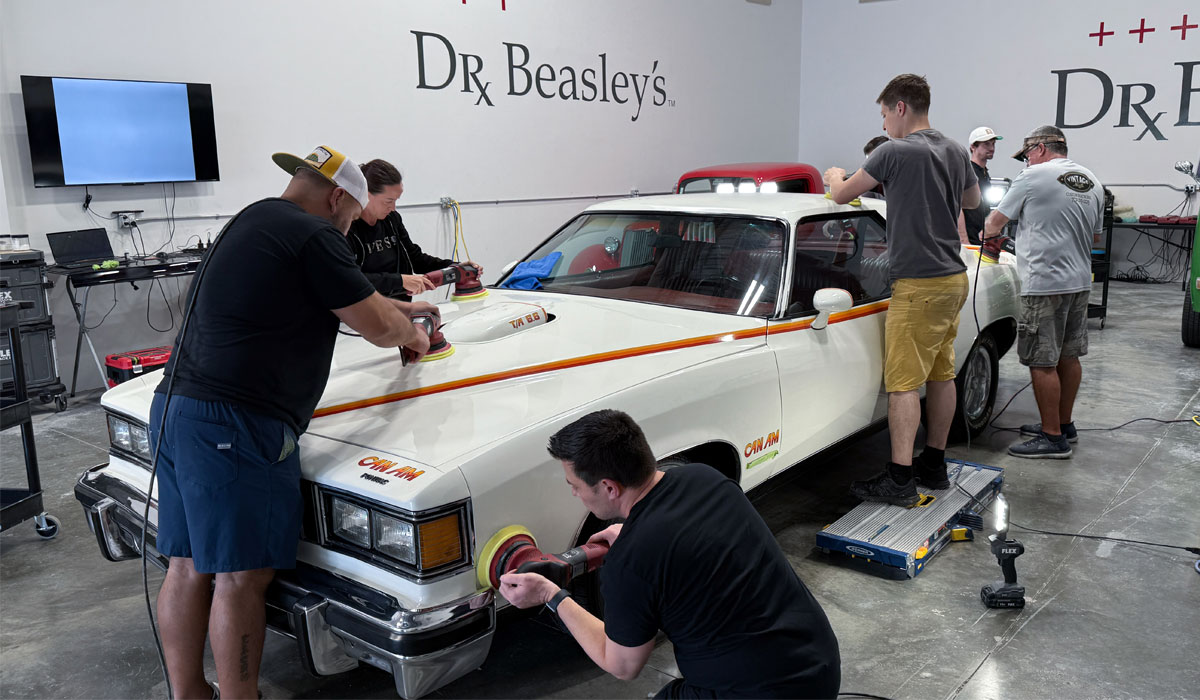
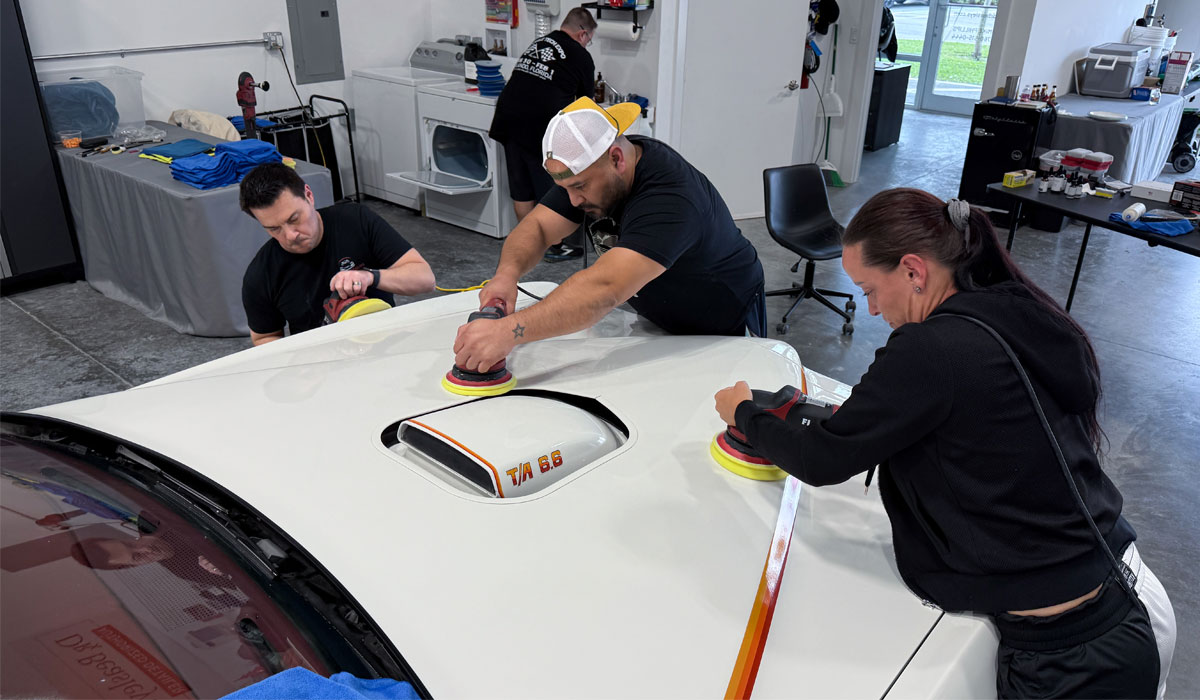
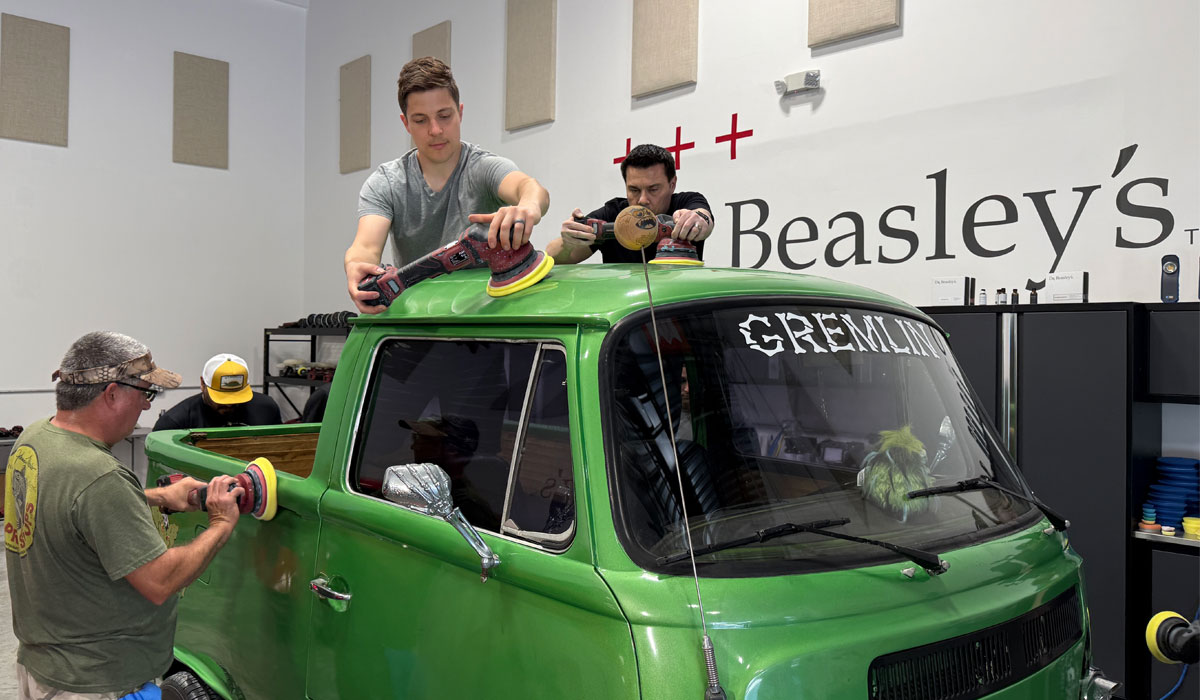
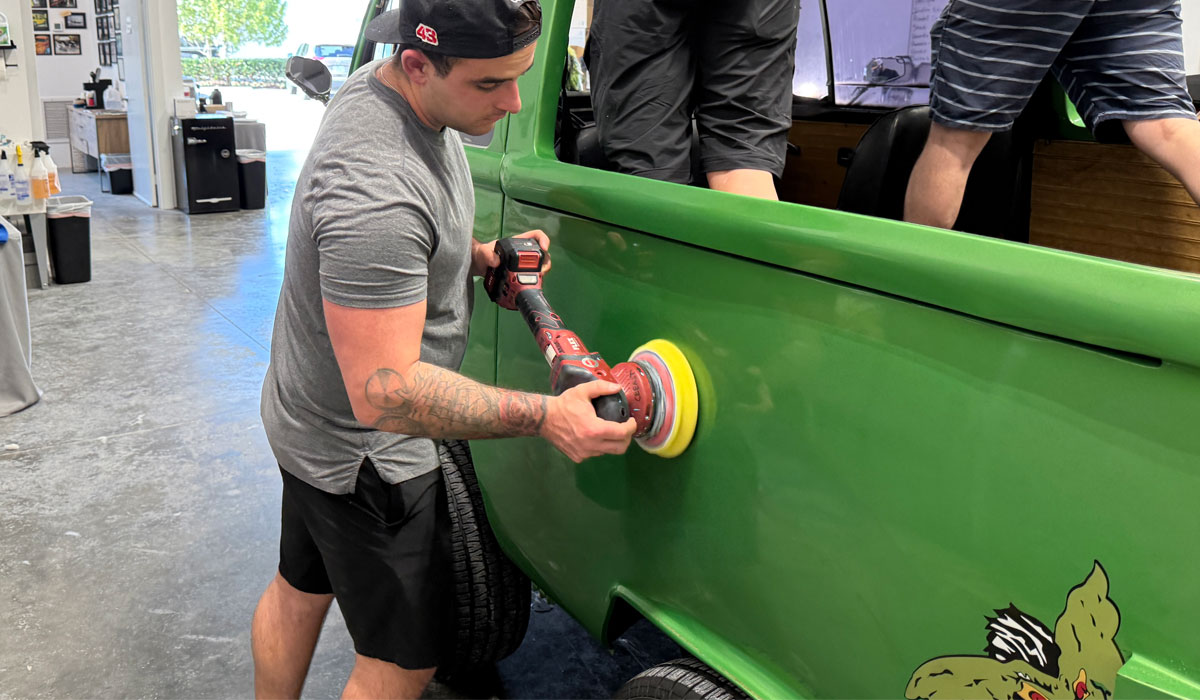
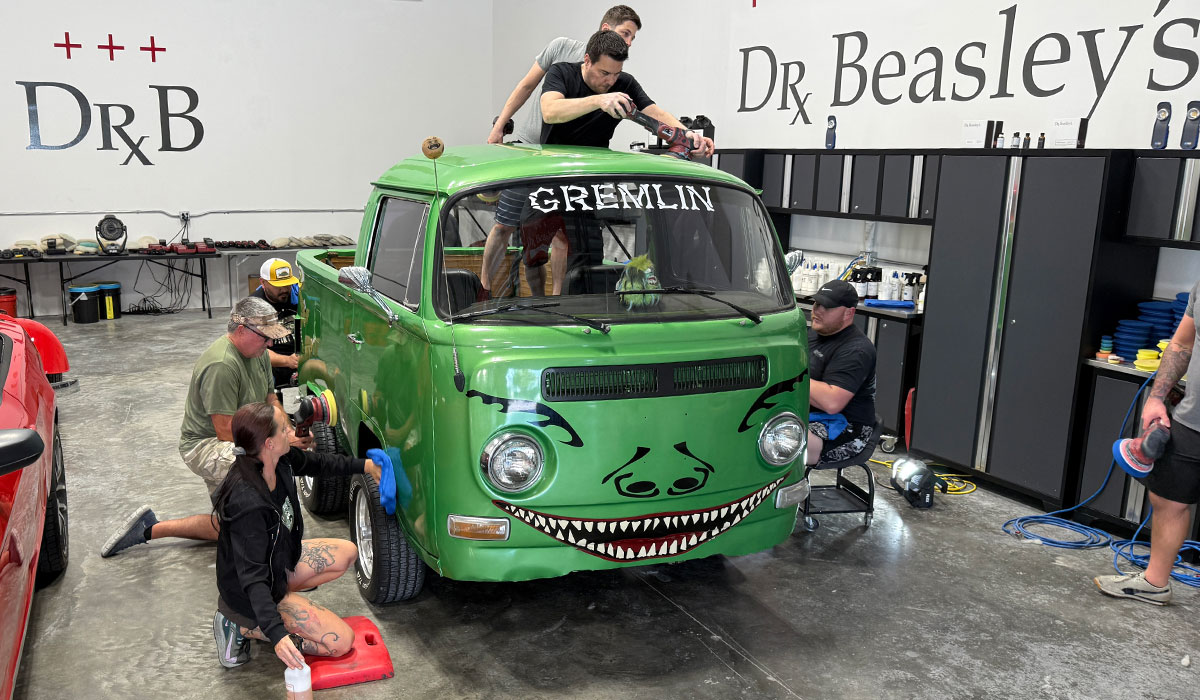
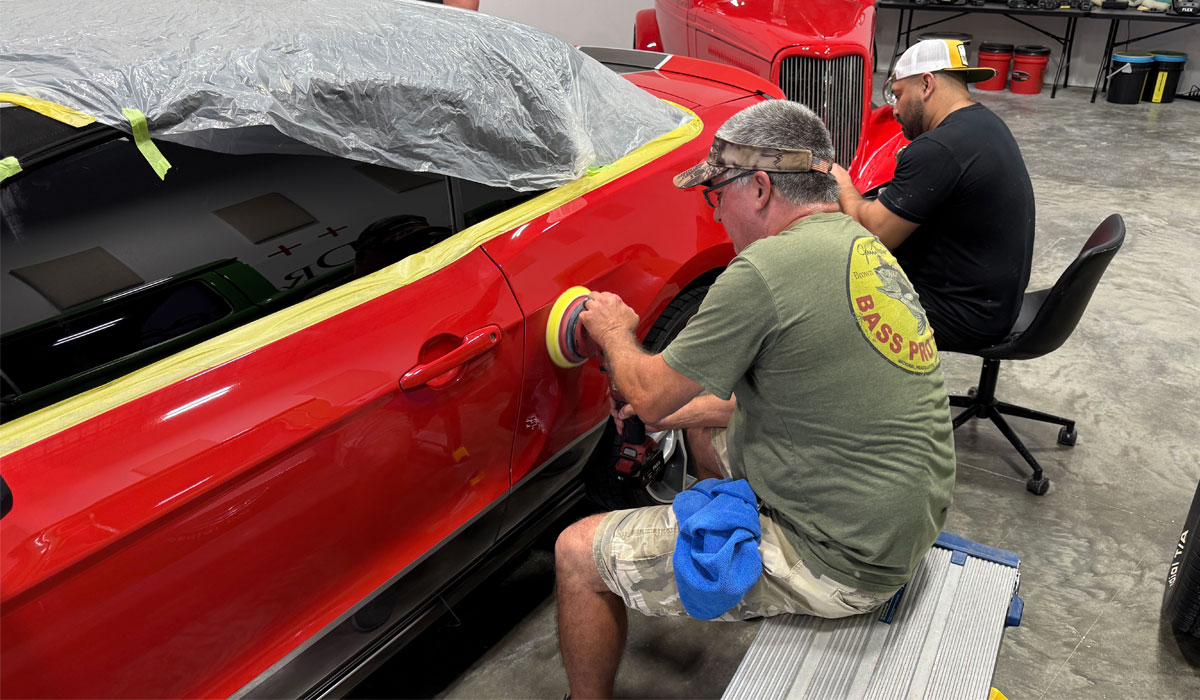
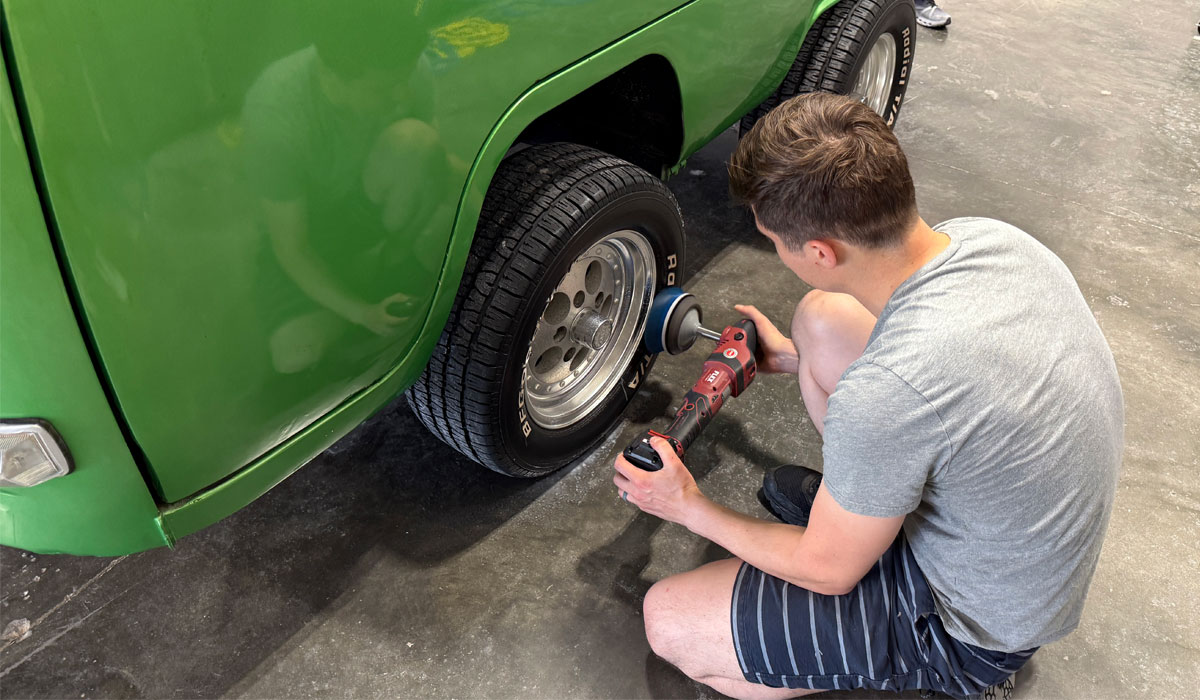
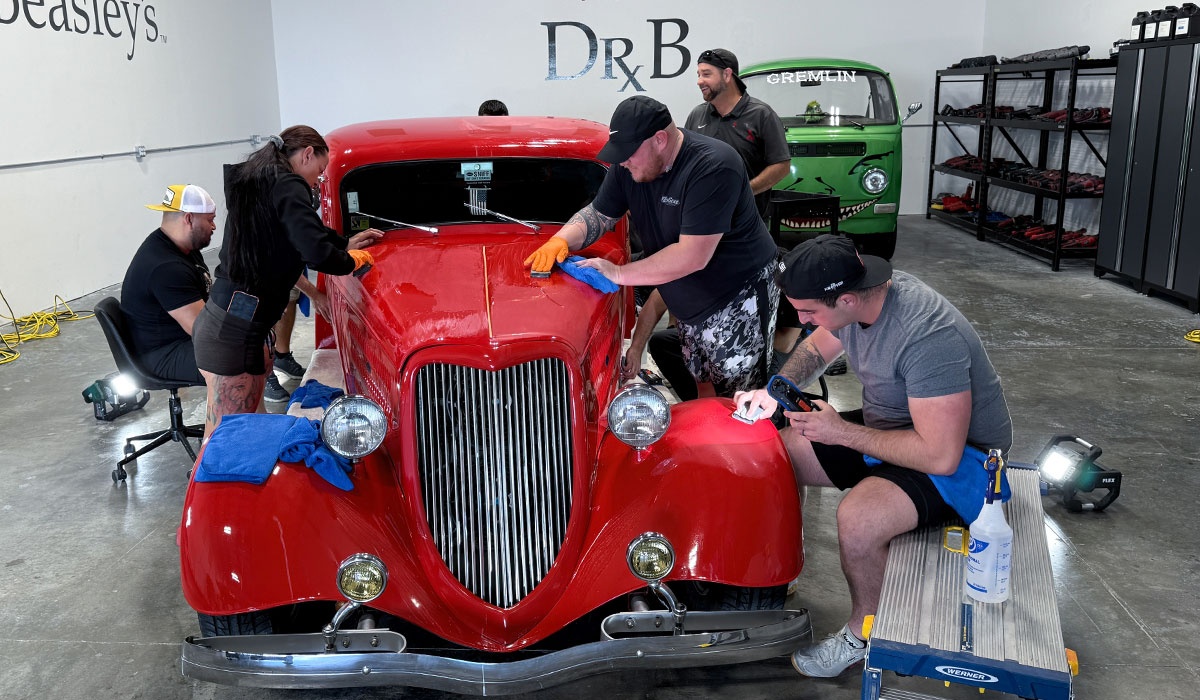
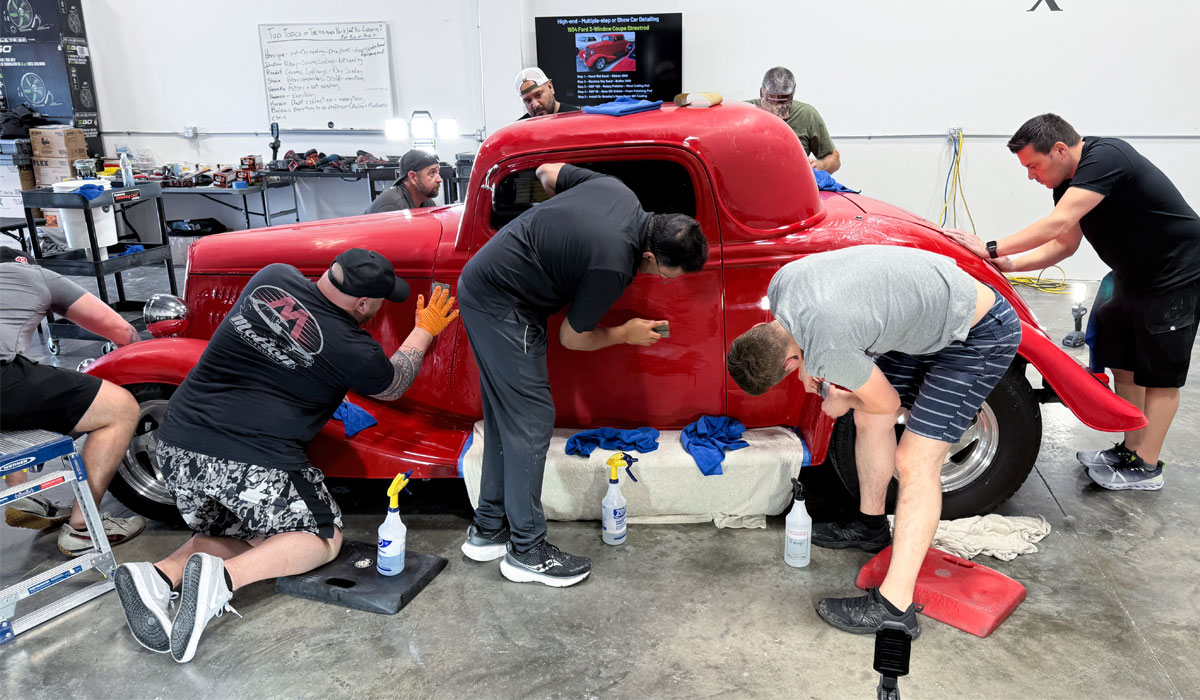
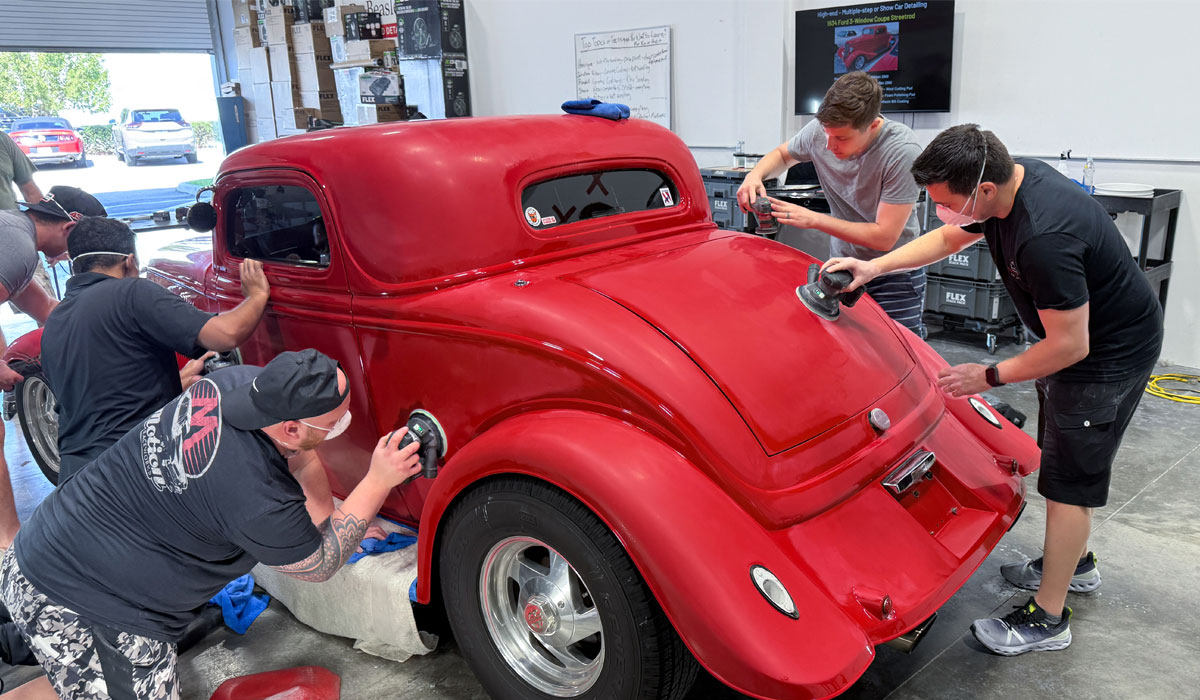
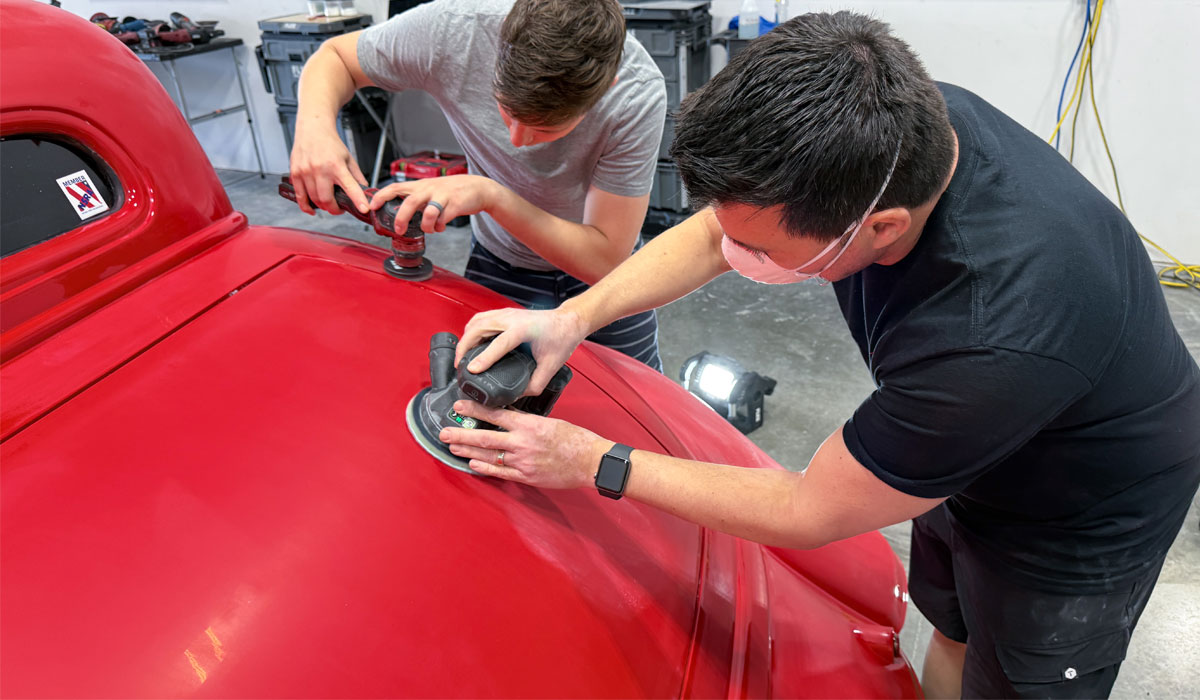
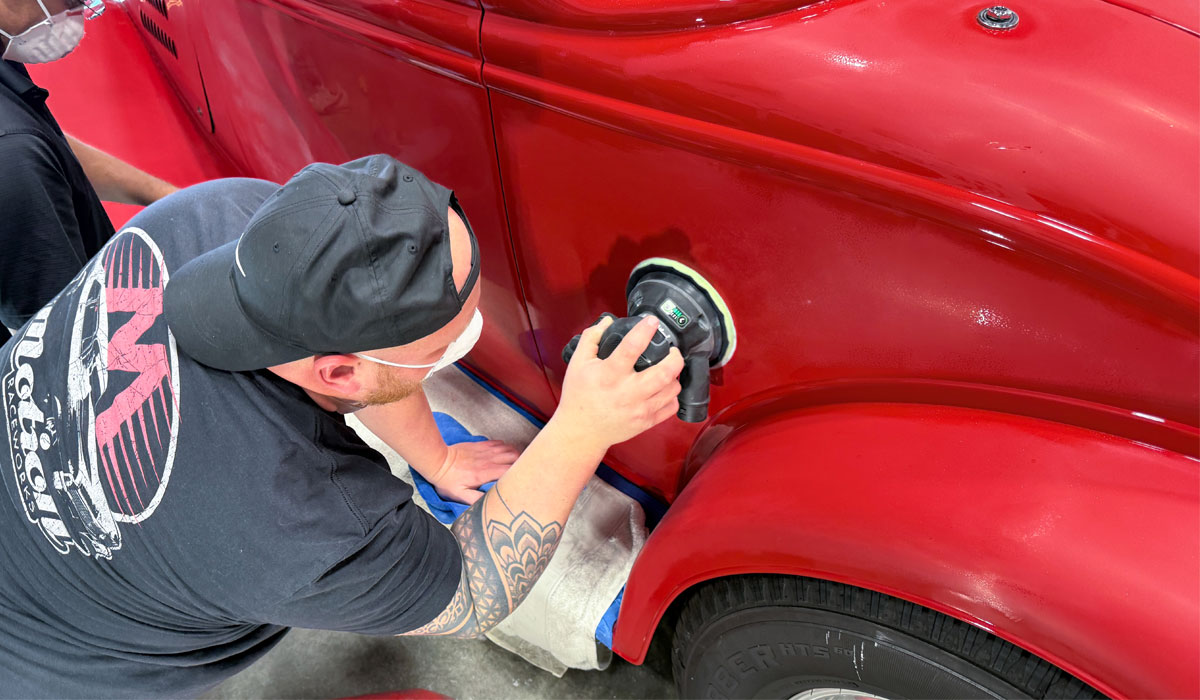
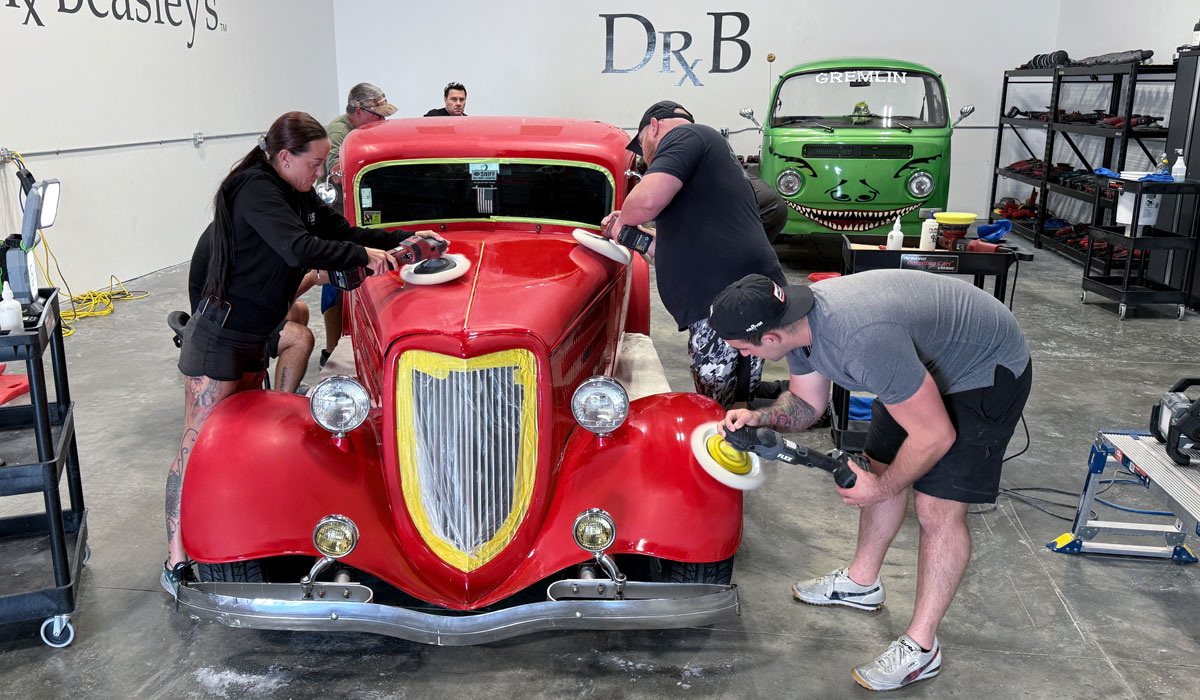
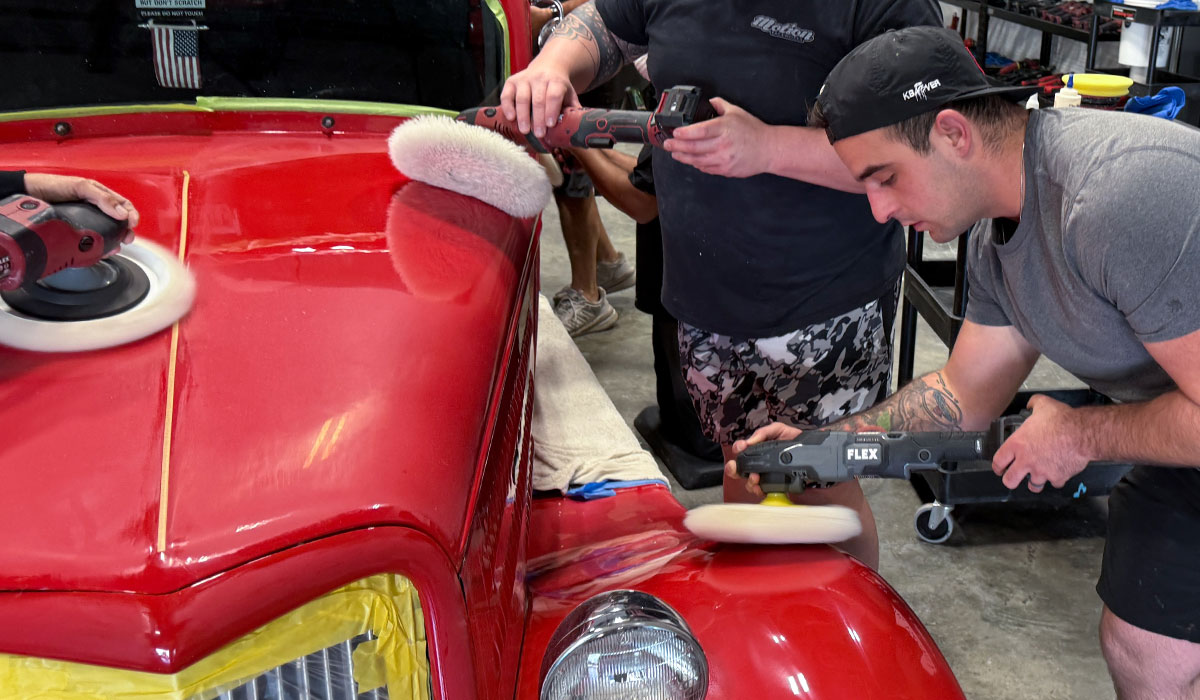
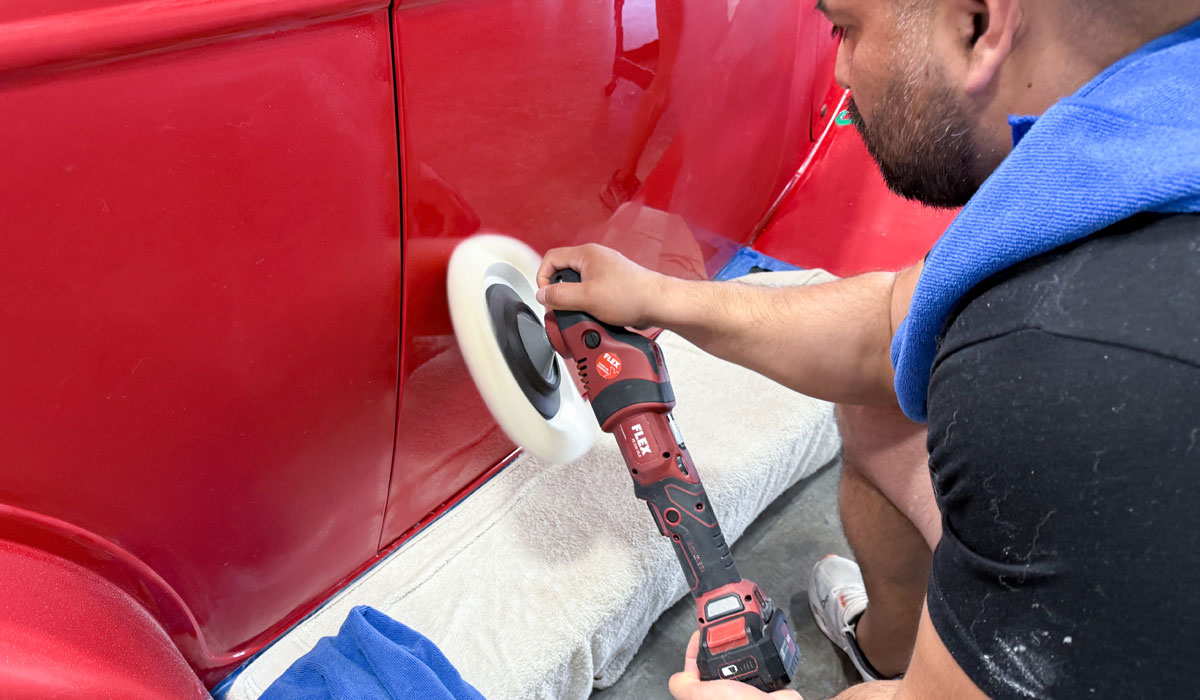
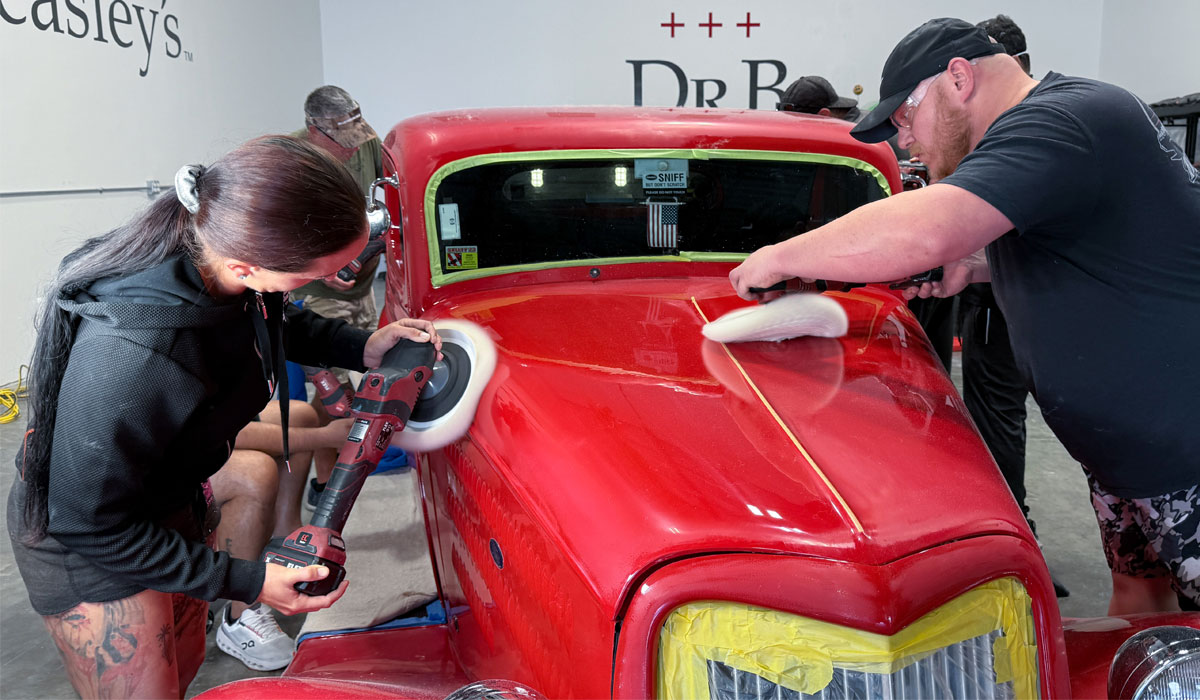
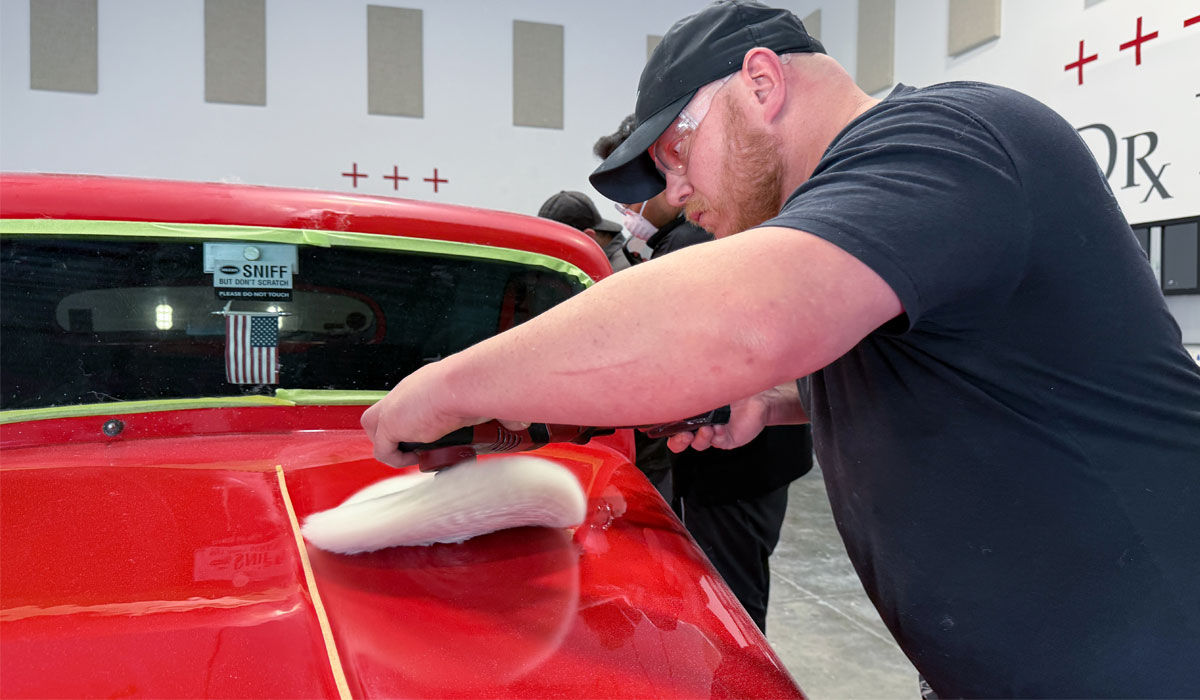
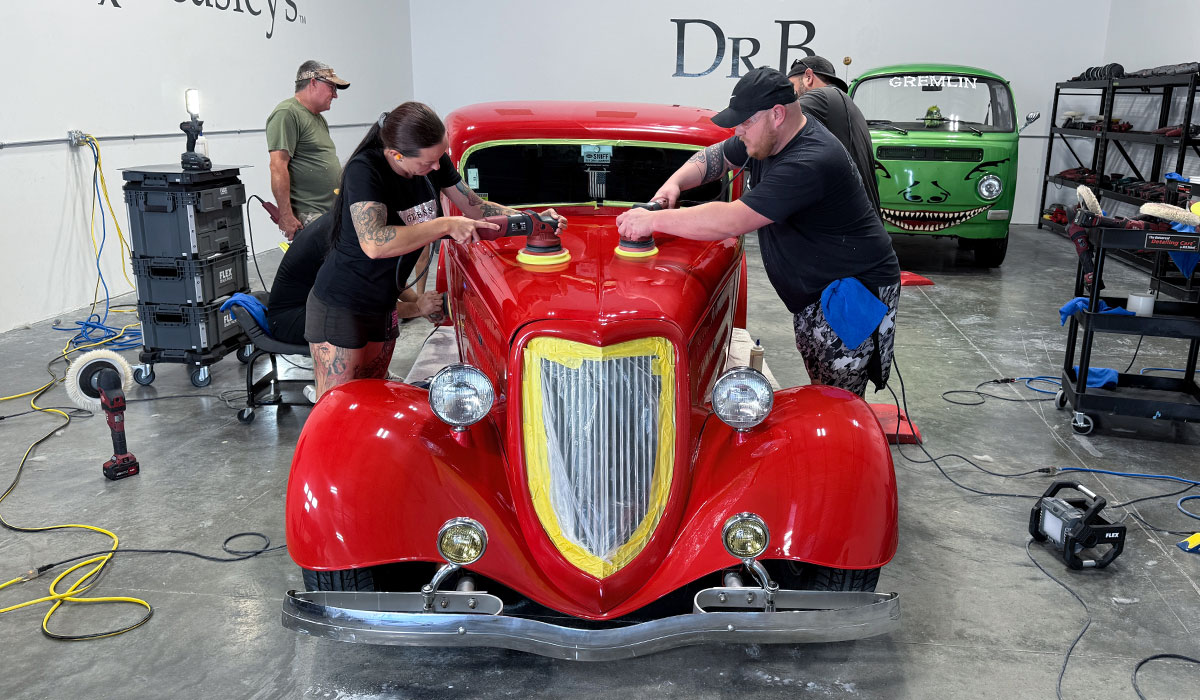
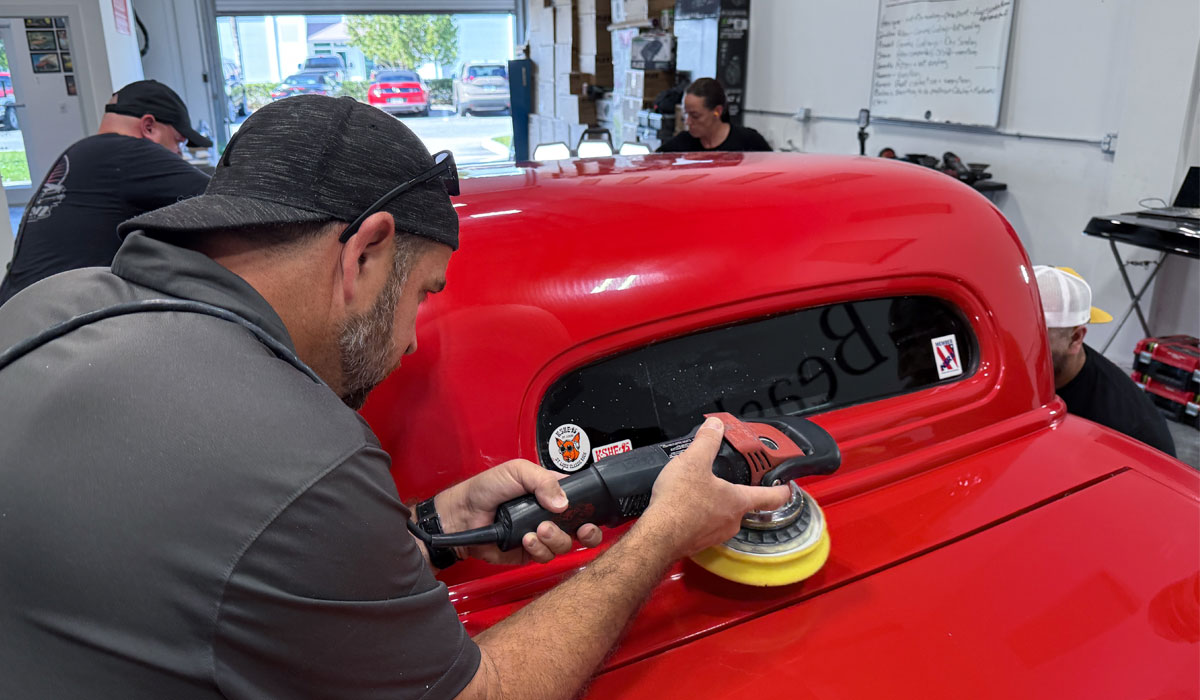
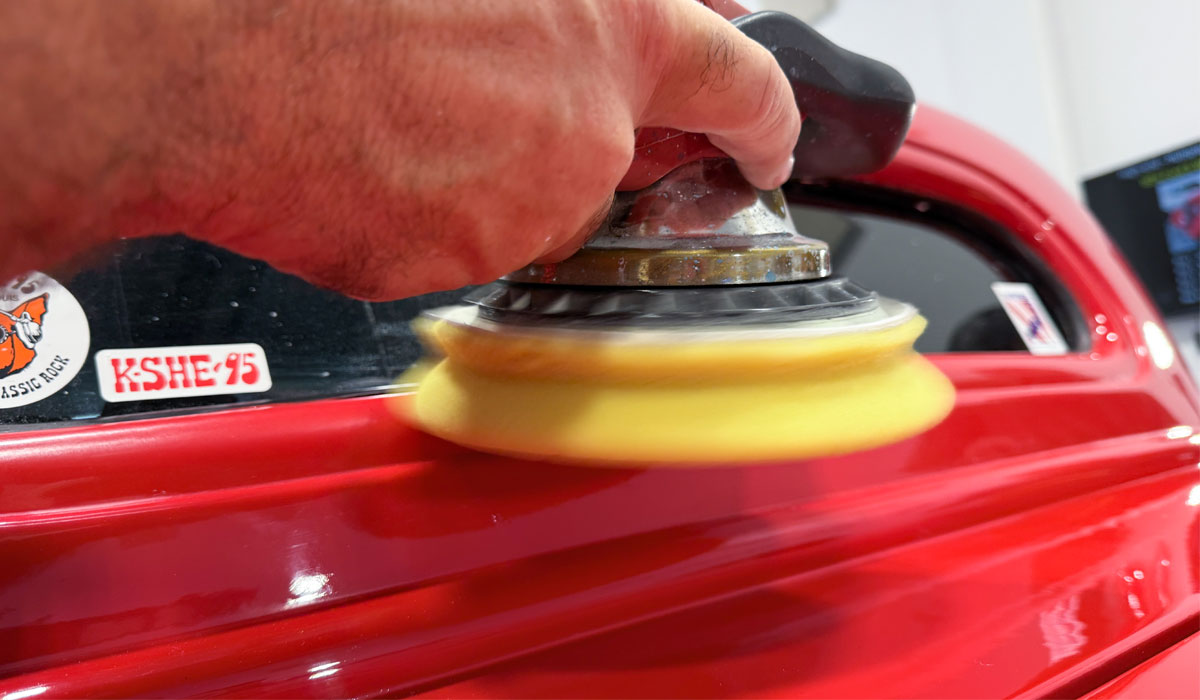
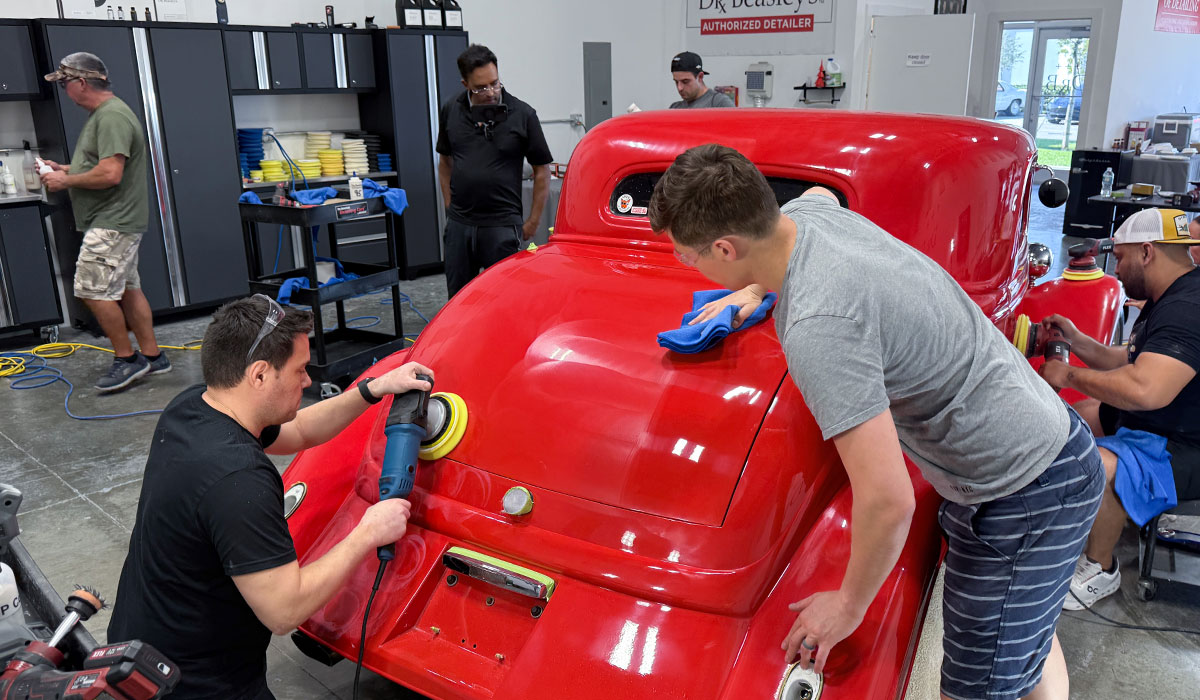
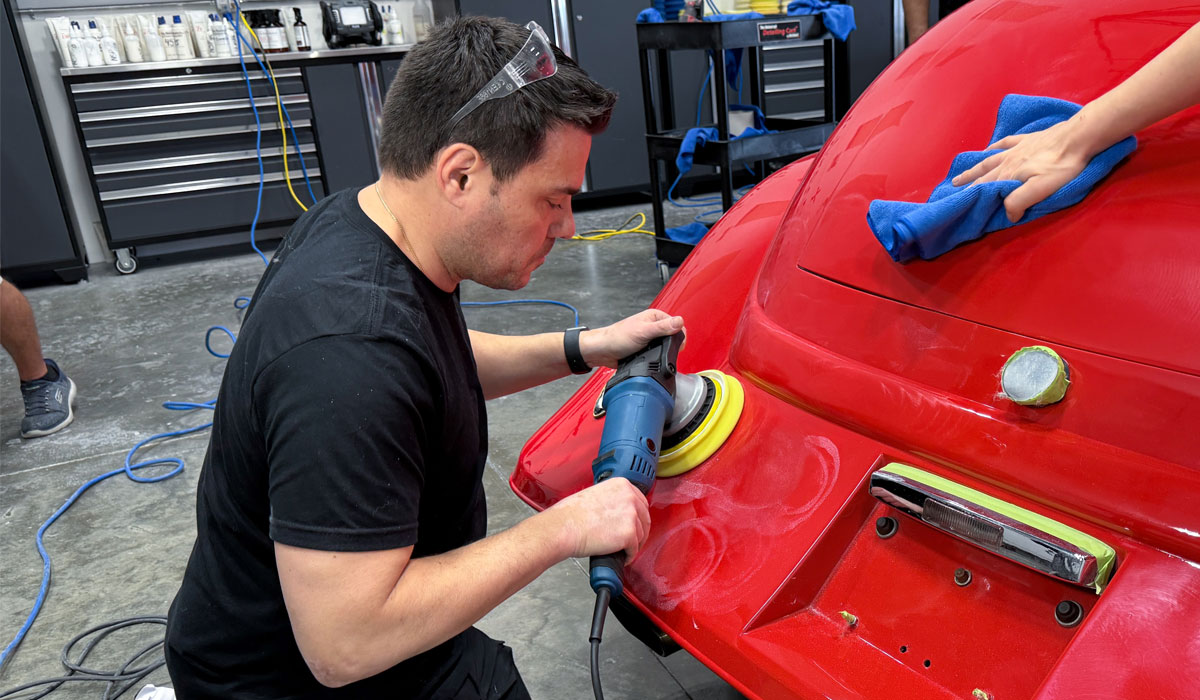
Go Time!
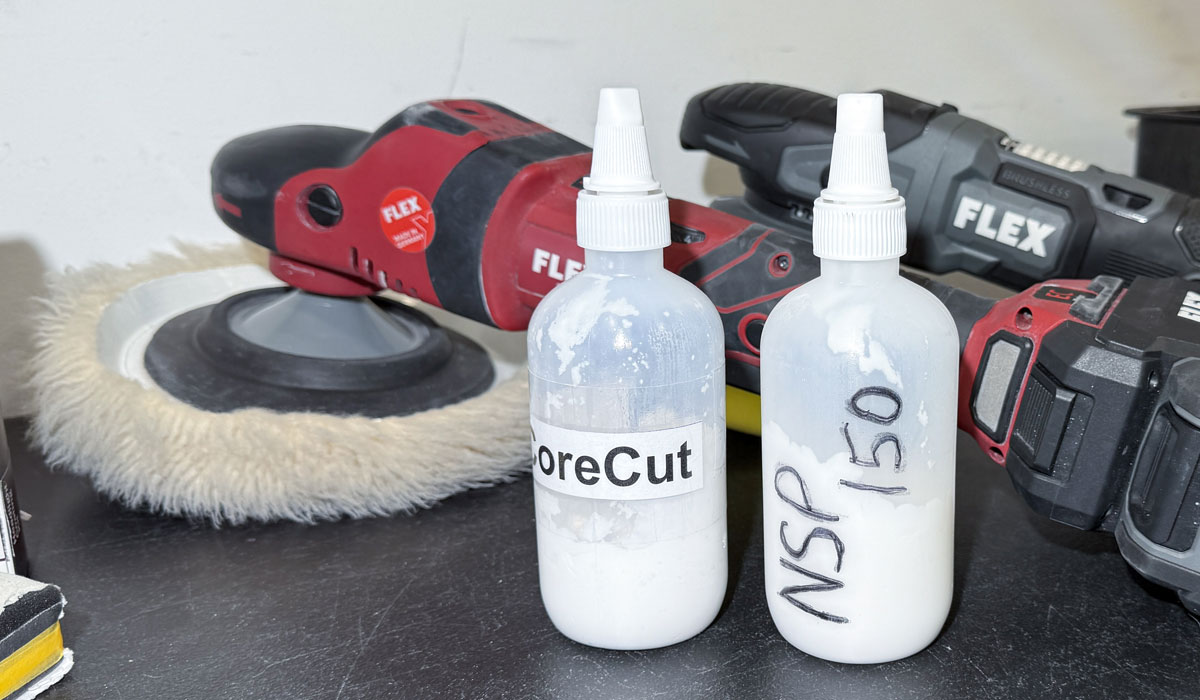
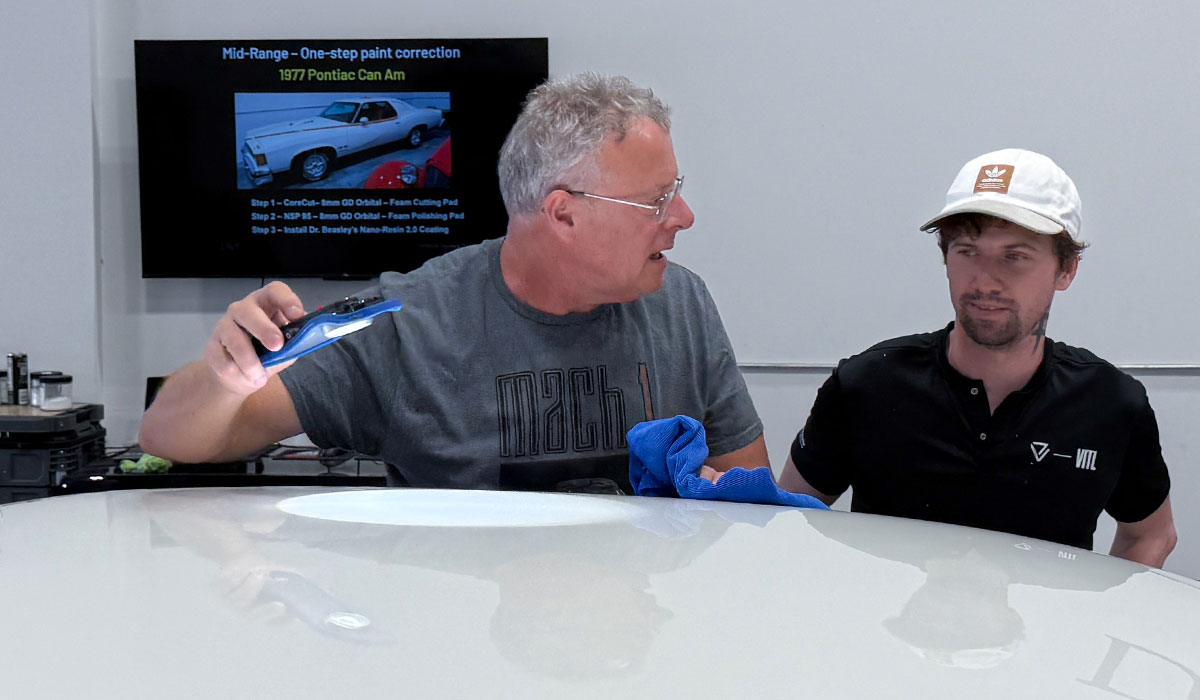
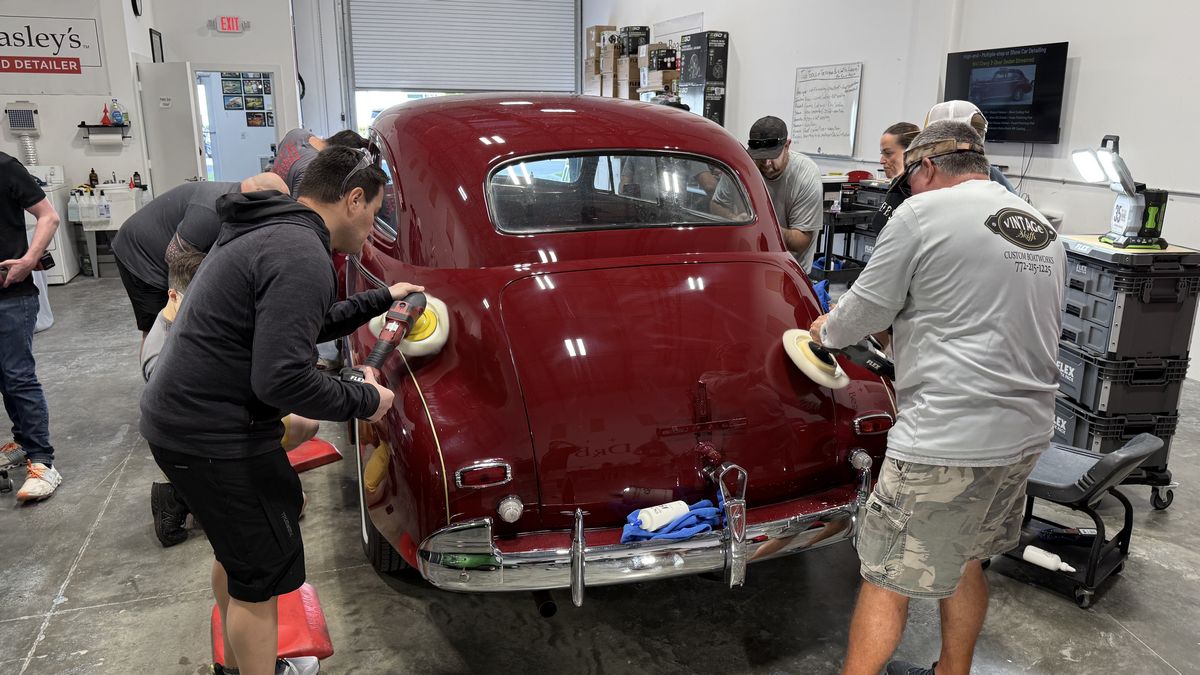
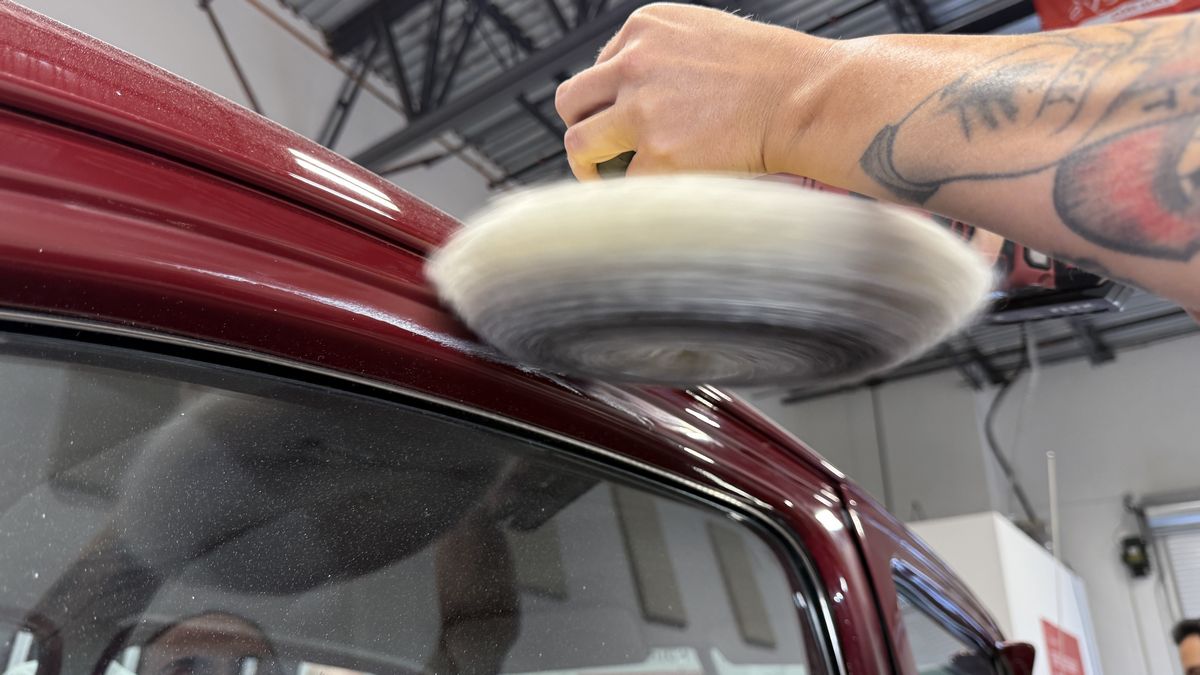
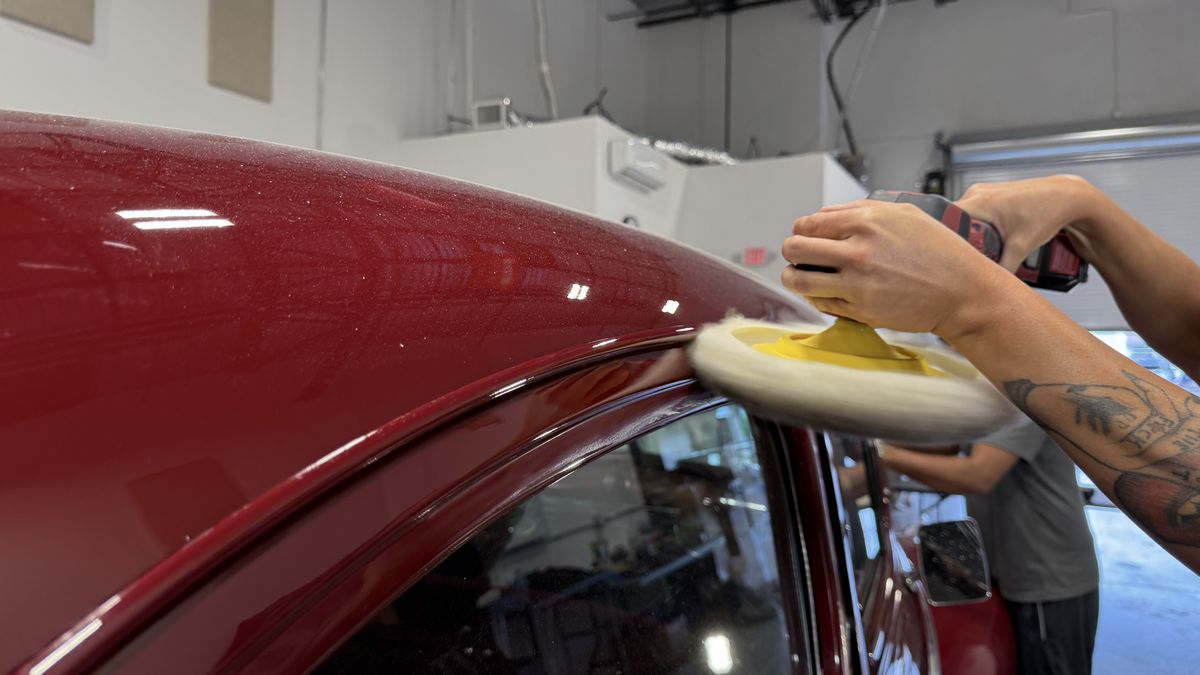
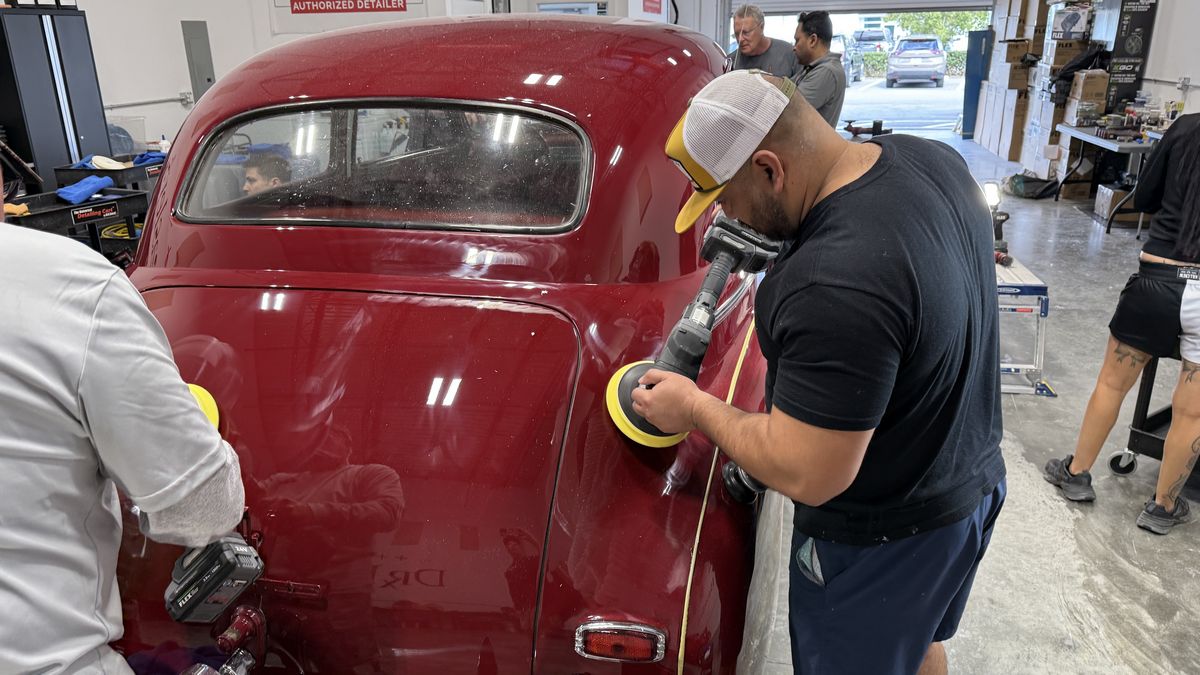
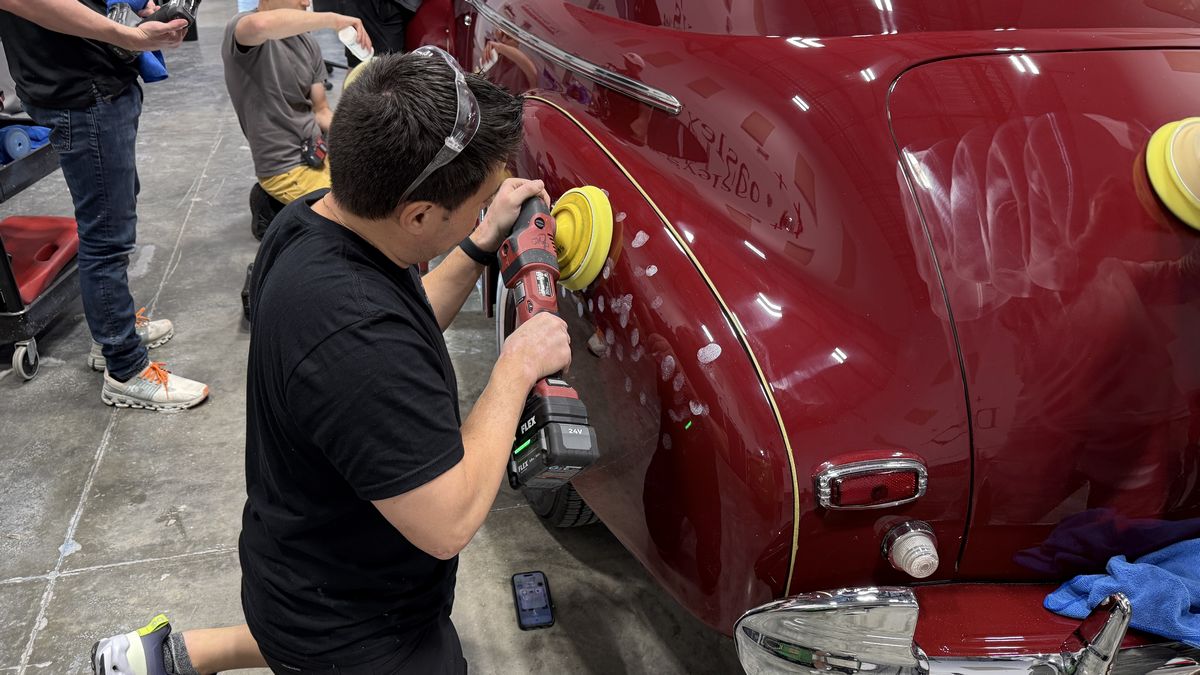
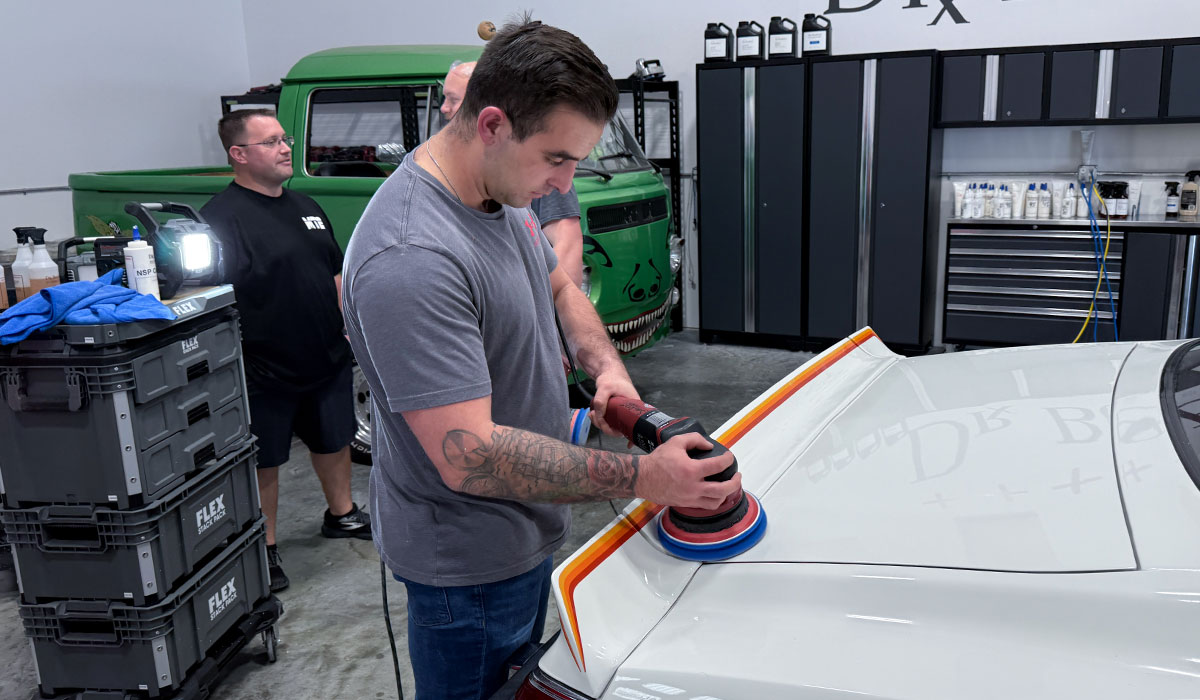
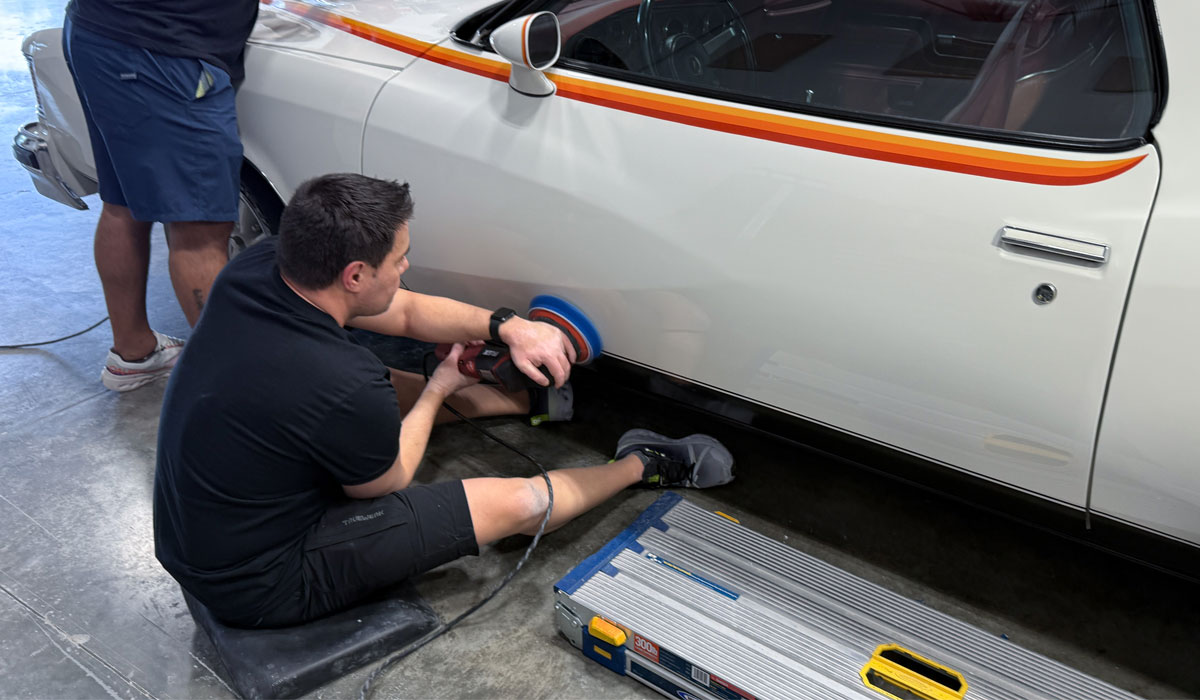
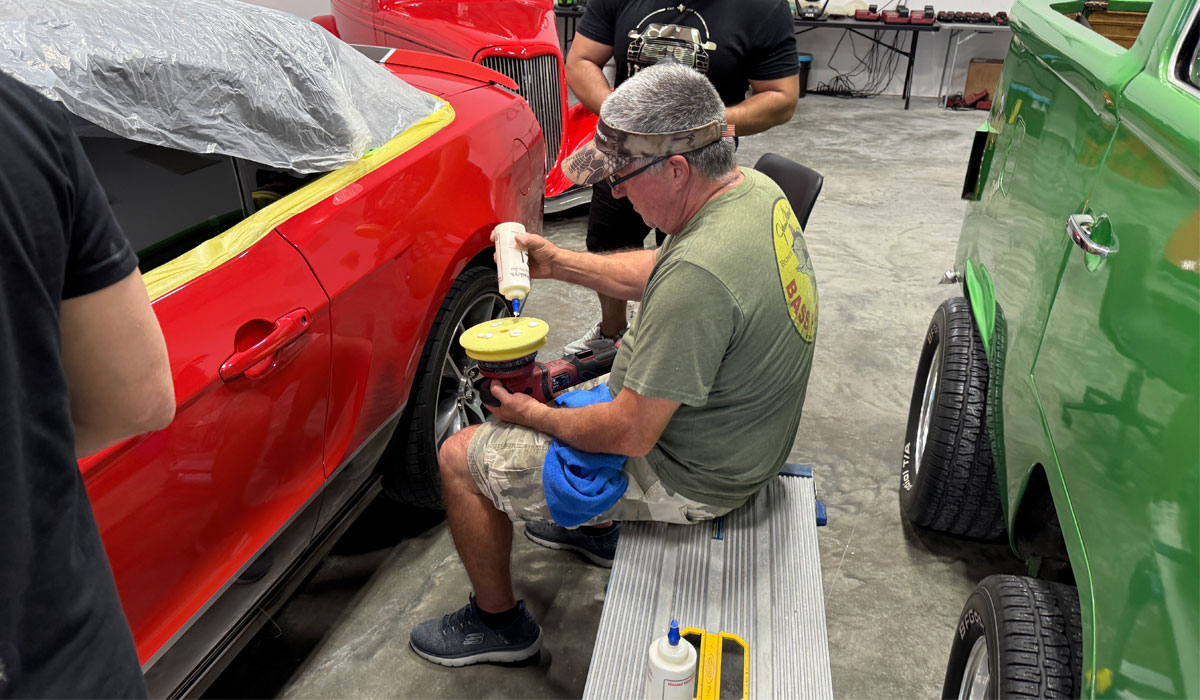
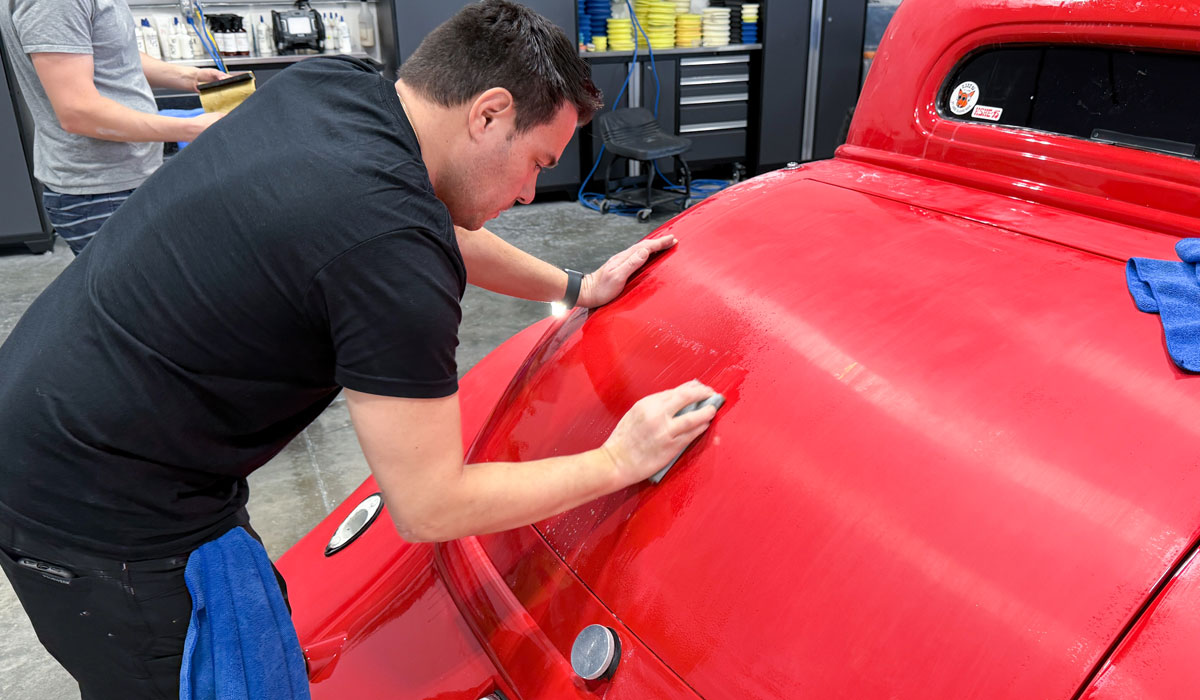
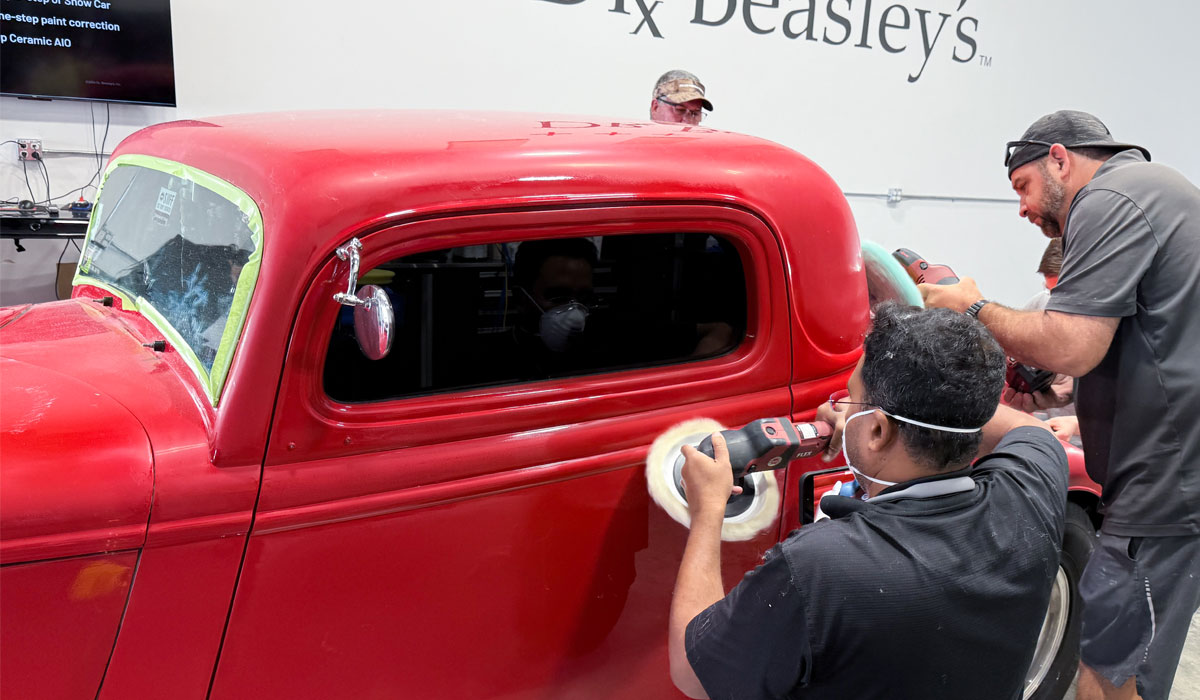
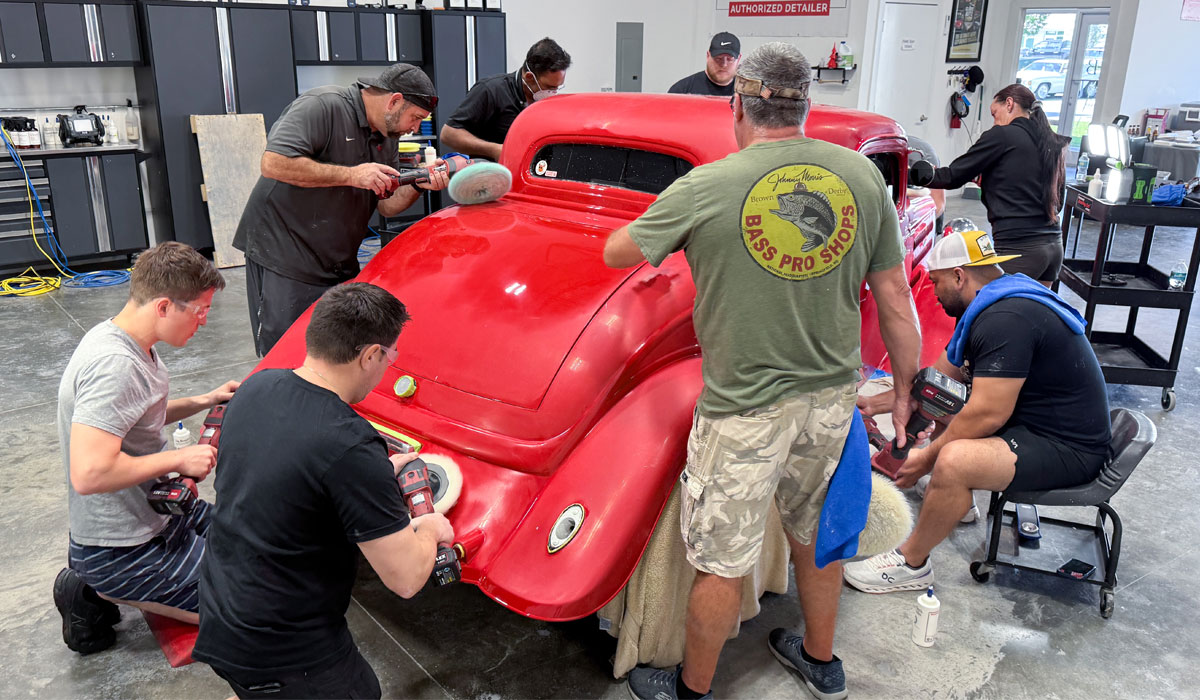
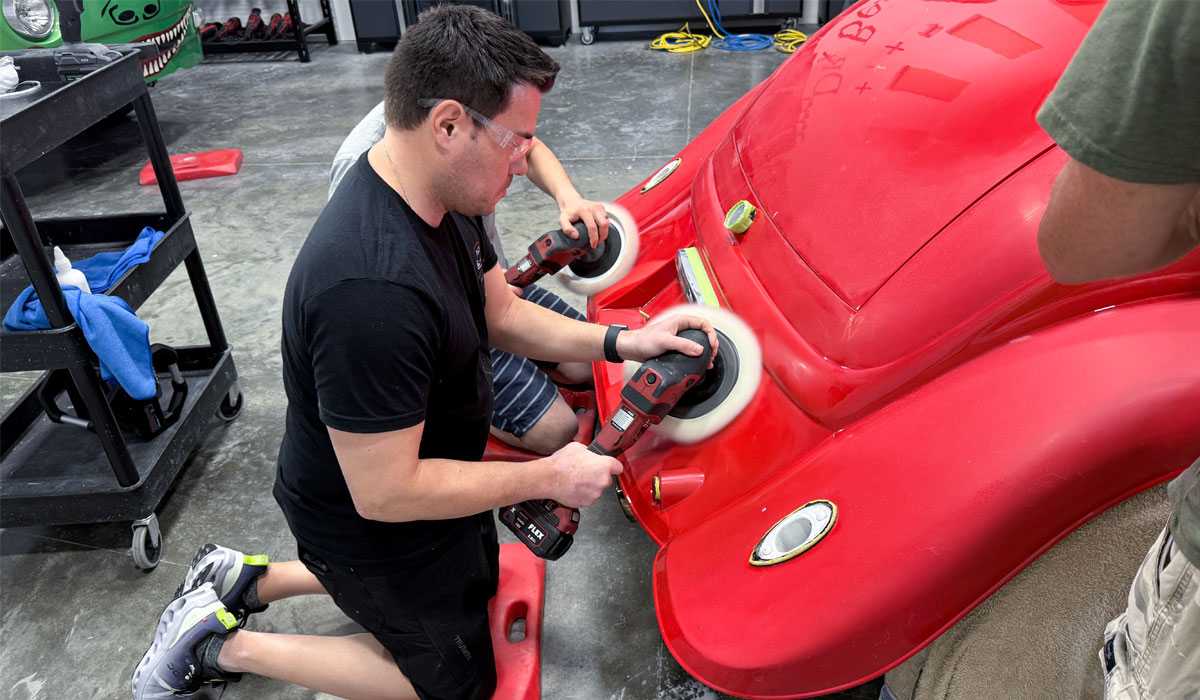
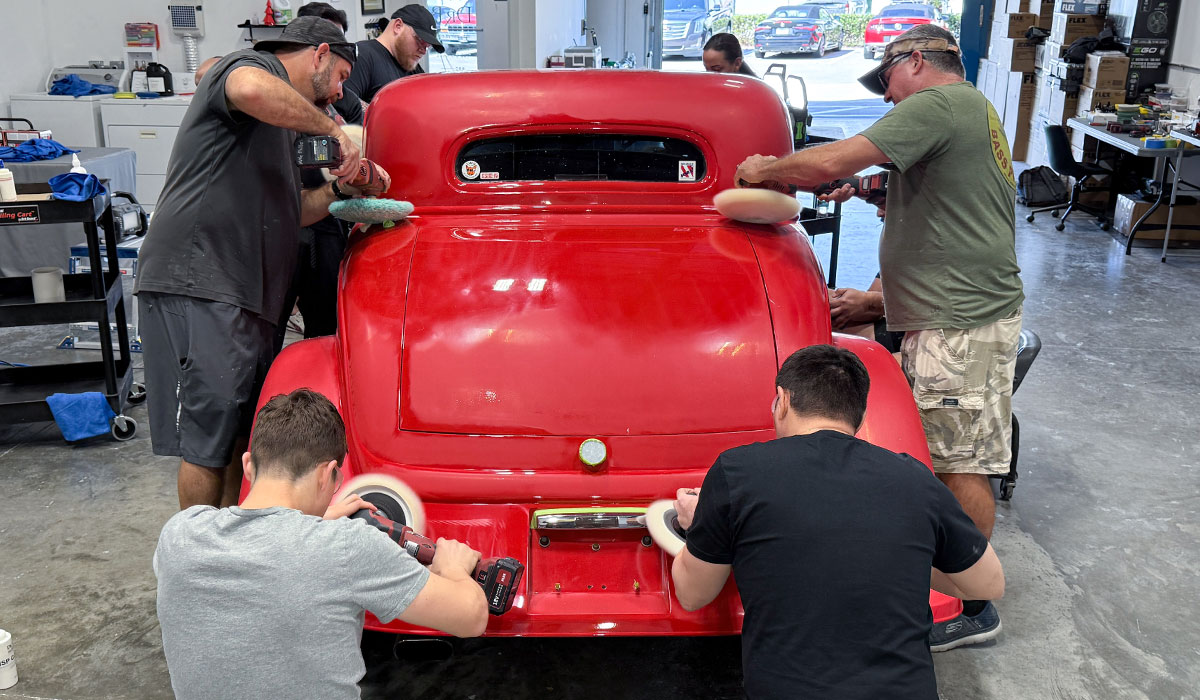
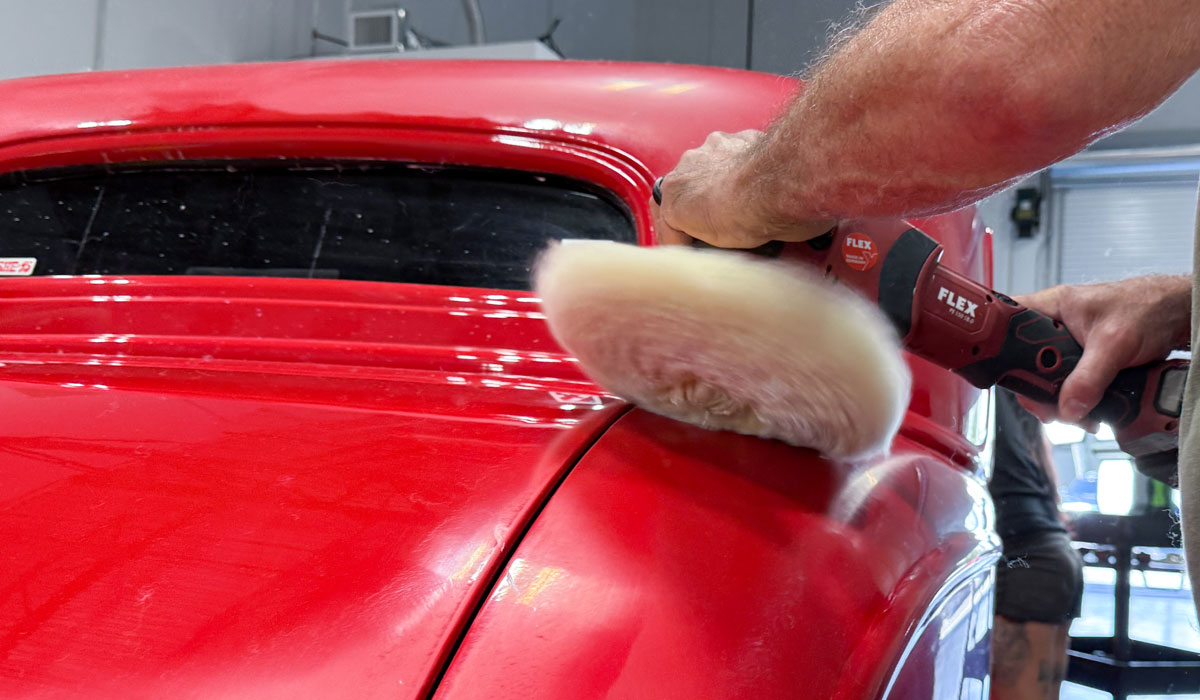
It's shortly after lunch and after warming up on the 1941 Chevy, the class is ready to get back to it. For this first step, the class is using,
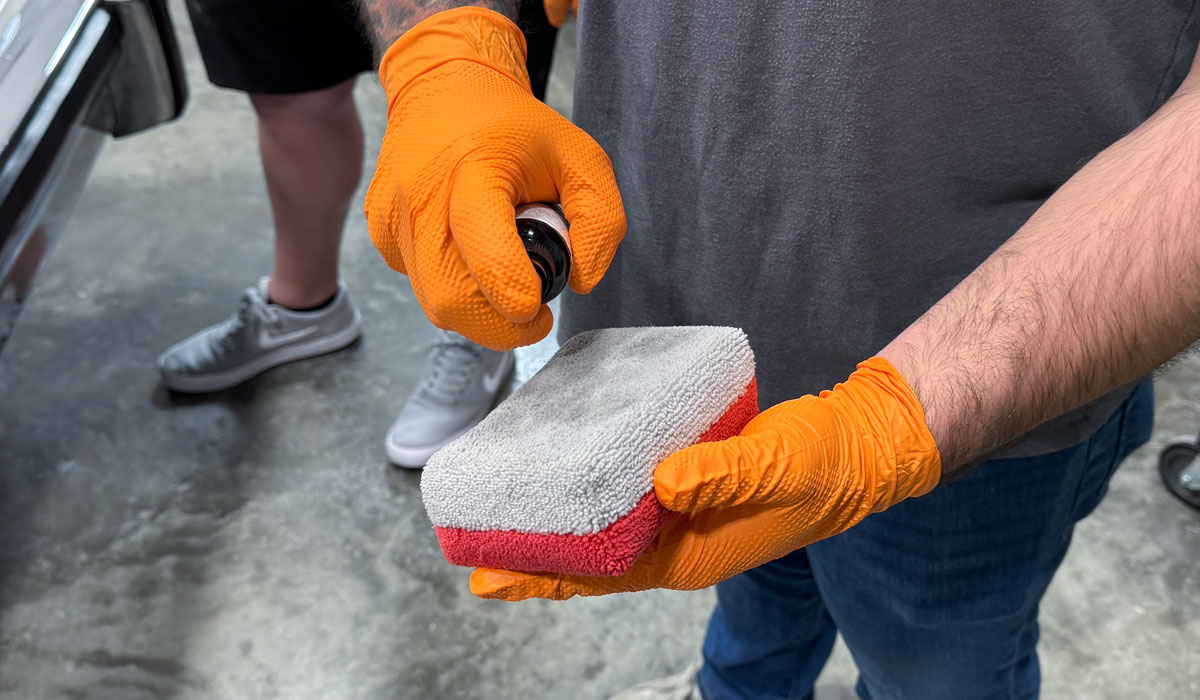
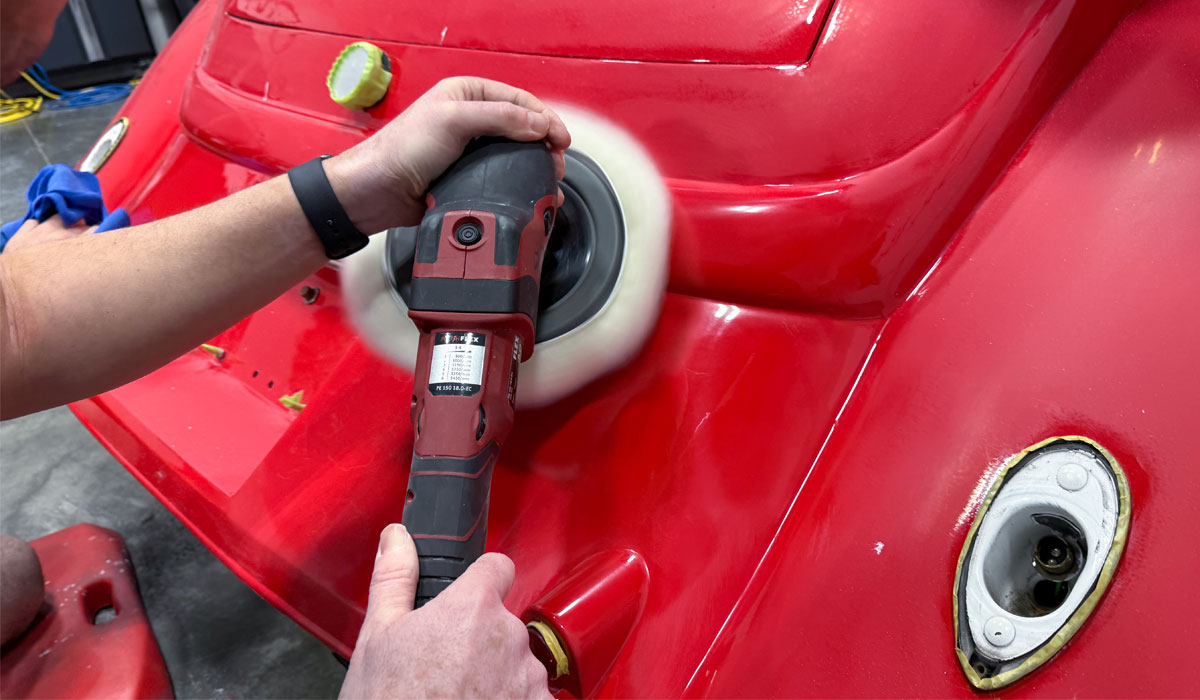
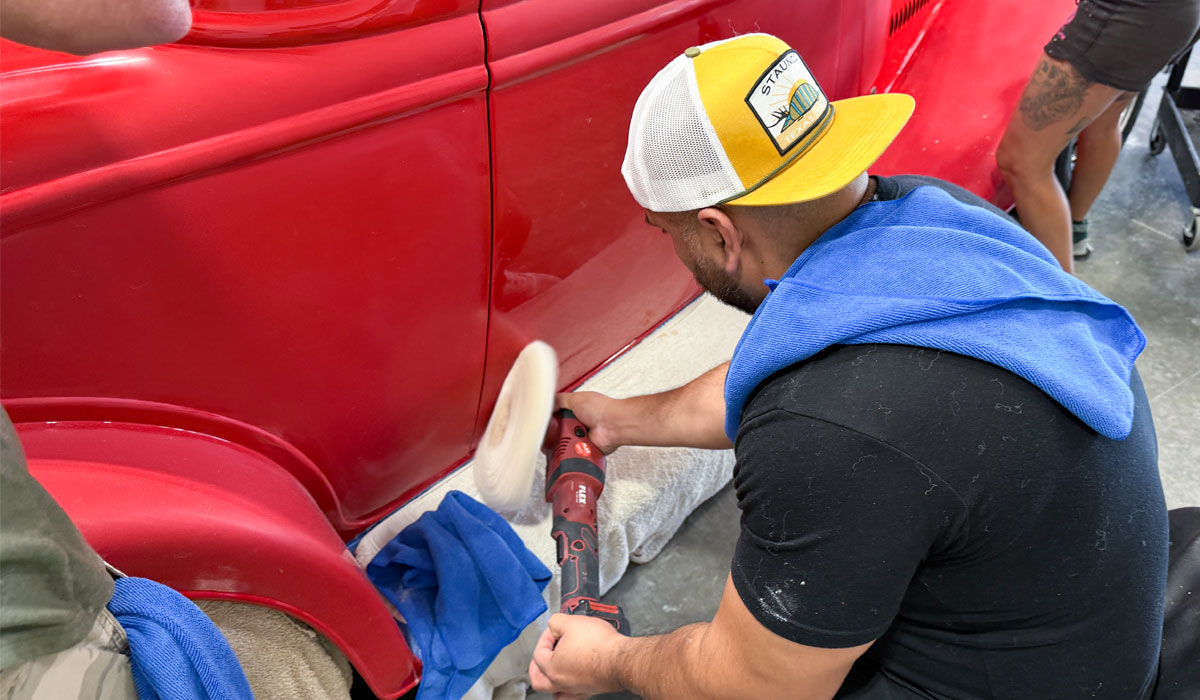
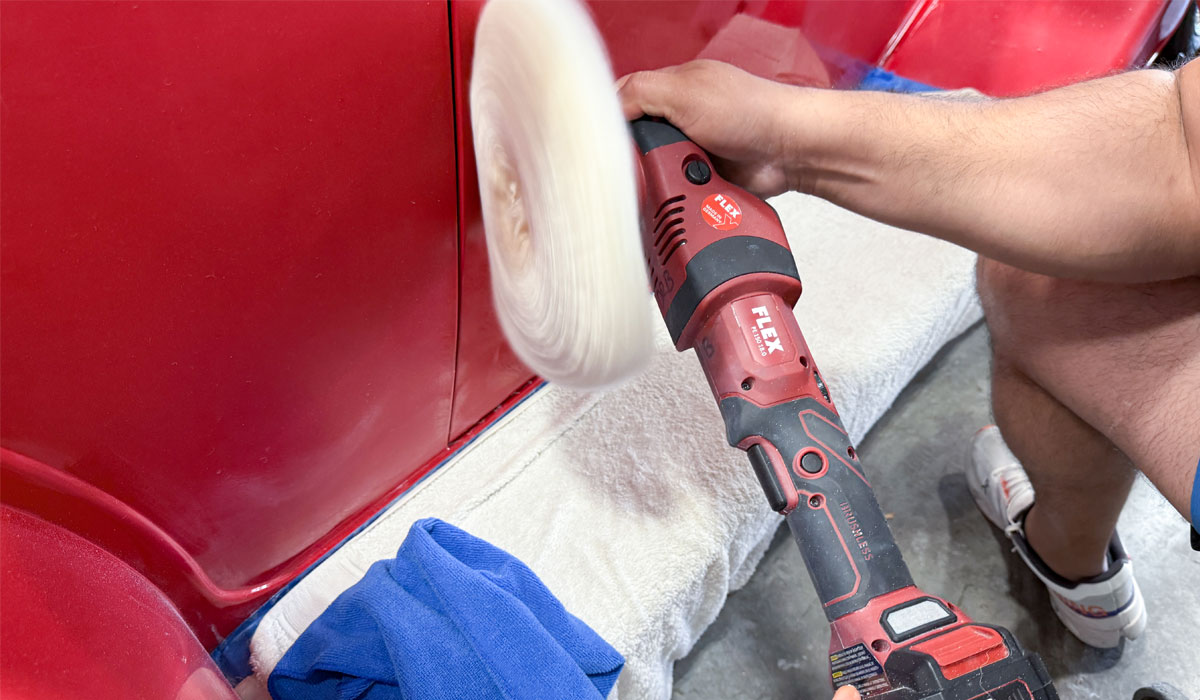
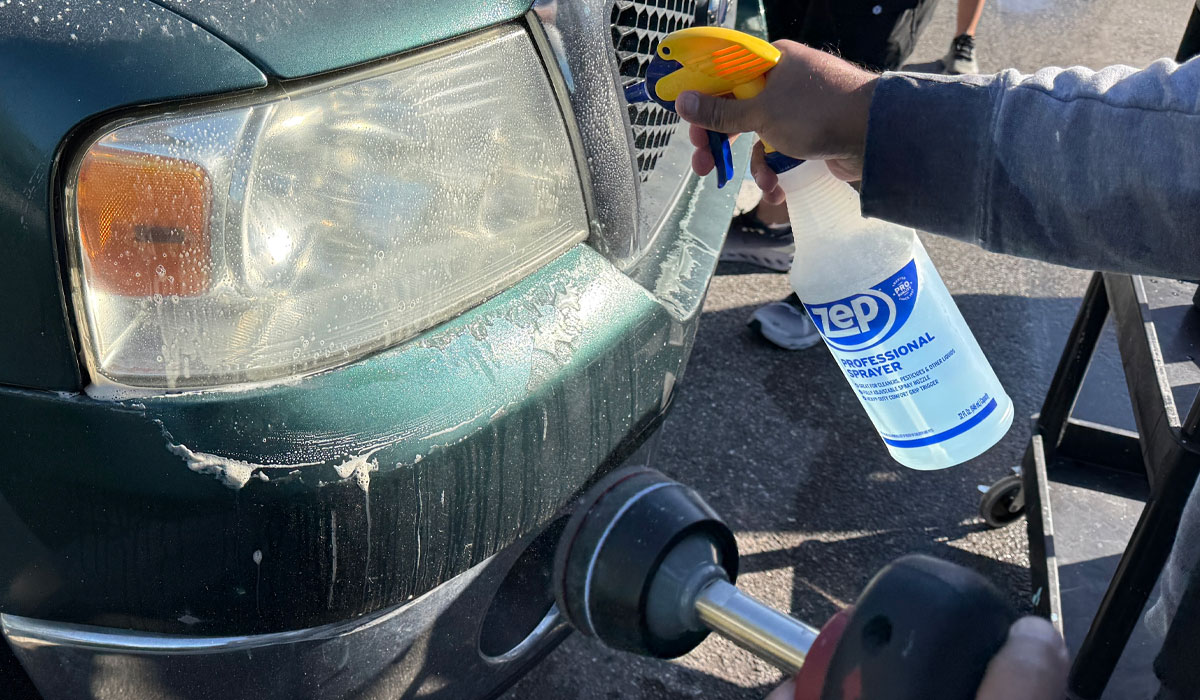
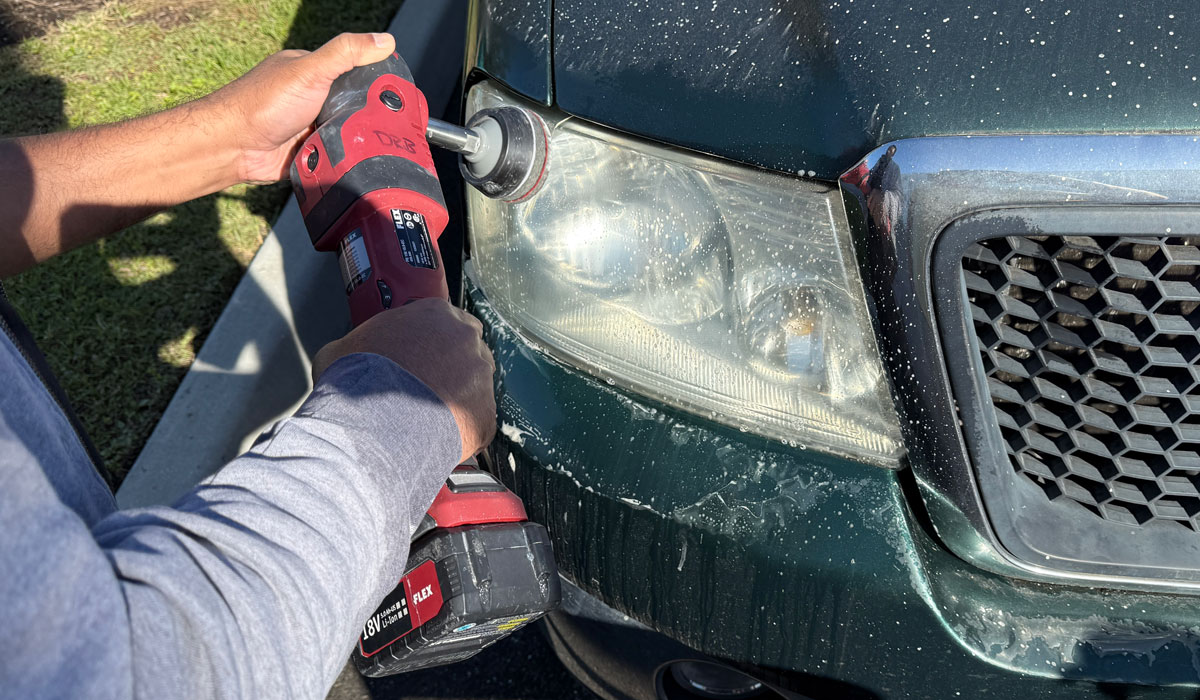
- Dr. Beasley's CoreCut.
- Buff and Shine Blueberry EdgeGuard foam pads.
- FLEX BEAST and Supa BEAST 8mm gear-driven orbital polishers.
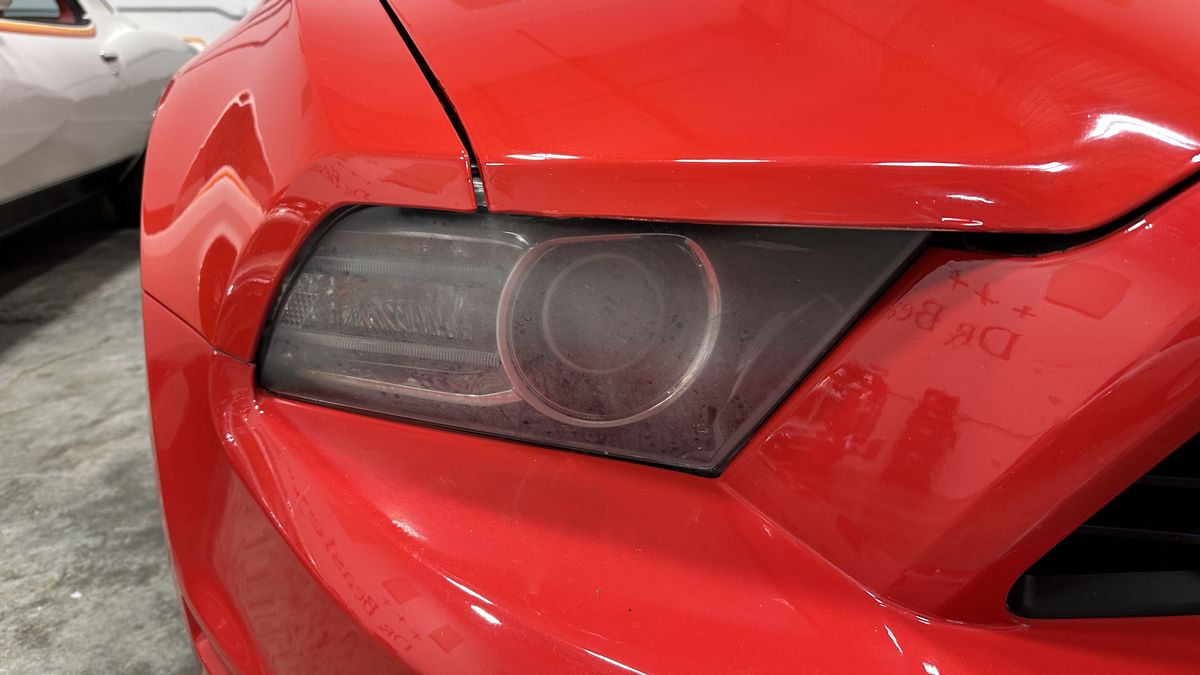
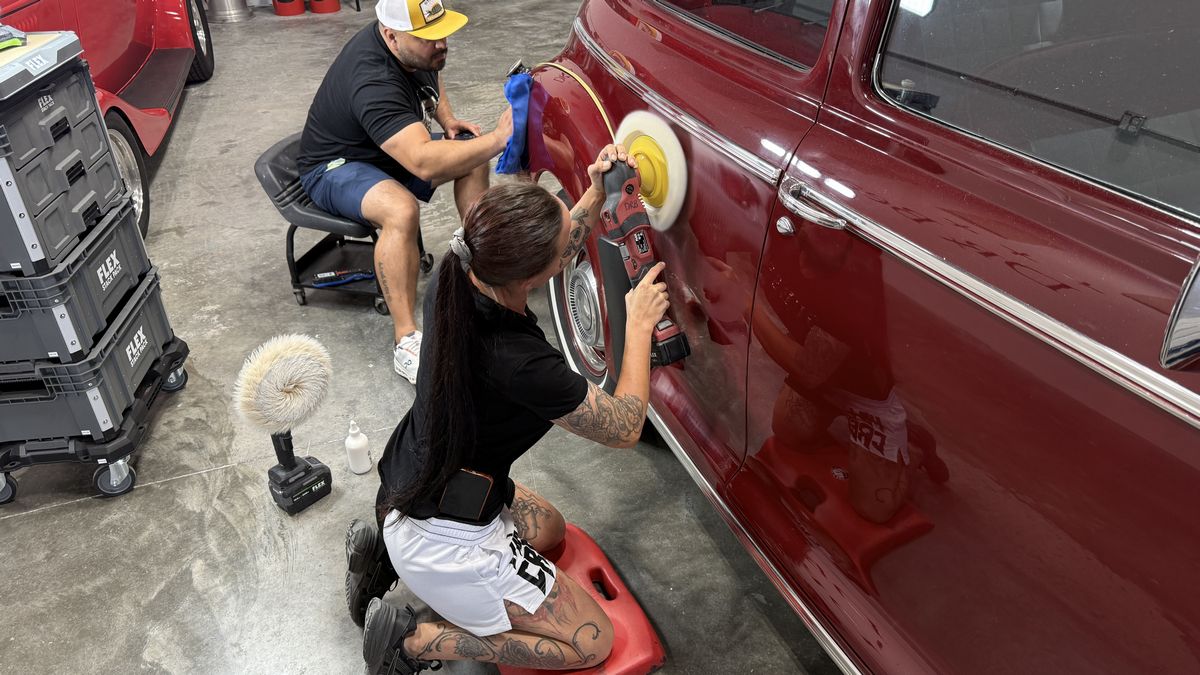
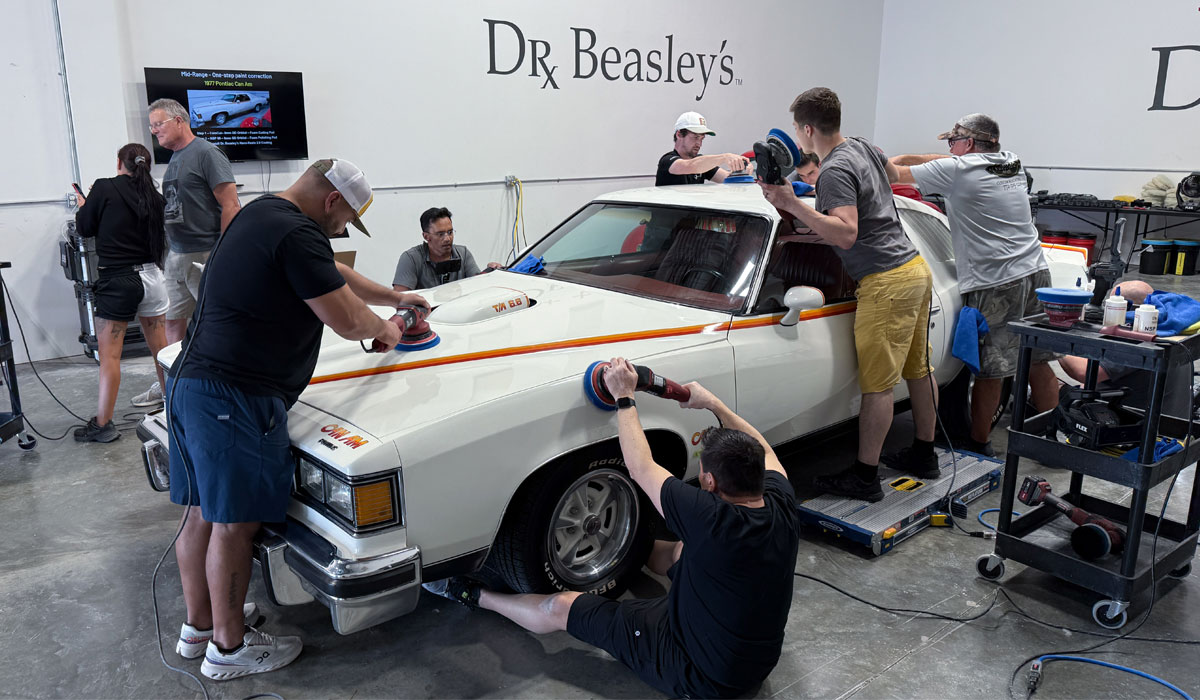
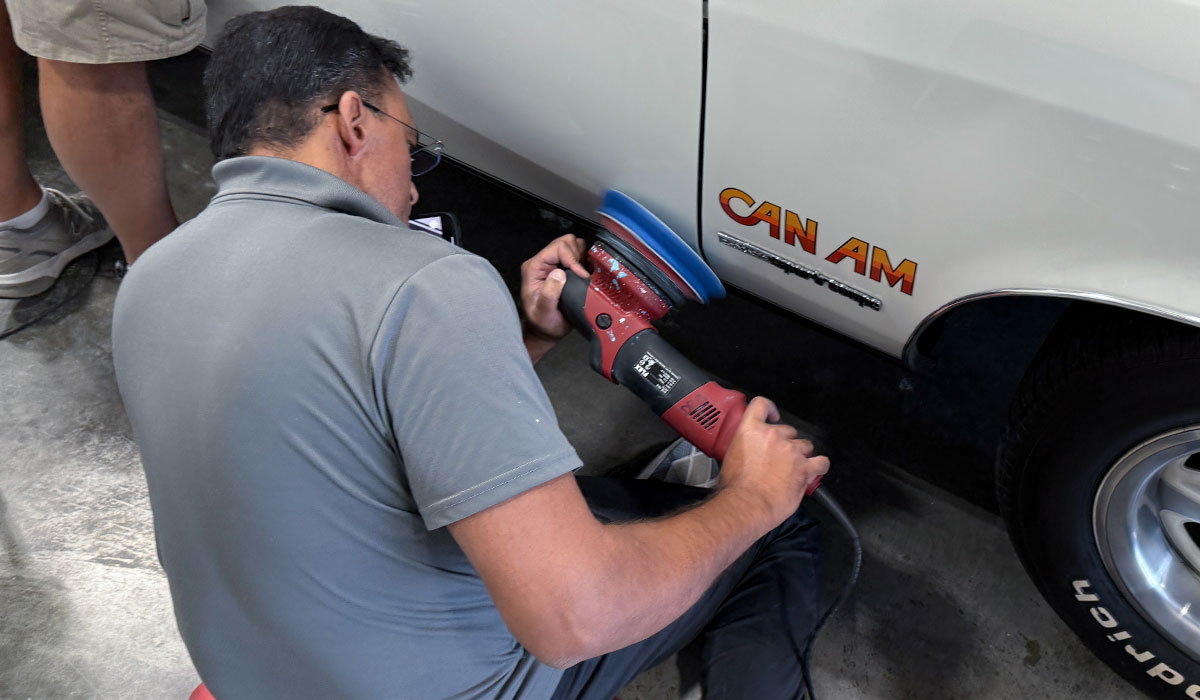
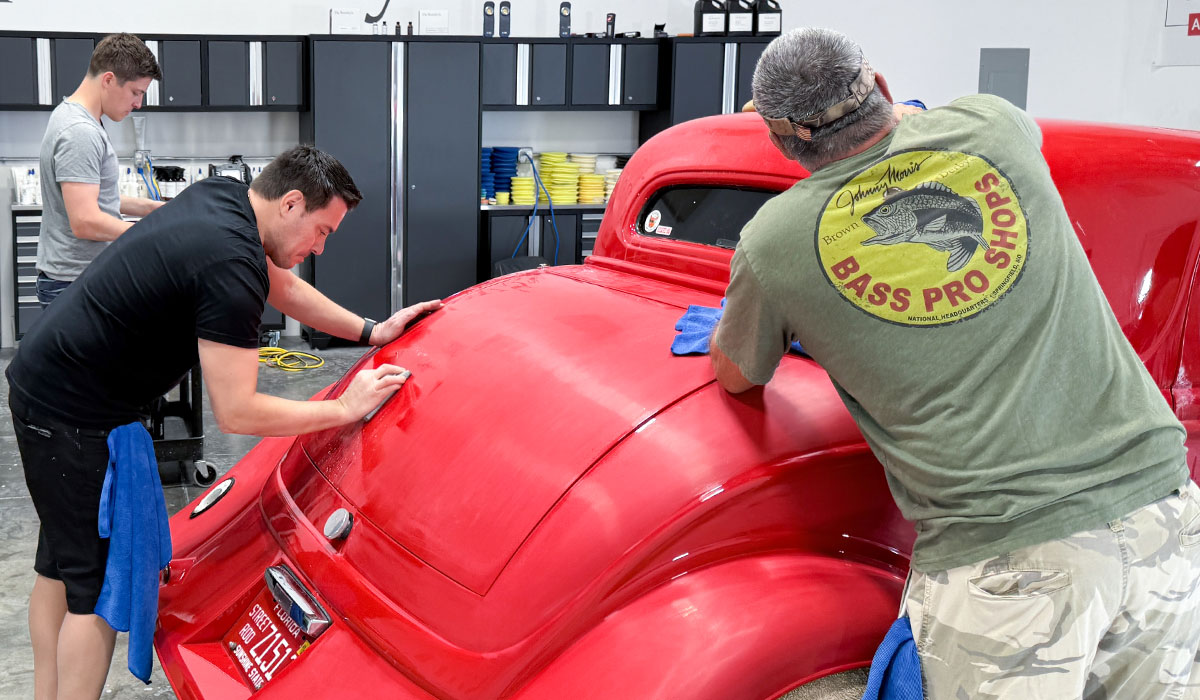
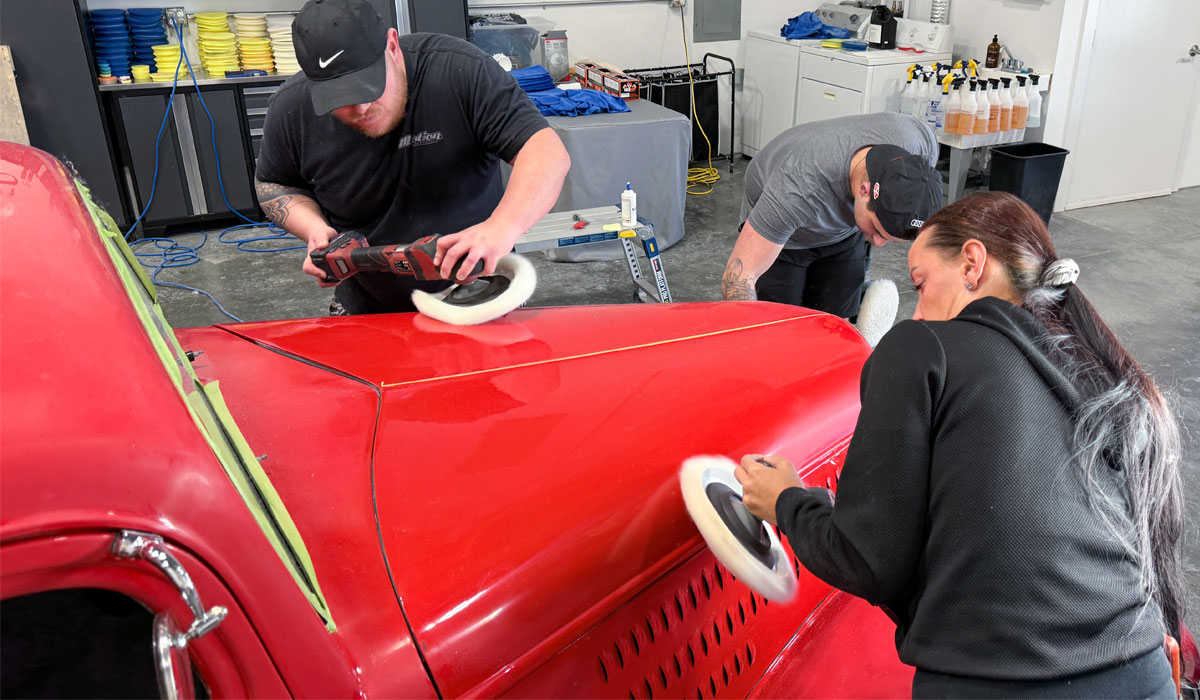
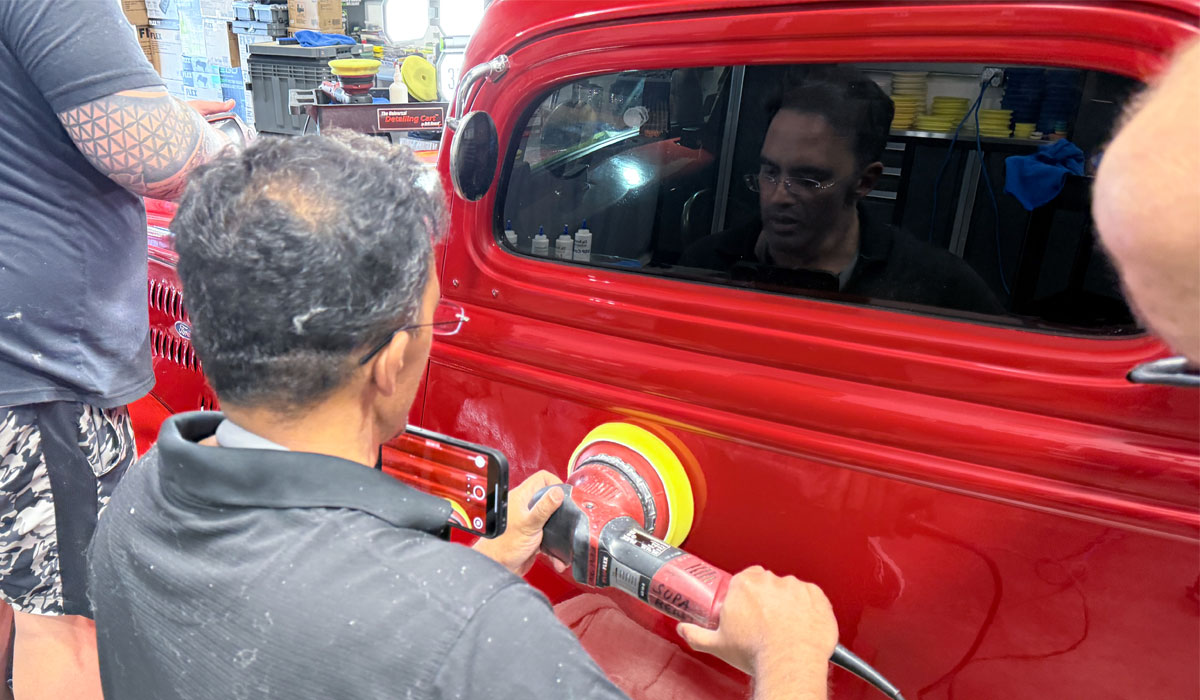
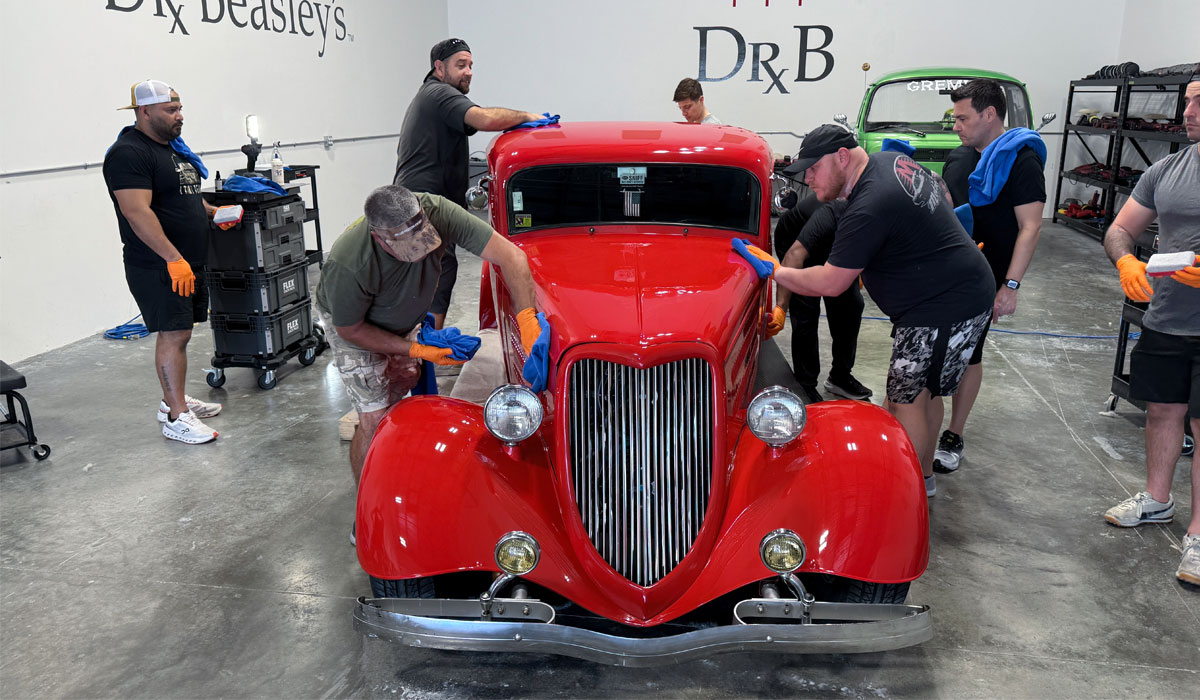
When is the last time you detailed a 1977 Pontiac Can Am?
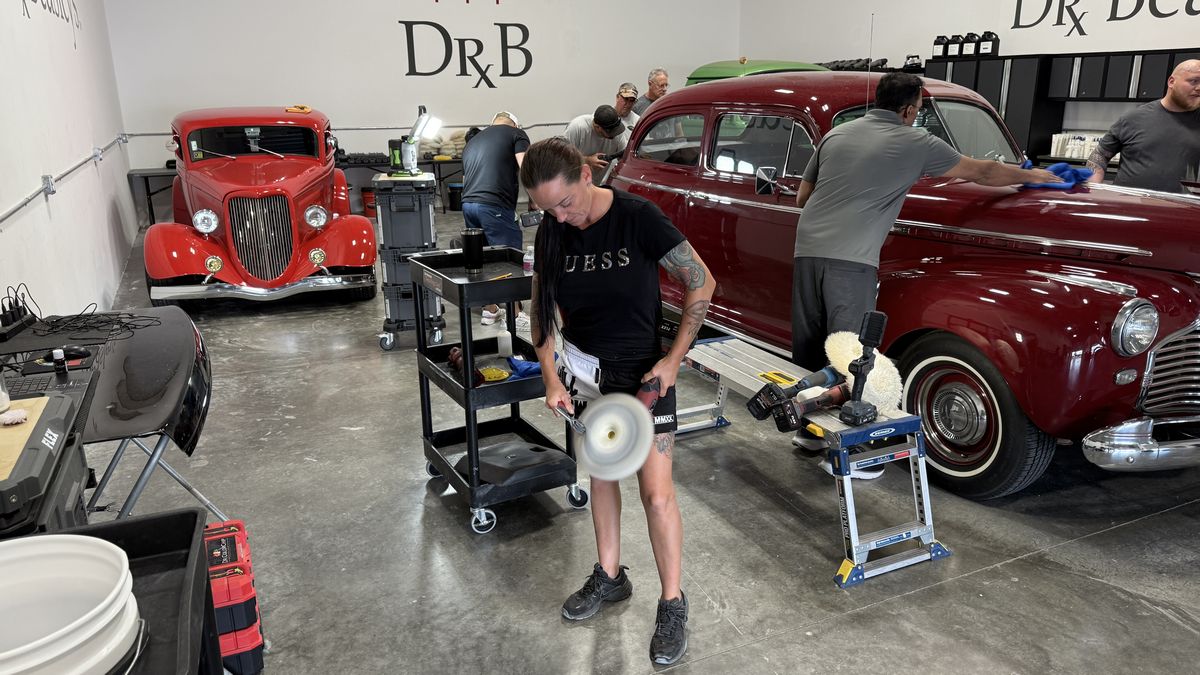
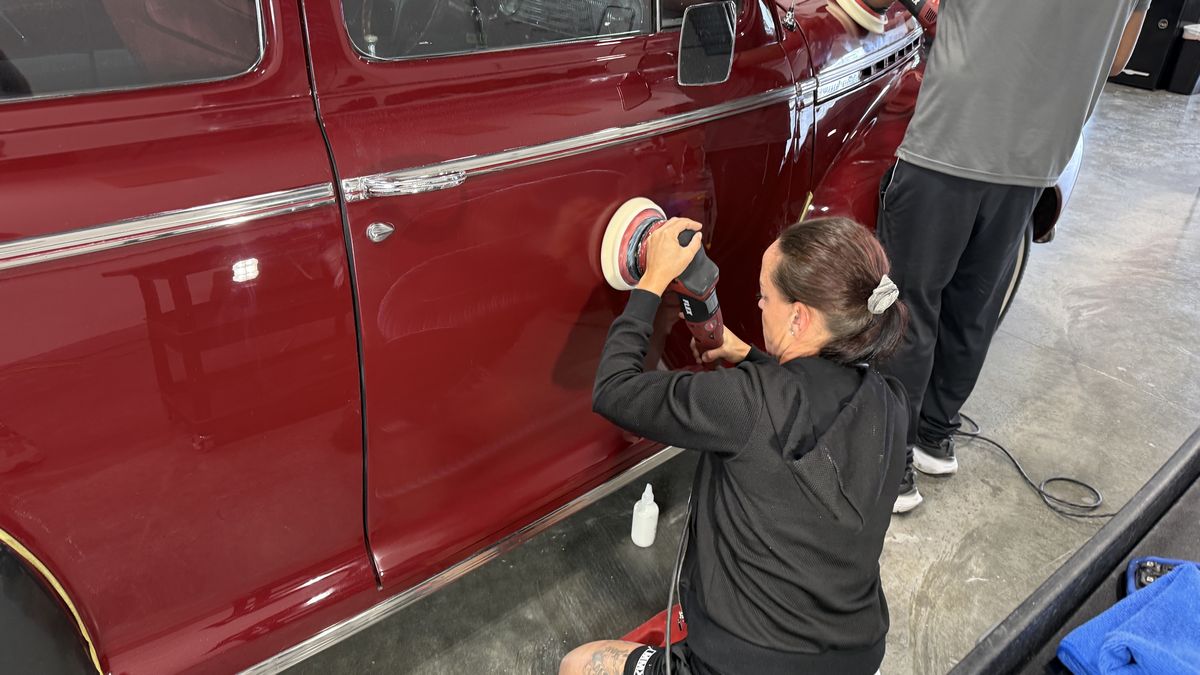
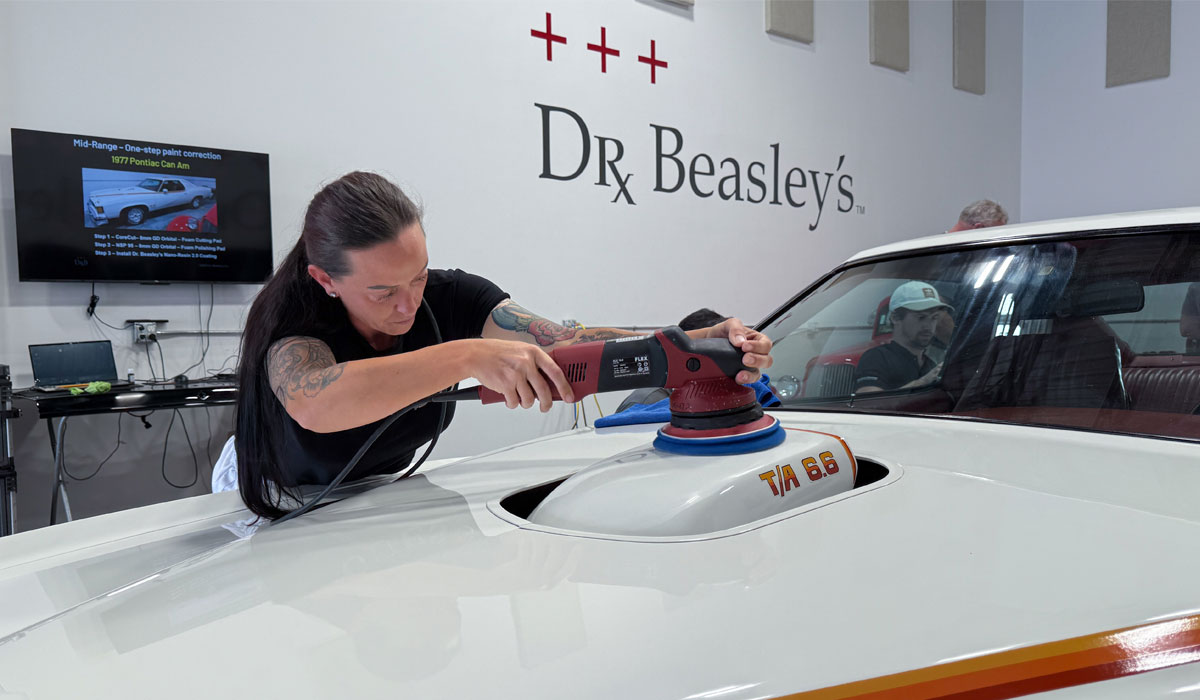
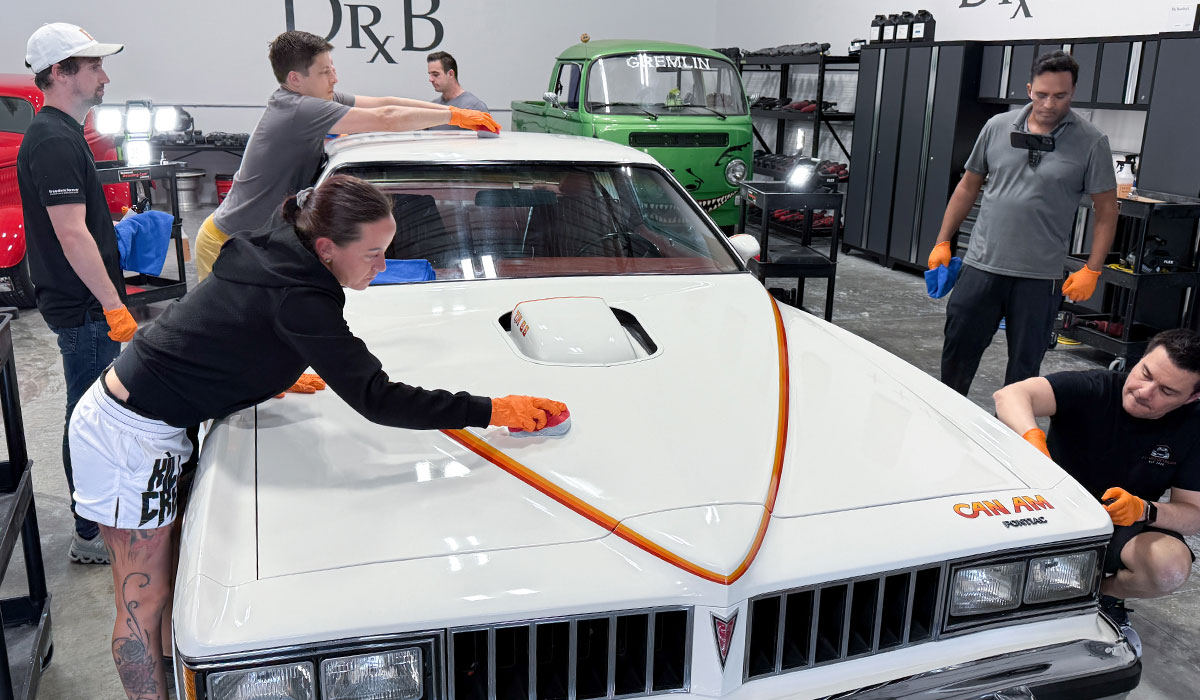
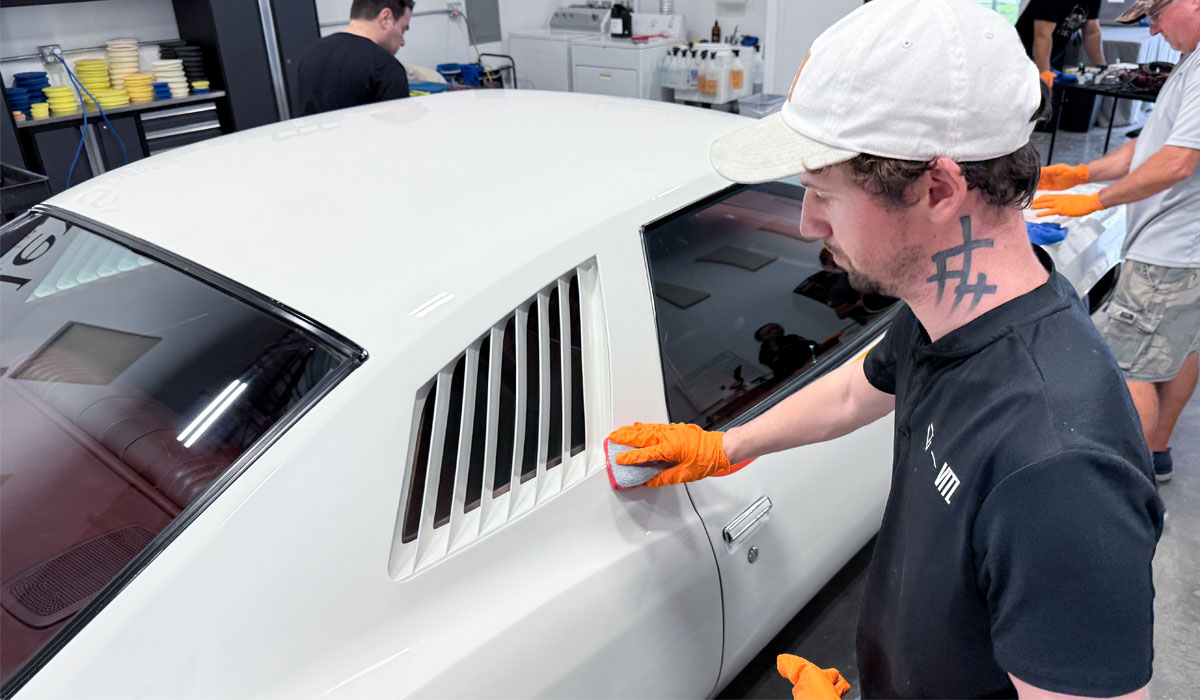
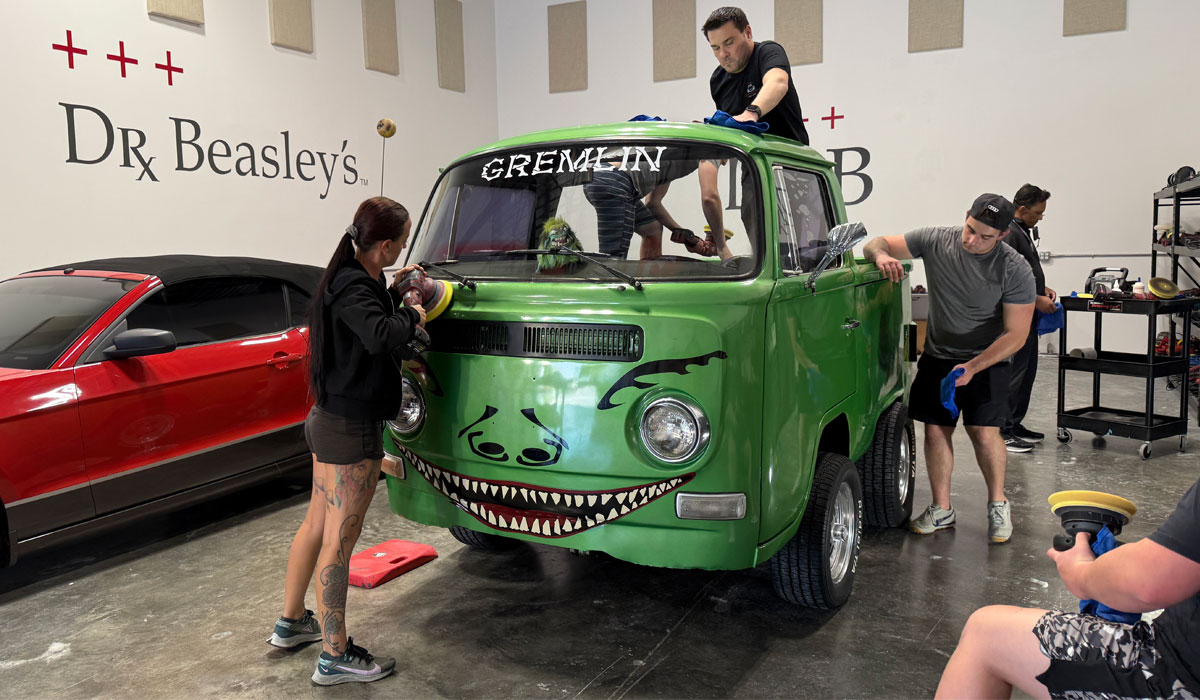
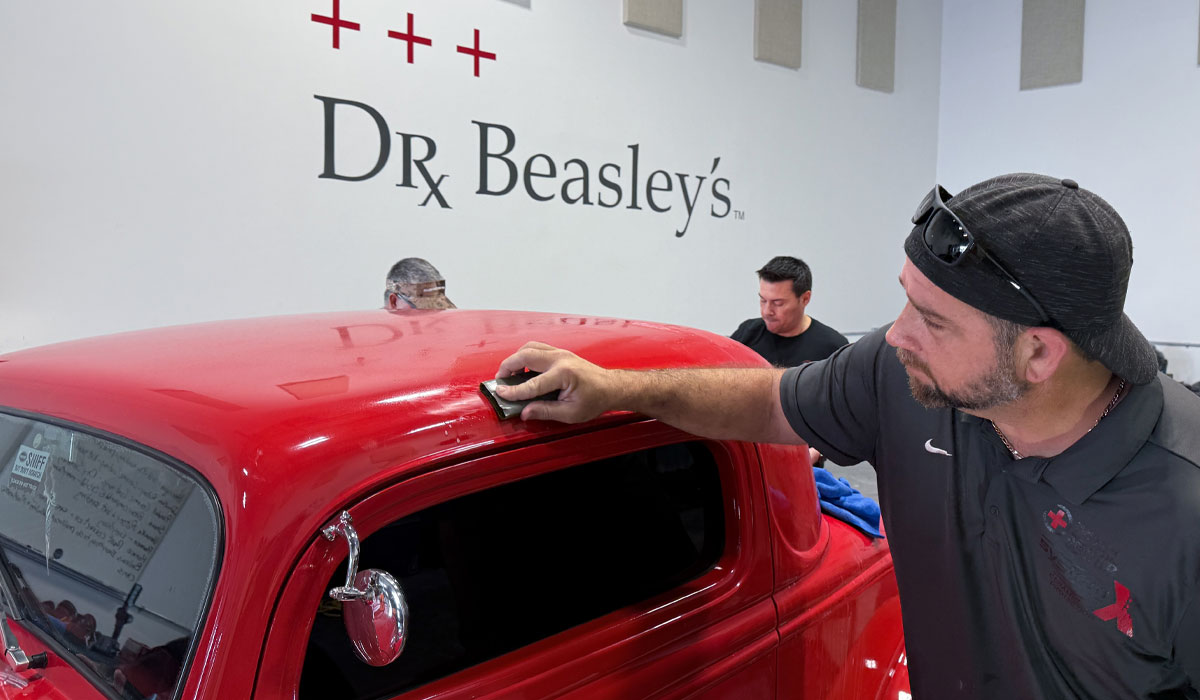
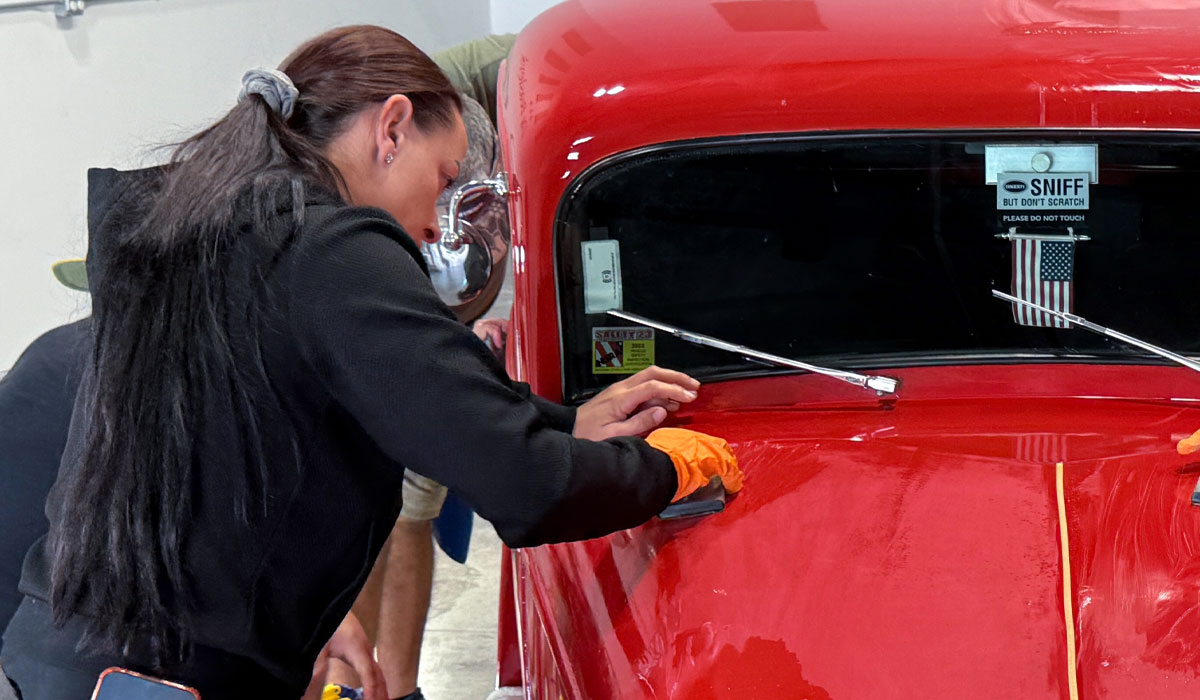
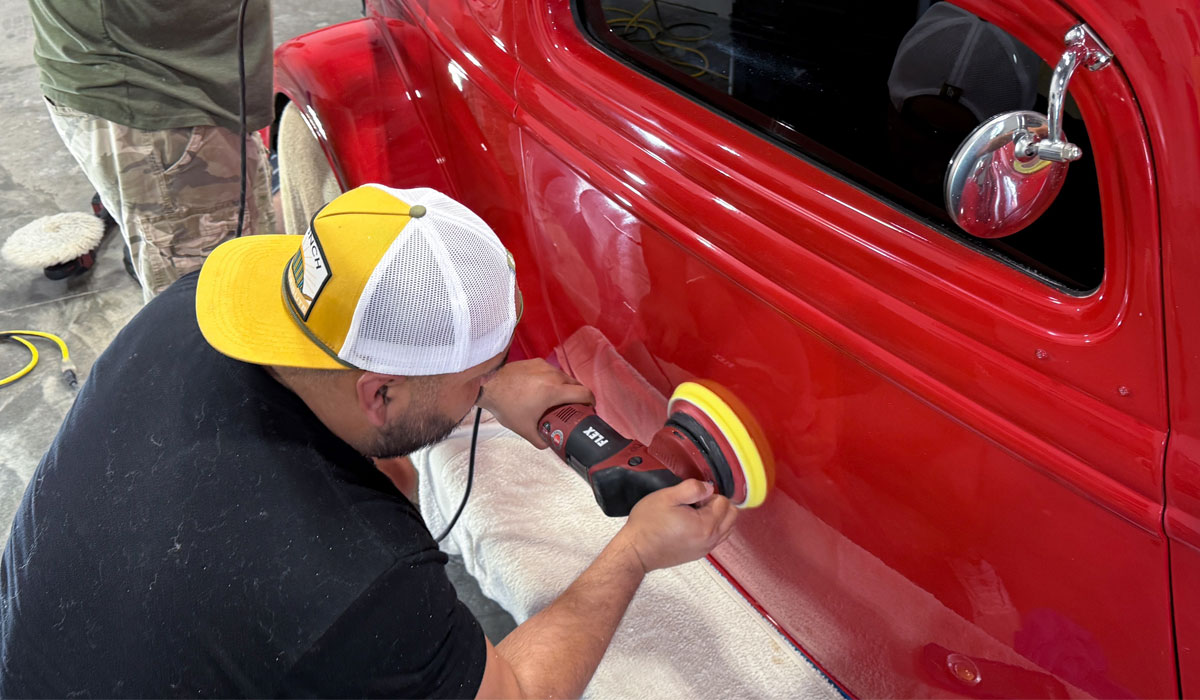
Here's Veronika doing the paint correction to the air scoop on the 1977 Can Am. Also note the PowerPoint presentation on the wall behind her. A single slide per car, that's it. And what a lot of students do is take a picture of each slide to help them remember everything we used and everything we did to each car.
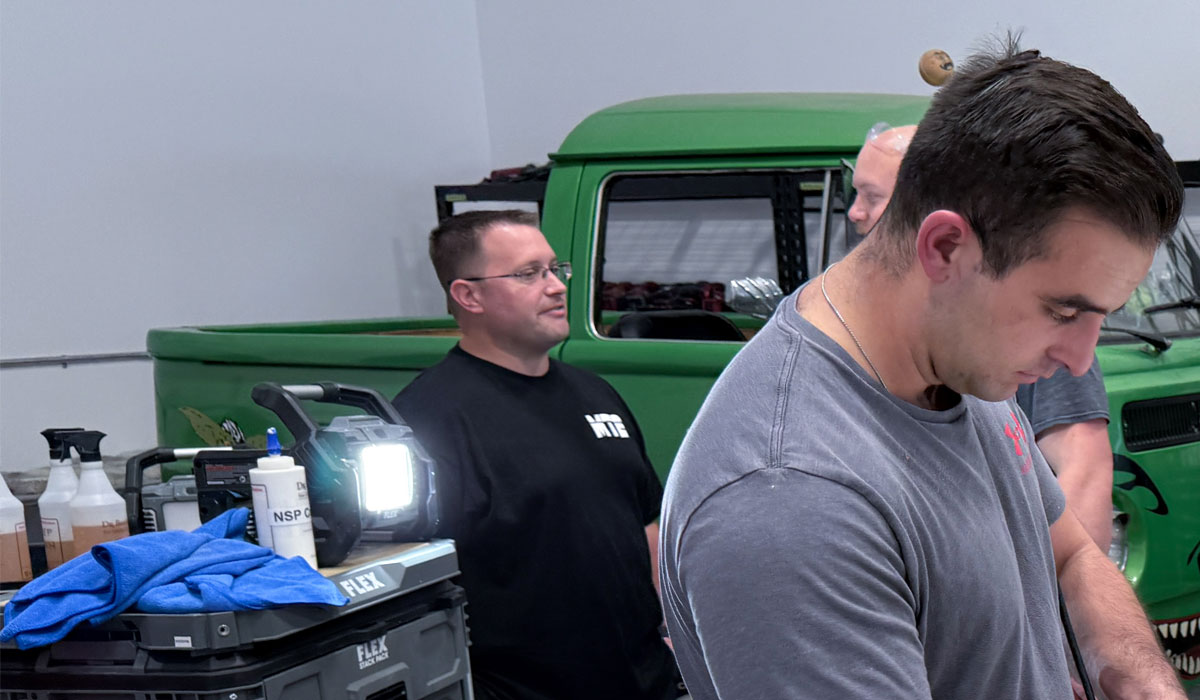
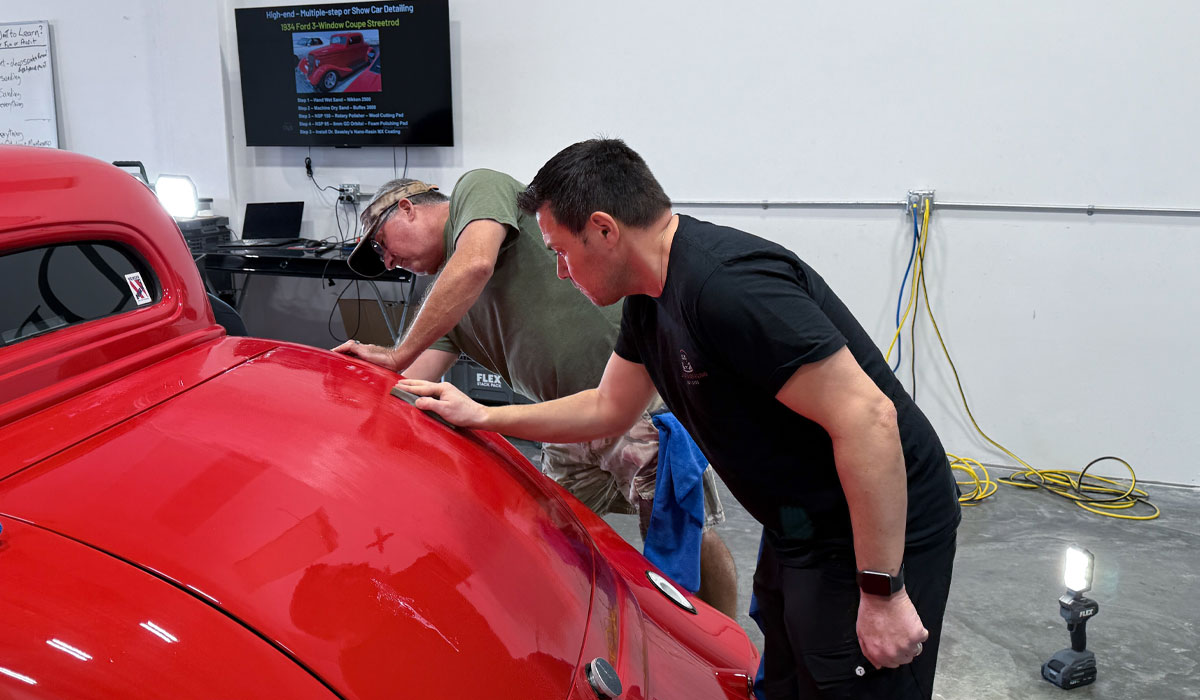
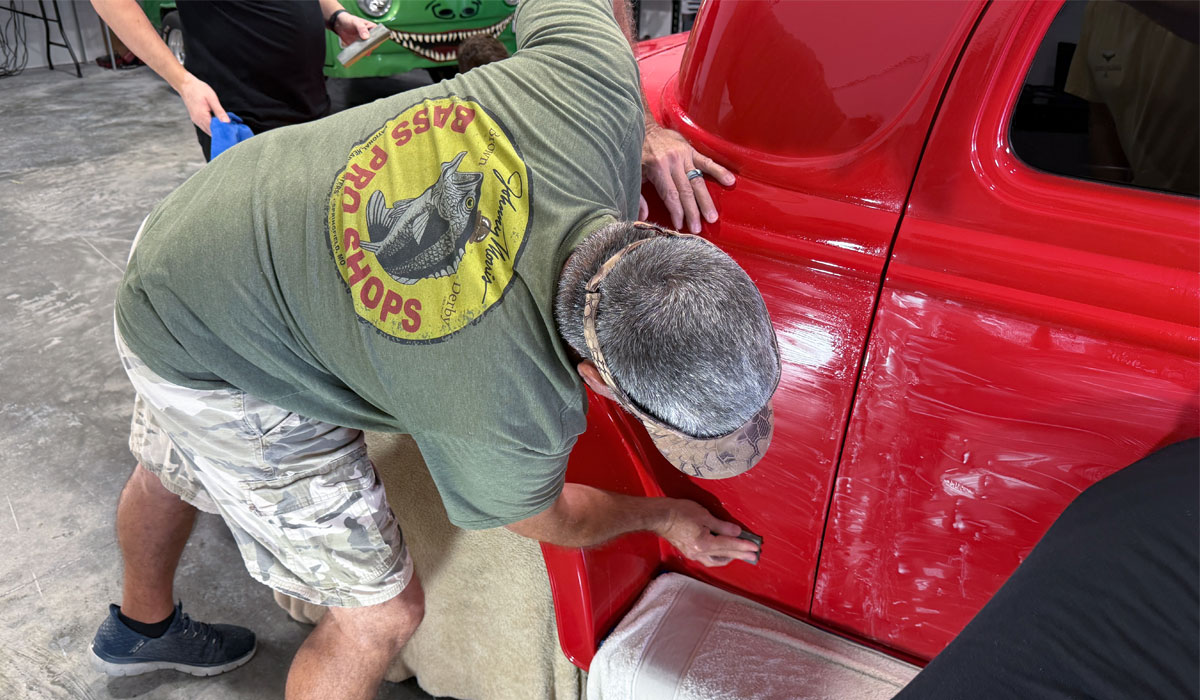
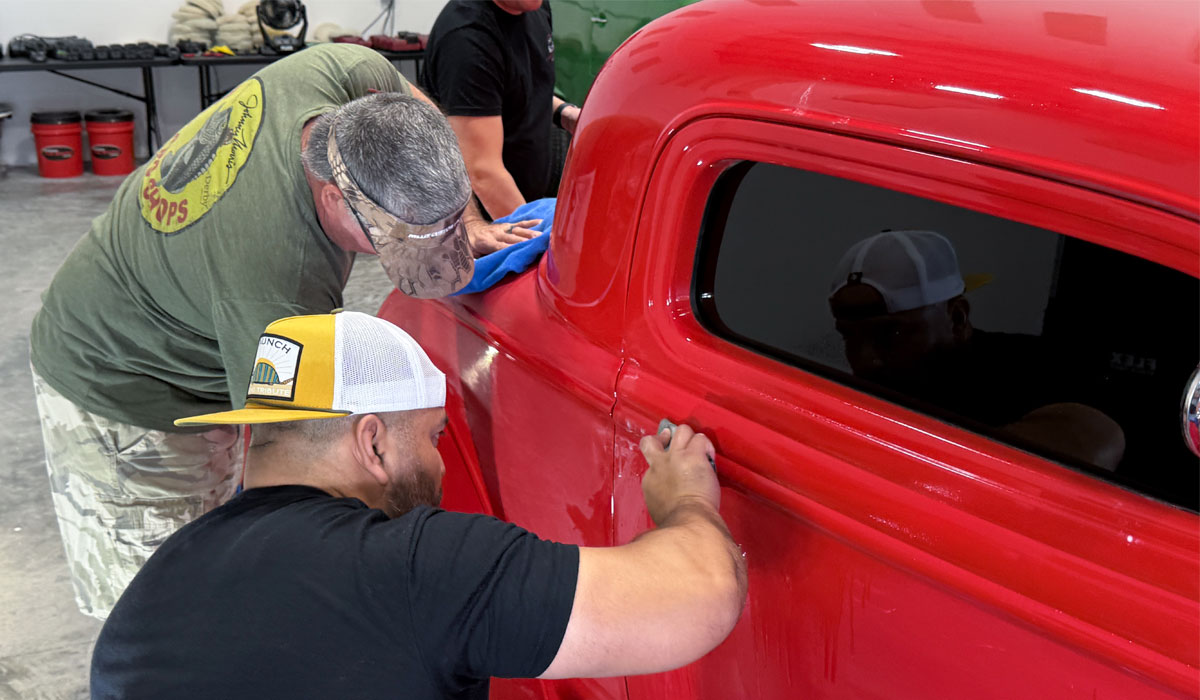
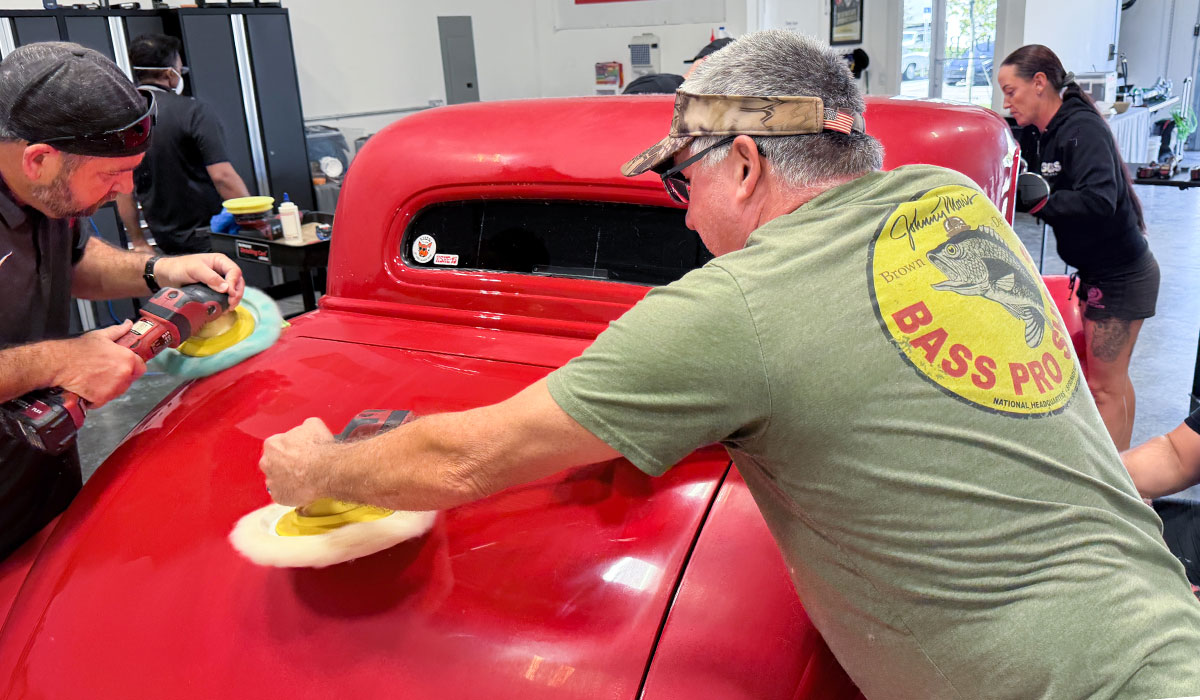
Here's Craig, (holding the swirl finder light), who is my long-time friend and total automotive gearhead. Here's Craig working with Dennis to inspect the results from his work.
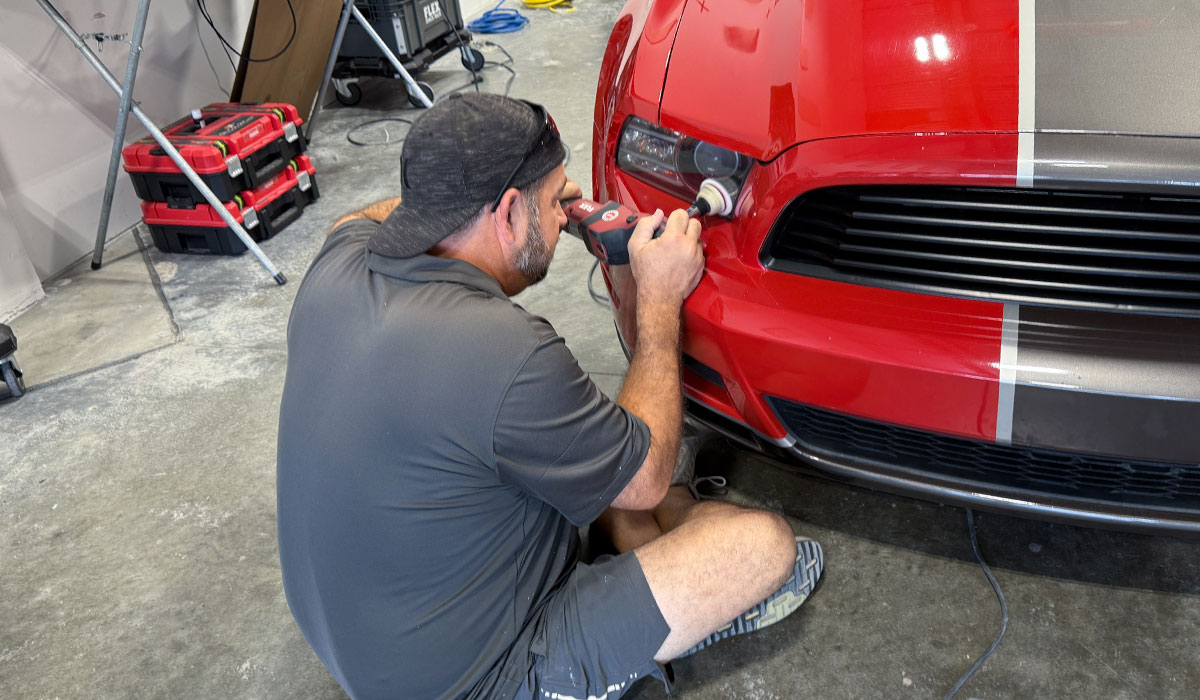
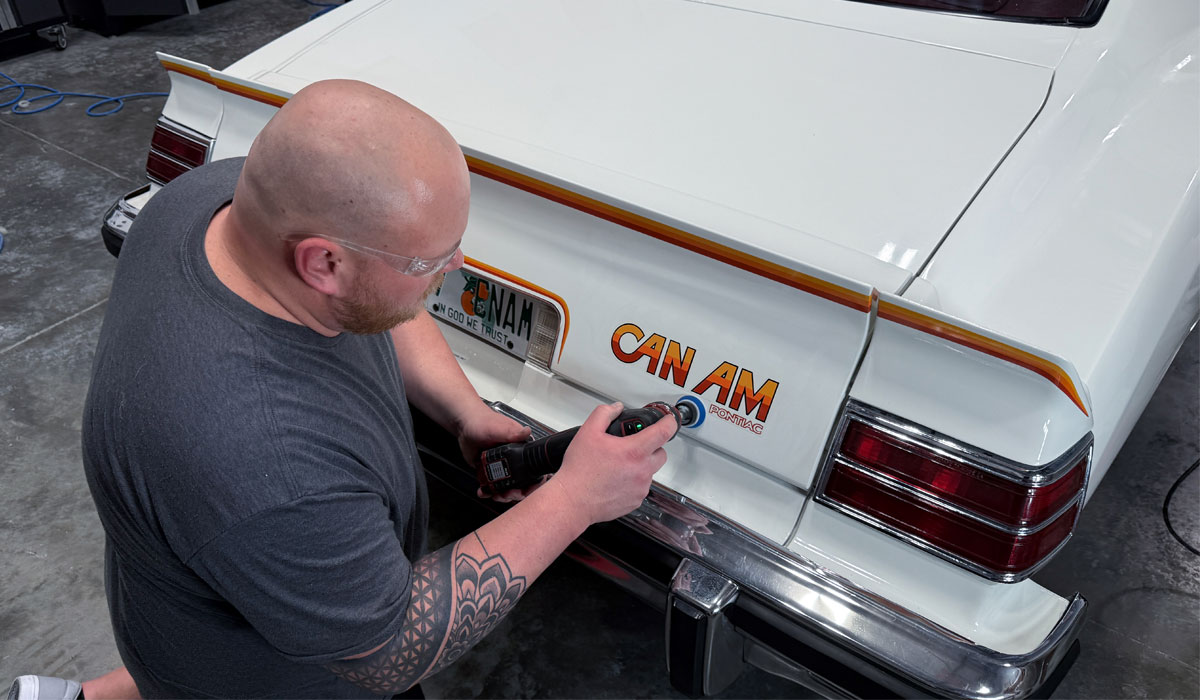
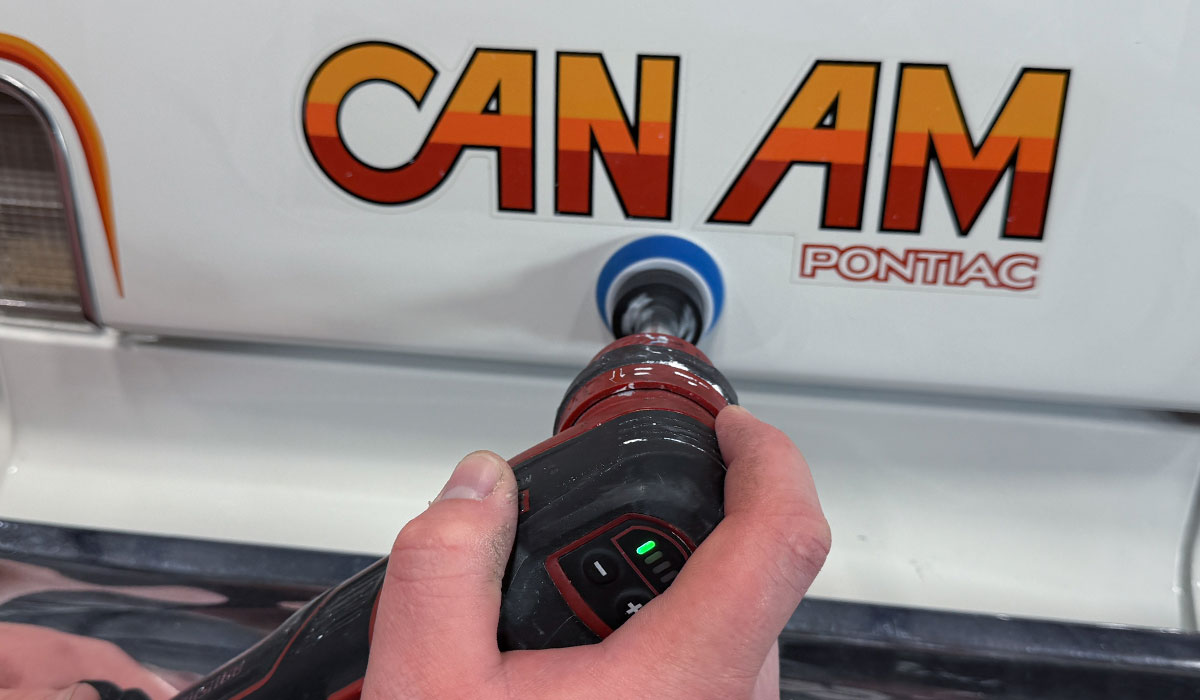
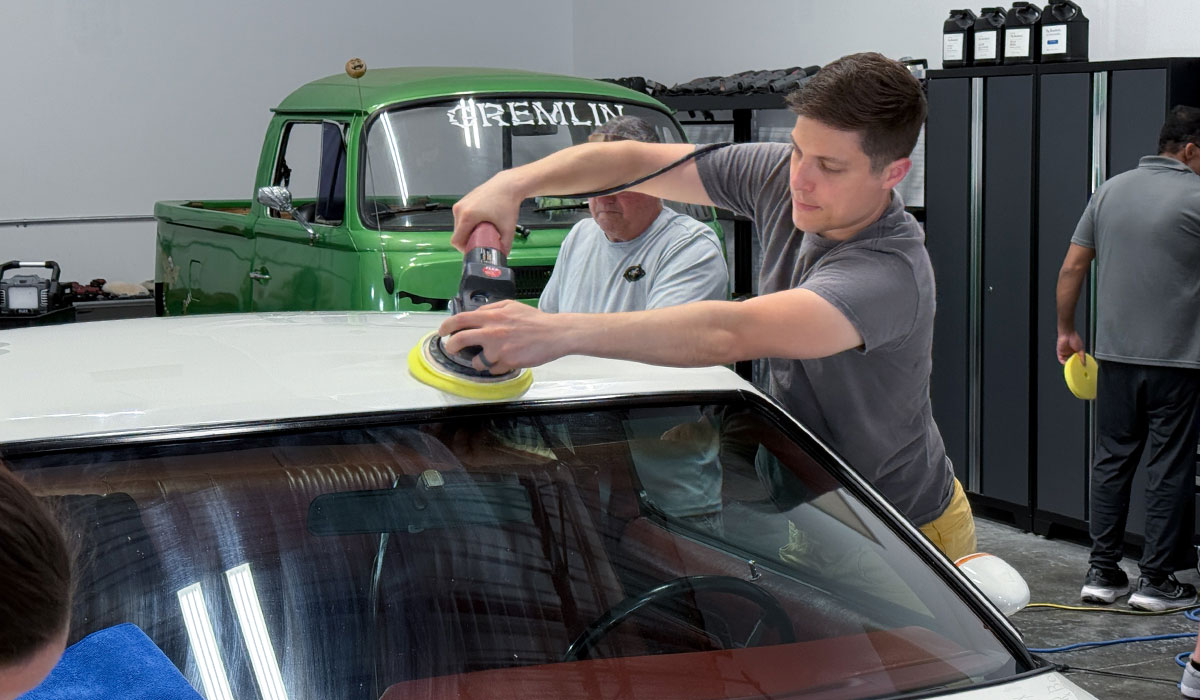
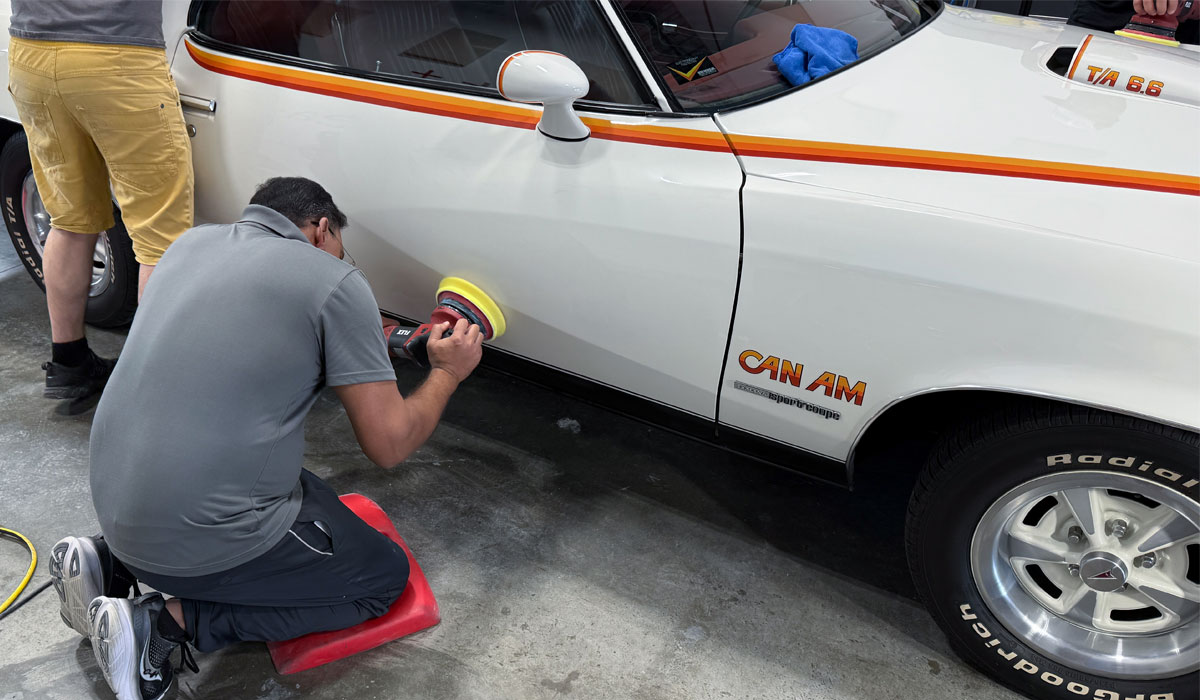
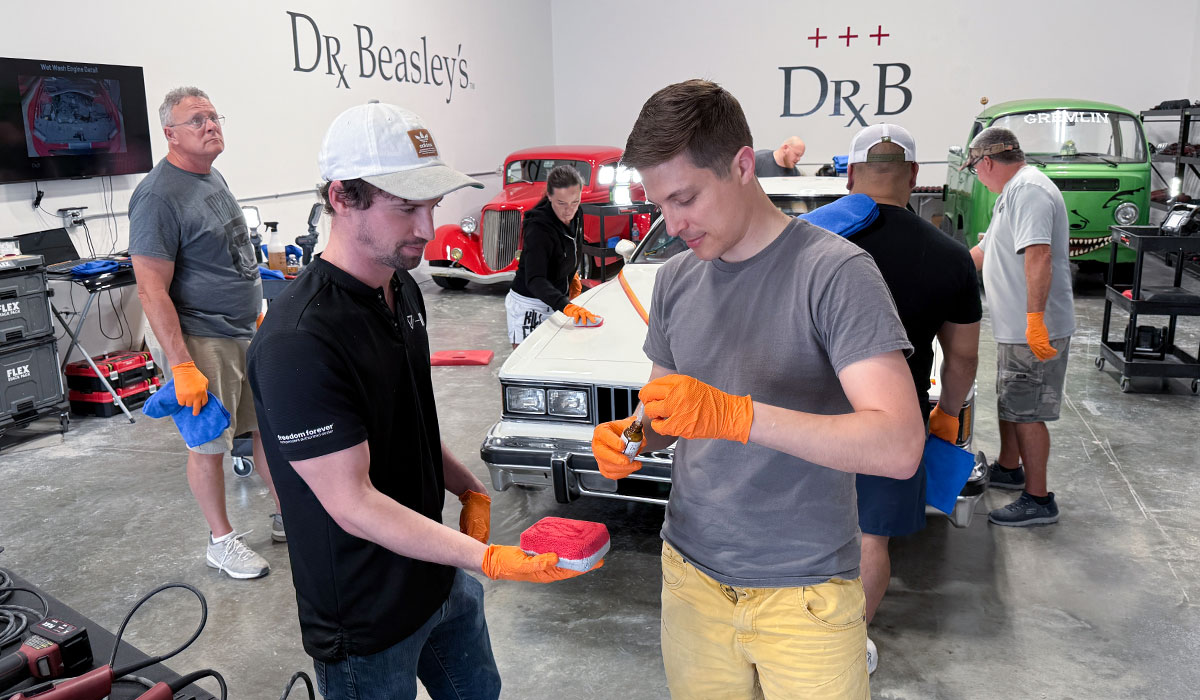
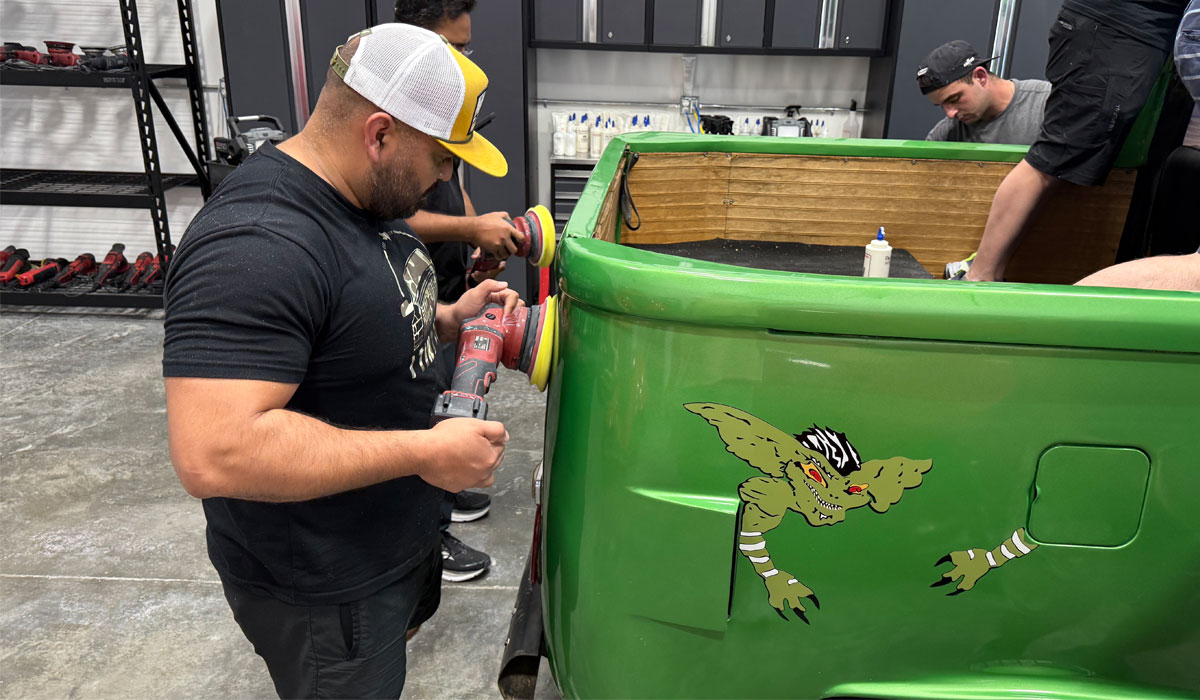
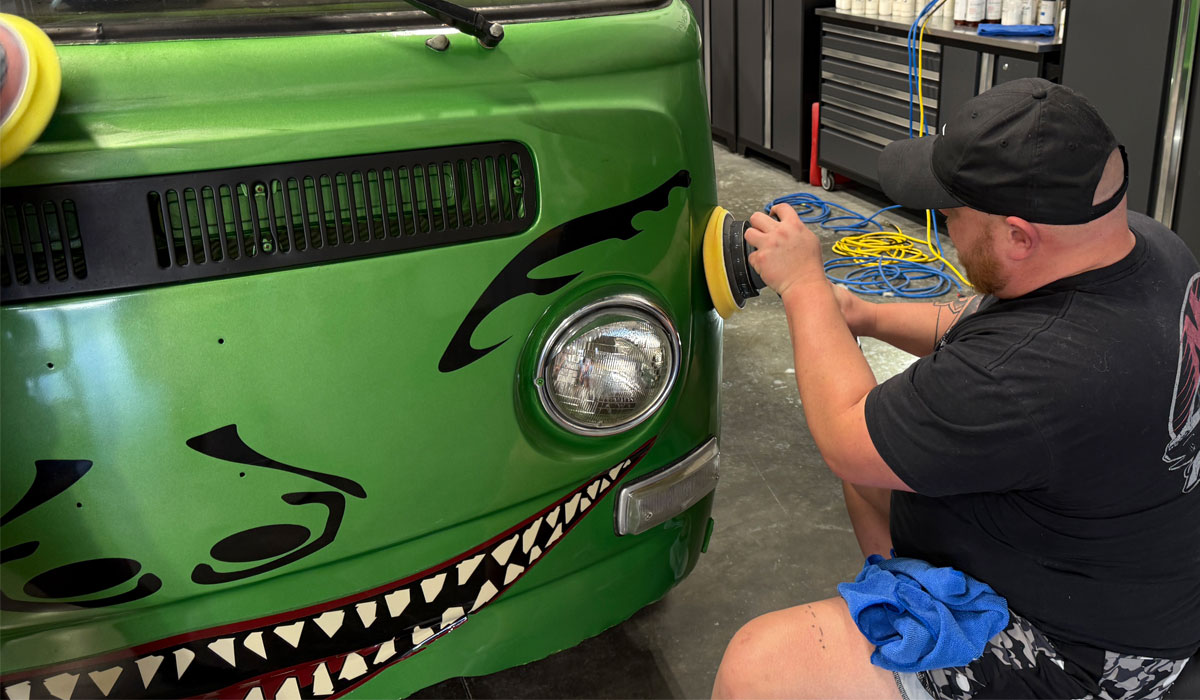
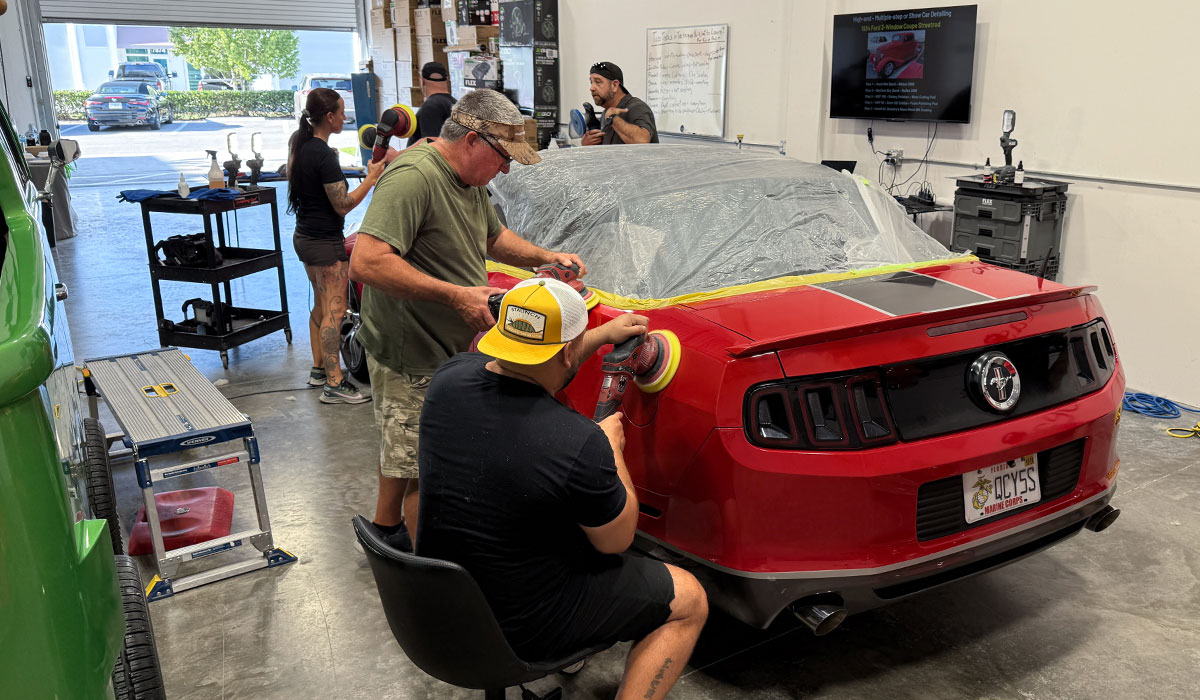
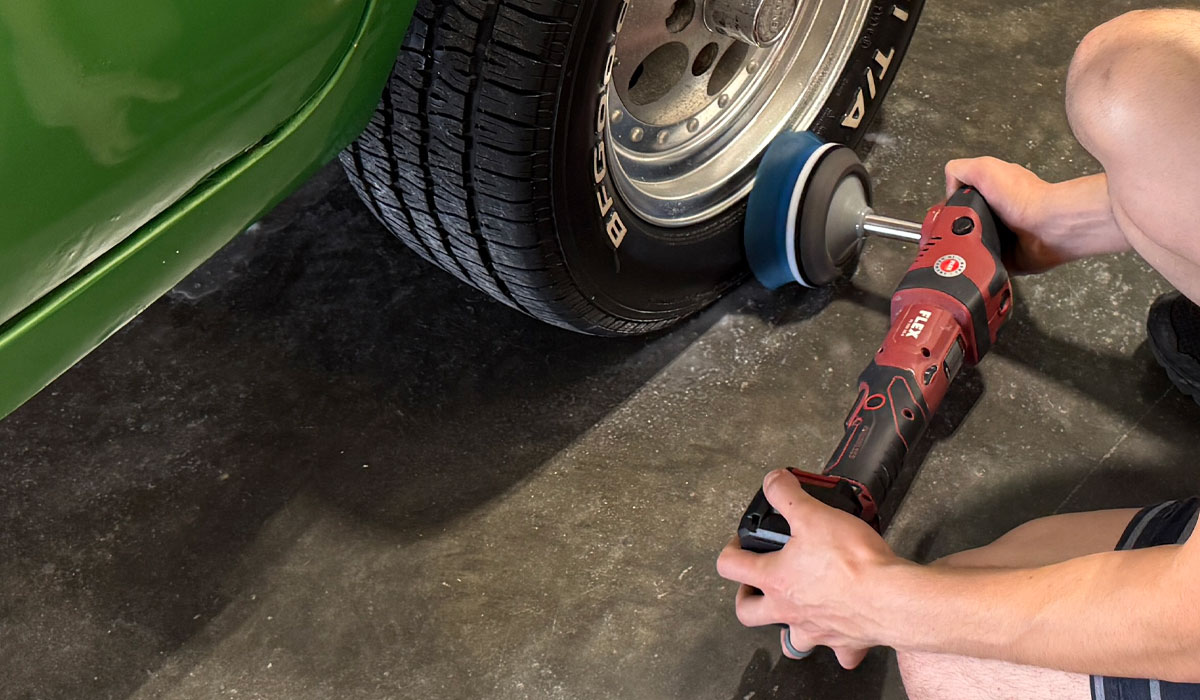
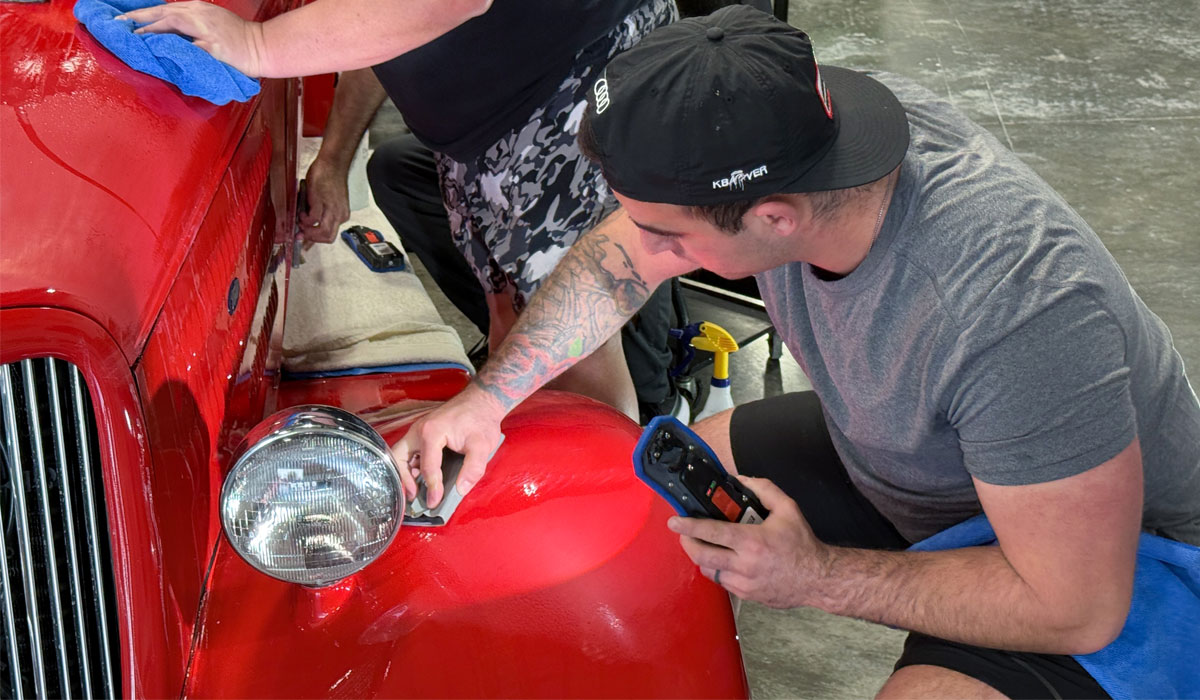
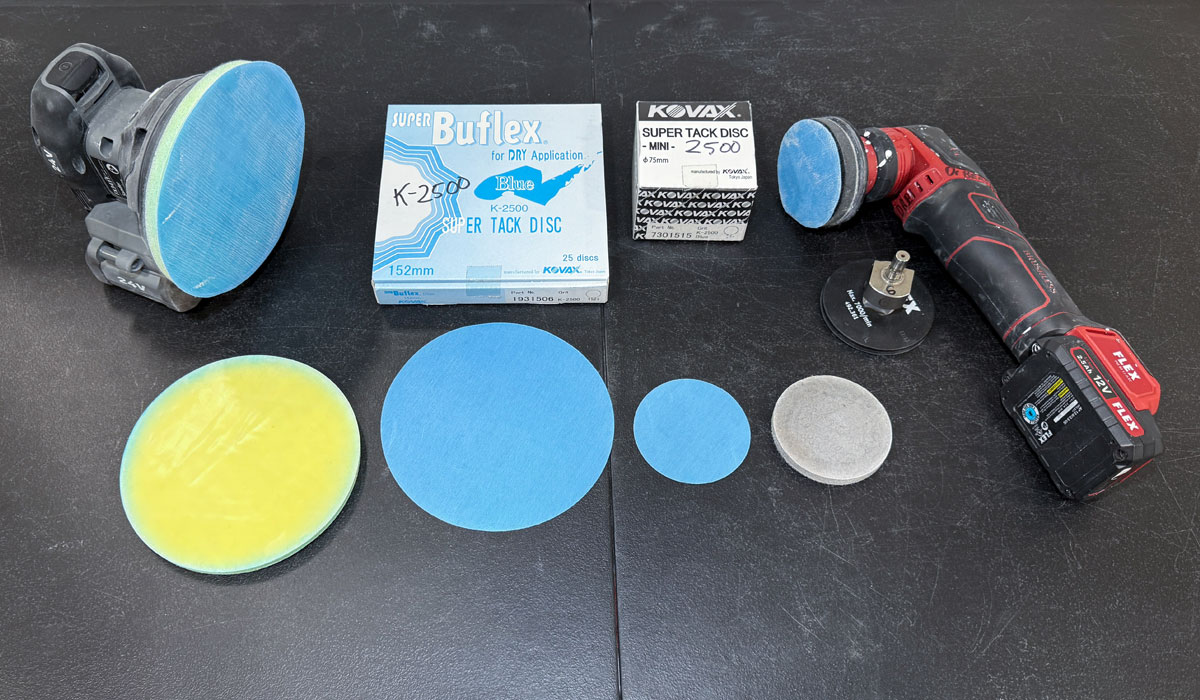
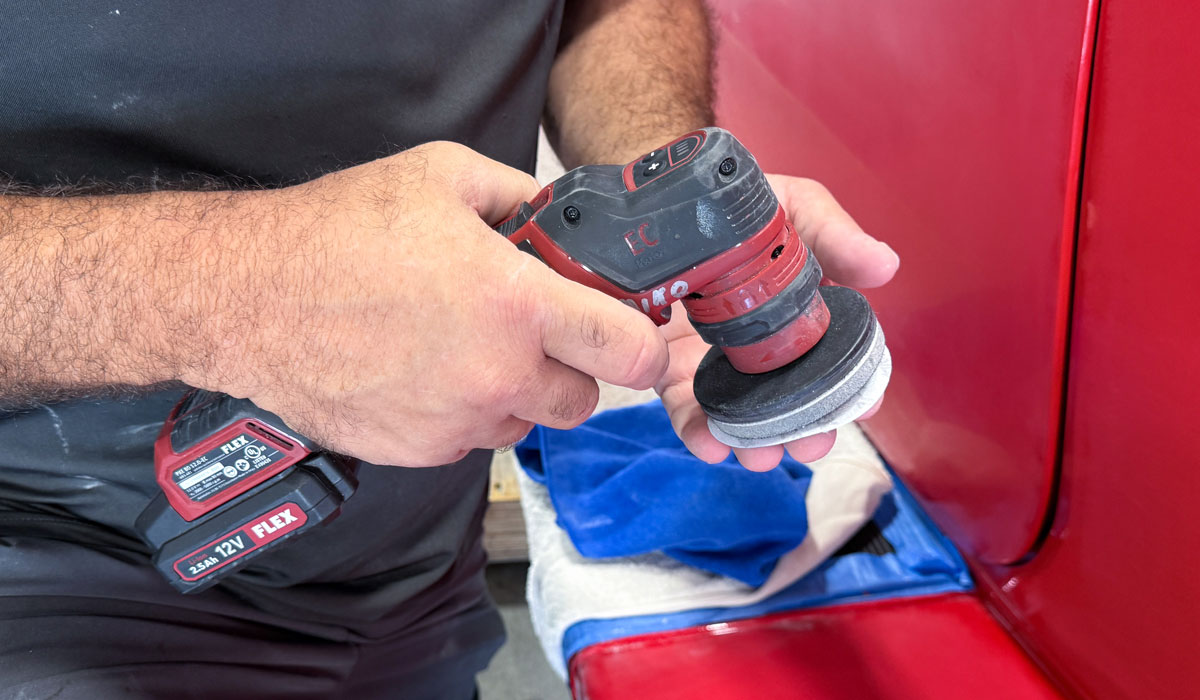
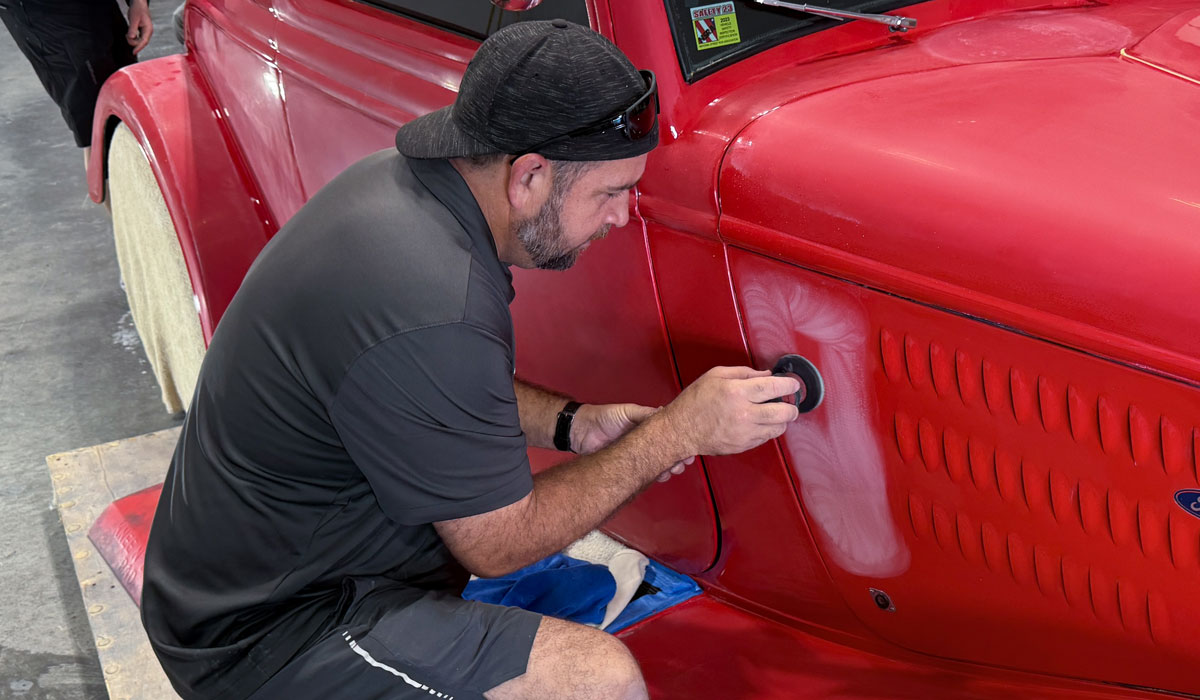
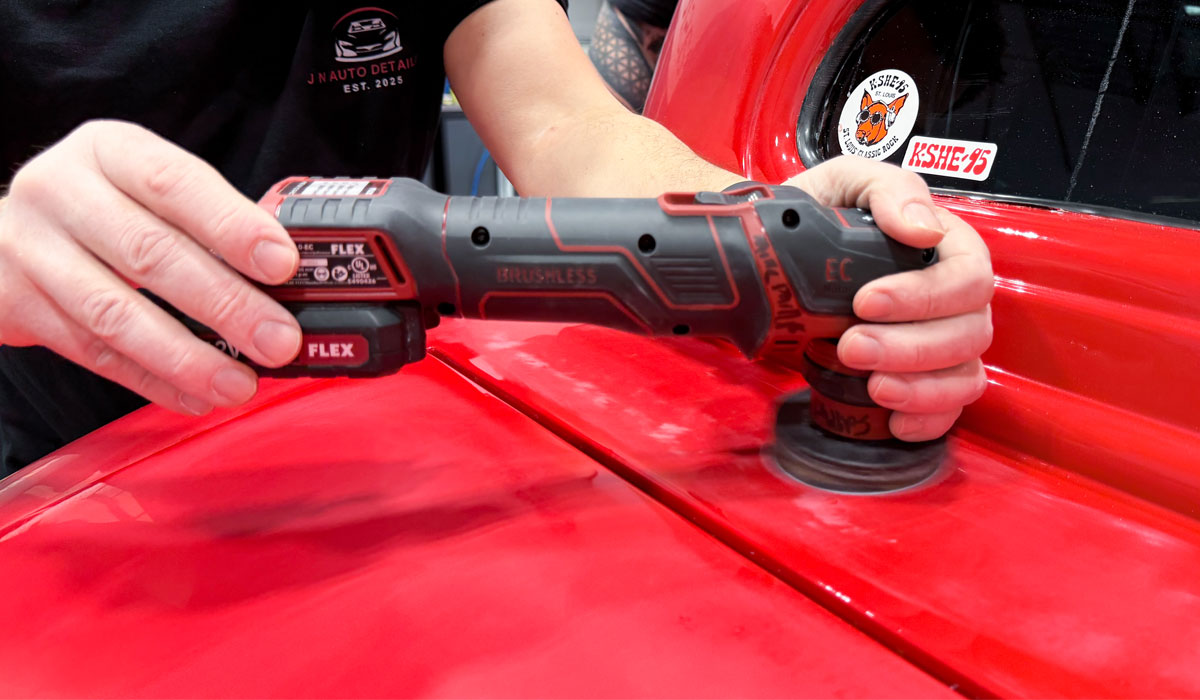
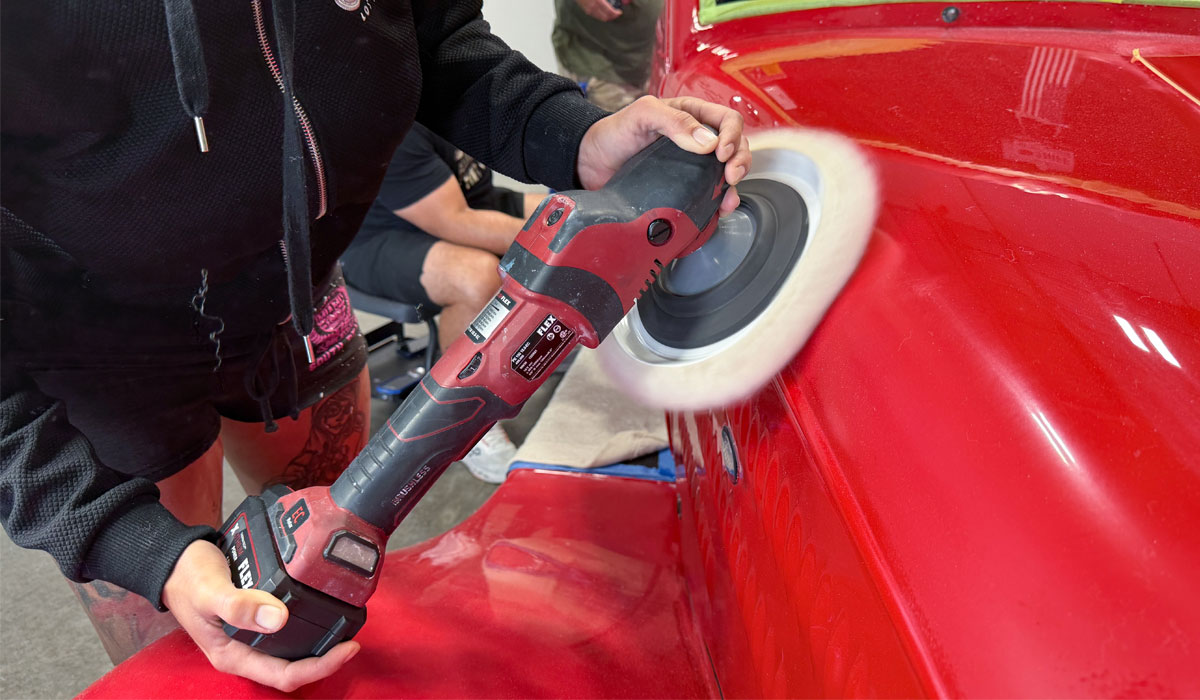
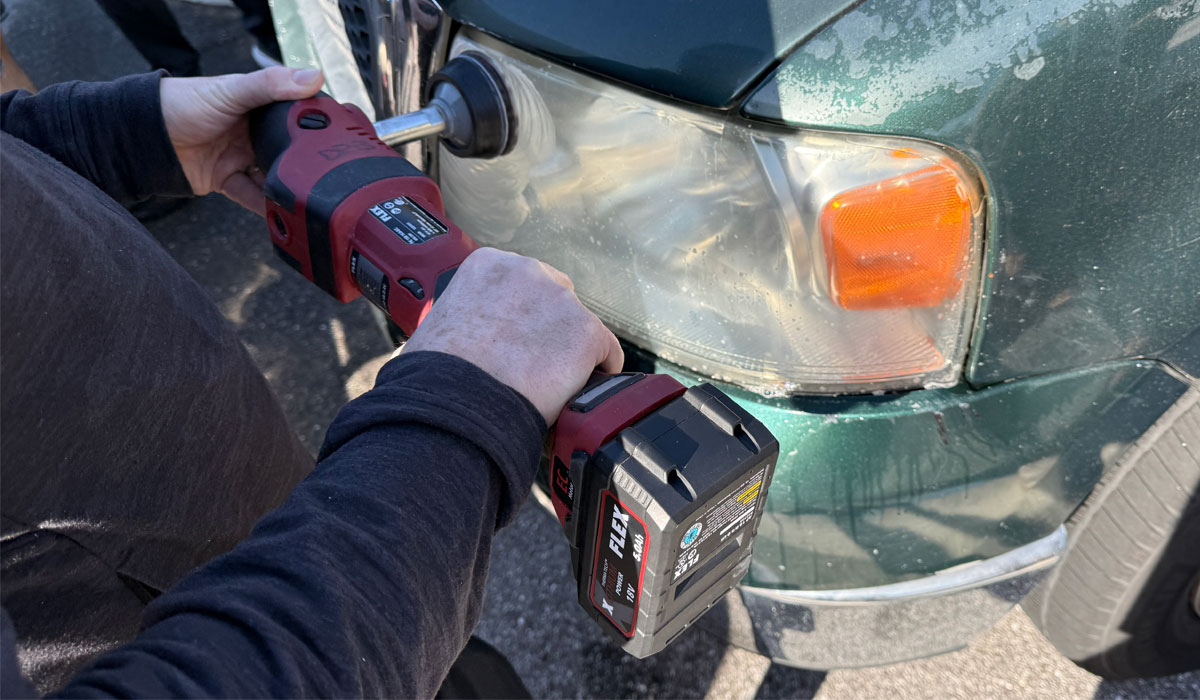
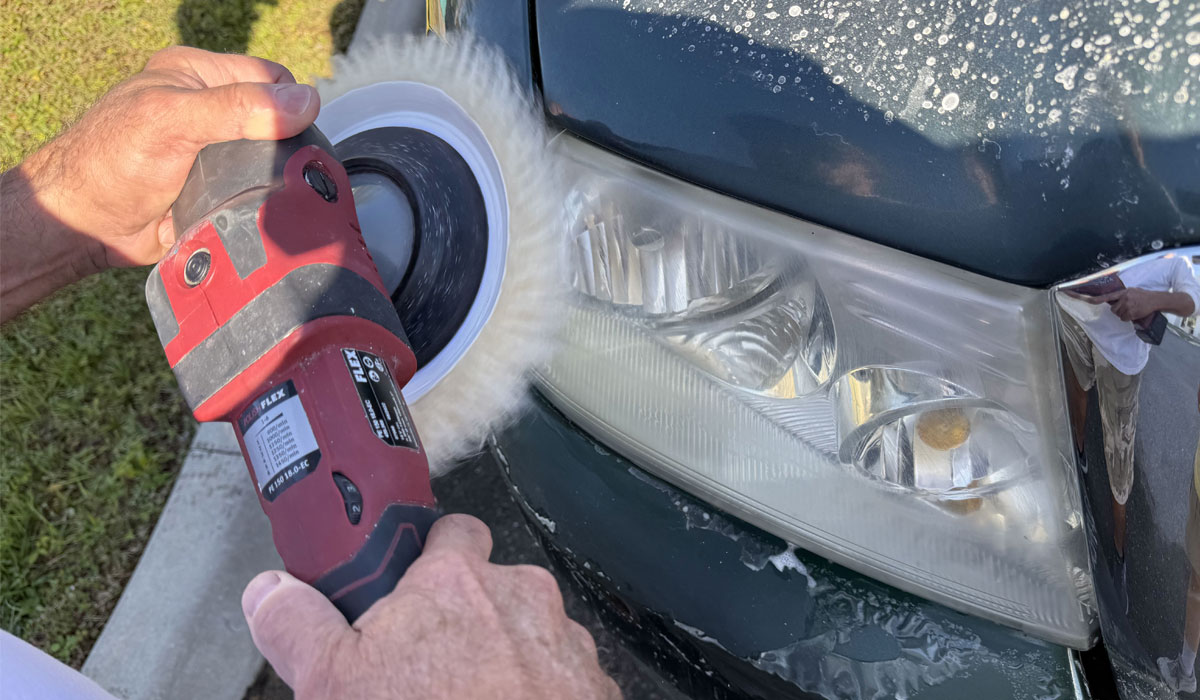
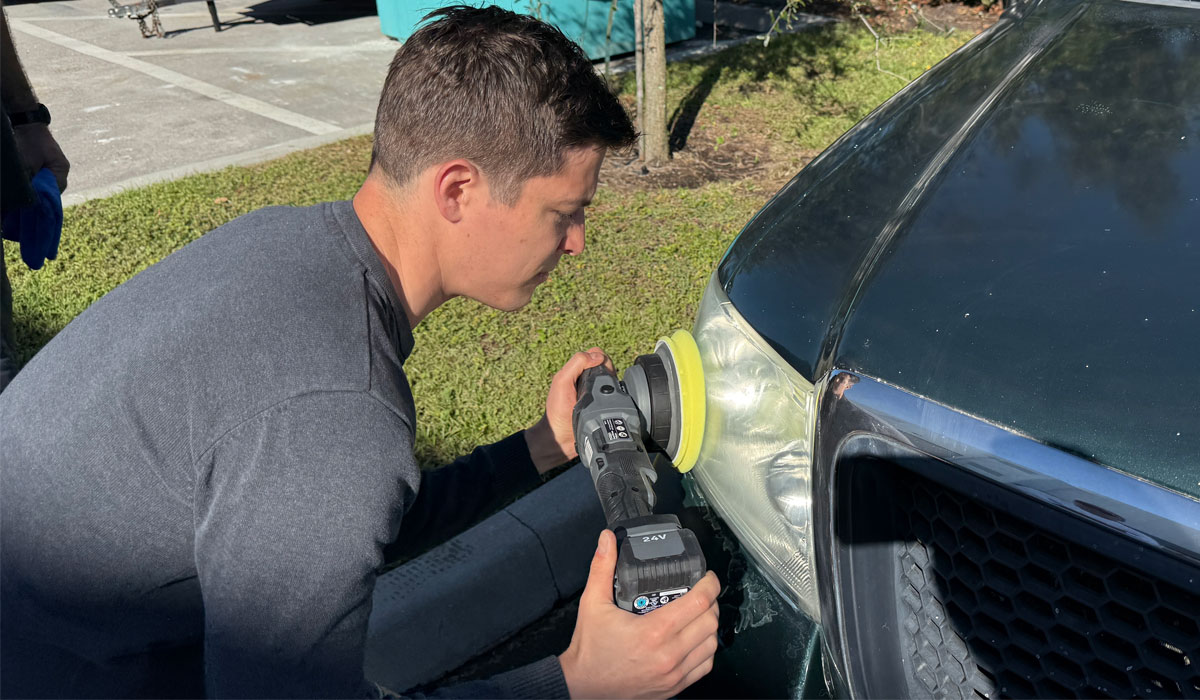
FLEX PXE-80
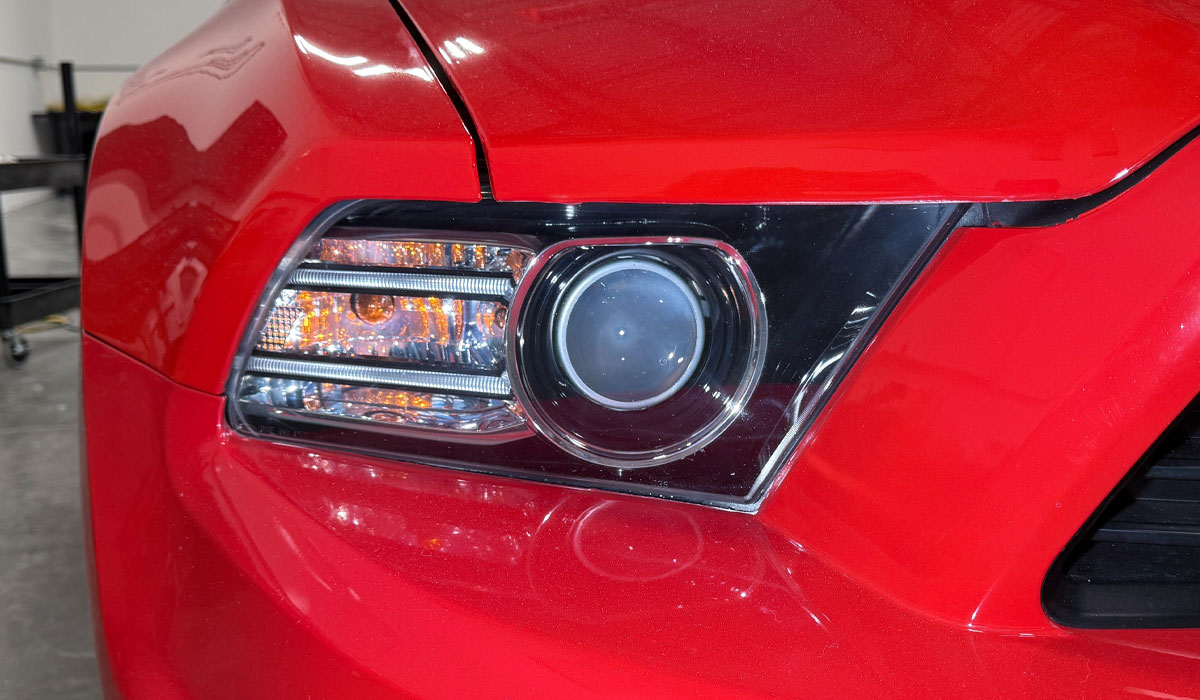
When you need to buff out thin panels or work around different components, or in this case work around the vinyl graphics, it's hard to beat a micro-tool like the FLEX PiXiE in rotary mode with a 3" extension. When you take one of our classes, you get a chance to use a wide range of tools. This gets you hands-on time with tools perhaps you've never used before you ever make a purchase. This way you know what you like and what you don't like, and you can avoid wasting time and money.
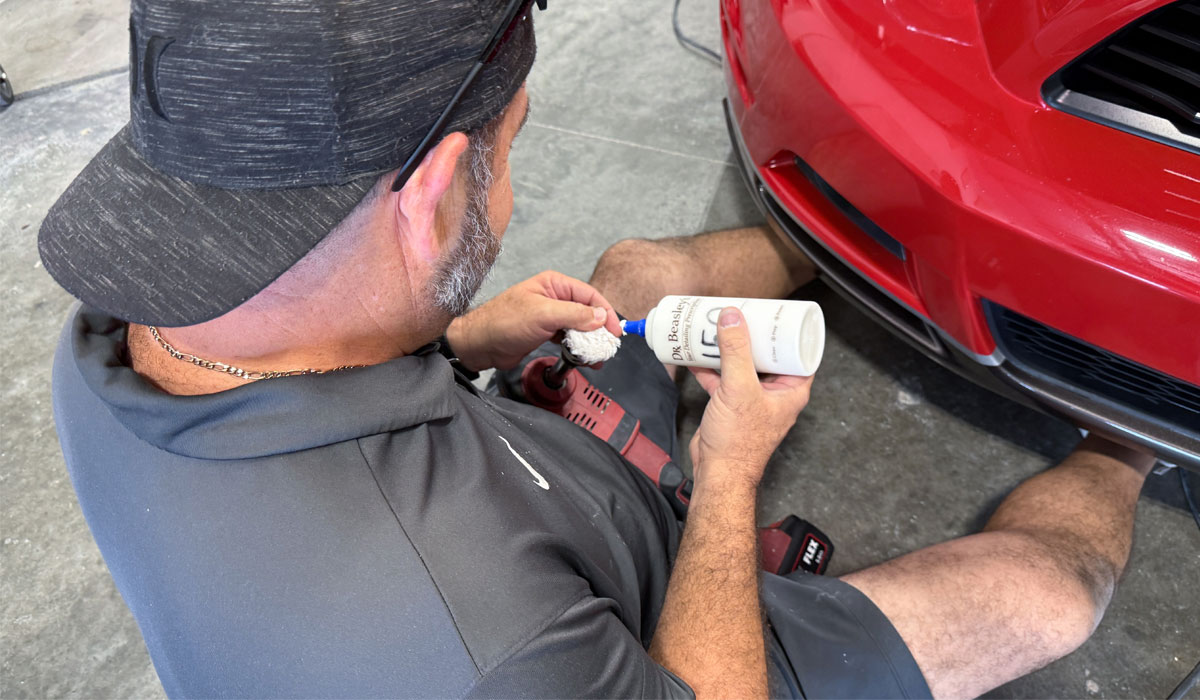
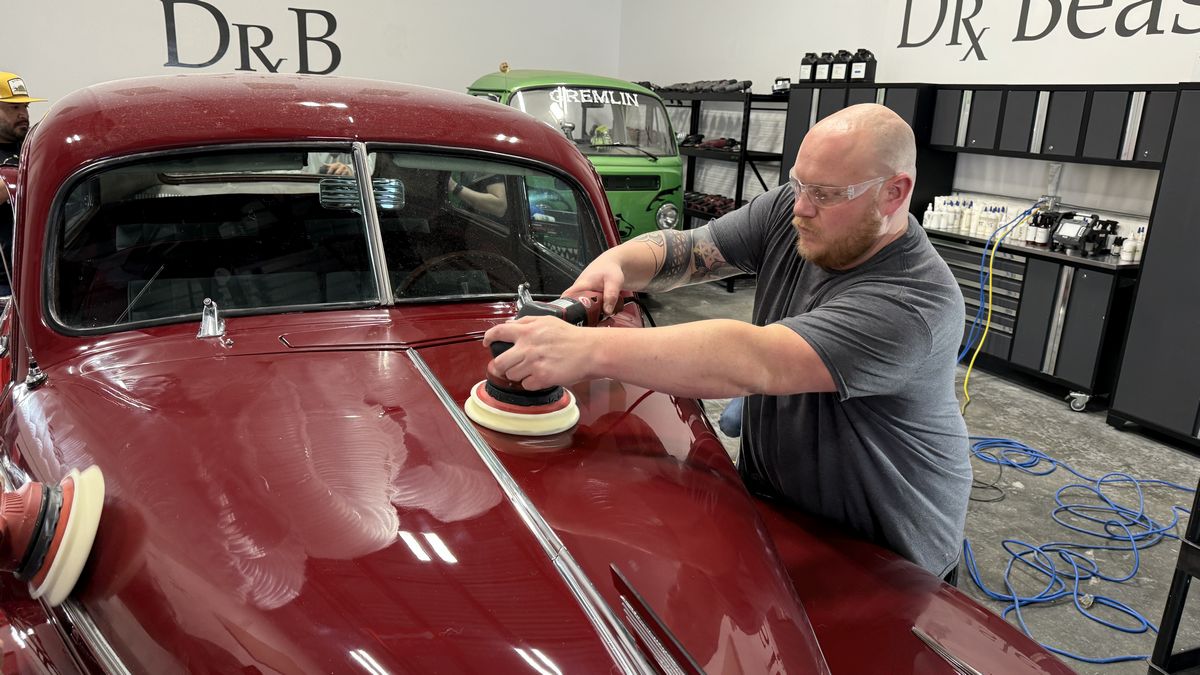
Mike


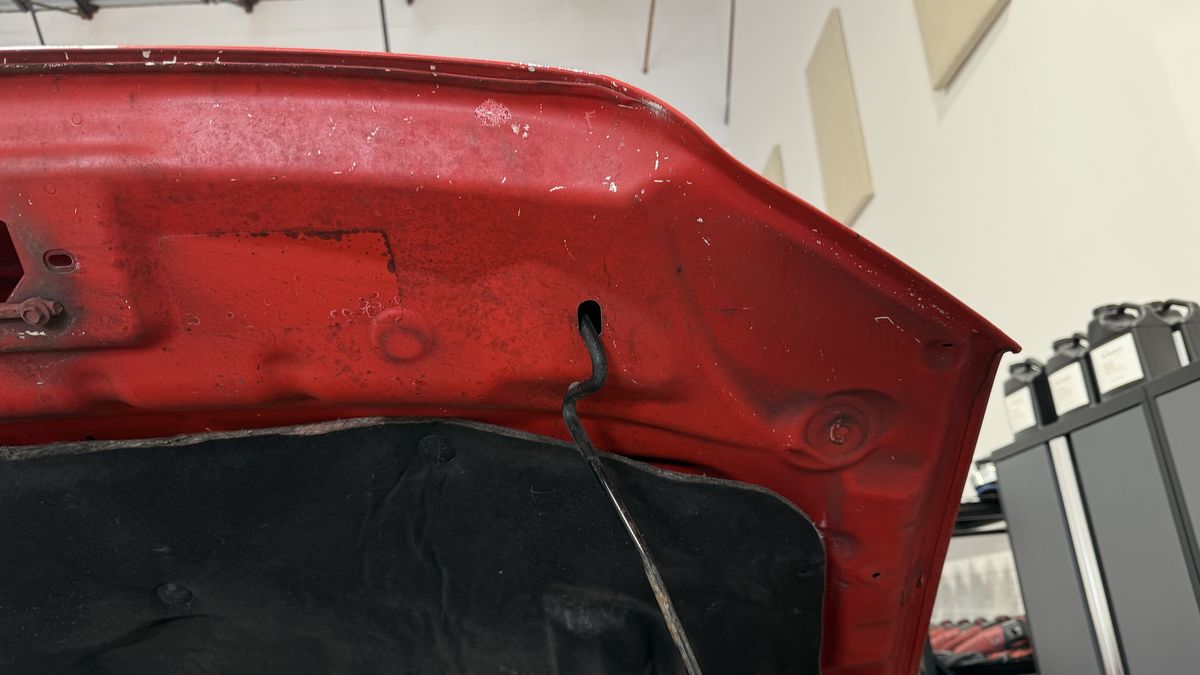
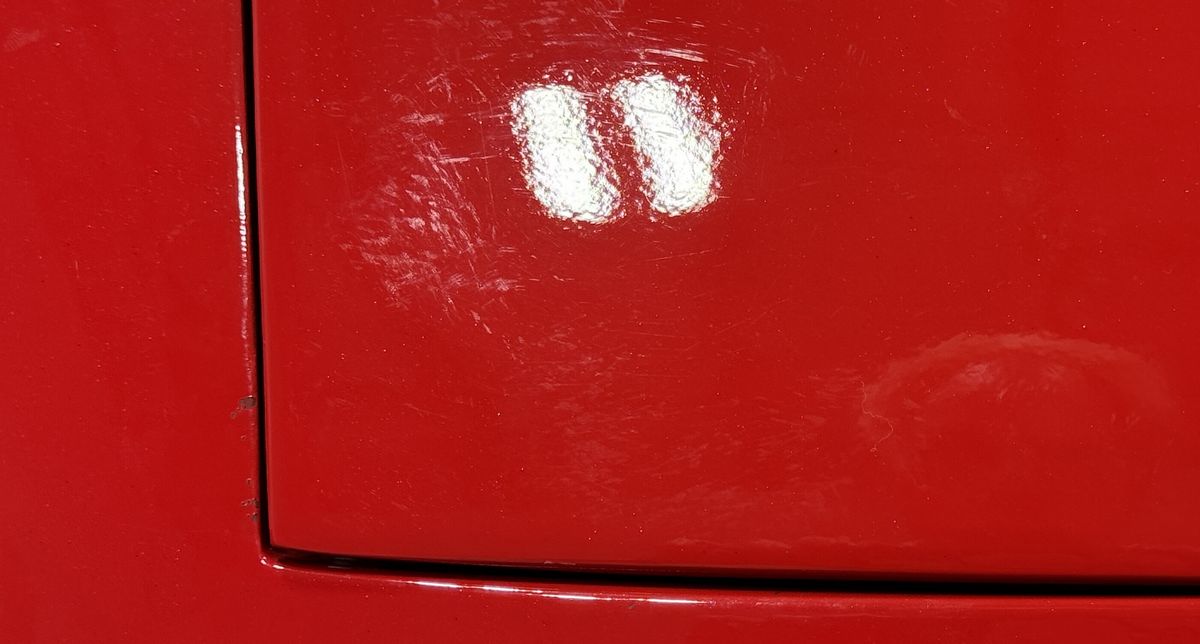
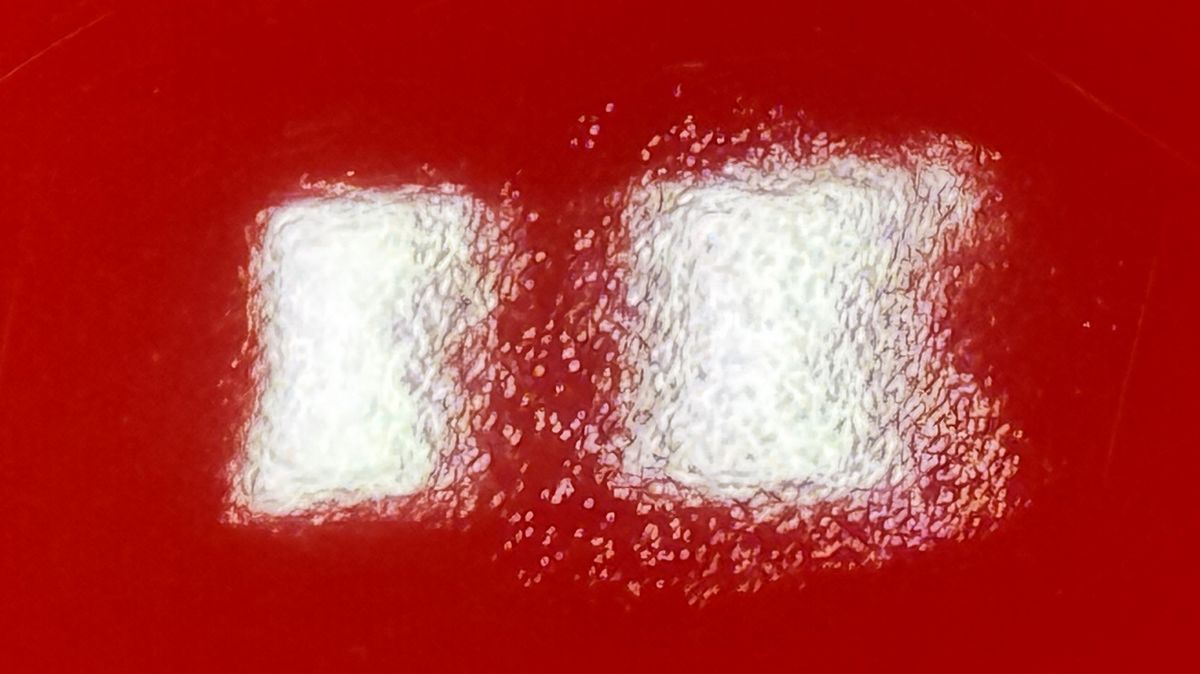
 peel and runs in paint.


")