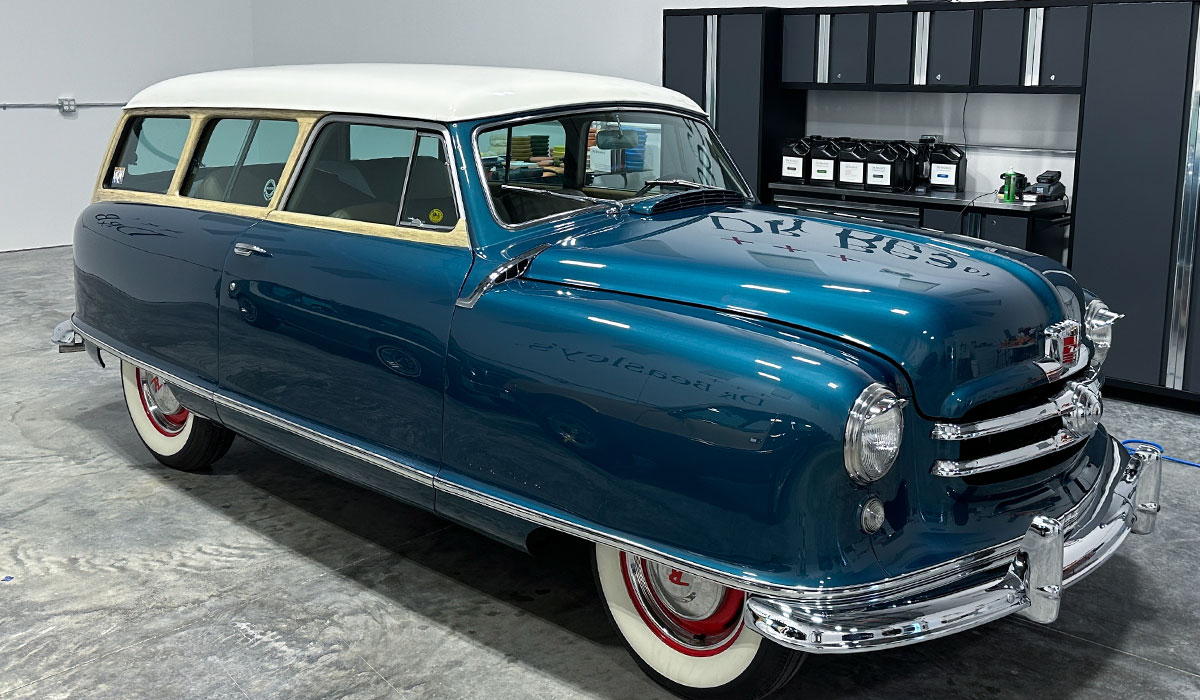
"This old Euro" Should be the name of your youtube series. ") That 959 is a true unicorn. Absolutely beautiful work and a stellar color.
That 959 is a true unicorn. Absolutely beautiful work and a stellar color.
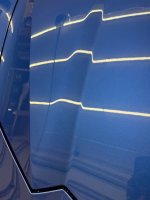
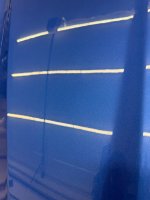
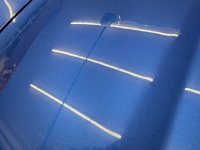
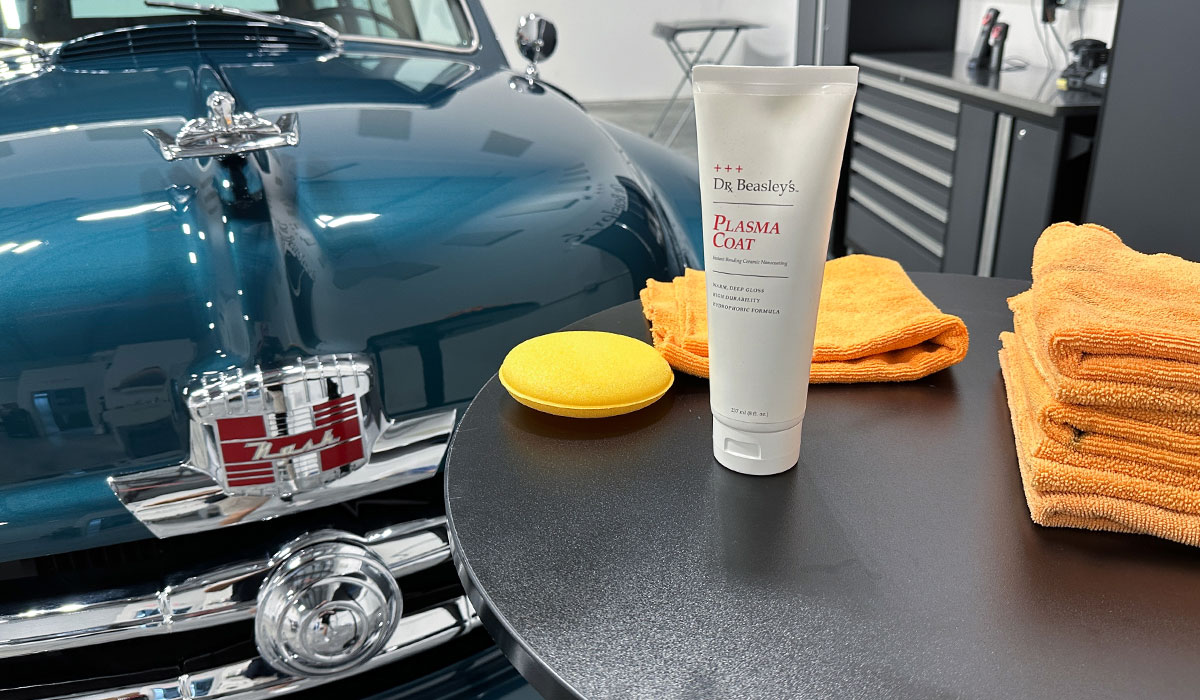
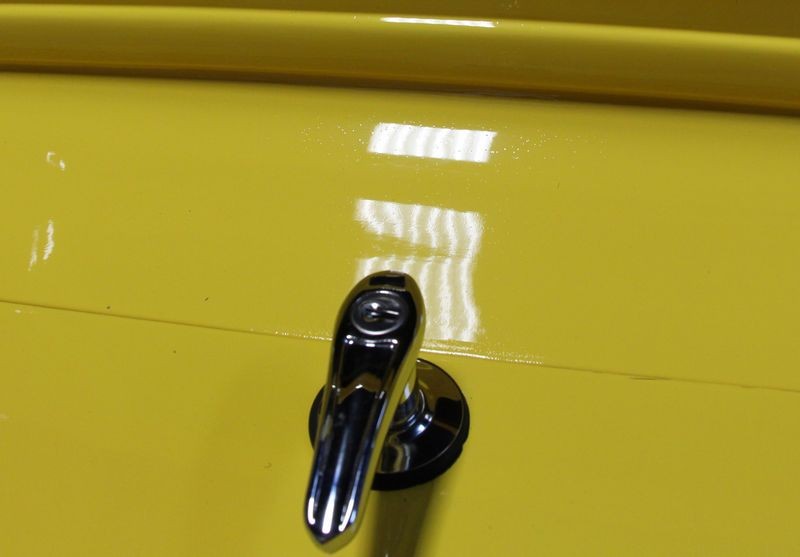
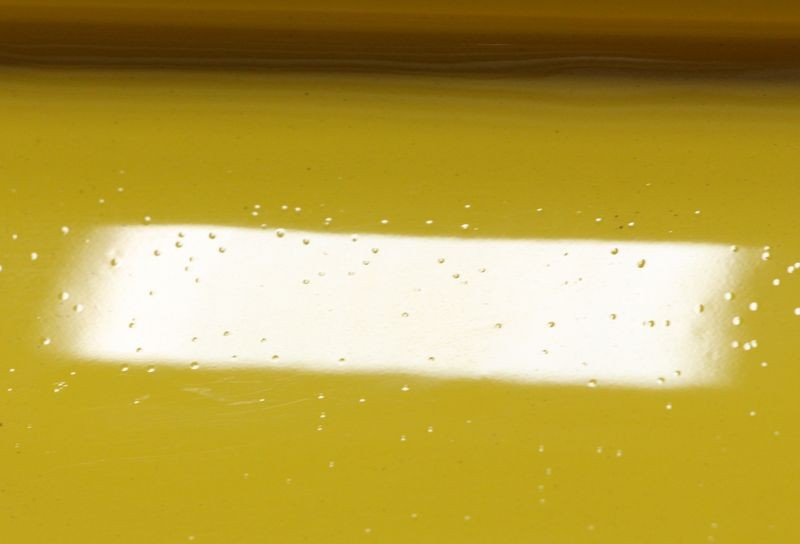
Your guidance around my issue was amazing. Thank you so much Mike! It took some "tuning" with the pad and compound combination to get it fixed but, I was able to pull the scratches out of the hood on my car. As part of the tuning I also upped the speed on the gear drive 8mm to 5 or 6 and added some pressure. It took me a few sessions over the weekend to get it done. It was 90F out in my workshop so I cut the sessions down to an hour at a time or so to prevent turning into a human raisin. The end result is buttery smooth paint and I'm super happy with it. With the scratches gone, I am now noticing some pitting damage likely from prior to my ownership since I haven't driven car all that much. I dont think theres any correcting the pitting short of a re-clearing but thats outside the scope of what im shooting for right now. I think I'm all set to coat it with Dr Beasley's Plasma Coat tonight. Ill post some before and after pics if thats of interest? For now heres a quick update pic on the area I originally highlighted that was scratched. Thanks!
-DK
That 959 is a true unicorn. Absolutely beautiful work and a stellar color.Your guidance around my issue was amazing. Thank you so much Mike! It took some "tuning" with the pad and compound combination to get it fixed but, I was able to pull the scratches out of the hood on my car. As part of the tuning I also upped the speed on the gear drive 8mm to 5 or 6 and added some pressure. It took me a few sessions over the weekend to get it done. It was 90F out in my workshop so I cut the sessions down to an hour at a time or so to prevent turning into a human raisin. The end result is buttery smooth paint and I'm super happy with it. With the scratches gone, I am now noticing some pitting damage likely from prior to my ownership since I haven't driven car all that much. I dont think theres any correcting the pitting short of a re-clearing but thats outside the scope of what im shooting for right now. I think I'm all set to coat it with Dr Beasley's Plasma Coat tonight. Ill post some before and after pics if thats of interest? For now heres a quick update pic on the area I originally highlighted that was scratched. Thanks!
-DK