- Admin
- #1
- Joined
- May 21, 2021
- Messages
- 2,530
- Reaction score
- 1,496
- Points
- 113
- Location
- Stuart, Florida
- Website
- themikephillipsforum.com
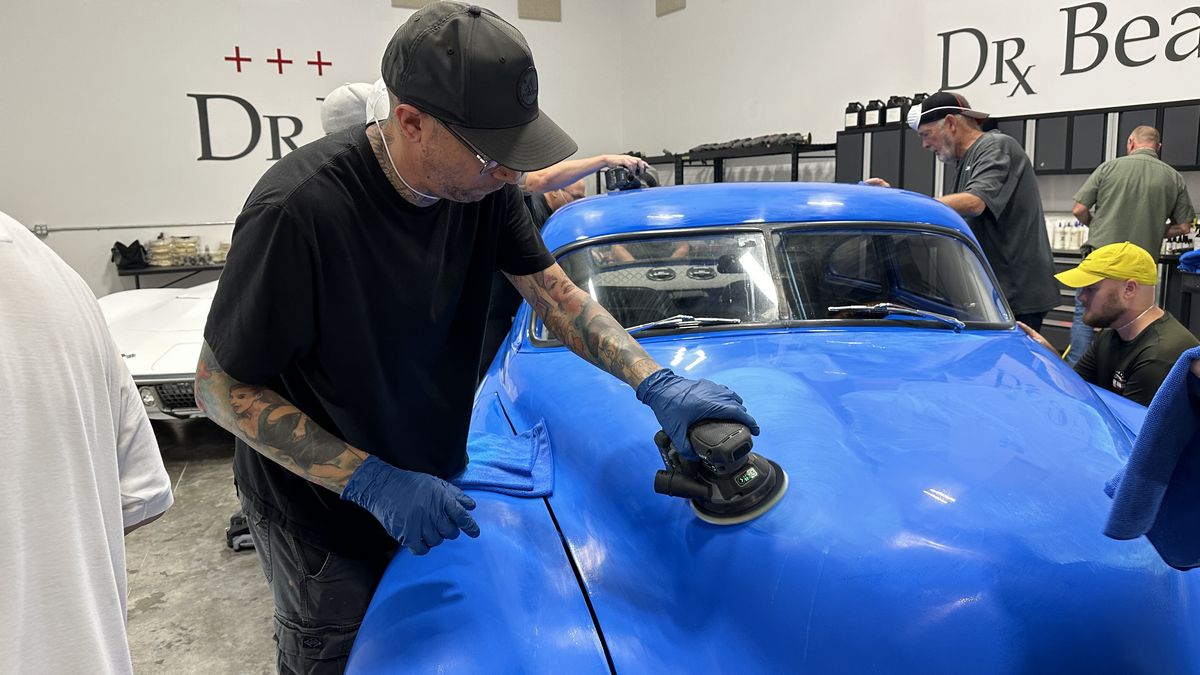
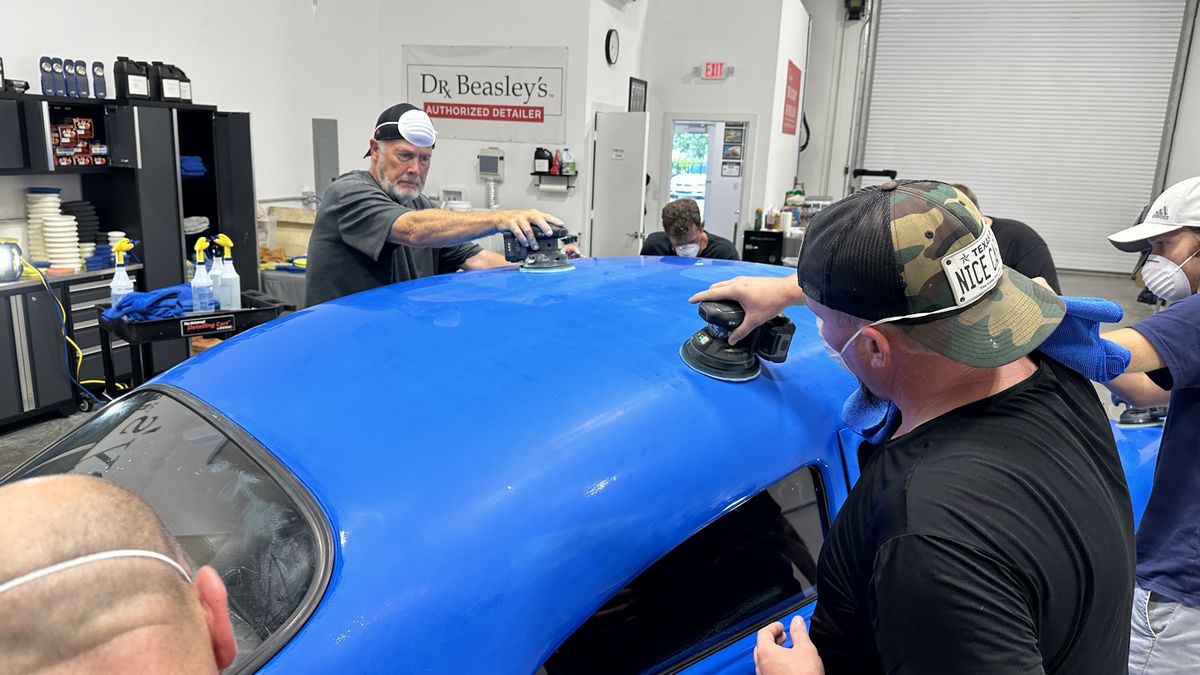
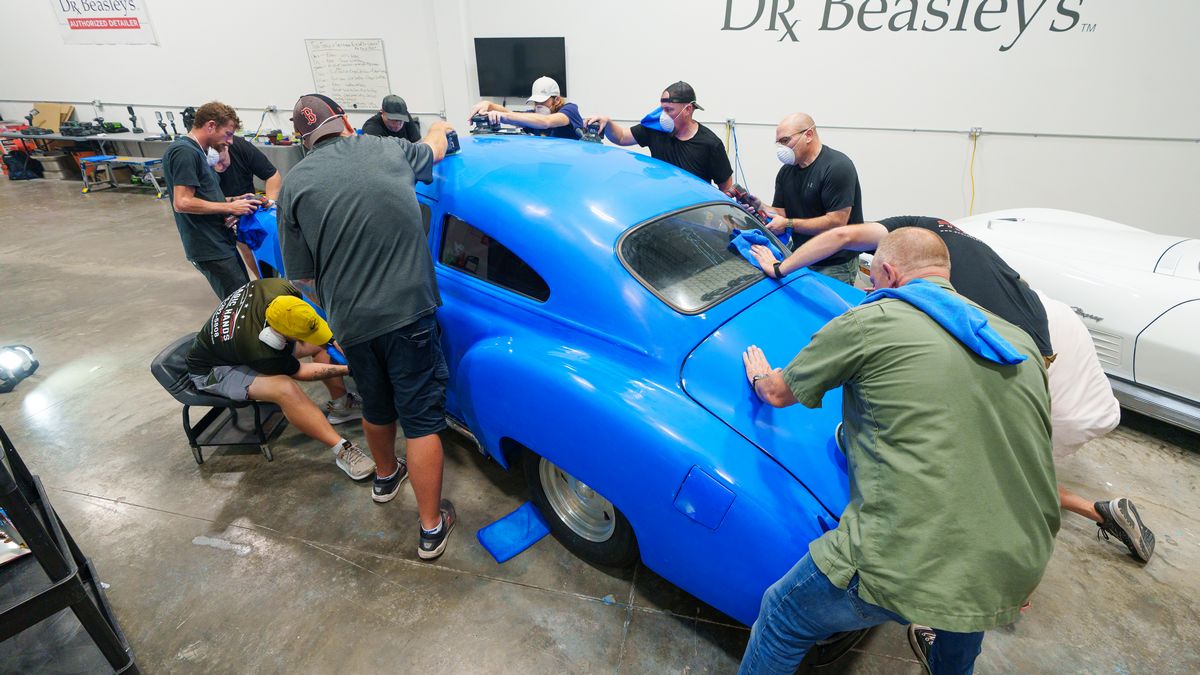
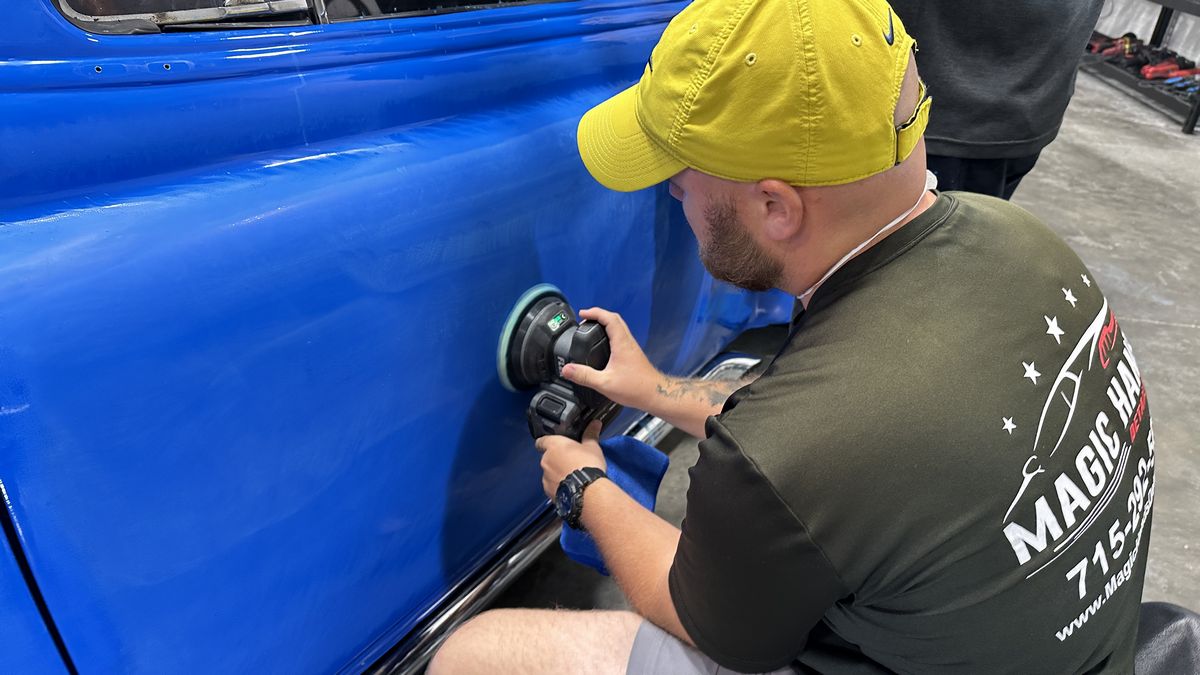
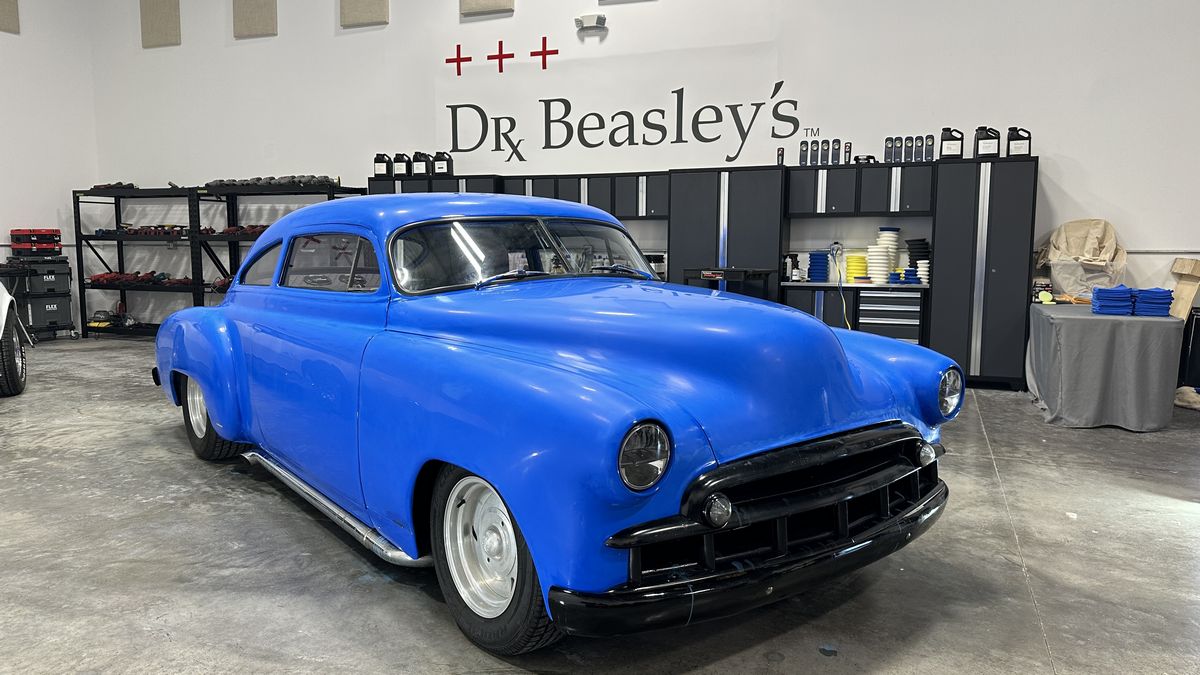
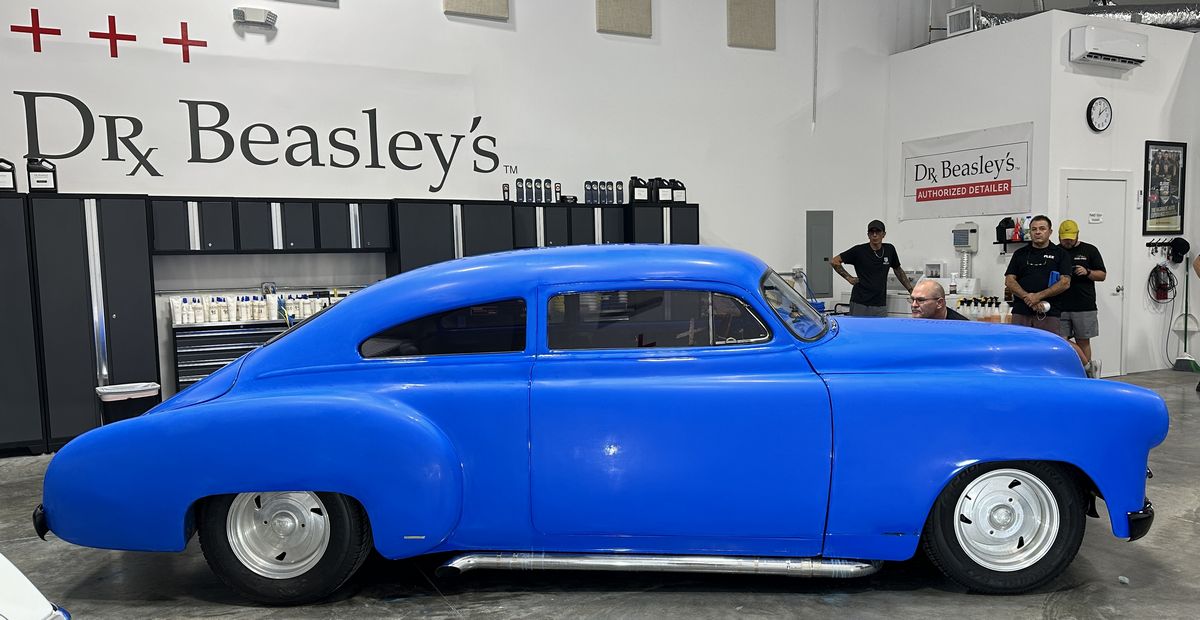
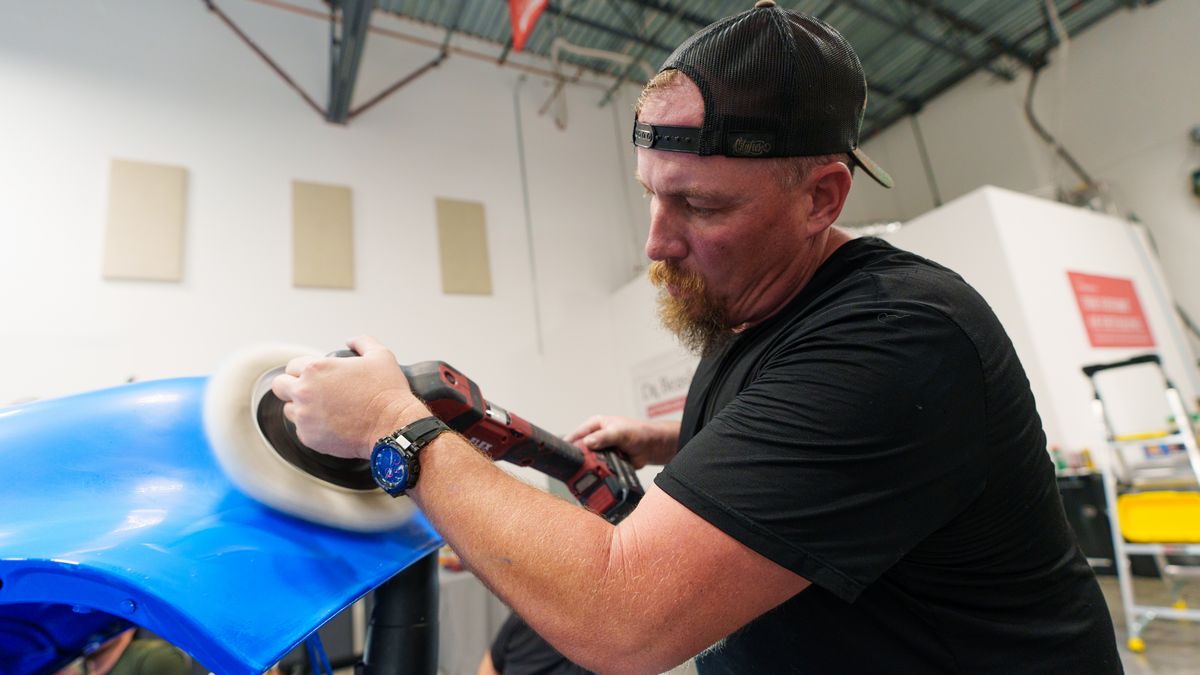
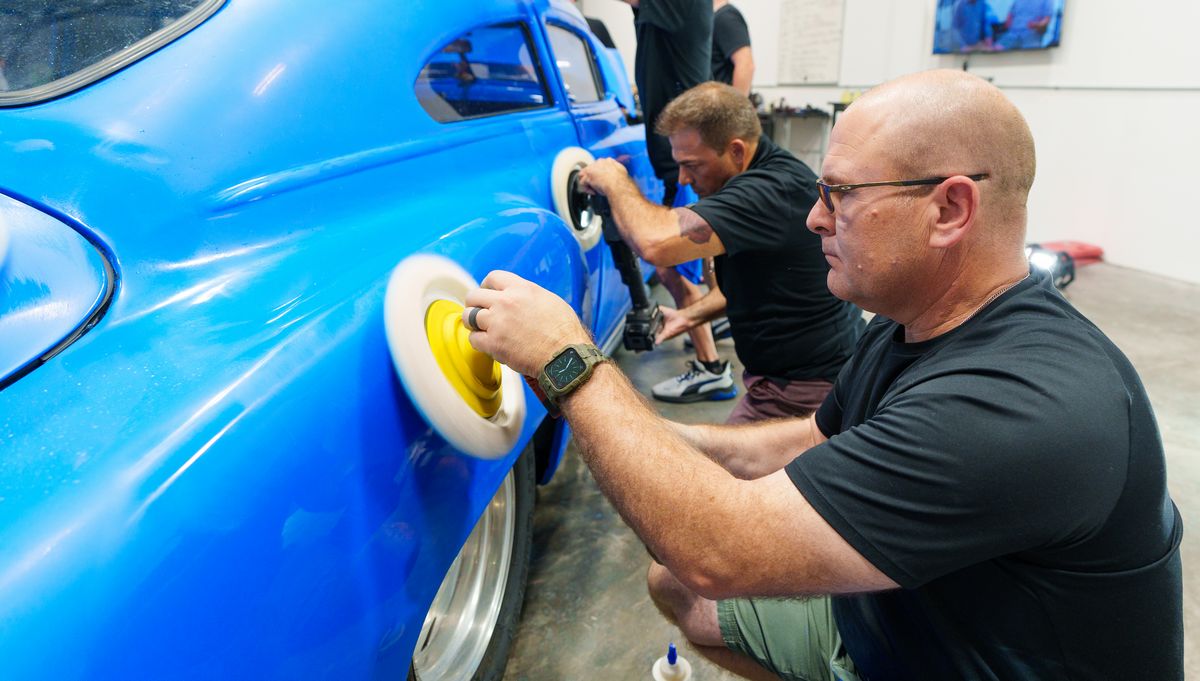
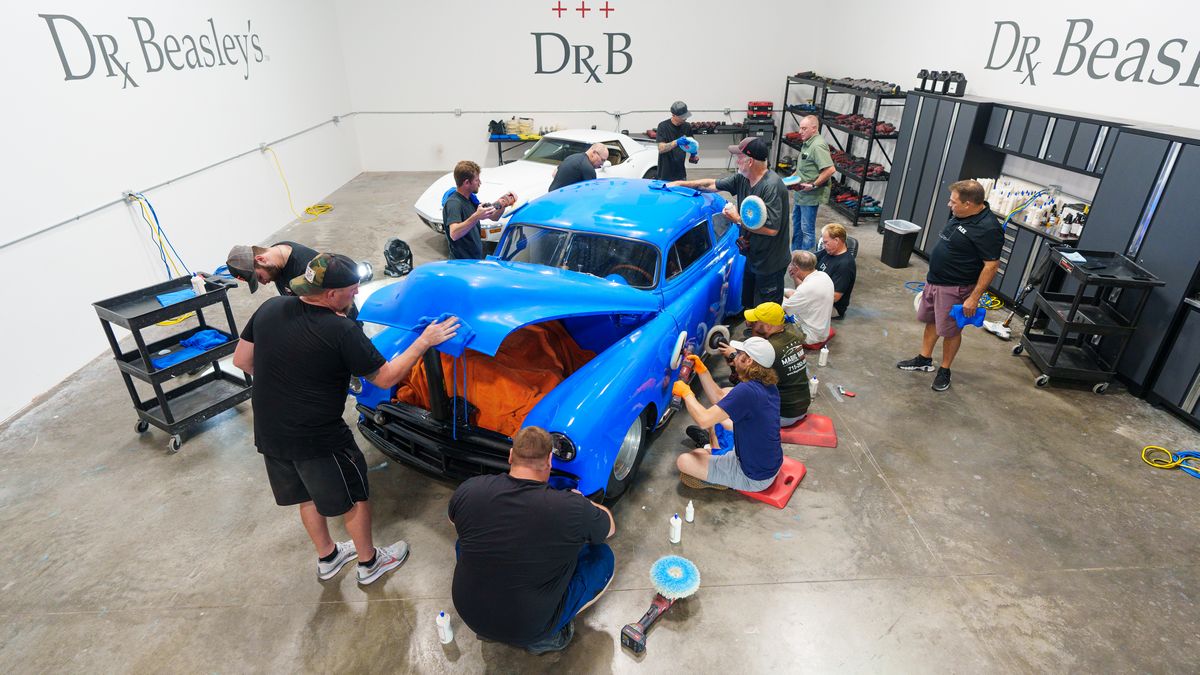
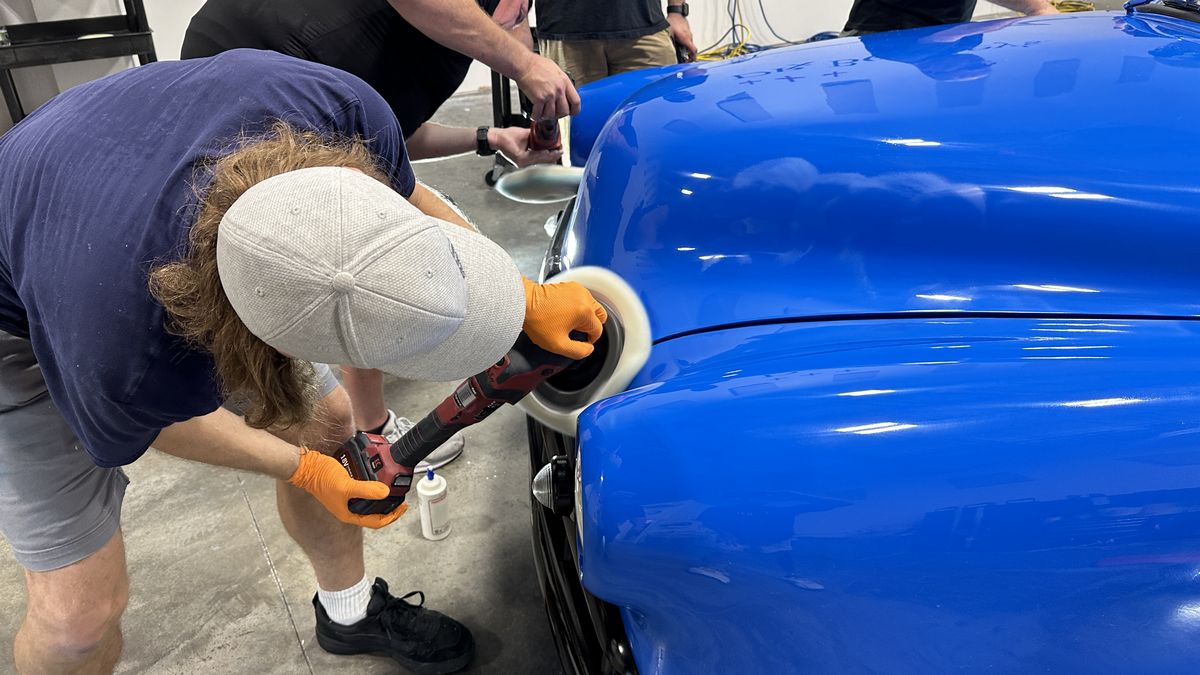
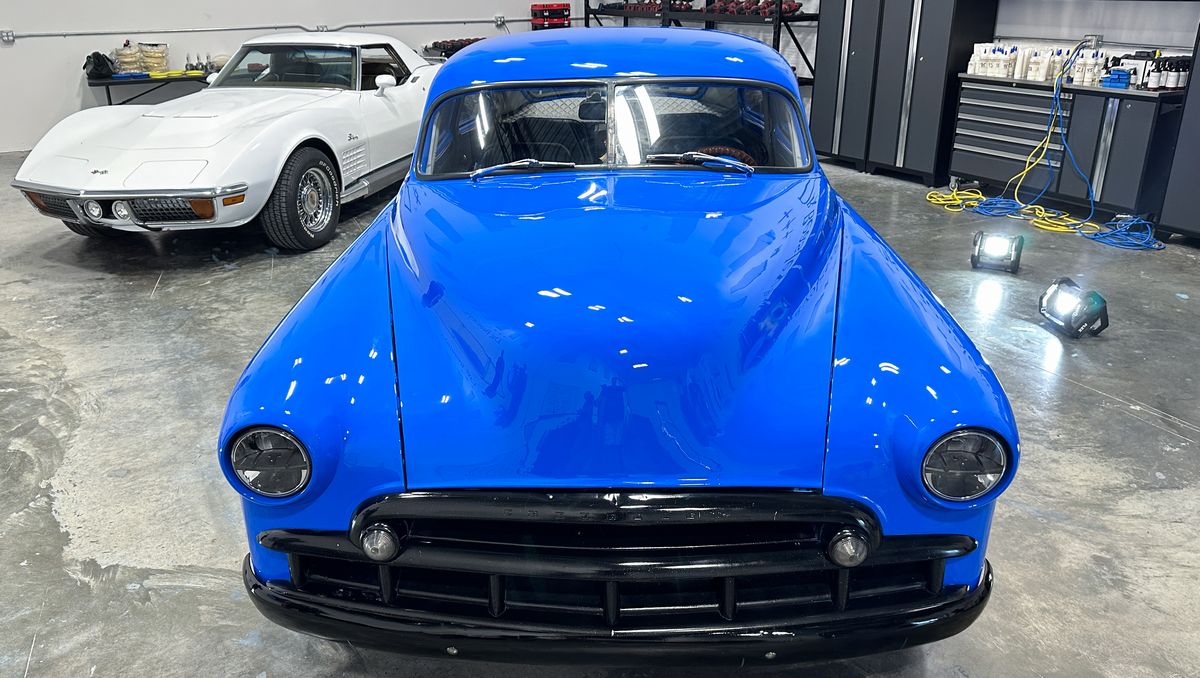
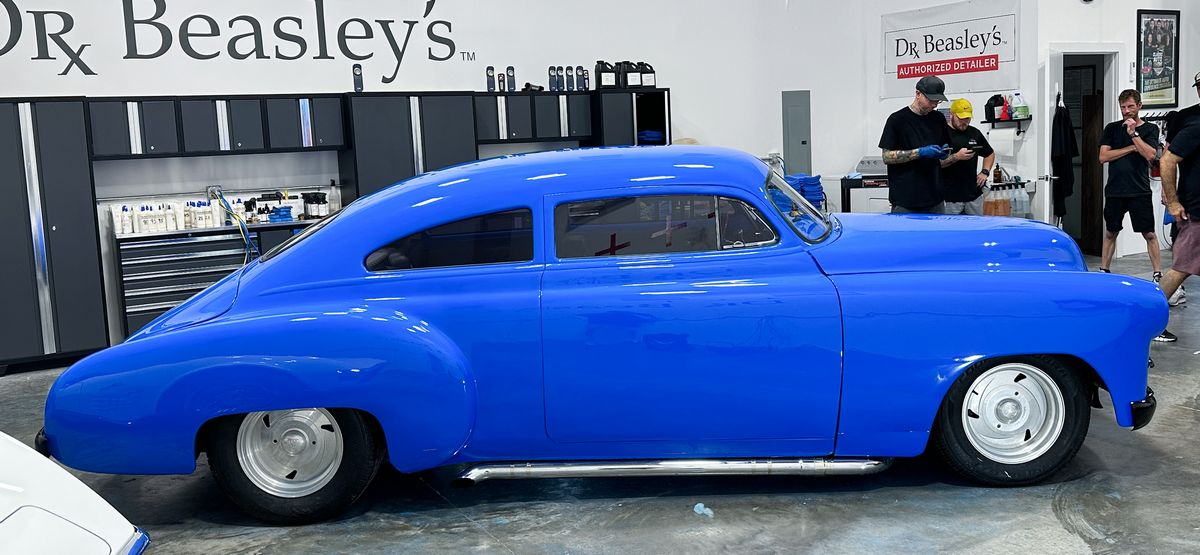
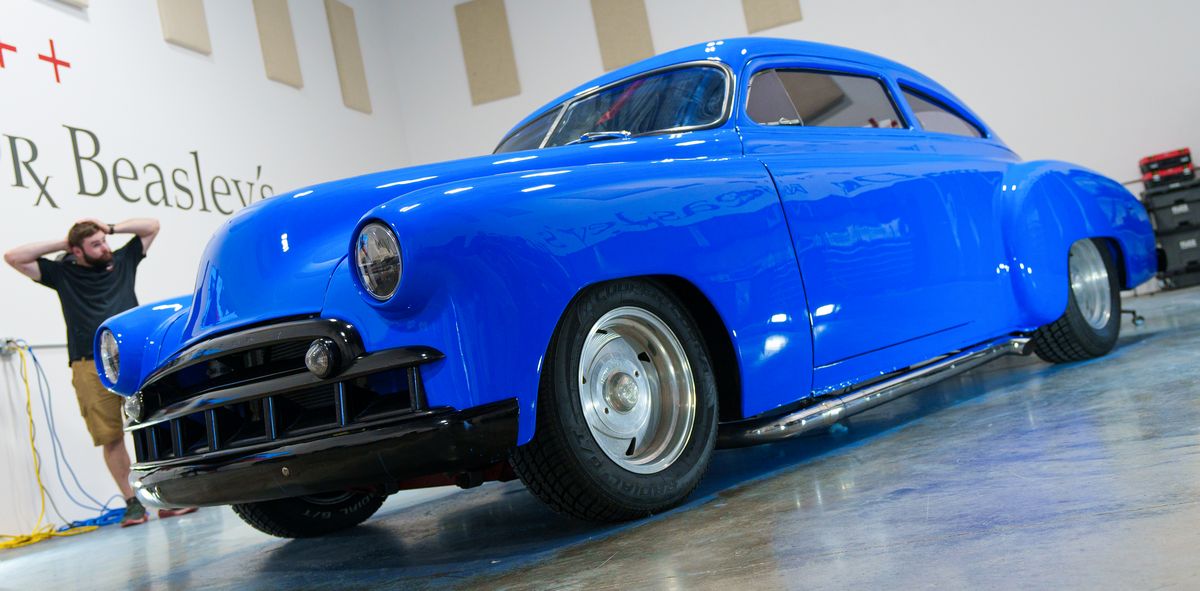
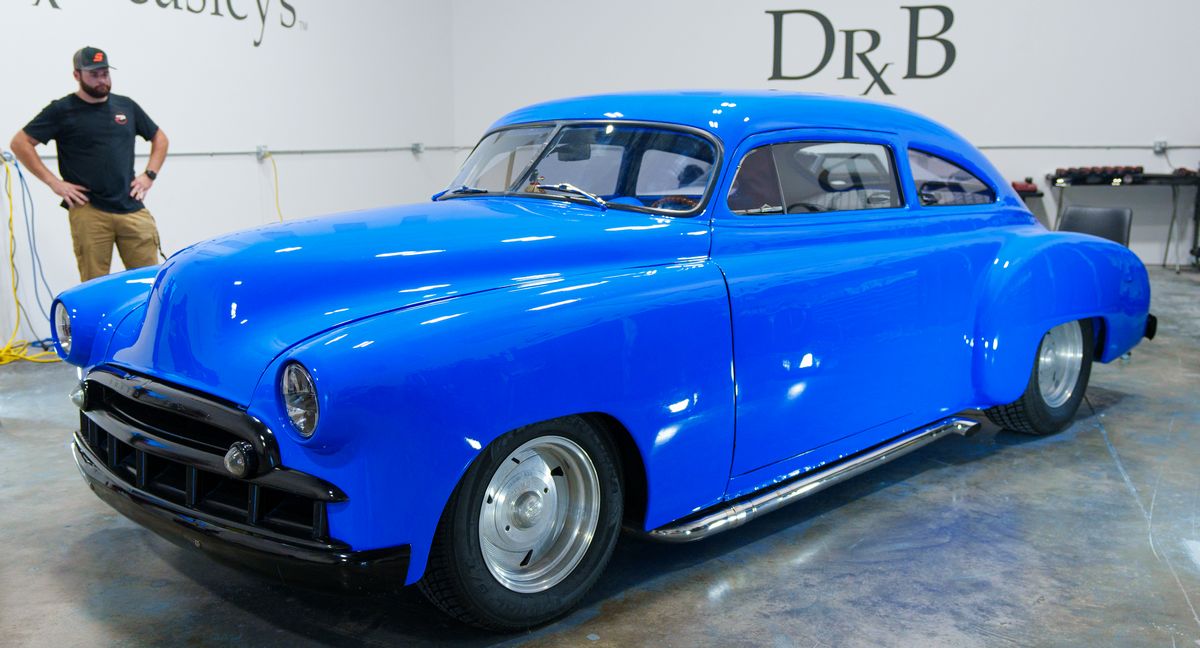
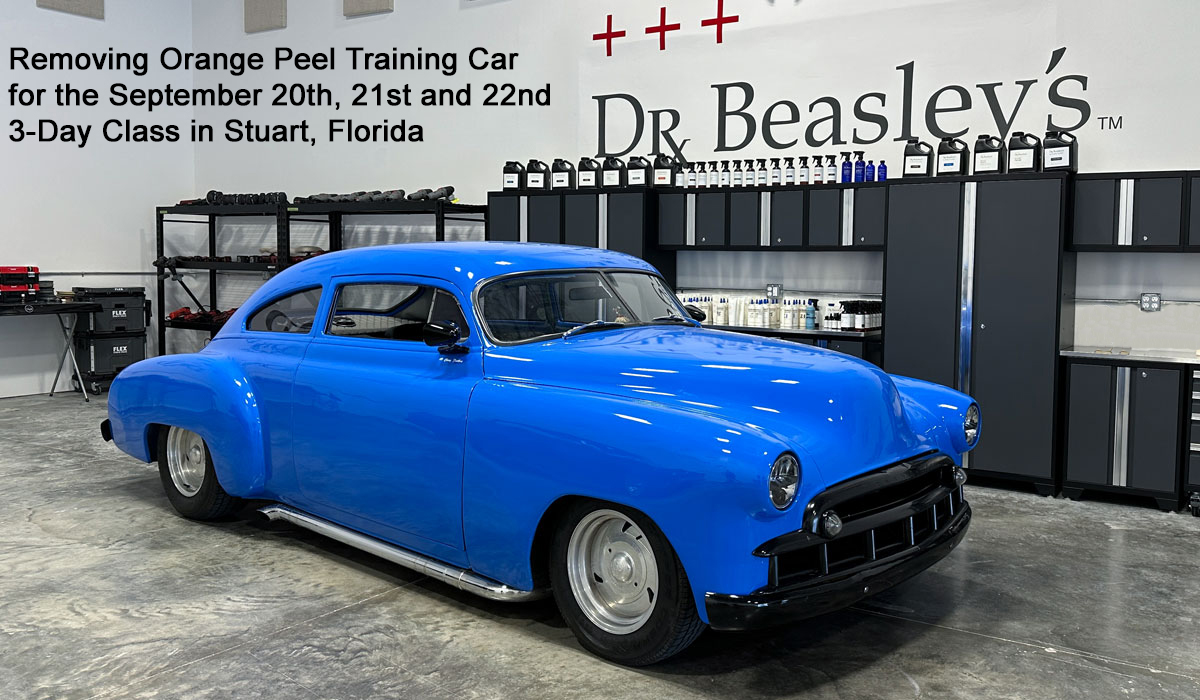
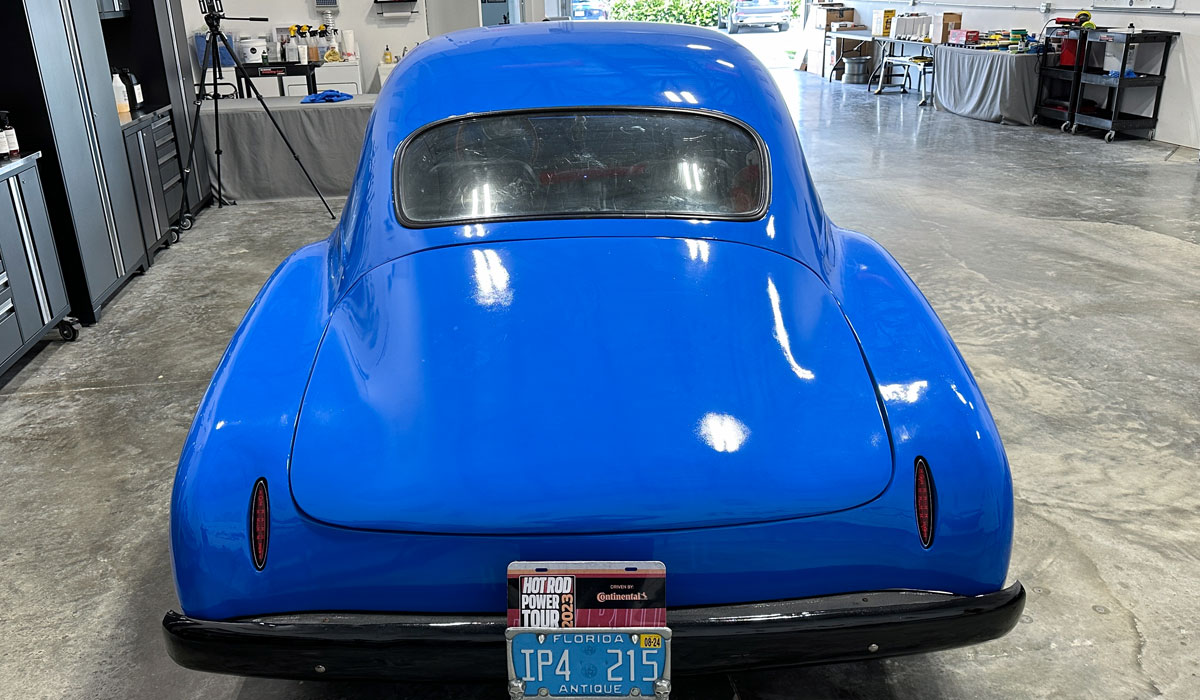
How to Wetsand Cut and Buff - 1949 Chevy Fleetline Streetrod
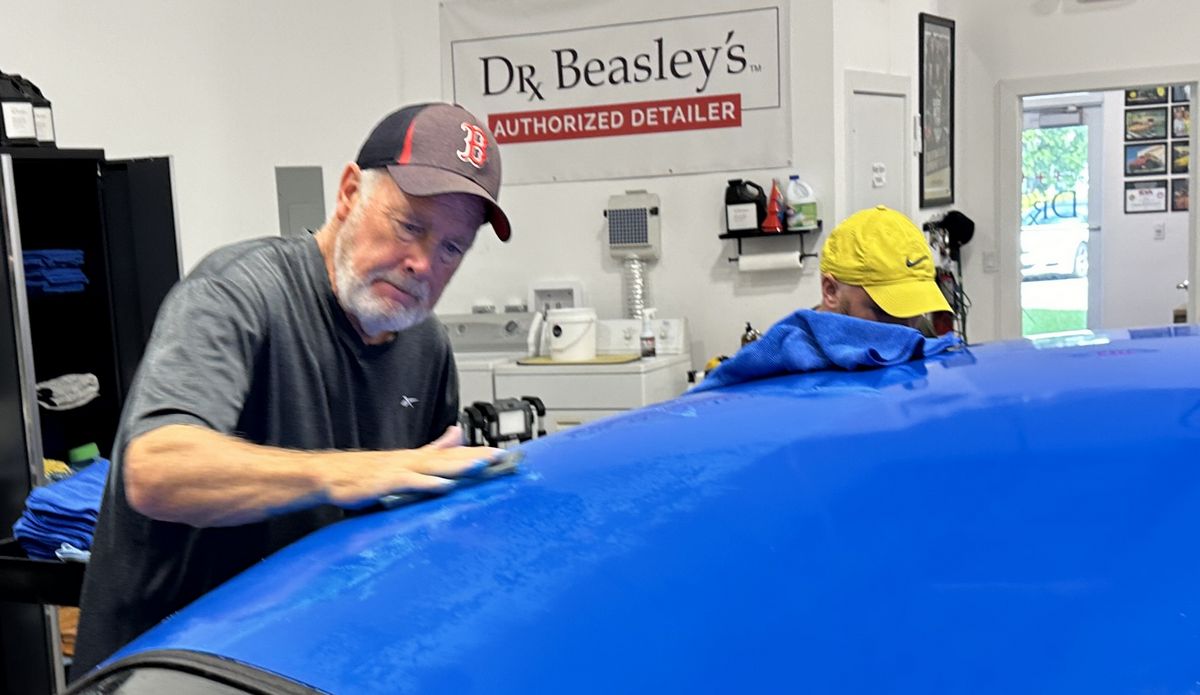
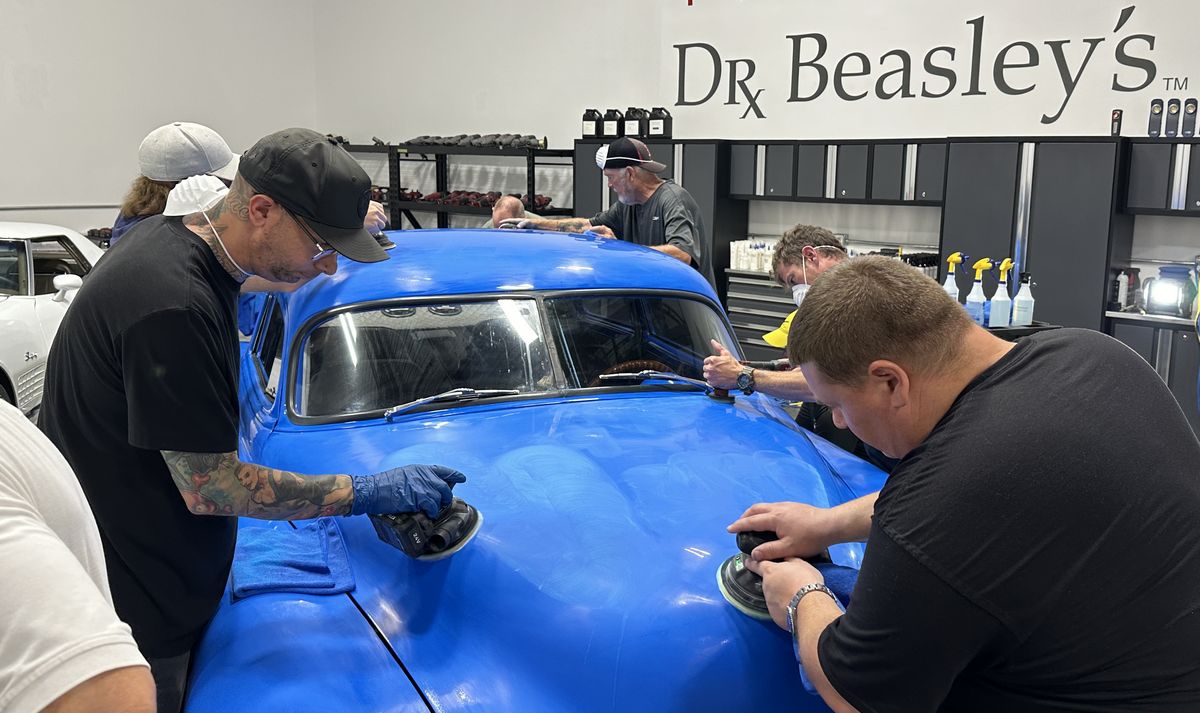
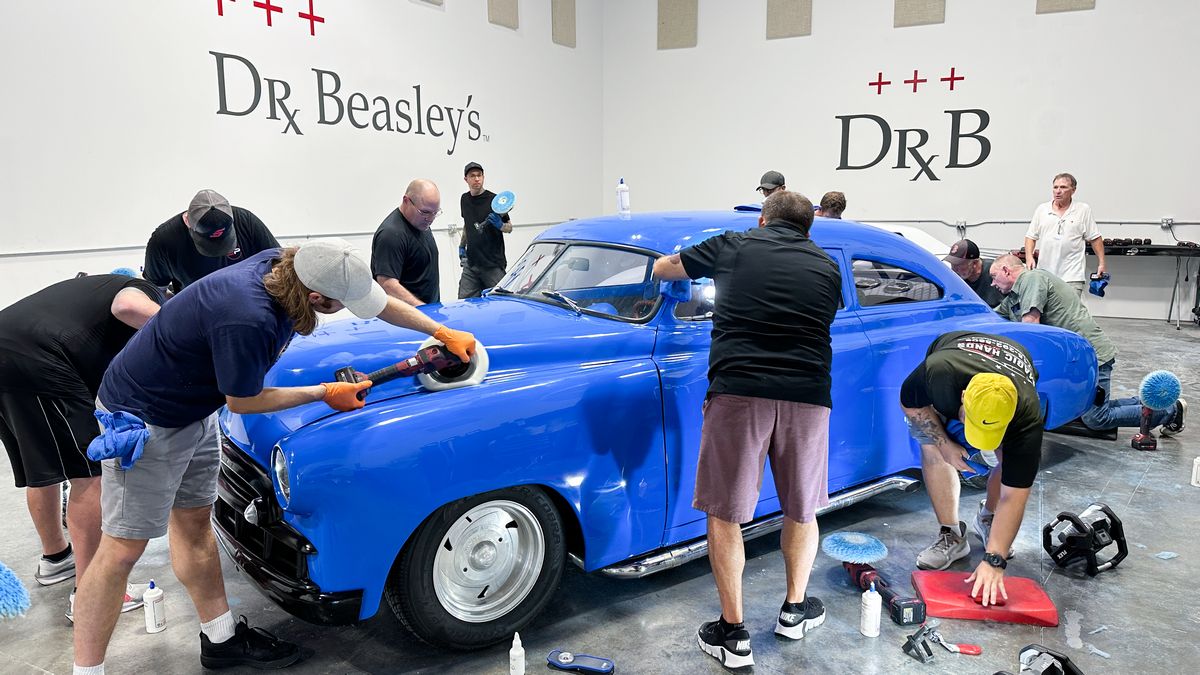
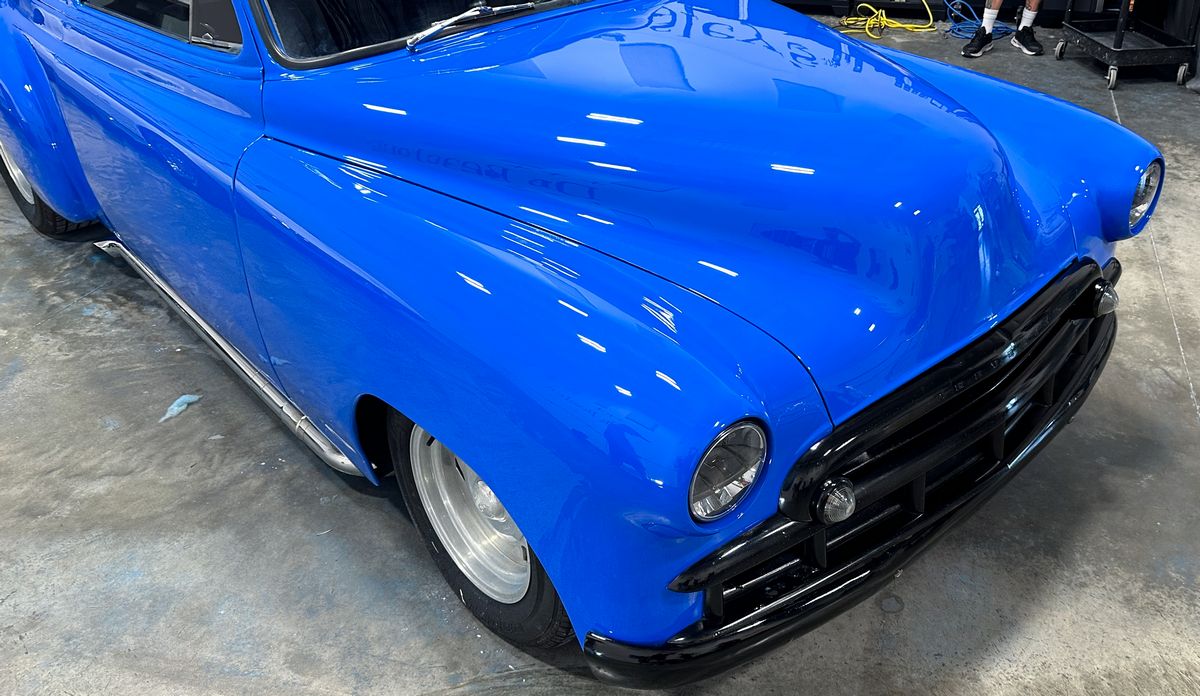
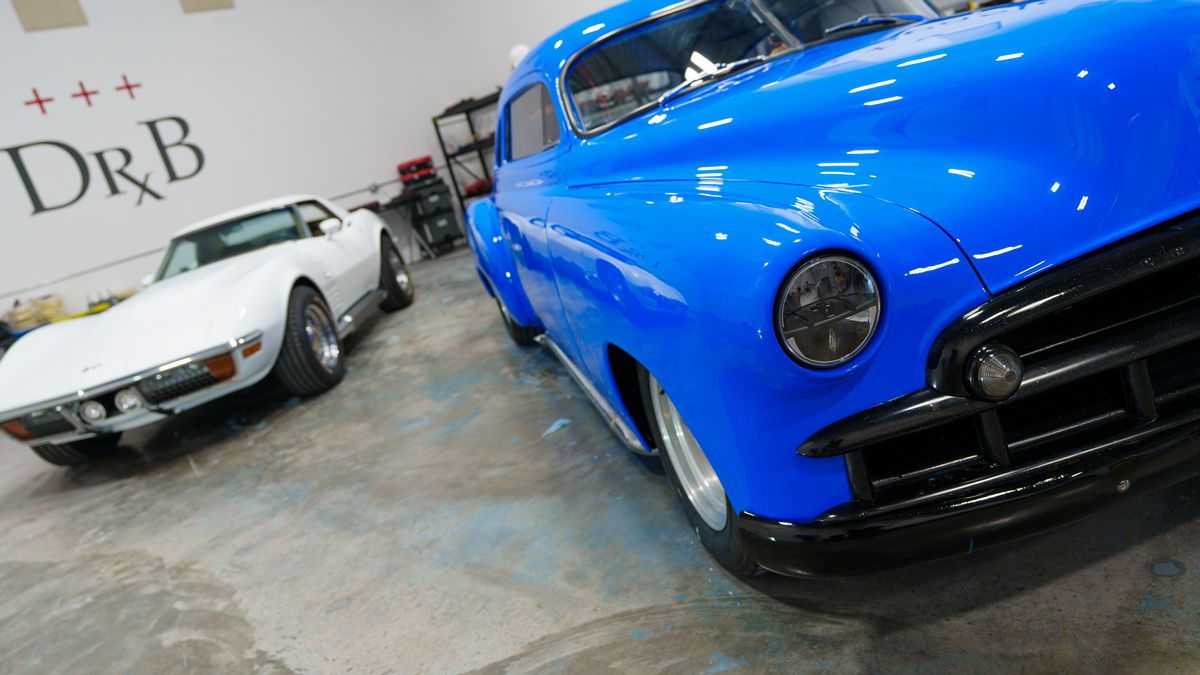
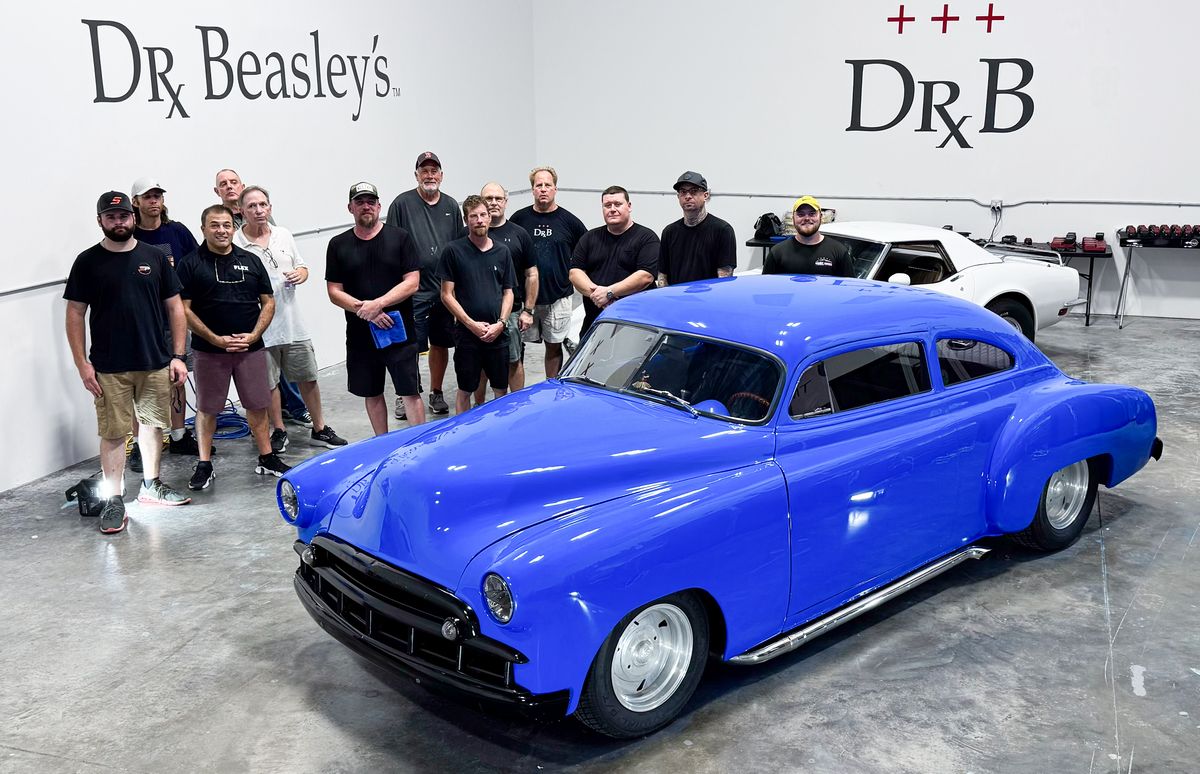
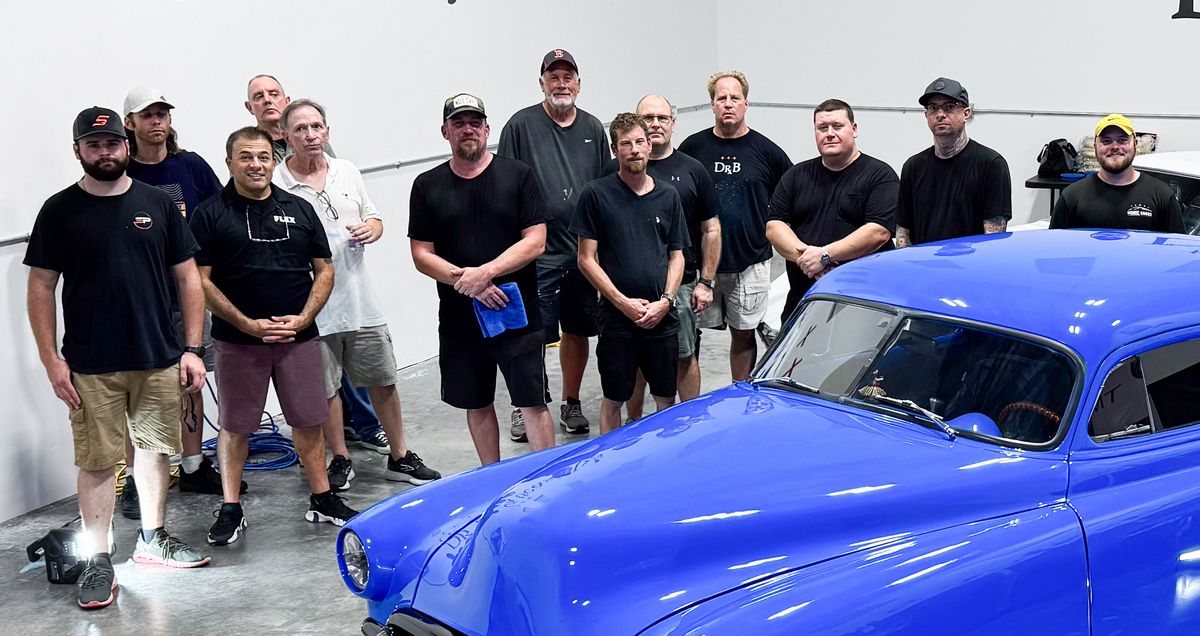
The below is just one of the cars the September 2024 Class sanded and buffed to perfection.
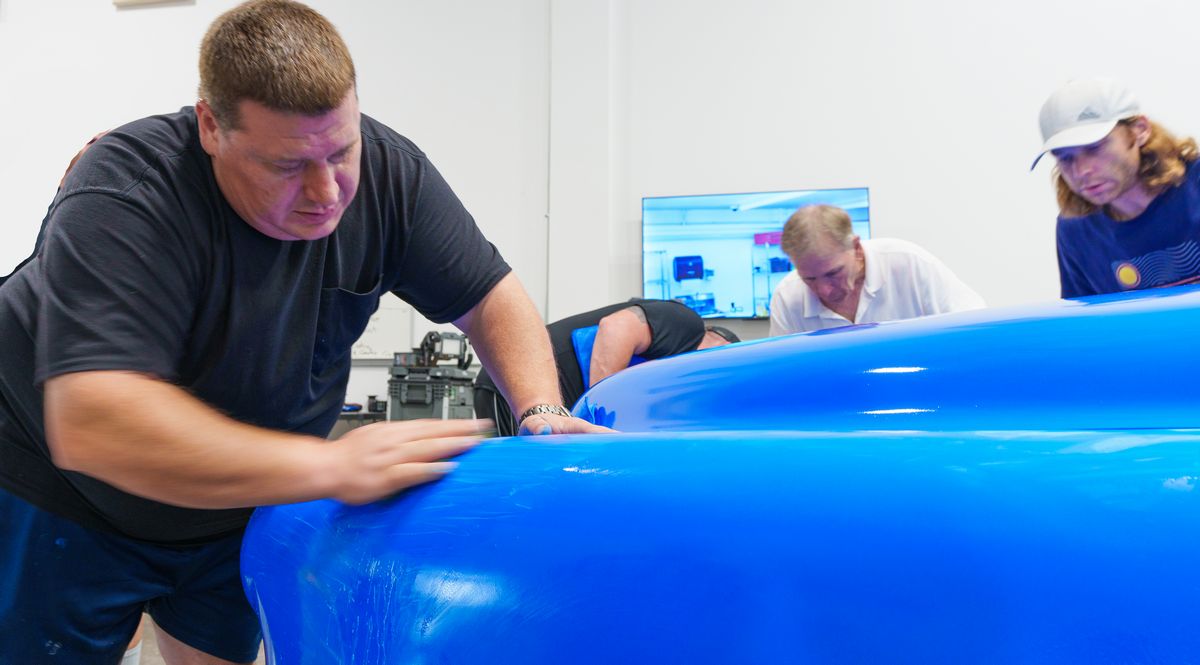
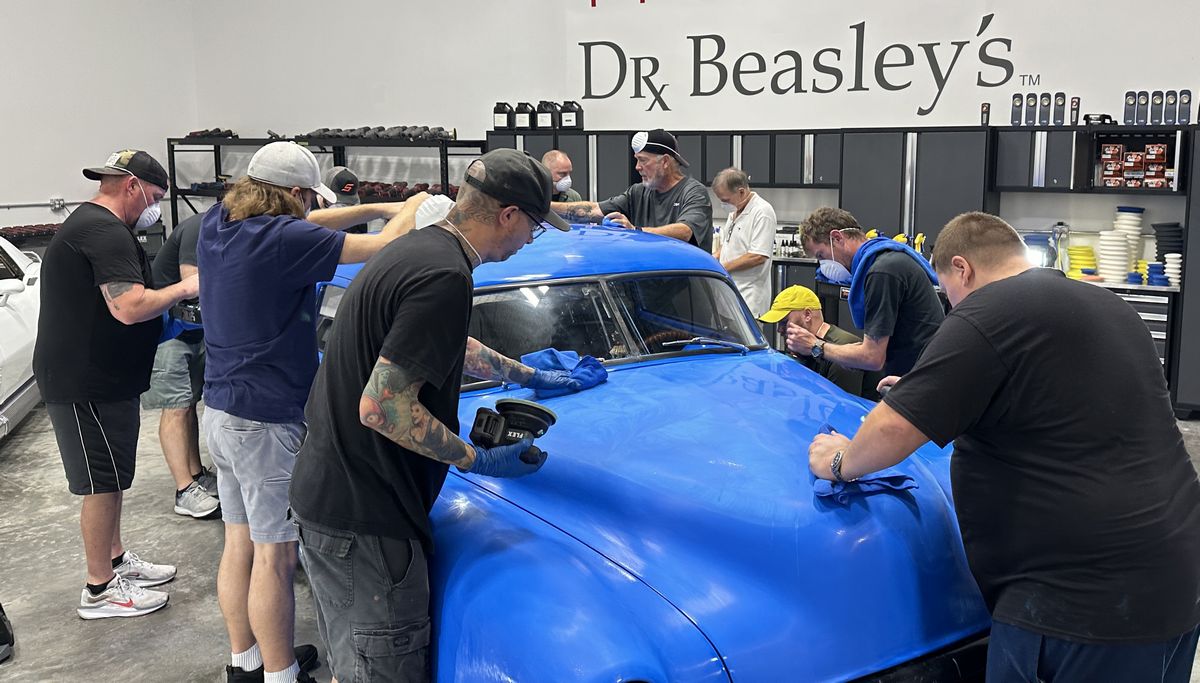
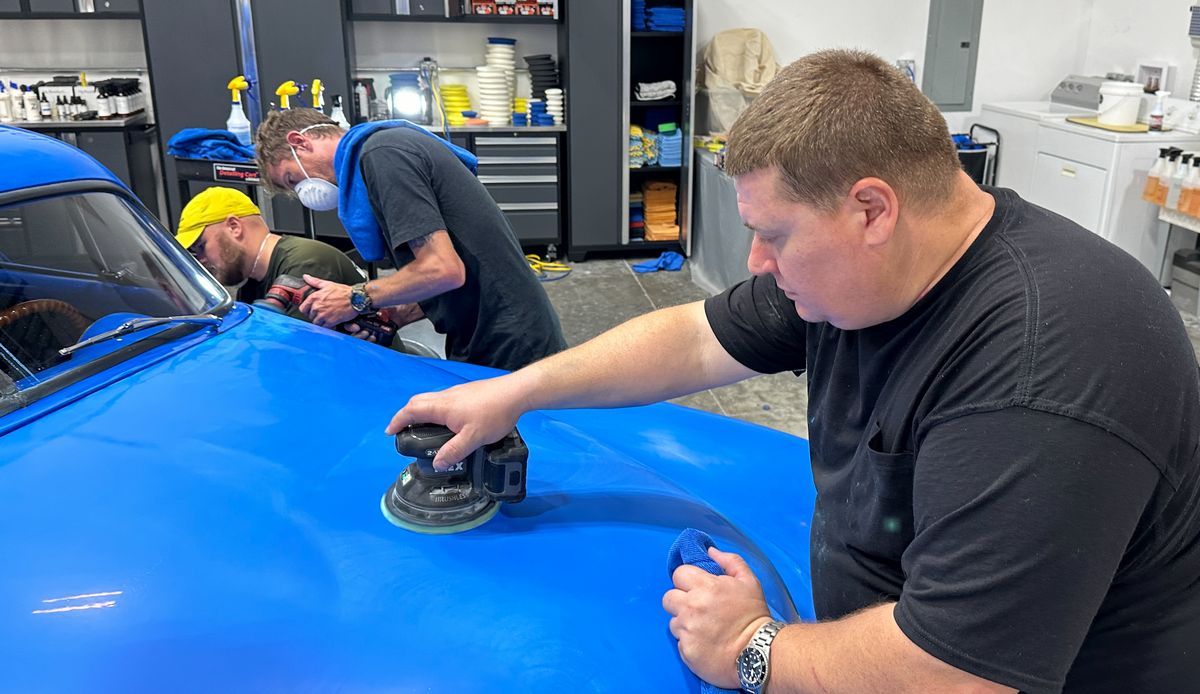
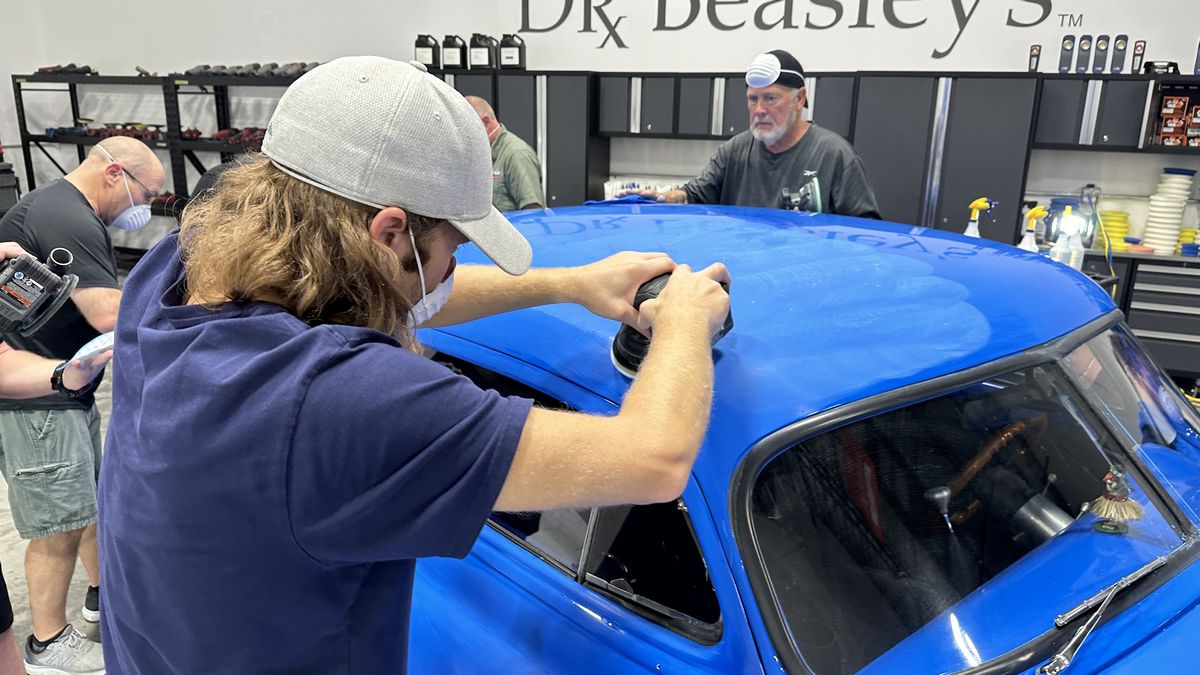
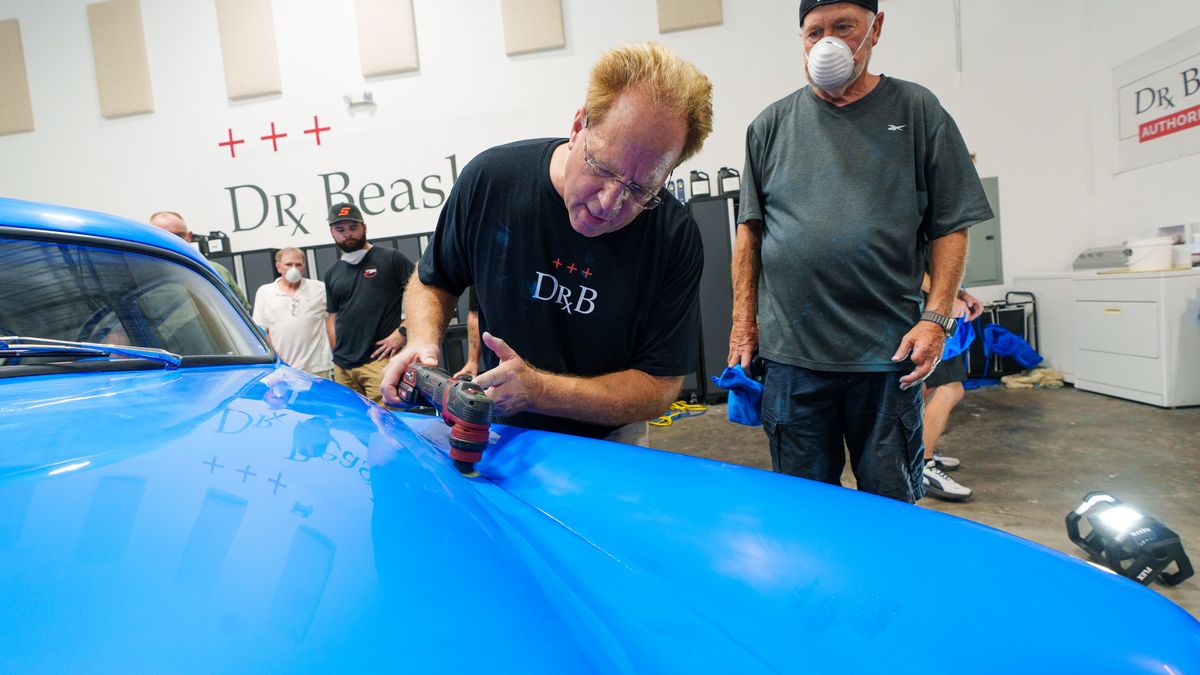
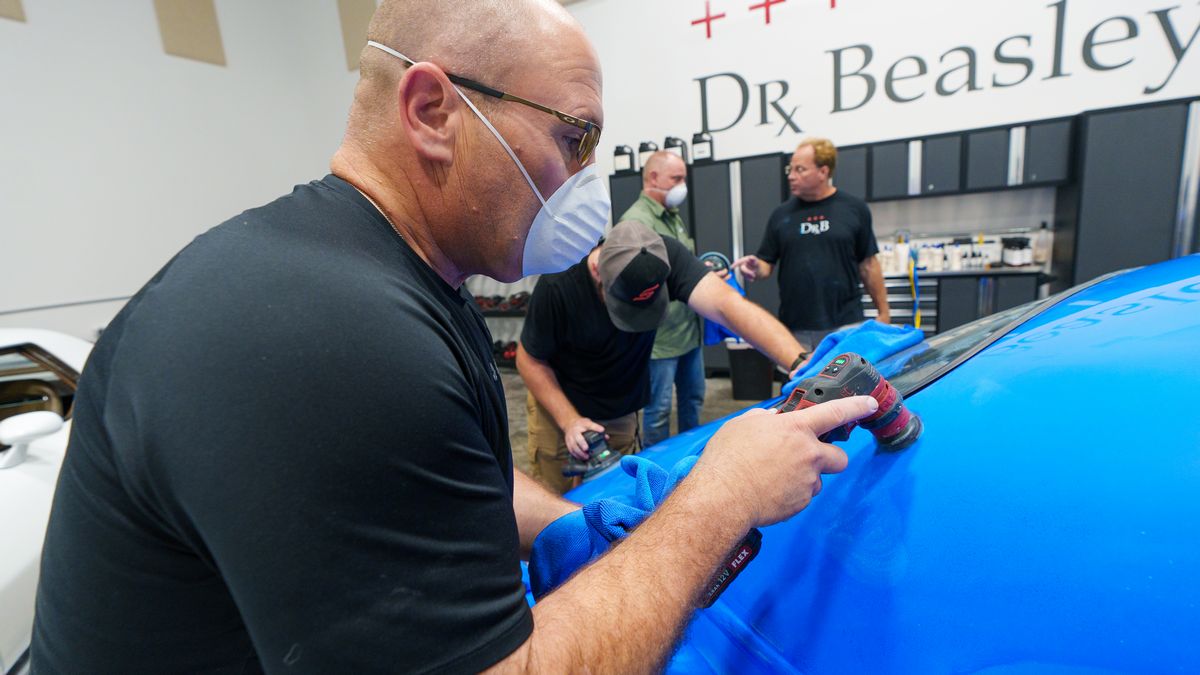
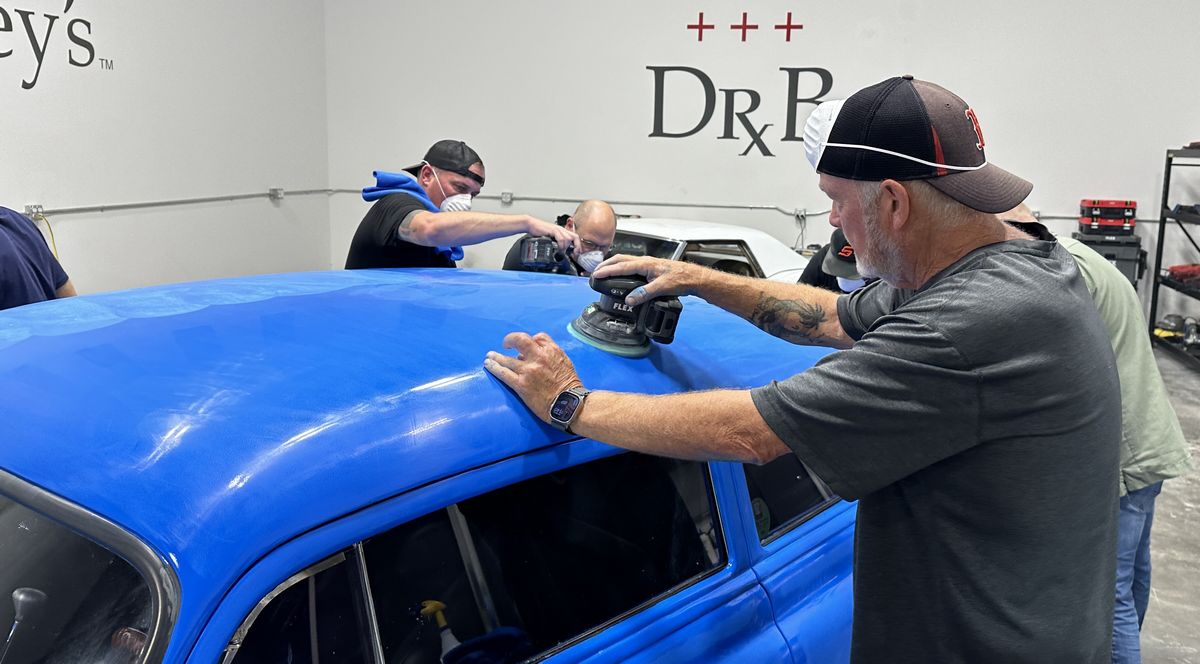
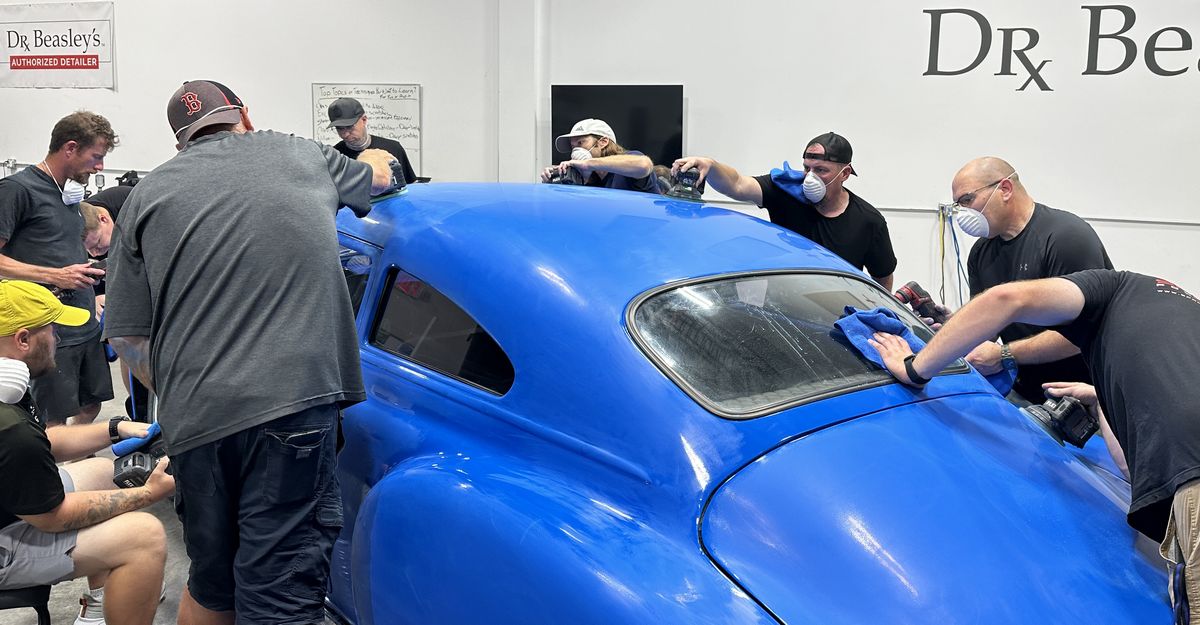
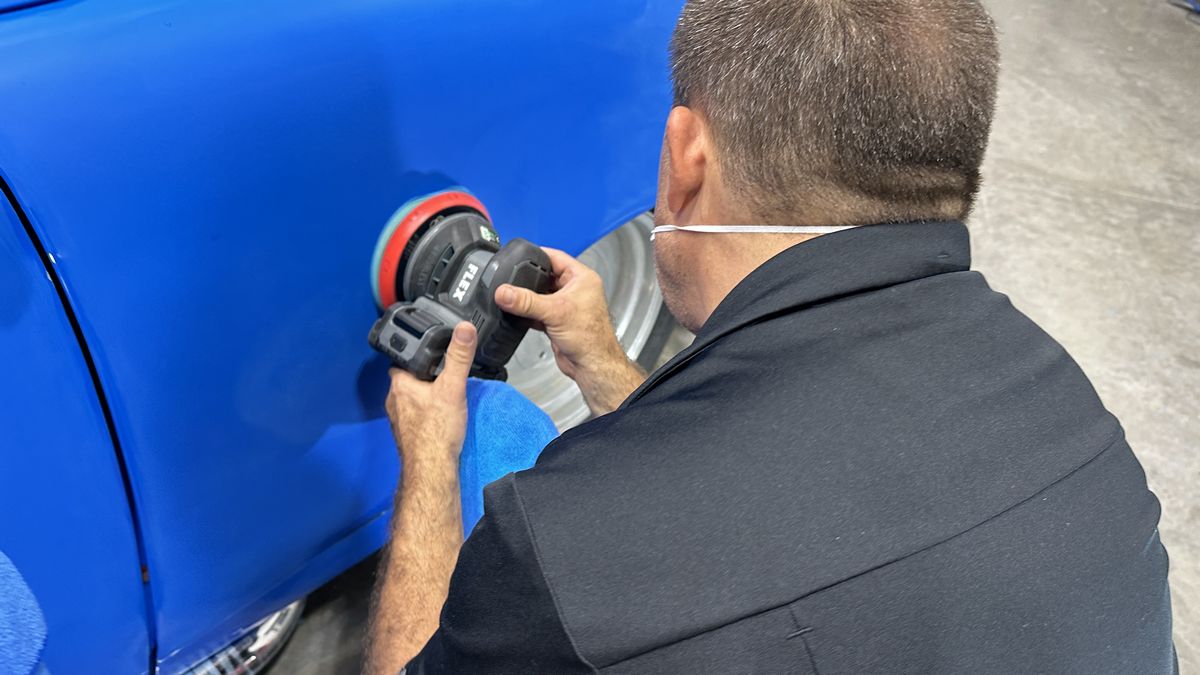
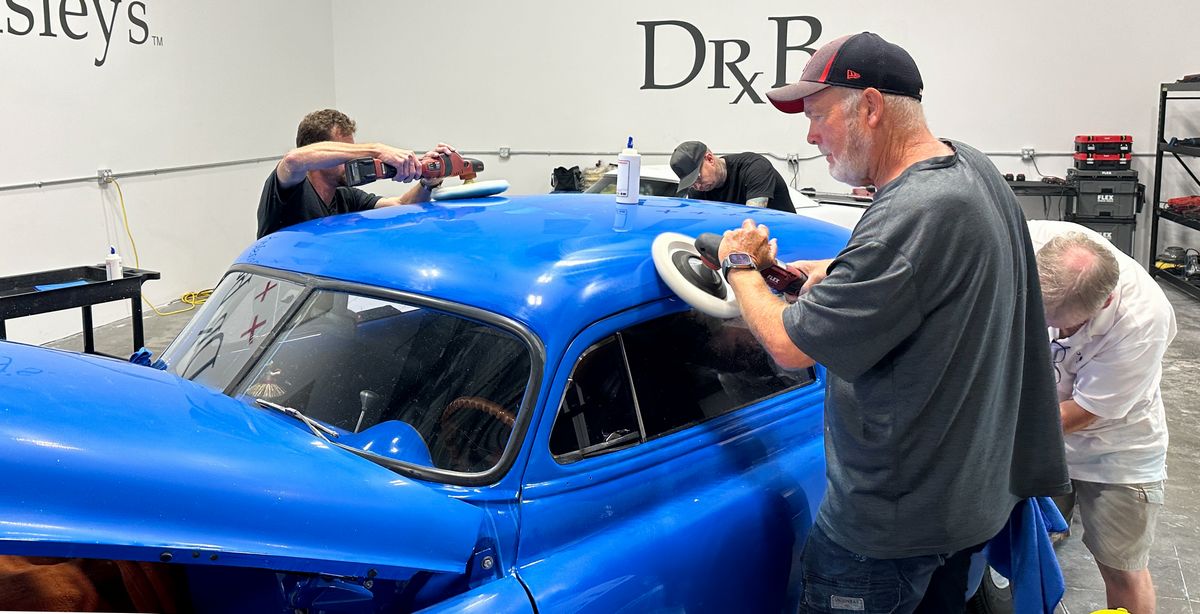
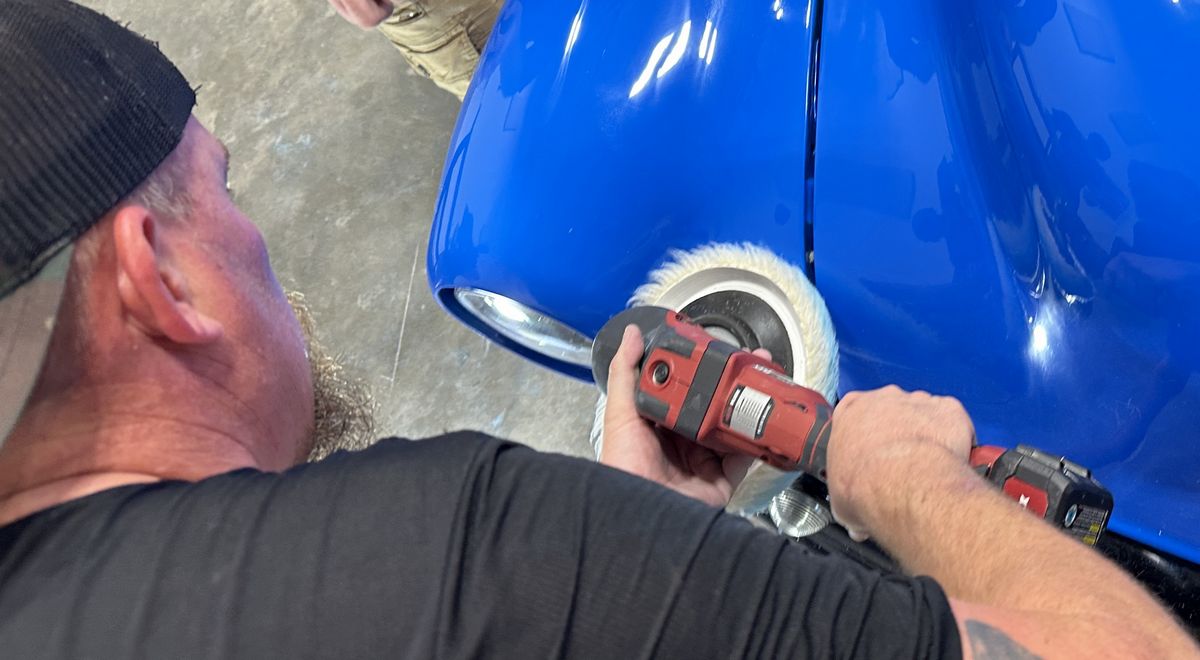
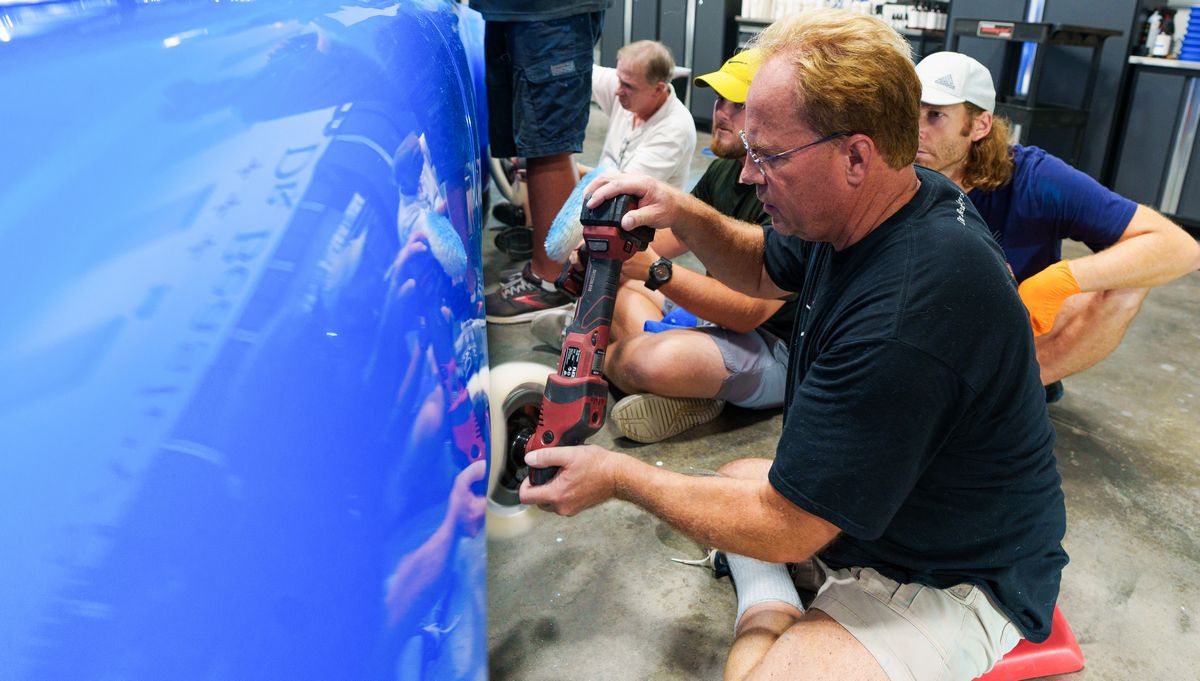
Saturday Afternoon Session - Removing Orange Peel - Dry Spray - Surface Texture
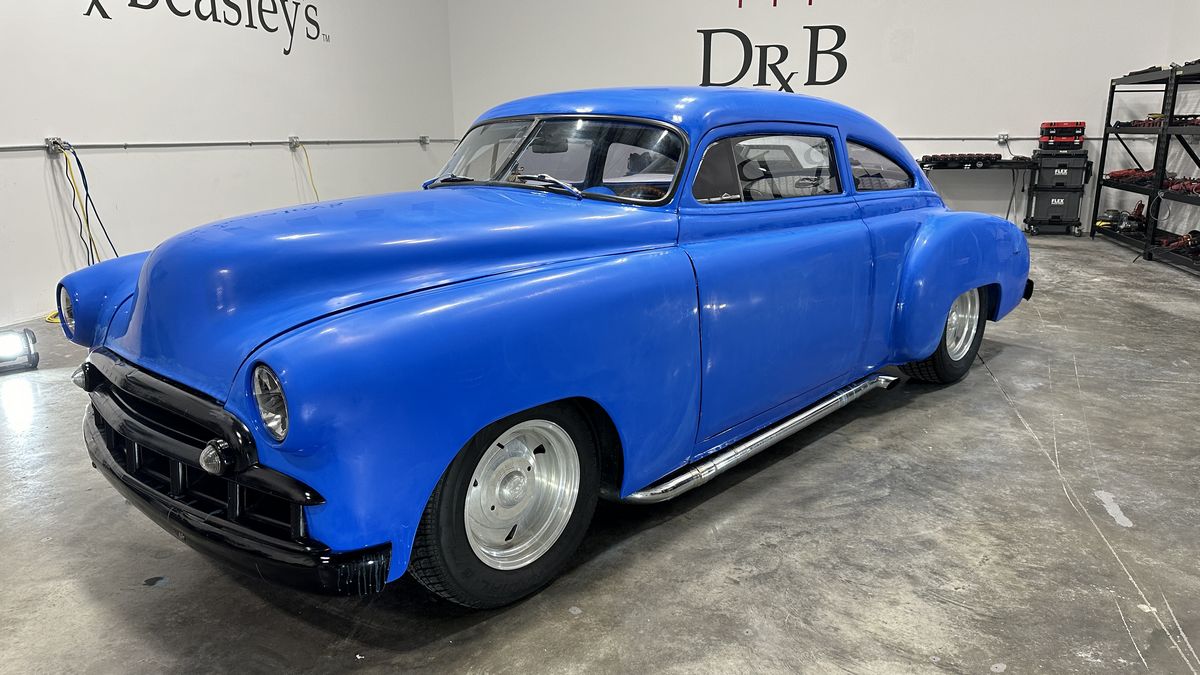
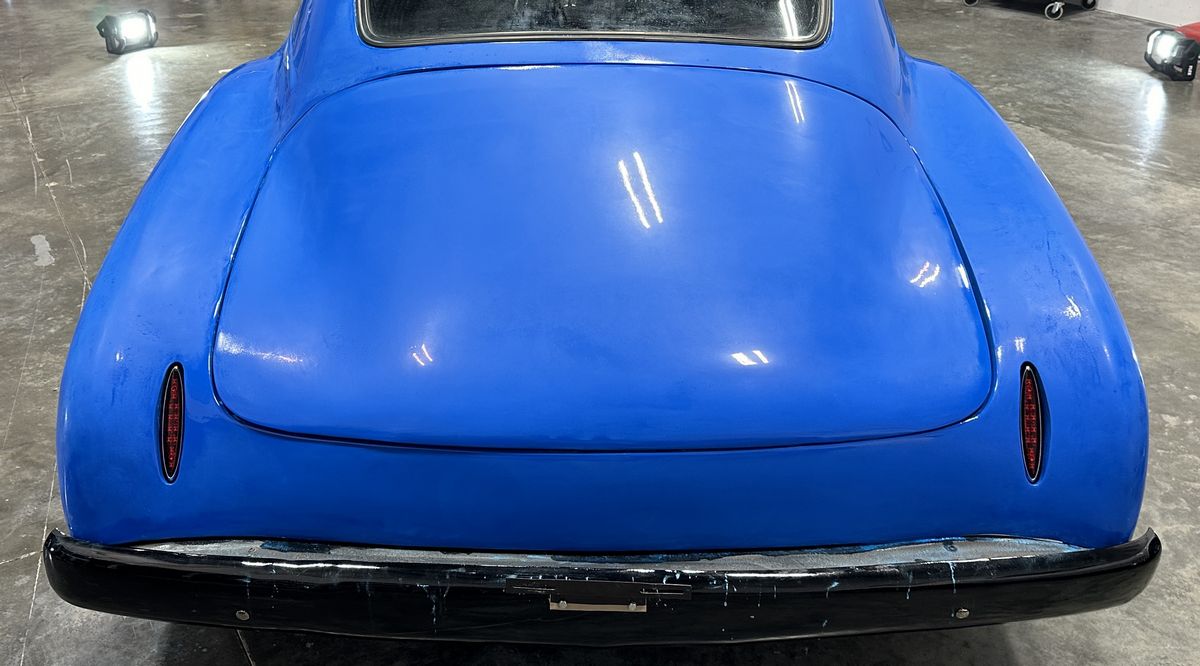
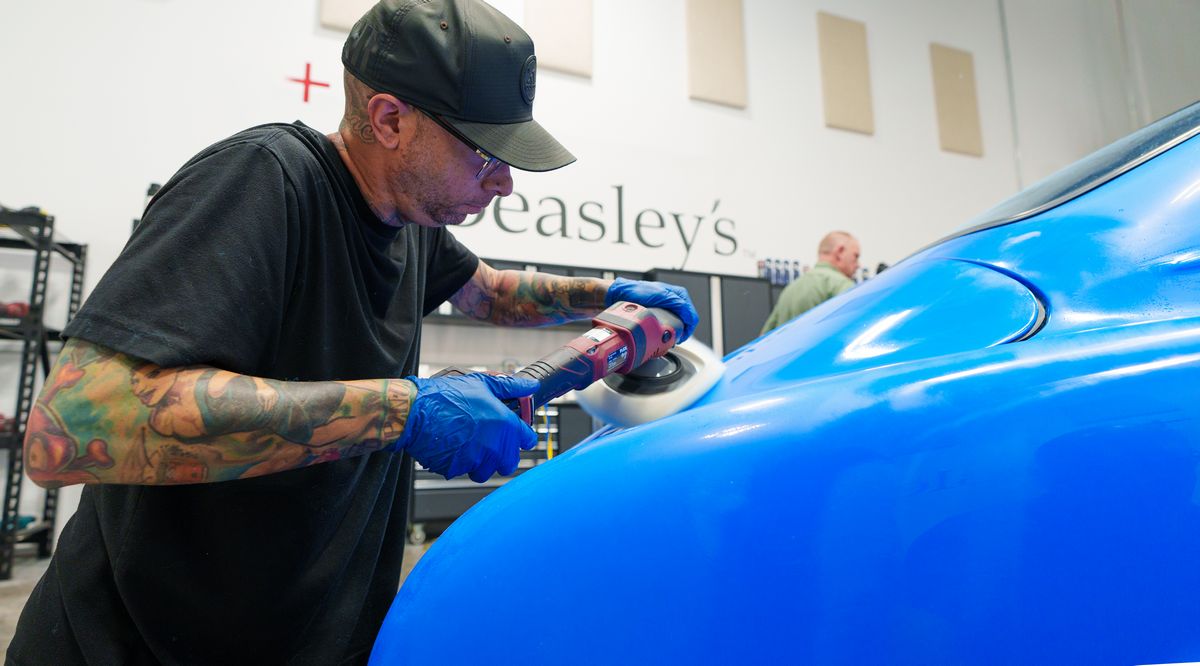
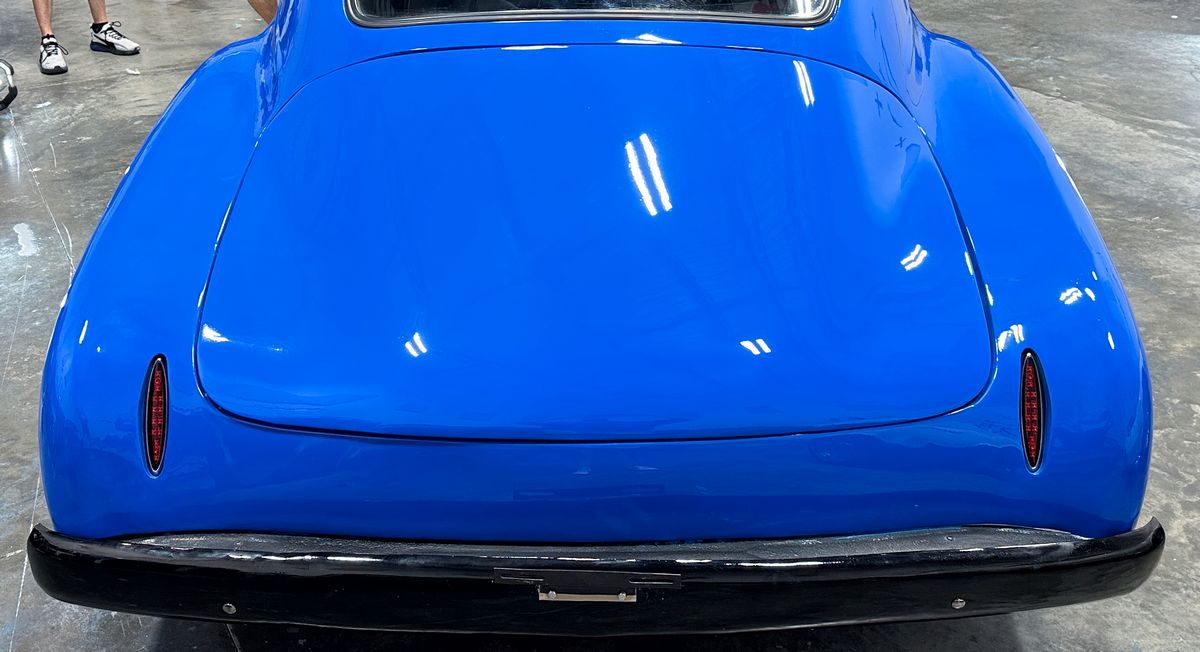
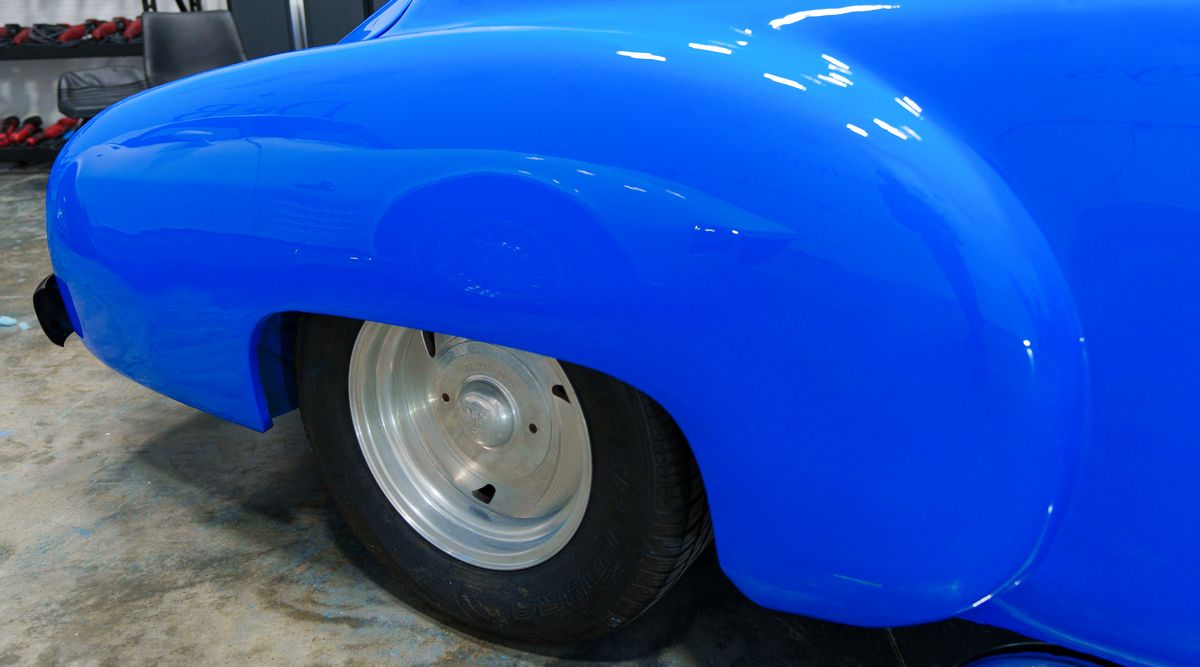
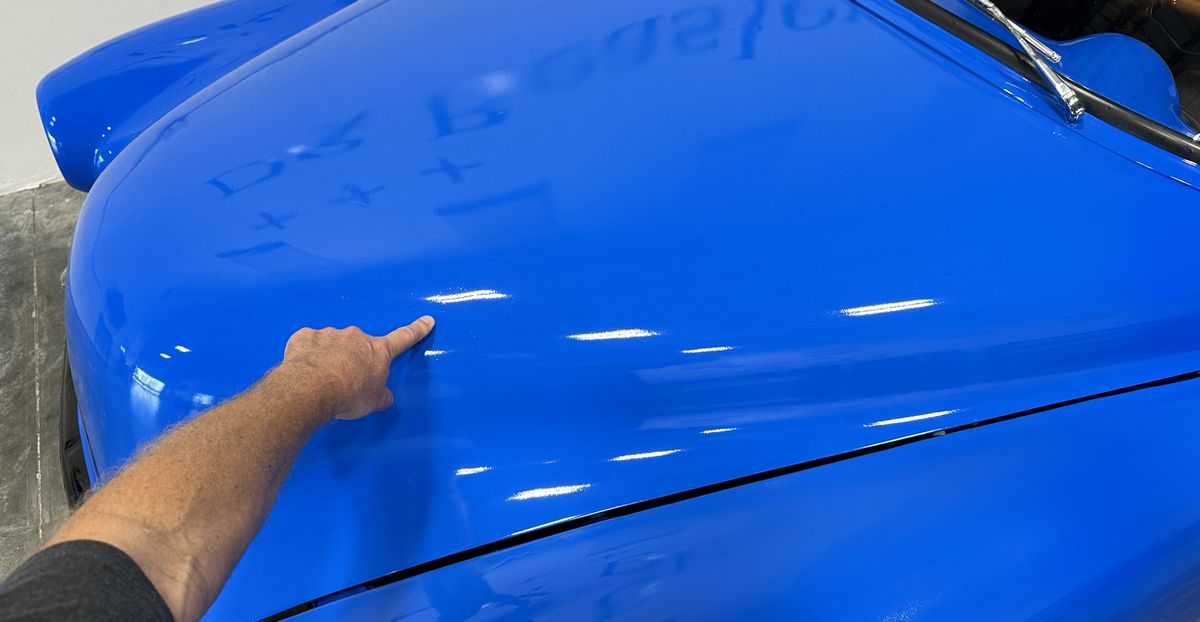
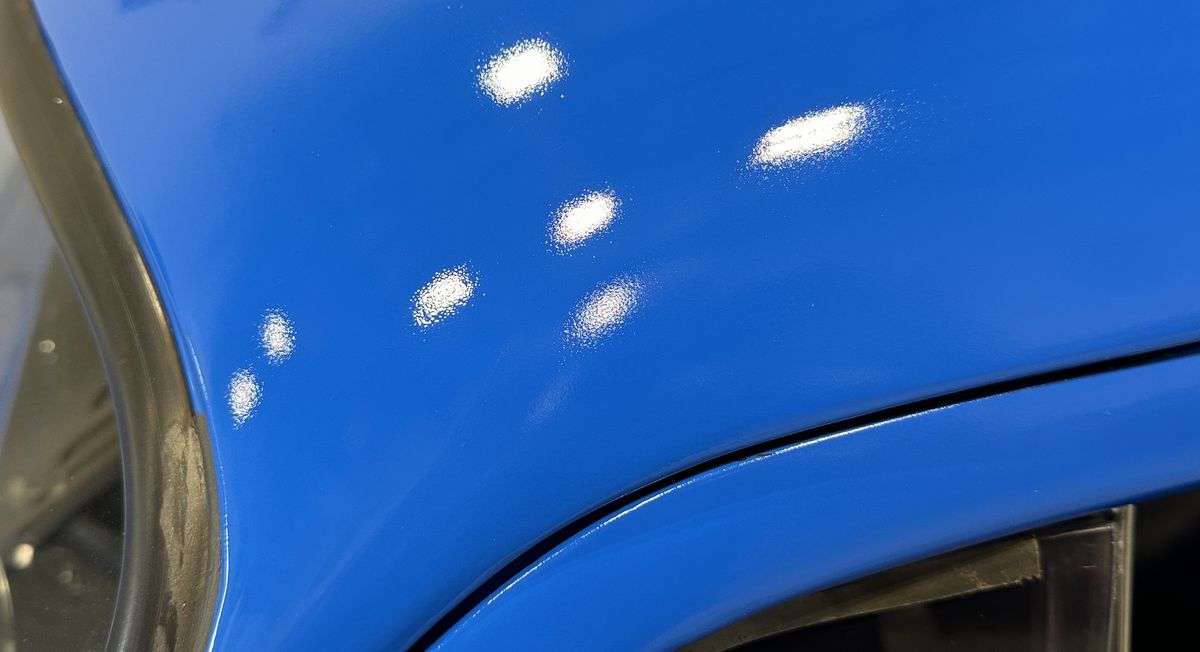
I can appreciate any person that takes on the huge task of restoring a car, or in this case hotrodding a car and this includes learning how to paint a car for the first time. The paint on this car had a lot of orange peel and dry spray plus surface texture like graininess. I'm so impressed with the class as they completely turned this paint job around and the final results are nothing short of phenomenal.
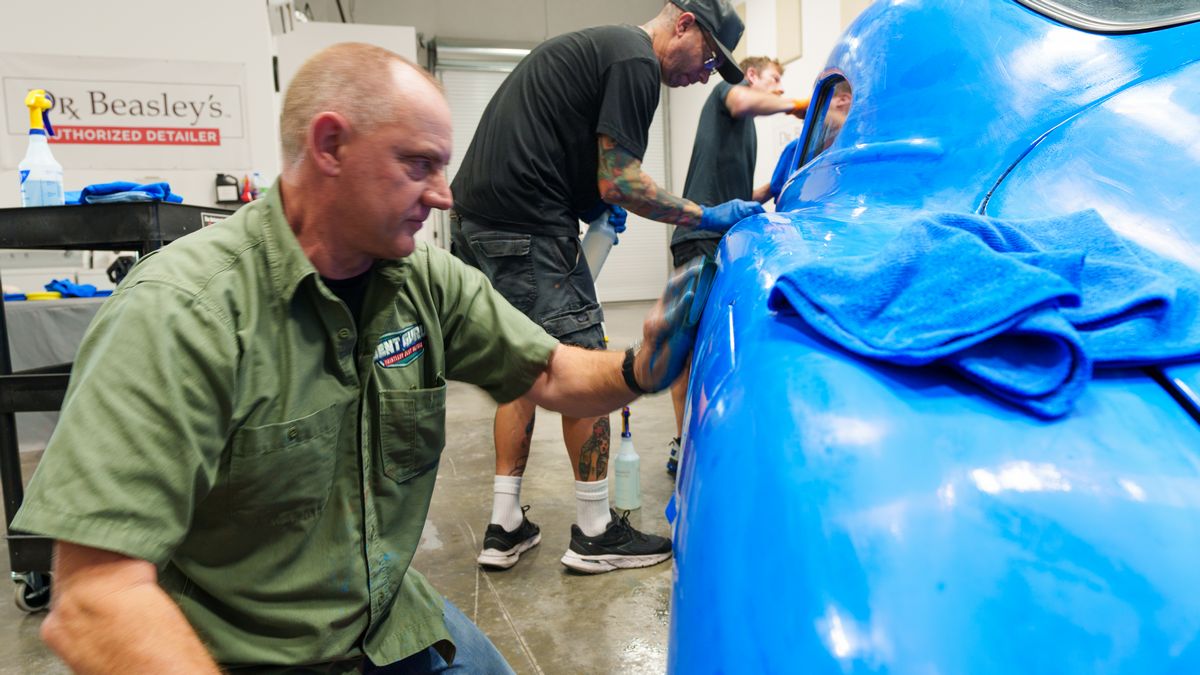
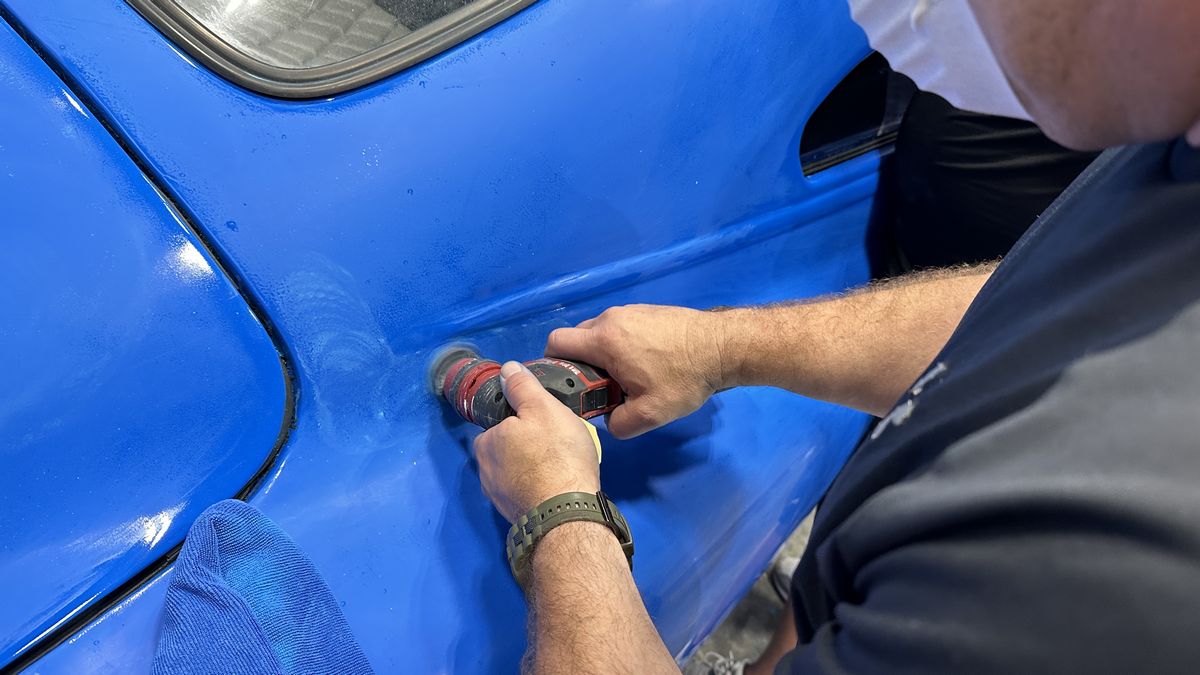
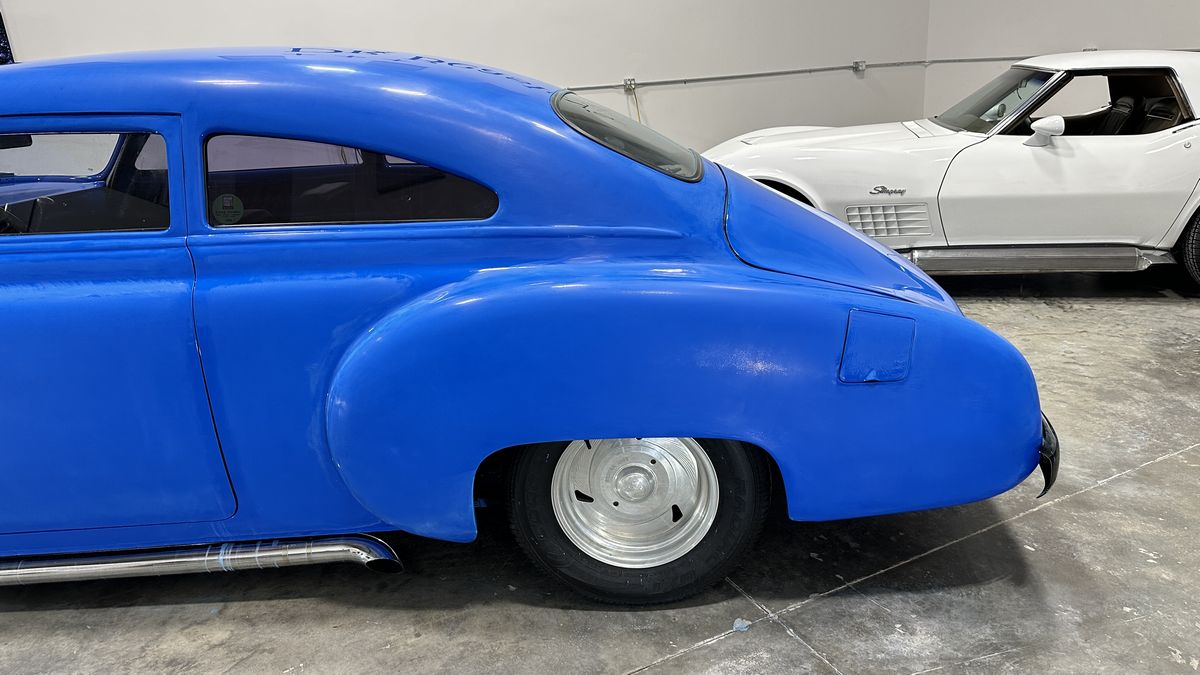
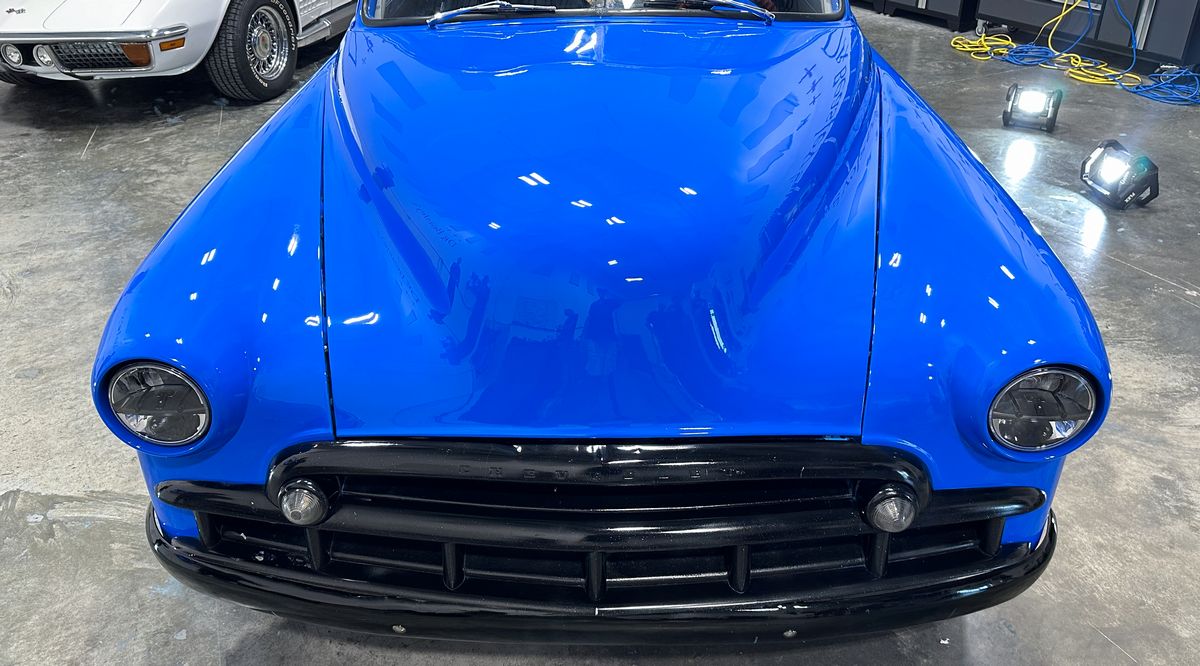
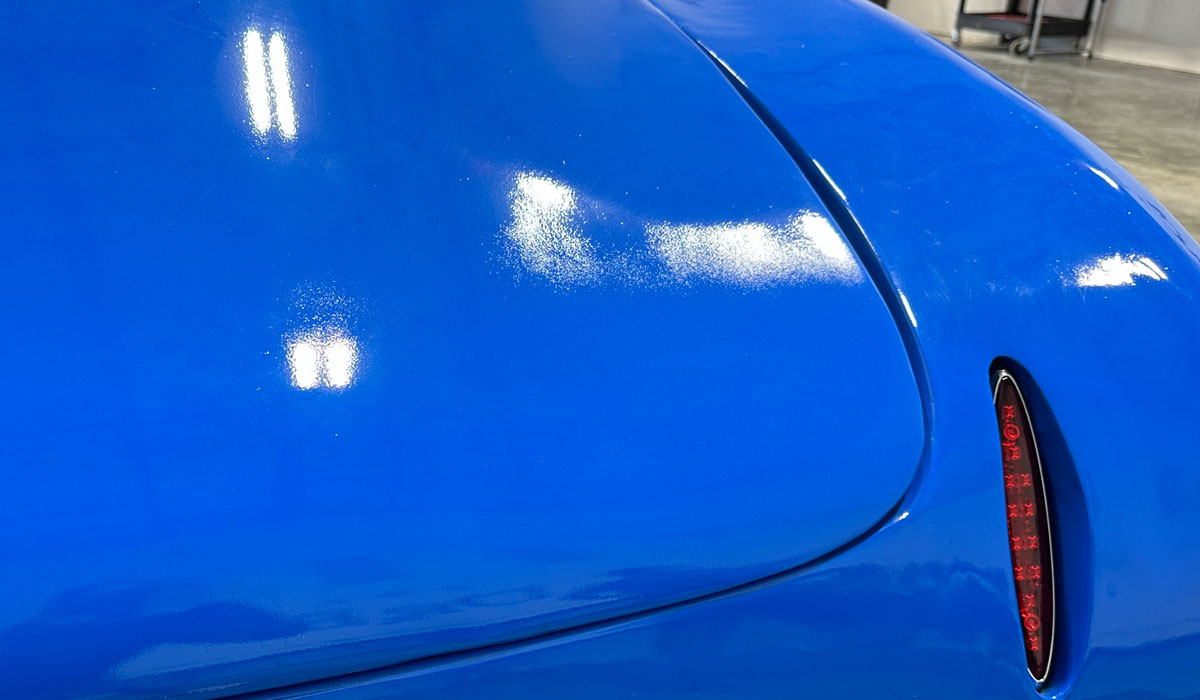
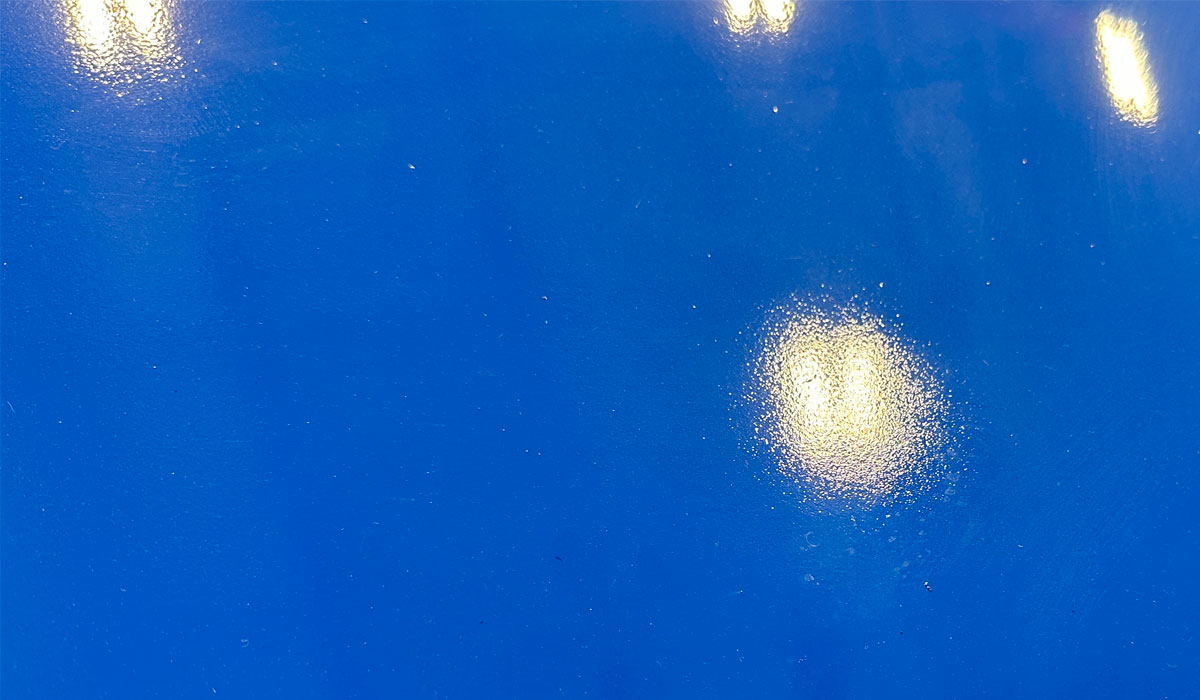
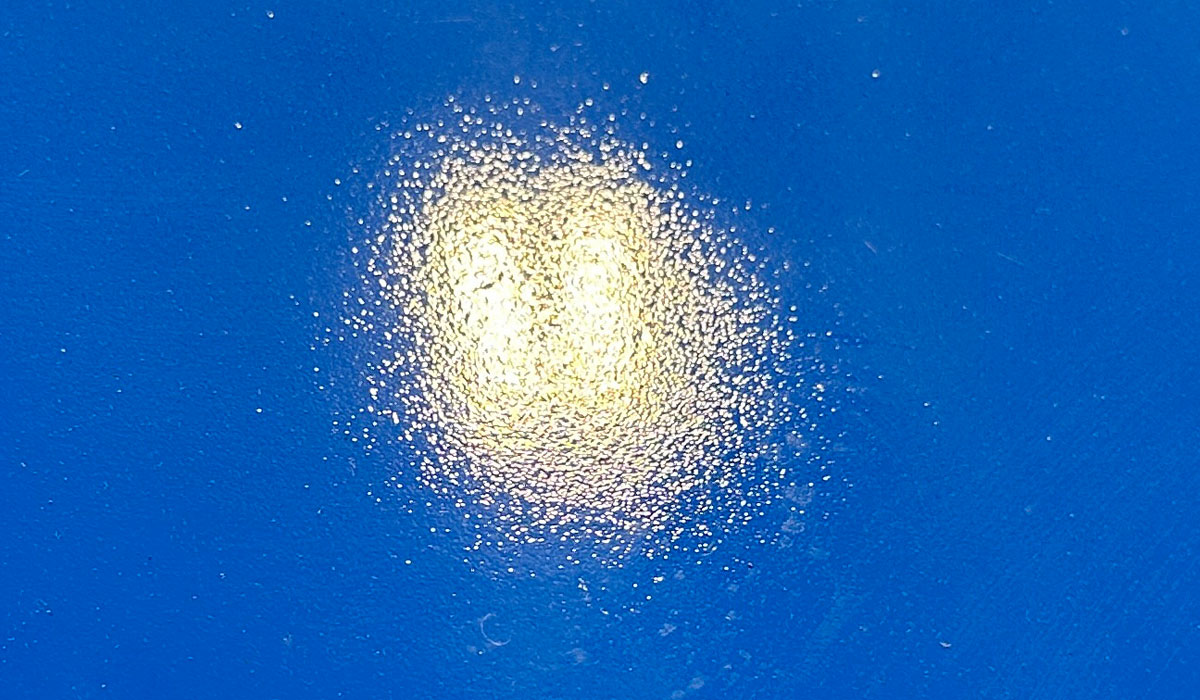
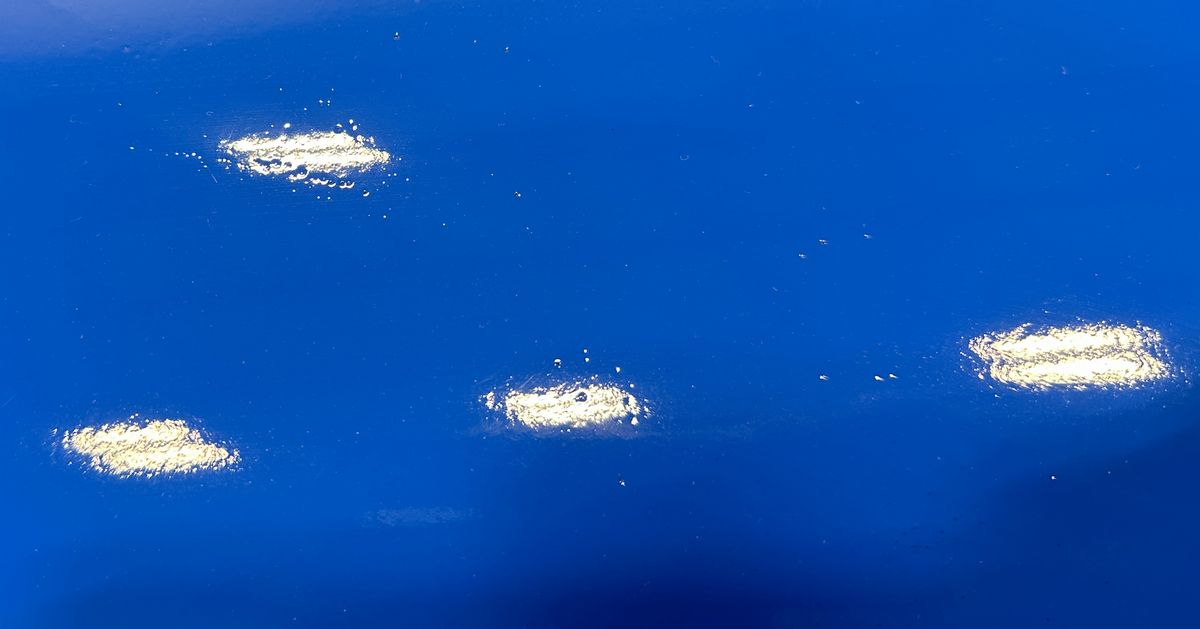
Extreme Orange Peel
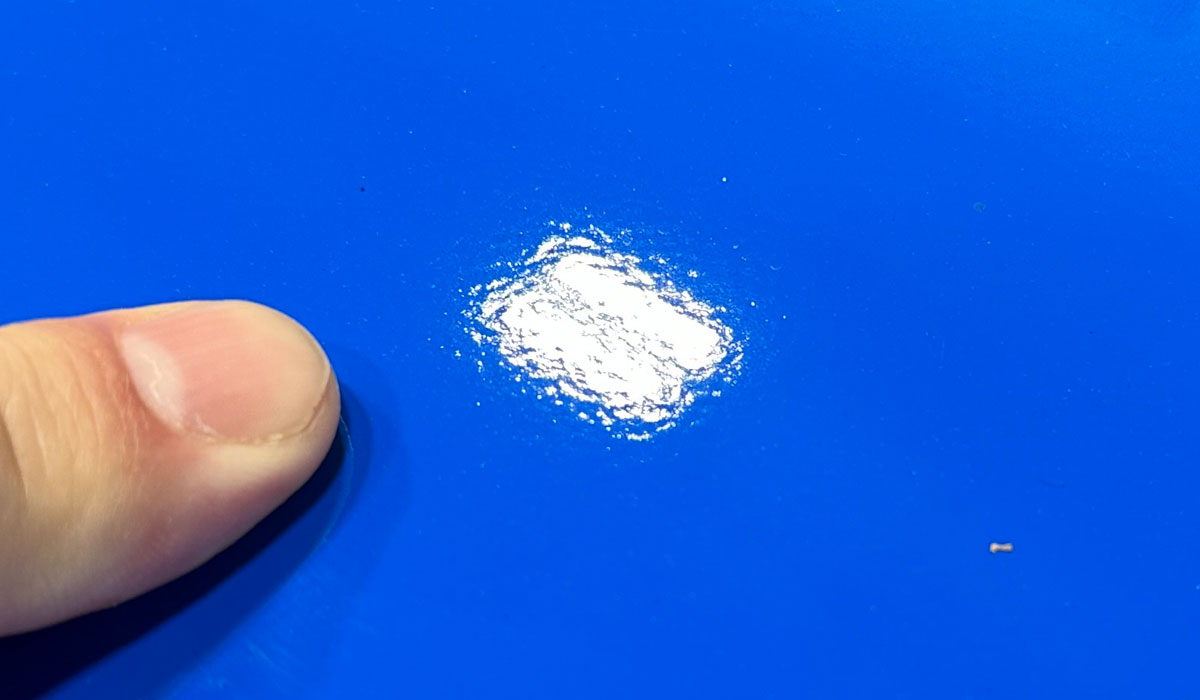
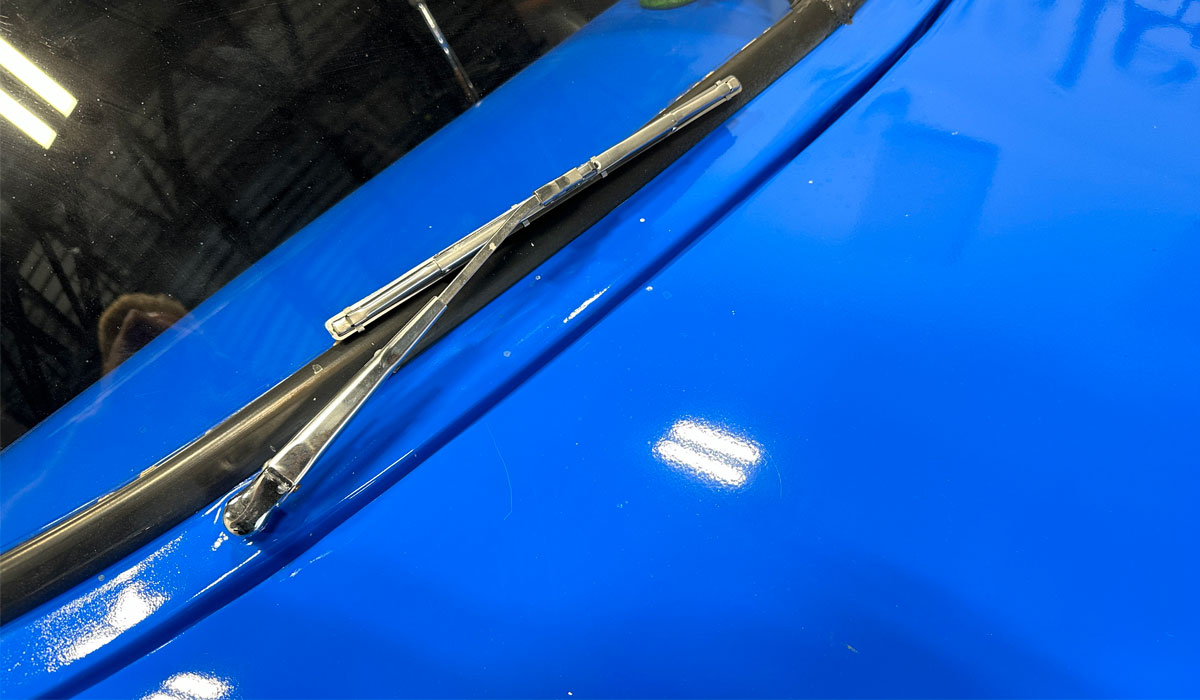
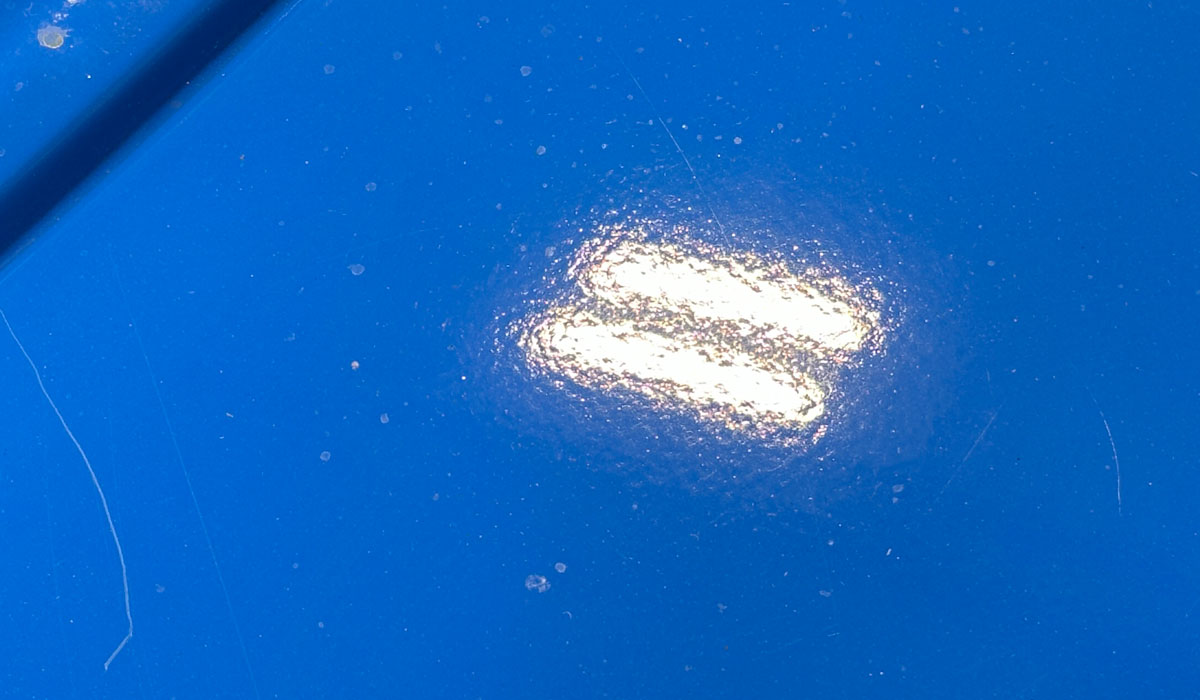
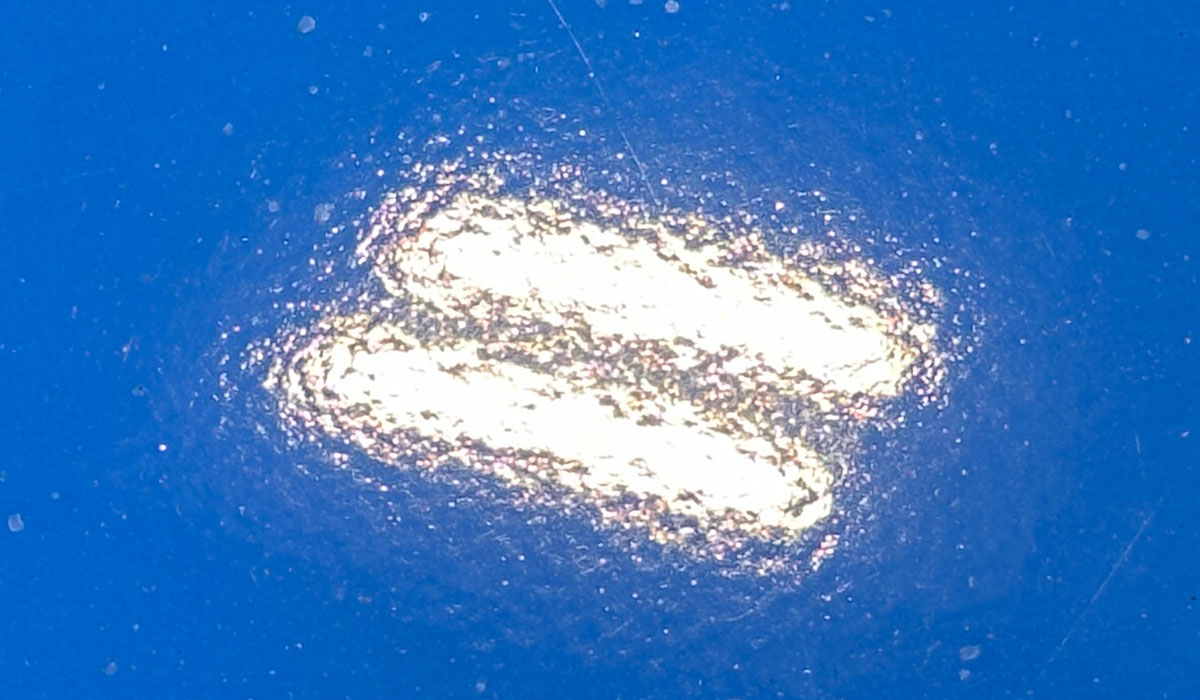
Extreme Dry Spray

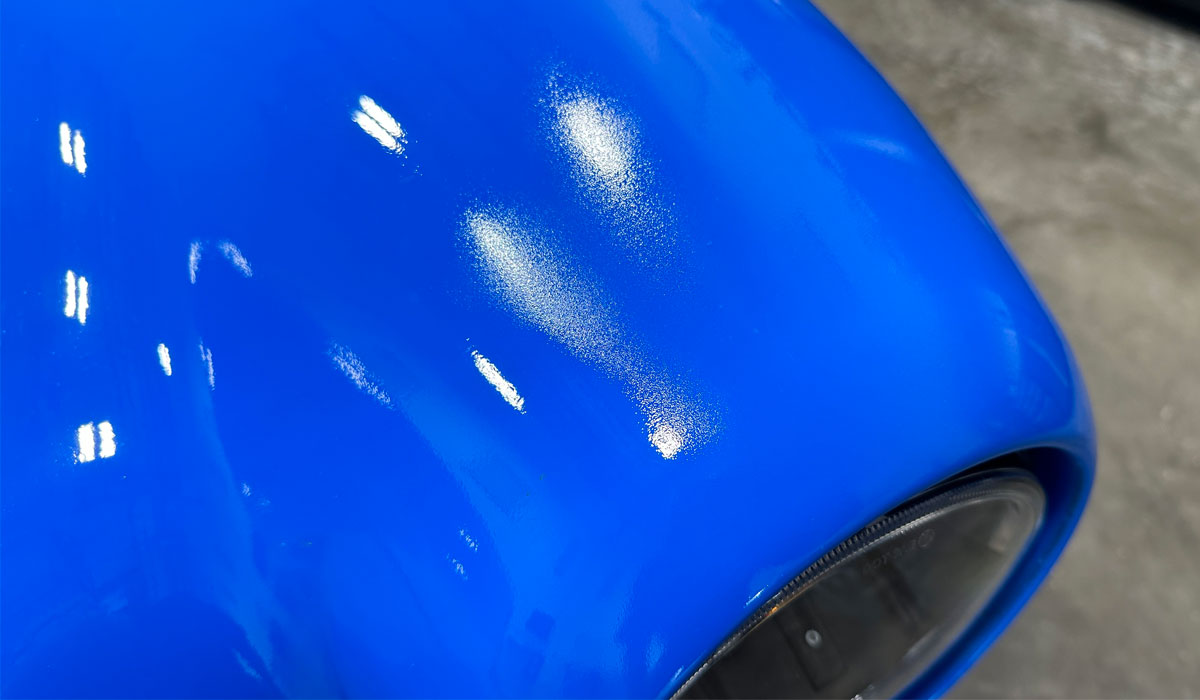
Orange Peel - Dry Spray - Surface Texture
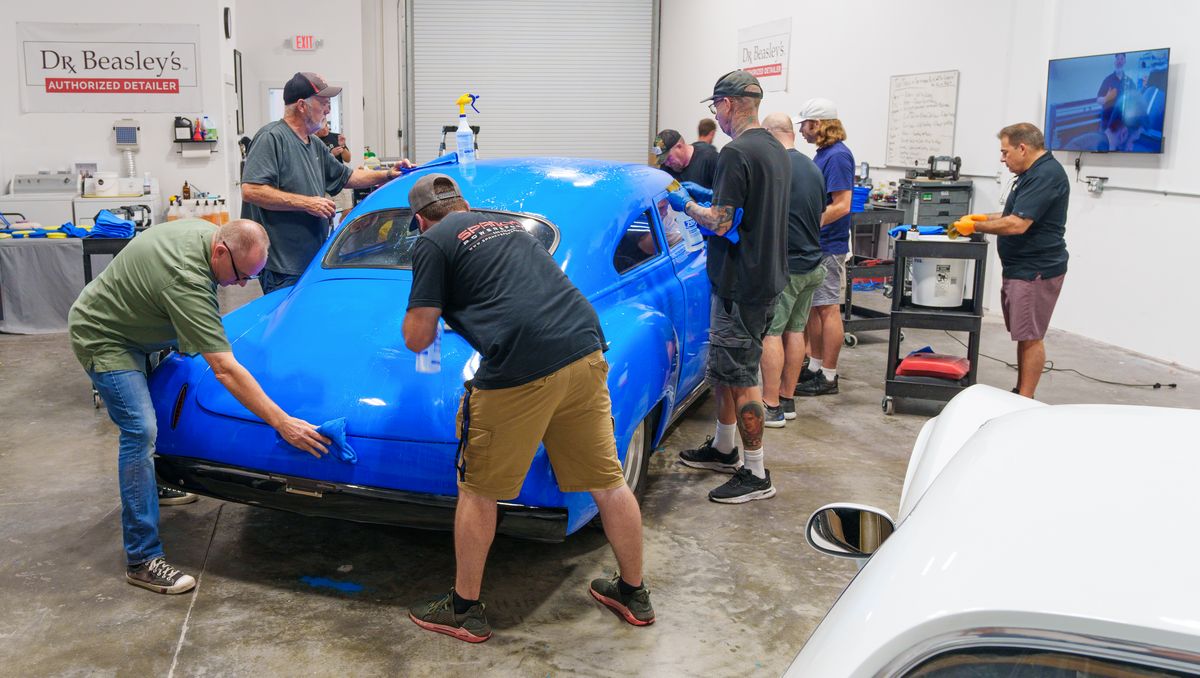
No Demo Hoods
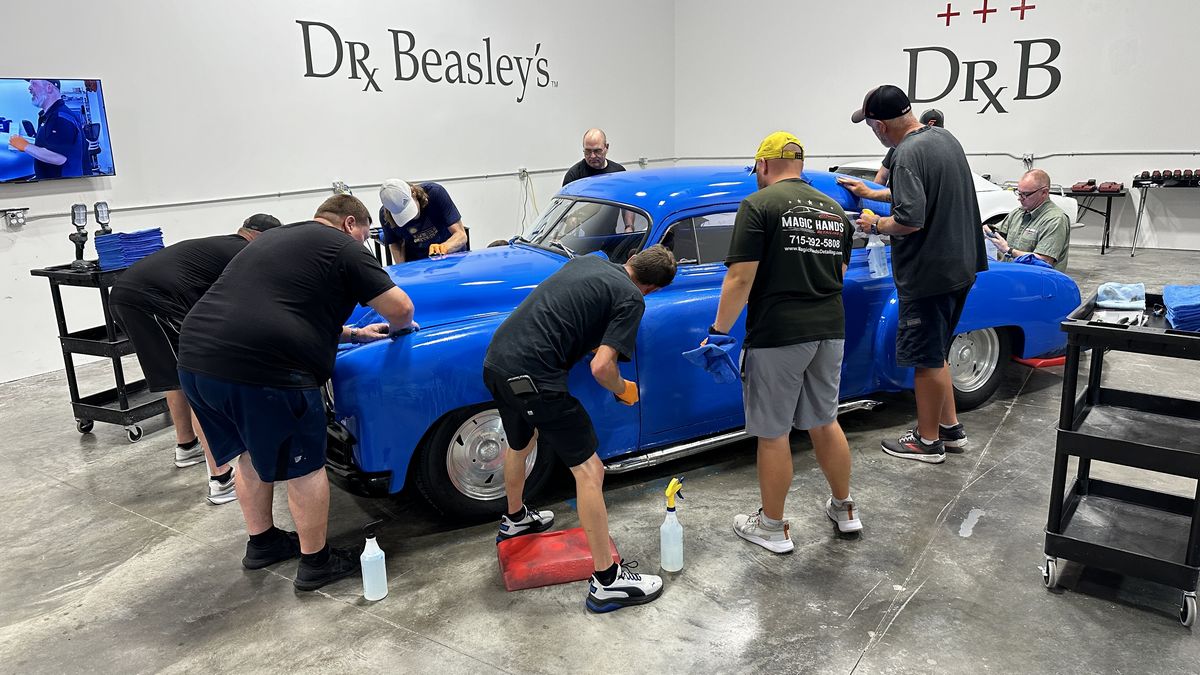
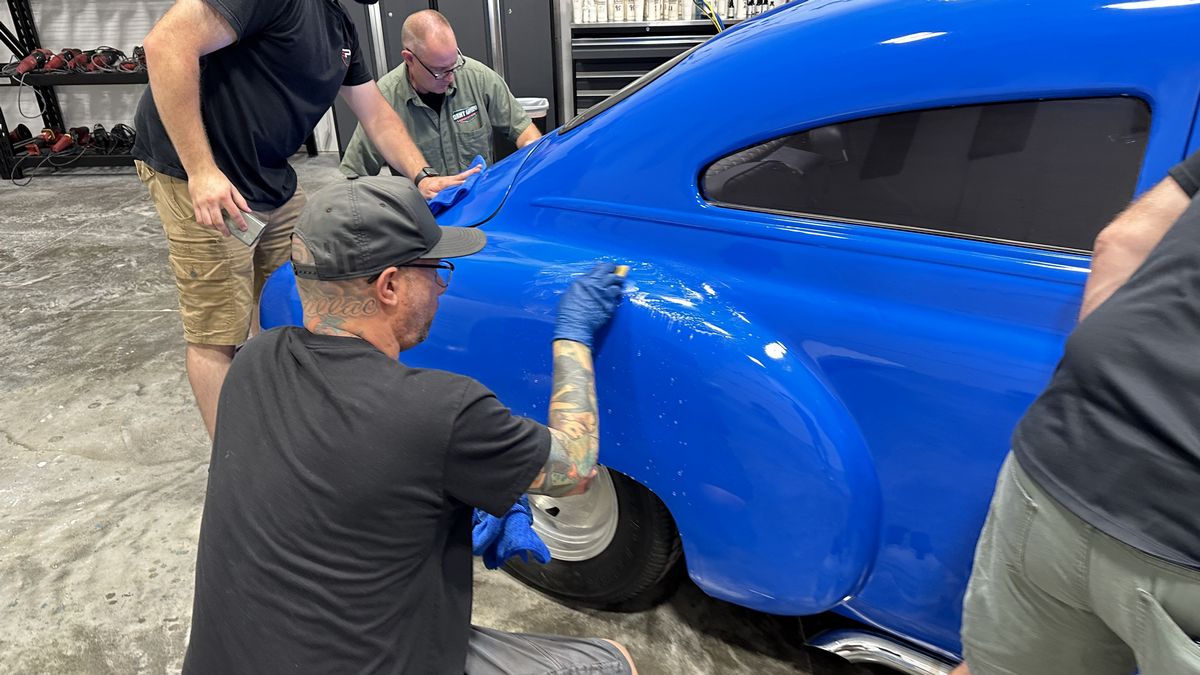
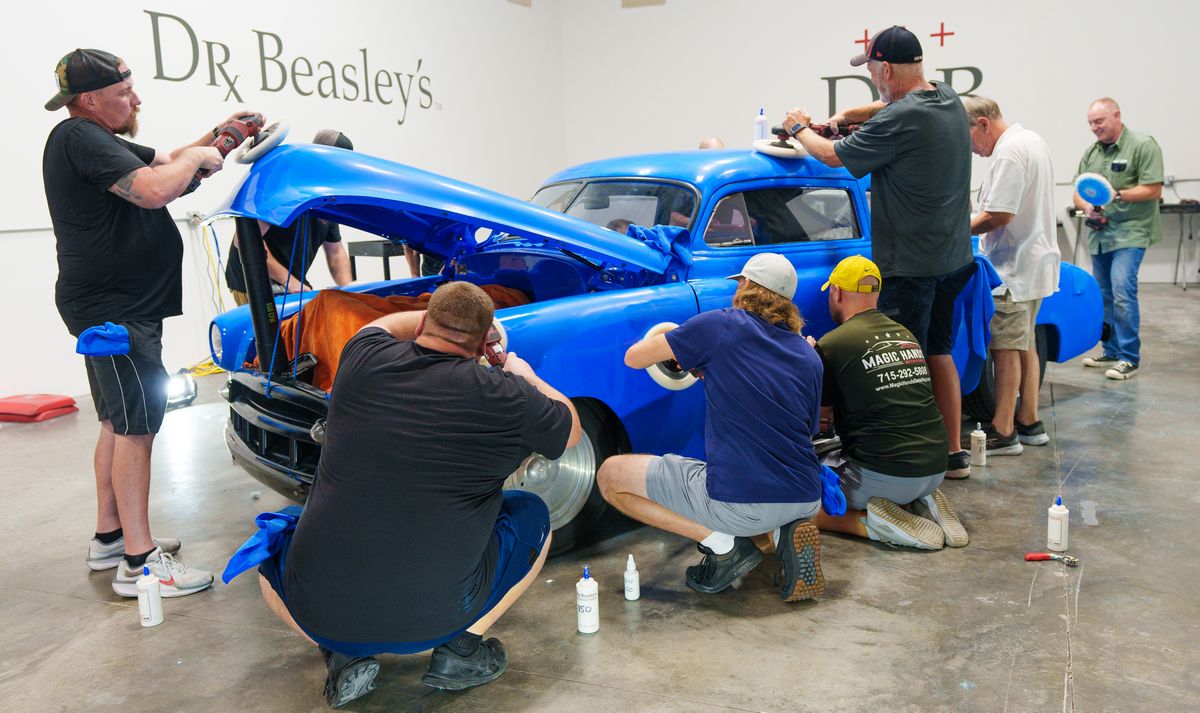
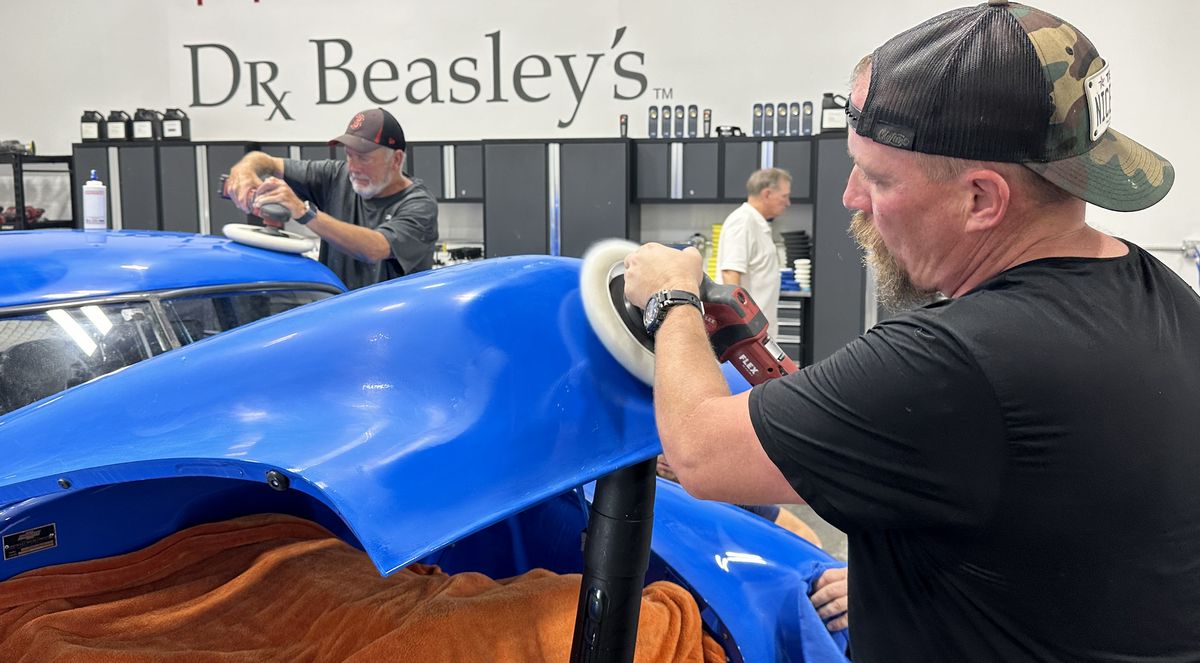
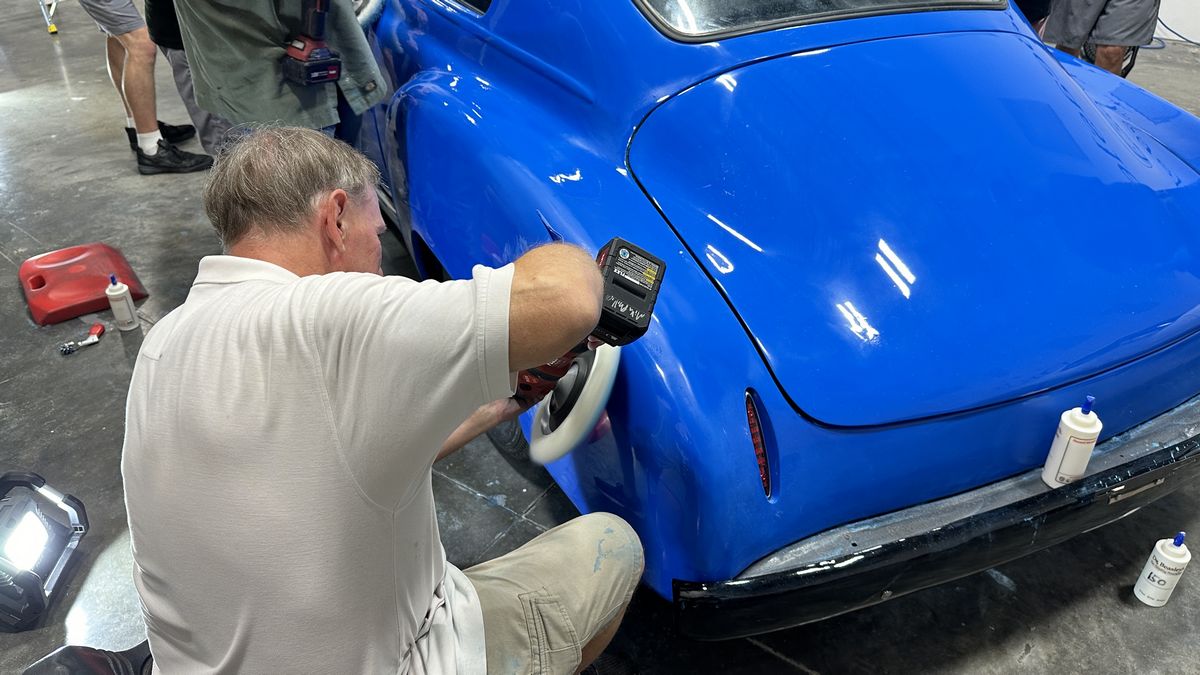
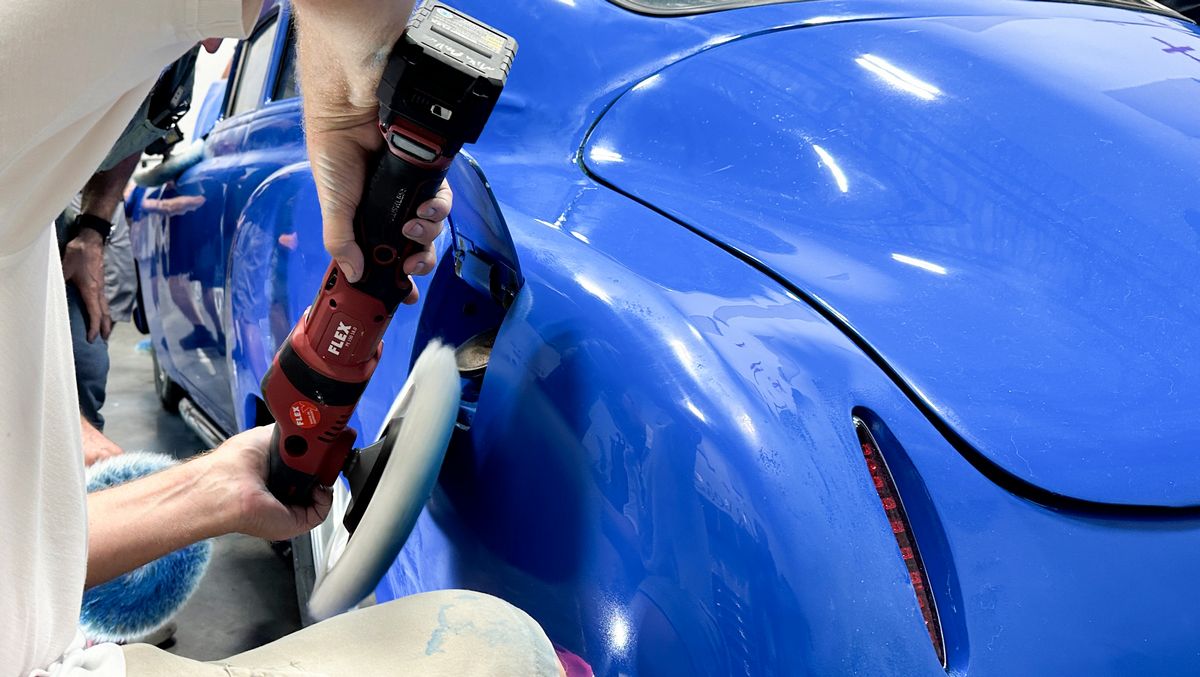
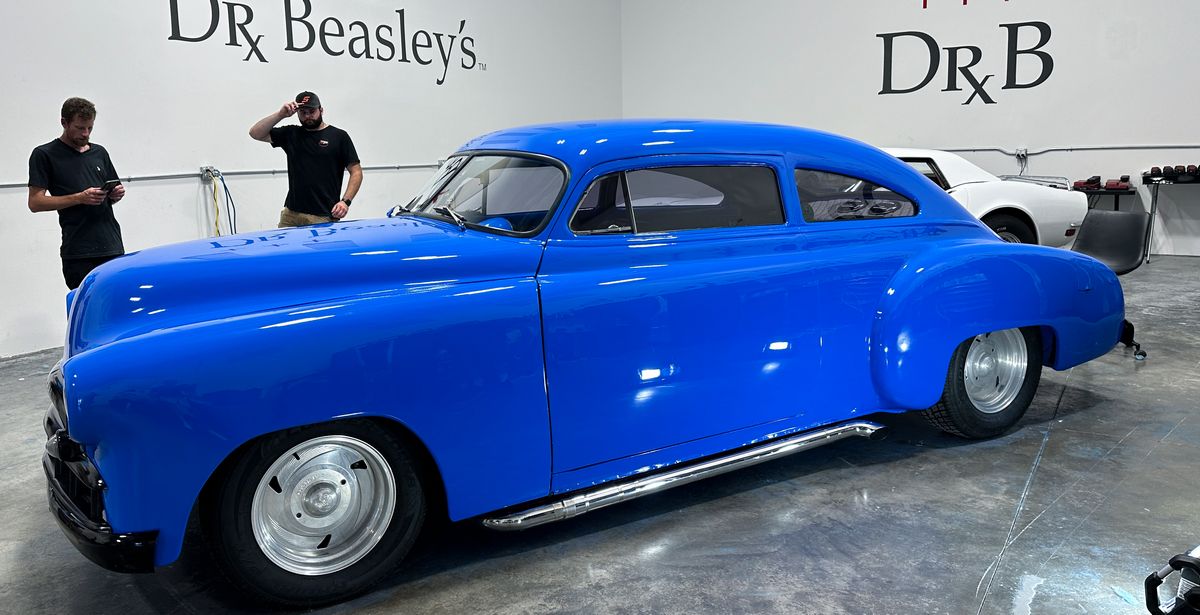
I used to use demo hoods for sanding classes, but the problem is, it's so easy to sand and buff on a flat panel about waist high, (demo hood on a hood stand is about waist high). Instead, I bring in the REAL DEAL. The real deal are the types of cars that actually get sanded and this means bringing in the types of cars that get fixed up and then get actual CUSTOM paint jobs. When you hear someone talking about wet sanding, it's in the CONTEXT of sanding a car like this, not the new or late model car in your driveway with the super THIN factory clearcoat.
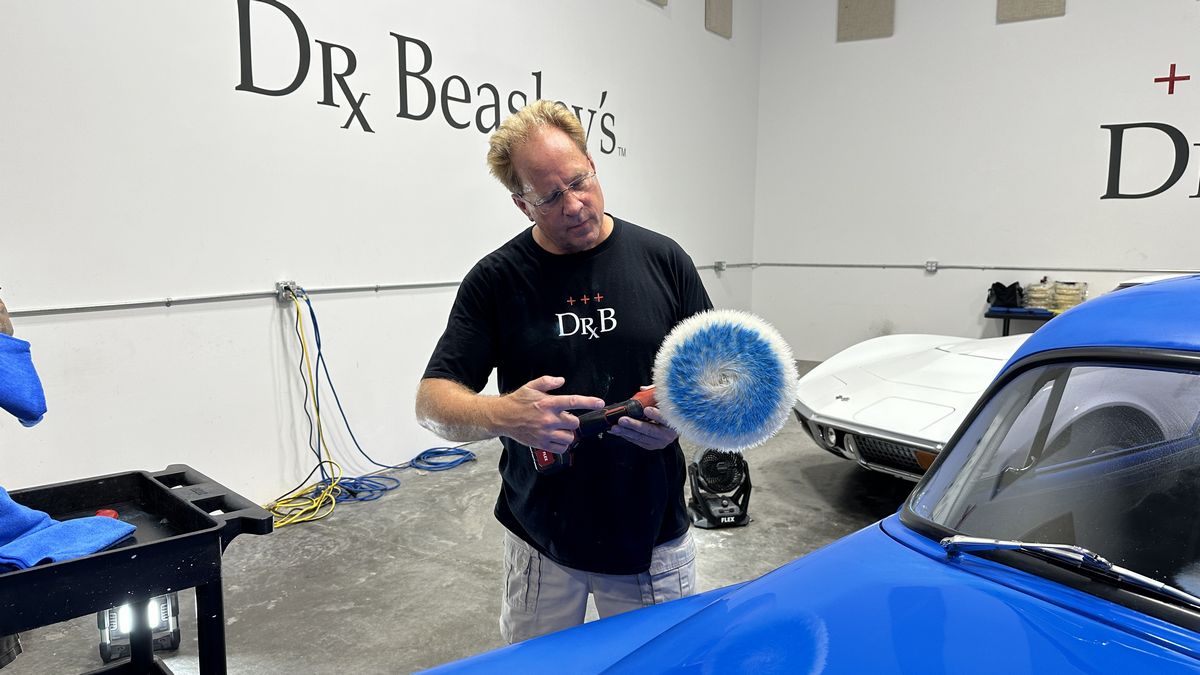
When custom cars get custom paint jobs, the painter will tend to spray more paint to provide PLENTY of film-build or material for the people doing the sanding and buffing so they can sand the paint flat and then buff out all their sanding marks without ever buffing or burning through the paint.
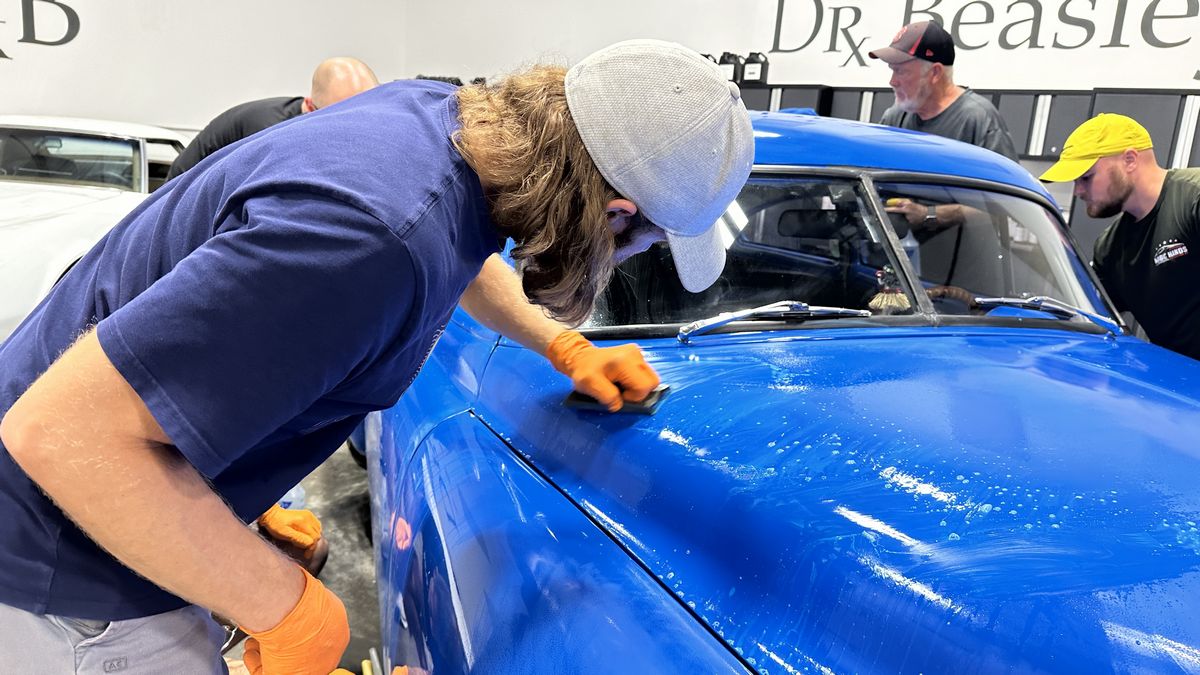
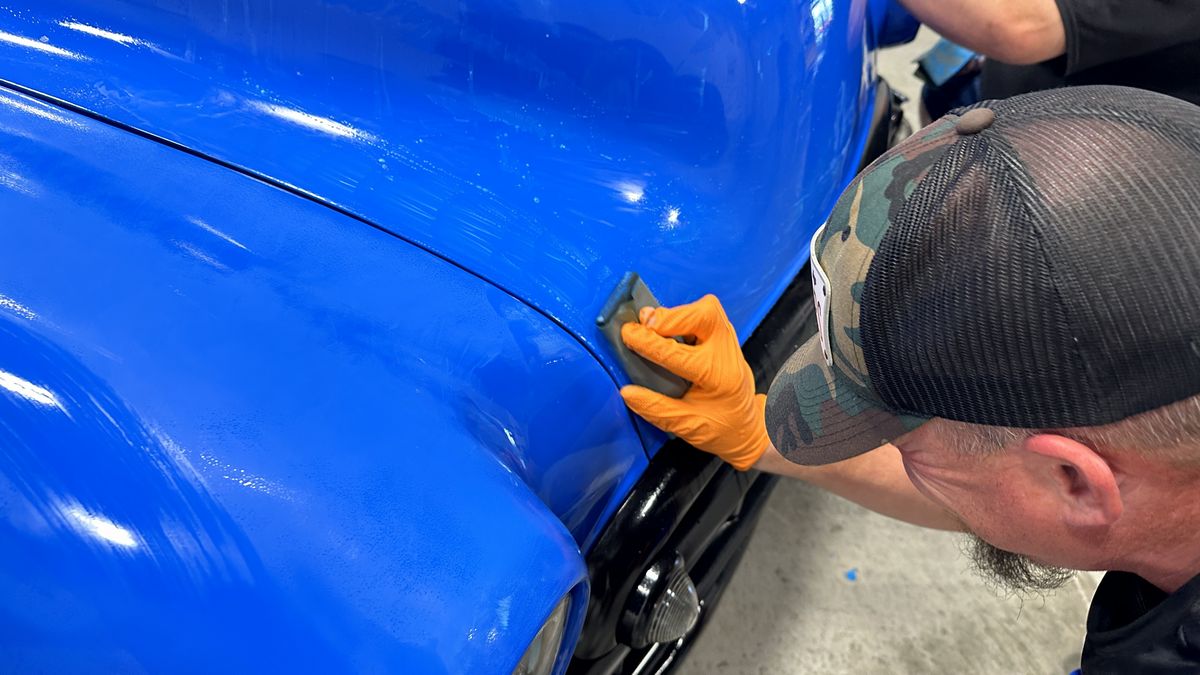
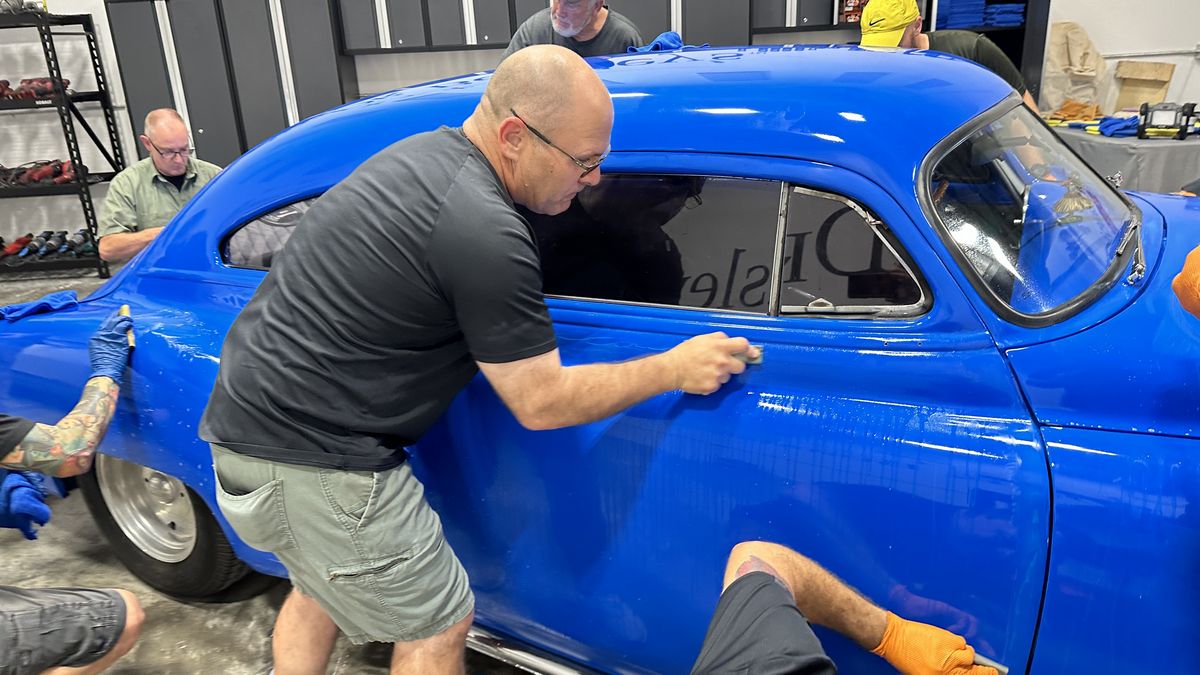
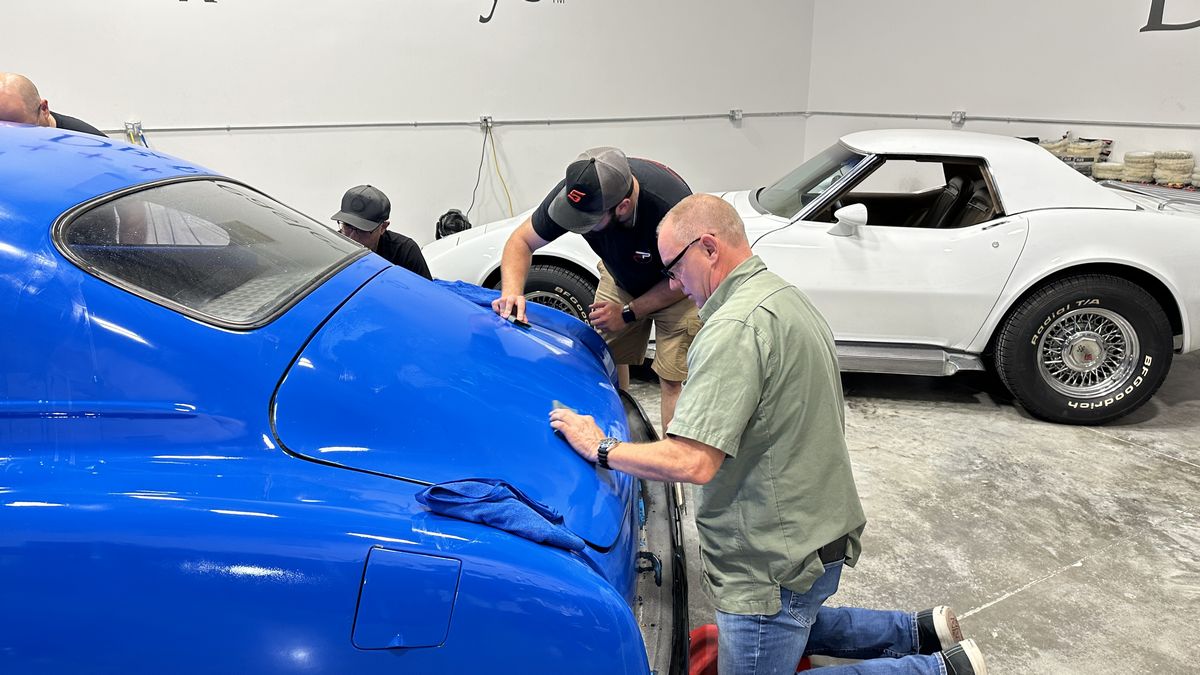
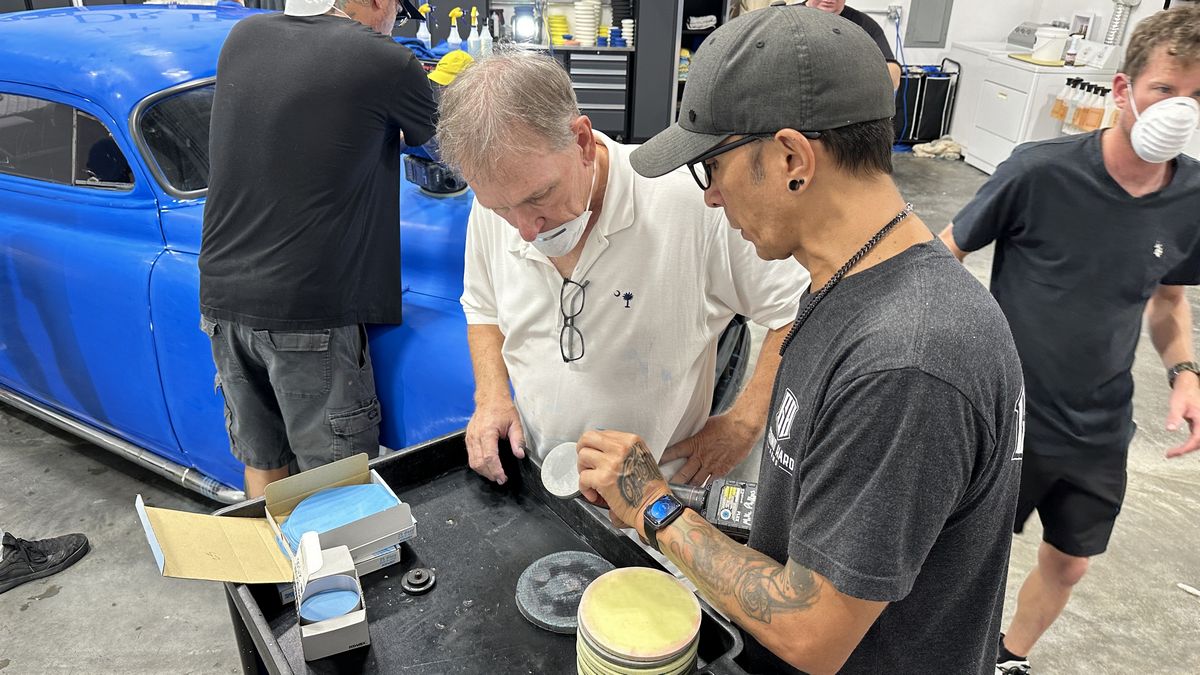
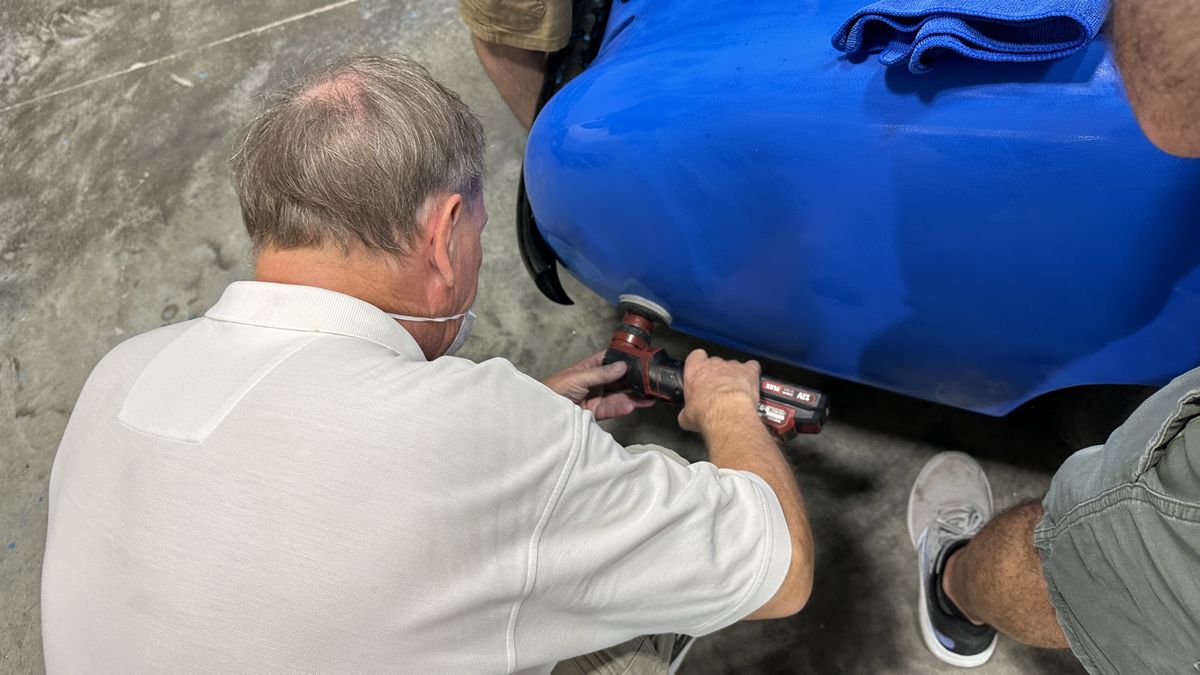
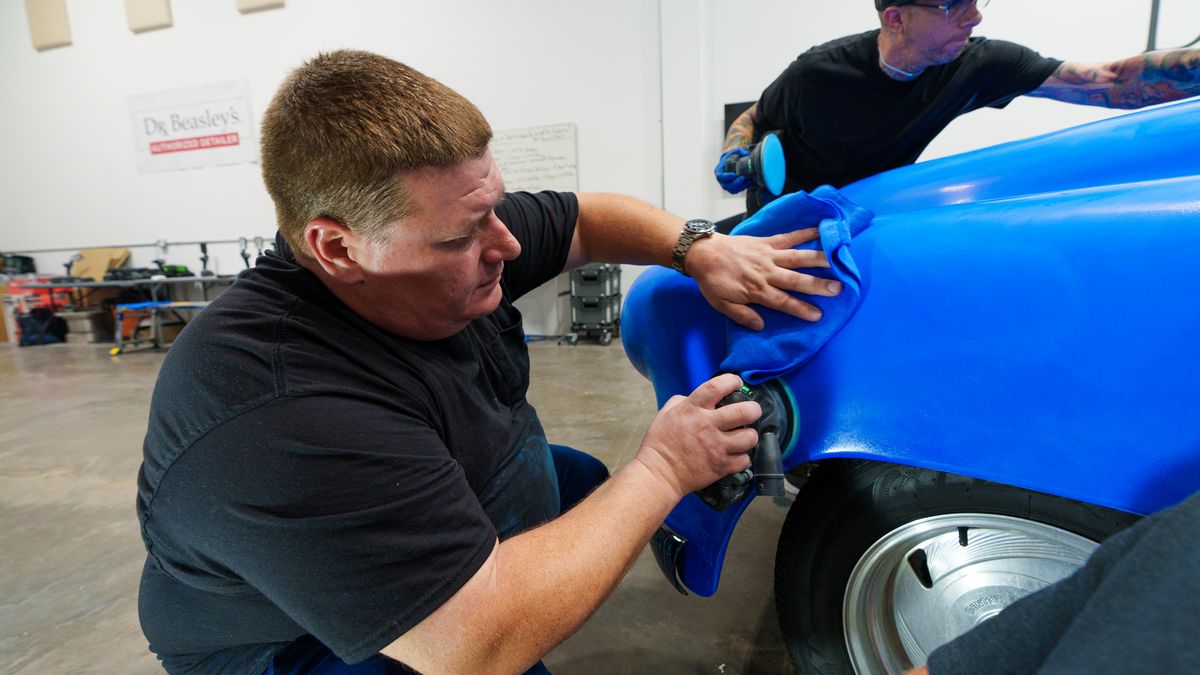
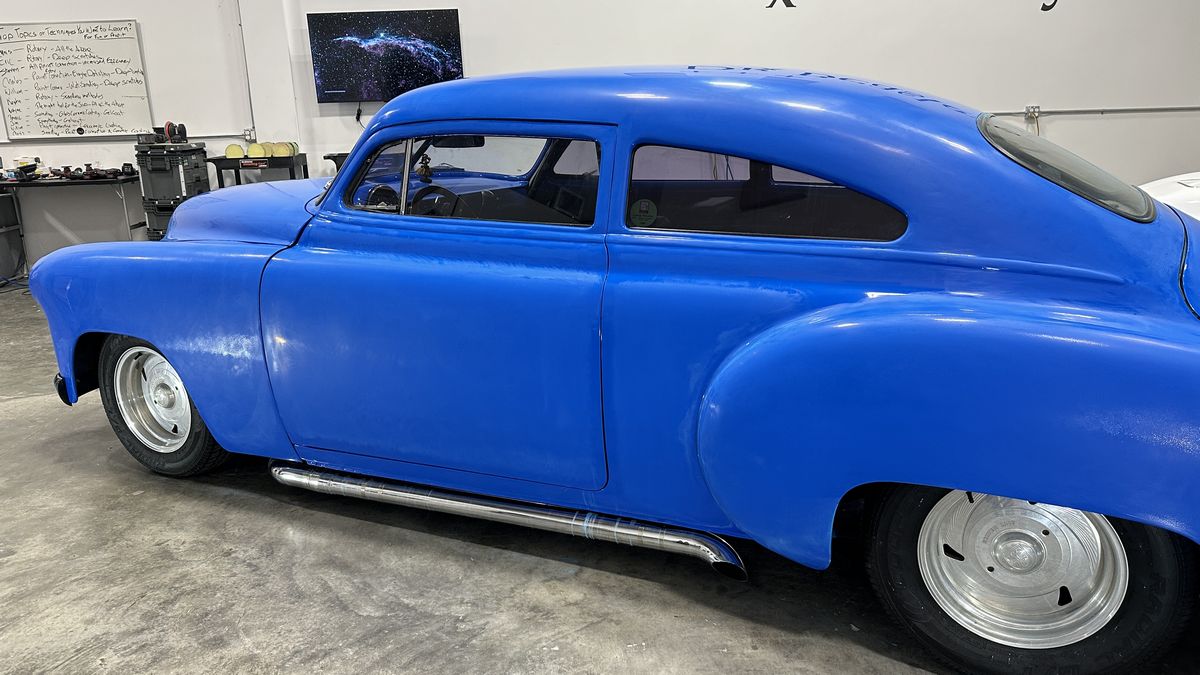
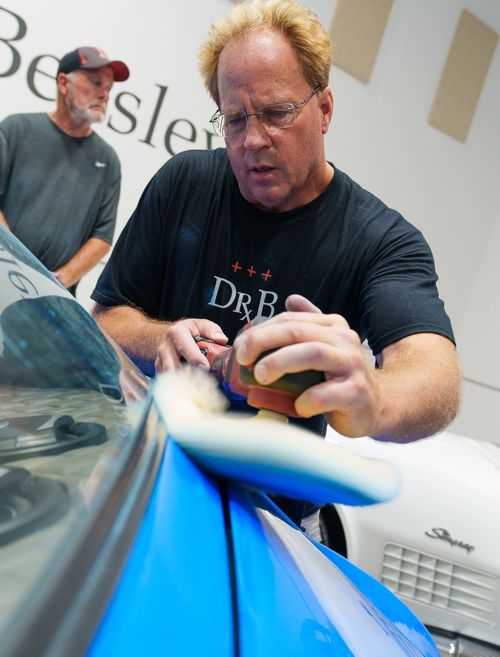
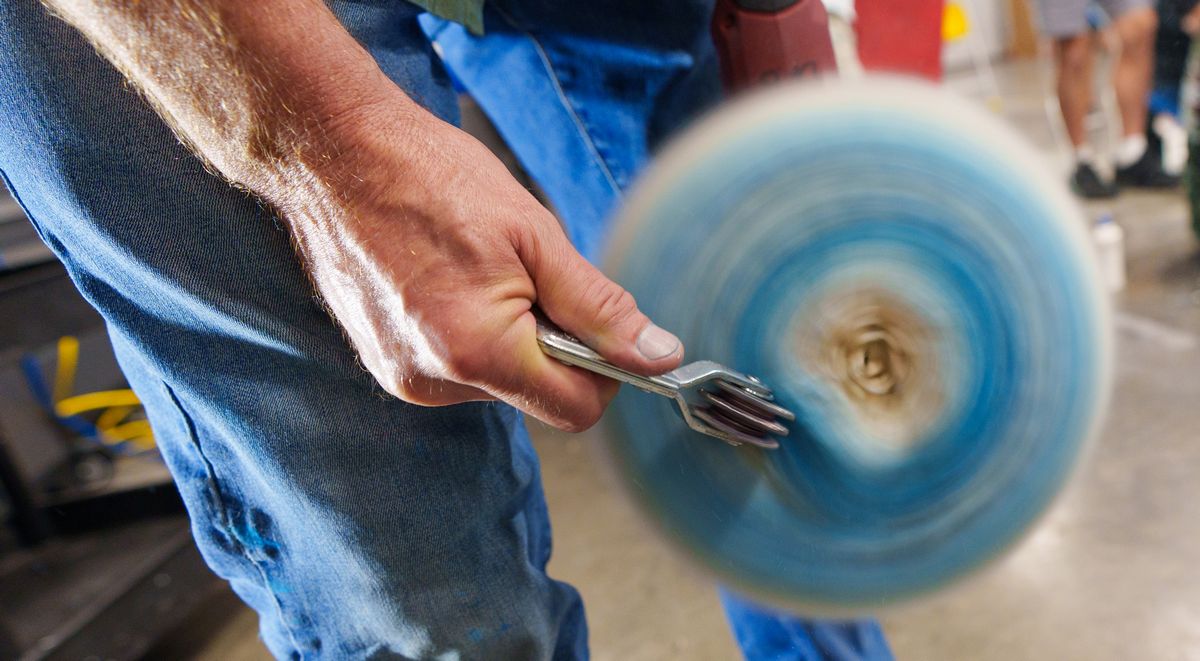
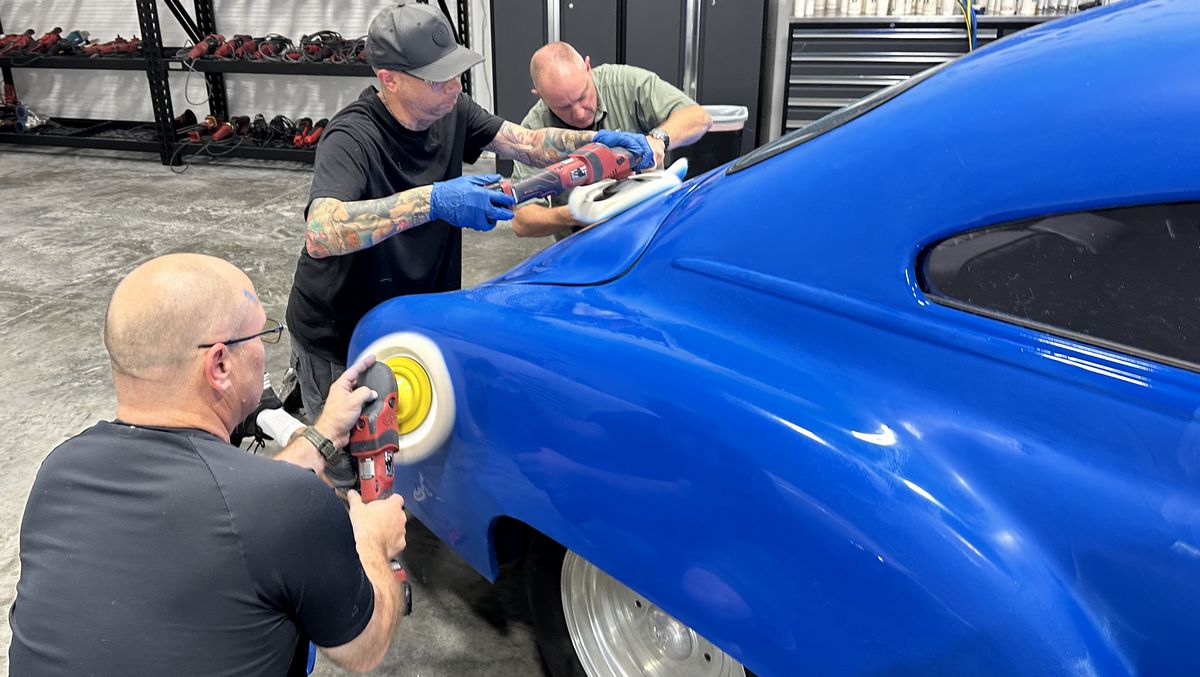
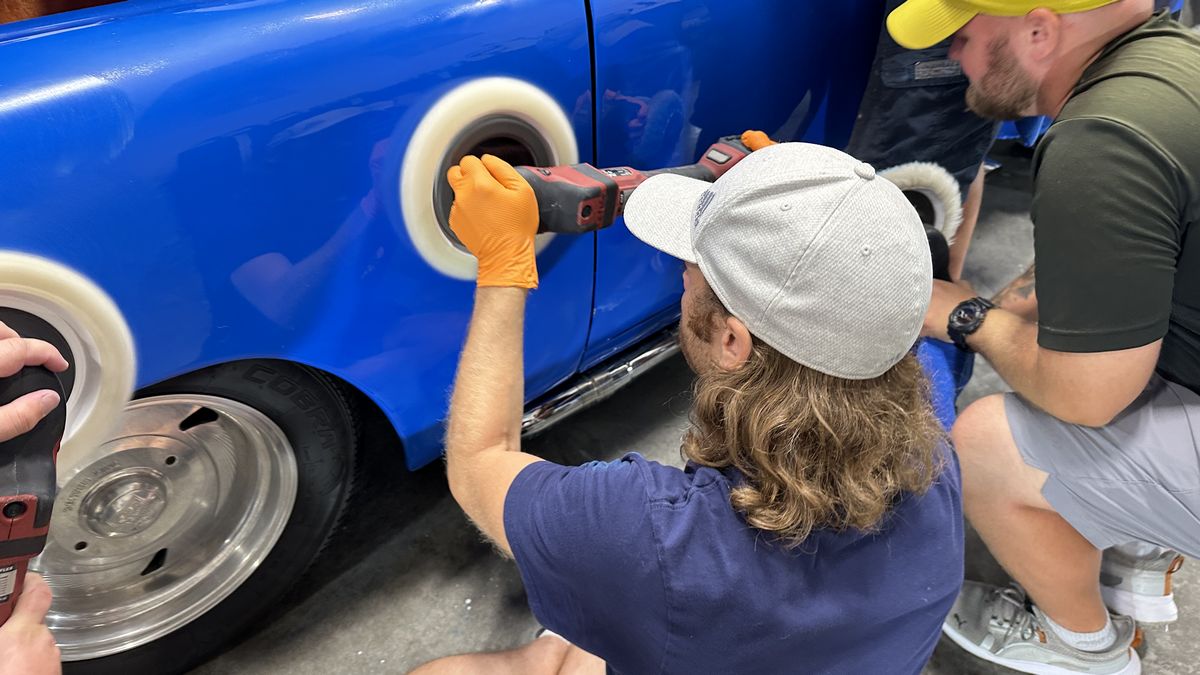
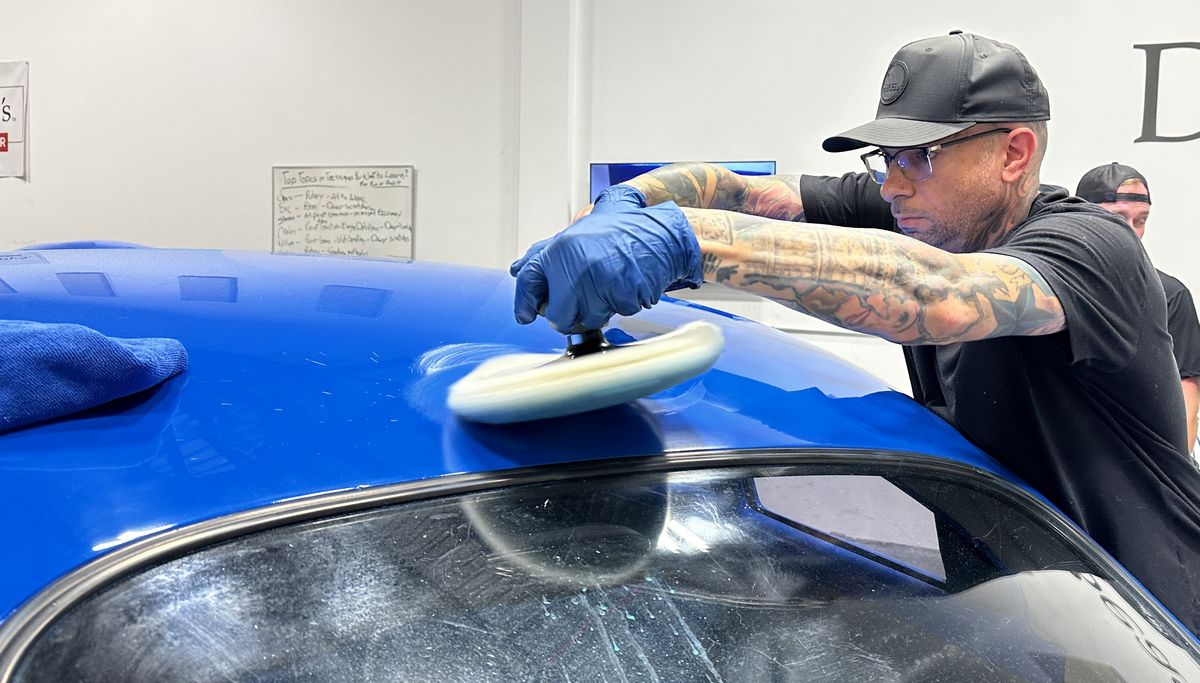
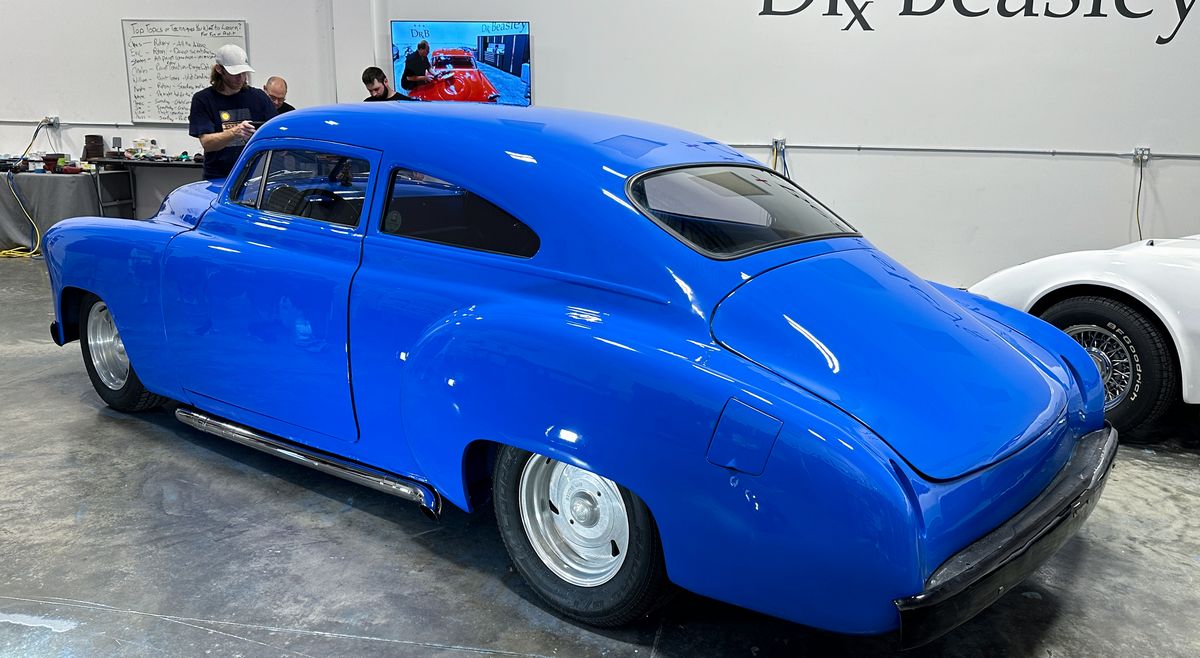
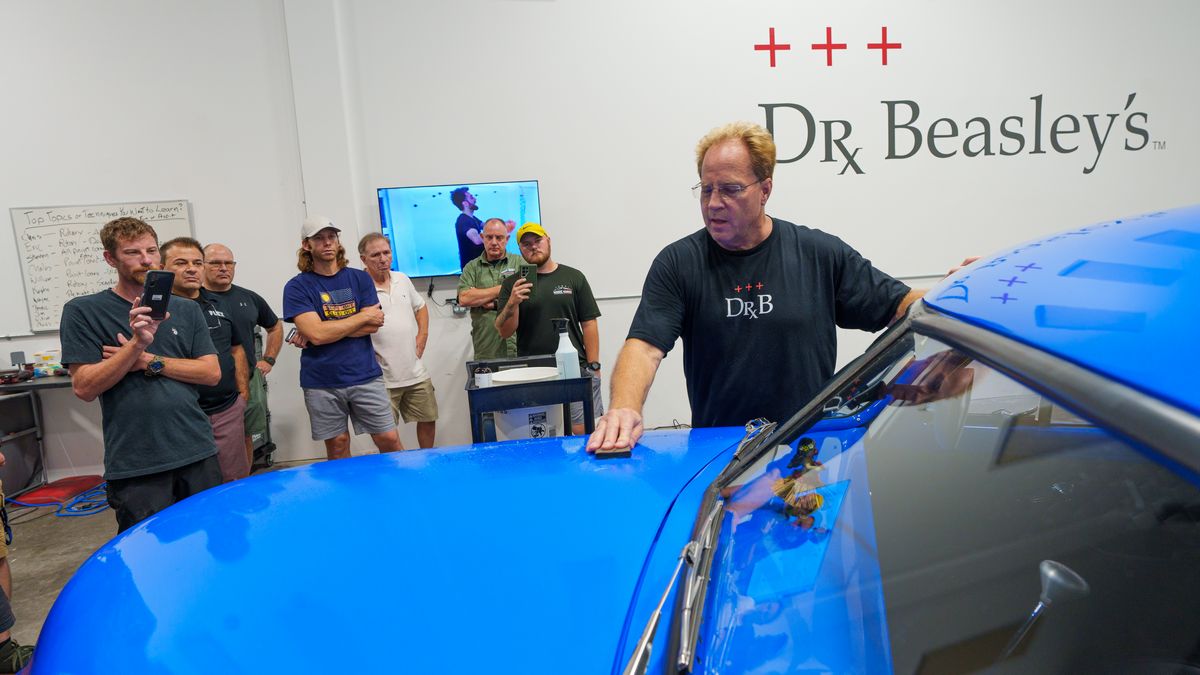
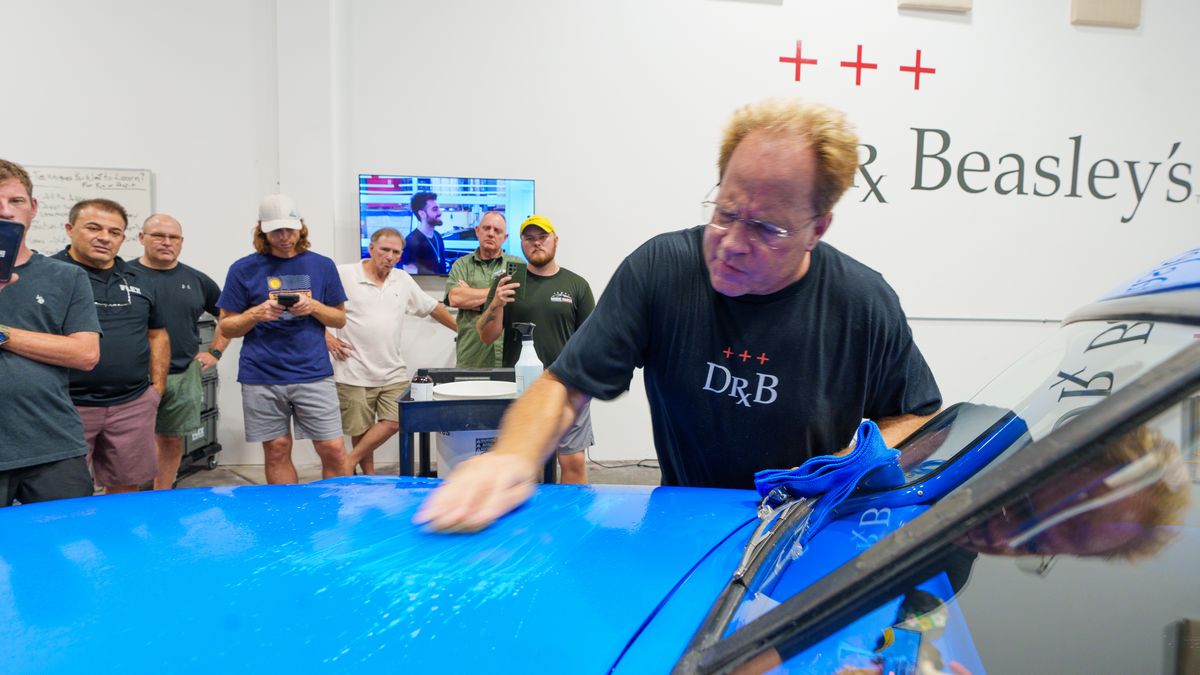
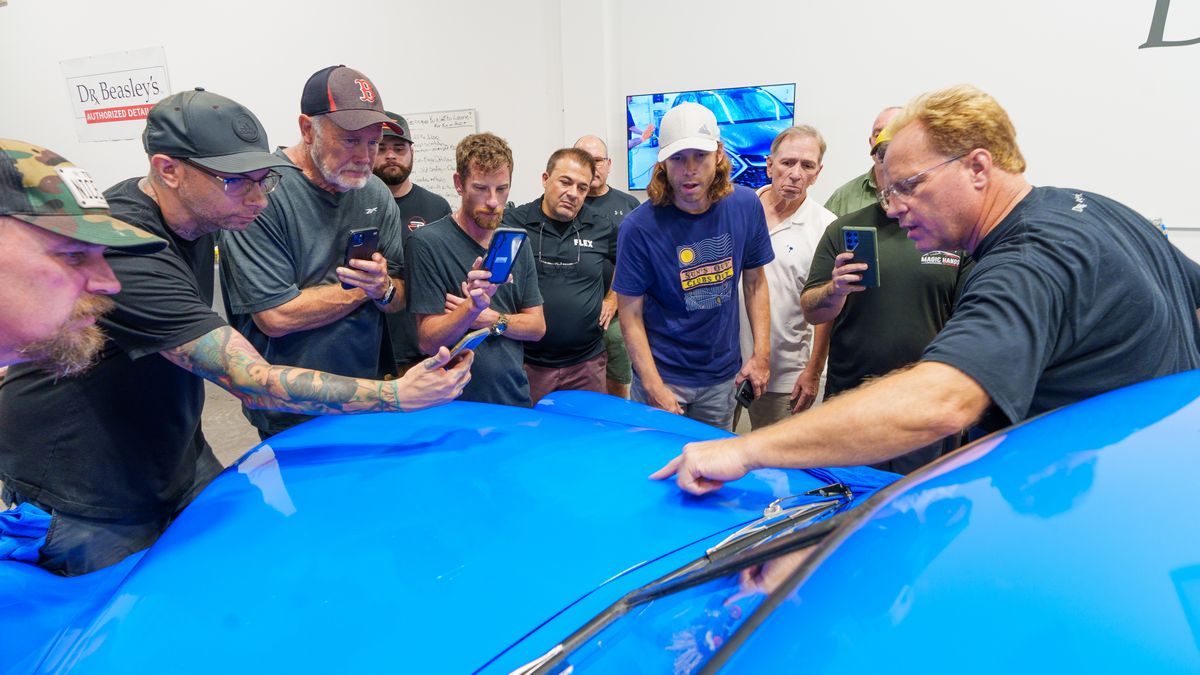
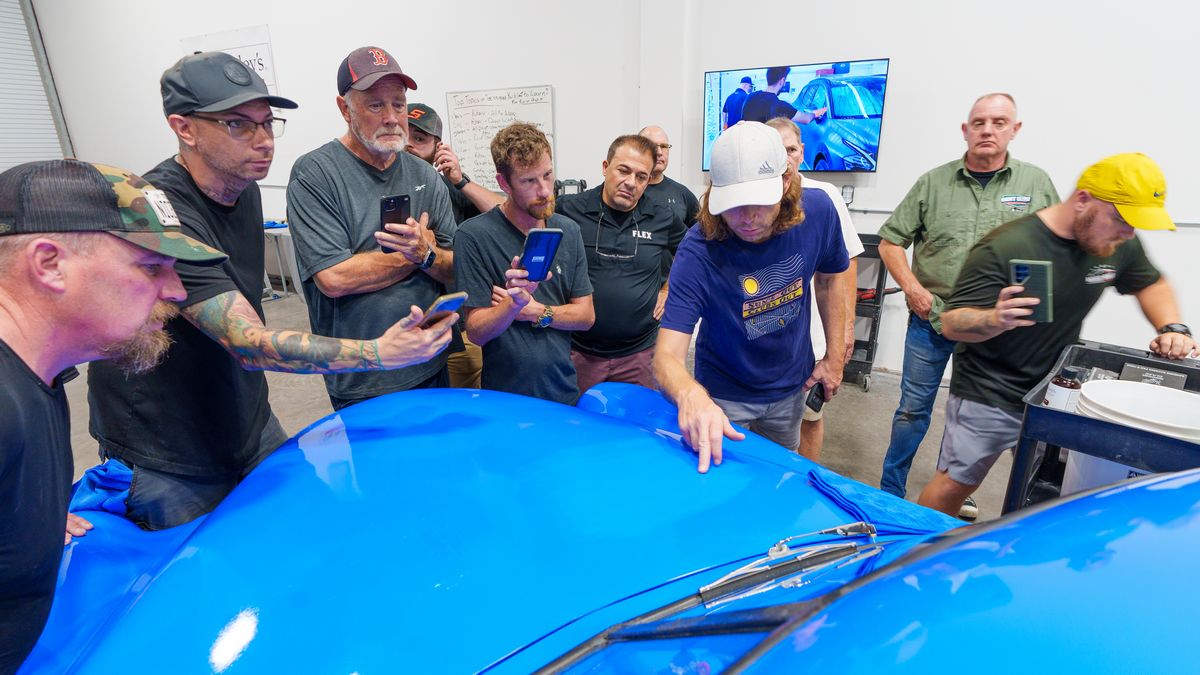
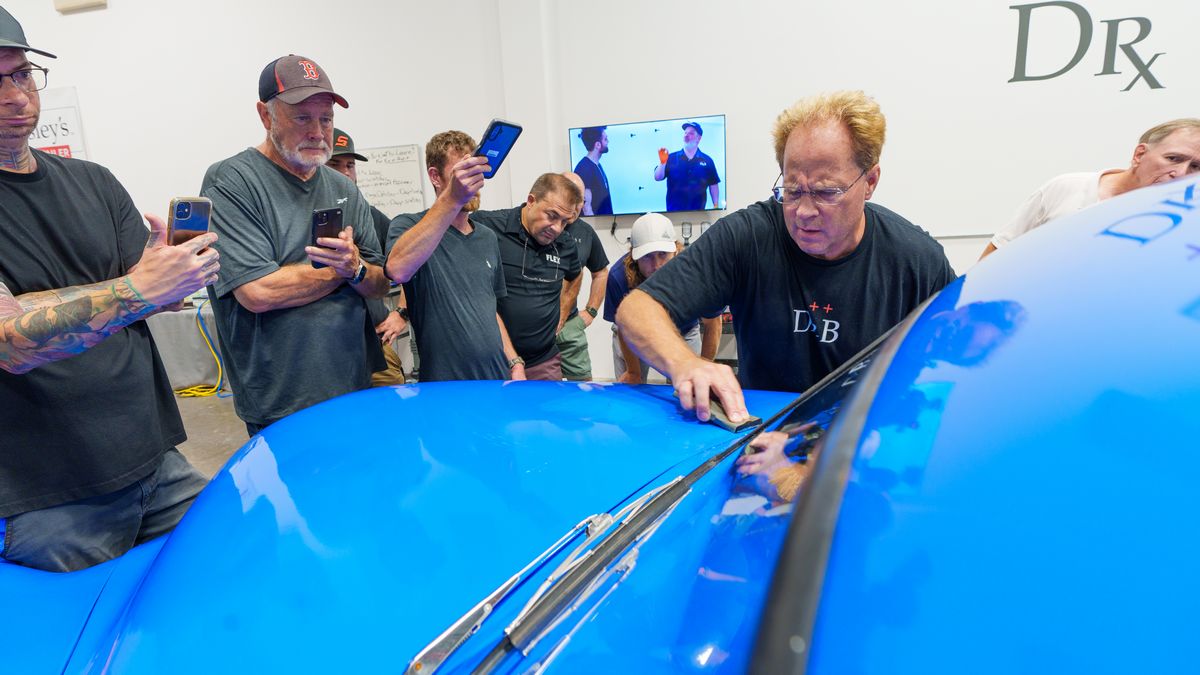
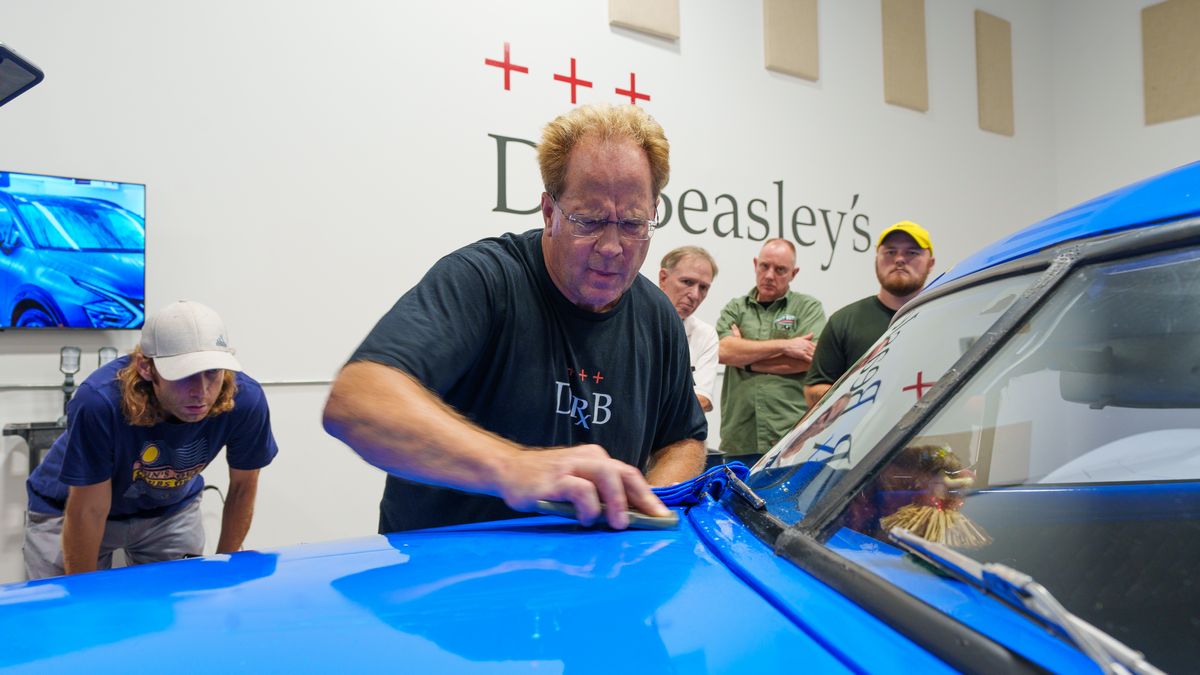
Hand Wet Sanding
First step for this car is to learn how to wet sand by hand. For this class session, I share tips and techniques for sanding not just the easy to sand larger sections of paint, but how to hand sand around edges and raised body lines. For this first sanding step, we'll be using the Nikken brand of Finishing Papers. Note these are not sand papers, they are FINISHING papers, super high quality unigrit particle size and distribution over the entire face of the sheet of sandpaper. Been using and showing this brand for hand wet sanding since 1987 - that's 38 years.

Mike
The below is just one of the cars the September 2024 Class sanded and buffed to perfection.
Saturday Afternoon Session - Removing Orange Peel - Dry Spray - Surface Texture
I can appreciate any person that takes on the huge task of restoring a car, or in this case hotrodding a car and this includes learning how to paint a car for the first time. The paint on this car had a lot of orange peel and dry spray plus surface texture like graininess. I'm so impressed with the class as they completely turned this paint job around and the final results are nothing short of phenomenal.
Extreme Orange Peel
Extreme Dry Spray
Orange Peel - Dry Spray - Surface Texture
No Demo Hoods
I used to use demo hoods for sanding classes, but the problem is, it's so easy to sand and buff on a flat panel about waist high, (demo hood on a hood stand is about waist high). Instead, I bring in the REAL DEAL. The real deal are the types of cars that actually get sanded and this means bringing in the types of cars that get fixed up and then get actual CUSTOM paint jobs. When you hear someone talking about wet sanding, it's in the CONTEXT of sanding a car like this, not the new or late model car in your driveway with the super THIN factory clearcoat.
When custom cars get custom paint jobs, the painter will tend to spray more paint to provide PLENTY of film-build or material for the people doing the sanding and buffing so they can sand the paint flat and then buff out all their sanding marks without ever buffing or burning through the paint.
Hand Wet Sanding
First step for this car is to learn how to wet sand by hand. For this class session, I share tips and techniques for sanding not just the easy to sand larger sections of paint, but how to hand sand around edges and raised body lines. For this first sanding step, we'll be using the Nikken brand of Finishing Papers. Note these are not sand papers, they are FINISHING papers, super high quality unigrit particle size and distribution over the entire face of the sheet of sandpaper. Been using and showing this brand for hand wet sanding since 1987 - that's 38 years.
Mike
Last edited: