

- Admin
- #31
- Joined
- May 21, 2021
- Messages
- 2,794
- Reaction score
- 1,662
- Points
- 113
- Location
- Stuart, Florida
- Website
- themikephillipsforum.com
More...
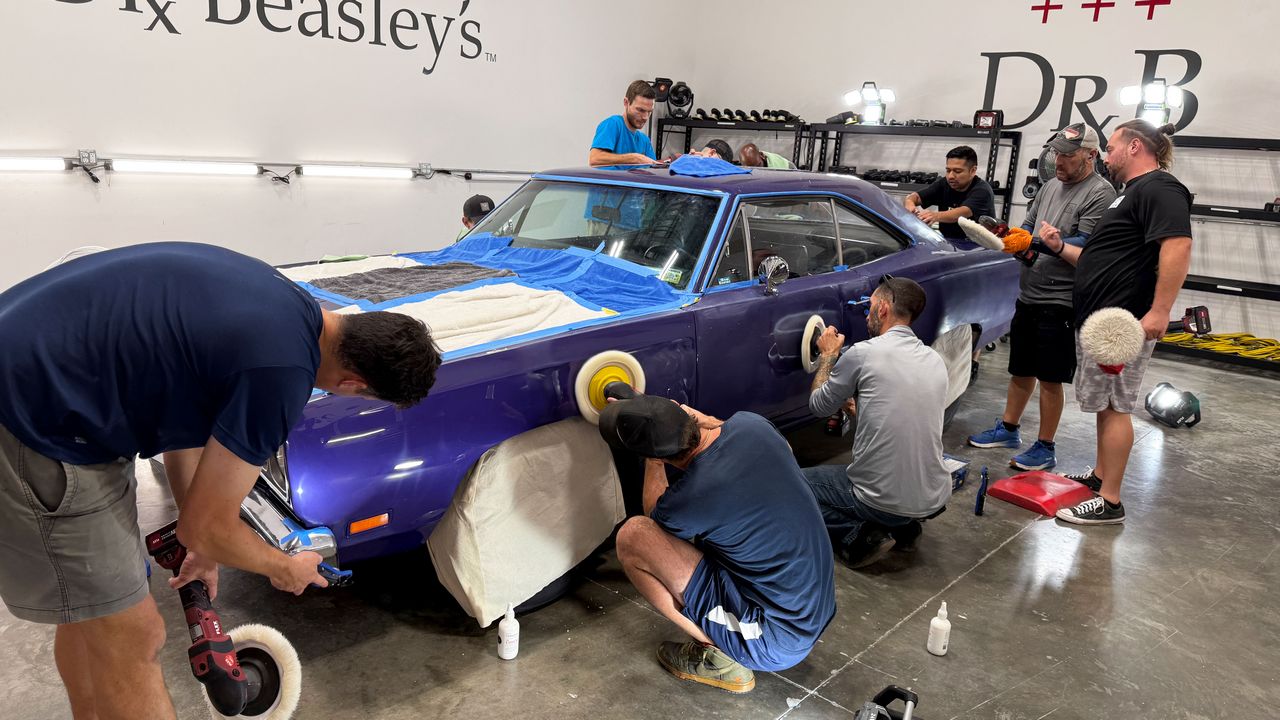
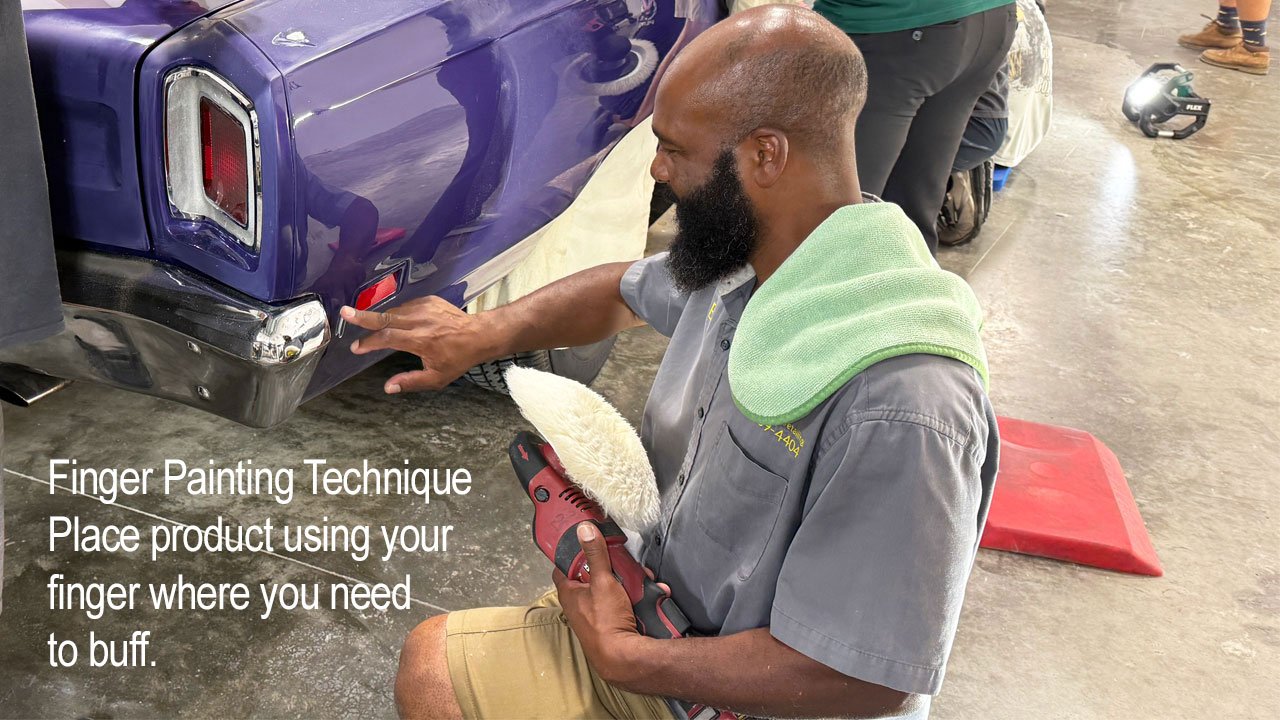
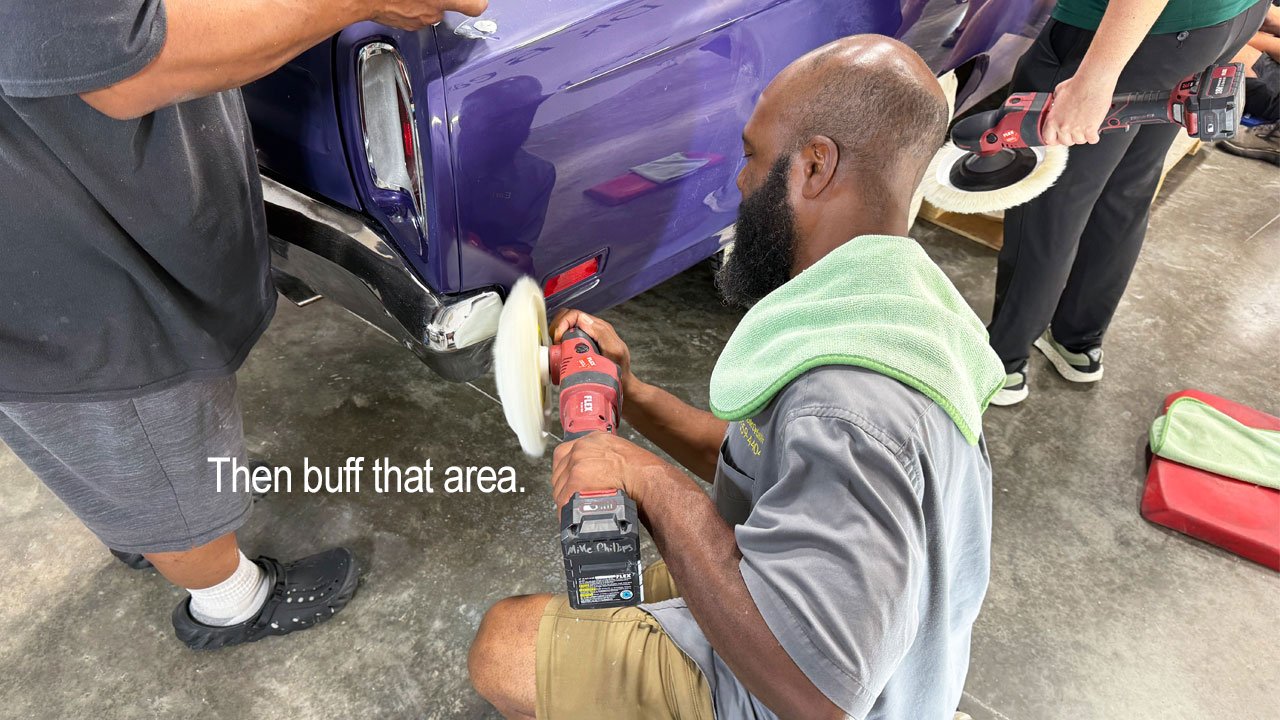
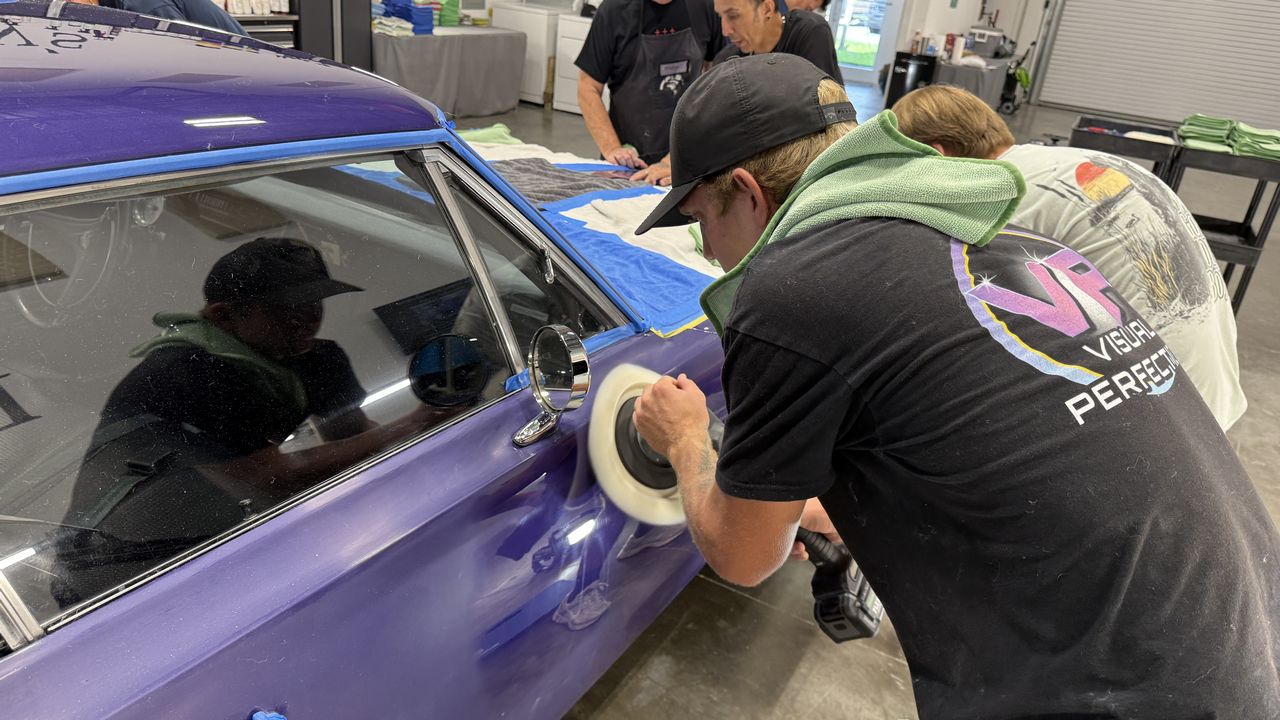
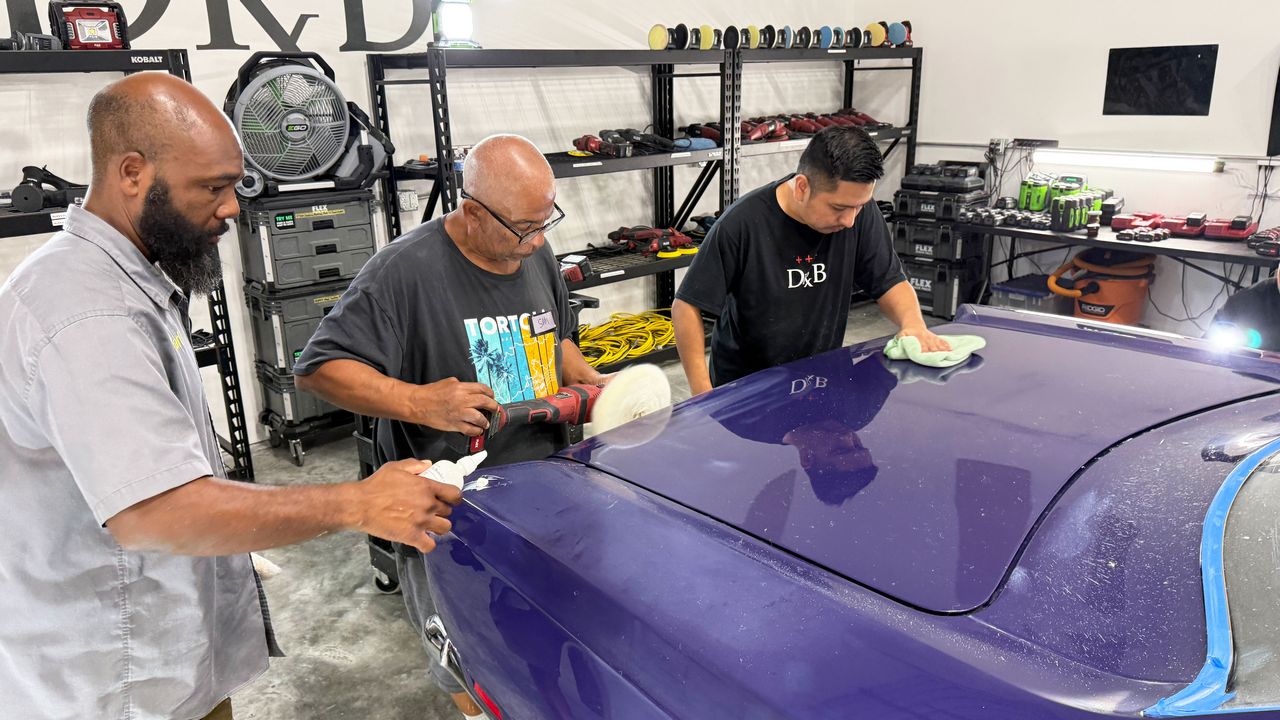
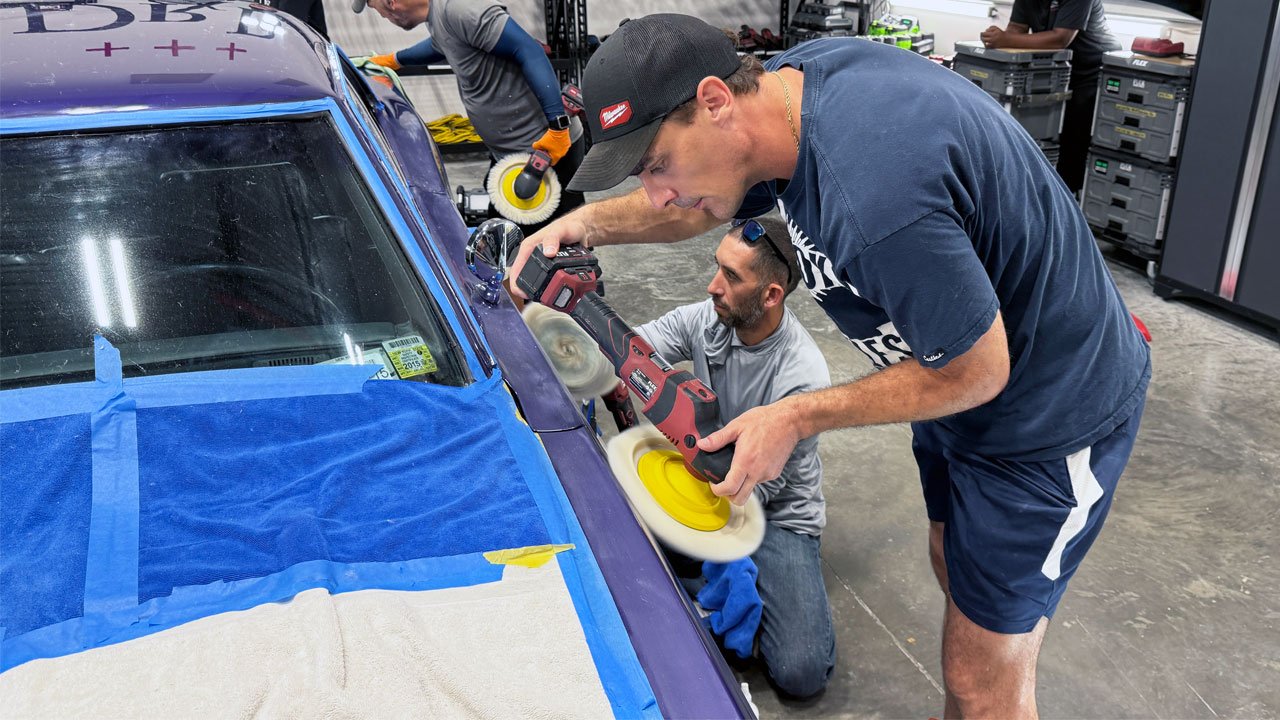
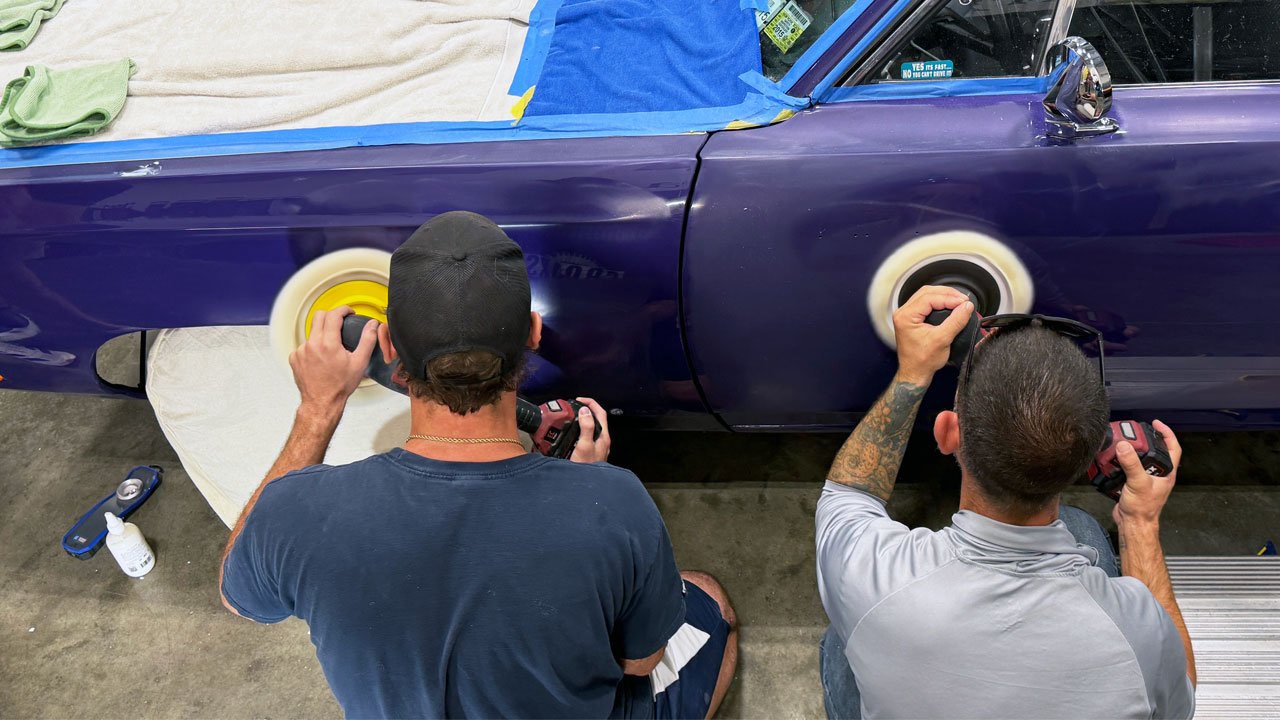
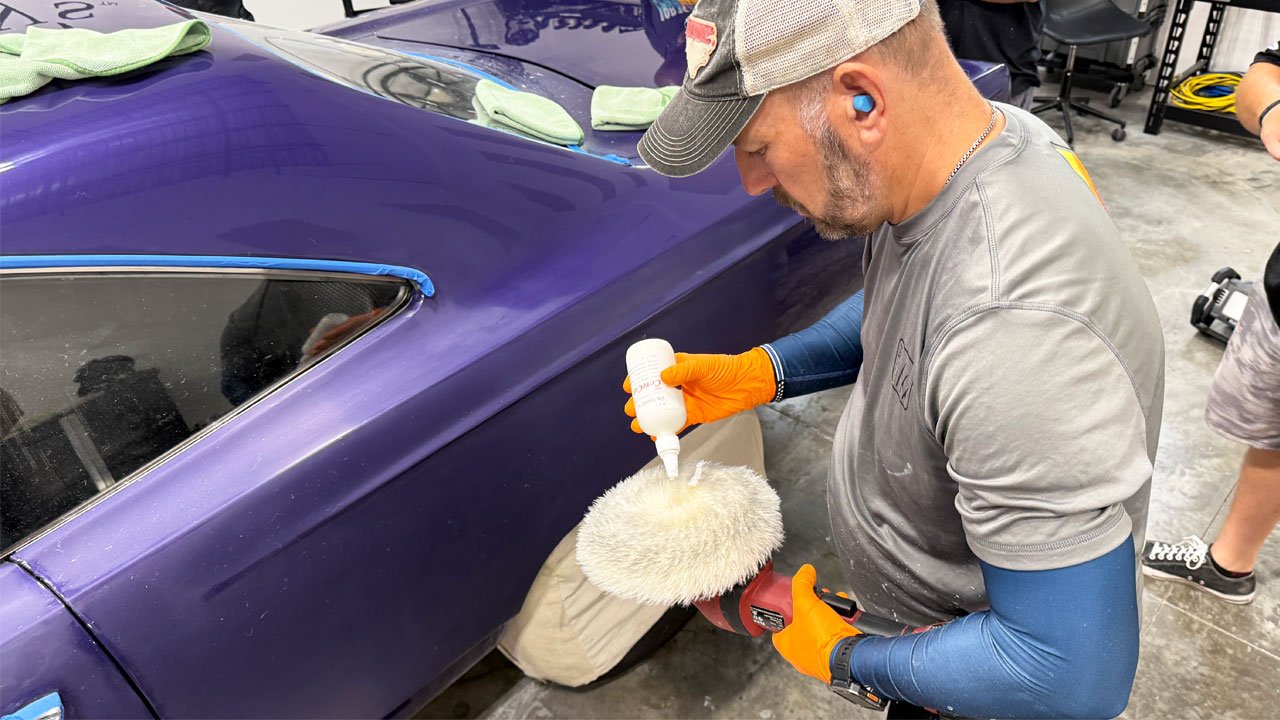
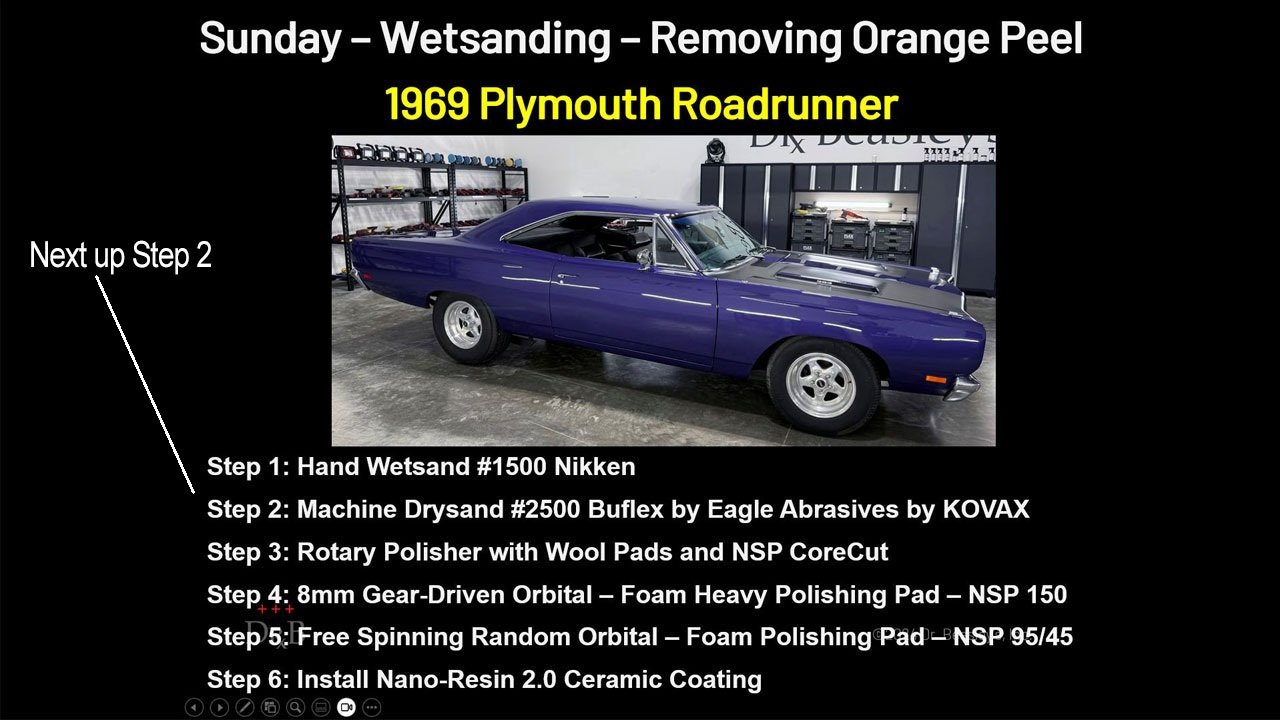
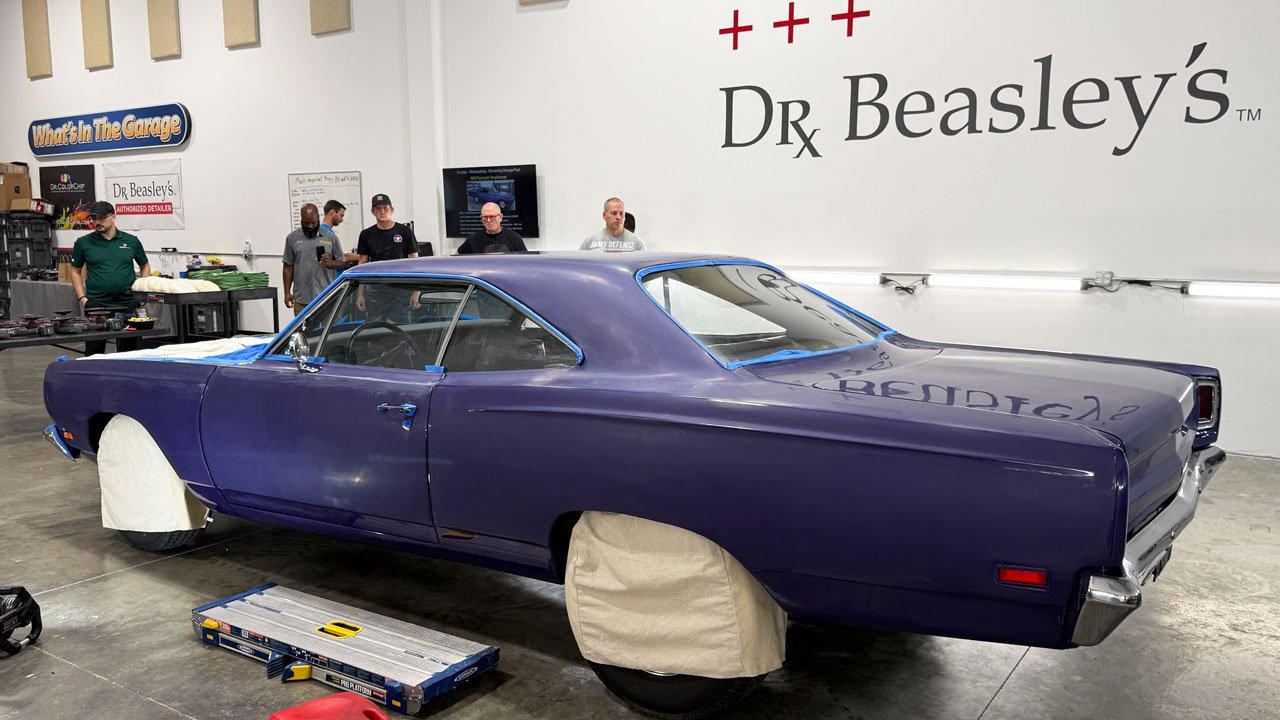
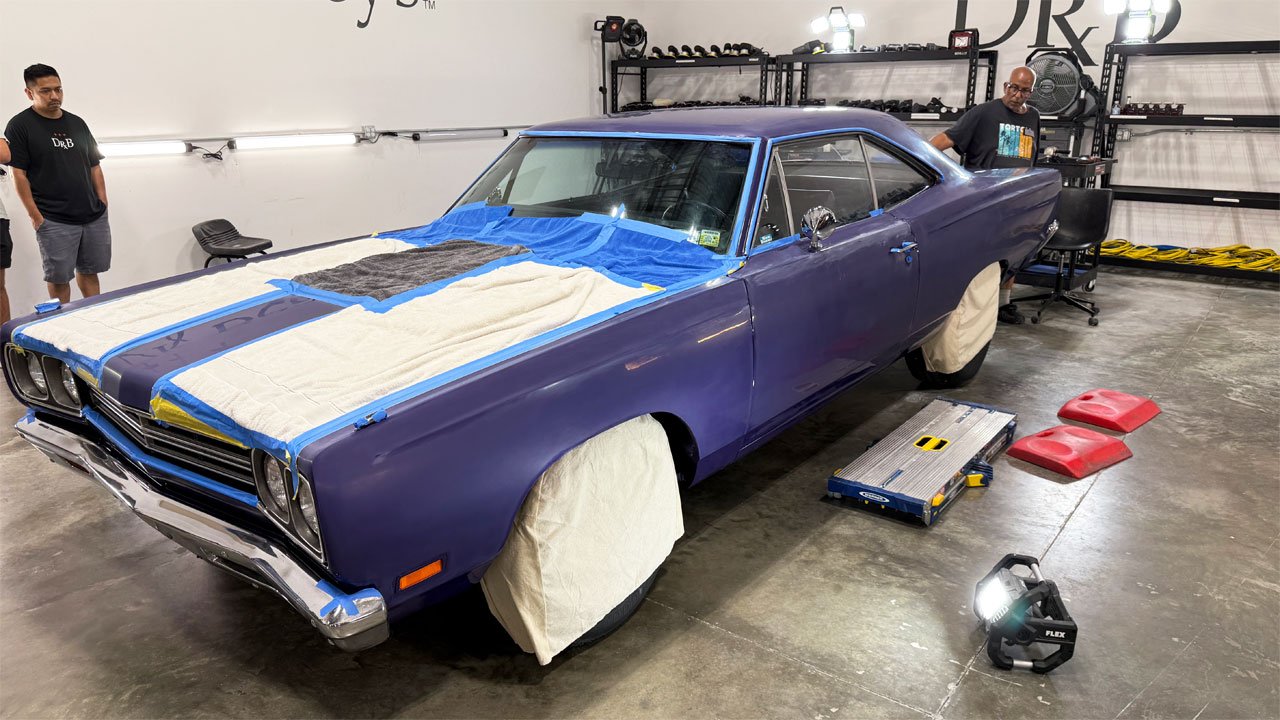
 Step 2: Machine Dry Sanding—Refining the Sanding Marks!
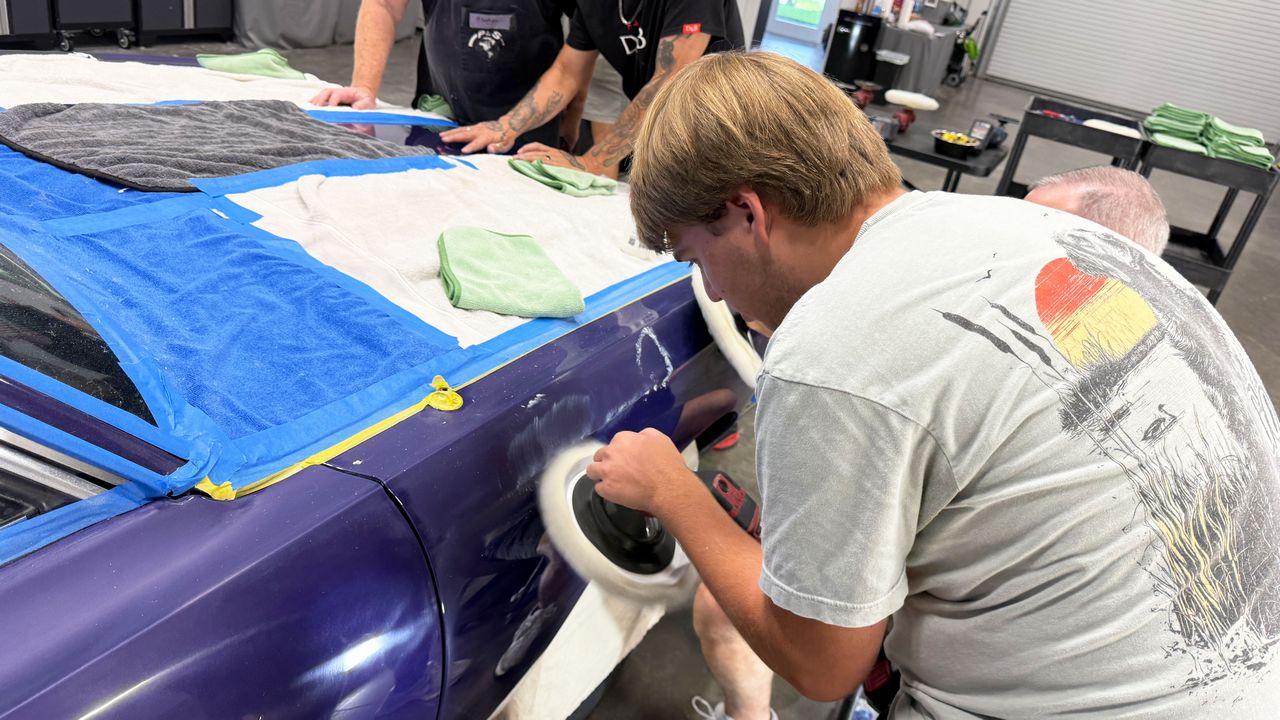
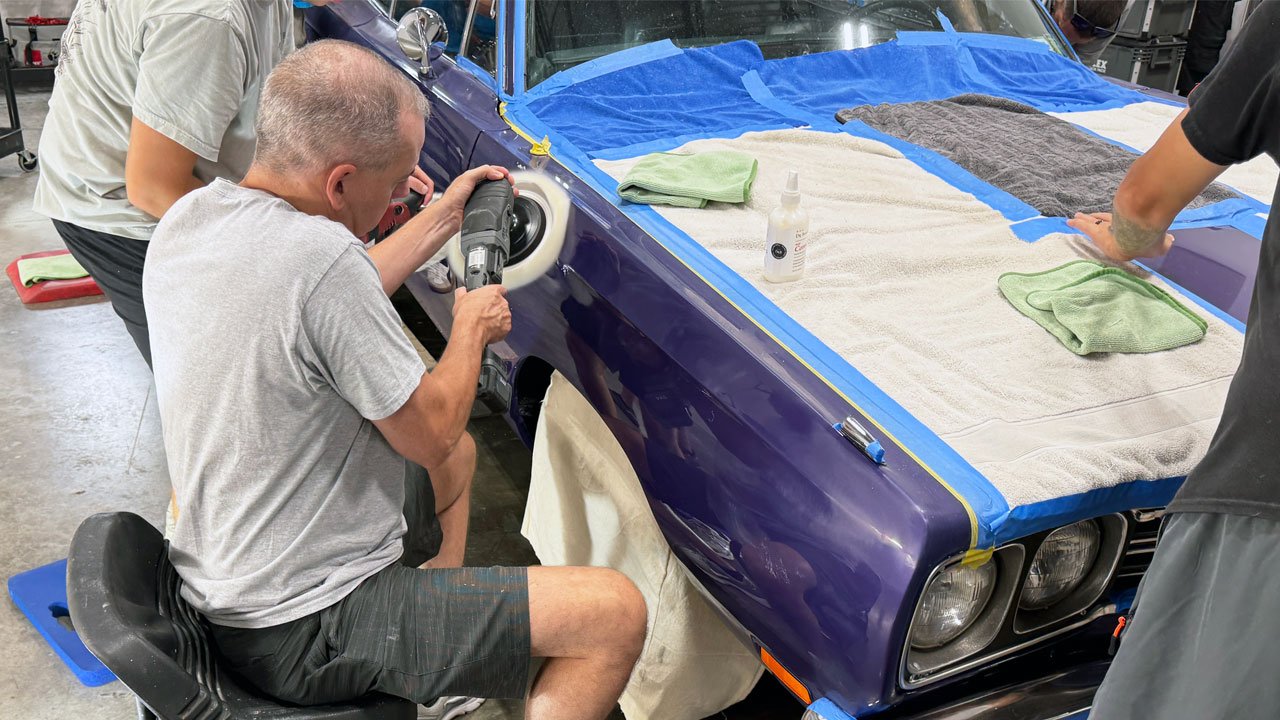
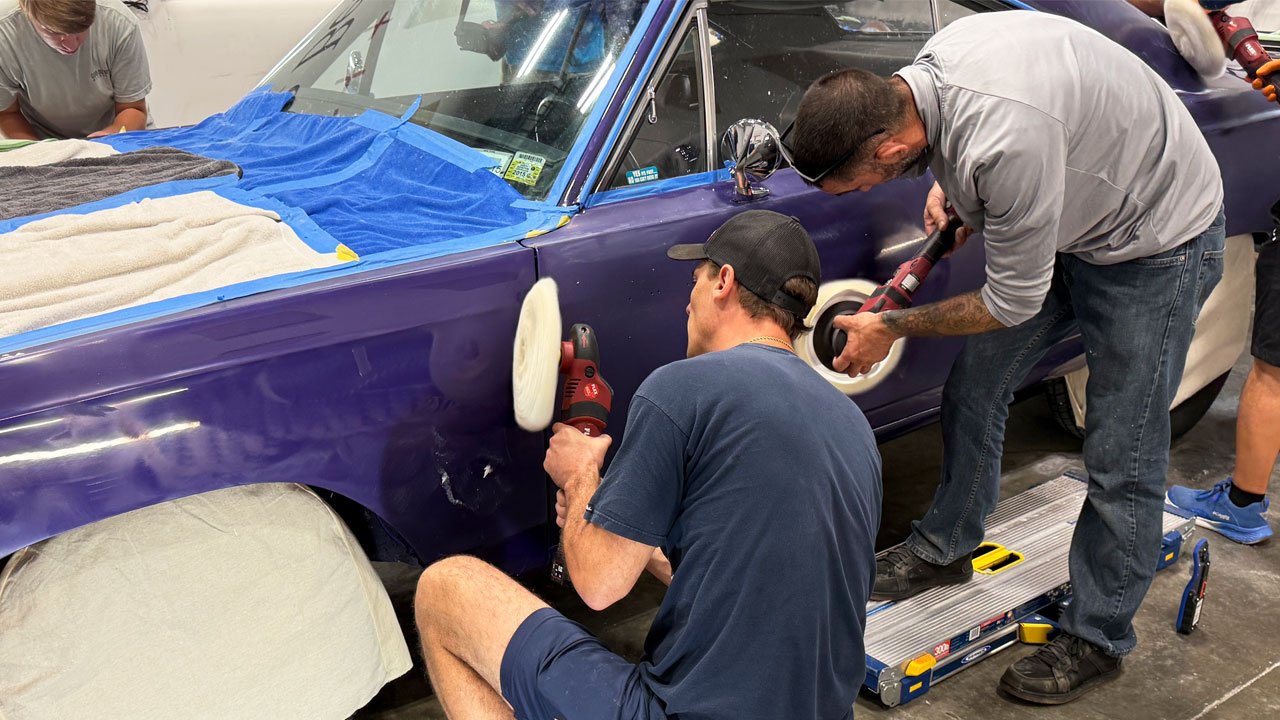
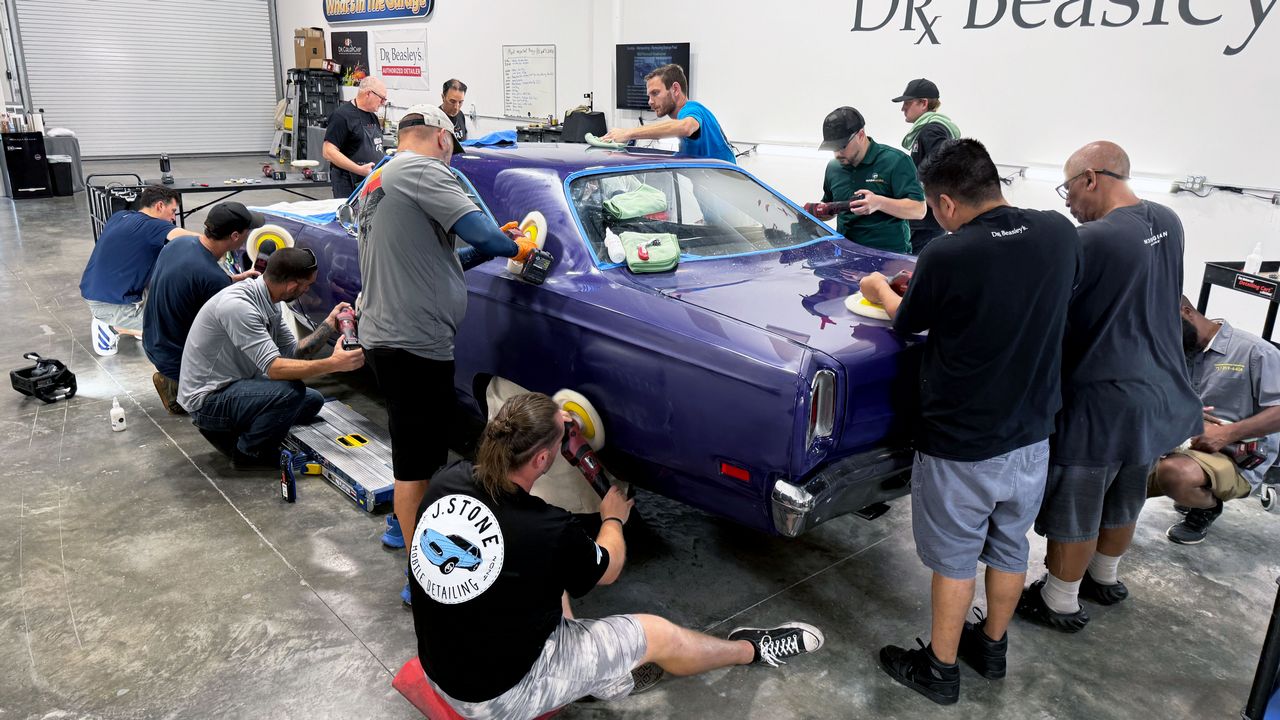
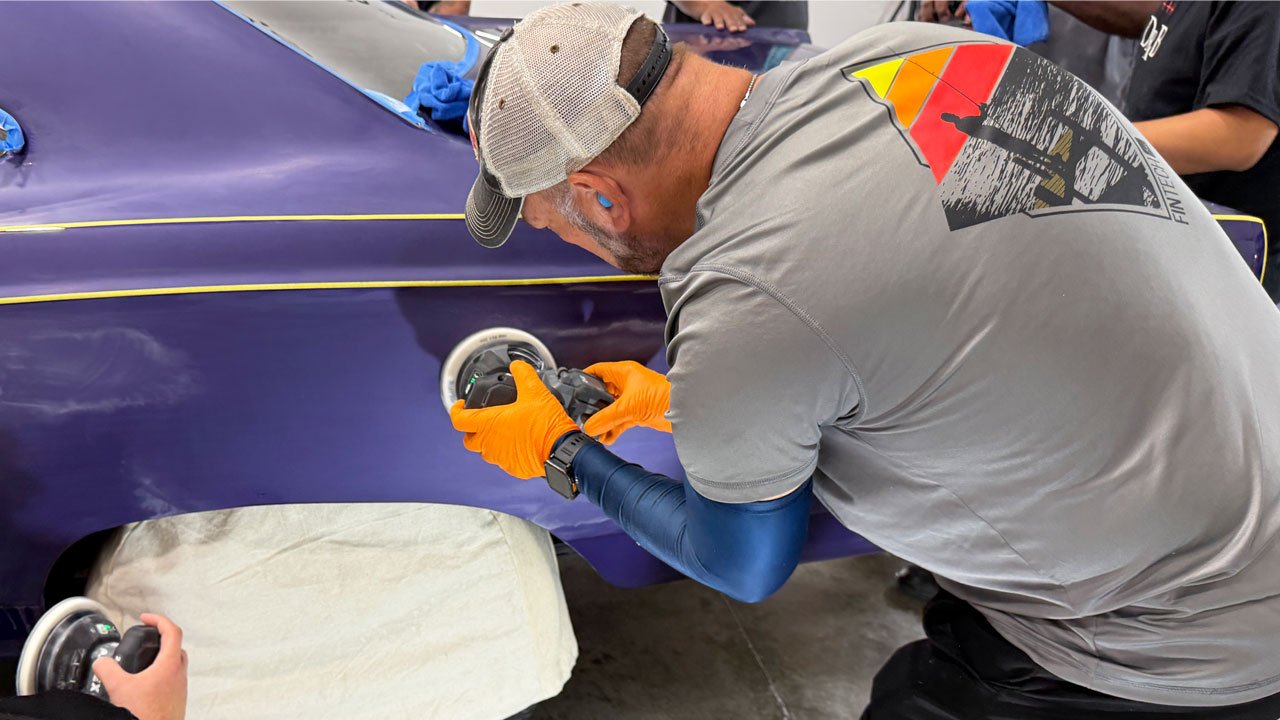
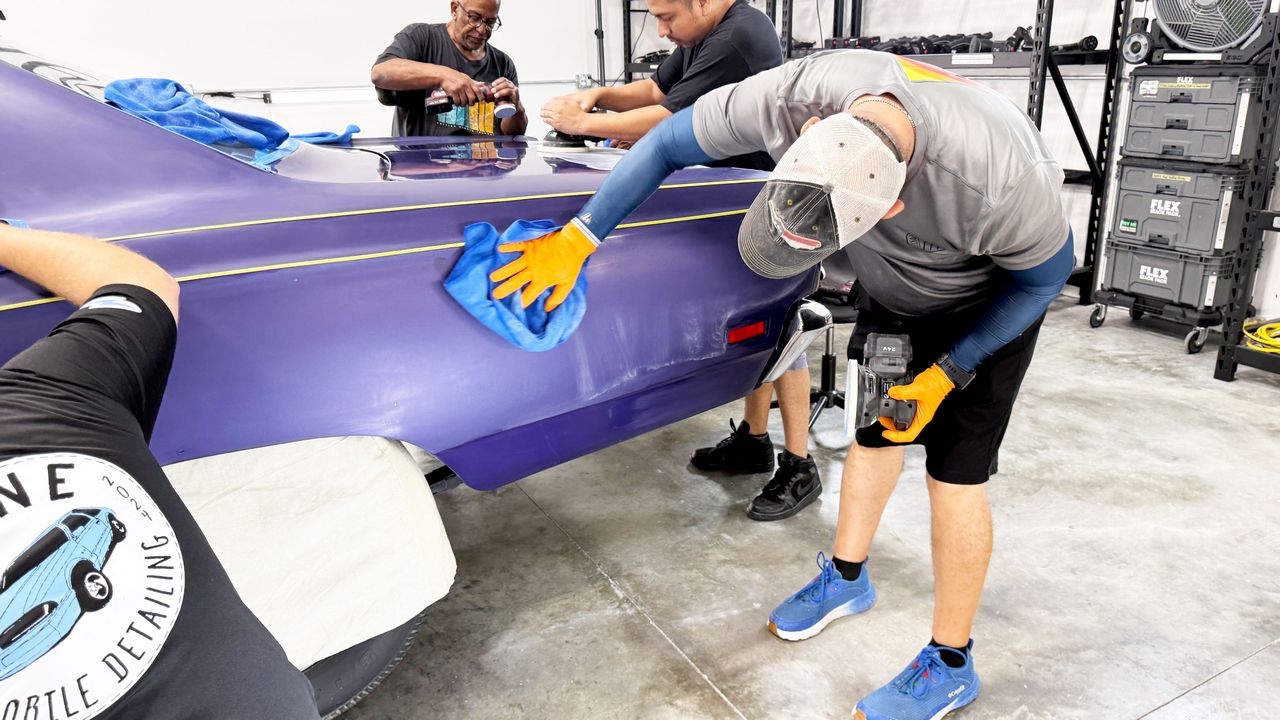
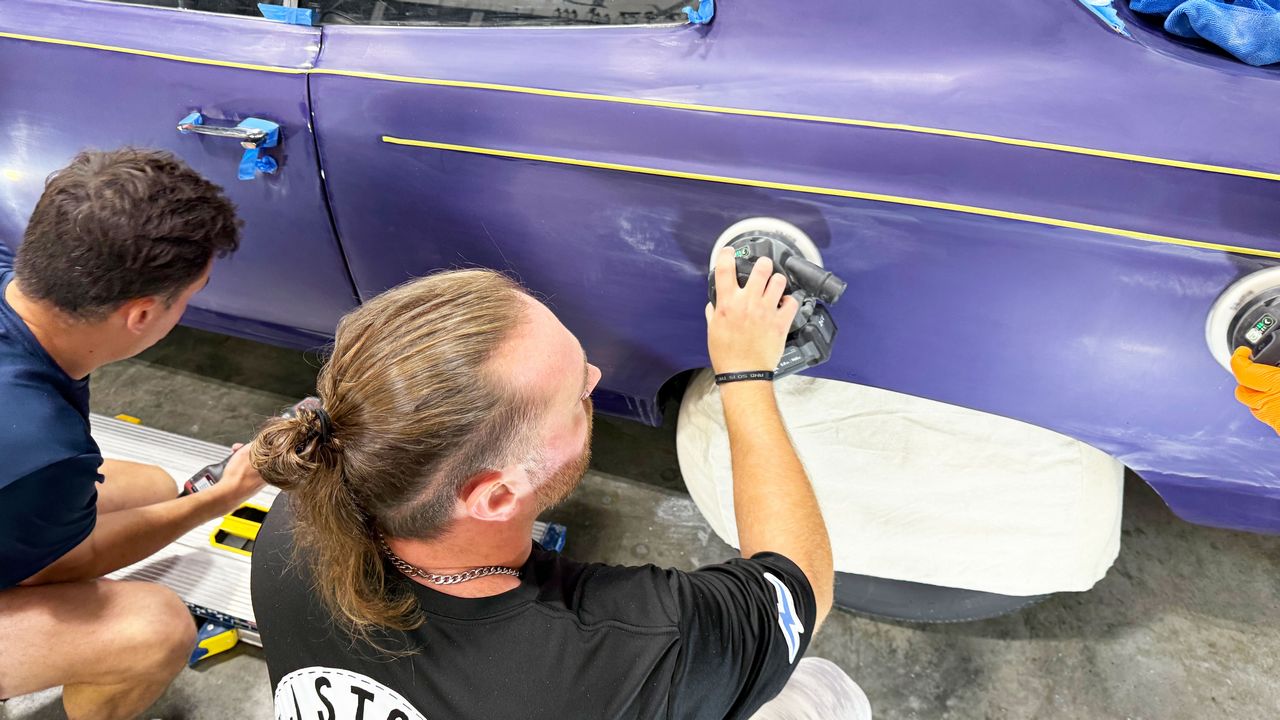
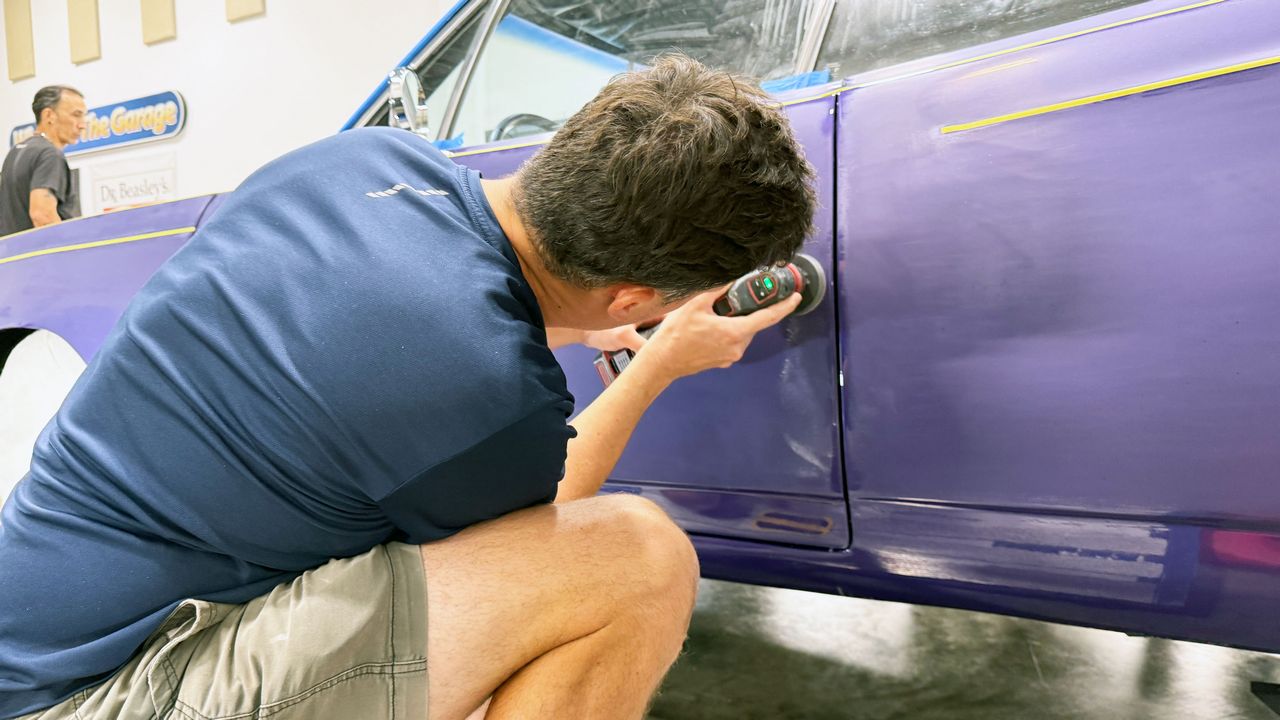
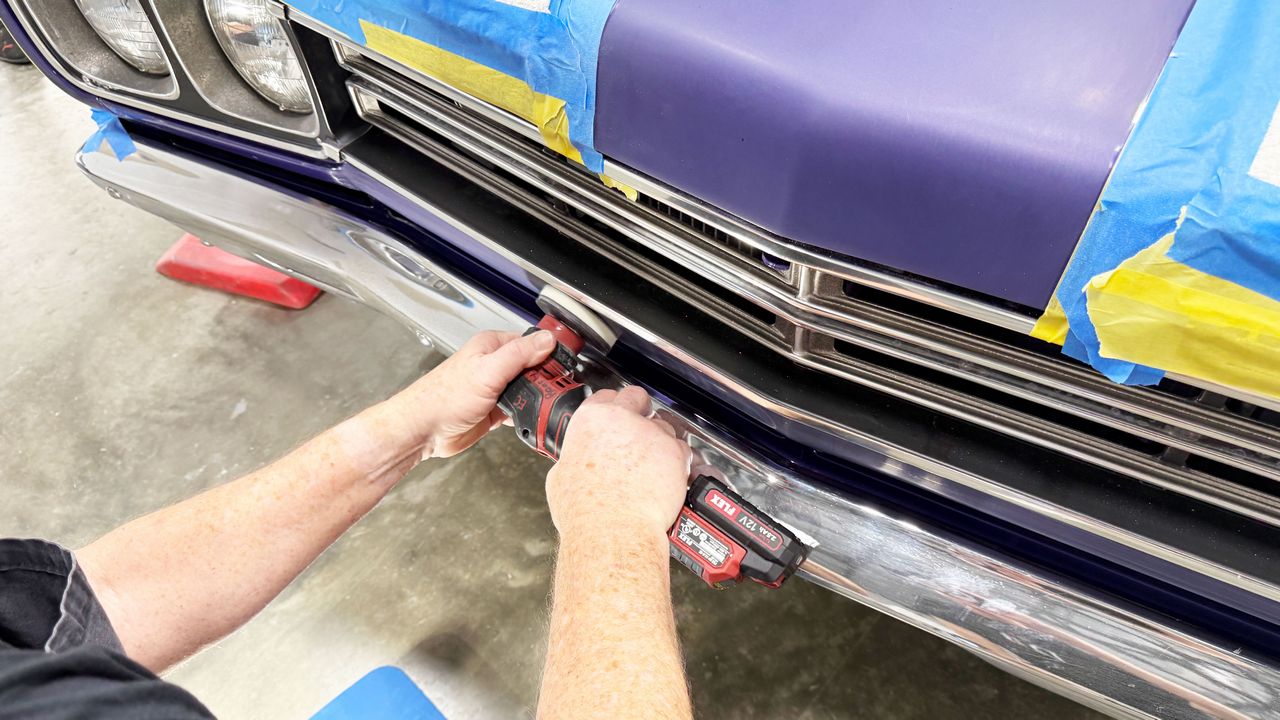
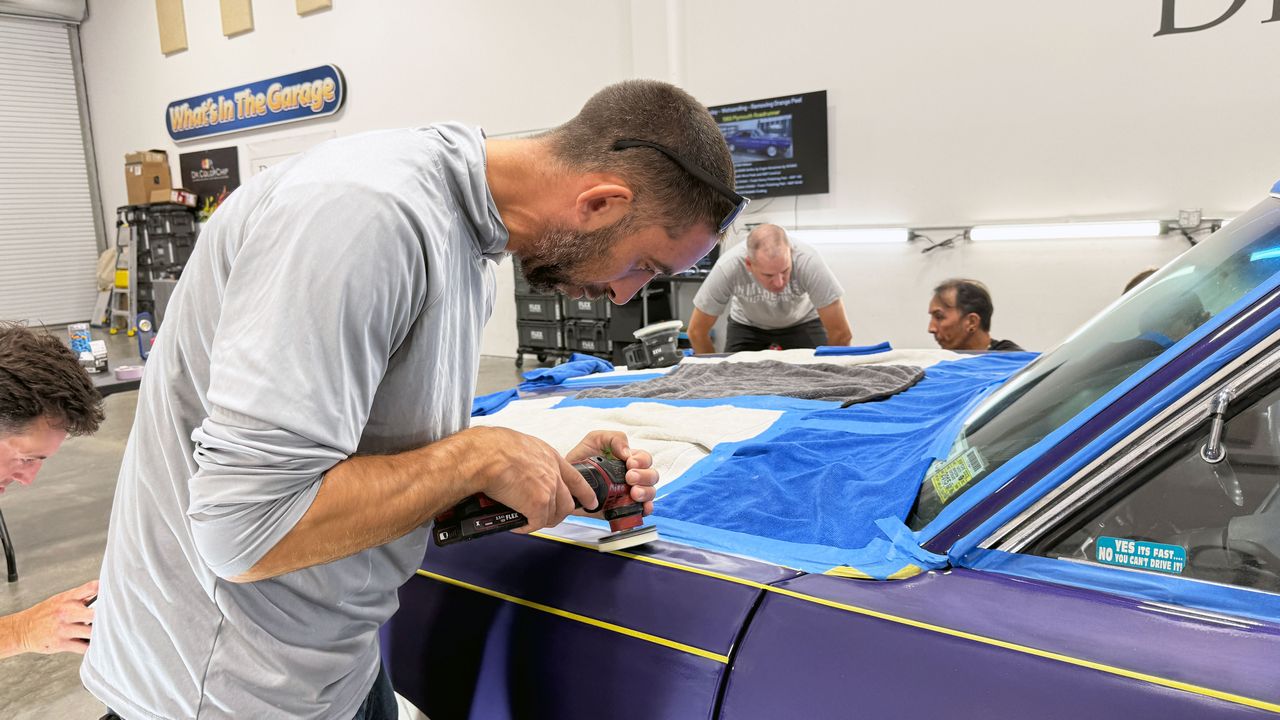
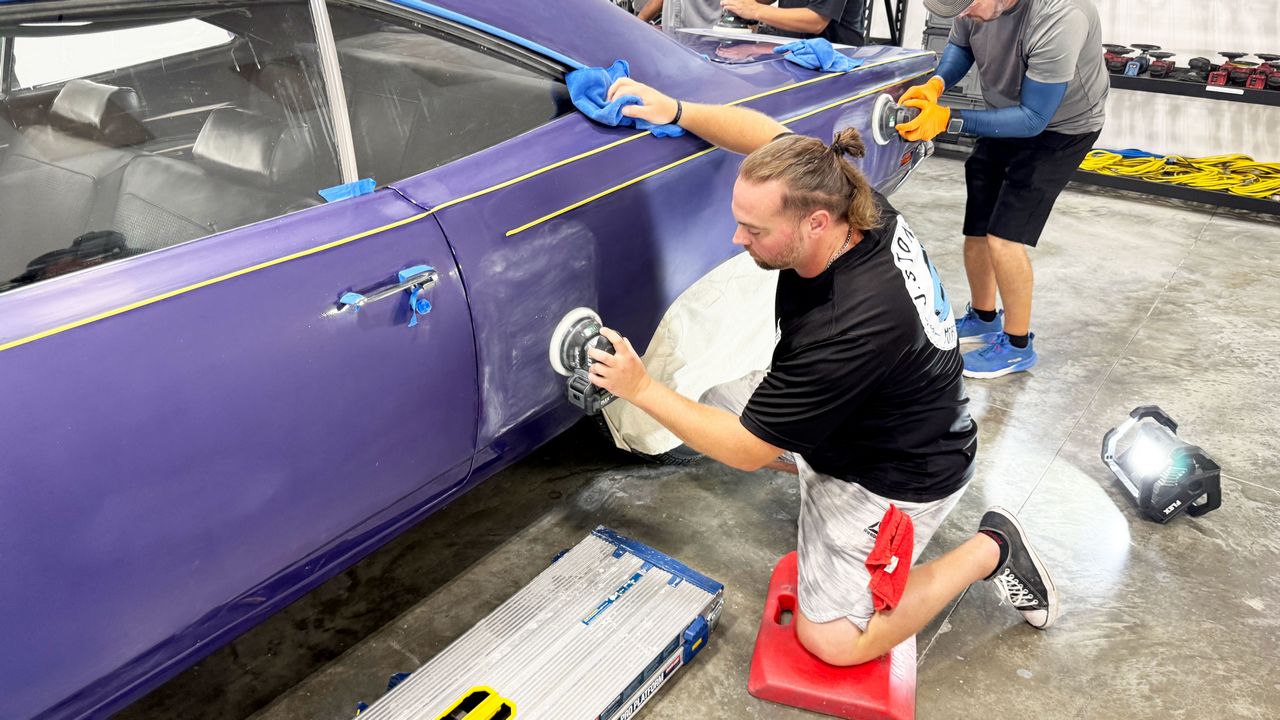
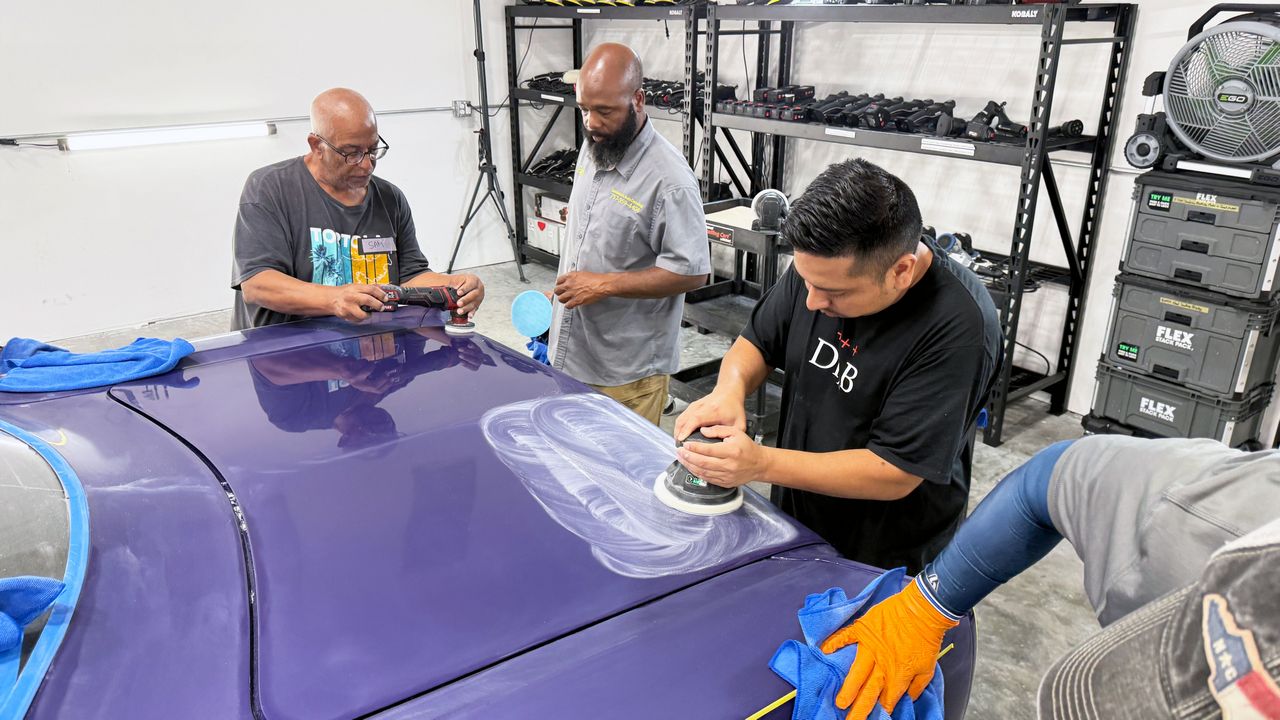
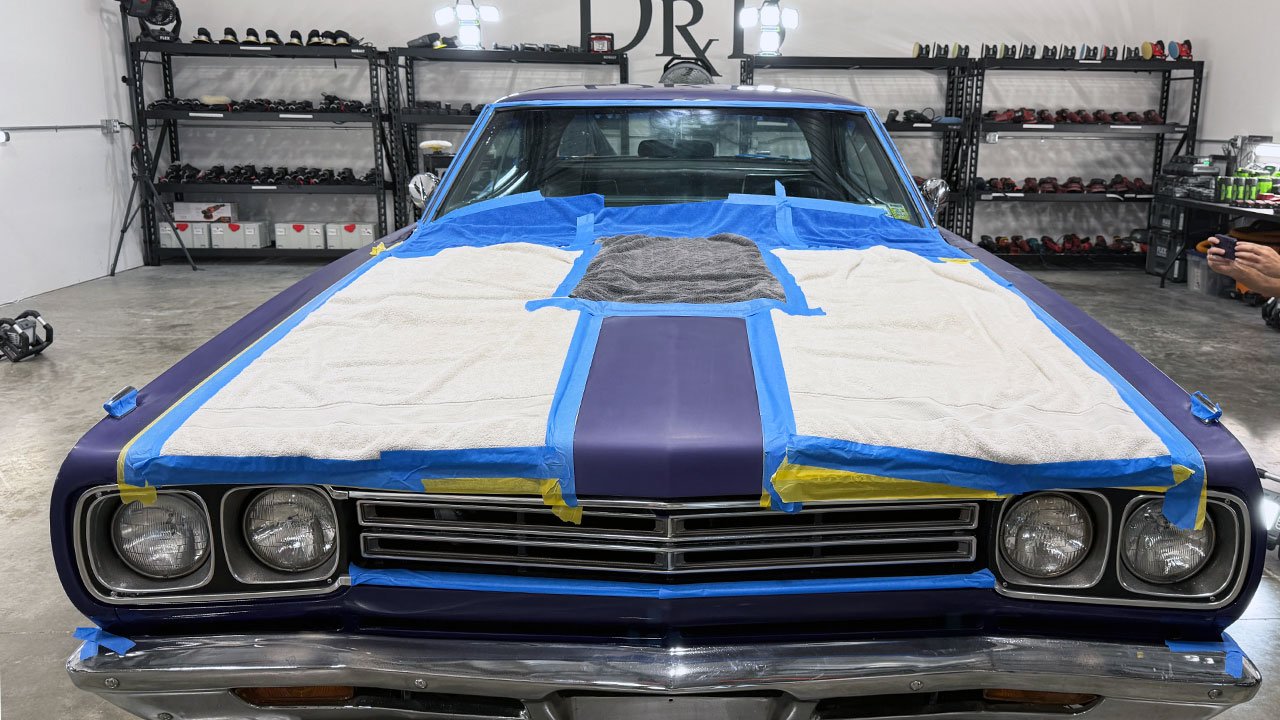
With the initial hand sanding completed, the class moves on to machine dry sanding our 1969 Plymouth Roadrunner using Eagle Abrasives by KOVAX Buflex 2500 sanding discs.
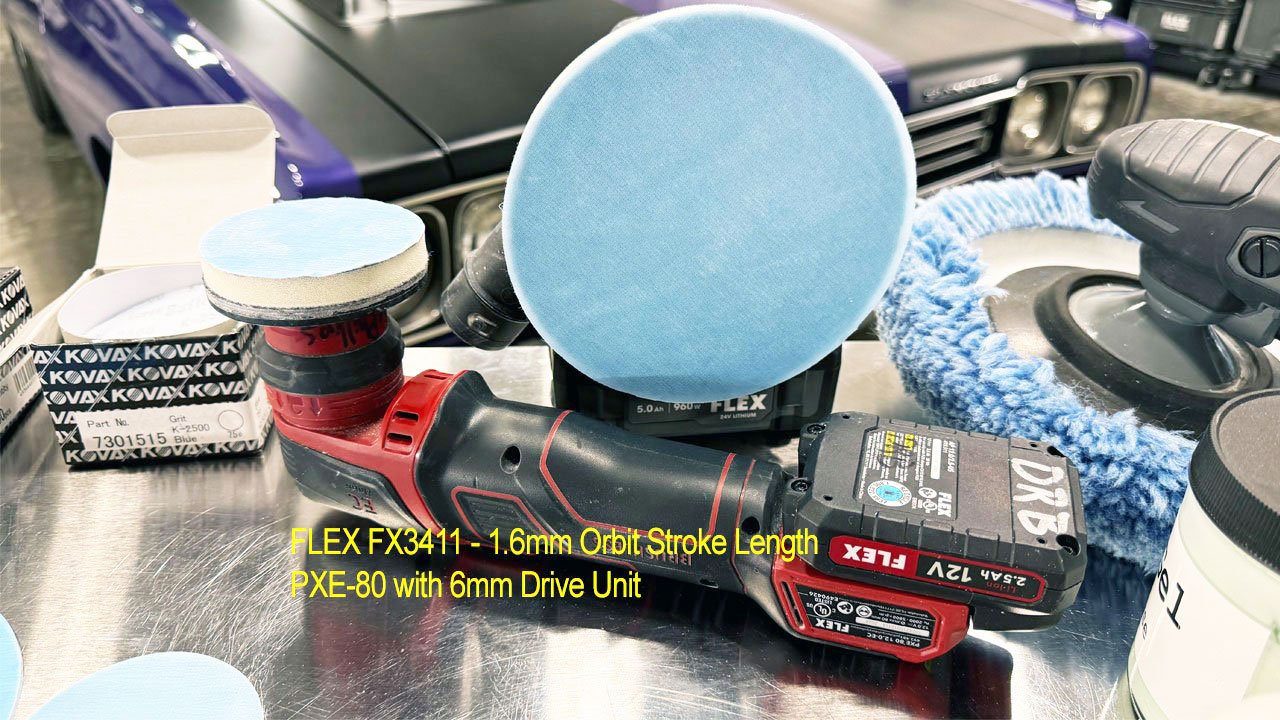
For this step, we’re using:
 FLEX FX3411 Finishing Sander: A 1.6mm orbit with 6-inch Buflex 2500 sanding discs.
FLEX PiXiE: The 6mm drive unit with 3-inch Buflex 2500 sanding discs for smaller areas.
Both tools are equipped with appropriately sized RUPES foam interface pads between the backing plate and sanding disc.
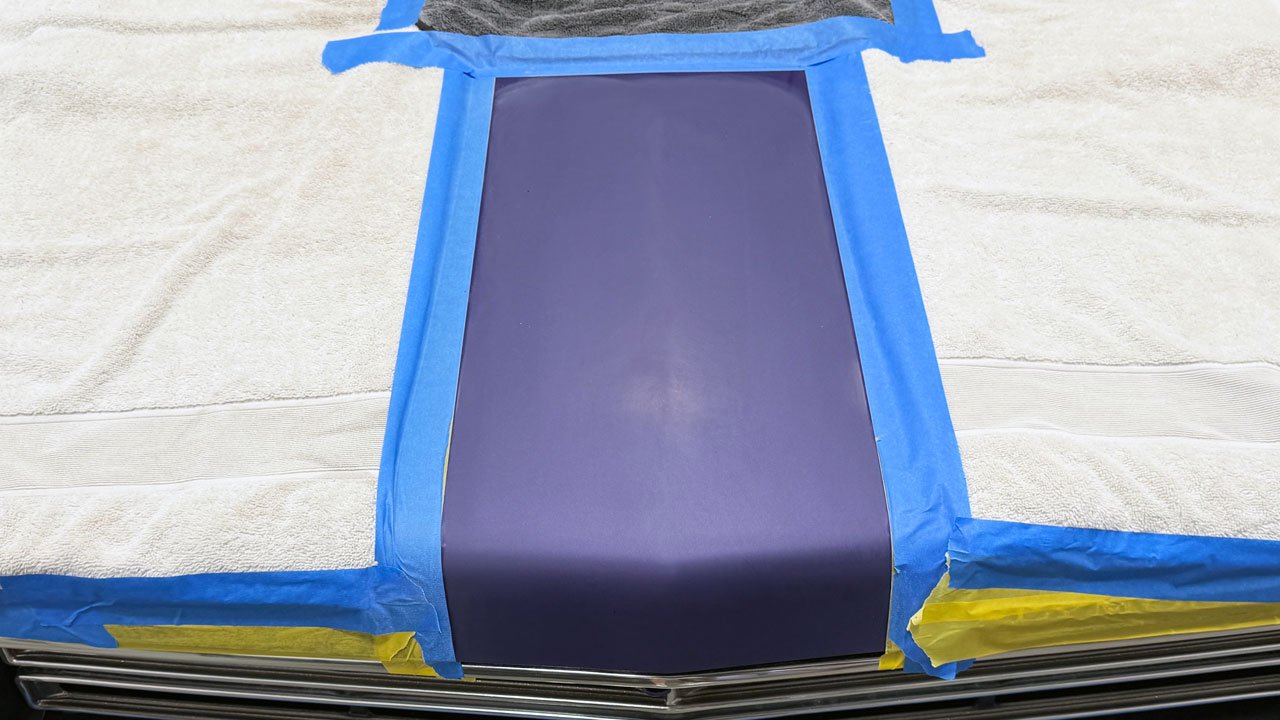
 The goal? Replace the 1500-grit hand sanding marks with finer, more uniform 2500-grit machine sanding marks.
These shallower marks are faster and easier to buff out, reducing the amount of heavy compounding needed and helping limit heat buildup during the buffing step.
A little more time refining now makes the next step easier!

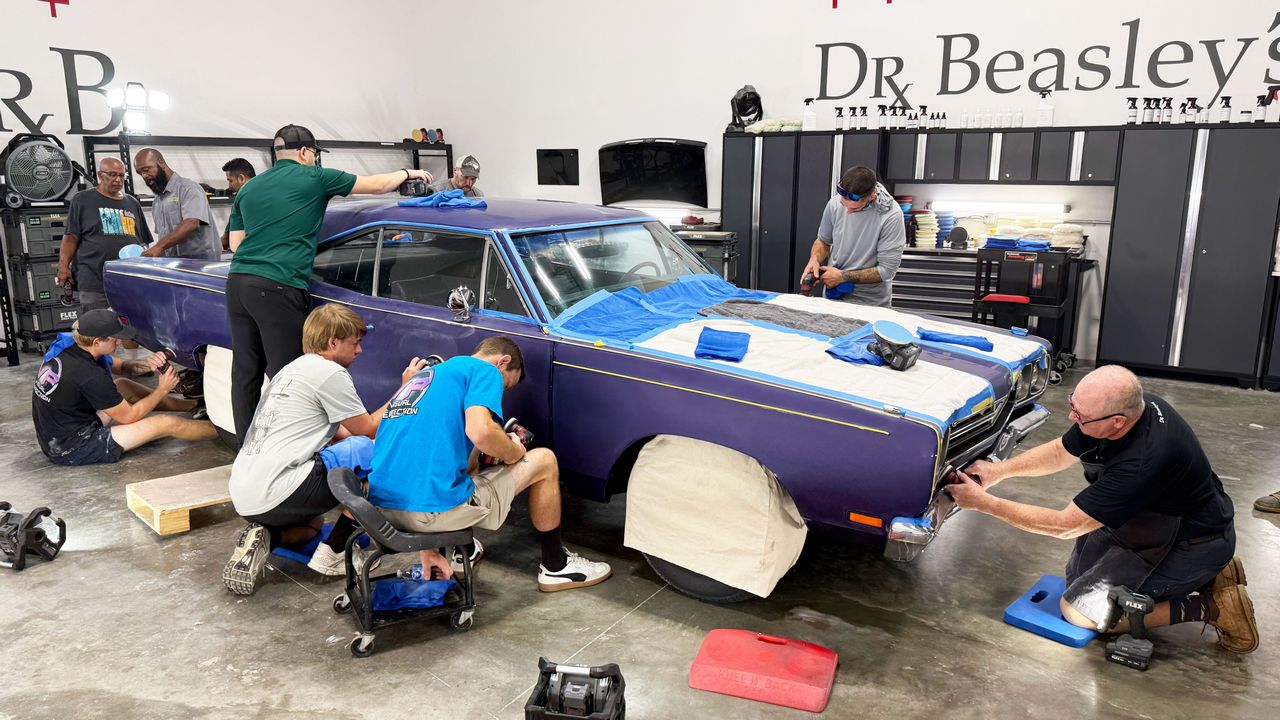
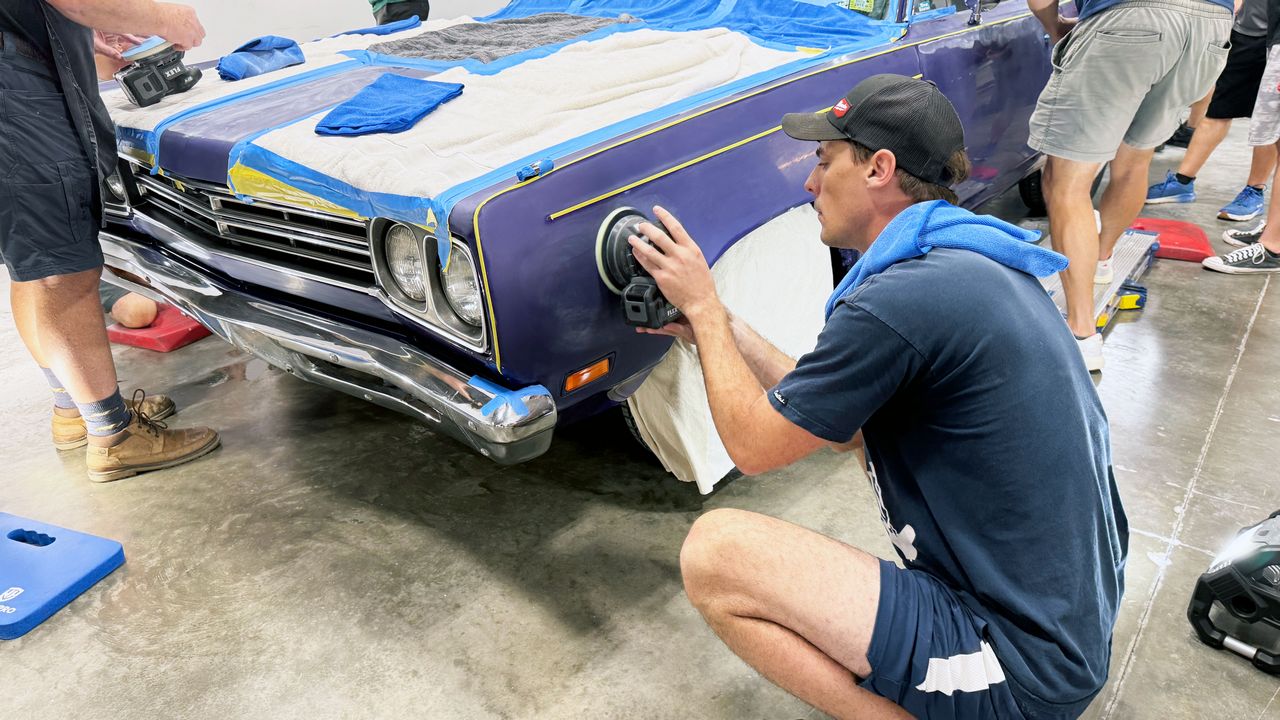
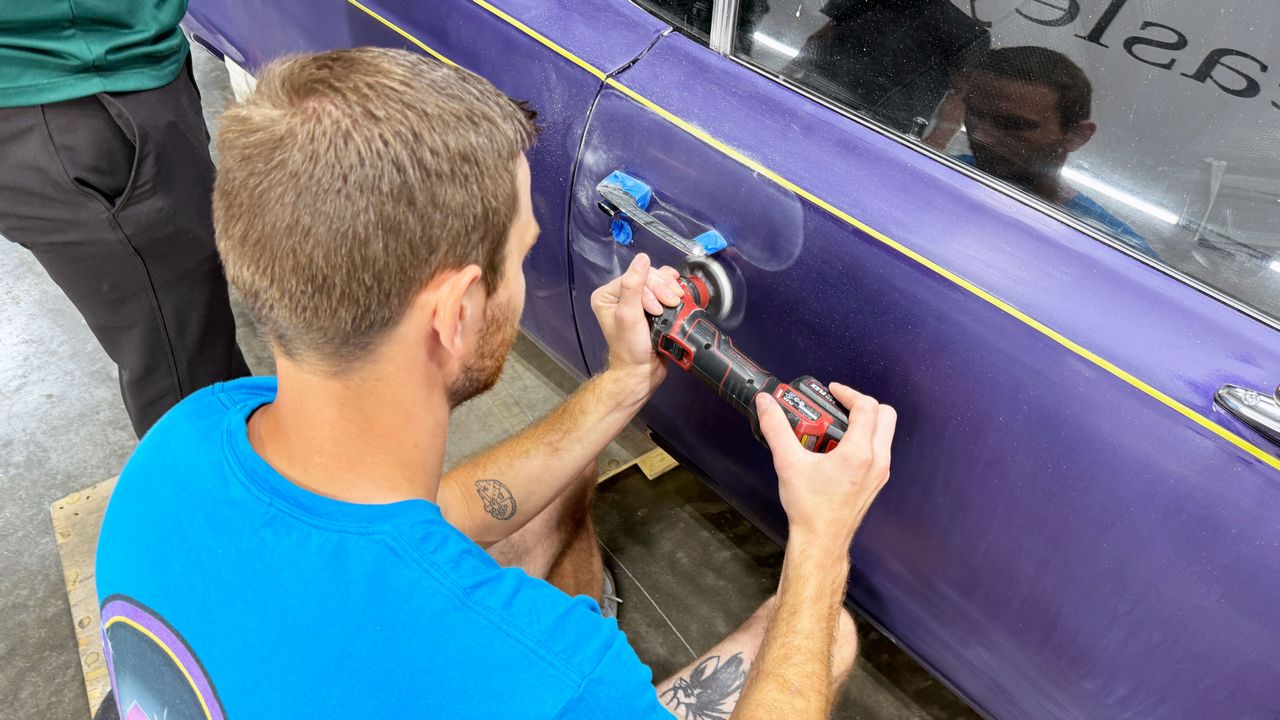
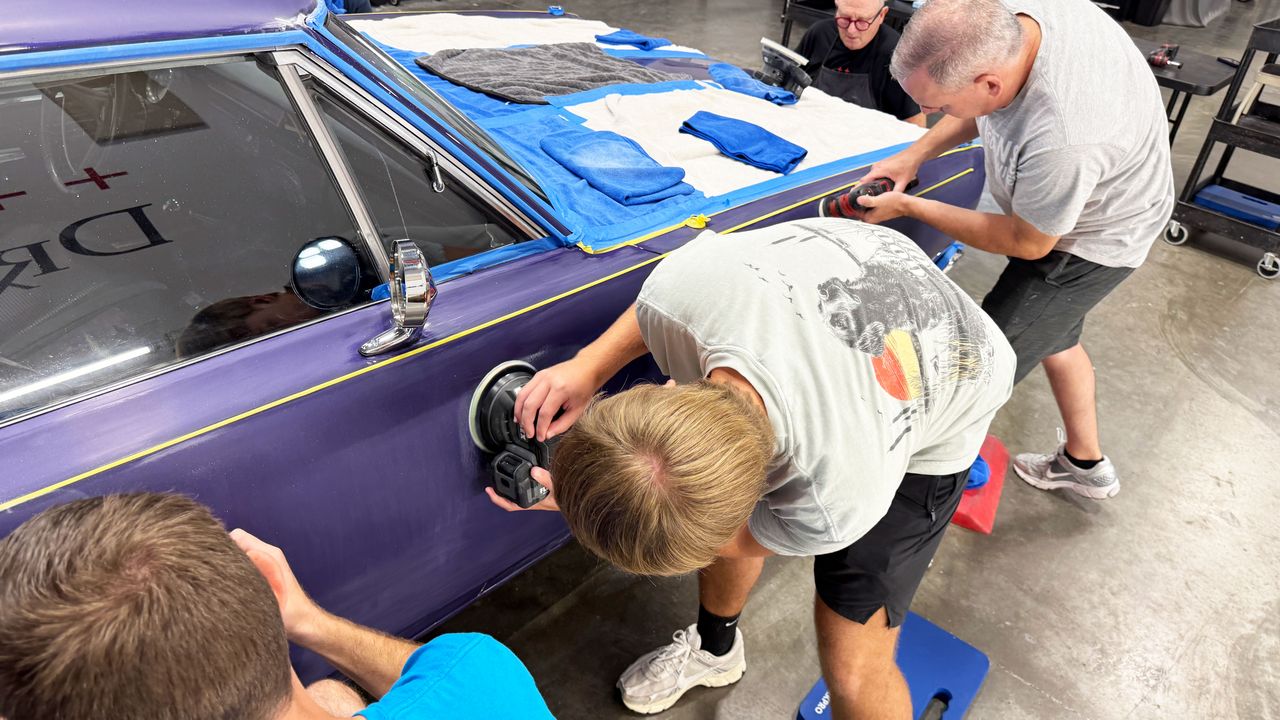
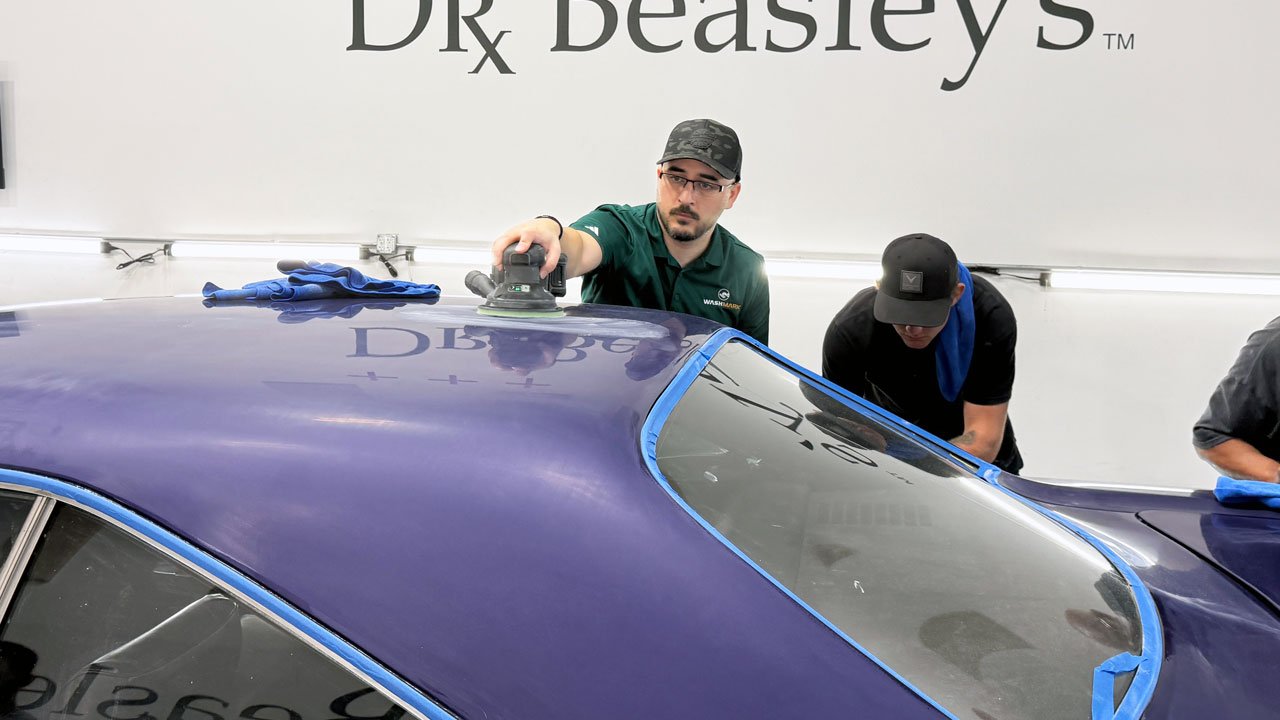
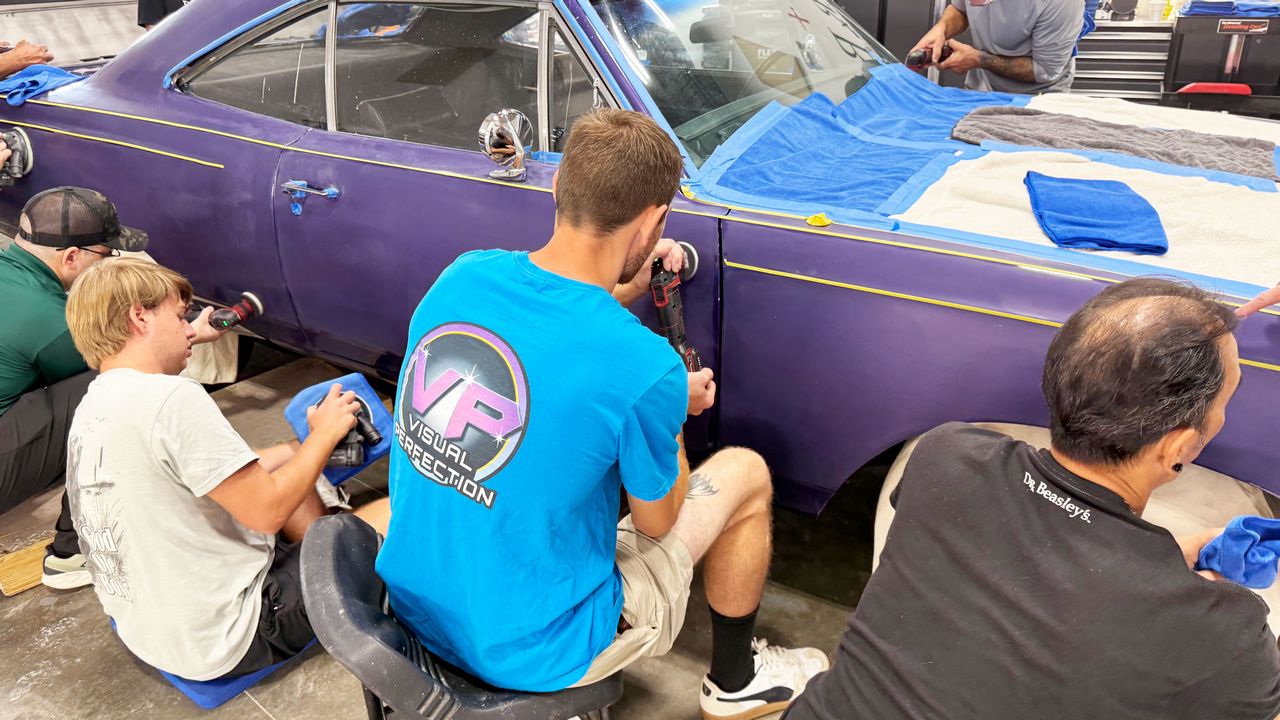
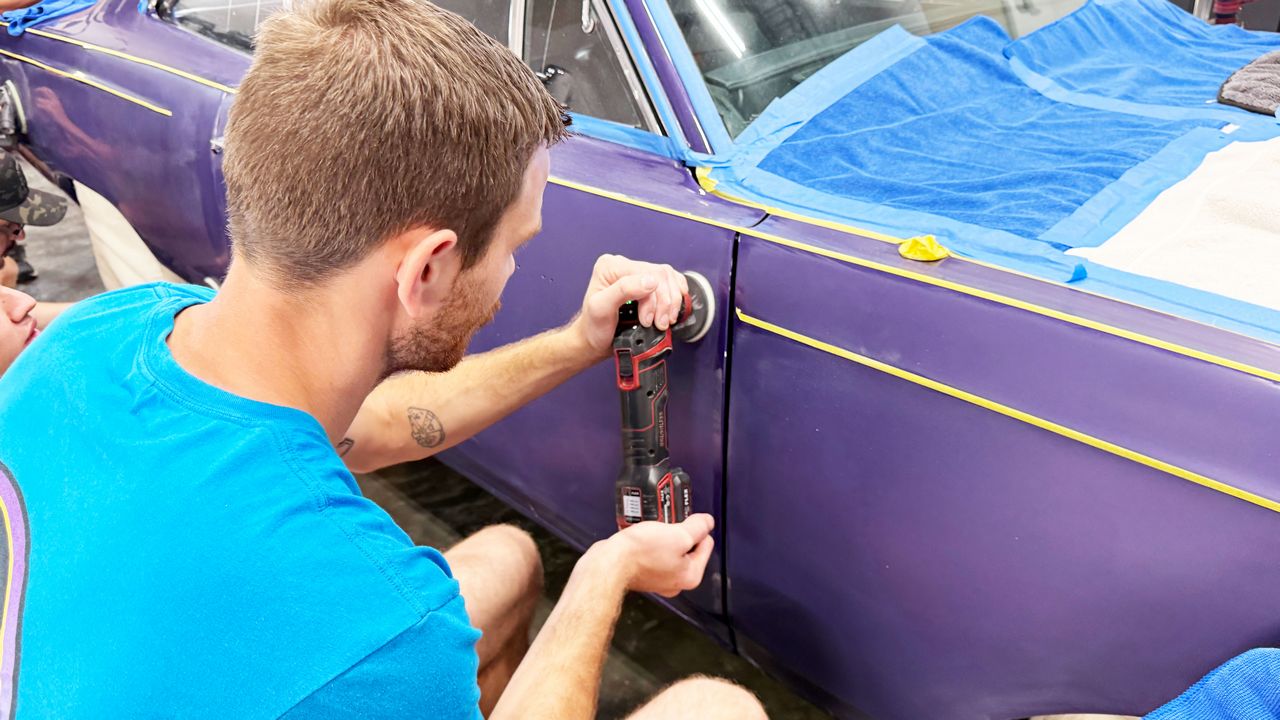
Looking good guys!
Mike
Step 2: Machine Dry Sanding—Refining the Sanding Marks!With the initial hand sanding completed, the class moves on to machine dry sanding our 1969 Plymouth Roadrunner using Eagle Abrasives by KOVAX Buflex 2500 sanding discs.
For this step, we’re using:
FLEX FX3411 Finishing Sander: A 1.6mm orbit with 6-inch Buflex 2500 sanding discs. FLEX PiXiE: The 6mm drive unit with 3-inch Buflex 2500 sanding discs for smaller areas.Both tools are equipped with appropriately sized RUPES foam interface pads between the backing plate and sanding disc.
The goal? Replace the 1500-grit hand sanding marks with finer, more uniform 2500-grit machine sanding marks.These shallower marks are faster and easier to buff out, reducing the amount of heavy compounding needed and helping limit heat buildup during the buffing step.
A little more time refining now makes the next step easier!
Looking good guys!
Mike
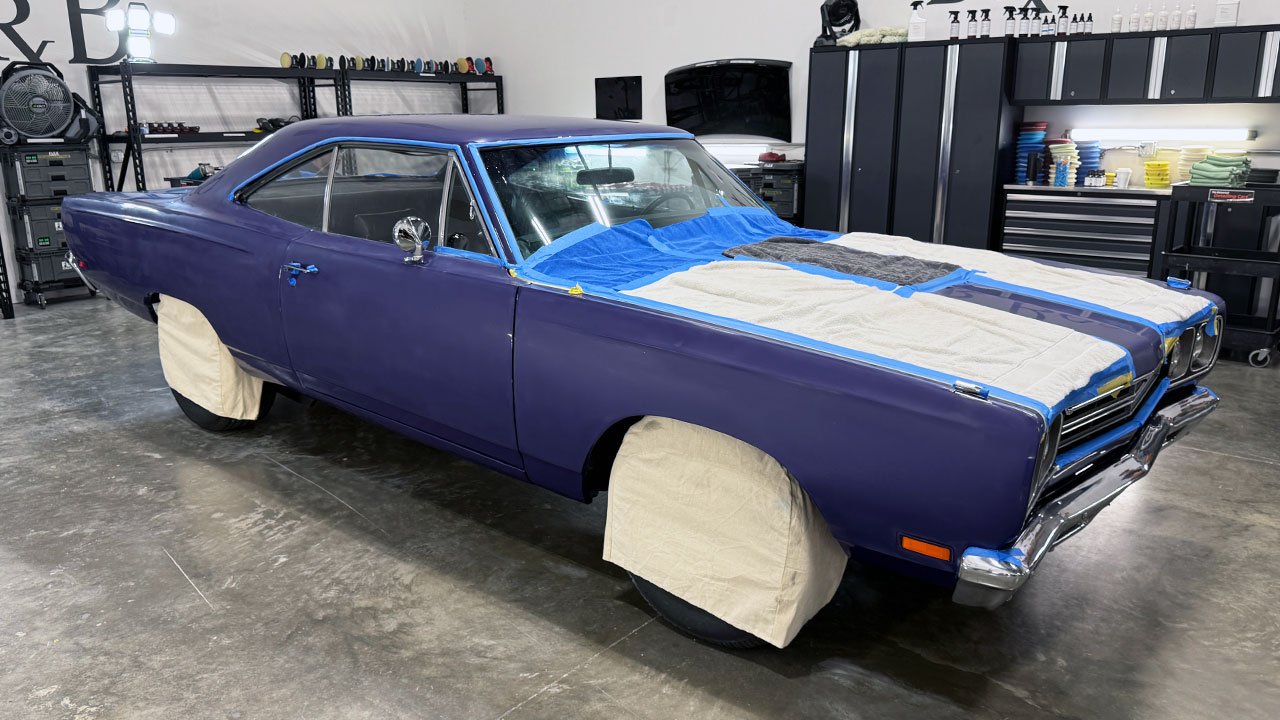
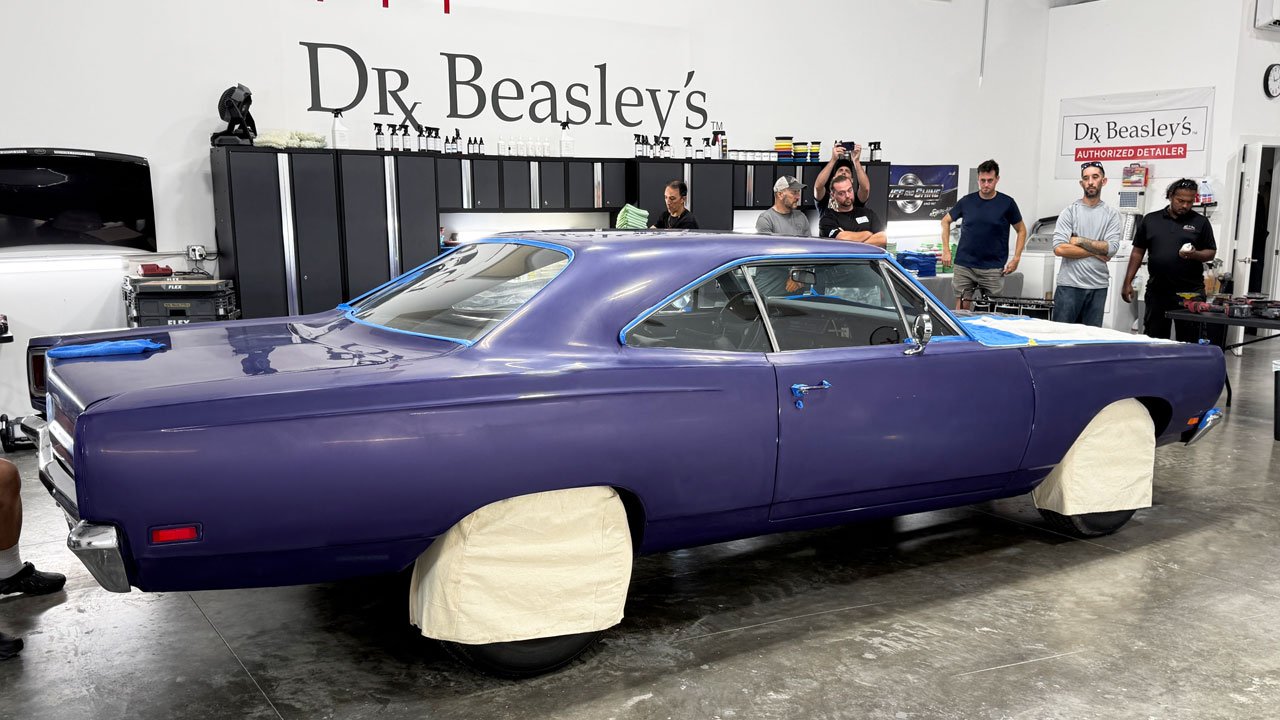

 This step is VITAL!
 This is also one of the riskier parts of the process.