
- Admin
- #1
- Joined
- May 21, 2021
- Messages
- 2,531
- Reaction score
- 1,500
- Points
- 113
- Location
- Stuart, Florida
- Website
- themikephillipsforum.com
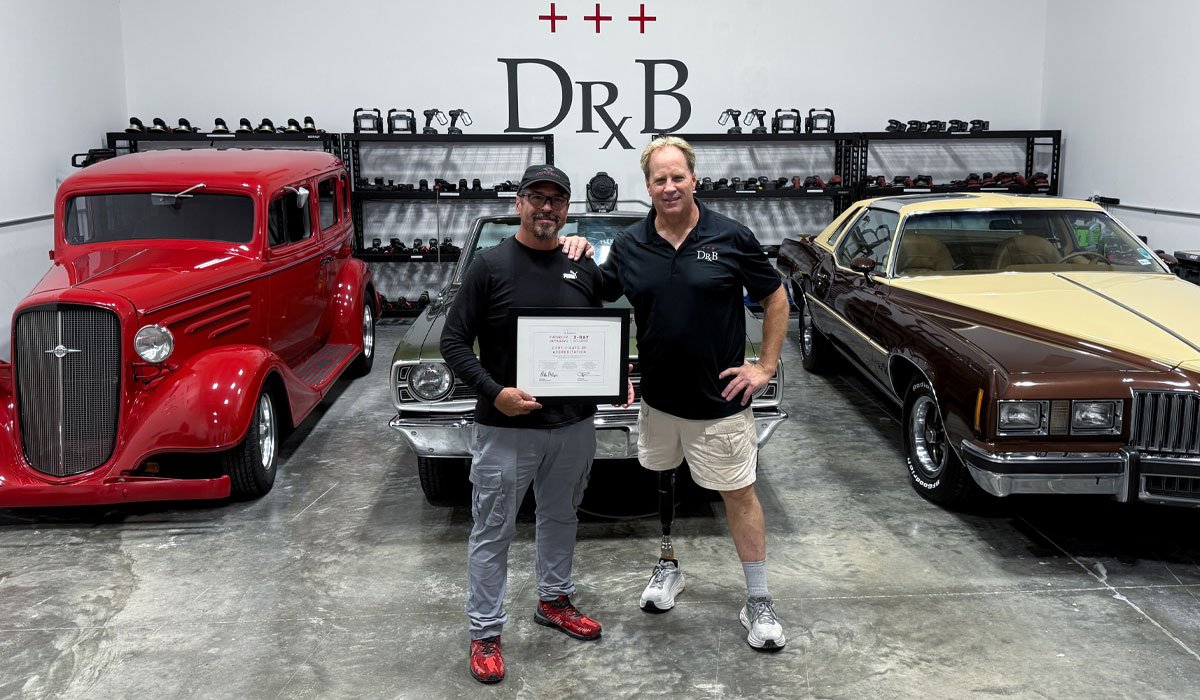
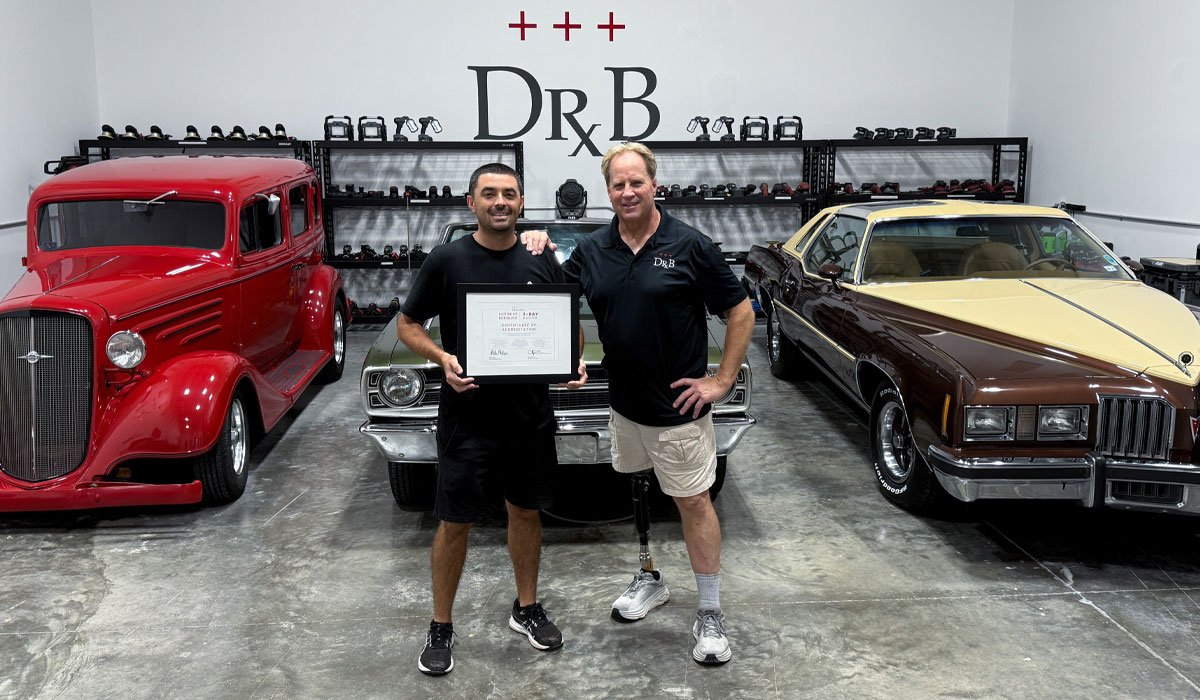
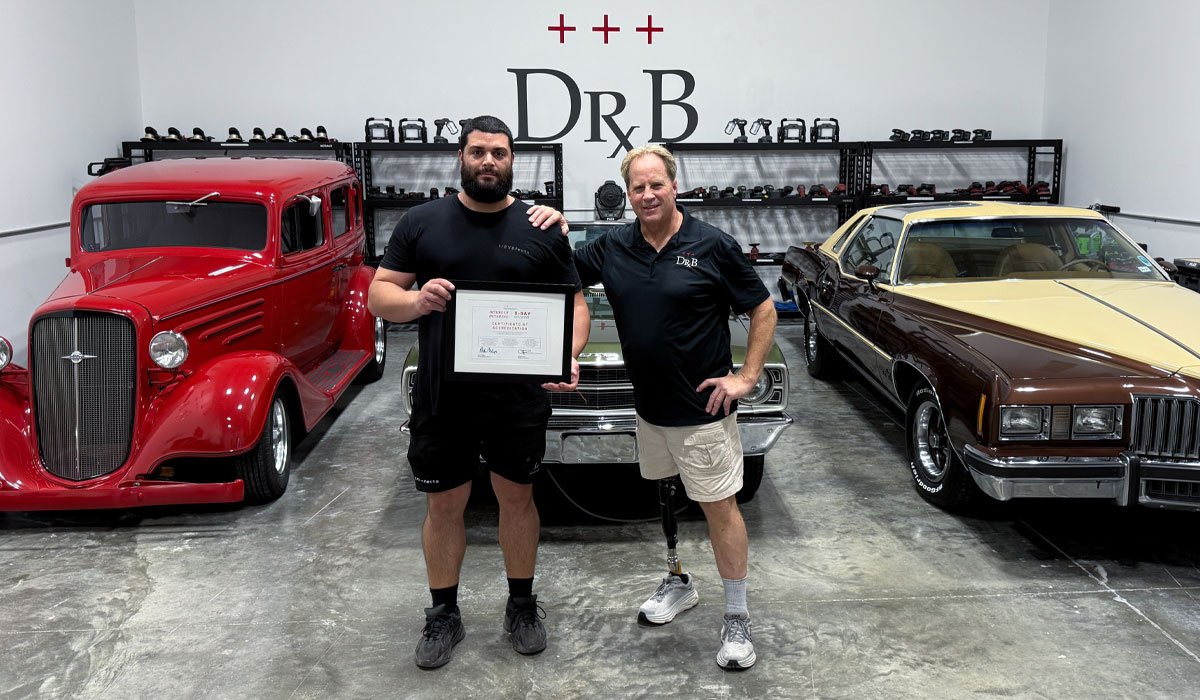
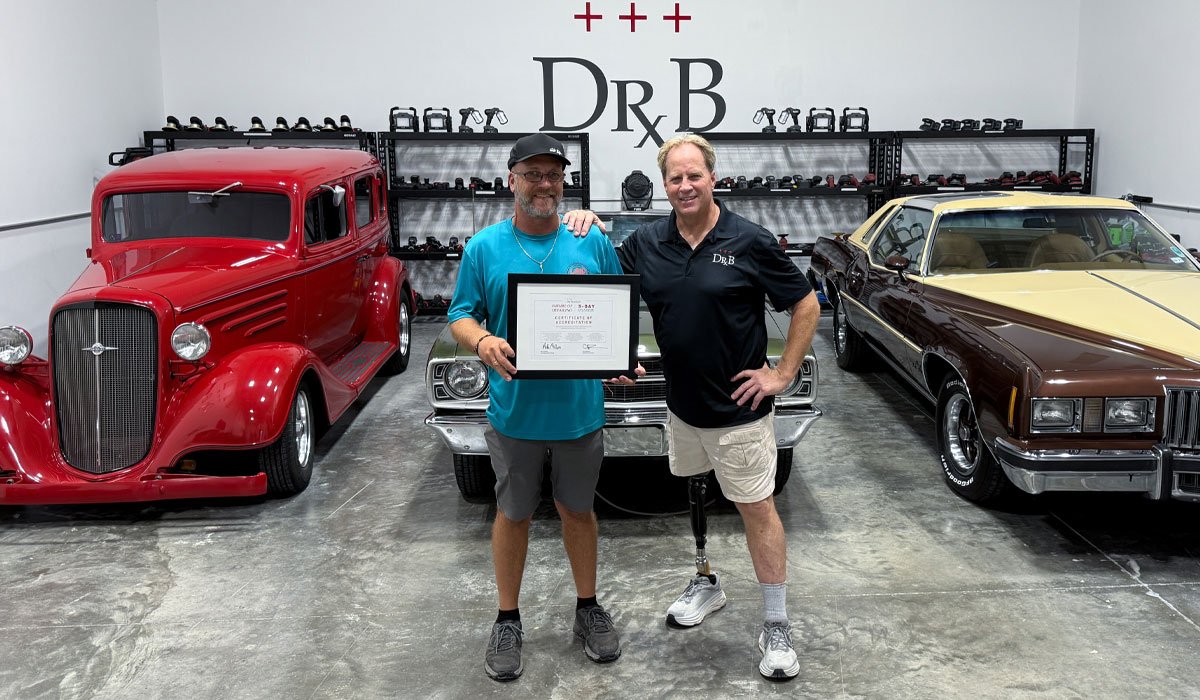
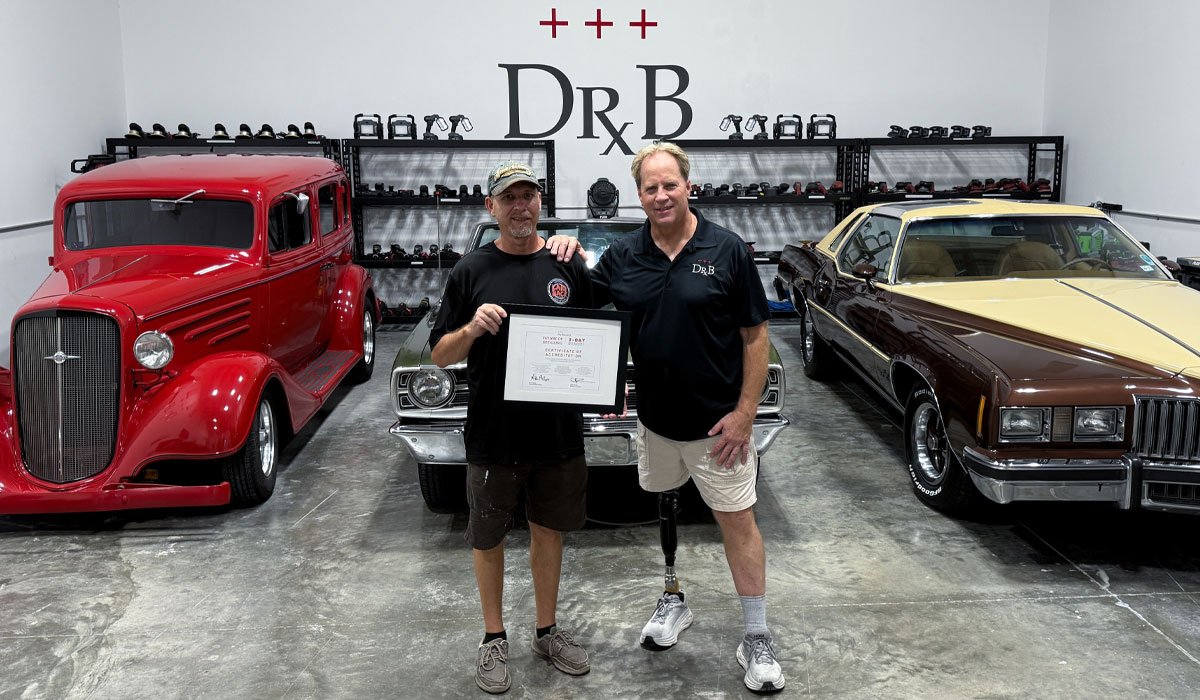
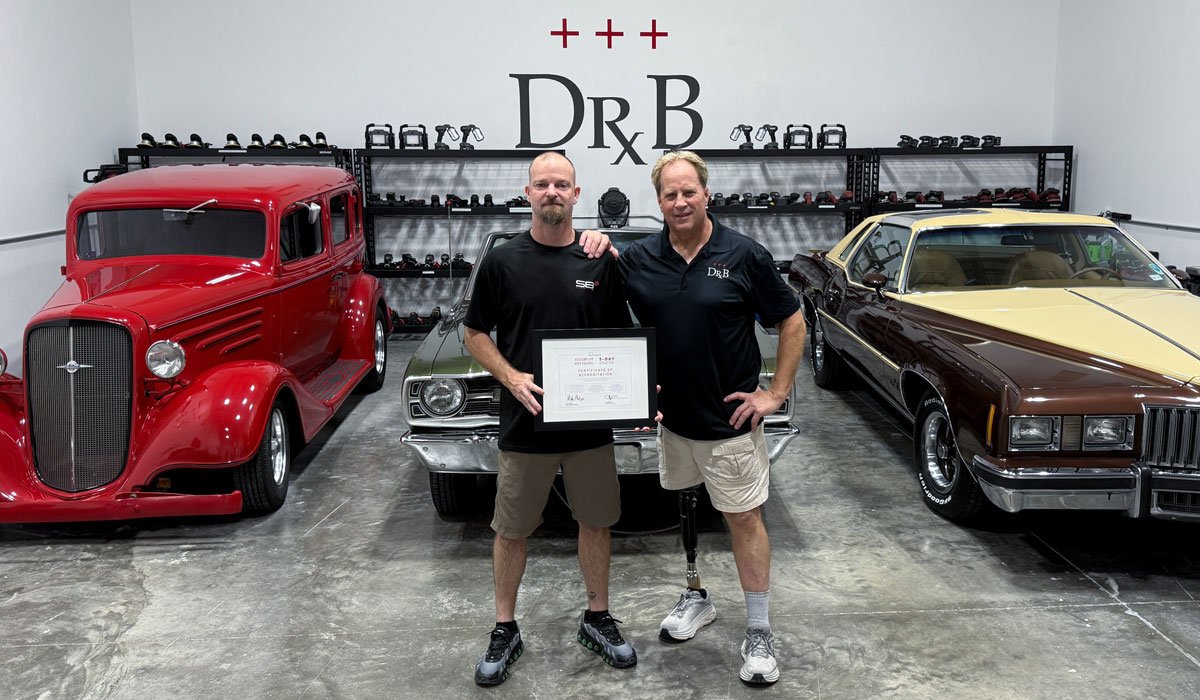
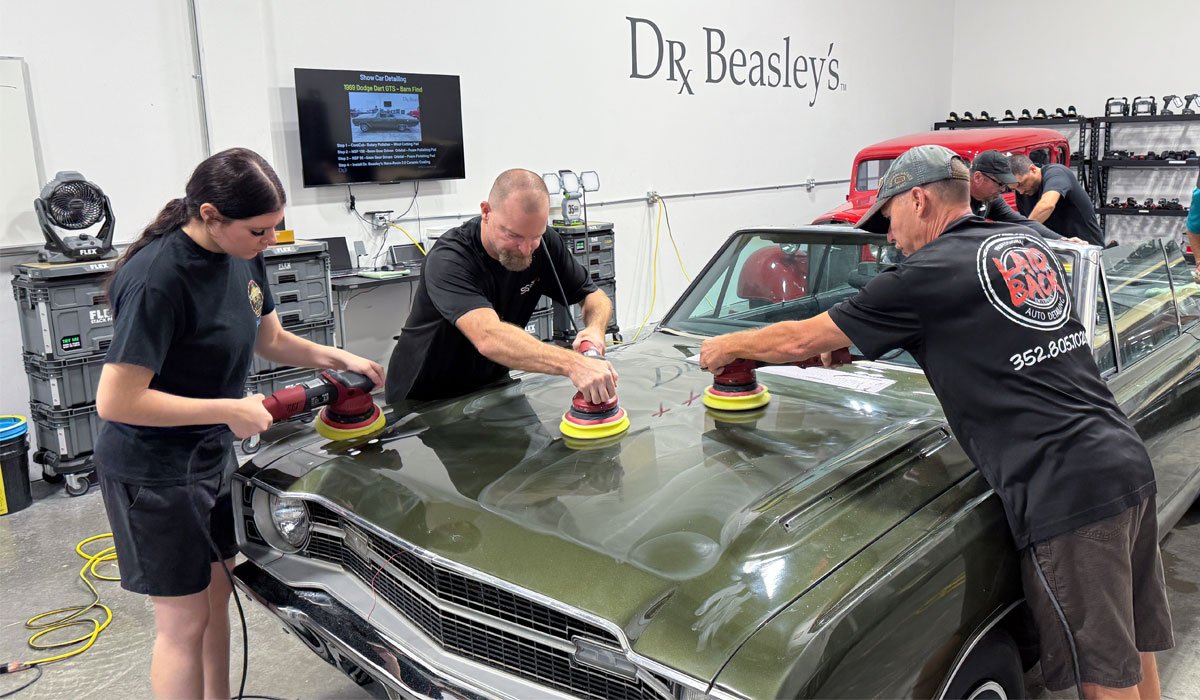
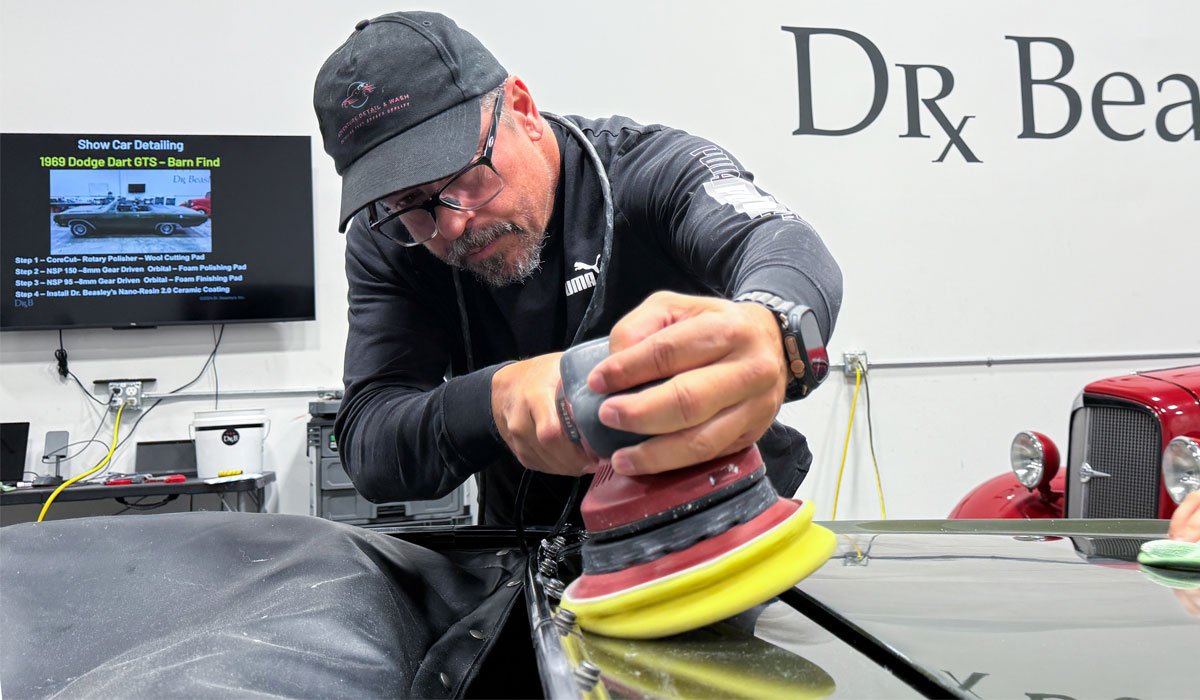
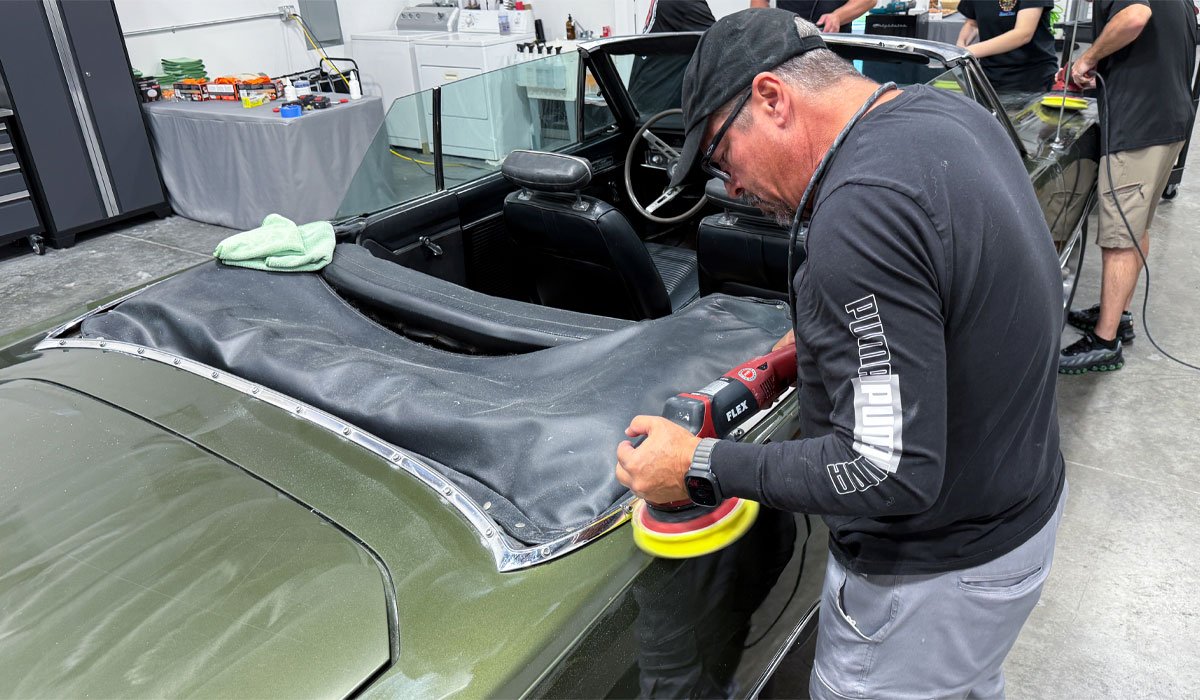
313 Pictures - July 12th 2025 1-Day Paint Correction and Ceramic Coating Class
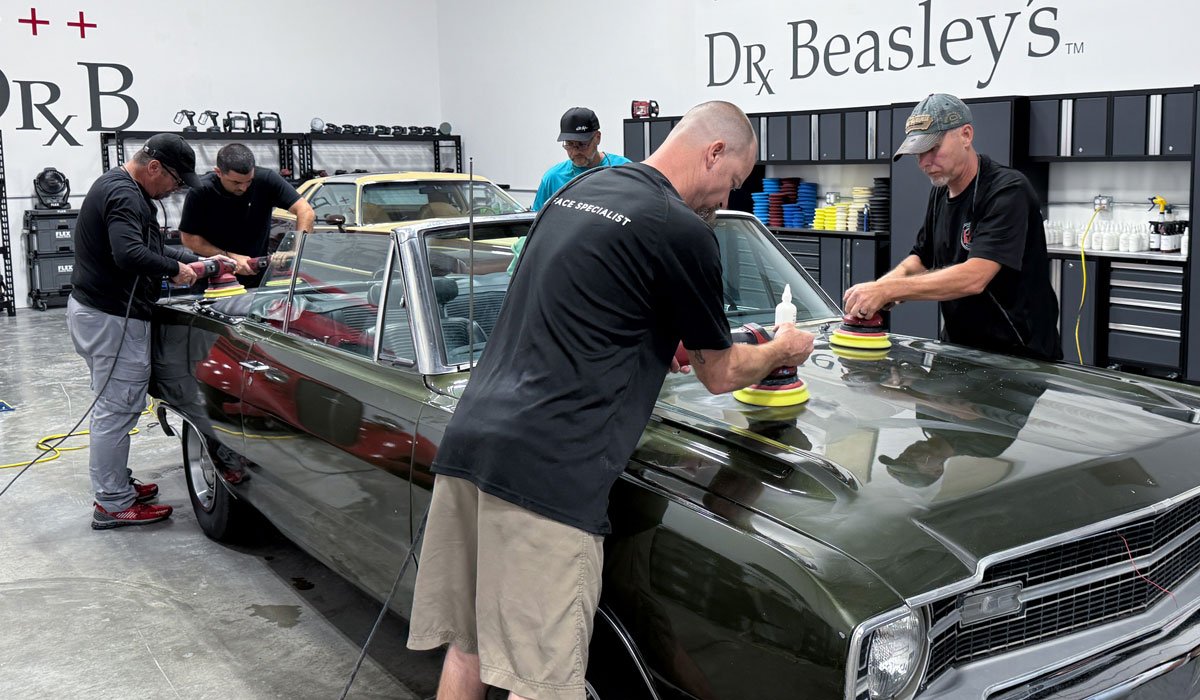
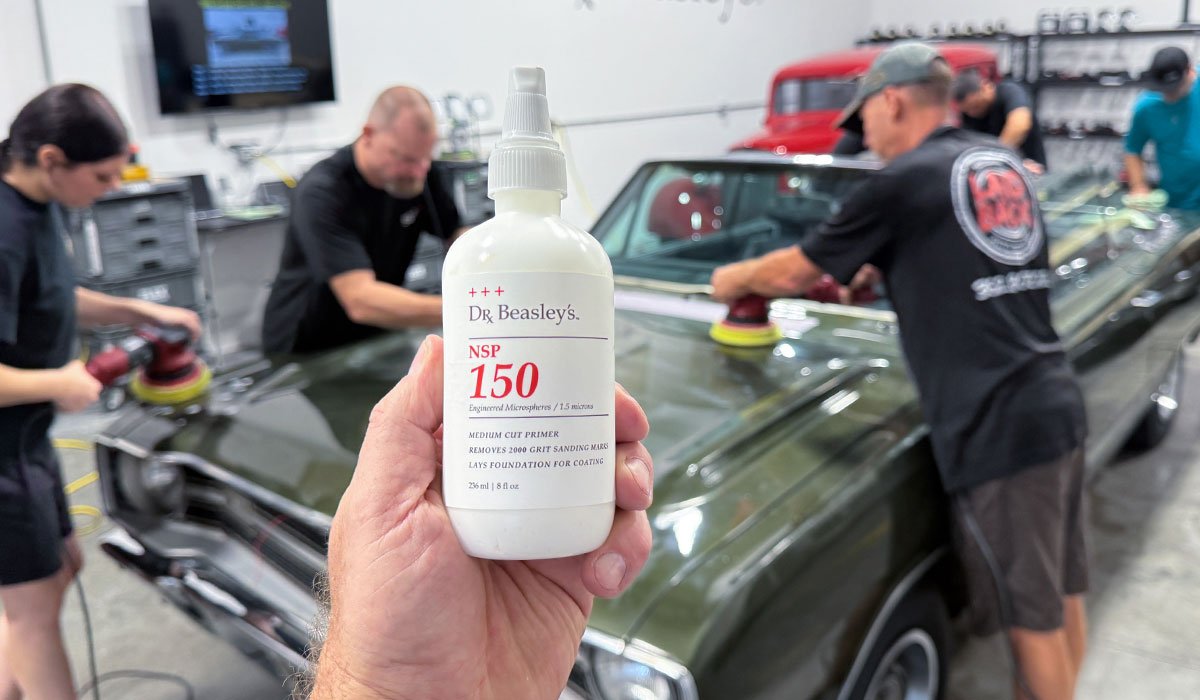
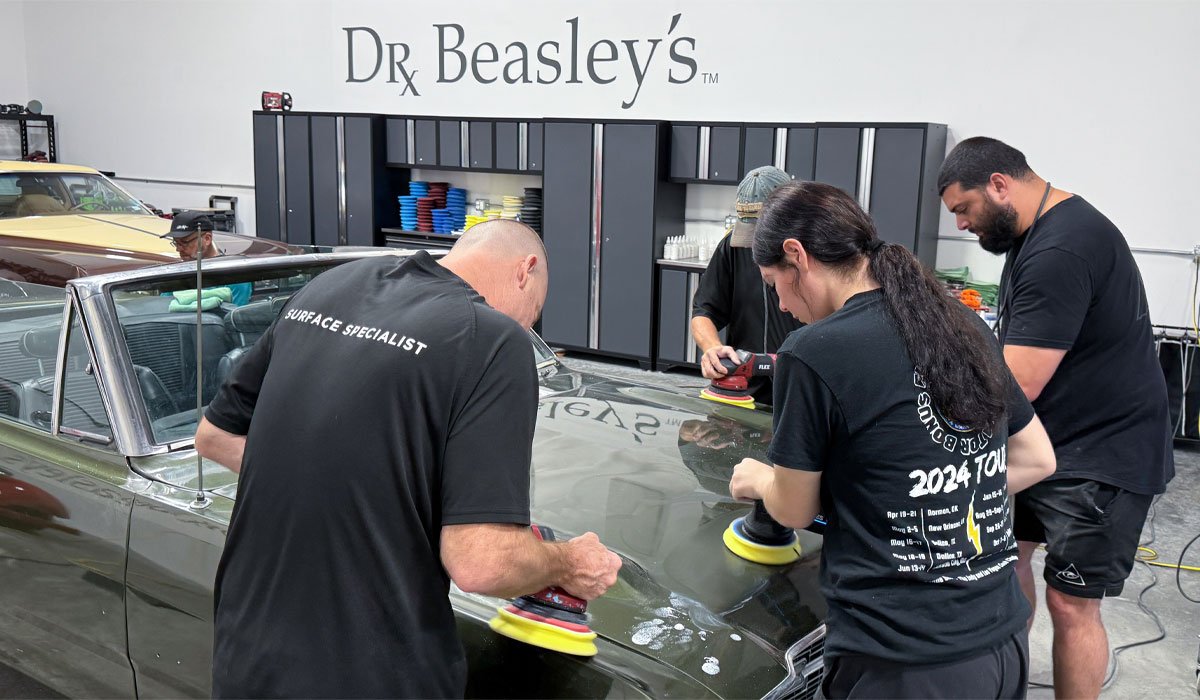
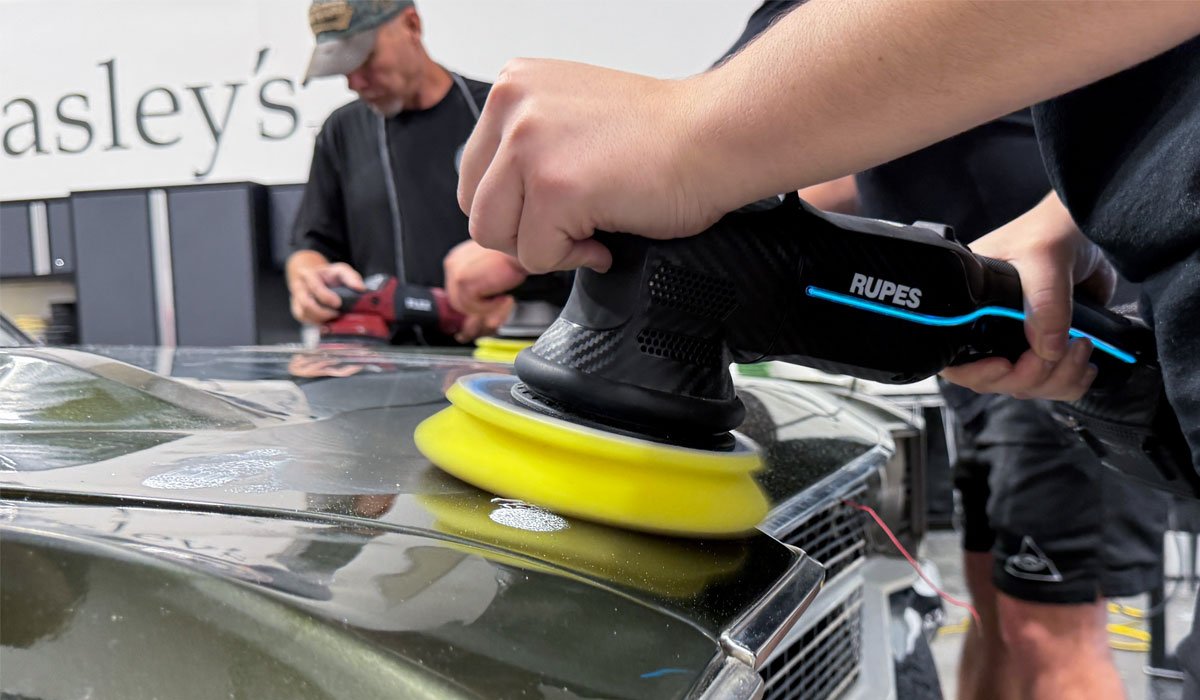
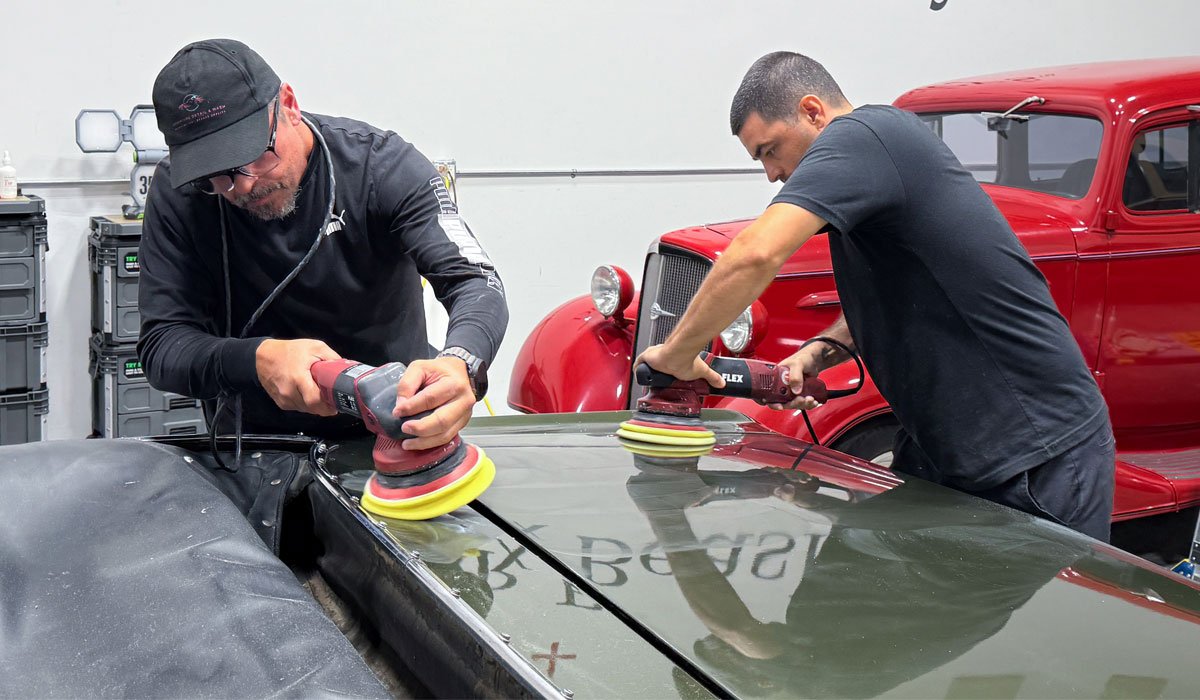
Happy to say all 3 training cars came out amazing and through the course of the class, these new friends learned a TON of new topics, techniques and tools.
Luis from Miami
Troy from West Palm Beach
Alex from Fort Pierce
Dave from Leesburg, Florida
Danny from Leesburg, Florida
Brian from Baytown, Texas
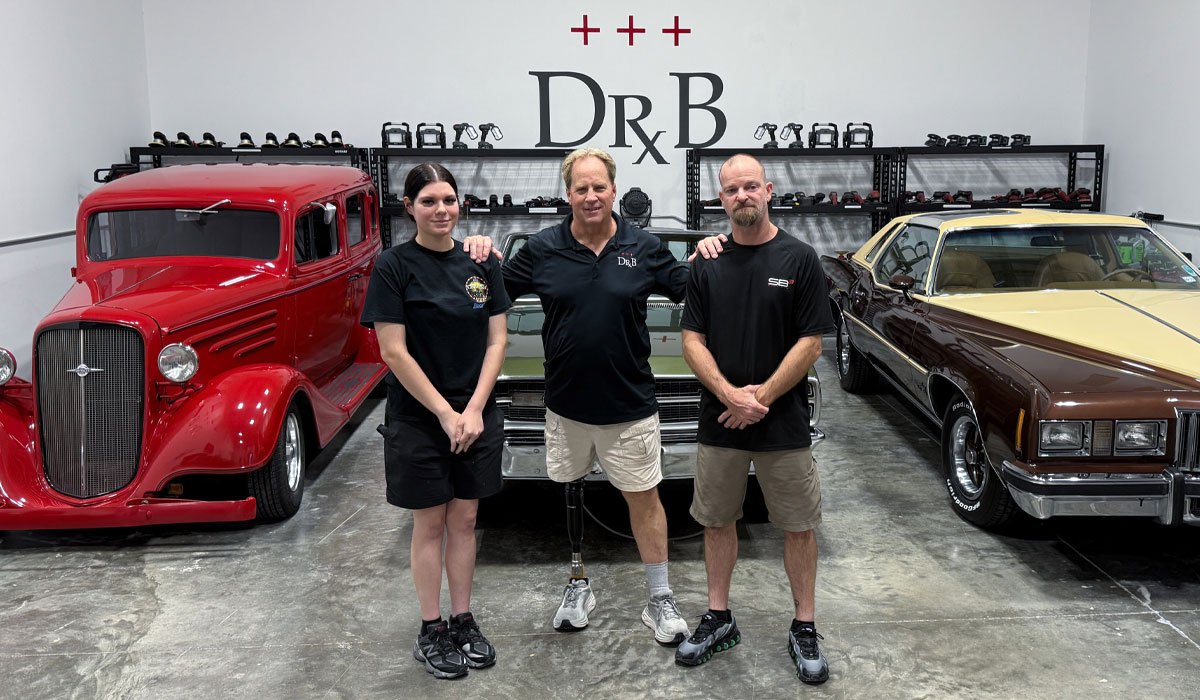
Jaqui from Baytown, Texas
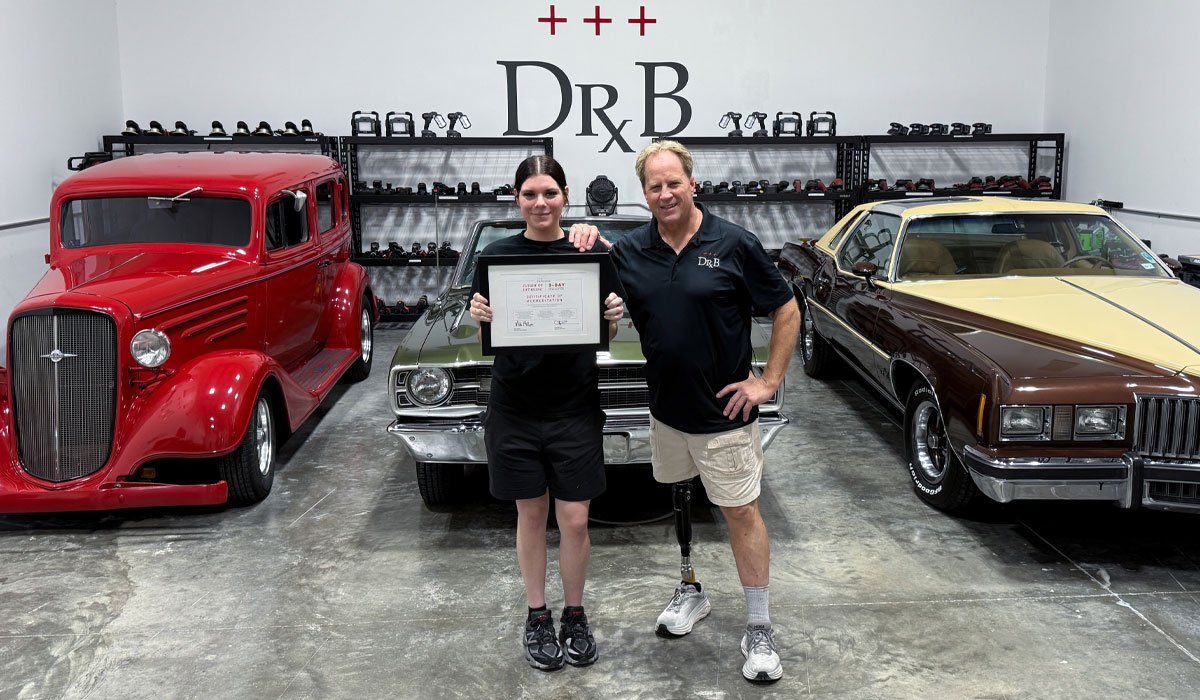
Always an honor to have a Daughter/Father team take the class!
Group Shot
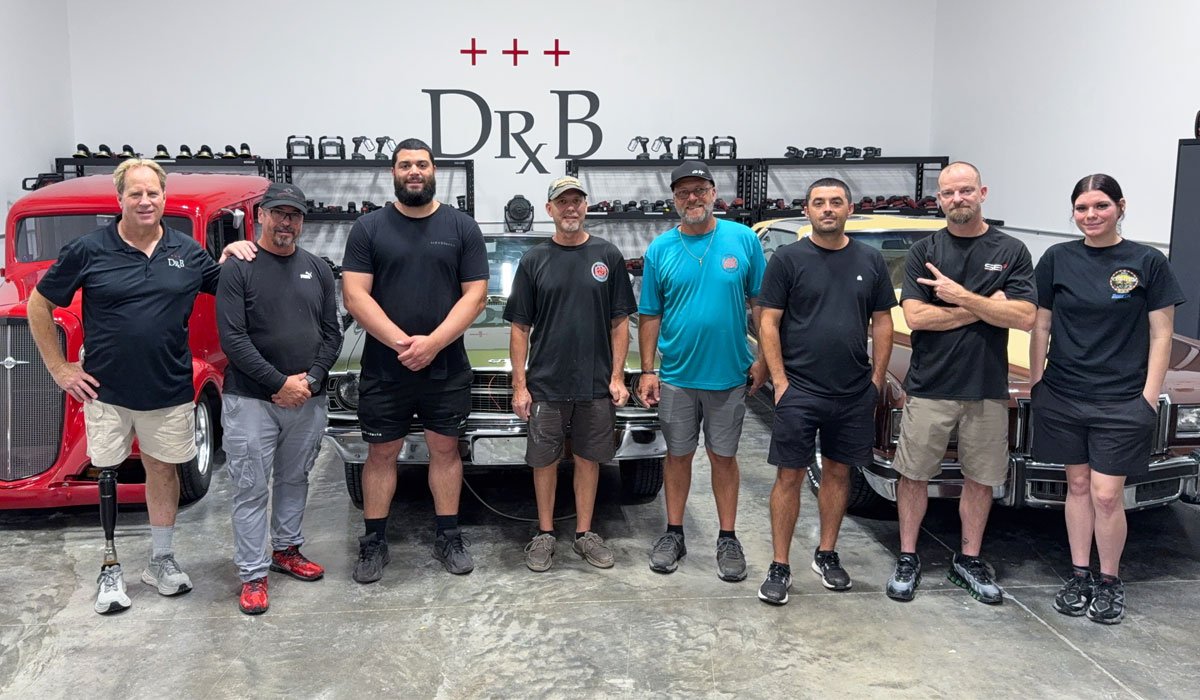
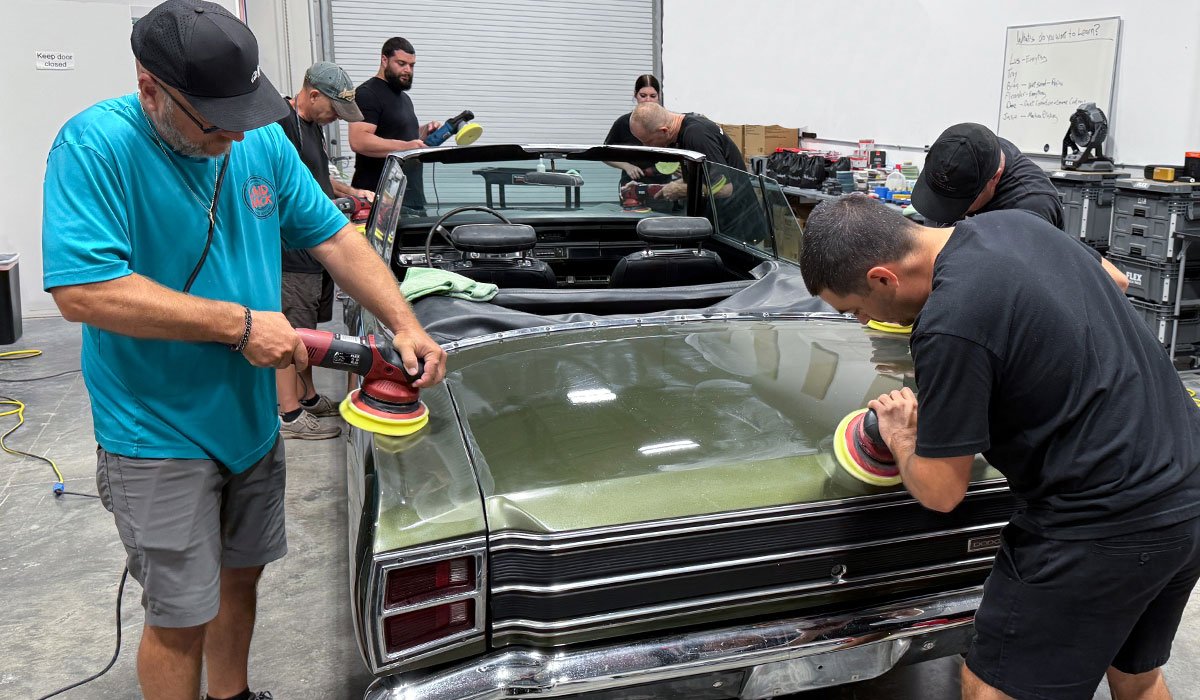
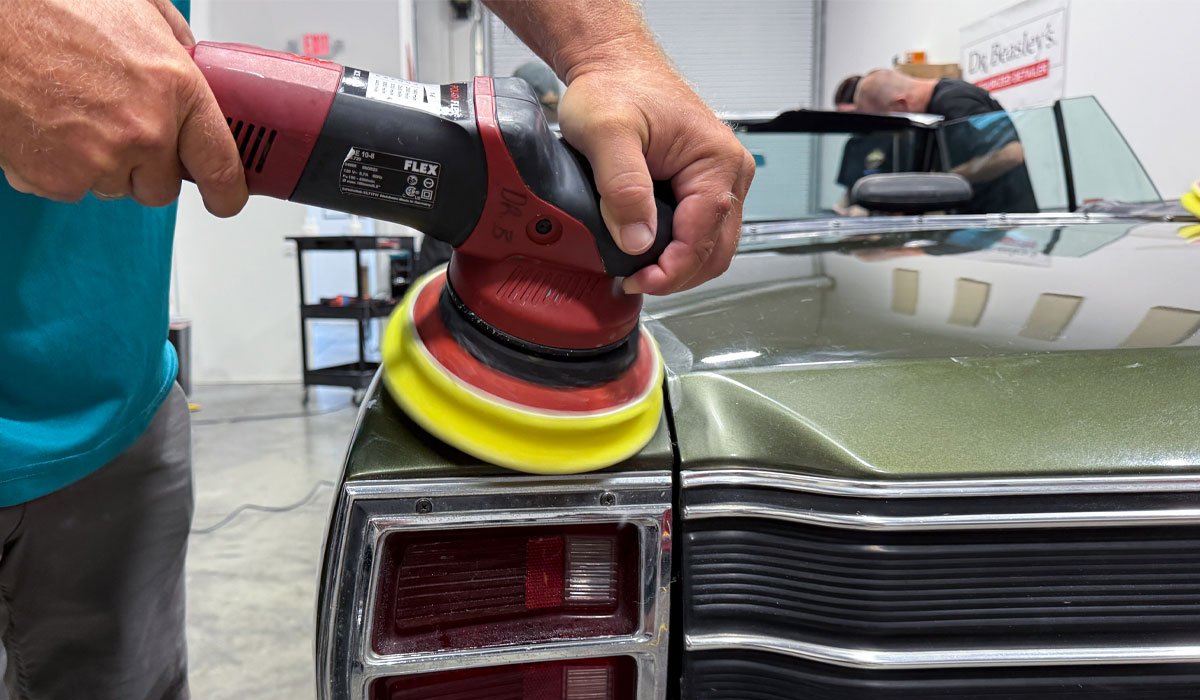
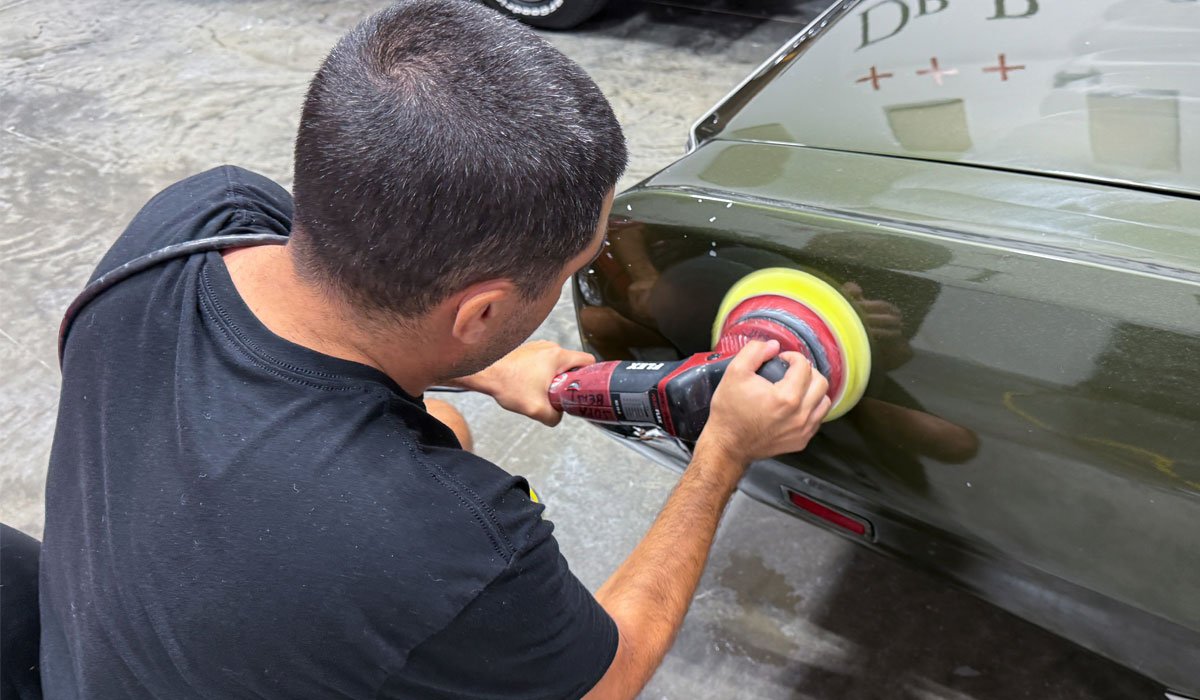
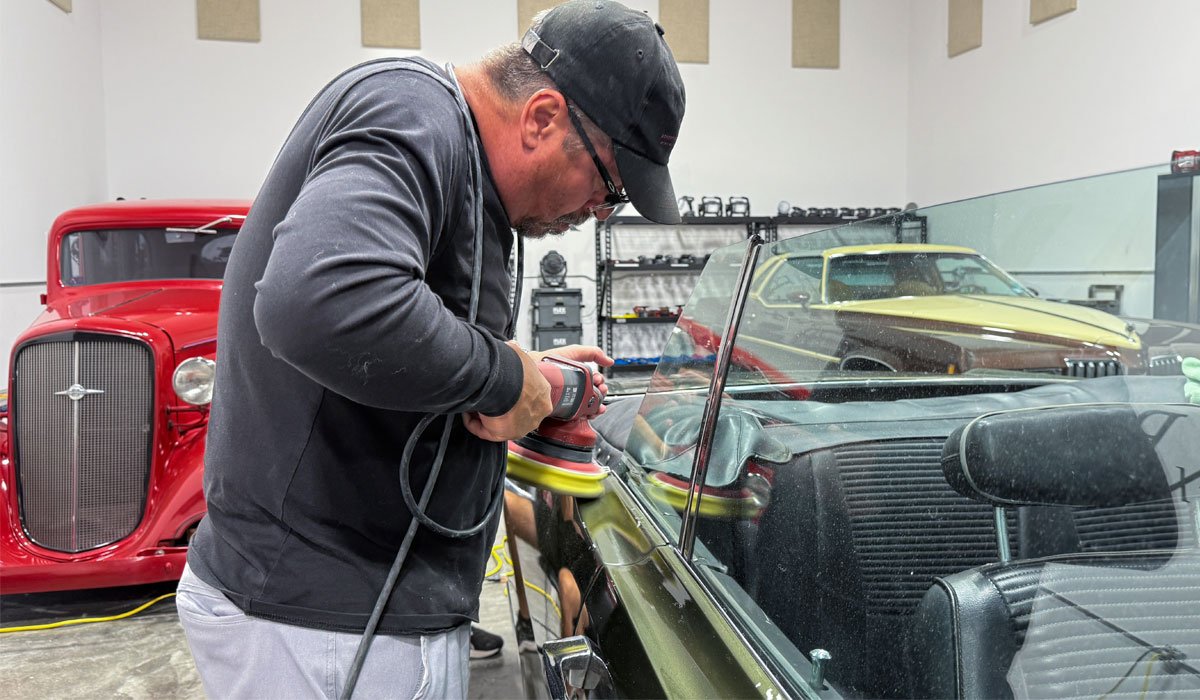
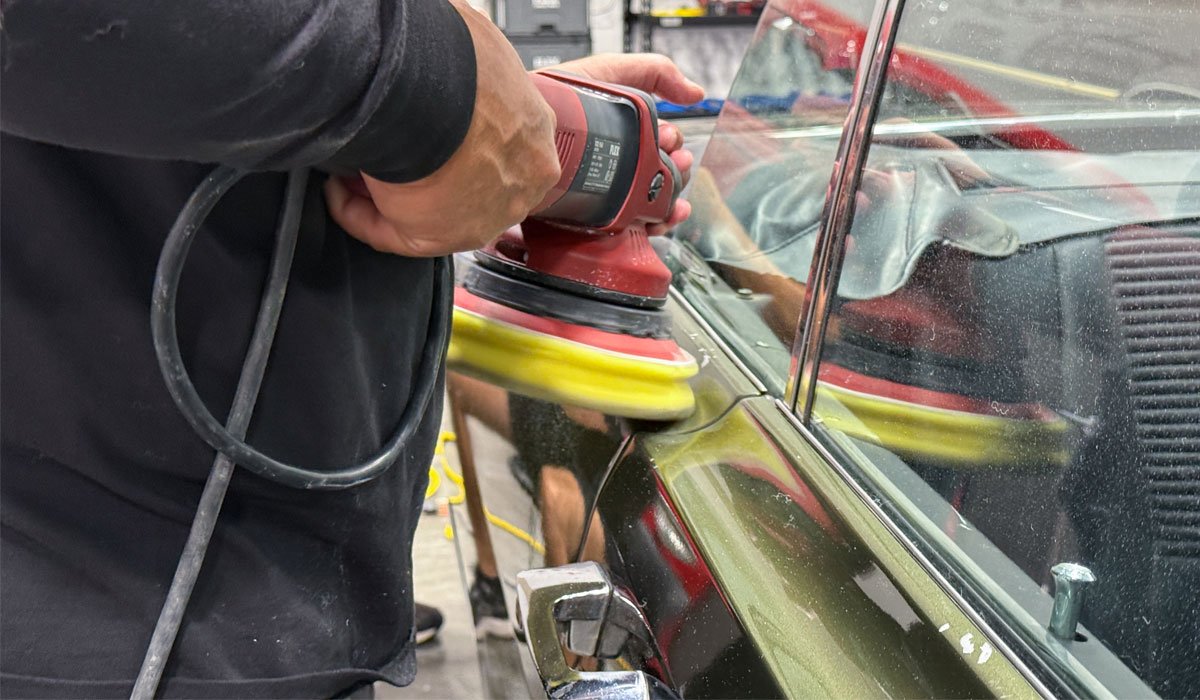
3 cars - 3 Primary Topics - 1 Very Intense and 100% Hands-on Day
Here's the three cars this class detailed in a single day not including the extreme headlight correction on the Ford Escape.


From left to right,
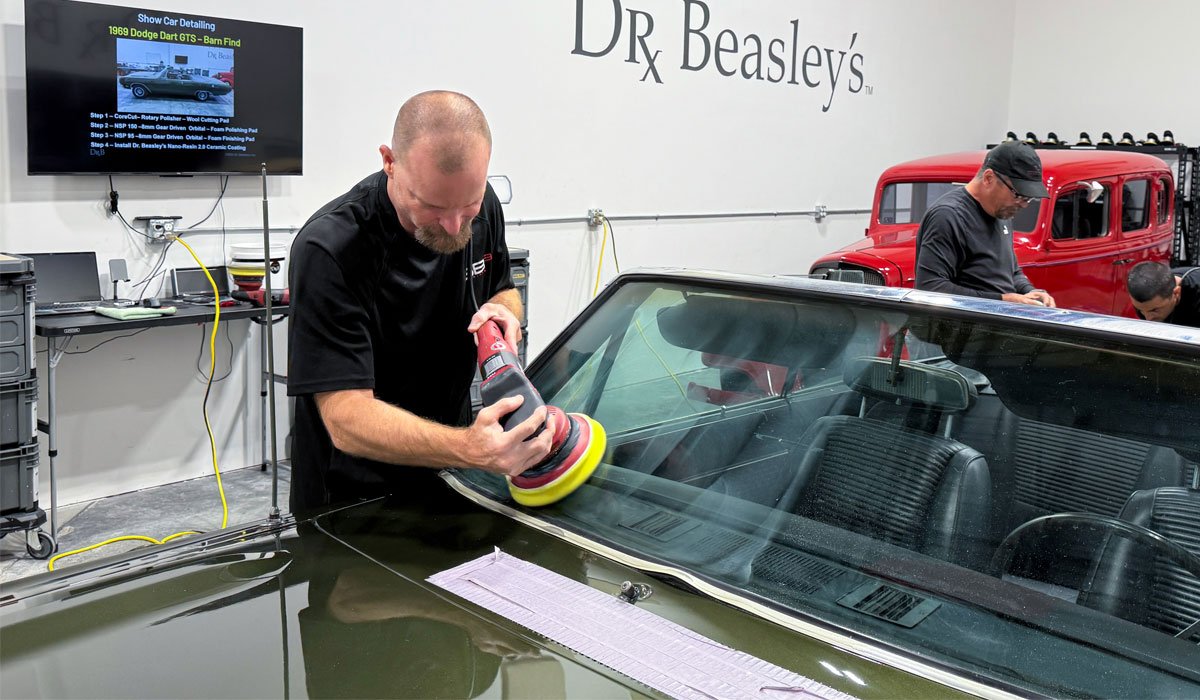
1934 Chevy Sedan Streetrod - 1969 Dodge Dart GTS Convertible - 1977 Pontiac Grand Prix JS
(The 1977 Pontiac provided by The American Muscle Car Museum in Melbourne, Florida - thank you for your trust as well as delivering the car to our facilities in Stuart, Florida)

Next up, before, action and after shots.
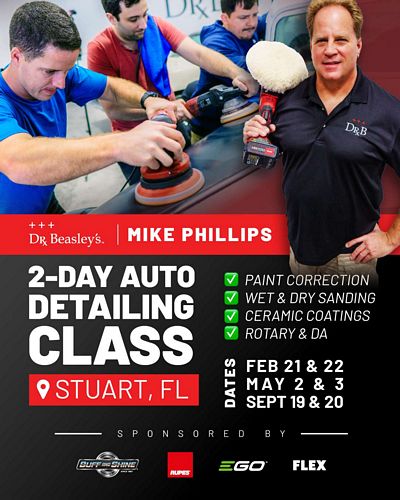
Next class is a 2-day class on Saturday, September 20th and Sunday, September 21st - this is also the LAST 2-day class for 2025 if you want to learn how to remove orange peel via sanding.
Click here to get signed-up for the 2-Day September Class
Mike
Happy to say all 3 training cars came out amazing and through the course of the class, these new friends learned a TON of new topics, techniques and tools.
Luis from Miami
Troy from West Palm Beach
Alex from Fort Pierce
Dave from Leesburg, Florida
Danny from Leesburg, Florida
Brian from Baytown, Texas
Jaqui from Baytown, Texas
Always an honor to have a Daughter/Father team take the class!
Group Shot
3 cars - 3 Primary Topics - 1 Very Intense and 100% Hands-on Day
Here's the three cars this class detailed in a single day not including the extreme headlight correction on the Ford Escape.
From left to right,
1934 Chevy Sedan Streetrod - 1969 Dodge Dart GTS Convertible - 1977 Pontiac Grand Prix JS
(The 1977 Pontiac provided by The American Muscle Car Museum in Melbourne, Florida - thank you for your trust as well as delivering the car to our facilities in Stuart, Florida)
Next up, before, action and after shots.
Next class is a 2-day class on Saturday, September 20th and Sunday, September 21st - this is also the LAST 2-day class for 2025 if you want to learn how to remove orange peel via sanding.
Click here to get signed-up for the 2-Day September Class
Mike
Last edited:


")


