- Admin
- #1
- Joined
- May 21, 2021
- Messages
- 2,530
- Reaction score
- 1,496
- Points
- 113
- Location
- Stuart, Florida
- Website
- themikephillipsforum.com
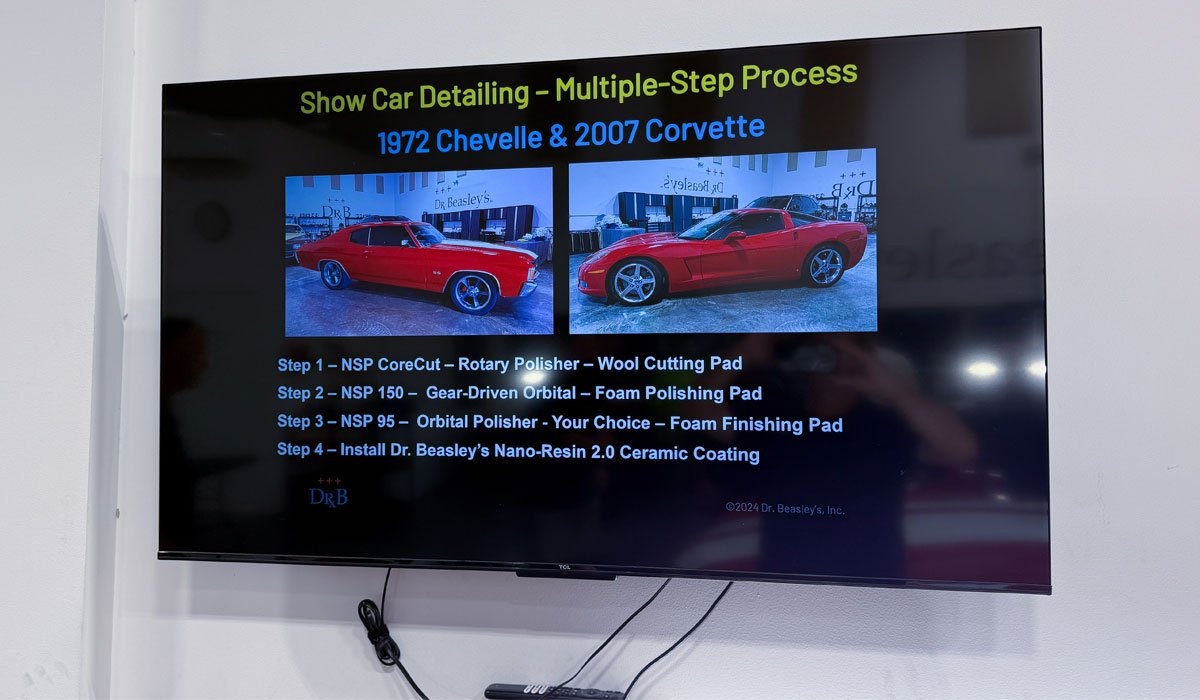
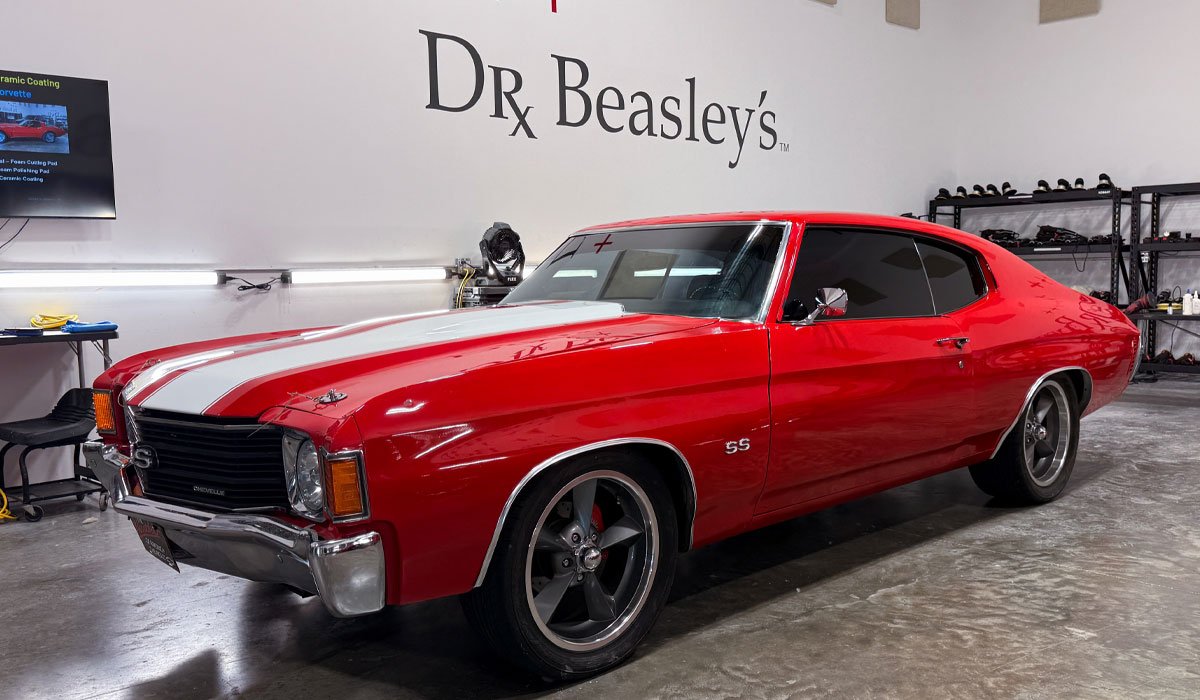
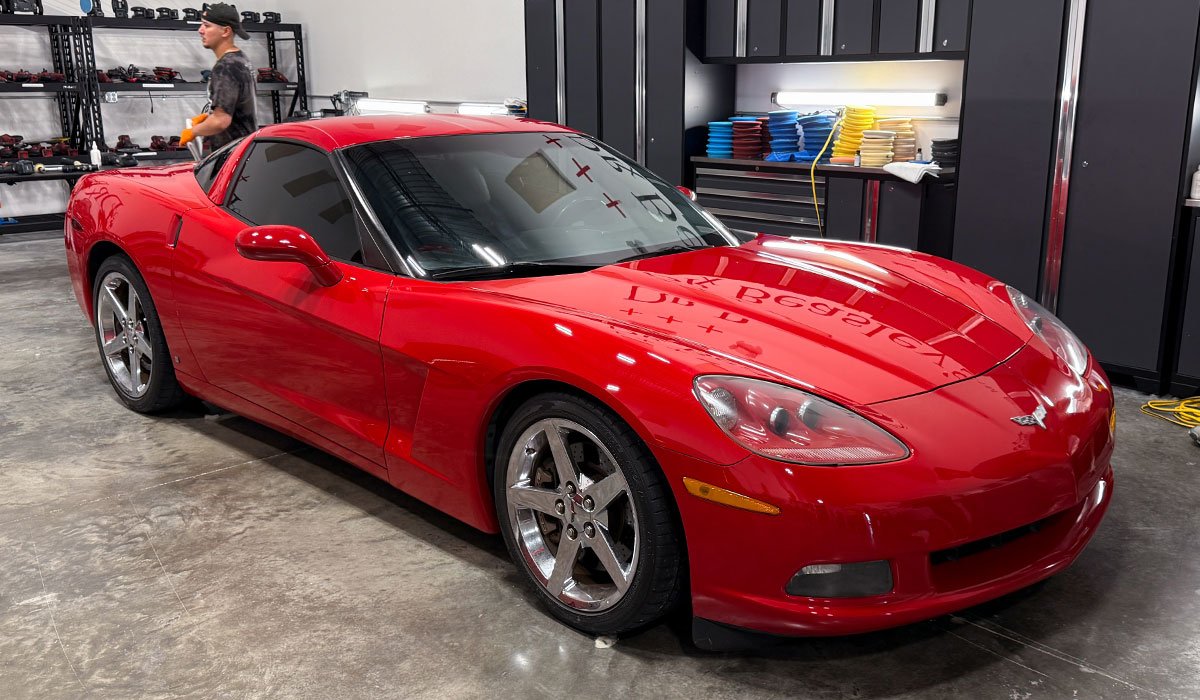
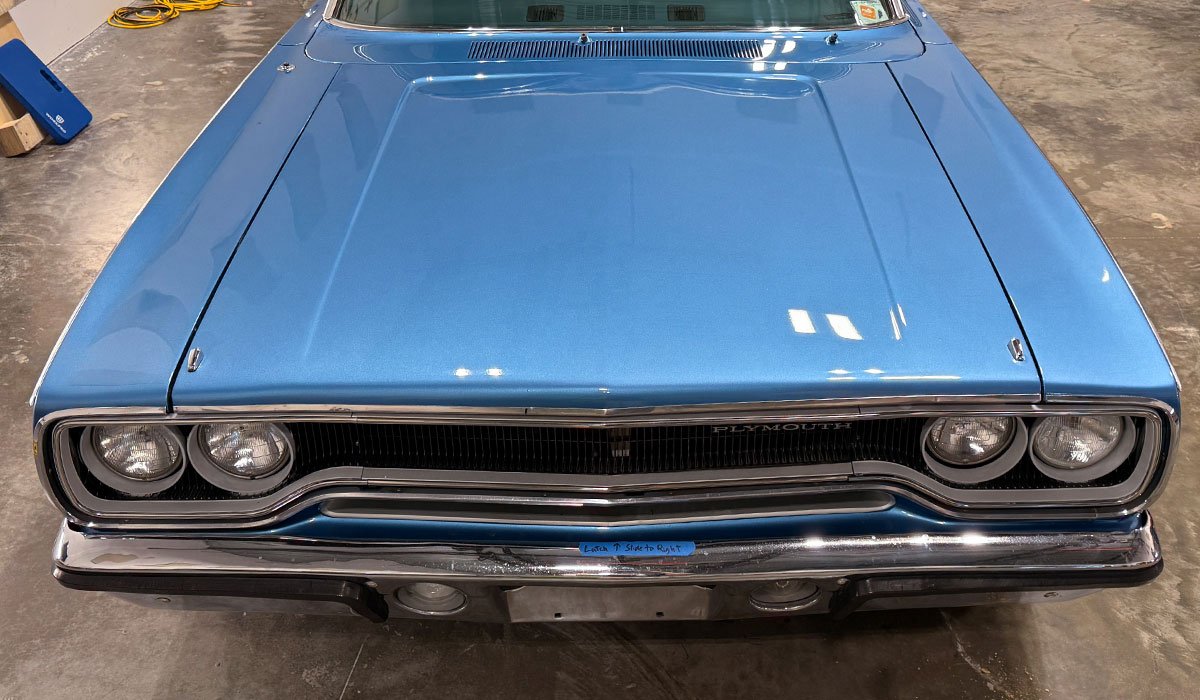
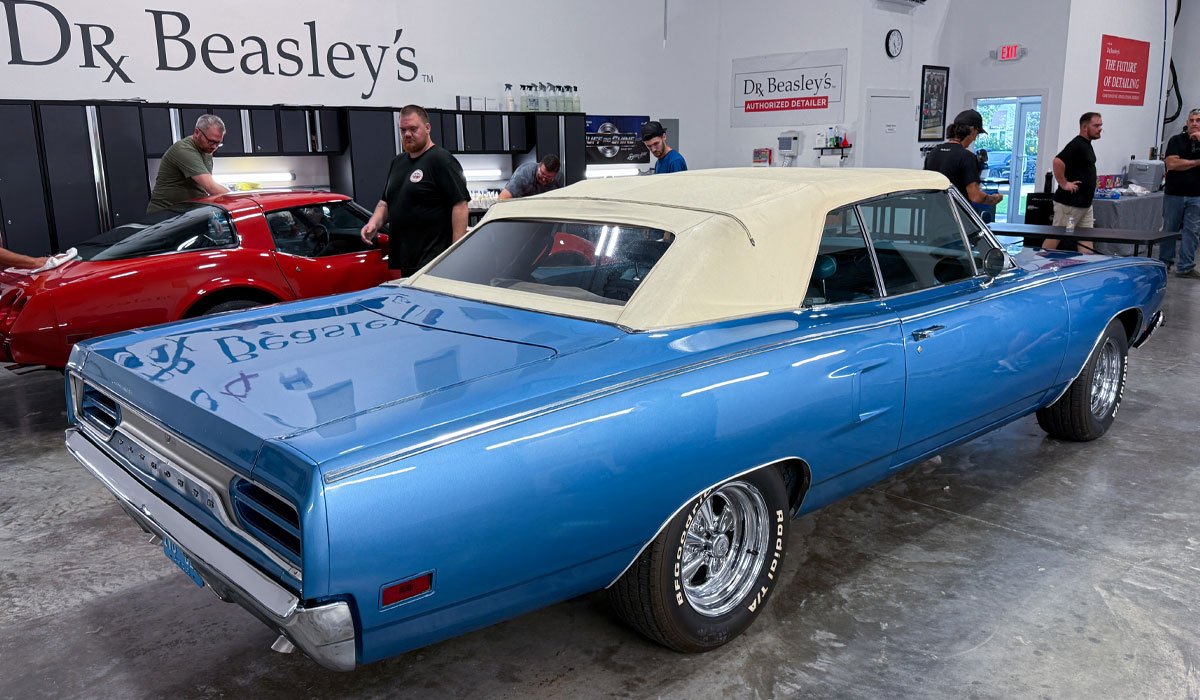
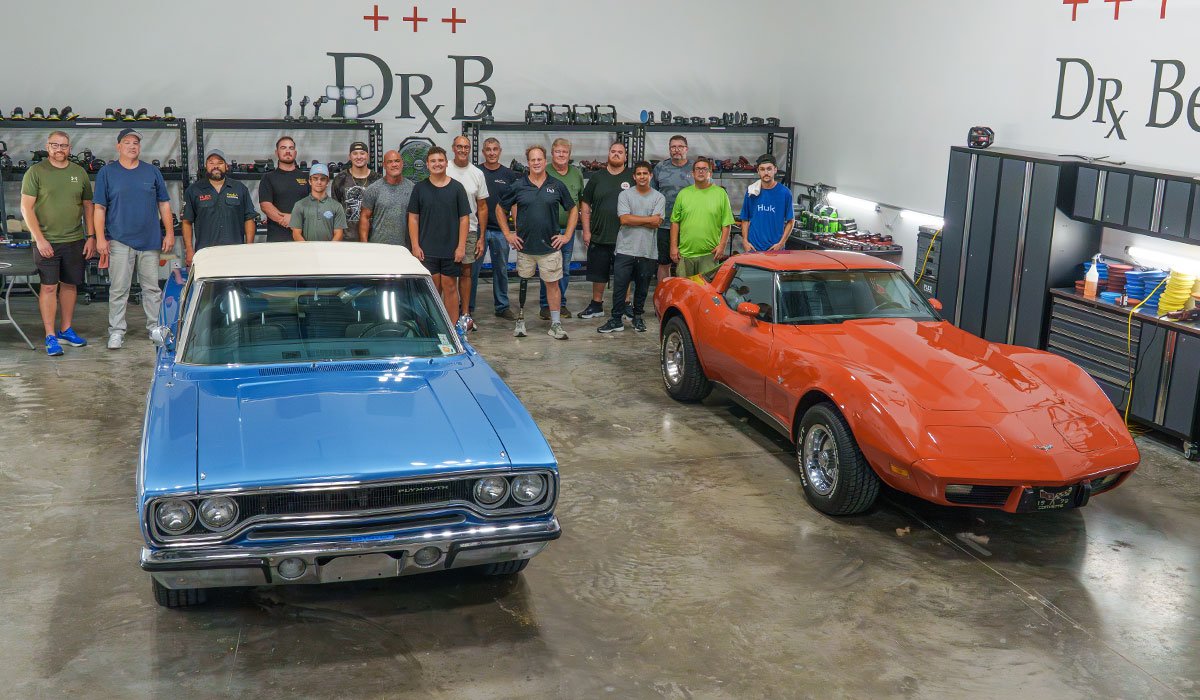
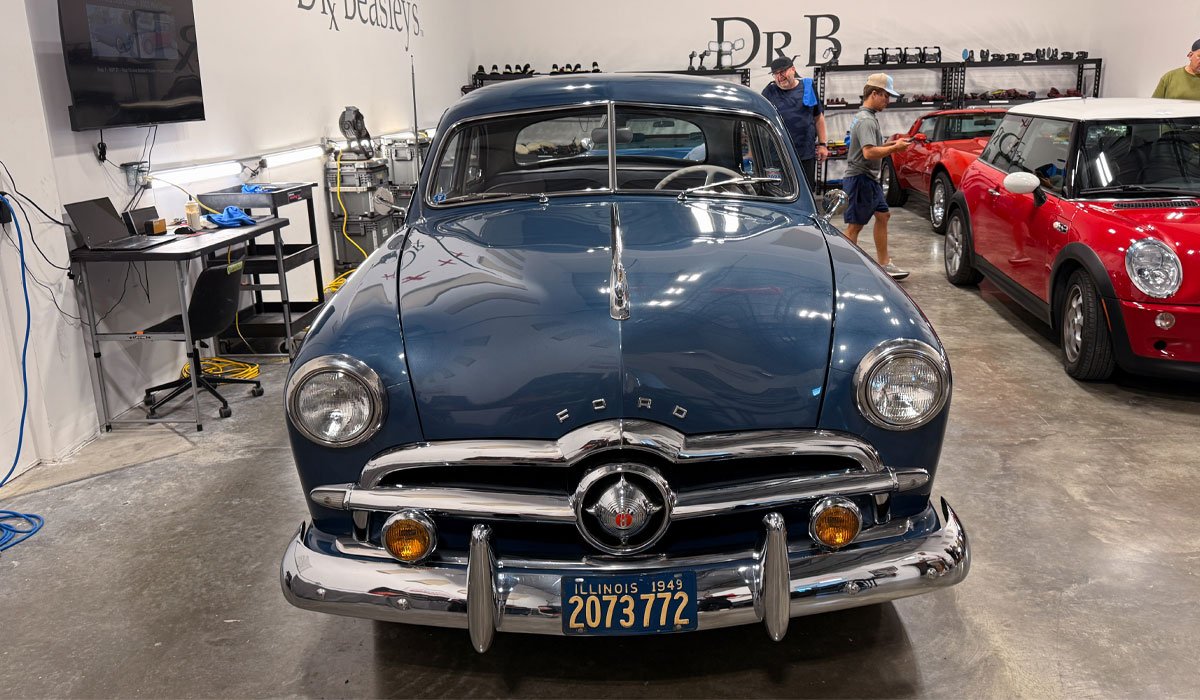
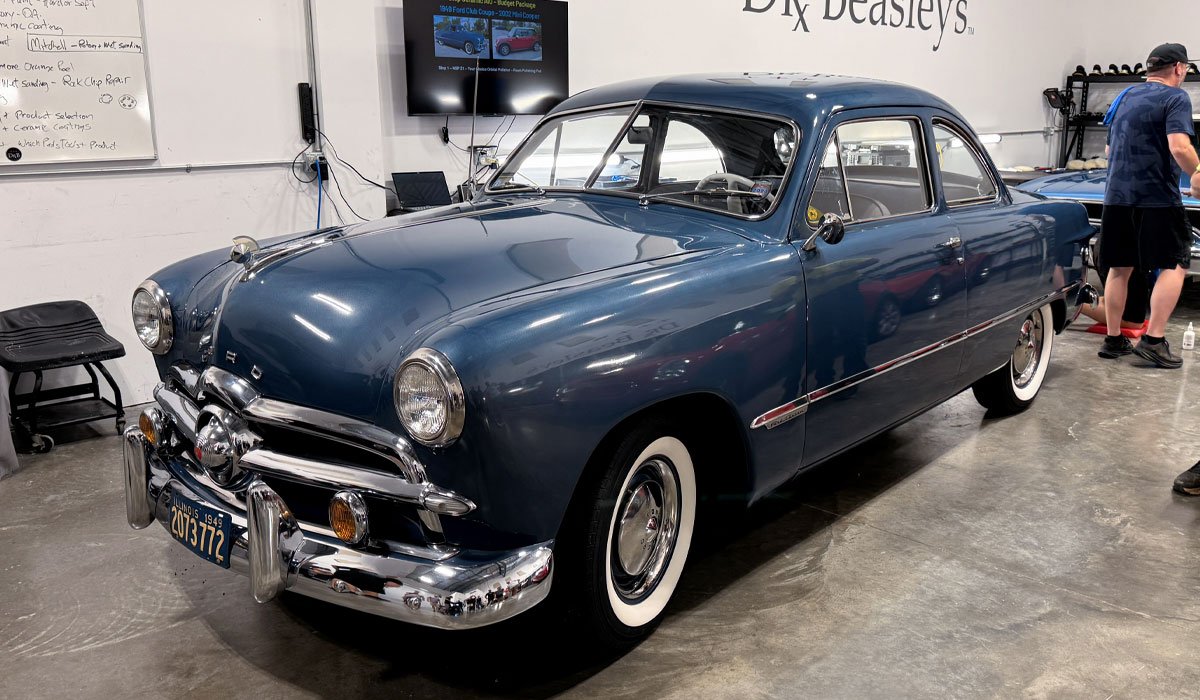
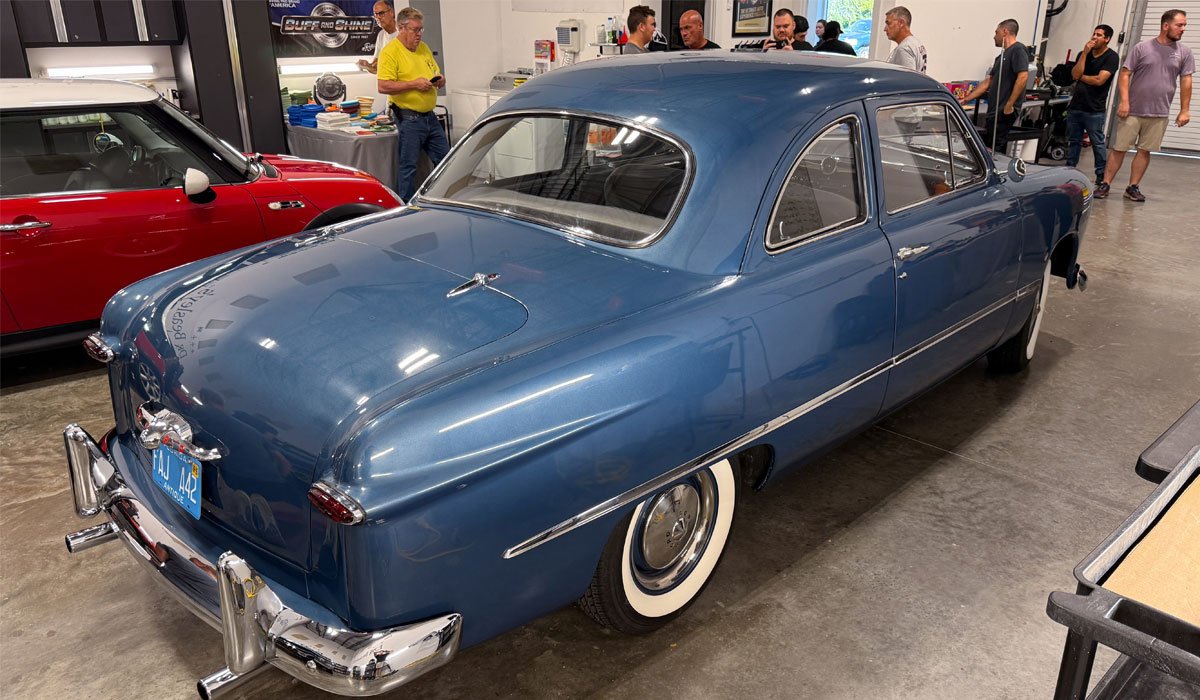
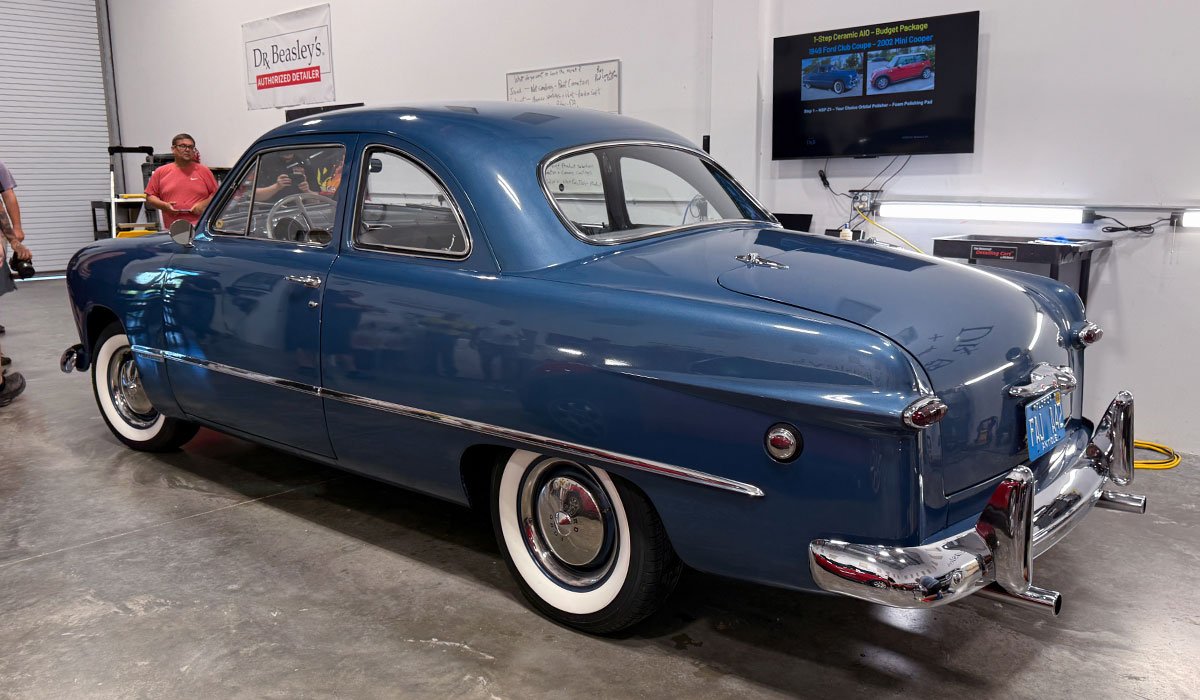
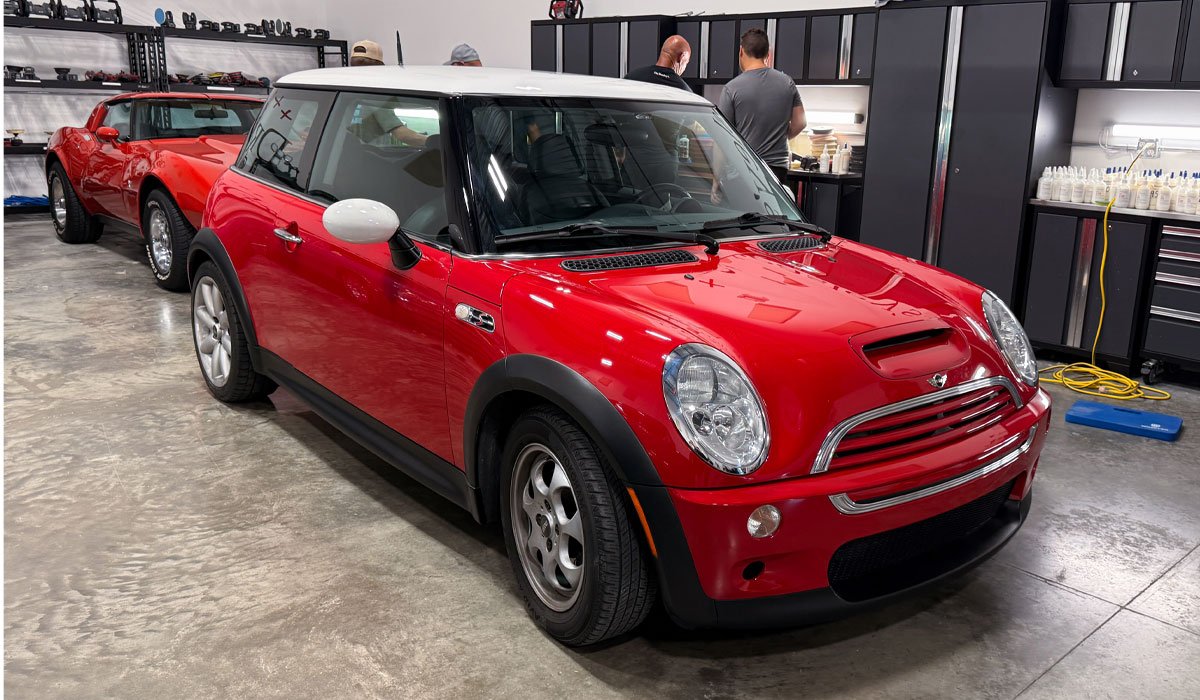
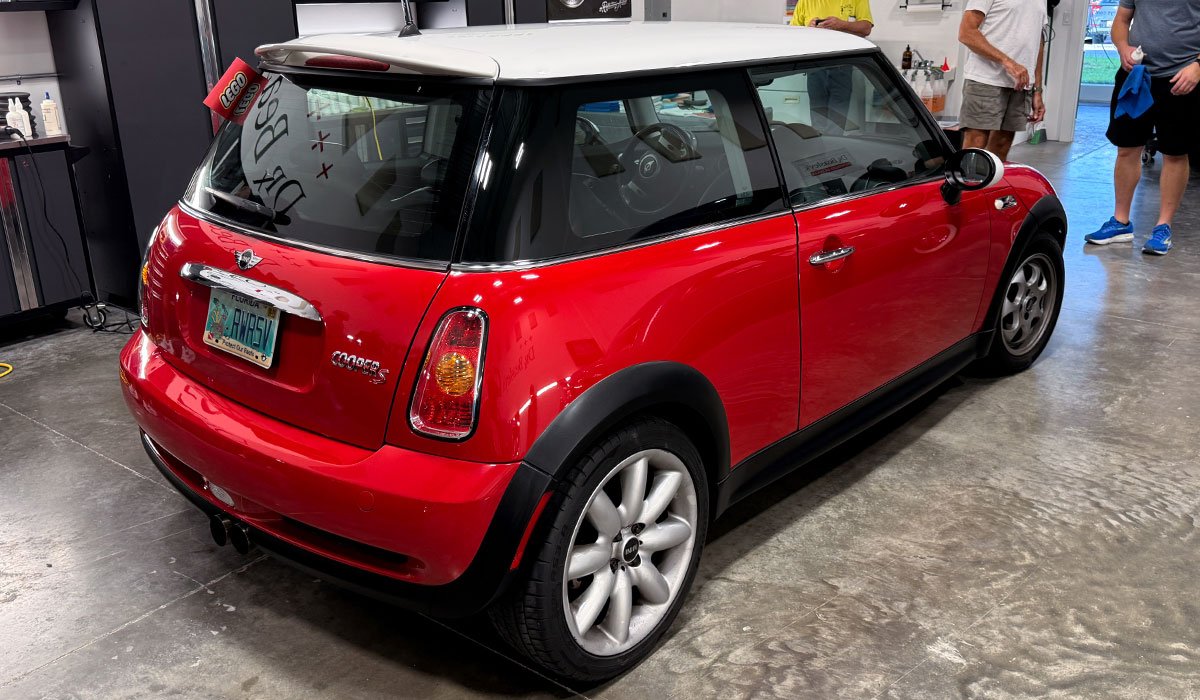
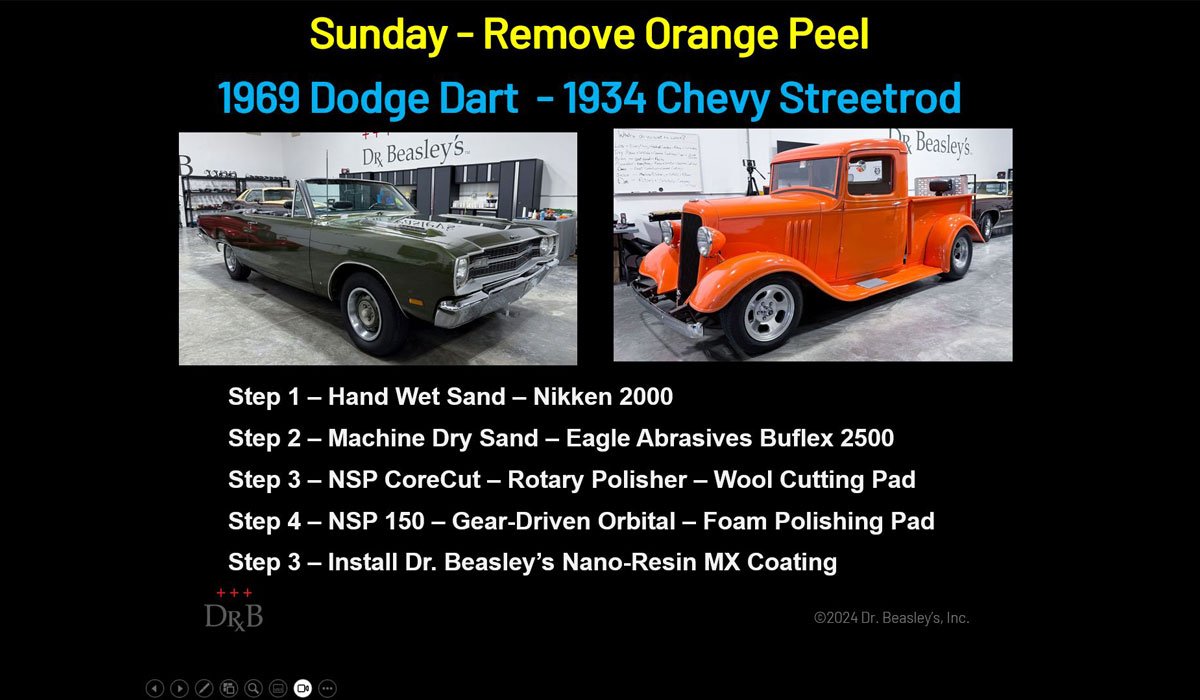
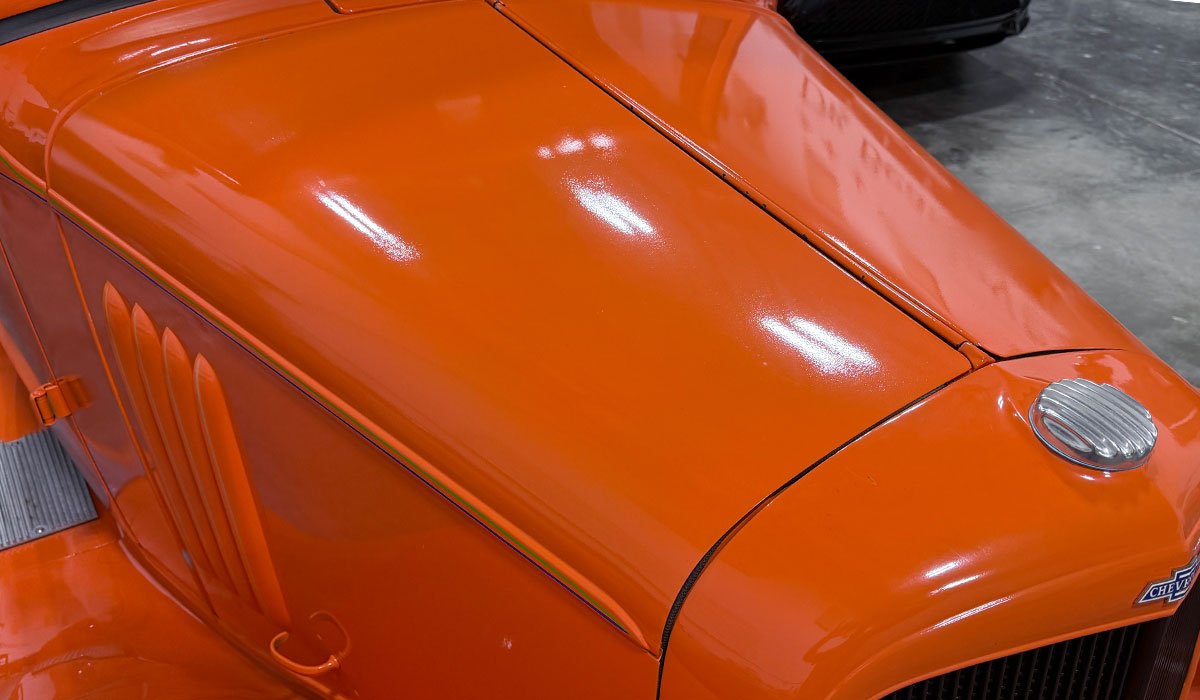
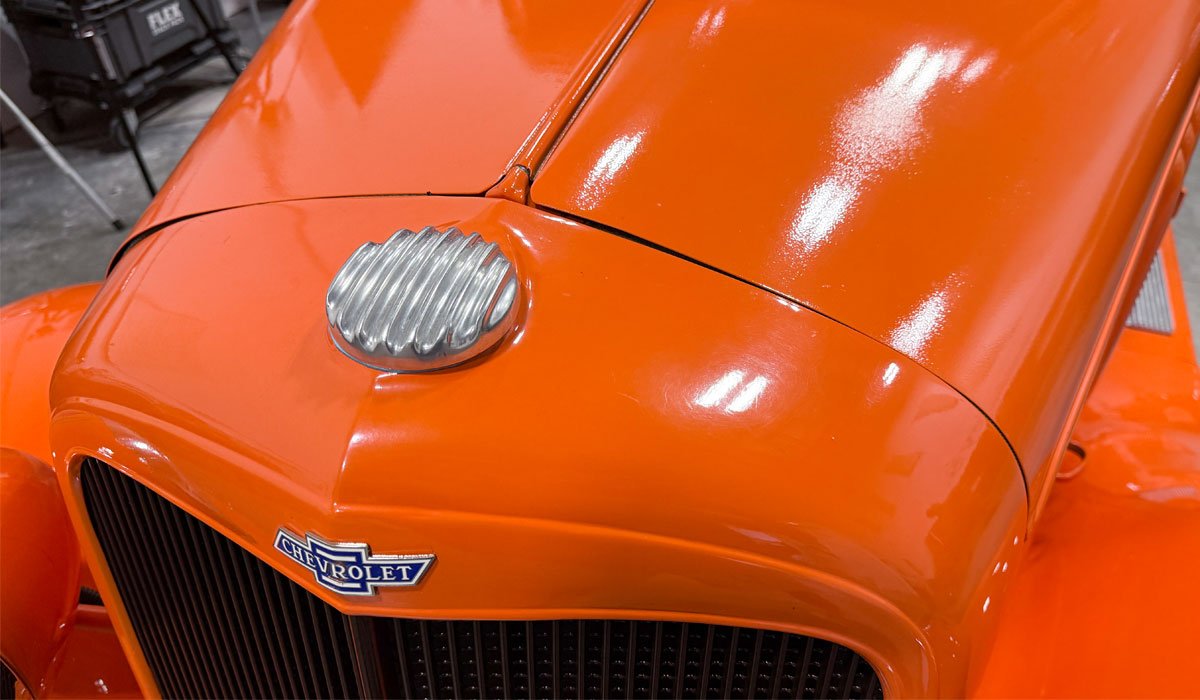
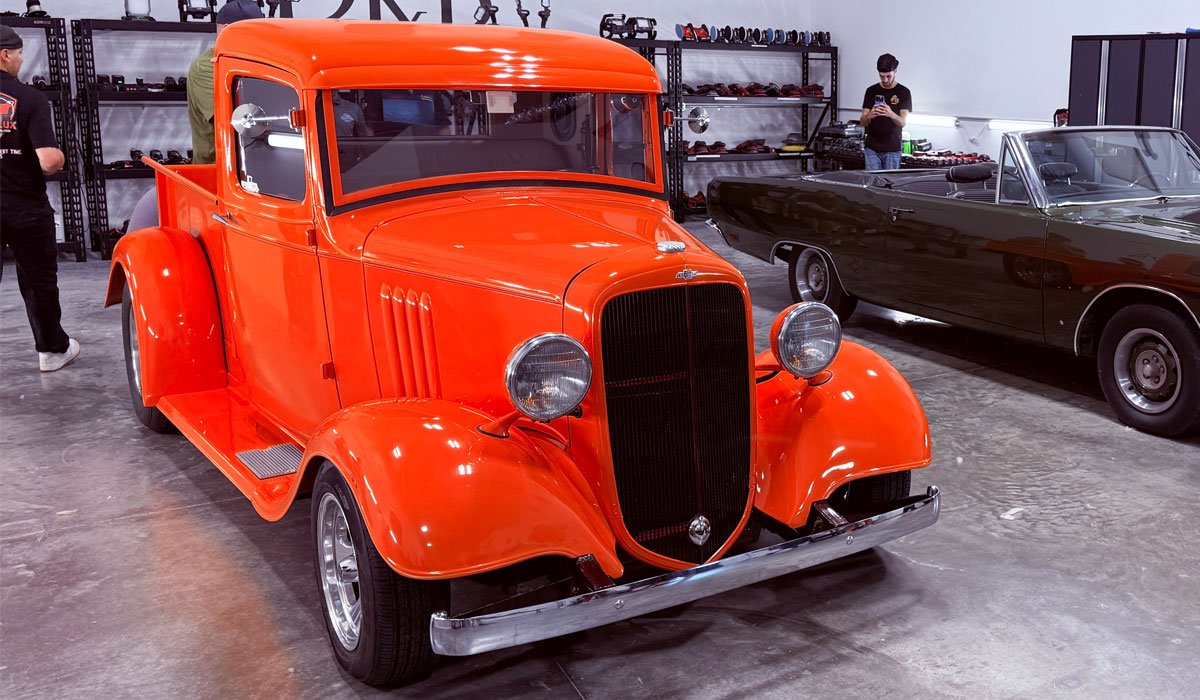
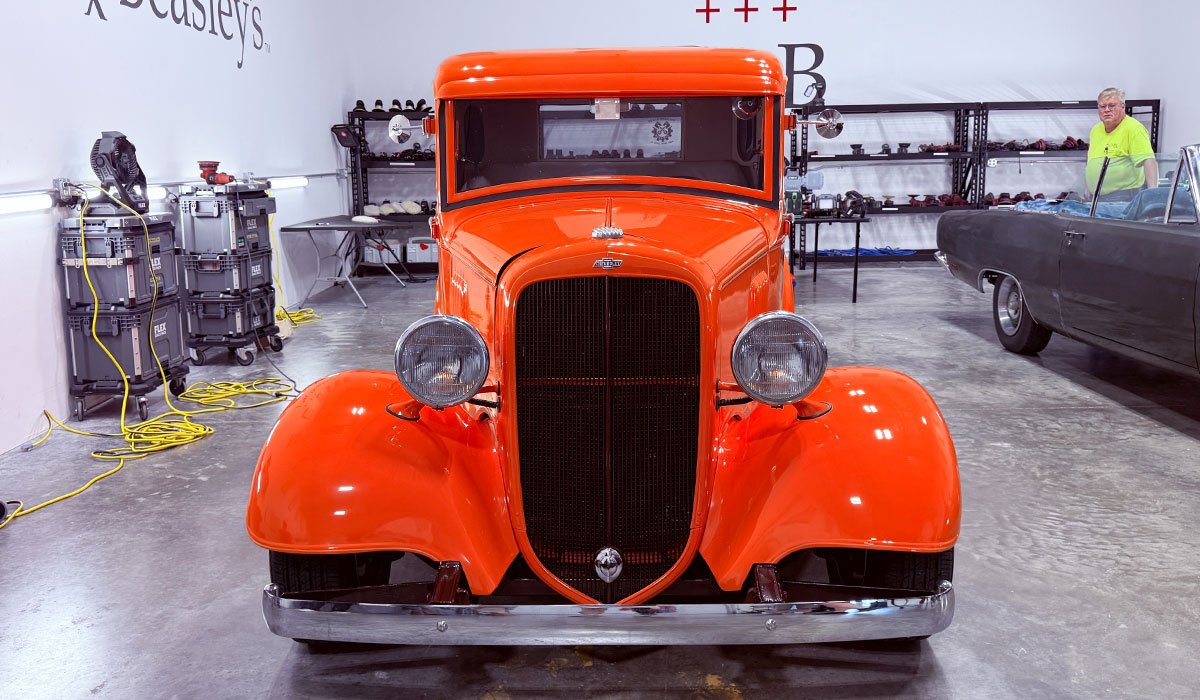
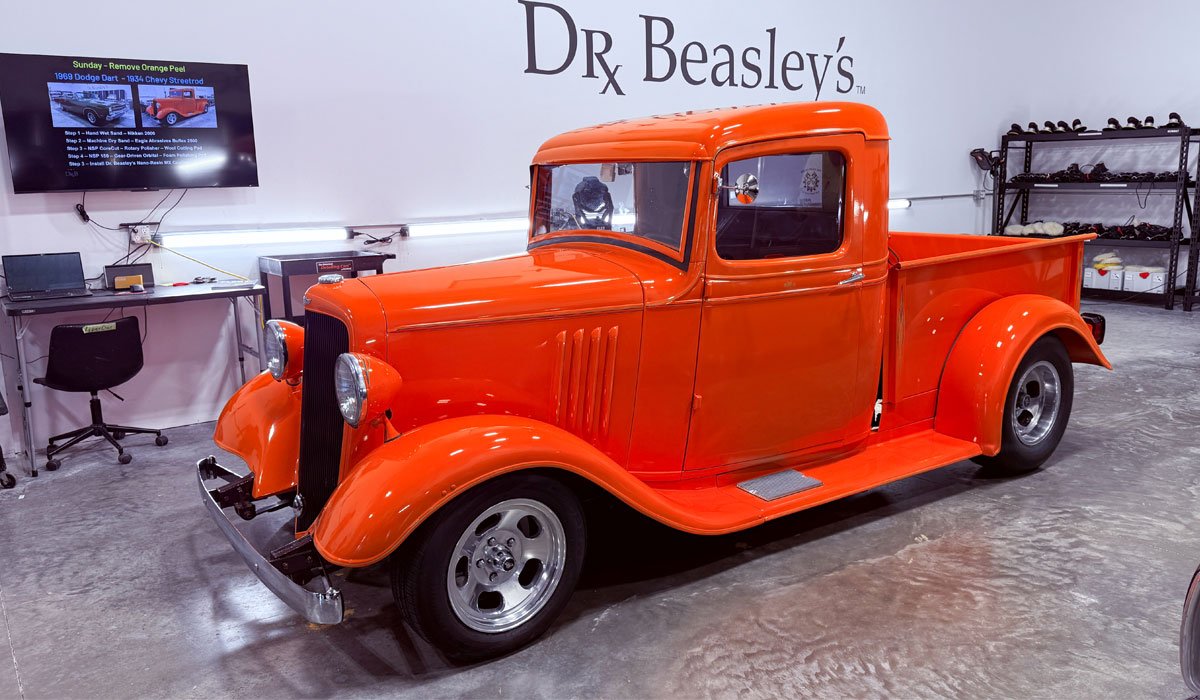
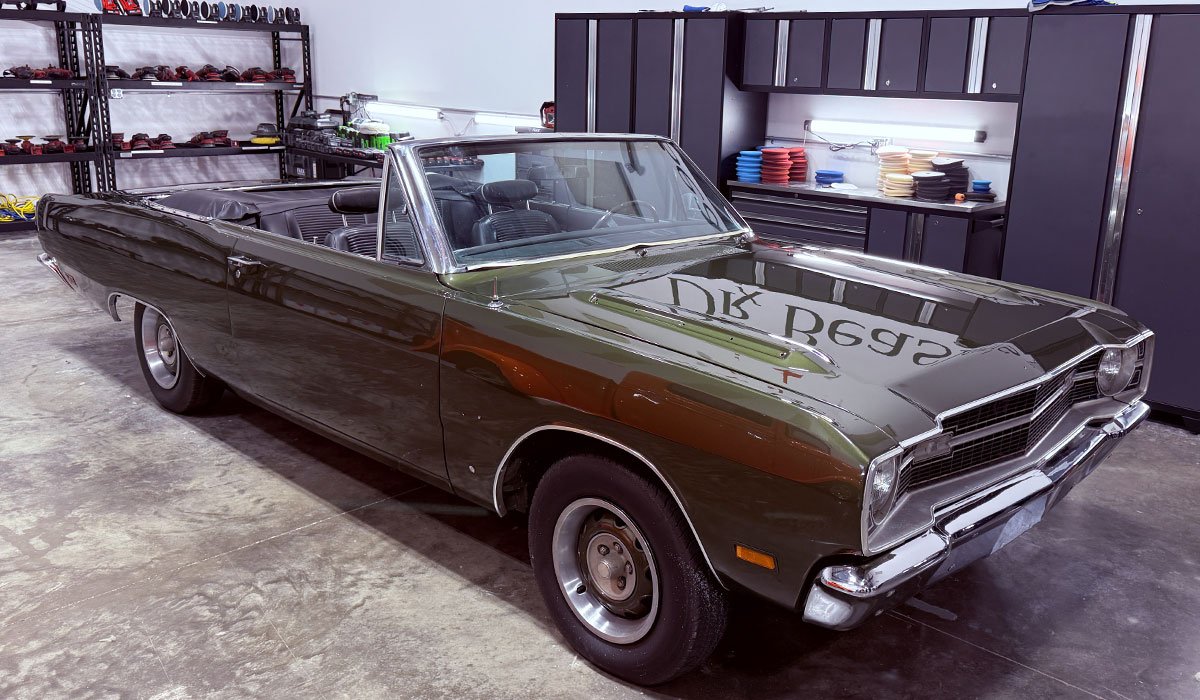
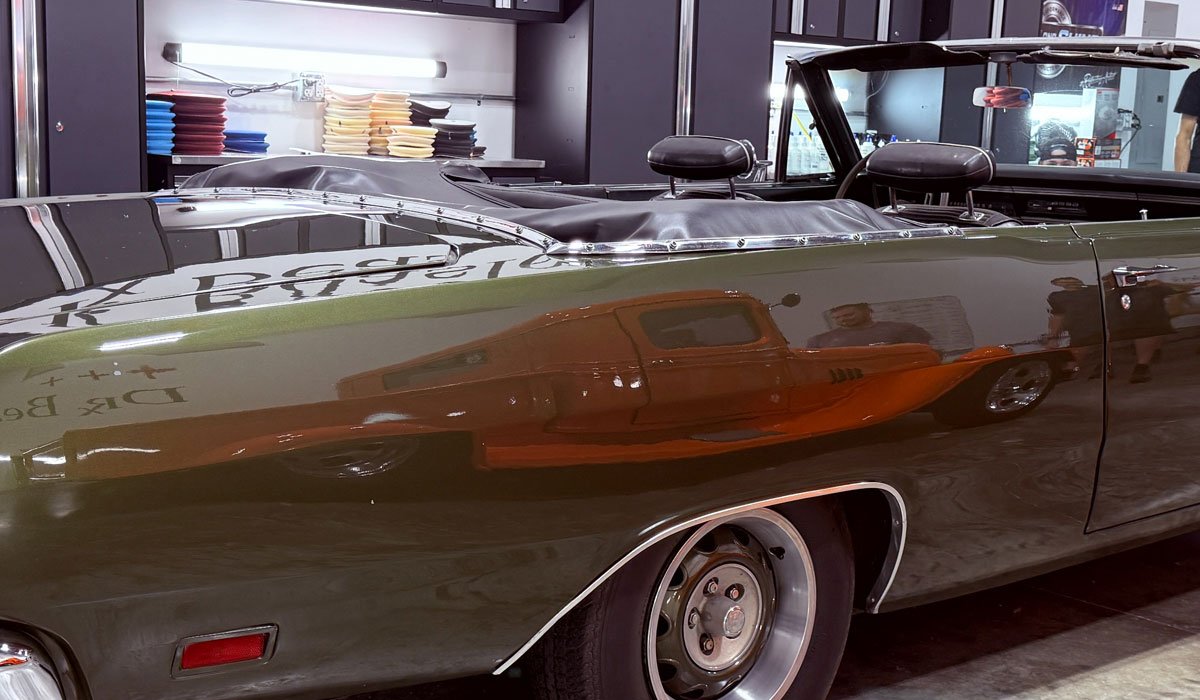
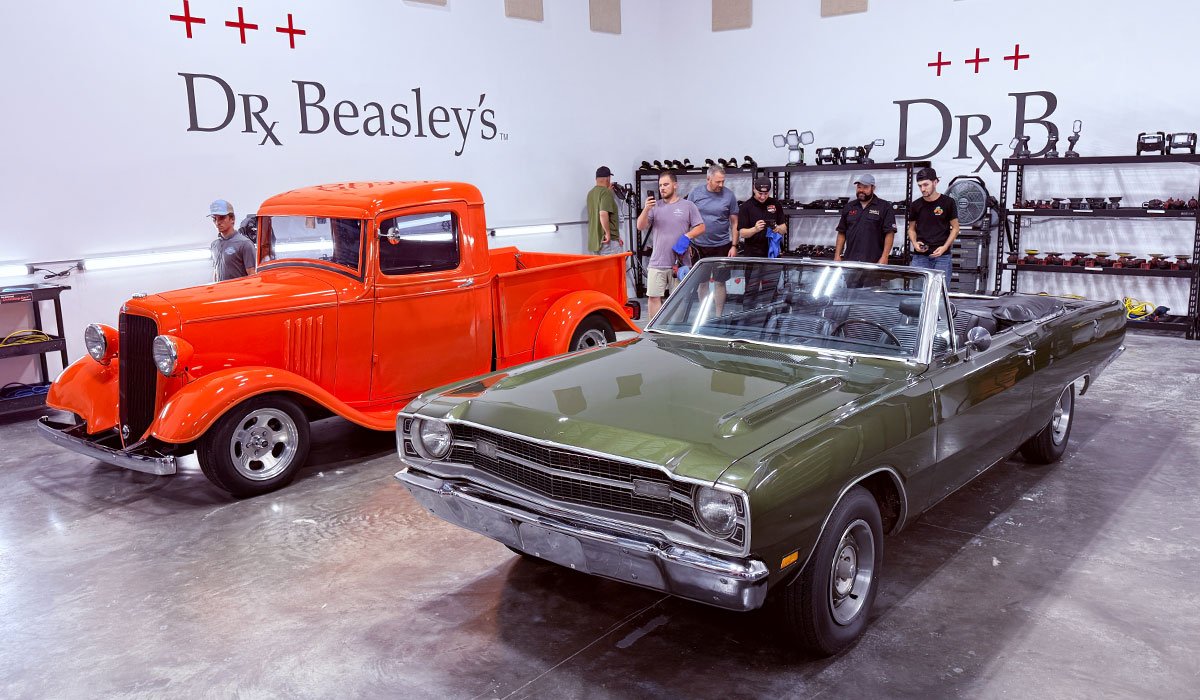
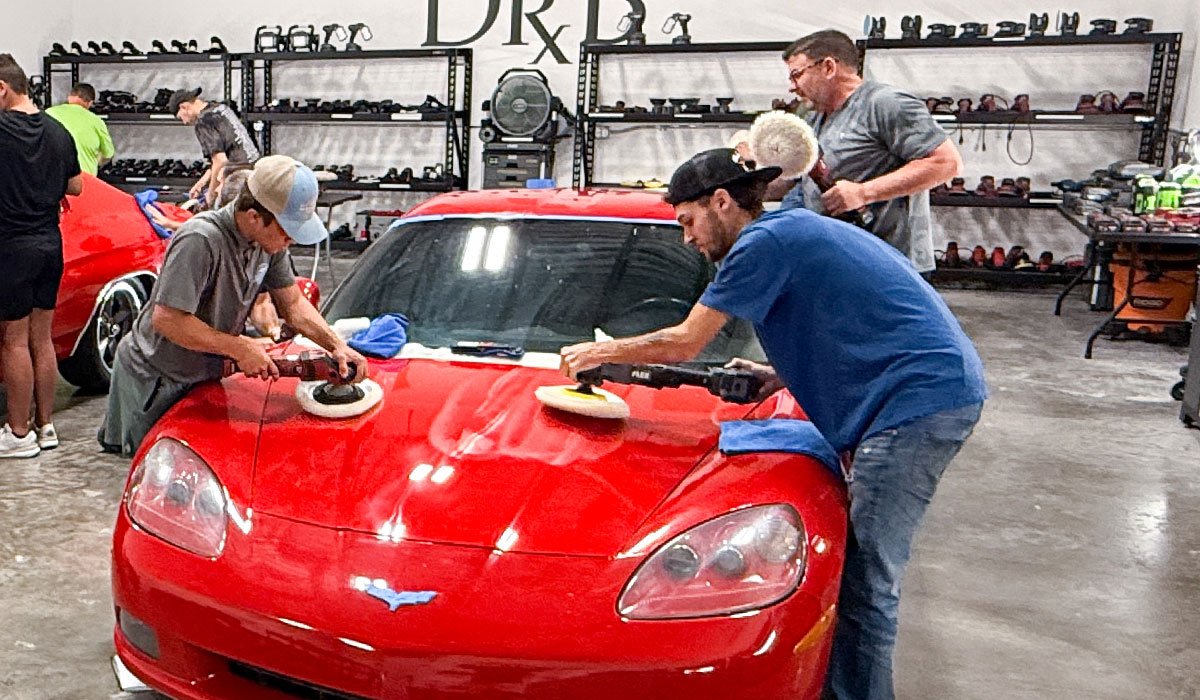
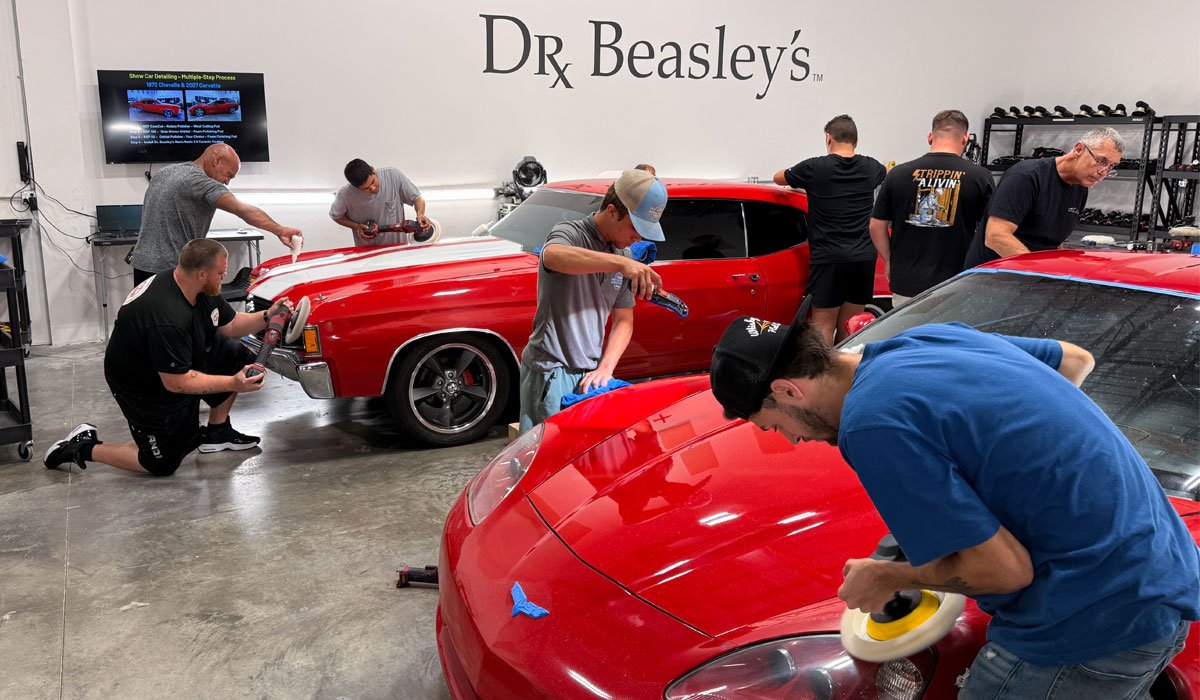
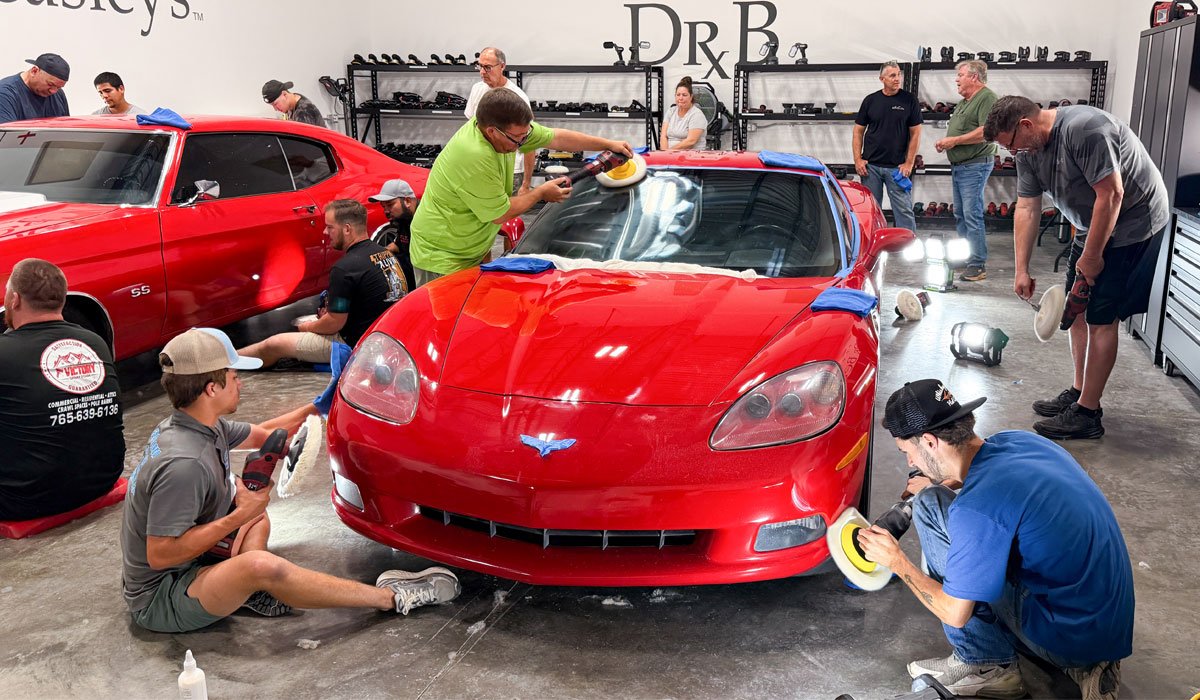
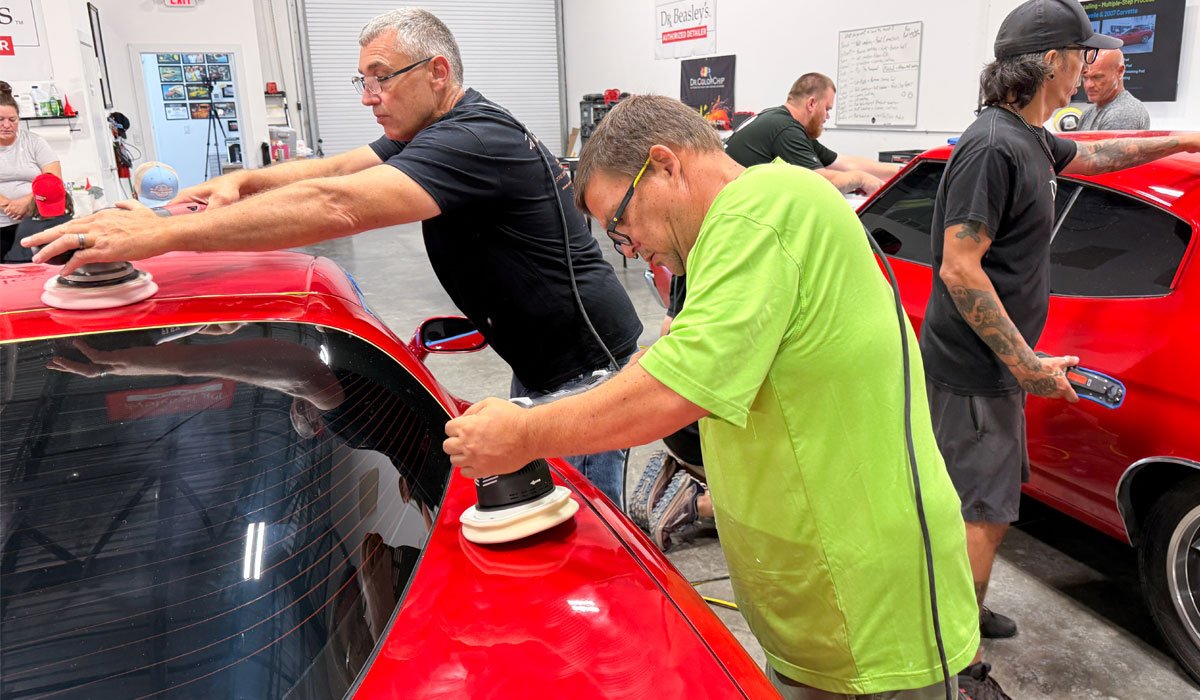
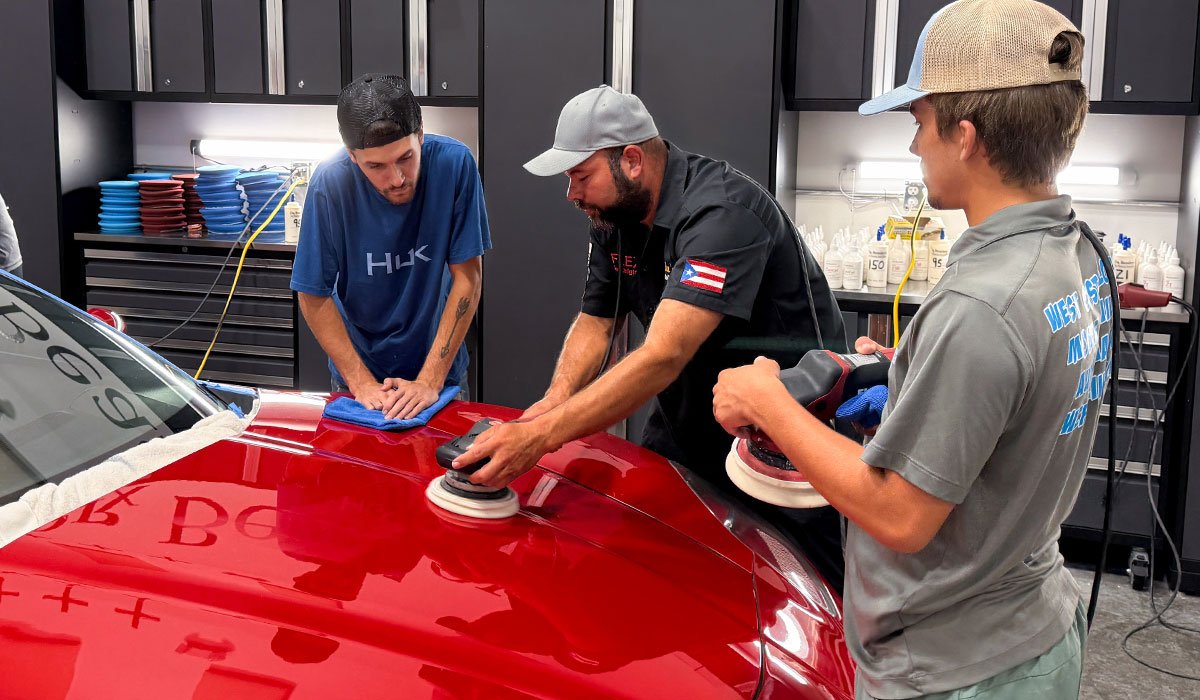
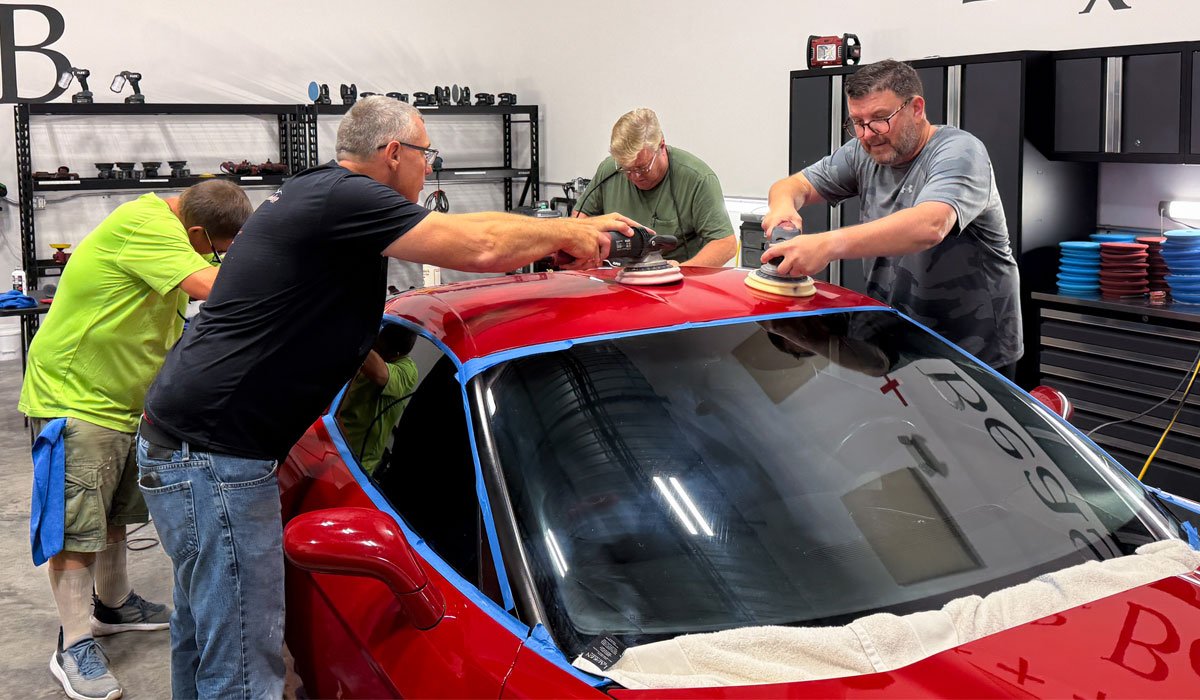
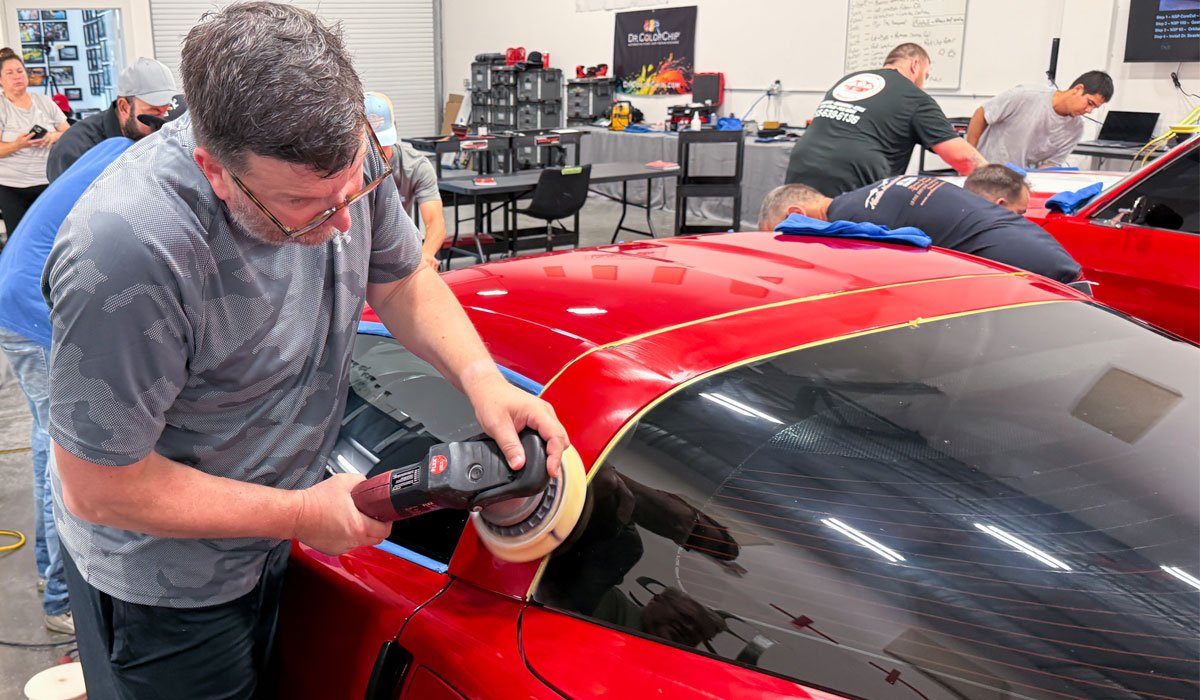
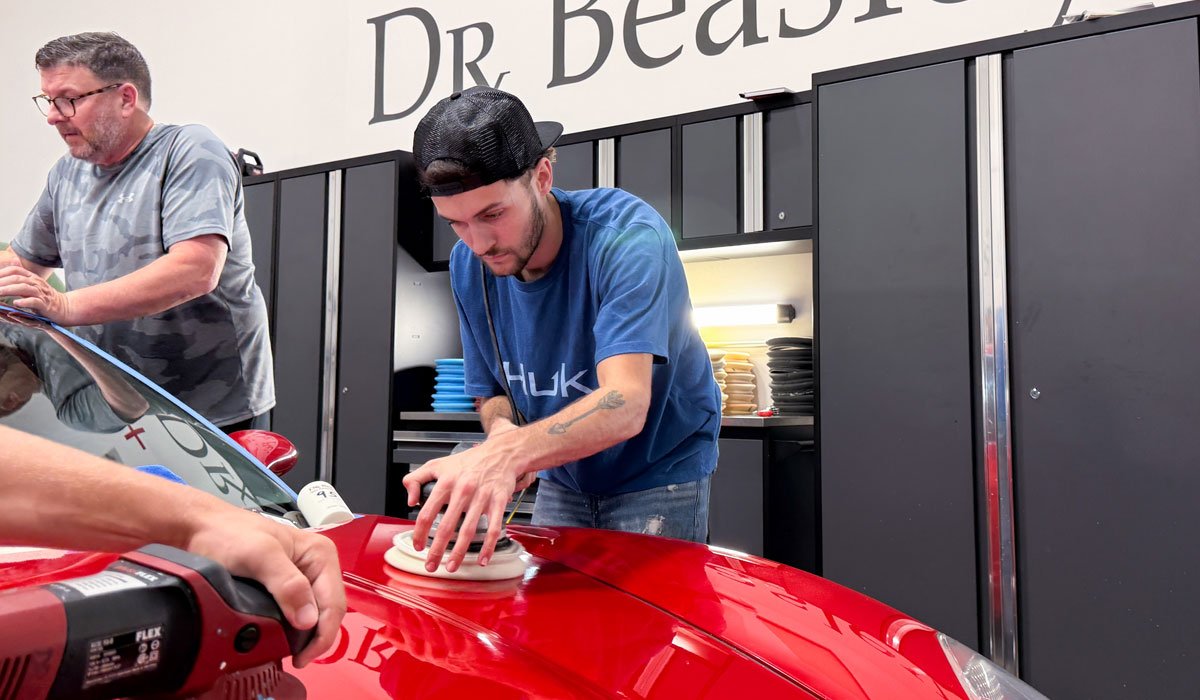
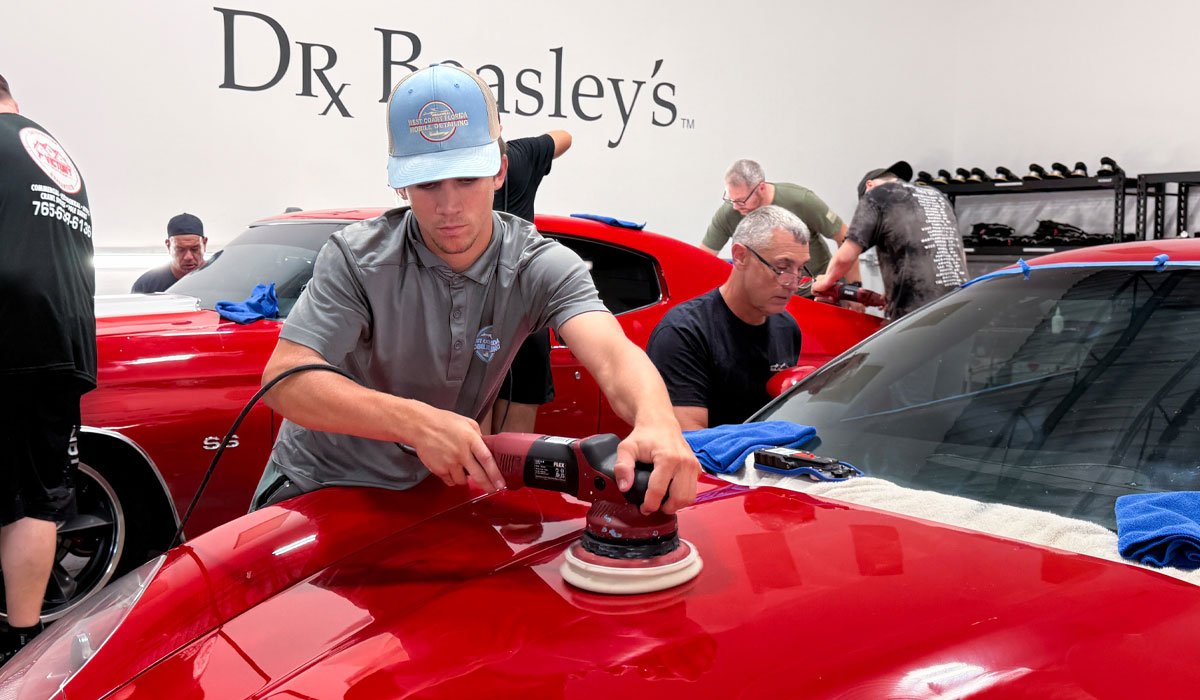
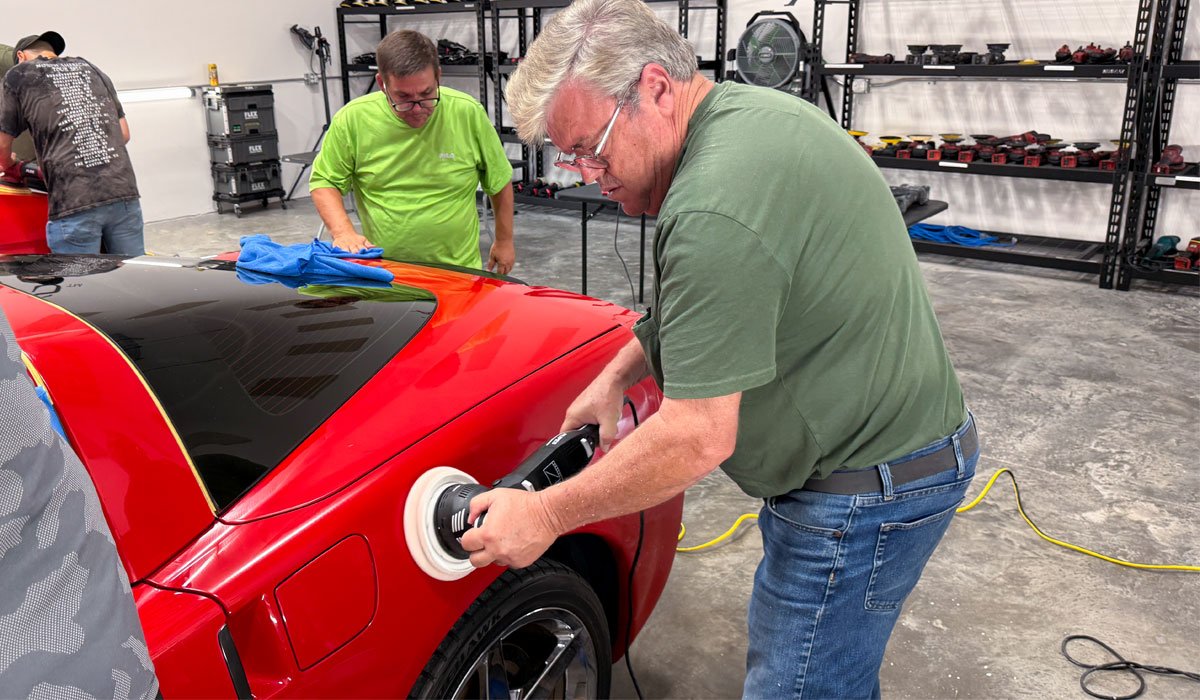
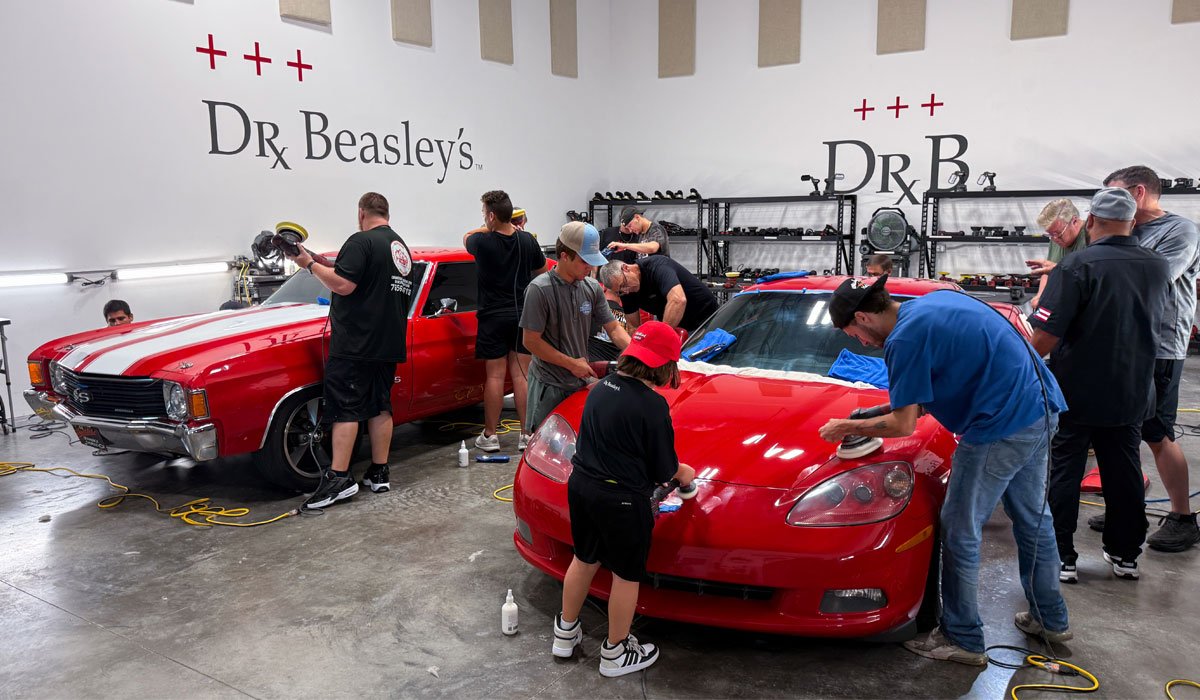
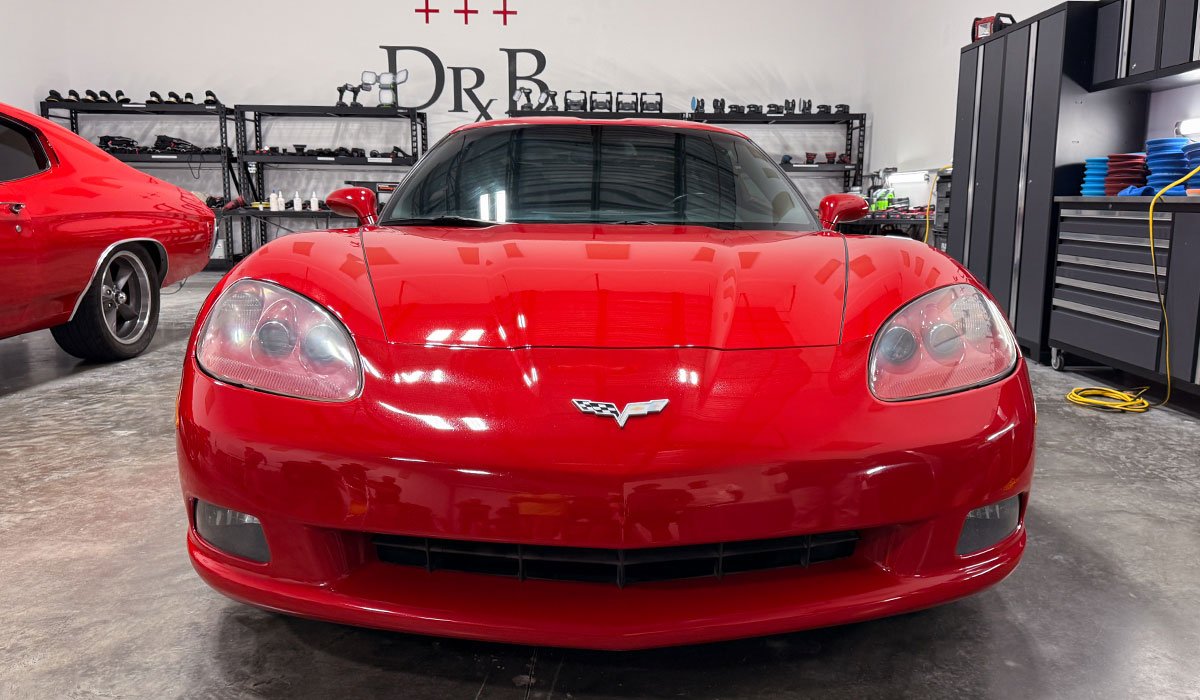
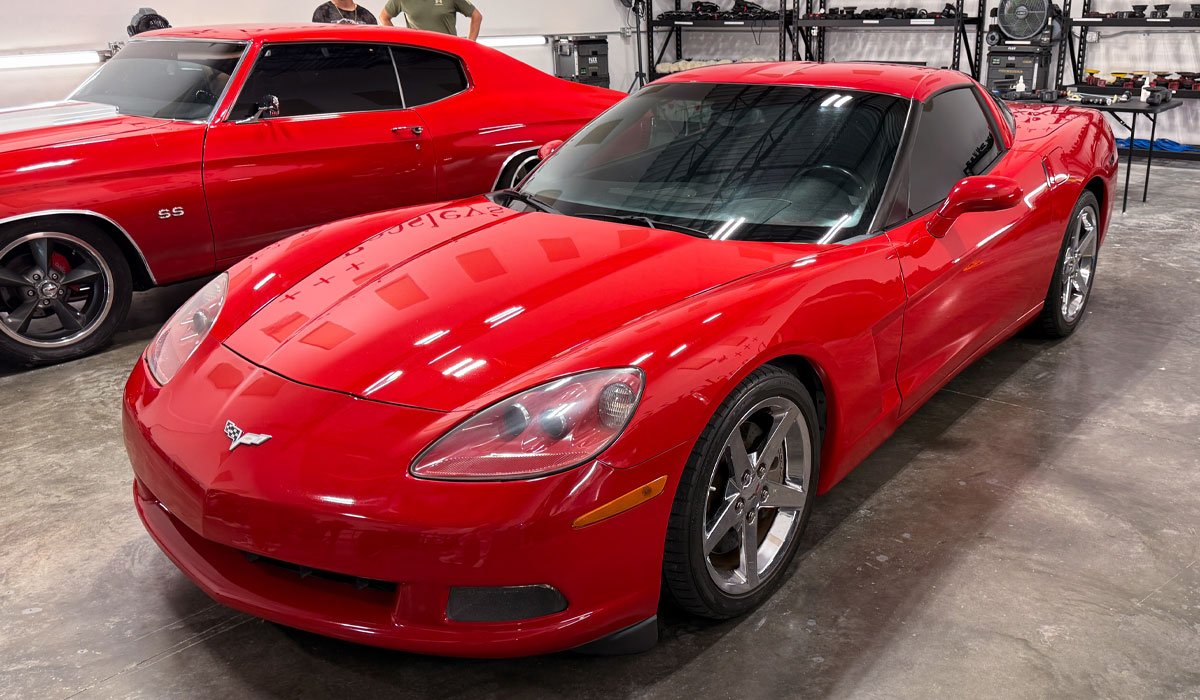
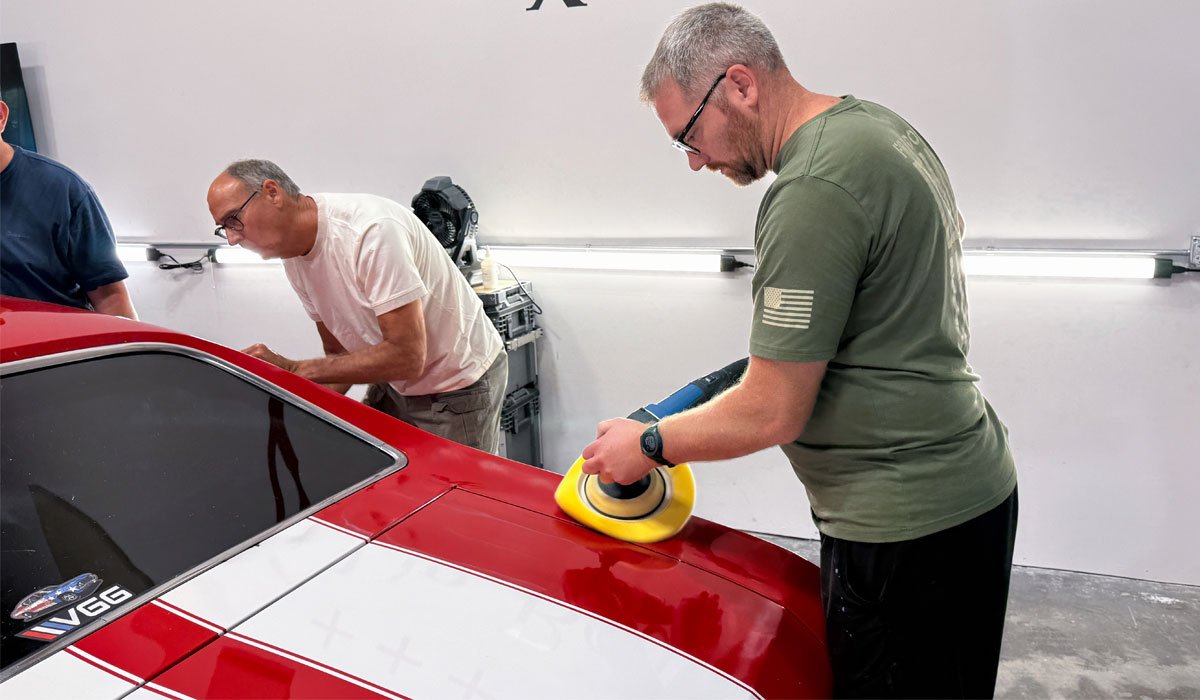
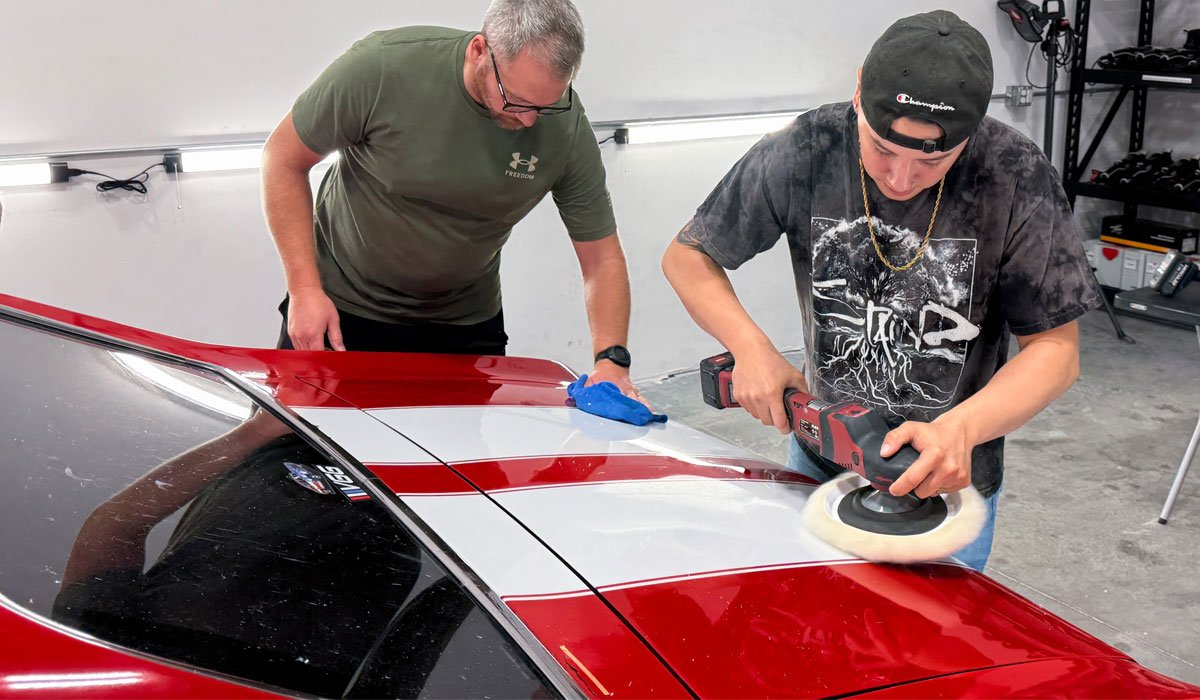
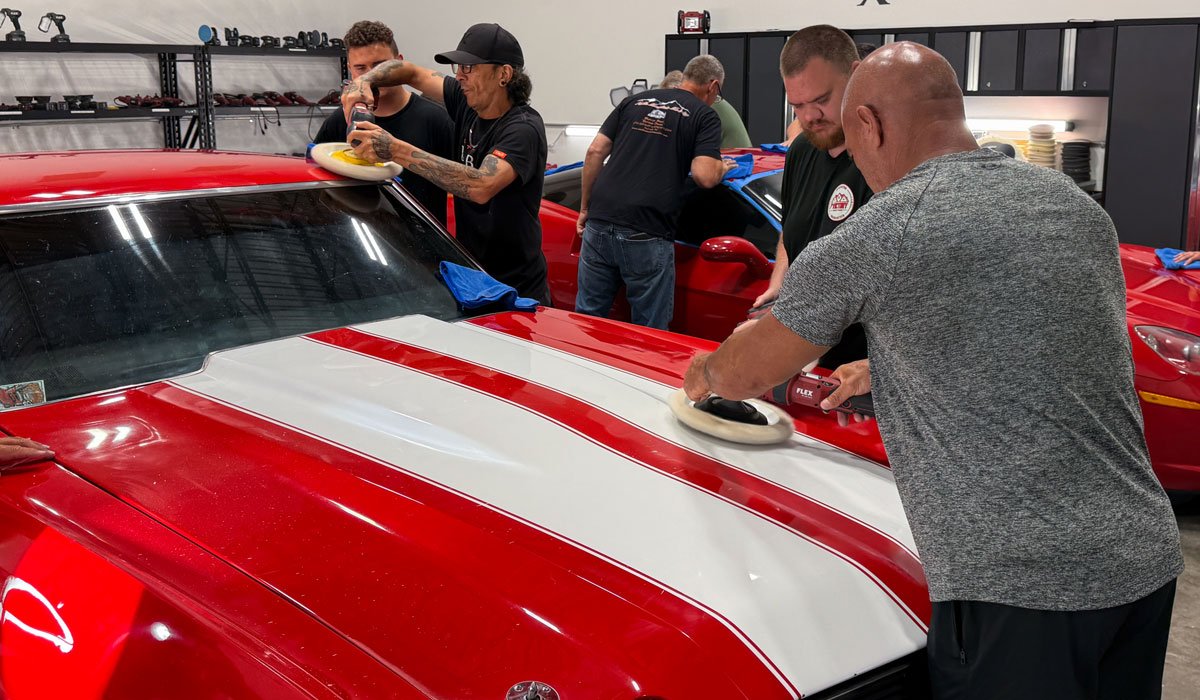
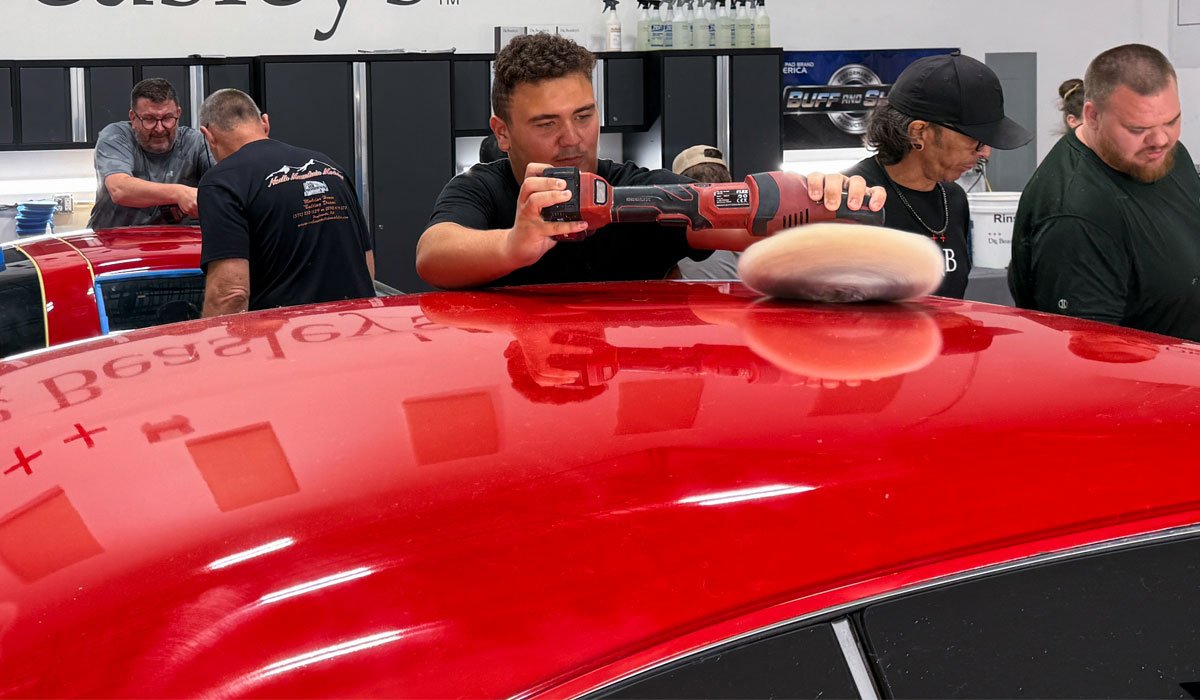
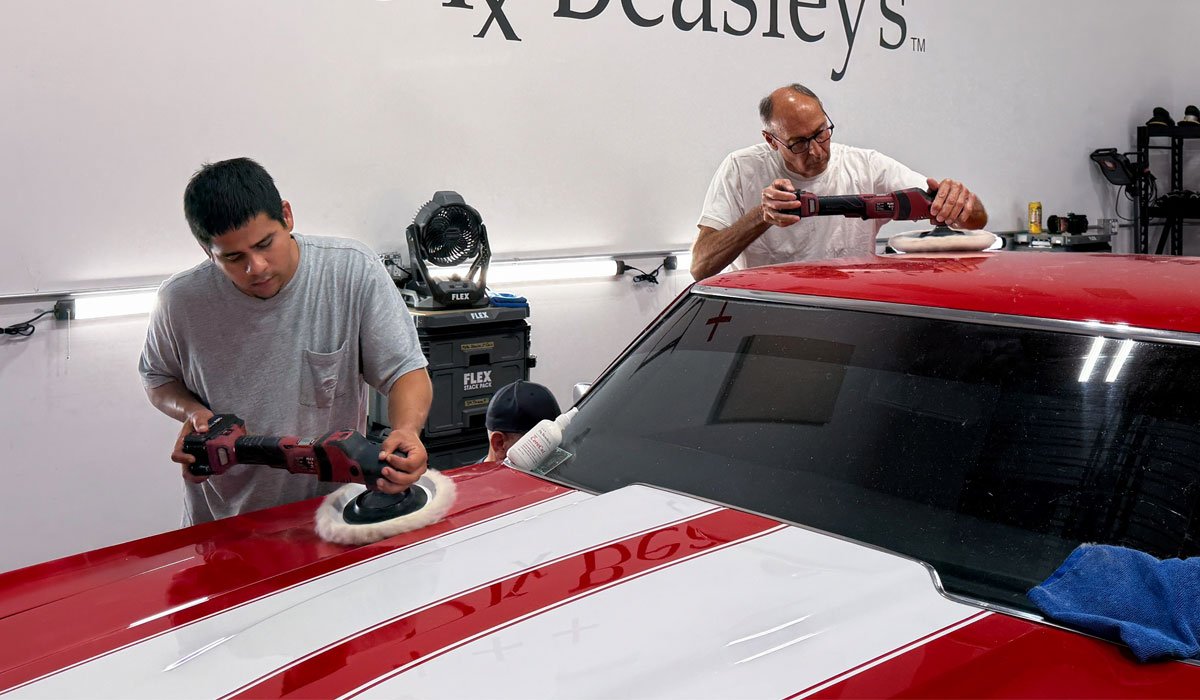
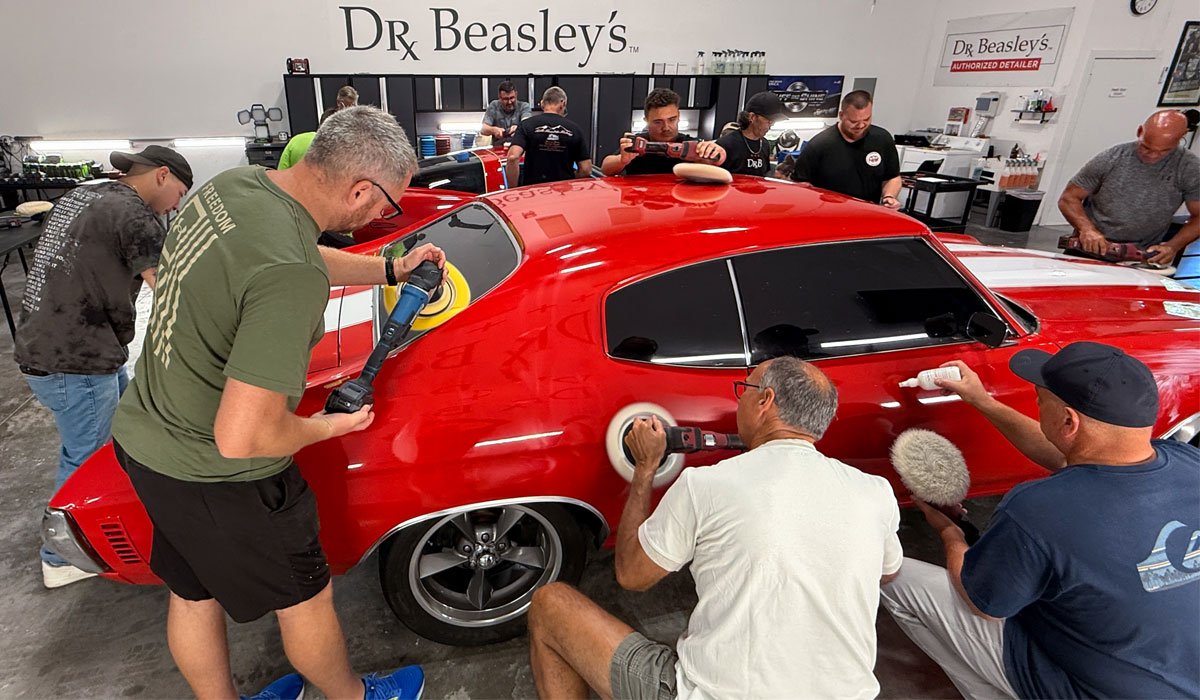
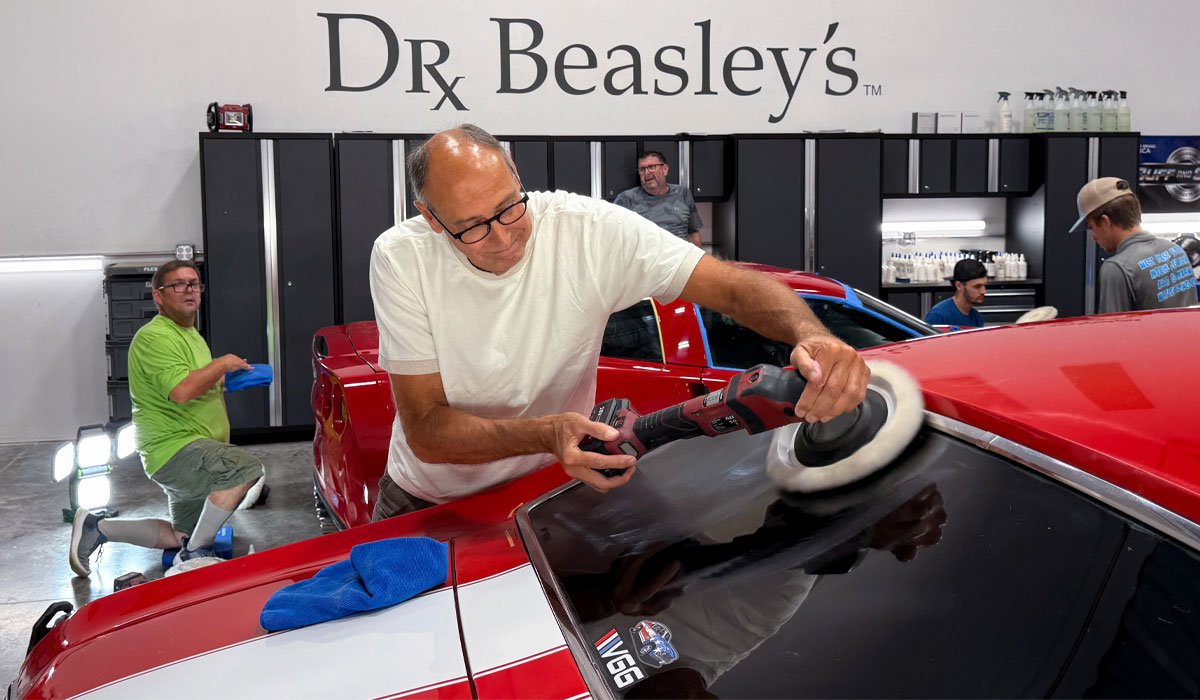
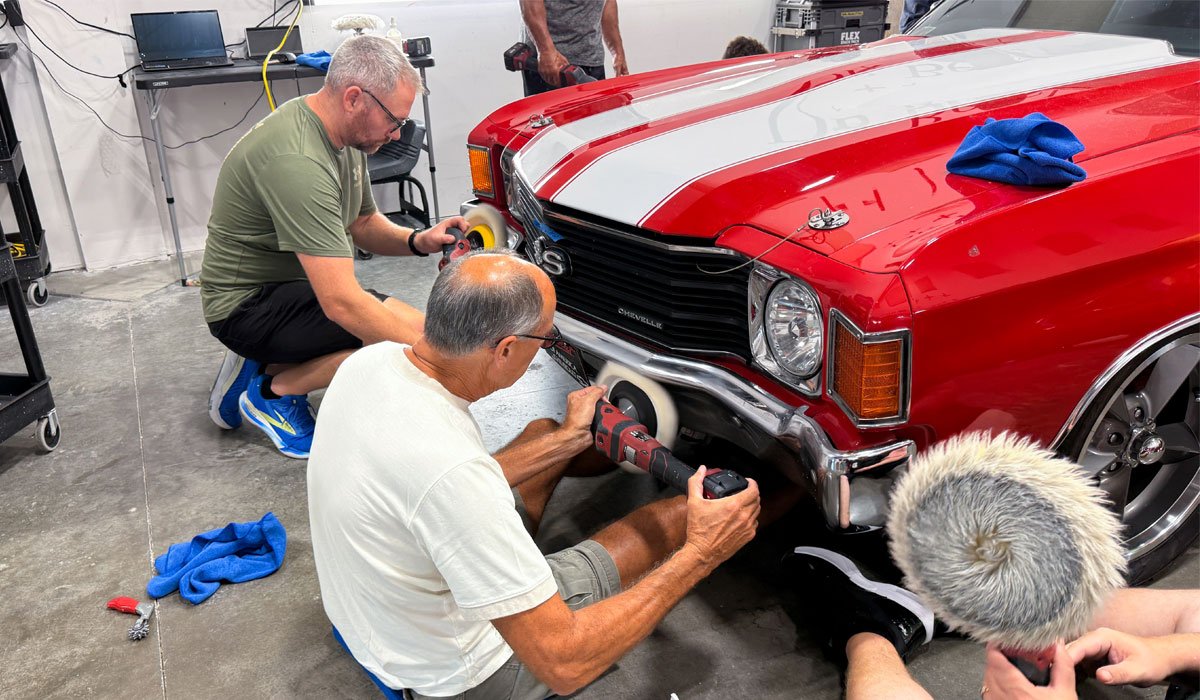
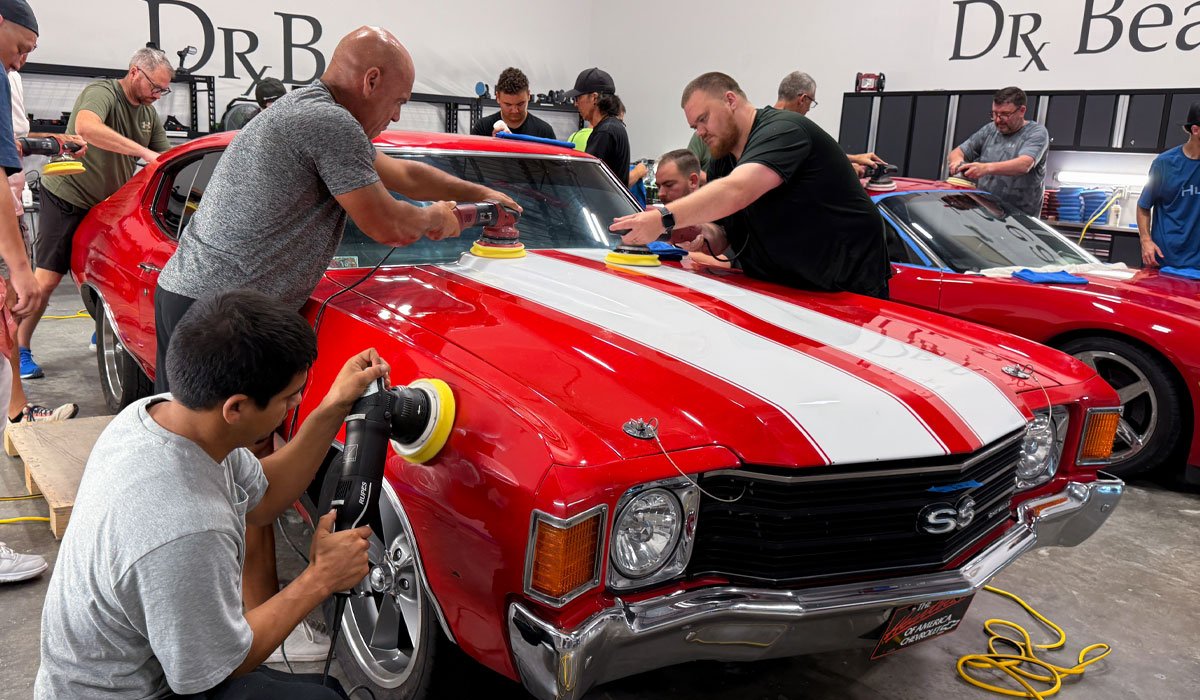
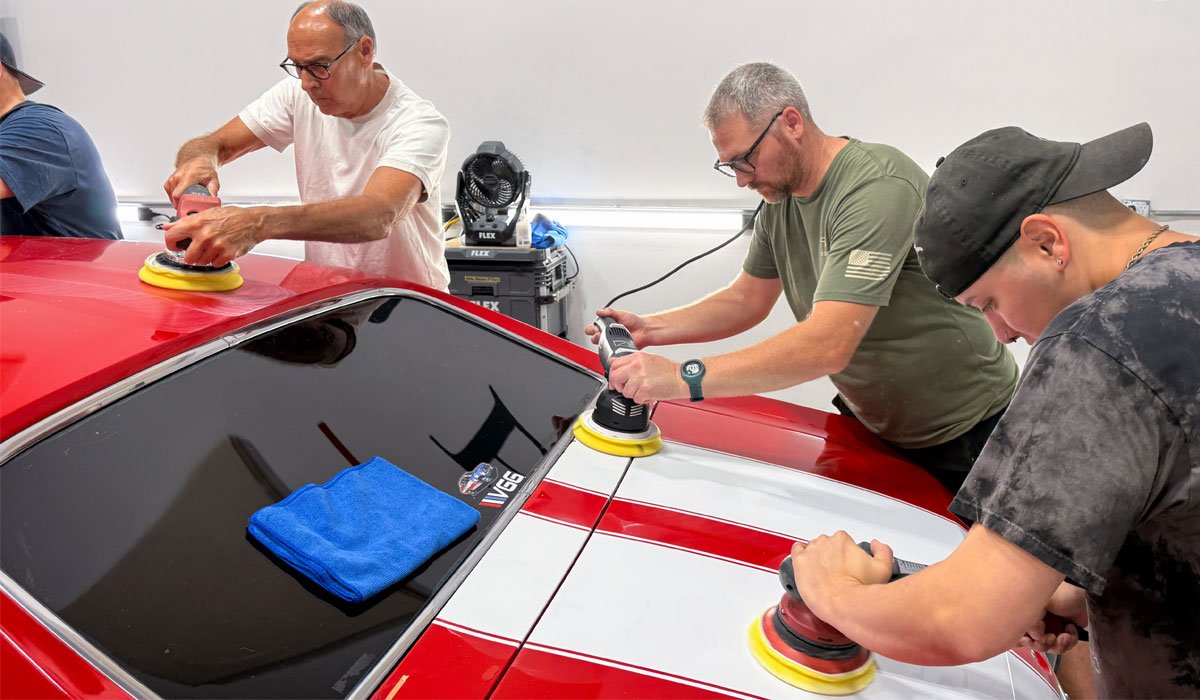
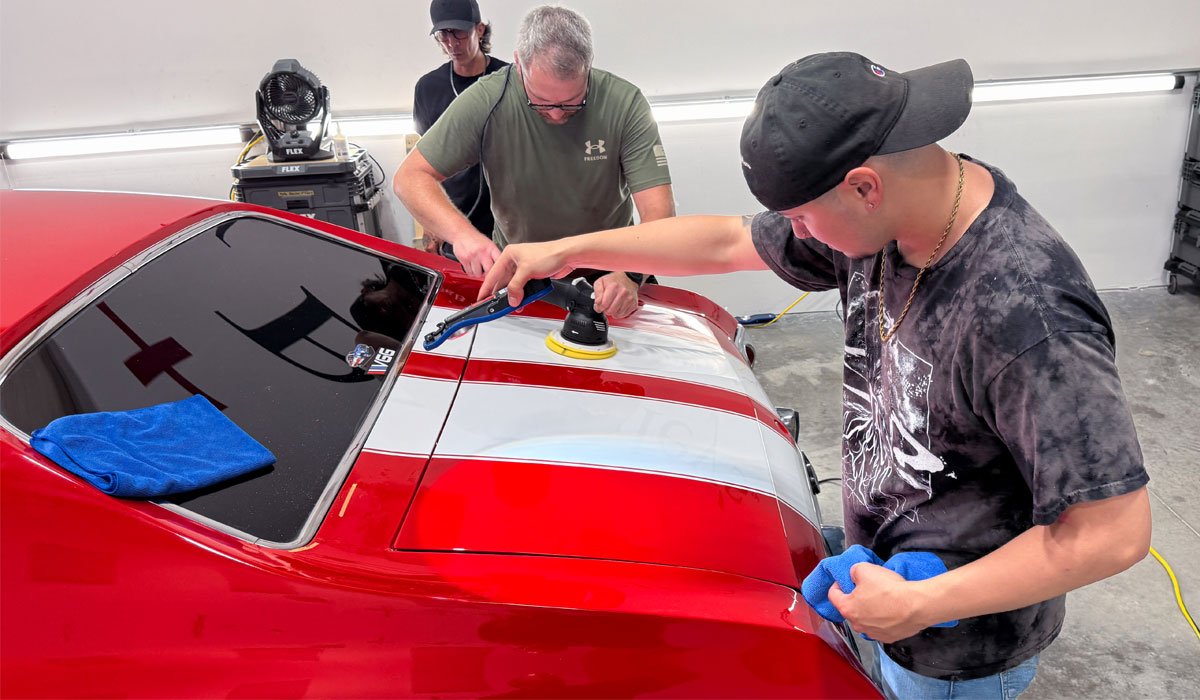
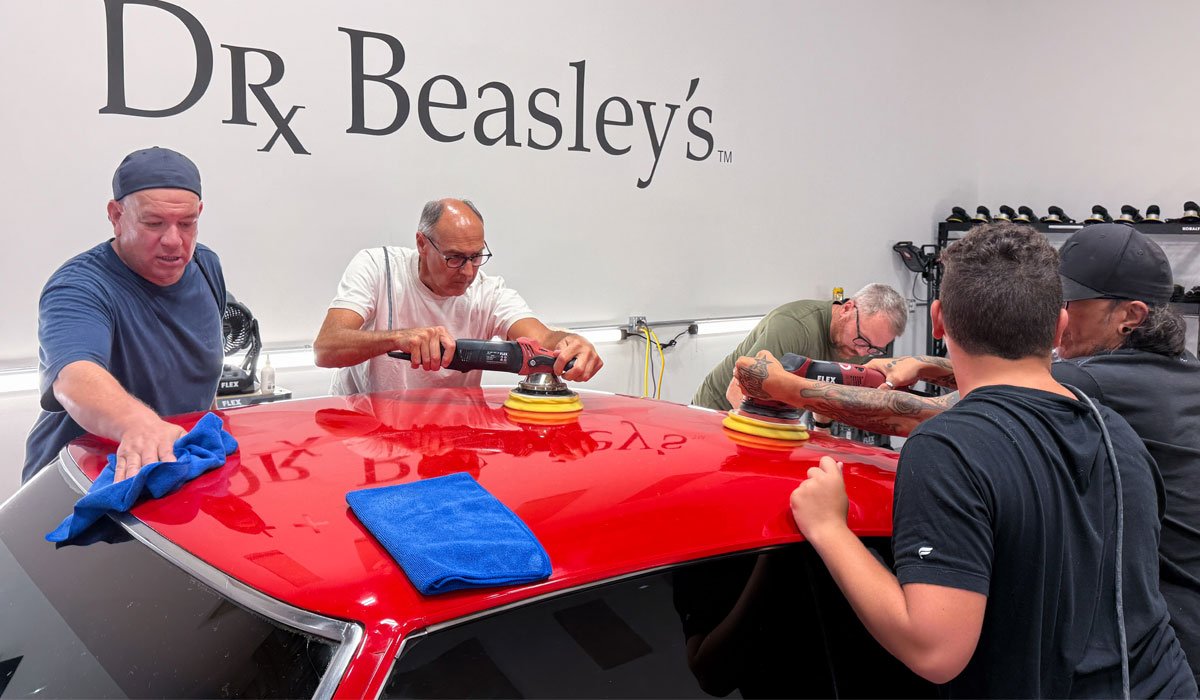
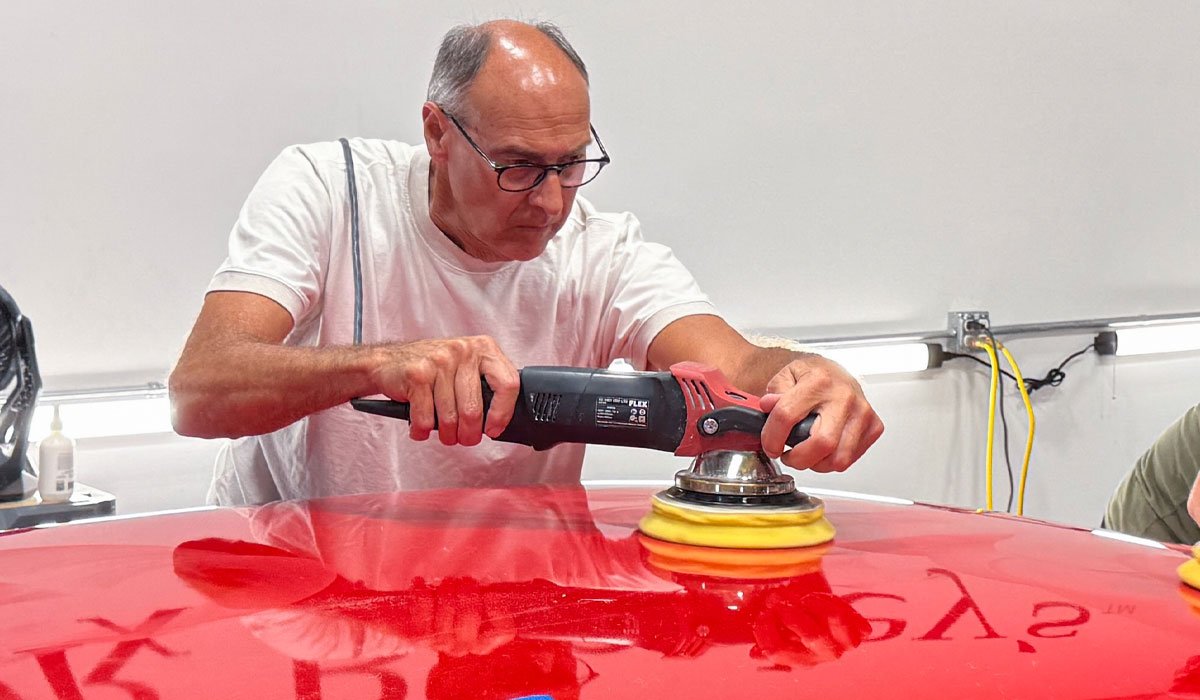
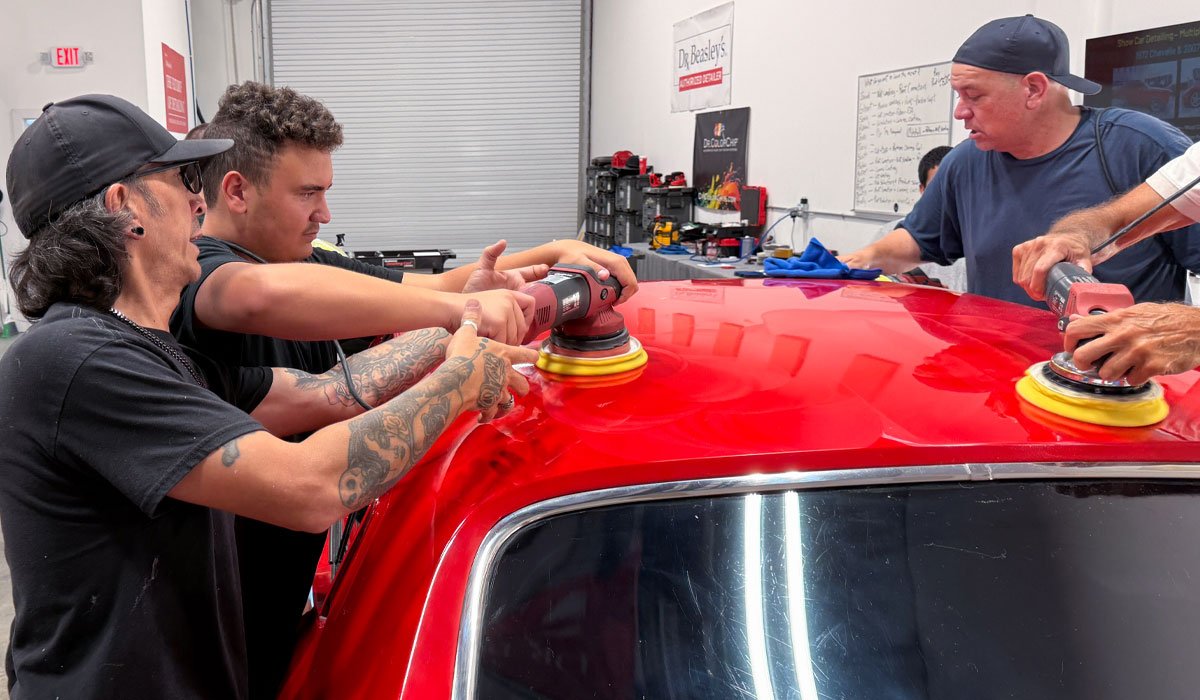
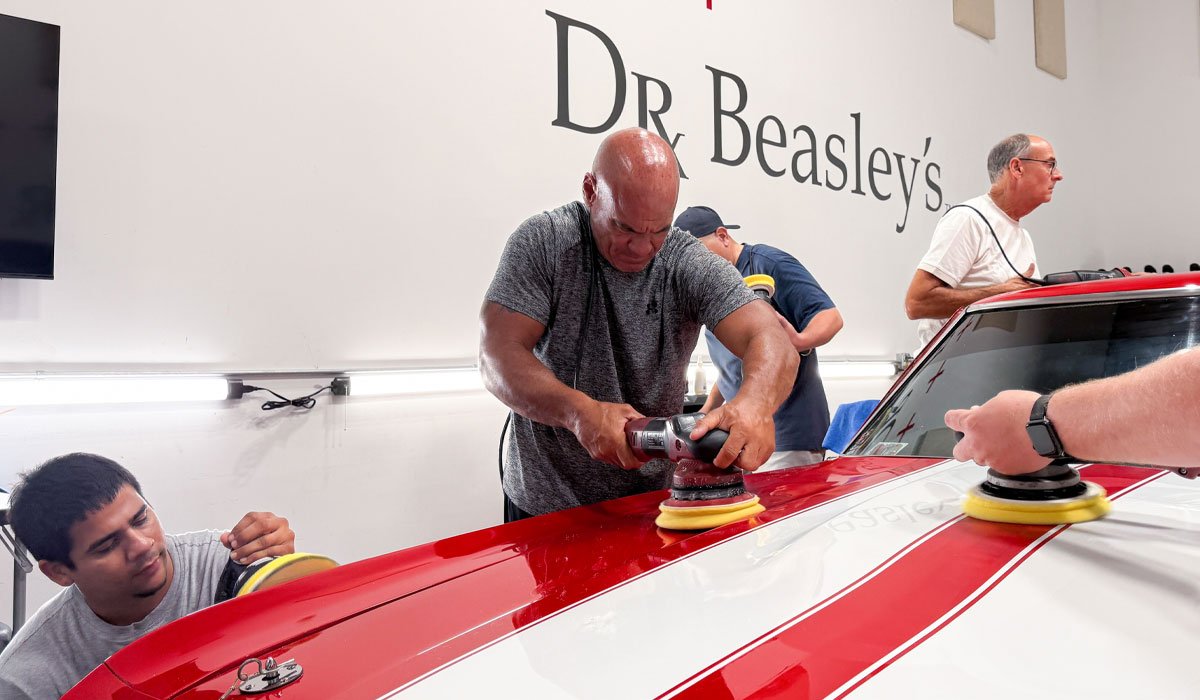
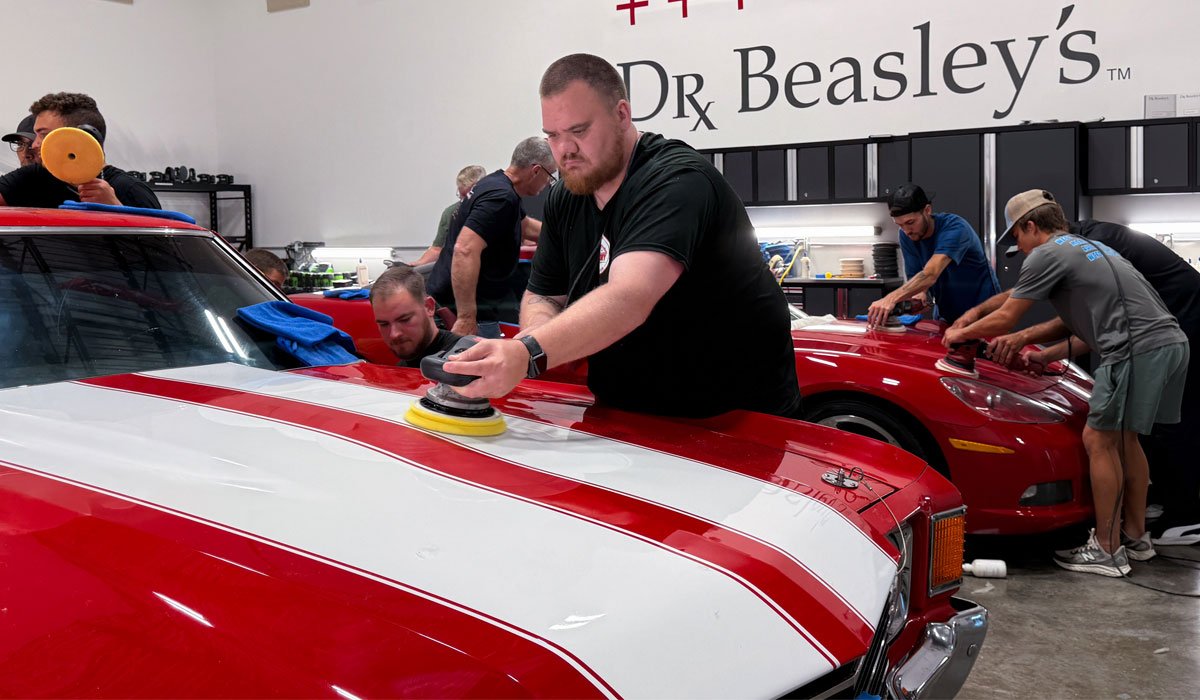
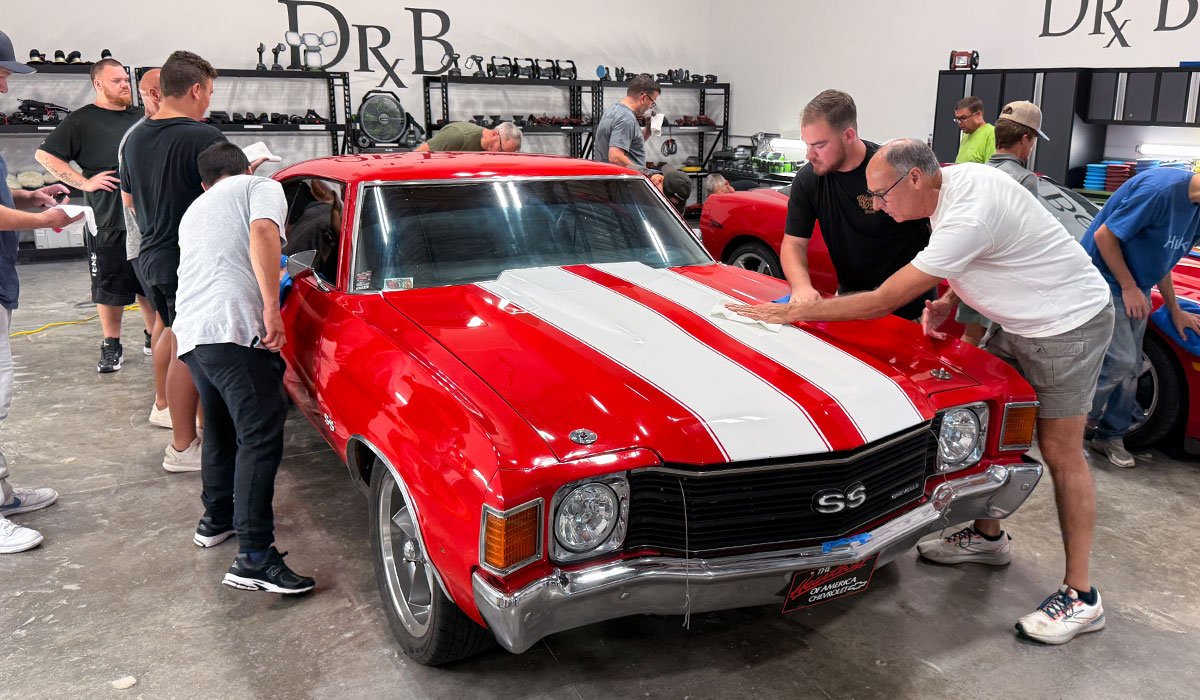
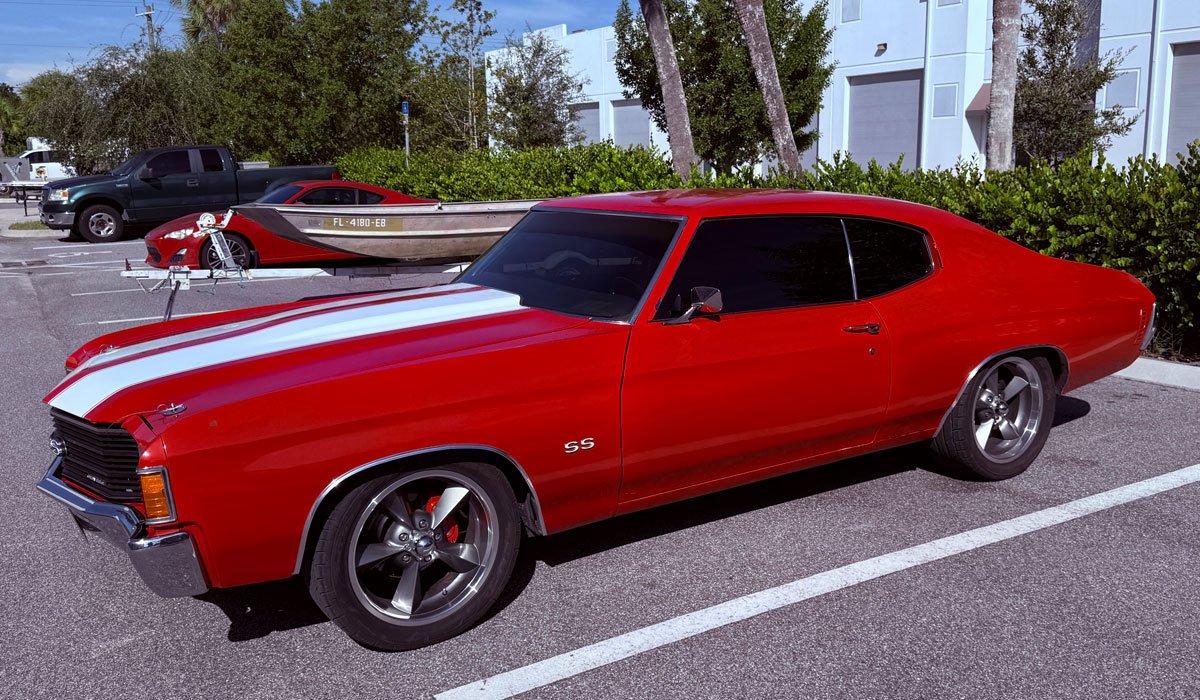
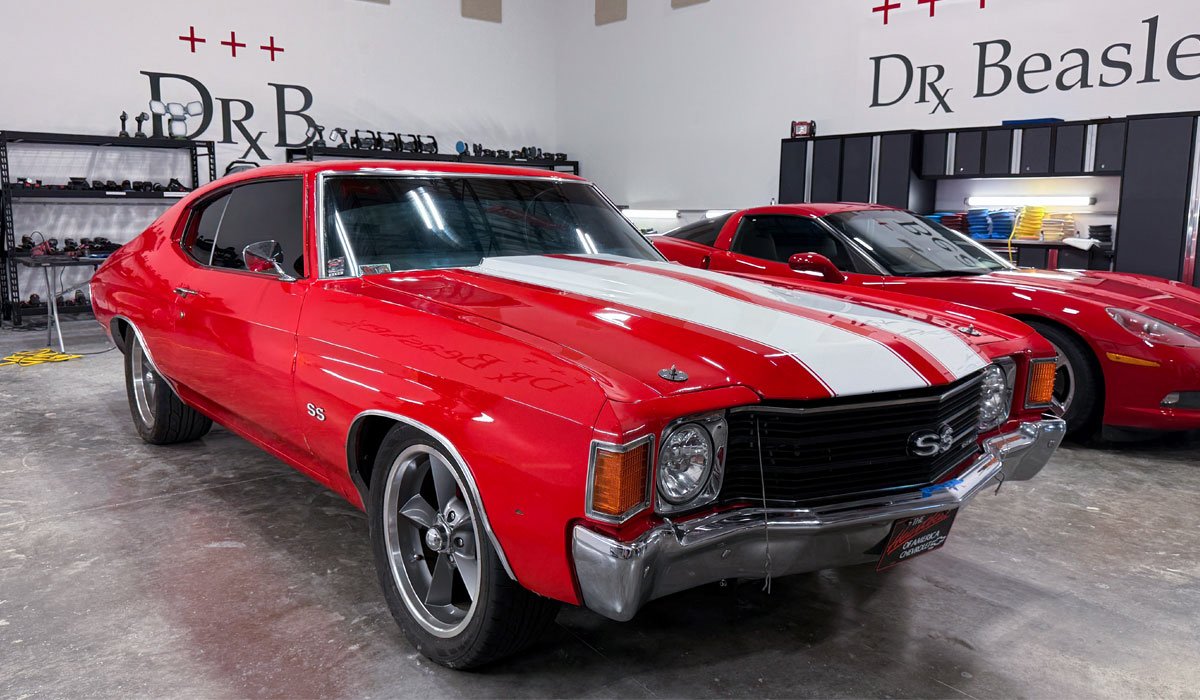
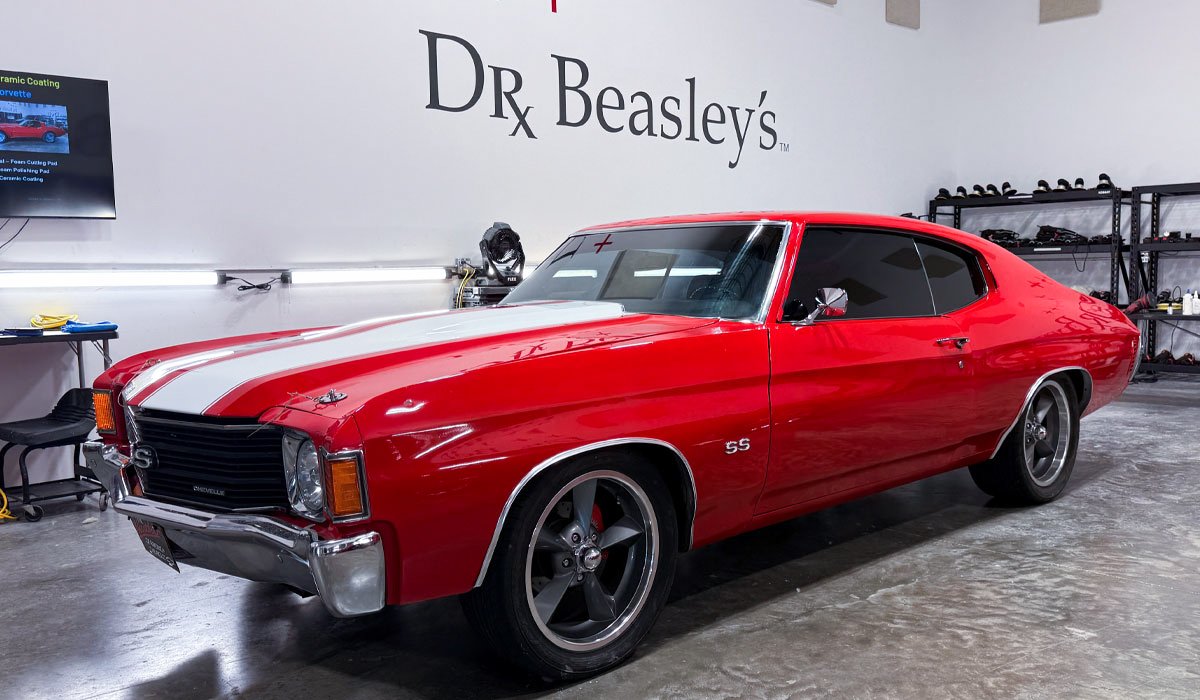
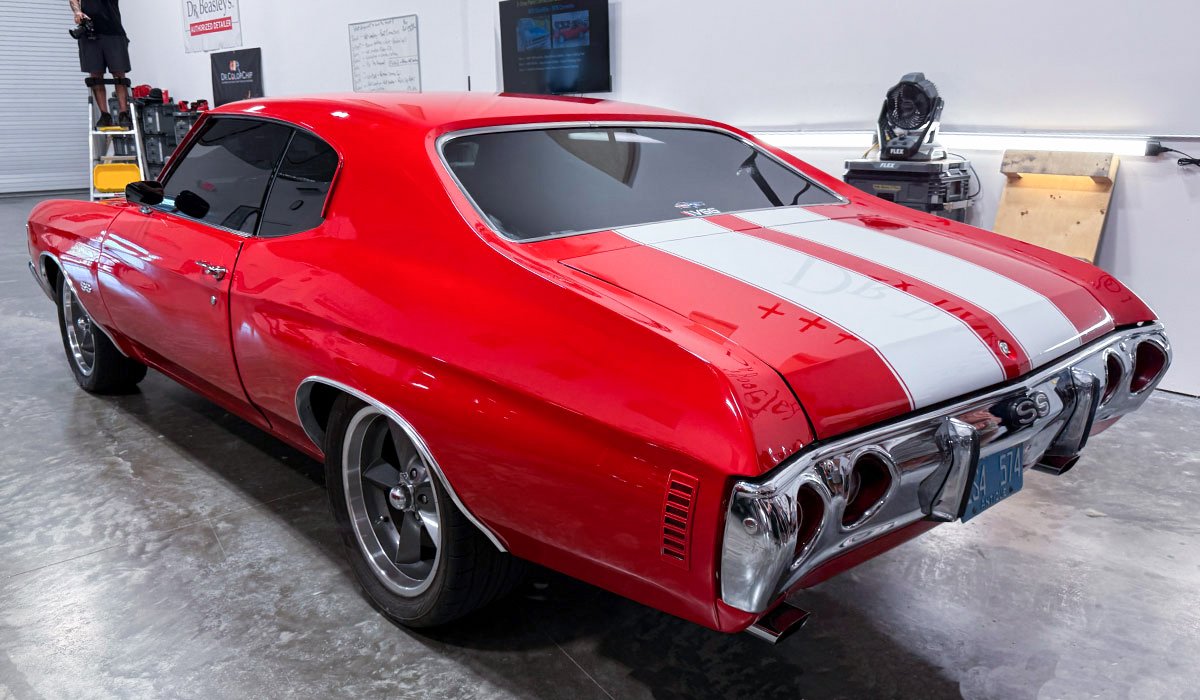
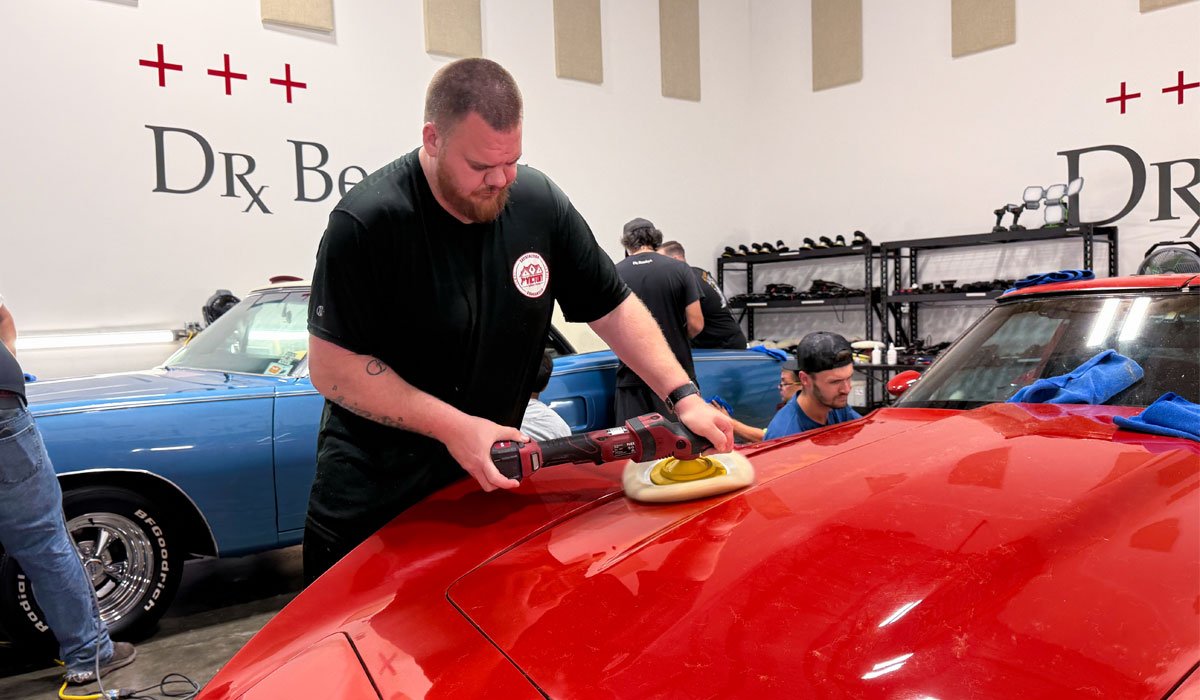
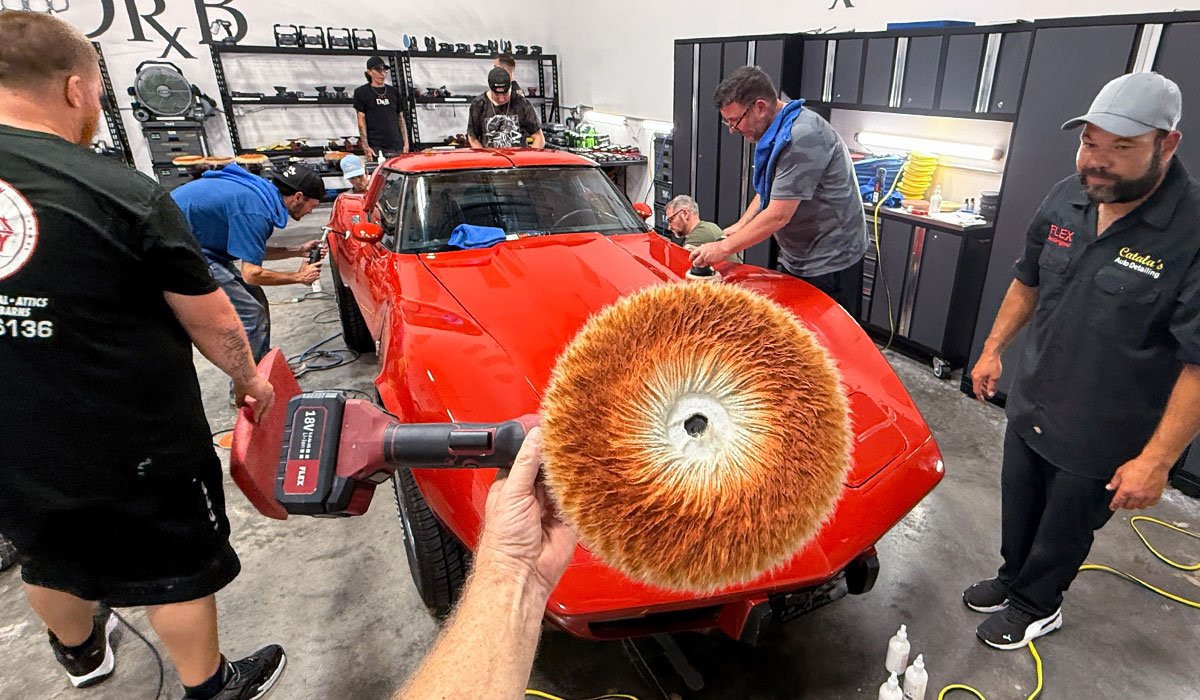
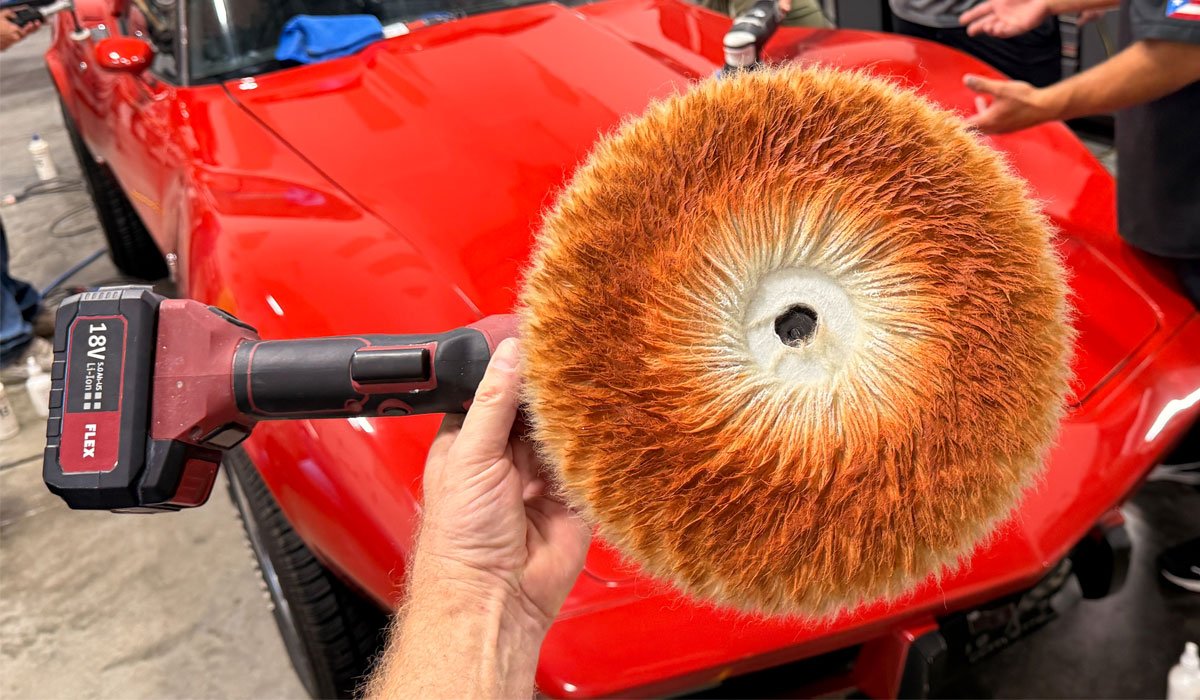
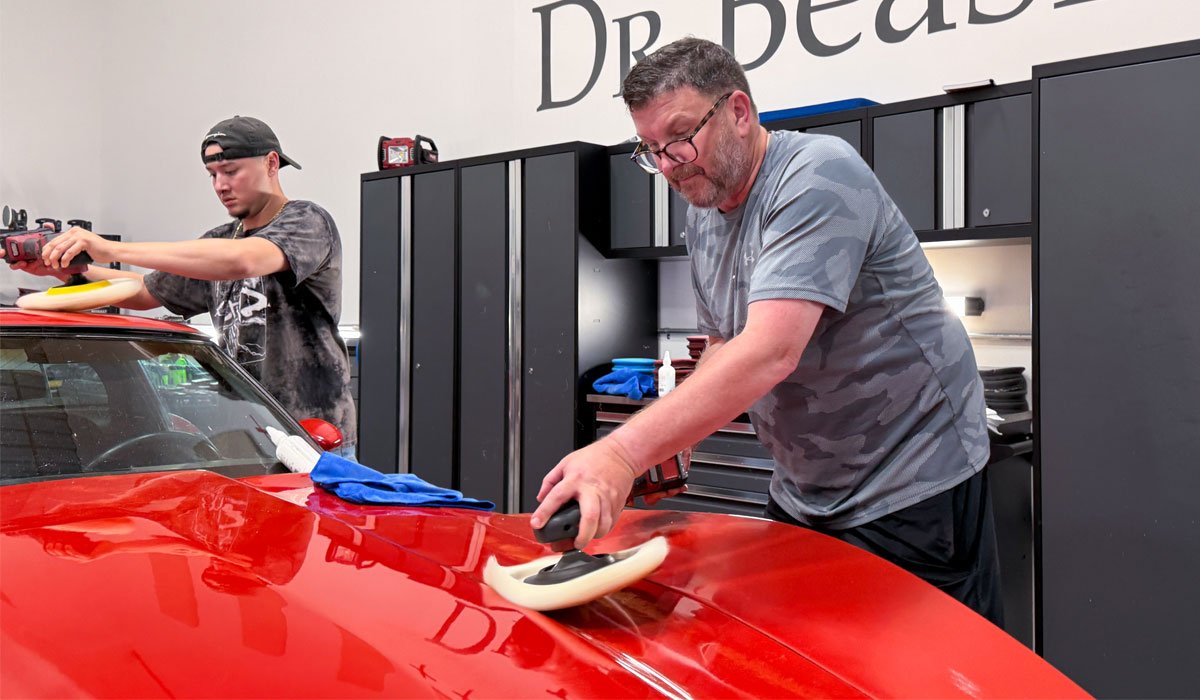
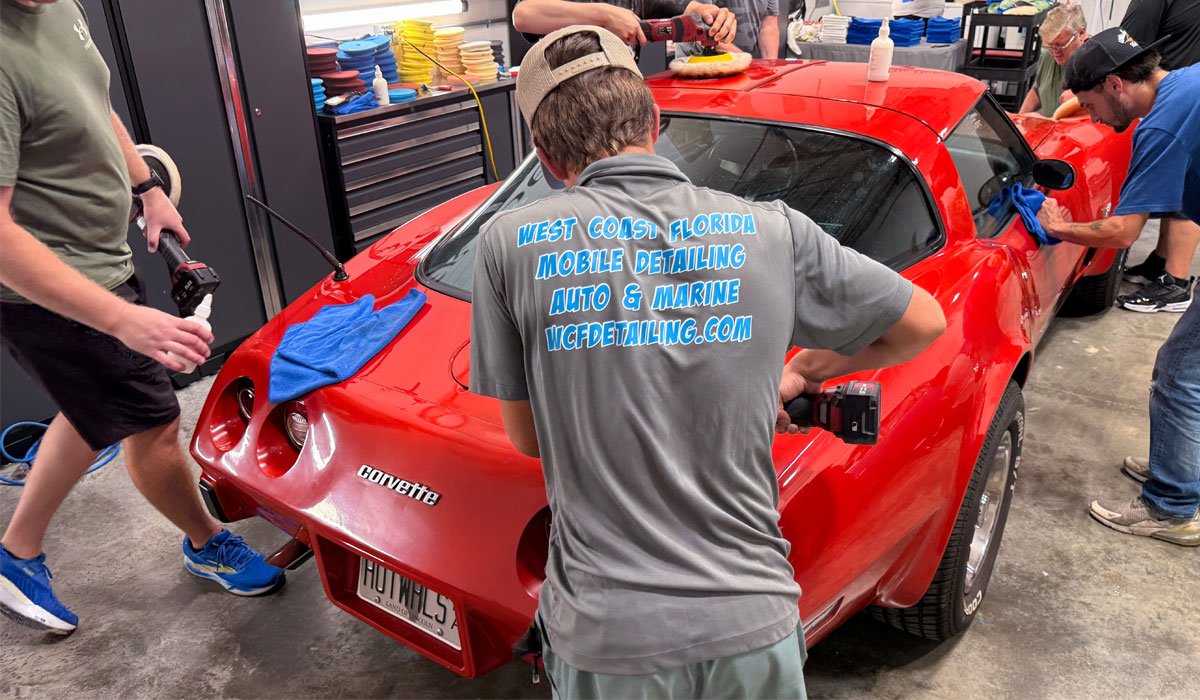
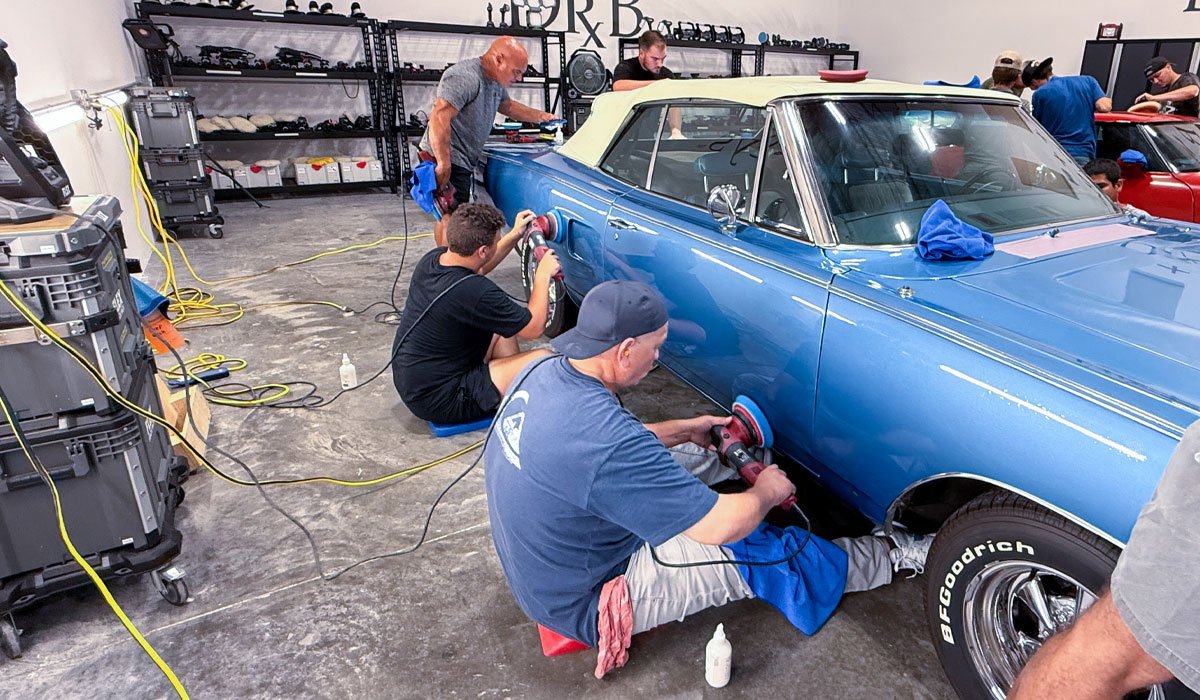
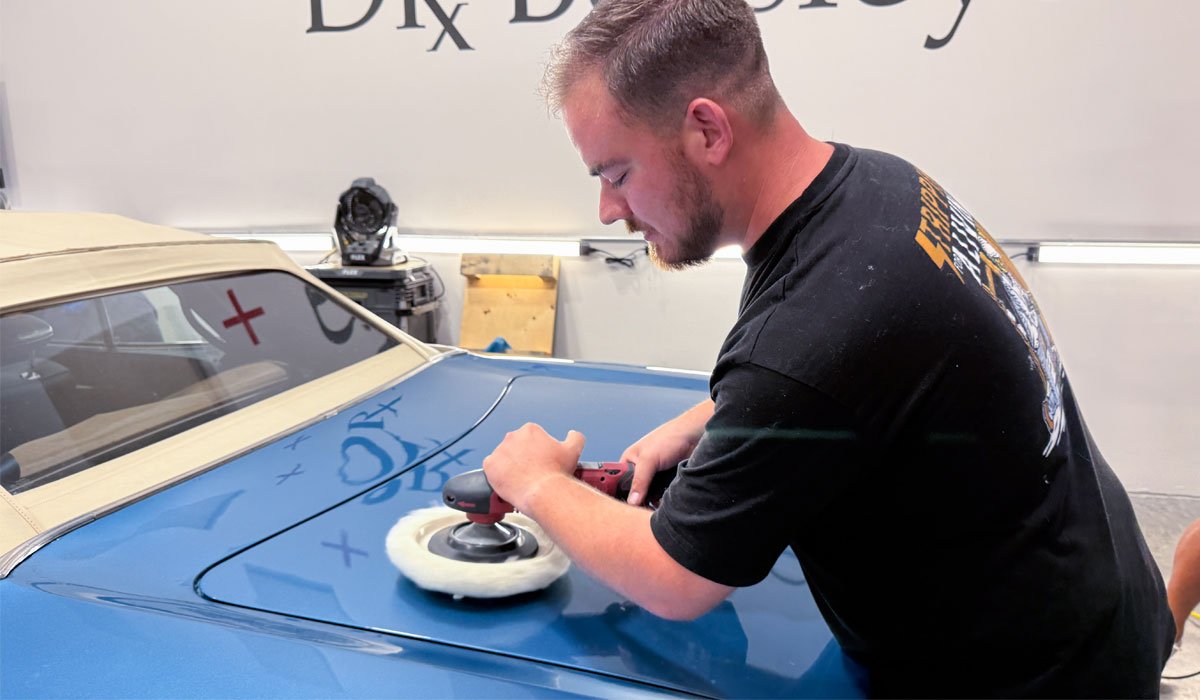
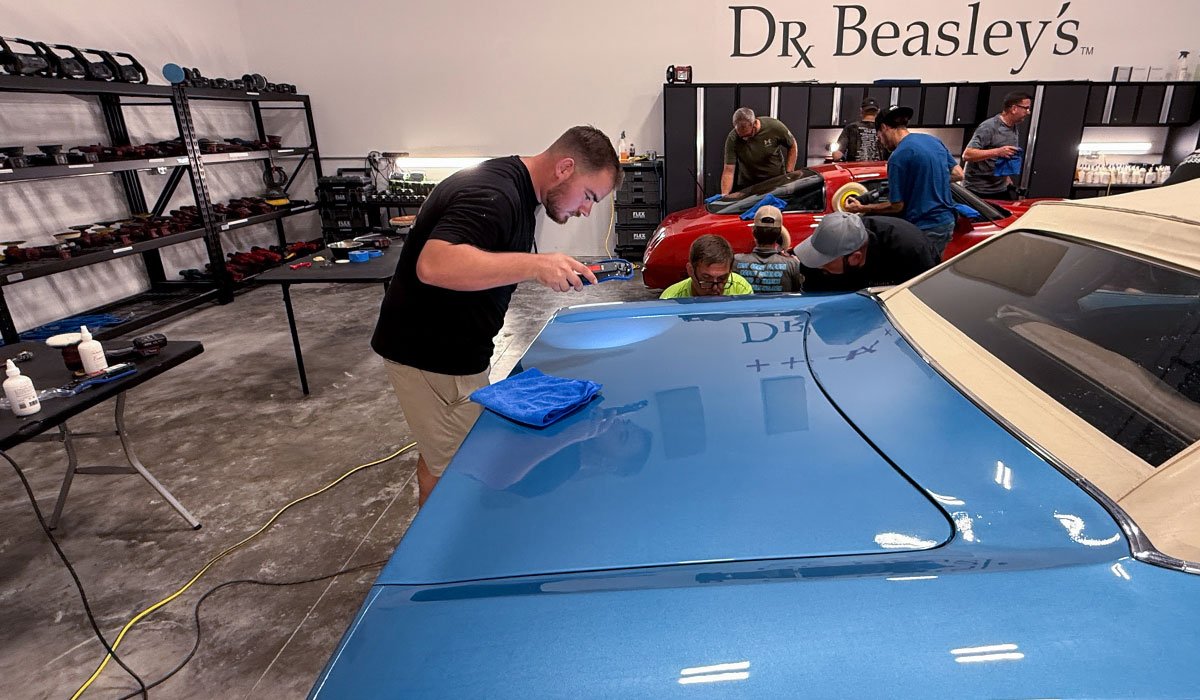
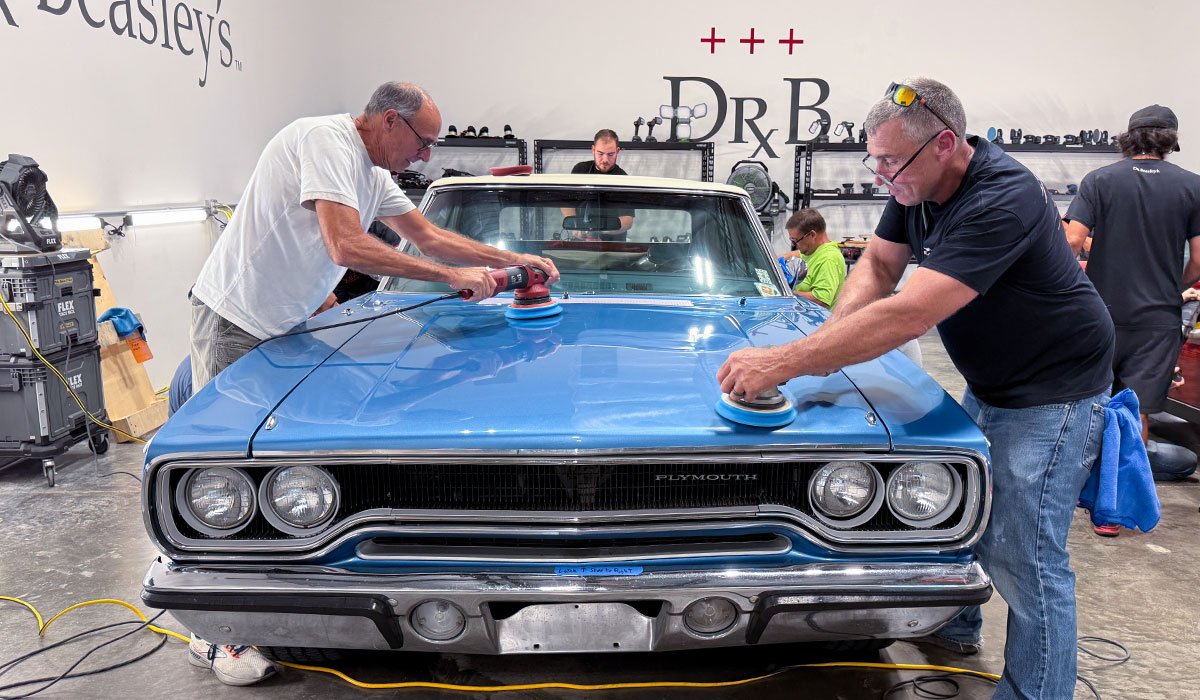
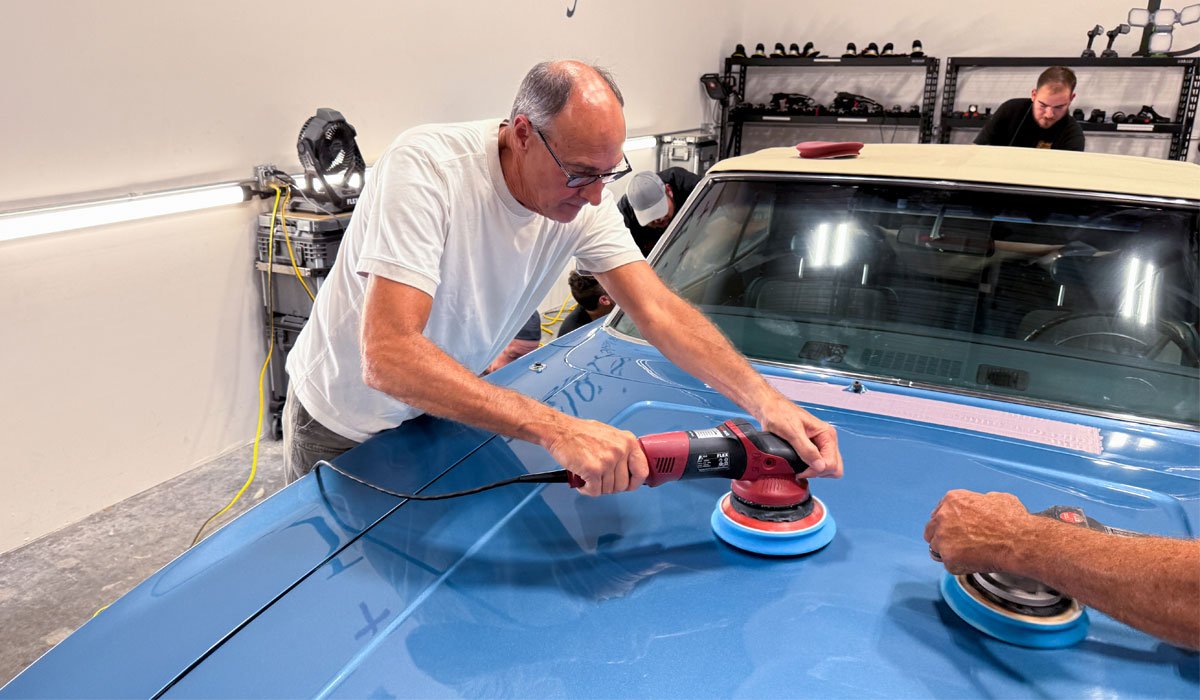
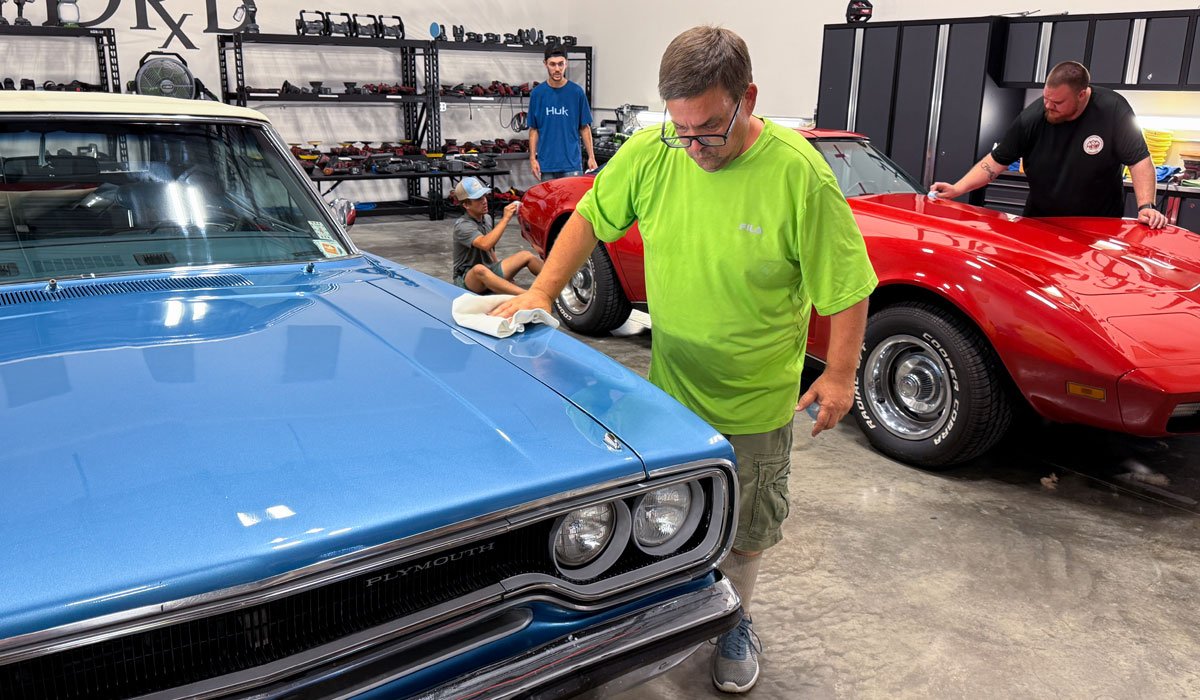
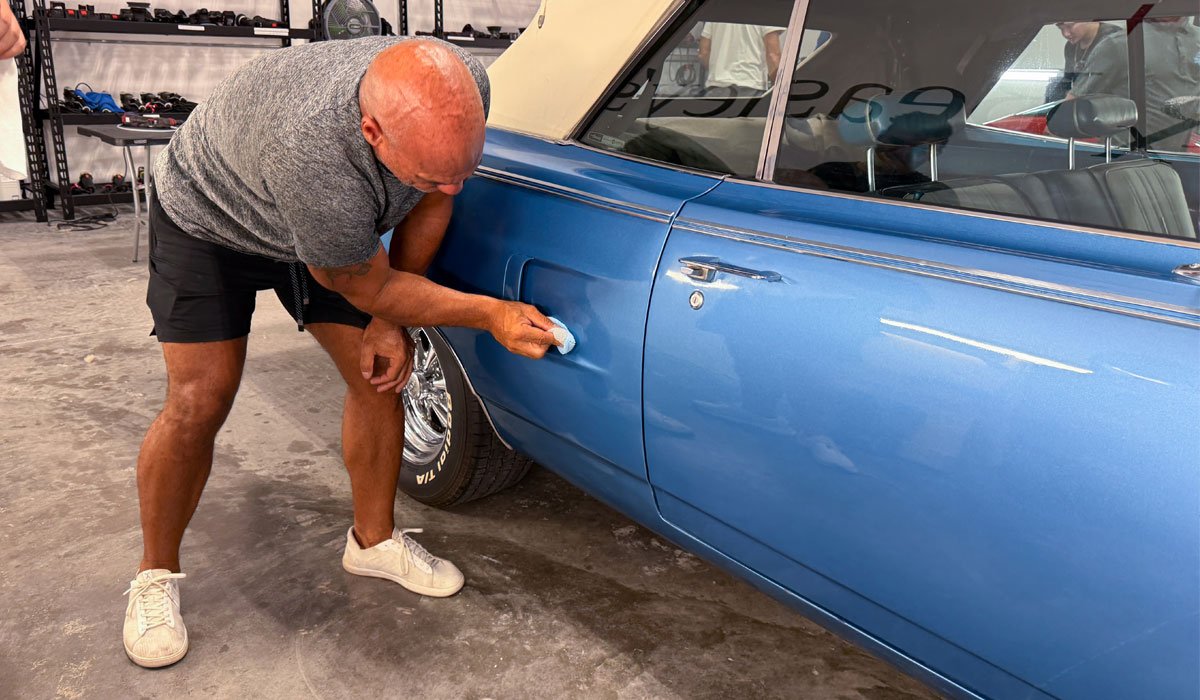
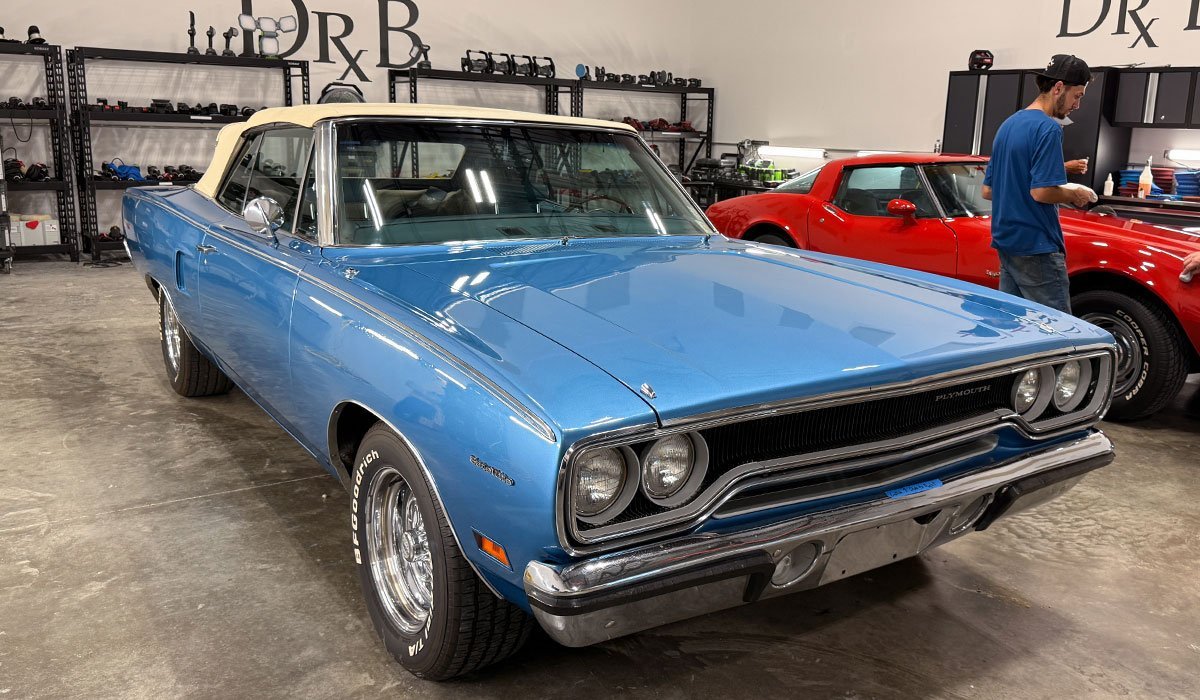
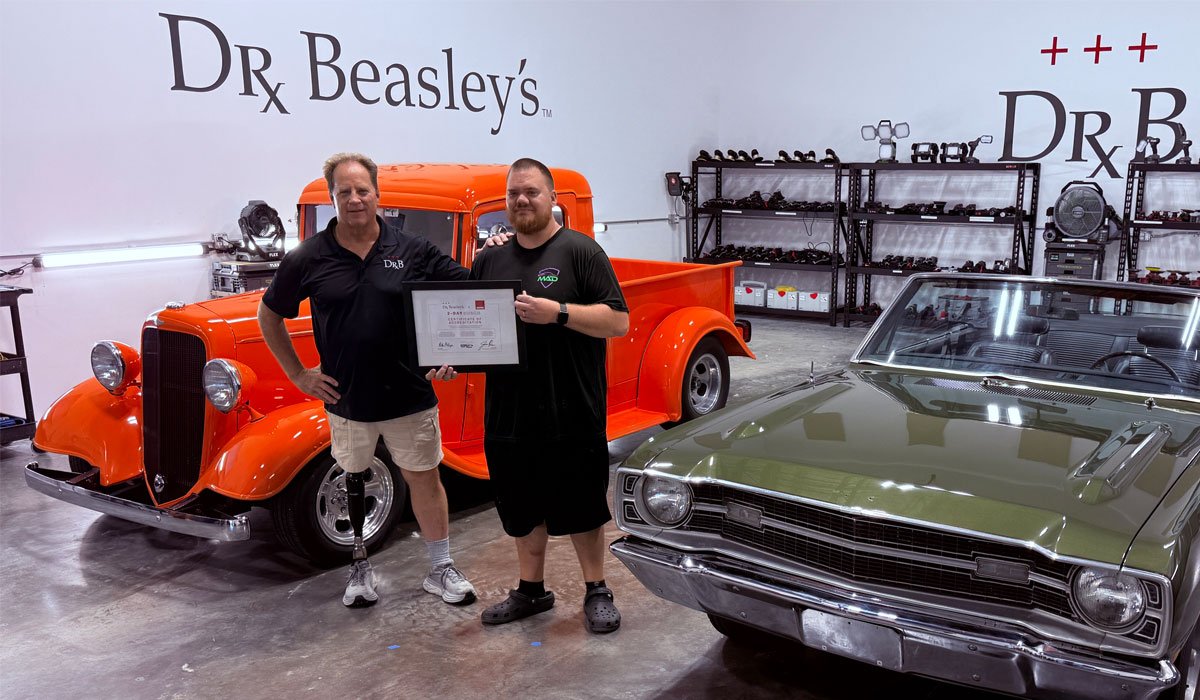
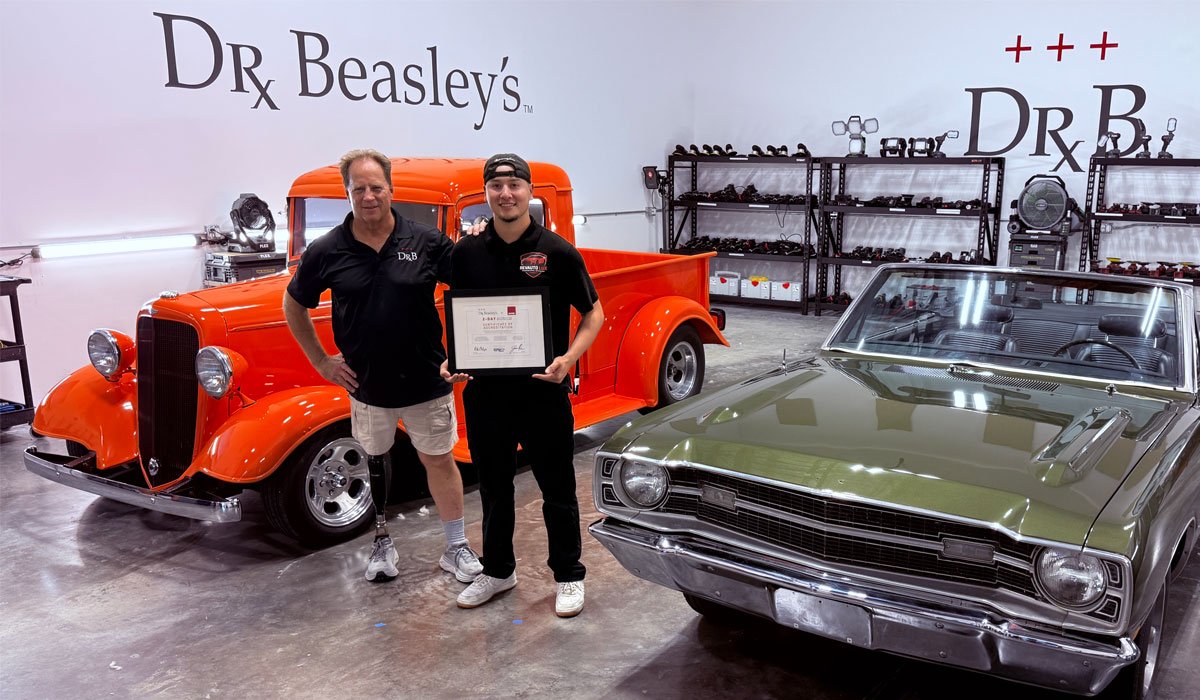
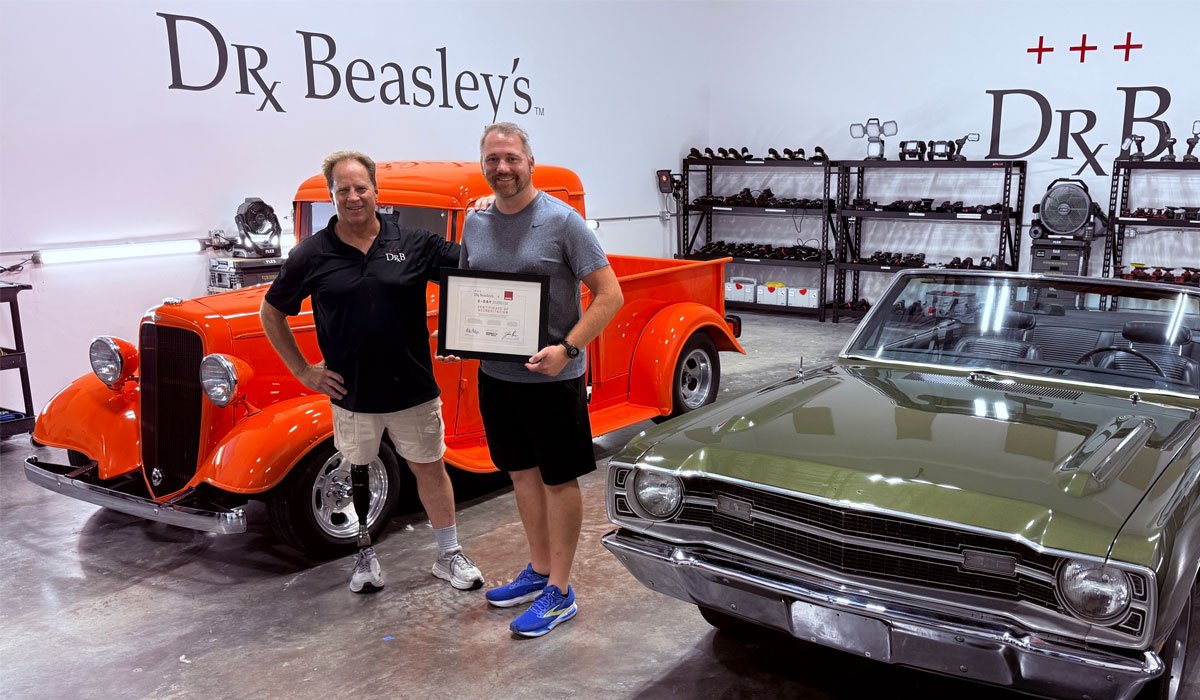
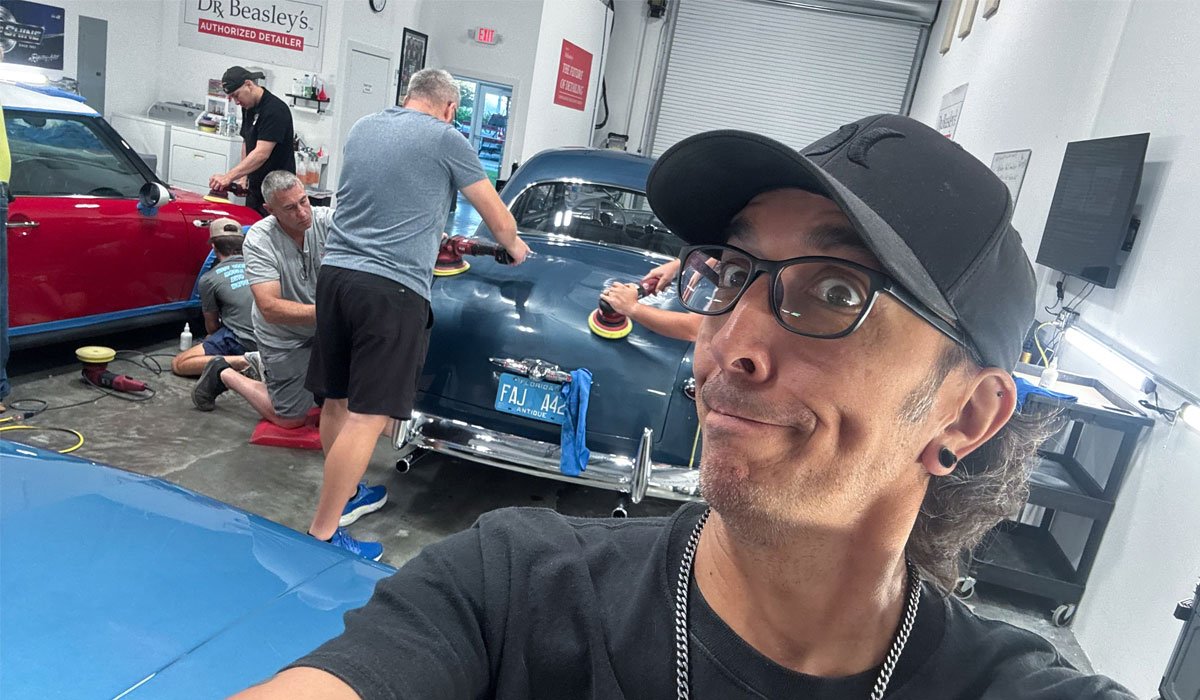
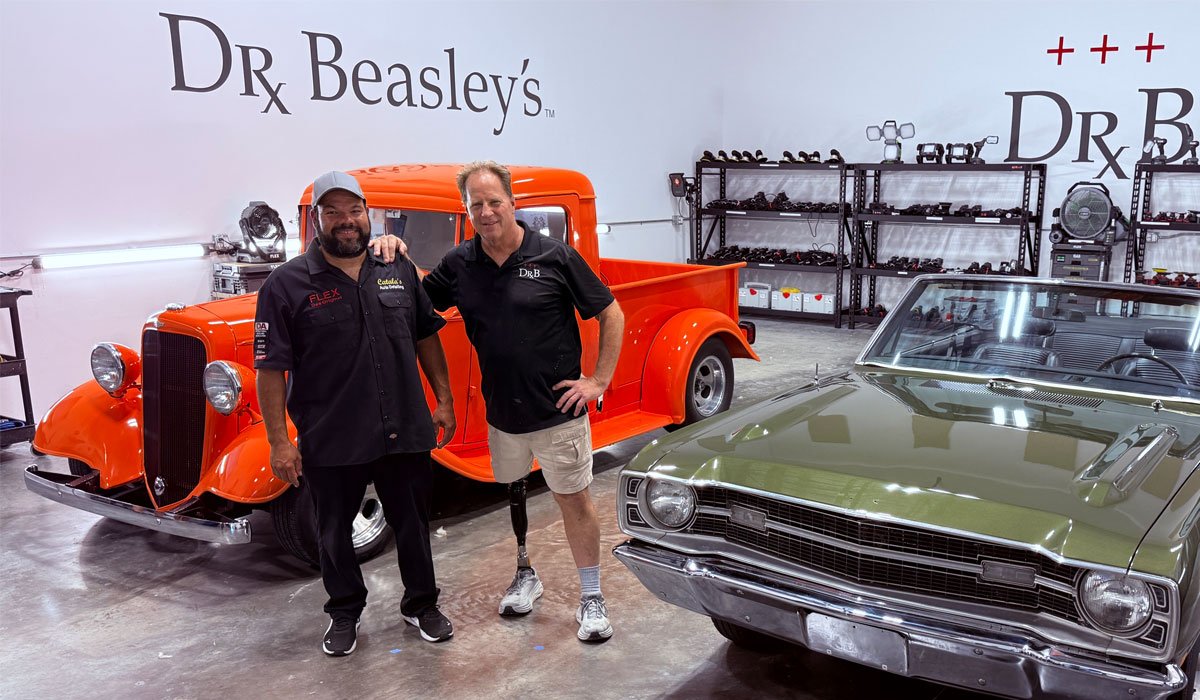
371 Pictures - 2-Day September 2025 Car Detailing Class - 8 Cars Detailed! - No Chairs! - ALL Hands-on PLUS REVIEWS!
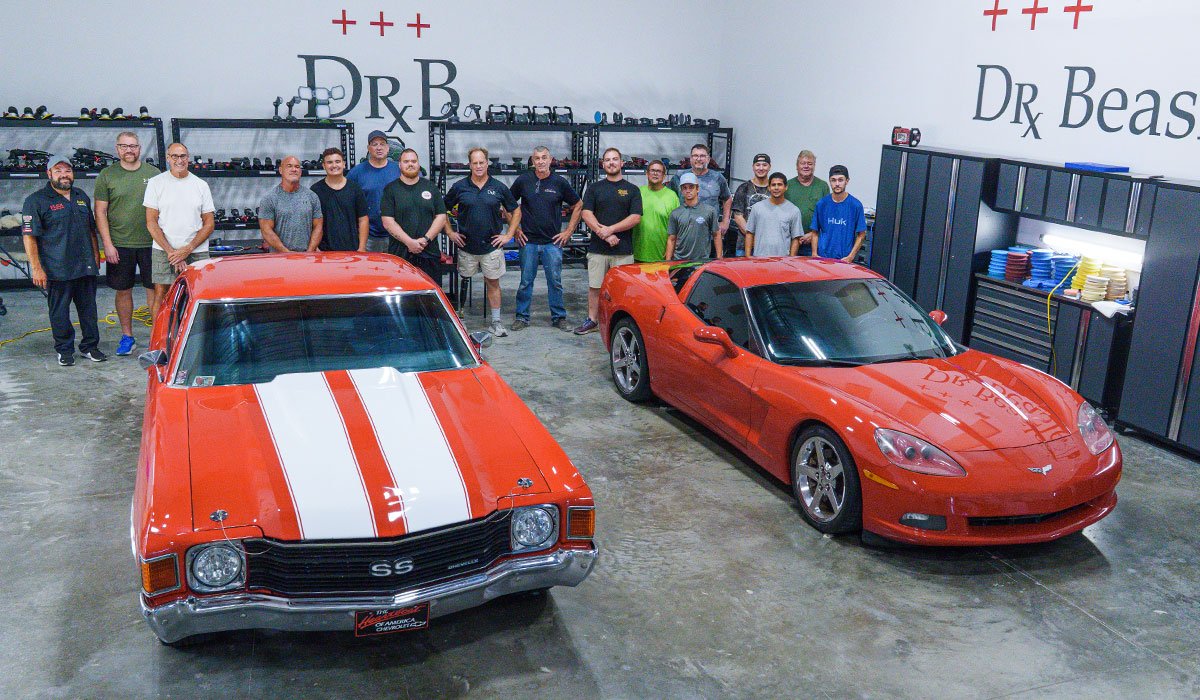
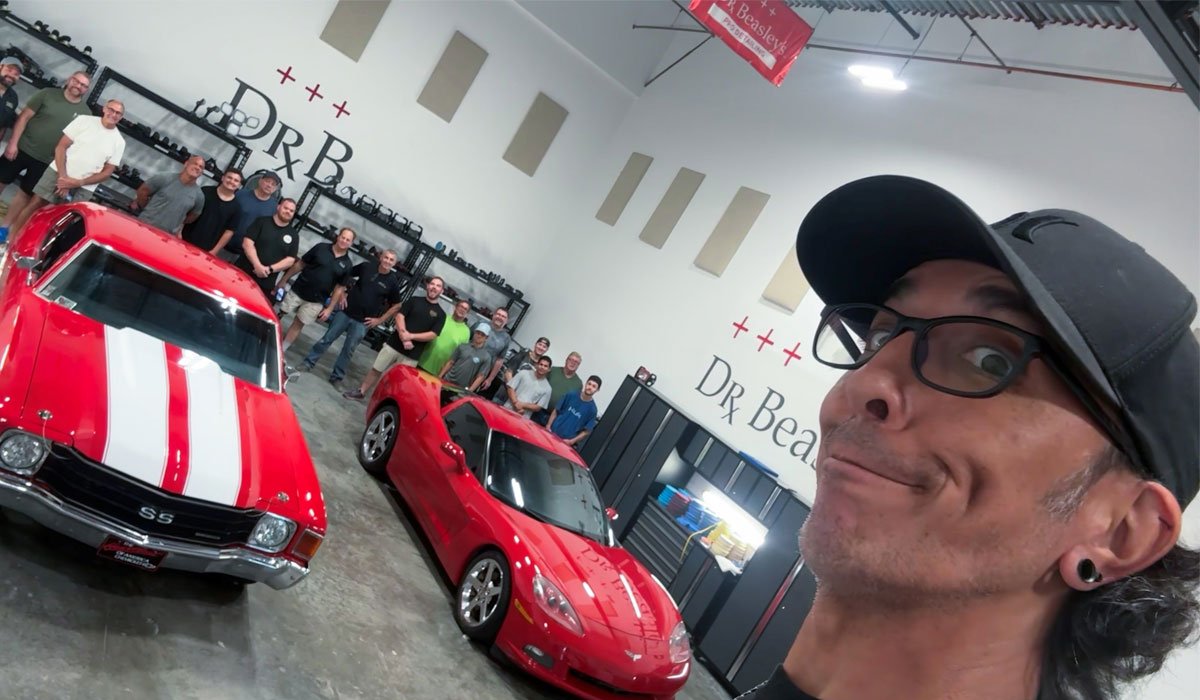
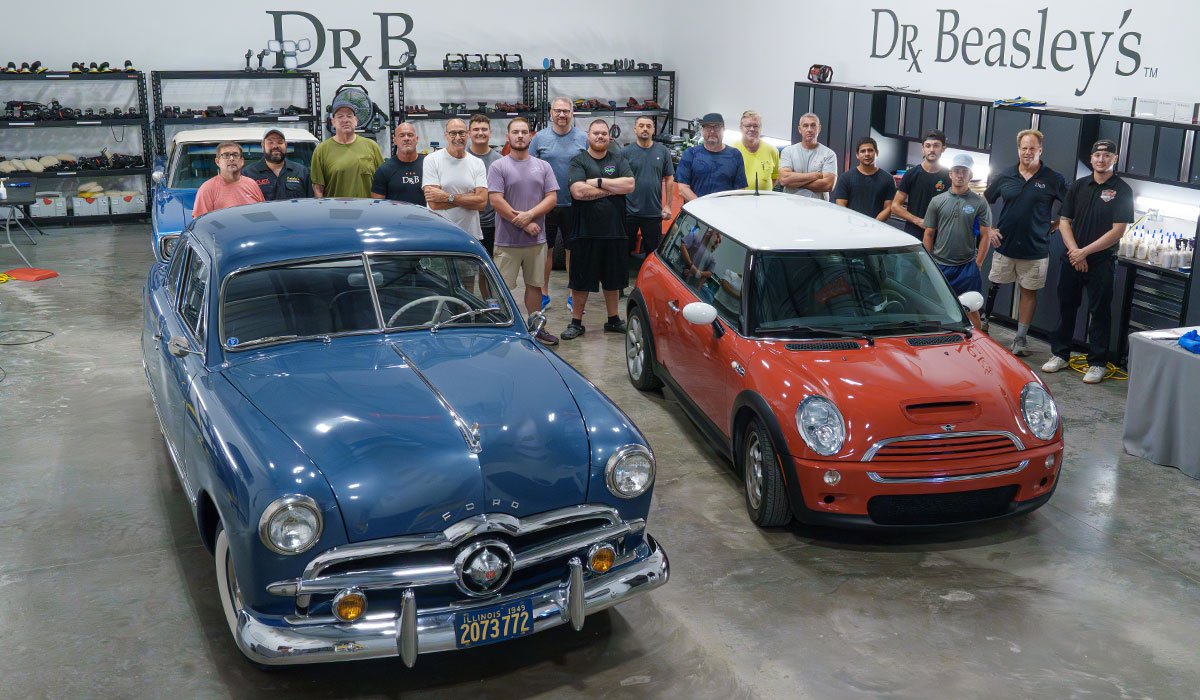
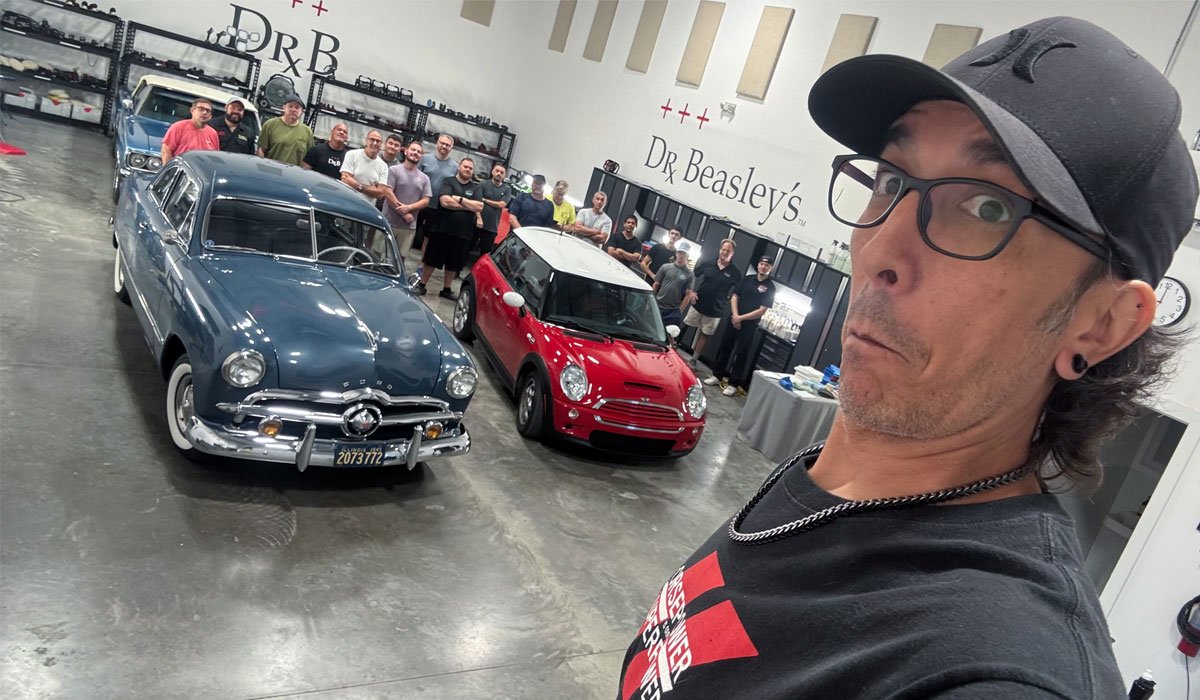
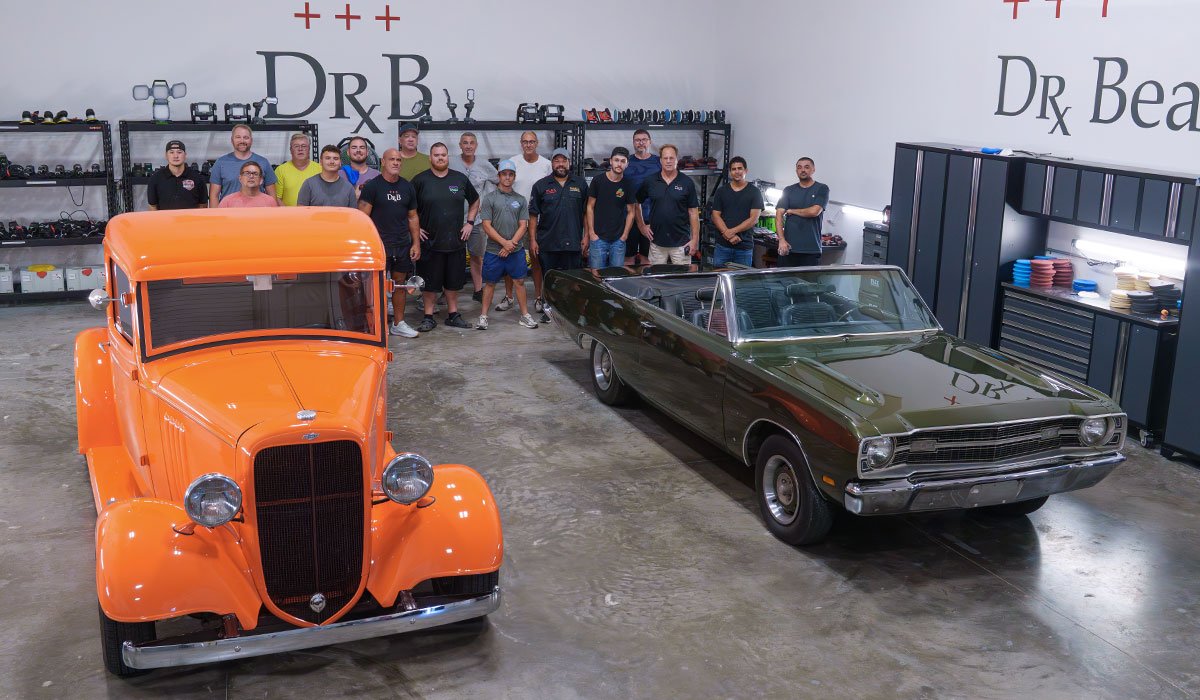
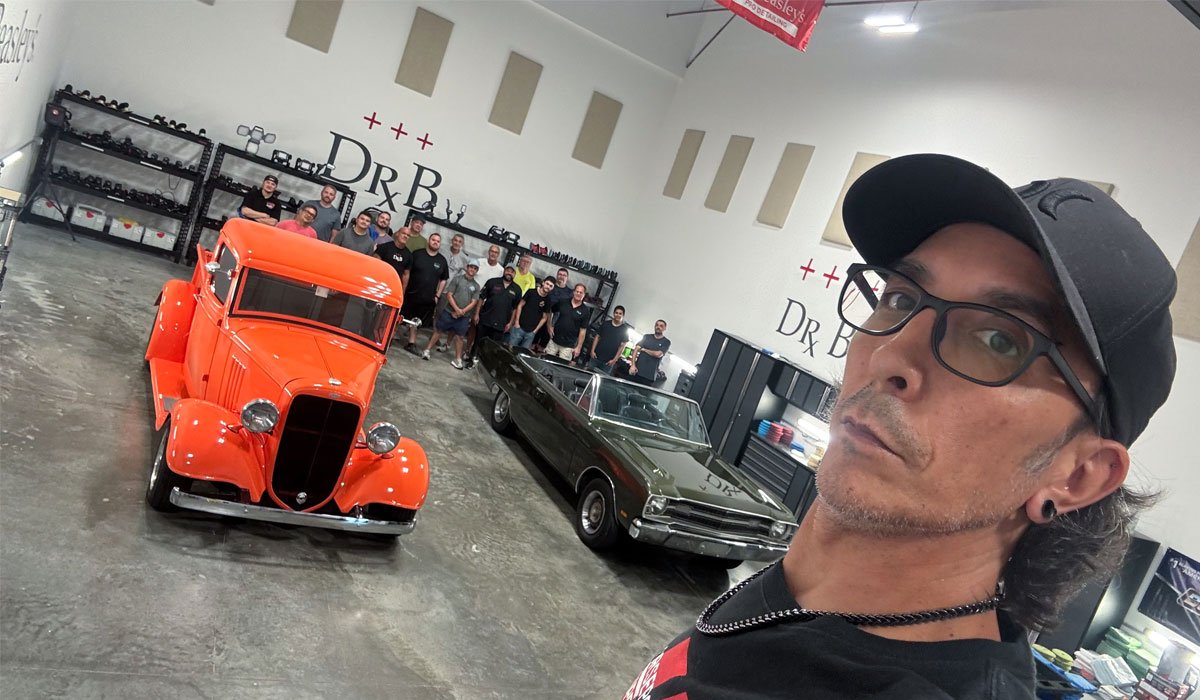
Thank you to all 16 people that took this class with 13 of these people travelling to Stuart, Florida from other States!
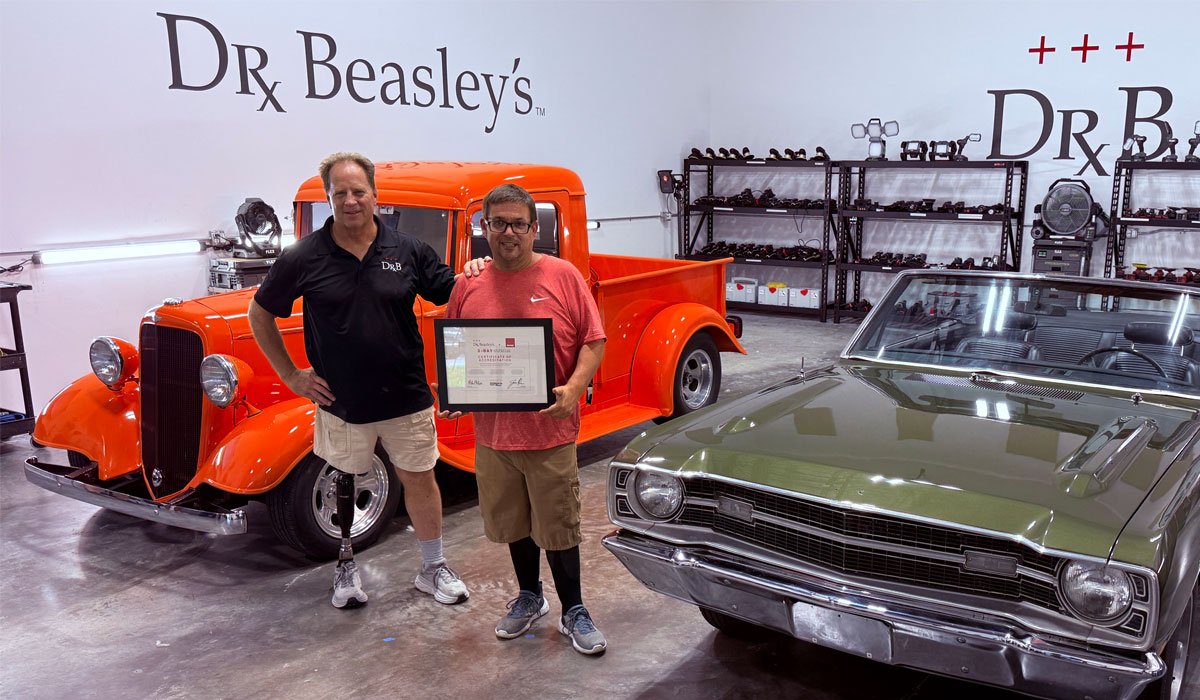
Jared - Alabama
Jared's Review - Verified - I recommend this product
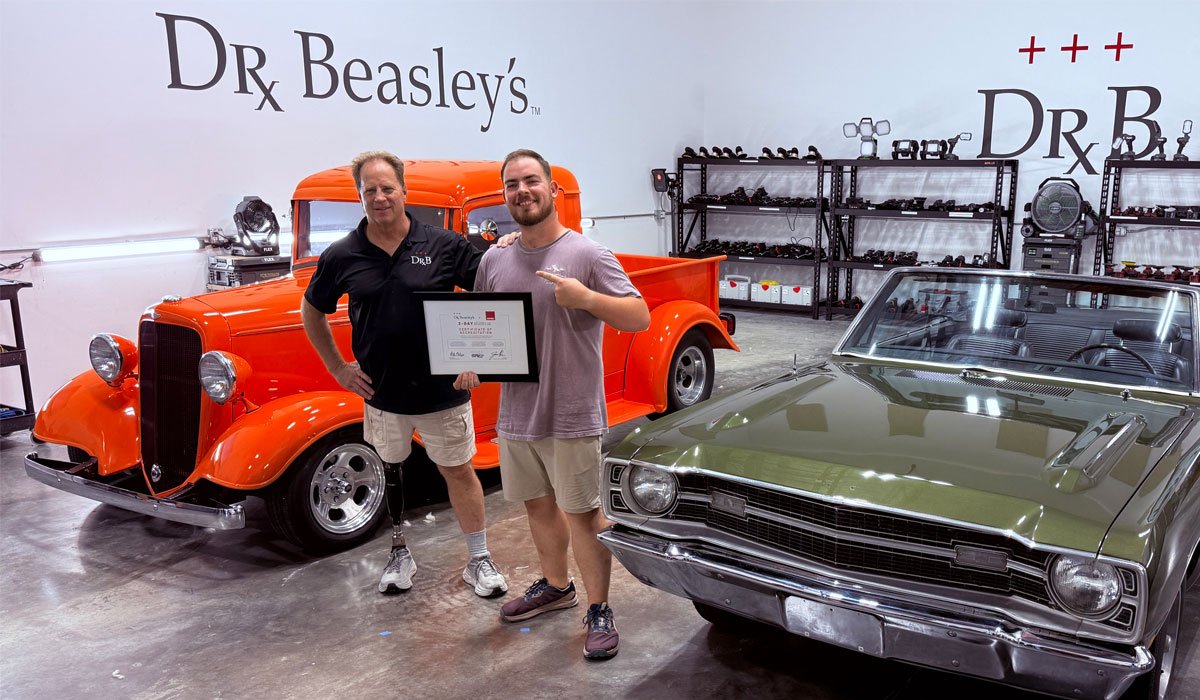
Hunter - Alabama
Gilberto - Florida

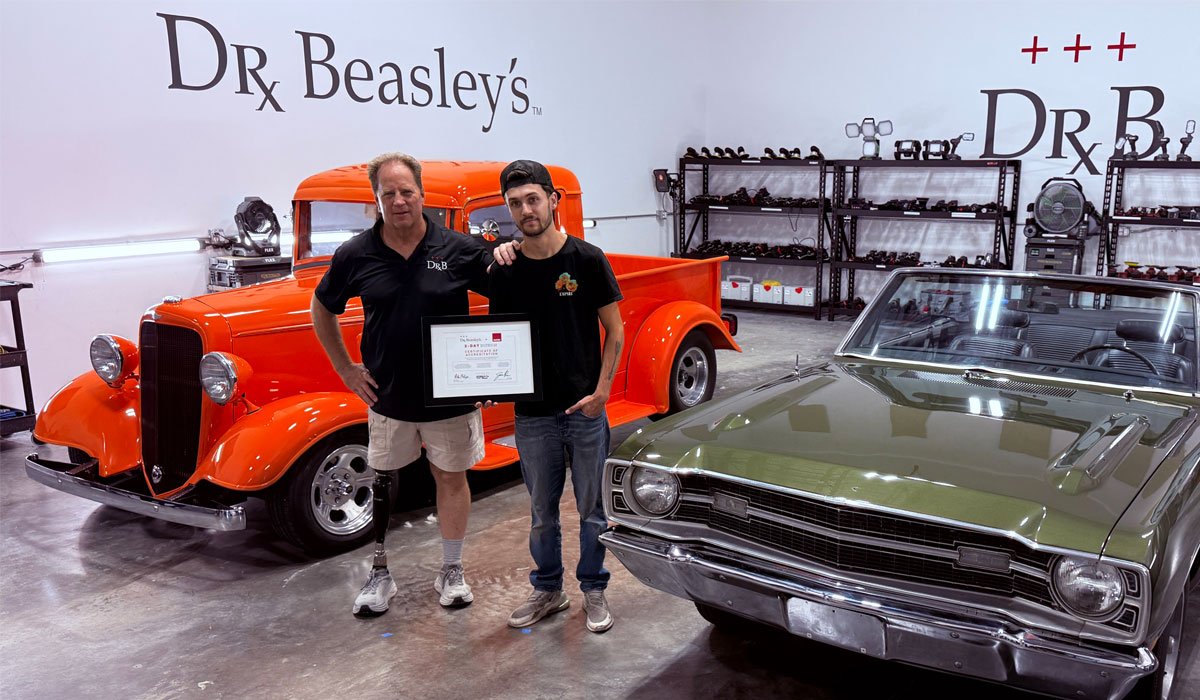
Sean - California
Sean's Review - Verified - I recommend this product
My recommendation: Wear gym clothes. I dressed in jeans for protection (PPE) and I was sweating. It was my first time visiting Florida, and it was warm/humid. First time I've encountered humidity (I'm from Silicon Valley). Couple the humidity with the non-stop class participation, and I was sweating (Between jet-lag and hustling in class, I regrettably missed the Saturday night dinner and went to sleep early). And I should have packed more comfortable shoes. I flew-in from Northern California to take Mike's school, and I packed light.
A special thank you and recognition to Mike's assistant, Willie. Mike gets busy during the class, and I formed a rapport with Willie. Willie answered all my questions, filmed me while polishing and played me video of what I was missing while performing paint-correction. Willie then demonstrated the correct technique to the area I struggled with the polisher. This is how you learn--try, make mistakes, and have a qualified instructor guide you in the right direction. Mike also taught me to control the polisher with one hand on the battery.
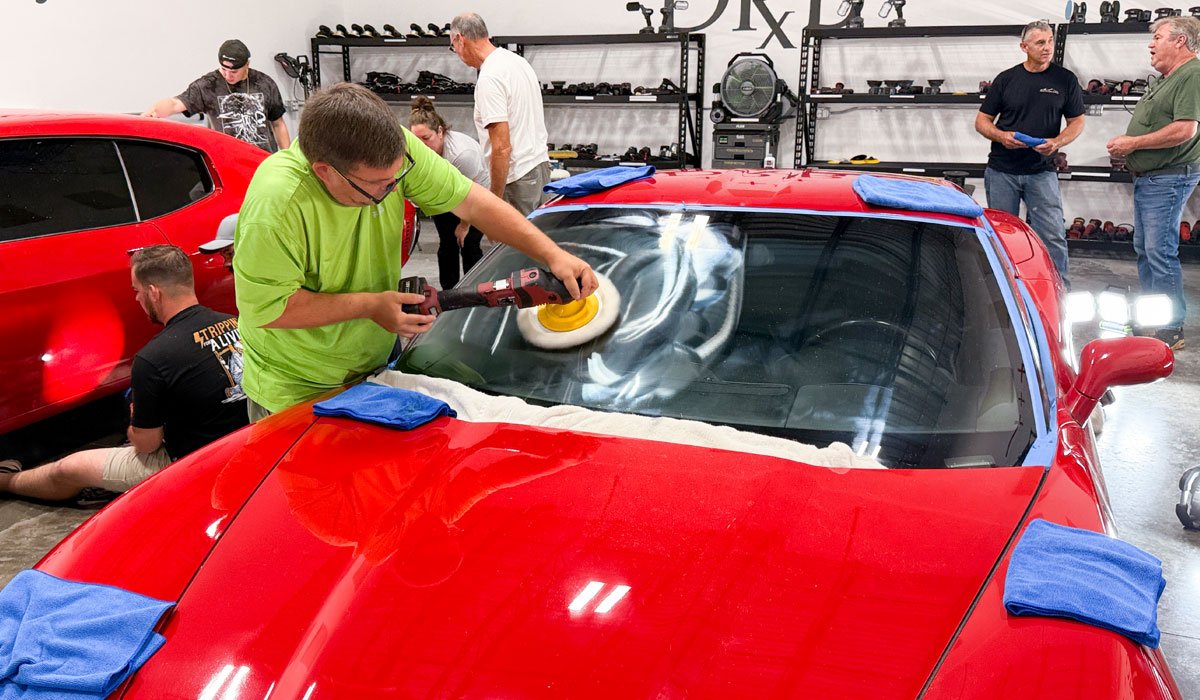
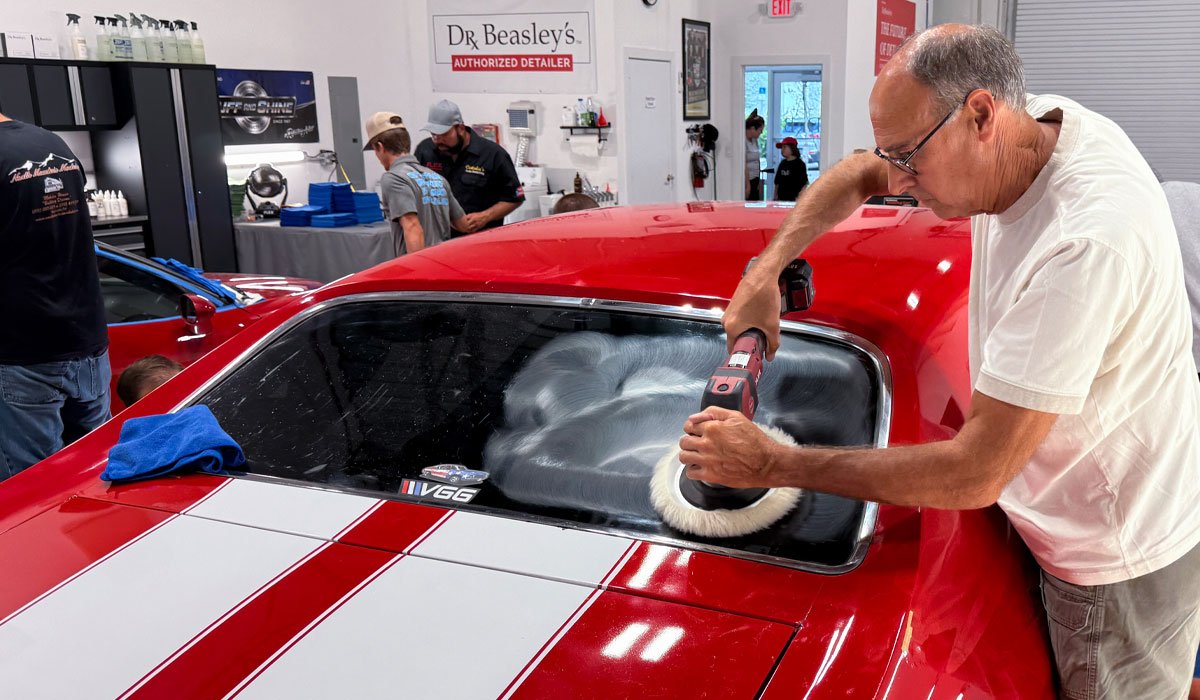
Class began on Saturday, but if you were there a day early, Mike invited you to arrive at his training facility and learn sub-surface glass polishing. I arrived on Friday, a few of us were there, and we immediately went to work with the polishers.
I absolutely recommend Mike's detailing school. It has inspired me to become more serious of this new hobby for me. If Mike has another variation of this detailing school, I would definitely sign-up and return.
Sorry for the delayed review, Mike. After your class, I drove to Miami and vacationed for a week. Like I said, it was my first time visiting Florida. I had fun!
Evan - California
Evan's Review - Verified - I recommend this product
Michael - Maryland
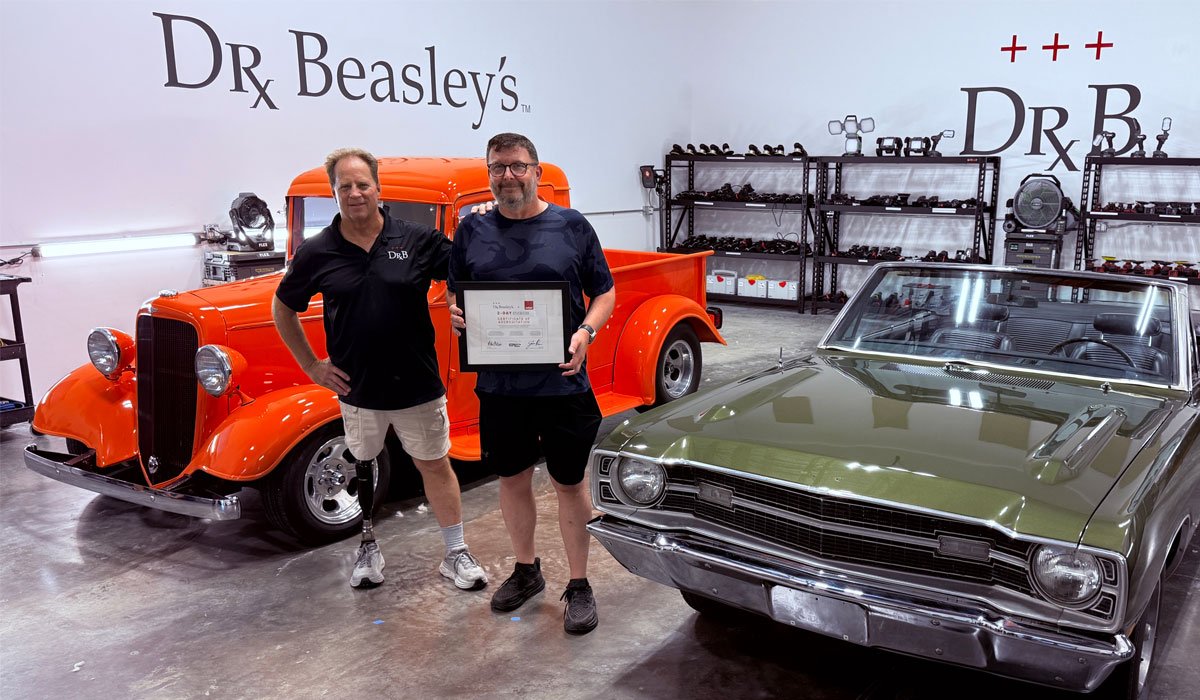
Michael's Review - Verified - I recommend this product
Mike Phillips is not only a master of his craft, but also an incredible teacher. He broke everything down step-by-step, making even the most advanced techniques approachable. What really impressed me was his dedication after the course, approximately 10 days later, Mike personally followed up with a phone call to check in and see if I had any questions or needed clarification on anything we covered.
That kind of follow-through shows how much he truly cares about his students’ success. If you’re serious about detailing, whether as a professional or an enthusiast, this course is absolutely worth it. You walk away with real confidence, practical skills, and the reassurance that Mike and the Dr. Beasley’s team have your back even after the class ends.
Joshua - Florida
Josh's Review - Verified - I recommend this product
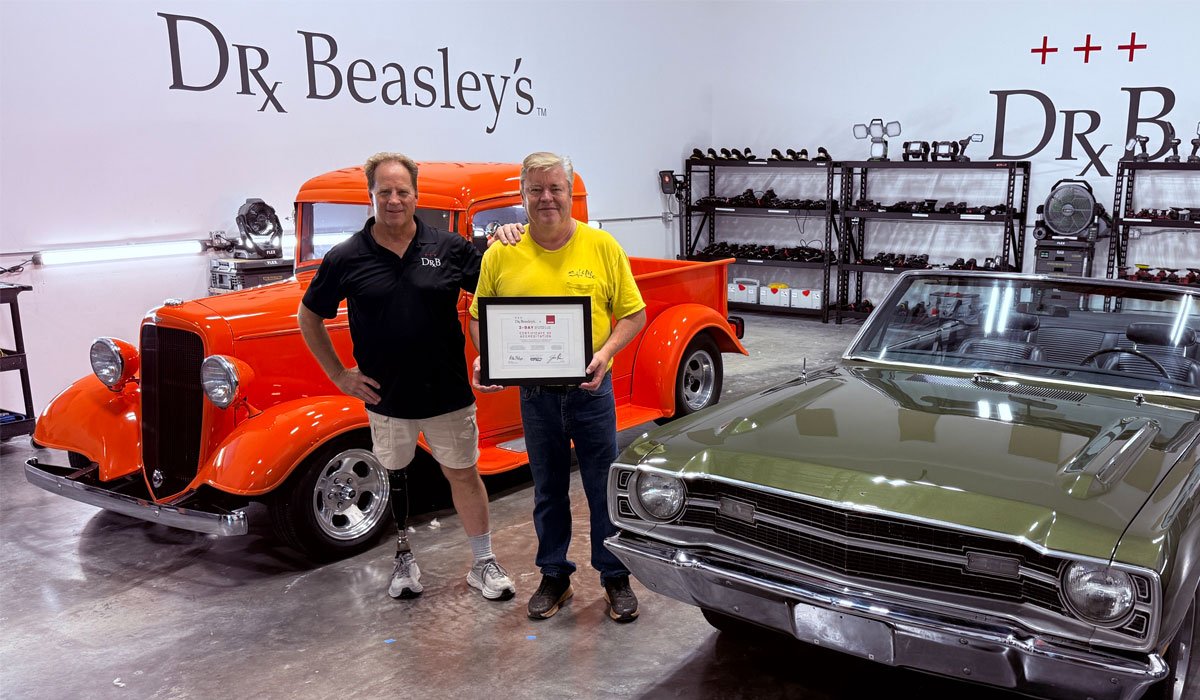
Roger- Ohio
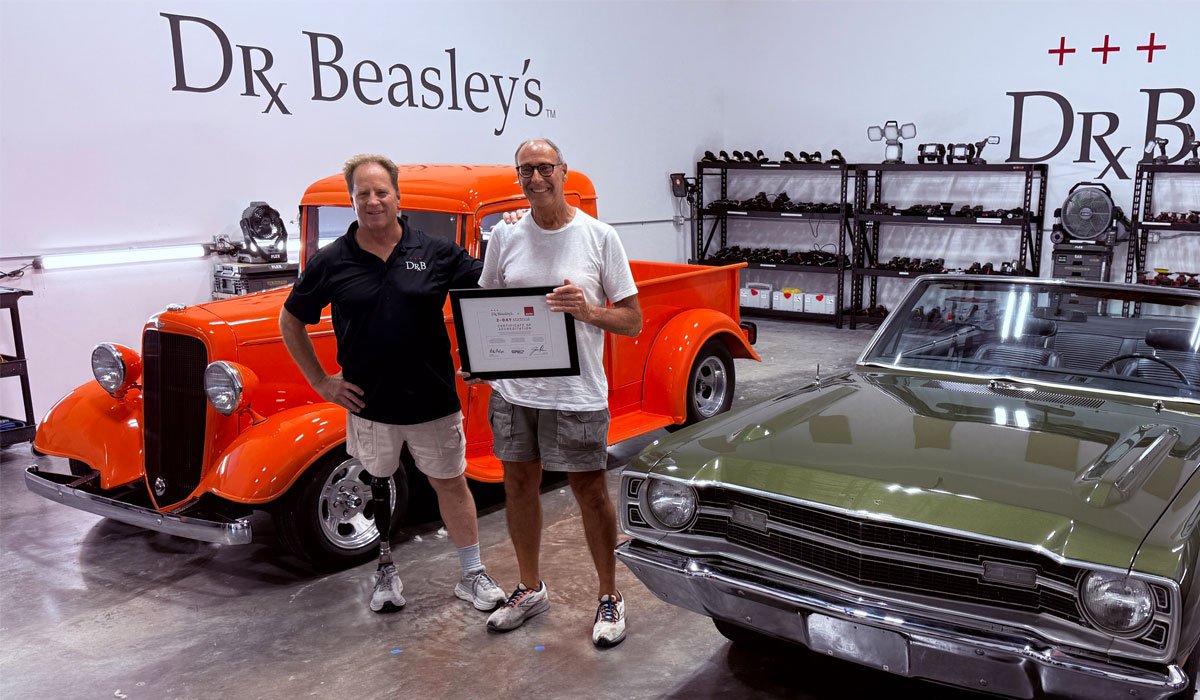
Roger P. - Verified - I recommend this product
Thanks, Mike, for the well-rounded experience, I'm looking forward to buying some equipment and putting this training to use.
Jonathan - Georgia
Jonathan - Verified - I recommend this product
I have had few teachers in the past sitting on high horse. We were going all day long no sitting around. He taught us techniques, systems, processes and all about several different products / polishers. He wasn’t there to sell you something. He was there truly teaching detailing. I learned so much way more than I was expecting too!
So, I highly recommend taking Mike’s class regardless of your level of detailing experience. He just wants to see you succeed and be ready take on the world. He took my knowledge and confidence of wet sanding out the roof. So you will not regret taking his class the only regret I have about the class. Is that I didn’t take it sooner. Value of the class is much much higher then actual cost. Thanks so much !!Go head sign up!
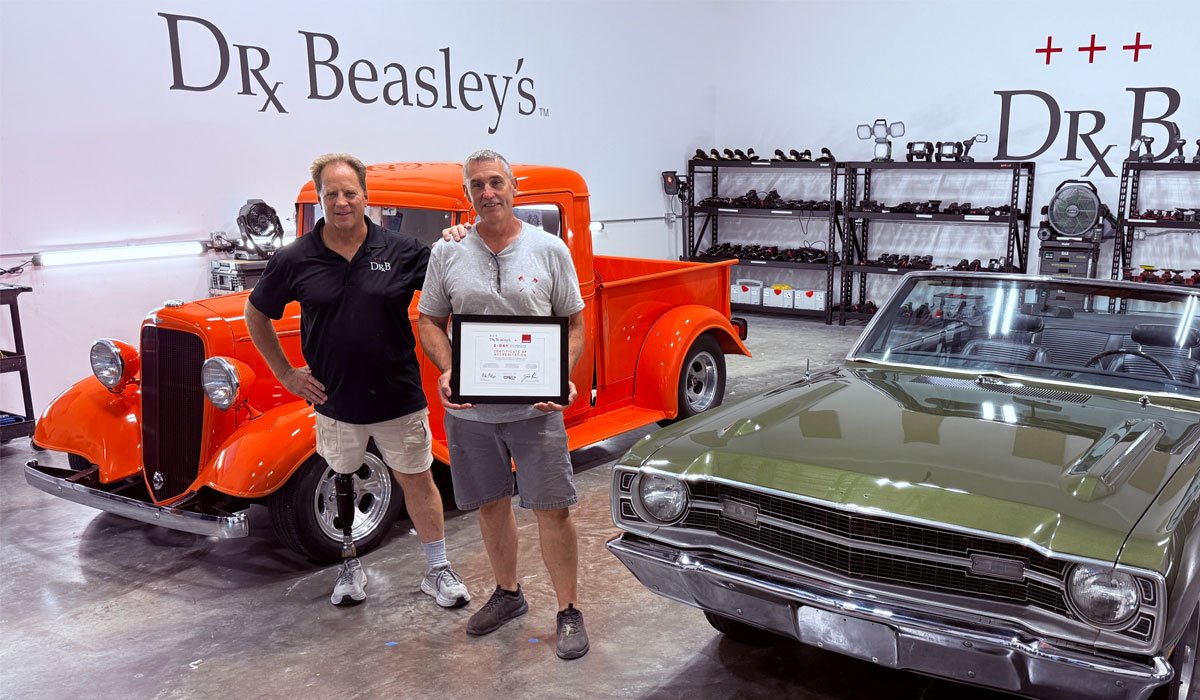
Troy - Florida

Troy's Review - Verified - I recommend this product
Scott - South Carolina
Scott's Review - Verified - I recommend this product
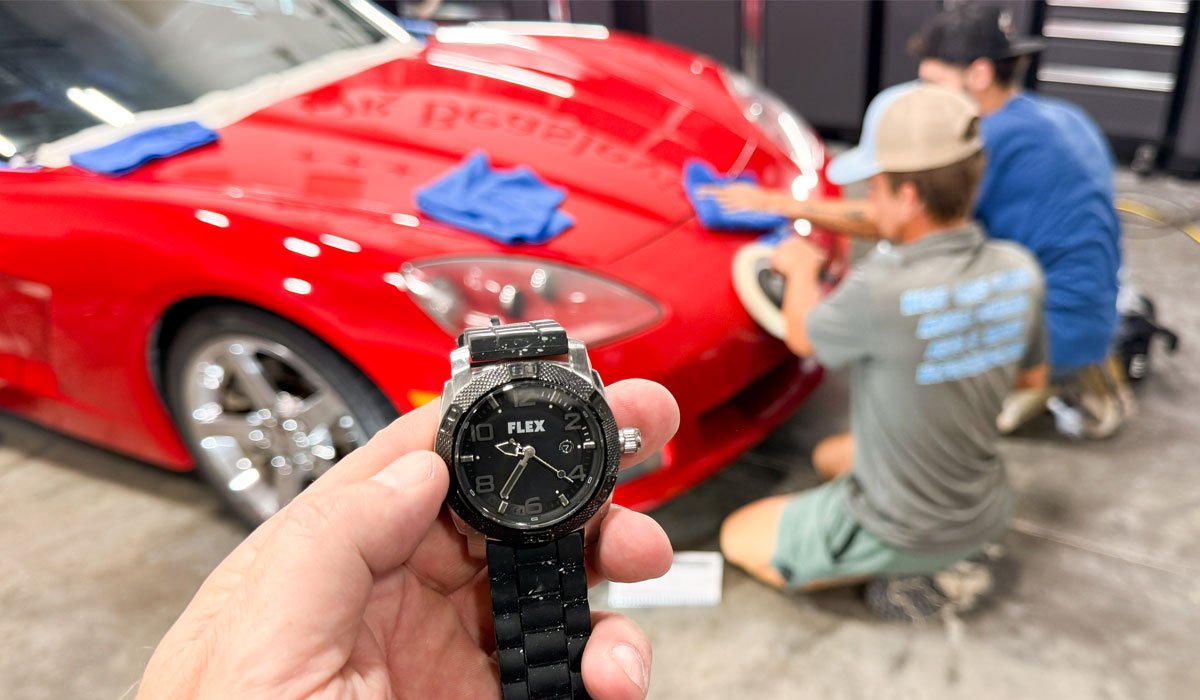
You don't pass the tools around he has 20+ of every tool and the best ones in the Industry Flex Rupes etc., I left this class felling as if I wanted to open up a detail shop tomorrow! I have been given enough hands-on training and knowledge to do so.
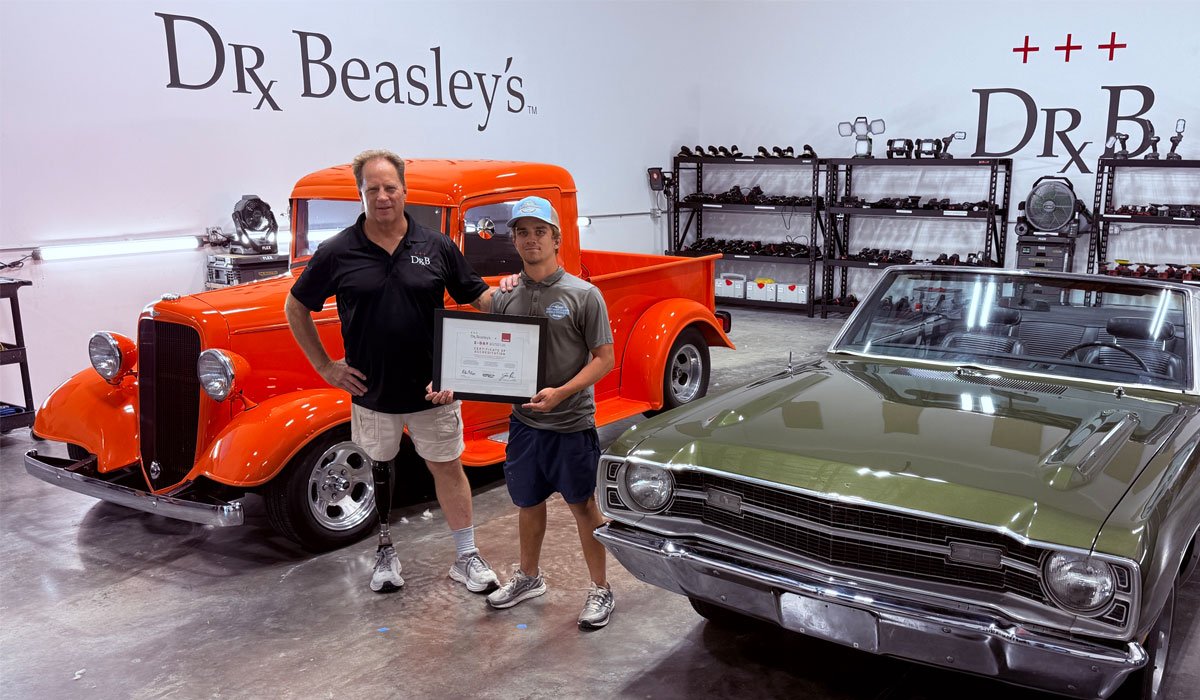
Paden - California
Ray - Pennsylvania
Ray's Review - Verified - I recommend this product
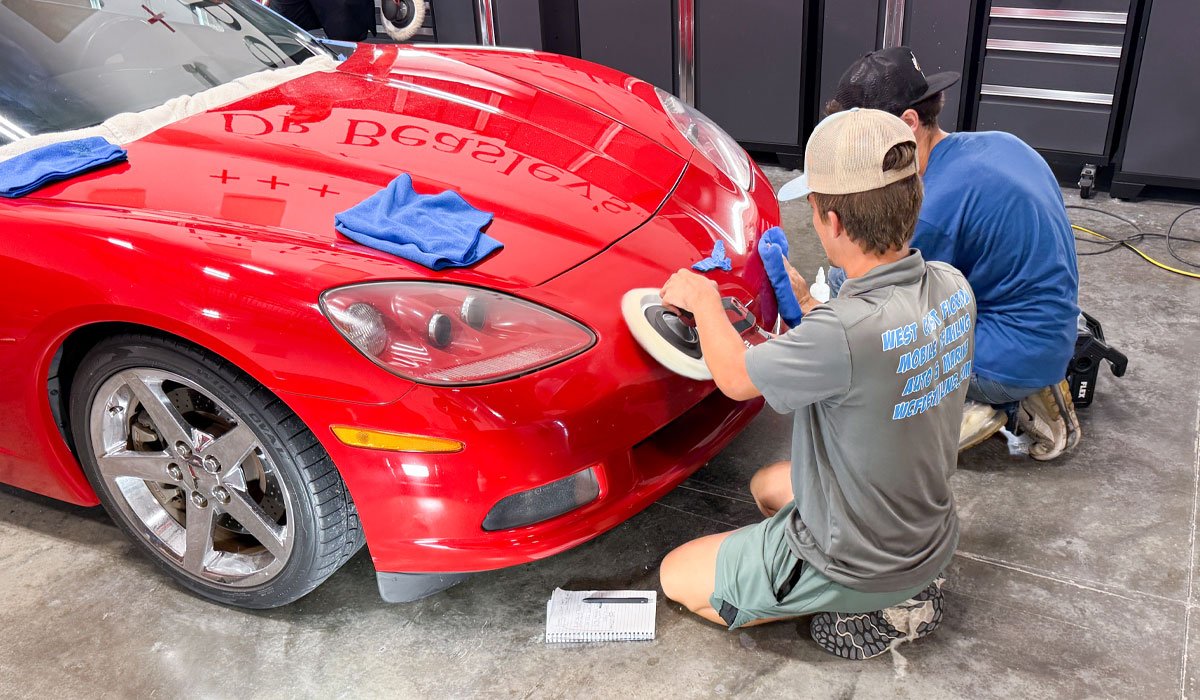
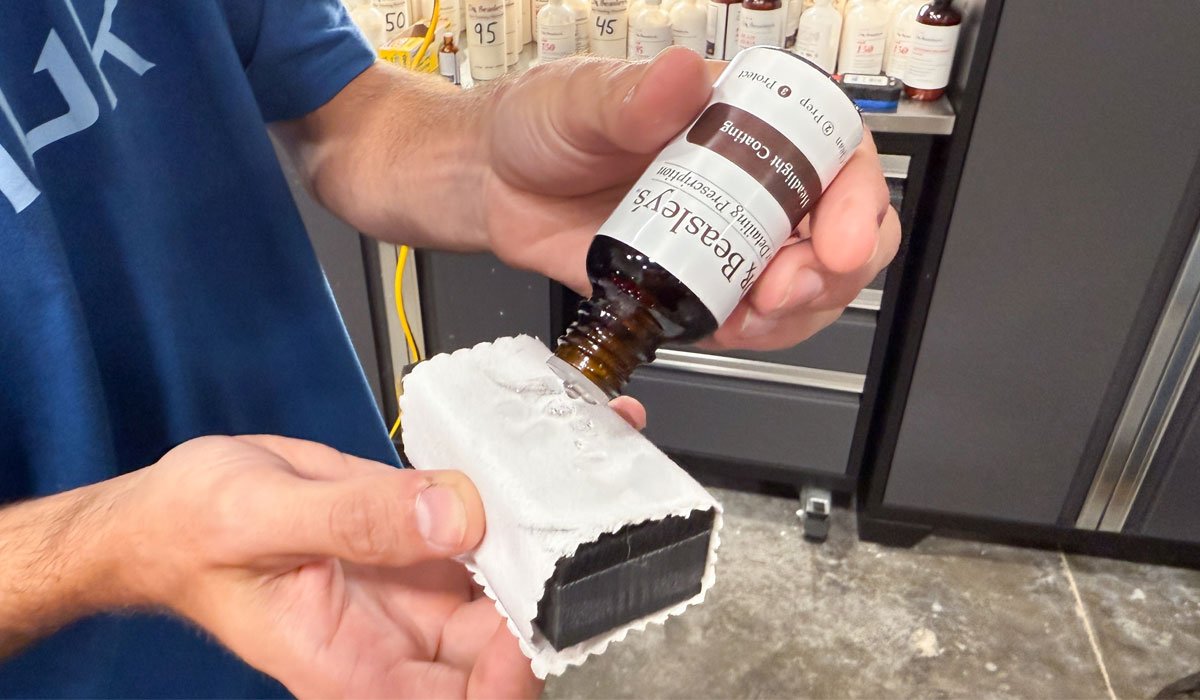
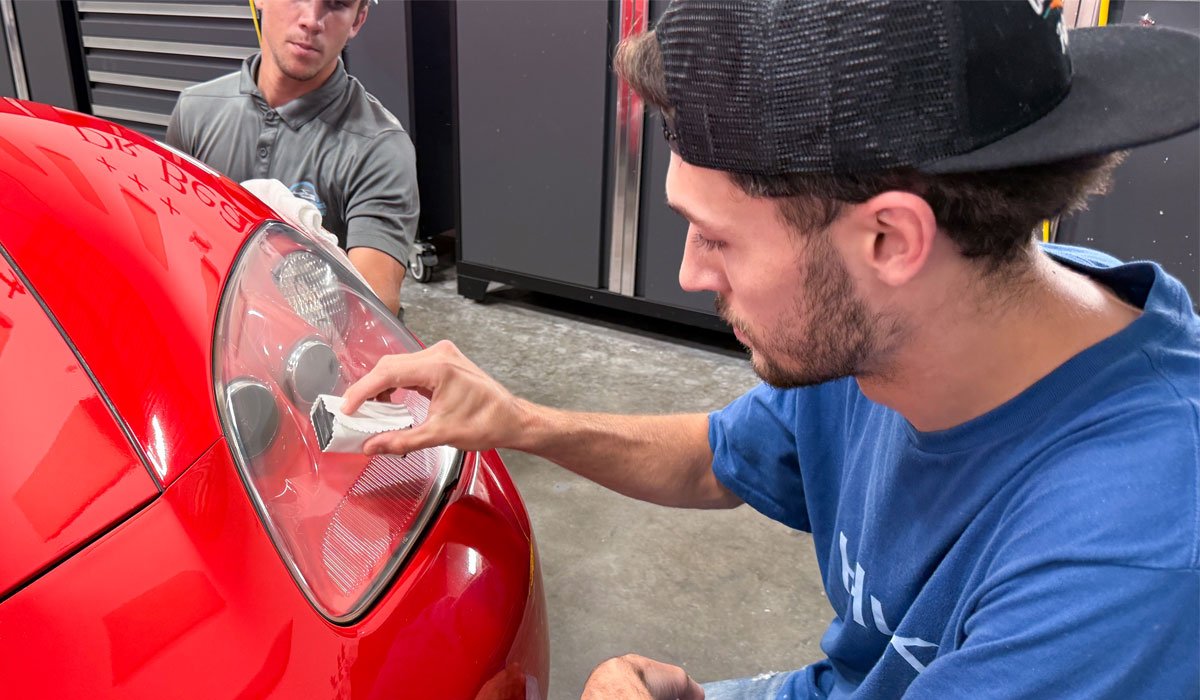
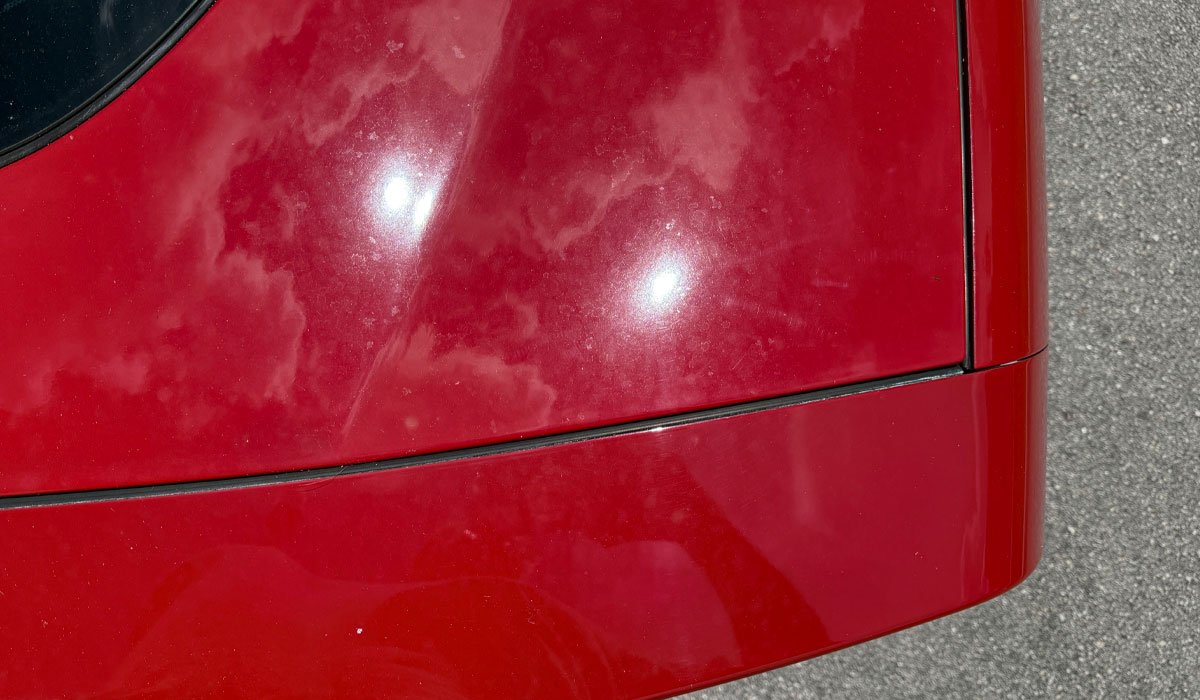
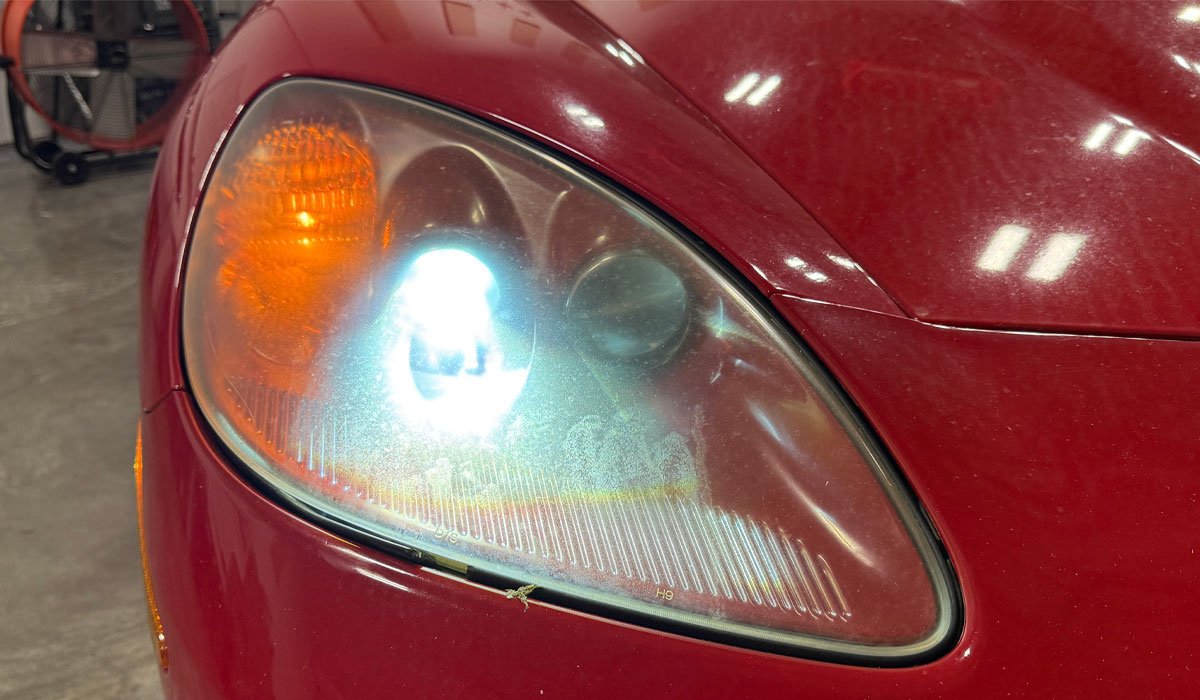
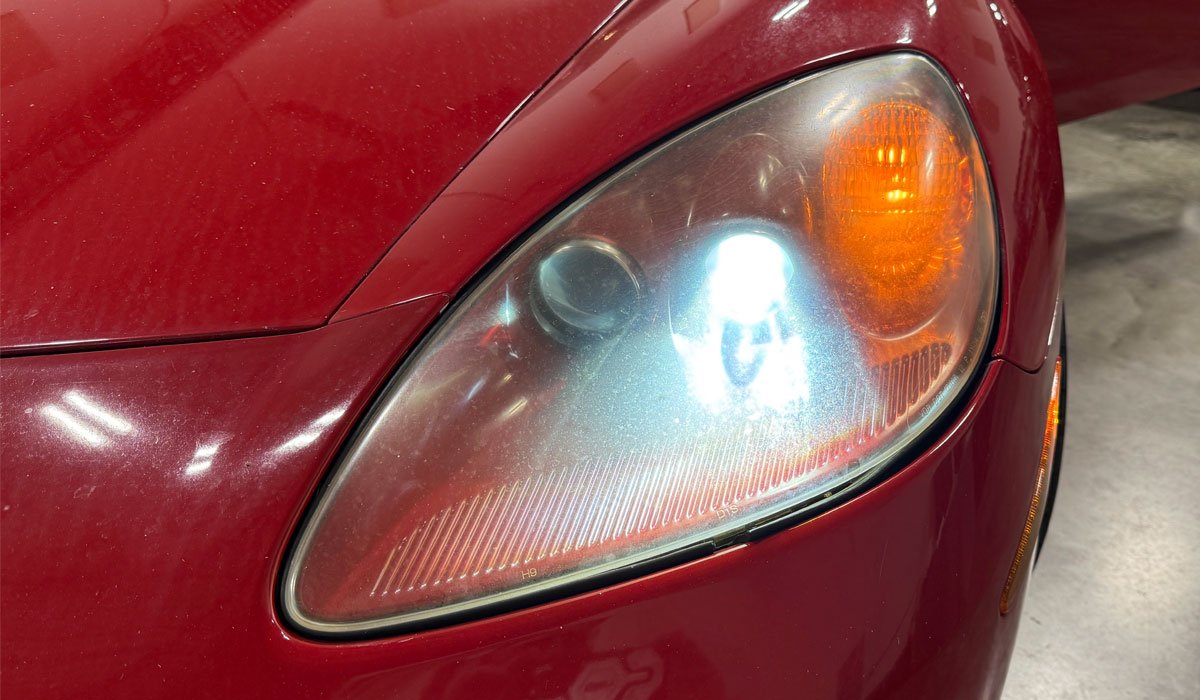
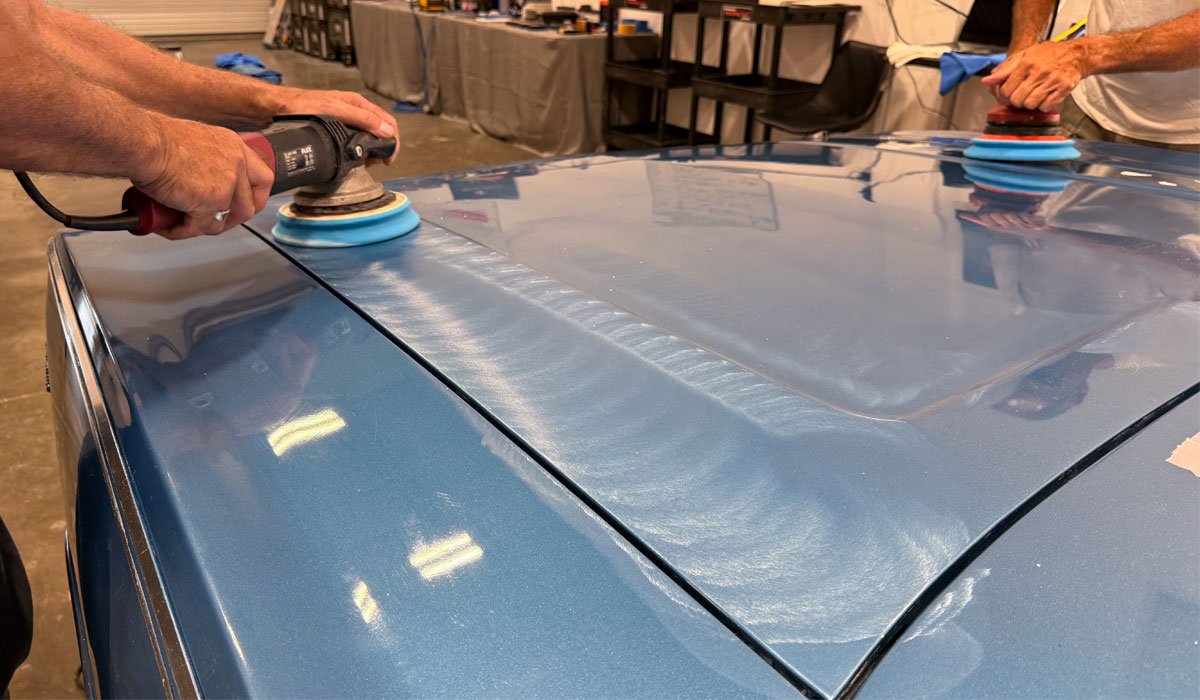
I arrived on Saturday morning and Mike went over all the equipment we were going to use over the 2-day period we were going to be in class, then it was off to work, starting with headlight sanding and polishing. Next we moved on to cutting and polishing, it was all hands on. Mike was a very good instructor, very informative and full of tips for the best end result. Yancy was Mikes assistant and was also very helpful, these guys were down to business but when the class was over, you walked away with new friendships.
I would highly recommend this class, weather you’re an enthusiast like myself or looking to go into the business professionally, these guys will teach you what you need to know to make that brilliant shine you and your customers are looking for.
Mitchell - Indiana
Quintin - California
Quintin's Review - Verified - I recommend this product
I cannot stress this enough, whether you’ve never paint corrected or have been for years, TAKE THIS CLASS. The two 8 hour days of straight work with almost 0 downtime taught me more than I would’ve ever learned from the YouTube gurus. Thank you for offering this class Mike. Will be recommending this to anyone and everyone who is looking to further their paint correction skills!
Brad - Illinois
Brad's Review - Verified - I recommend this product
Primary Assistant Instructor - Yancy Martinez
Second Assistant Instructor - William Catala
Third Assistant Instructor - Matteo Catala
Not pictured - Caridad Escudero - Willy's Wife (thank you for all your help)
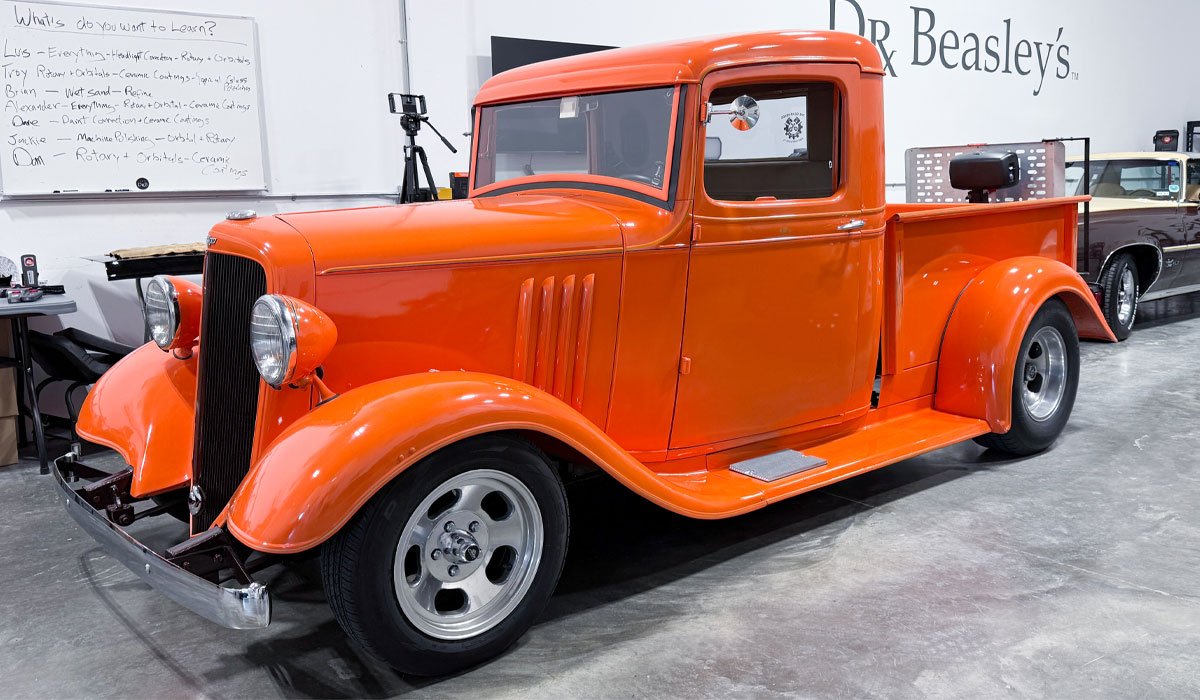
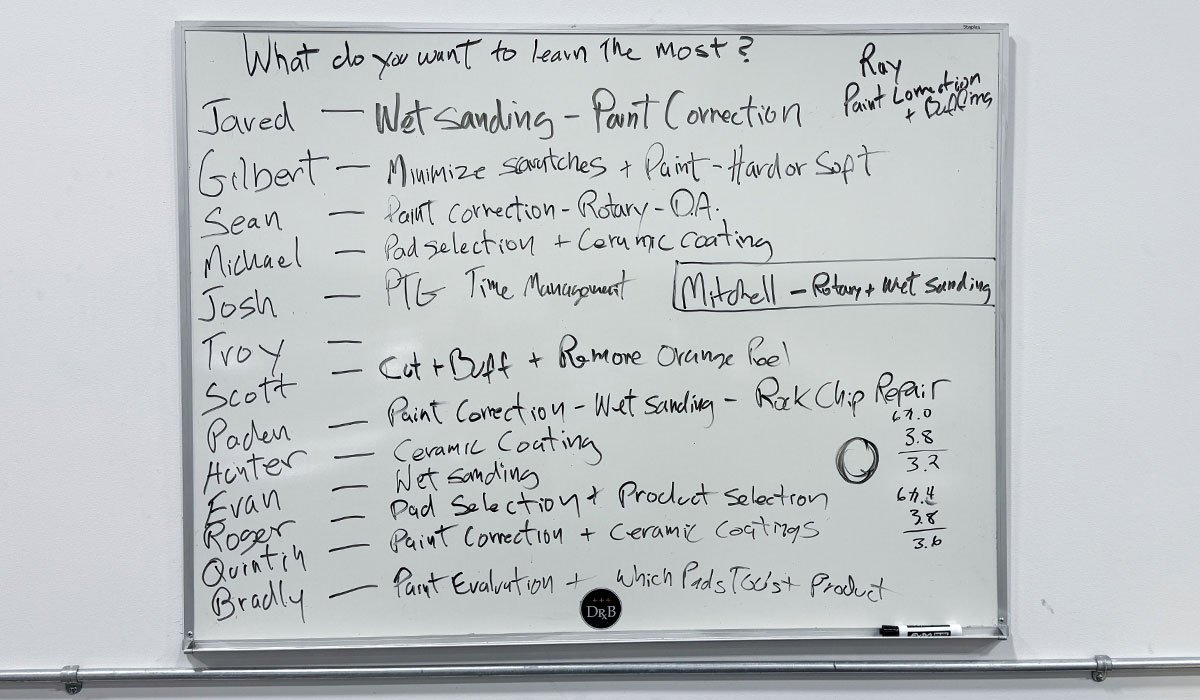
What do you want to learn the most?
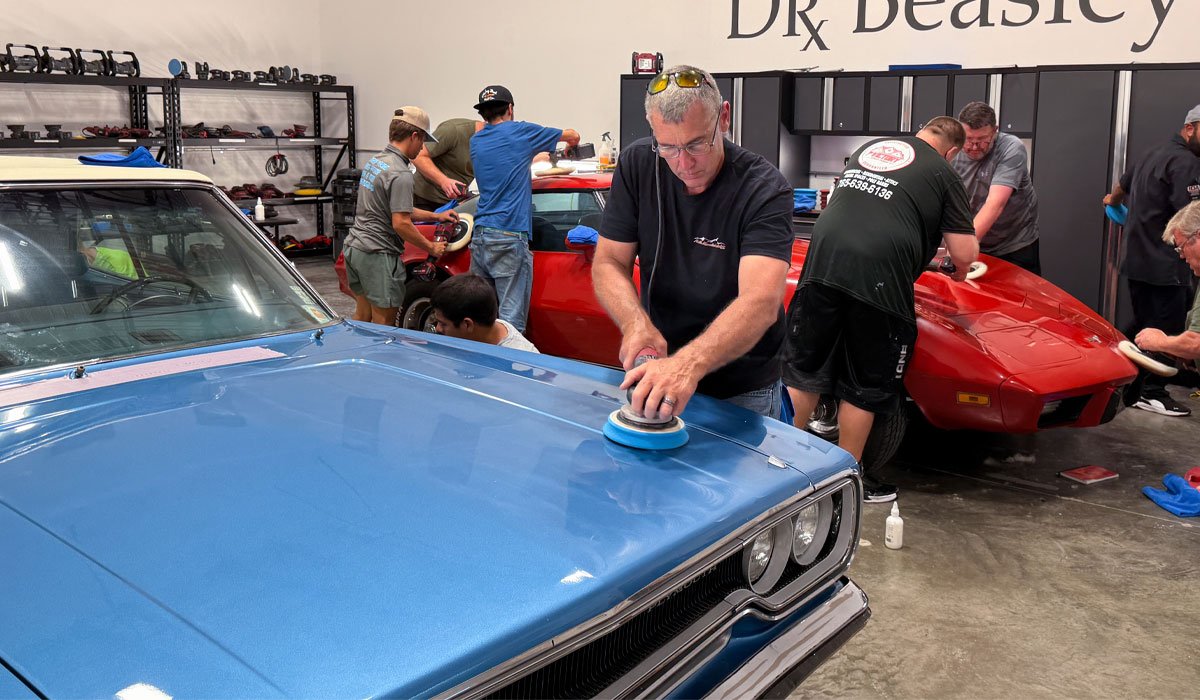
Before the class starts, I like to go around the room and ask each person what their highest priority is to learn while taking the class. I note this on the Dry Erase Board and then at the end of the class we take inventory to see if met their expectations.
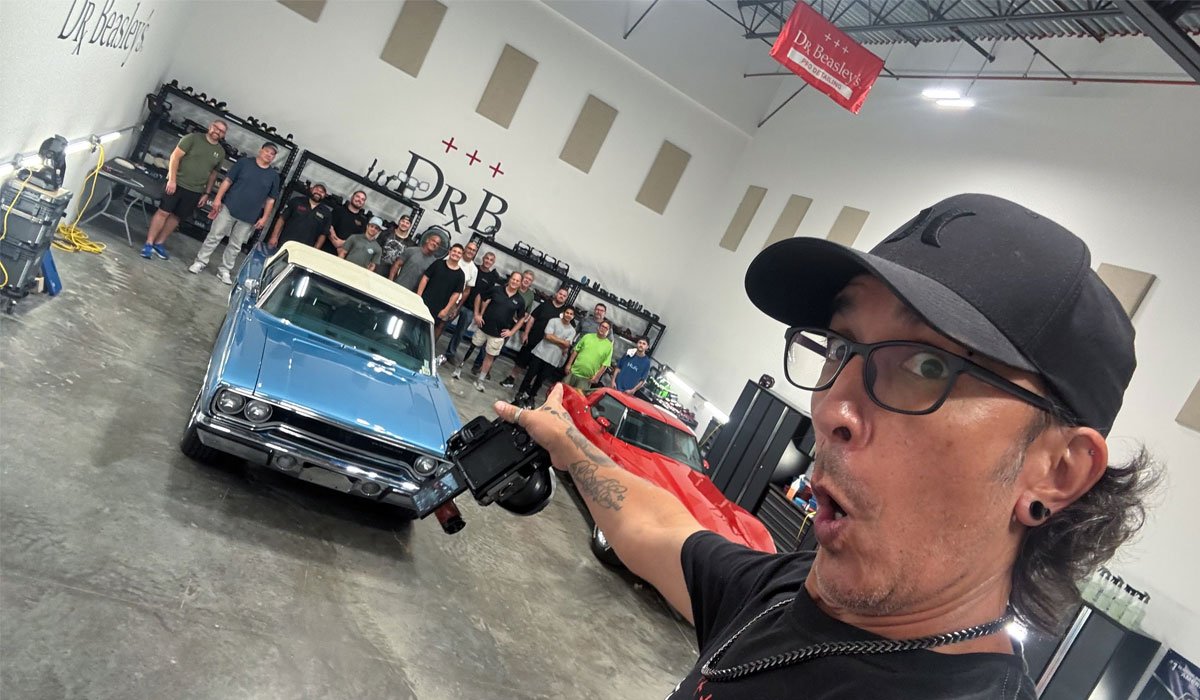
Awesome people! Thank you for your trust. -Mike Phillips
Thank you to all 16 people that took this class with 13 of these people travelling to Stuart, Florida from other States!
Jared - Alabama
Jared's Review - Verified - I recommend this product
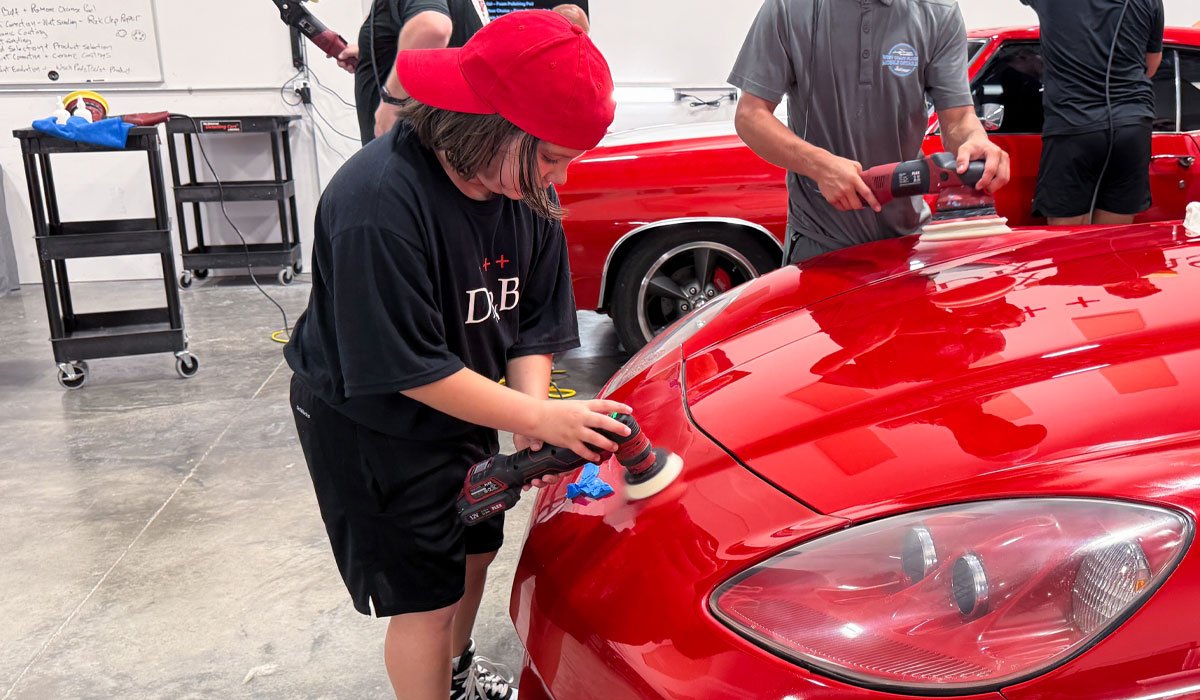
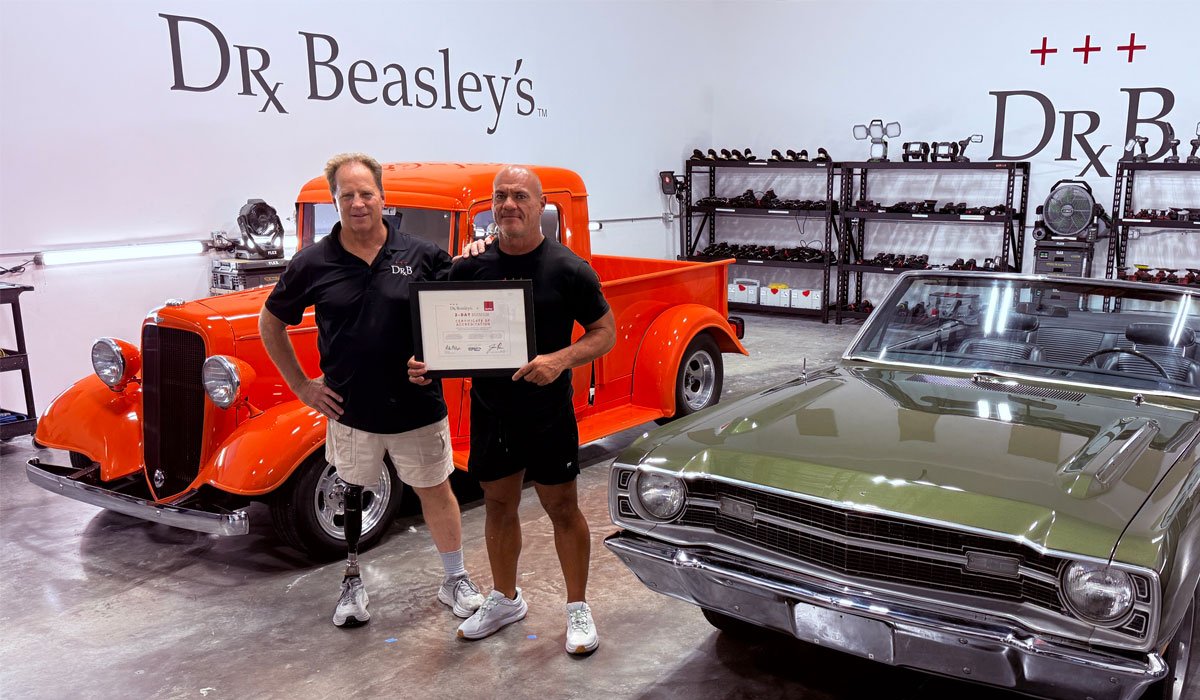
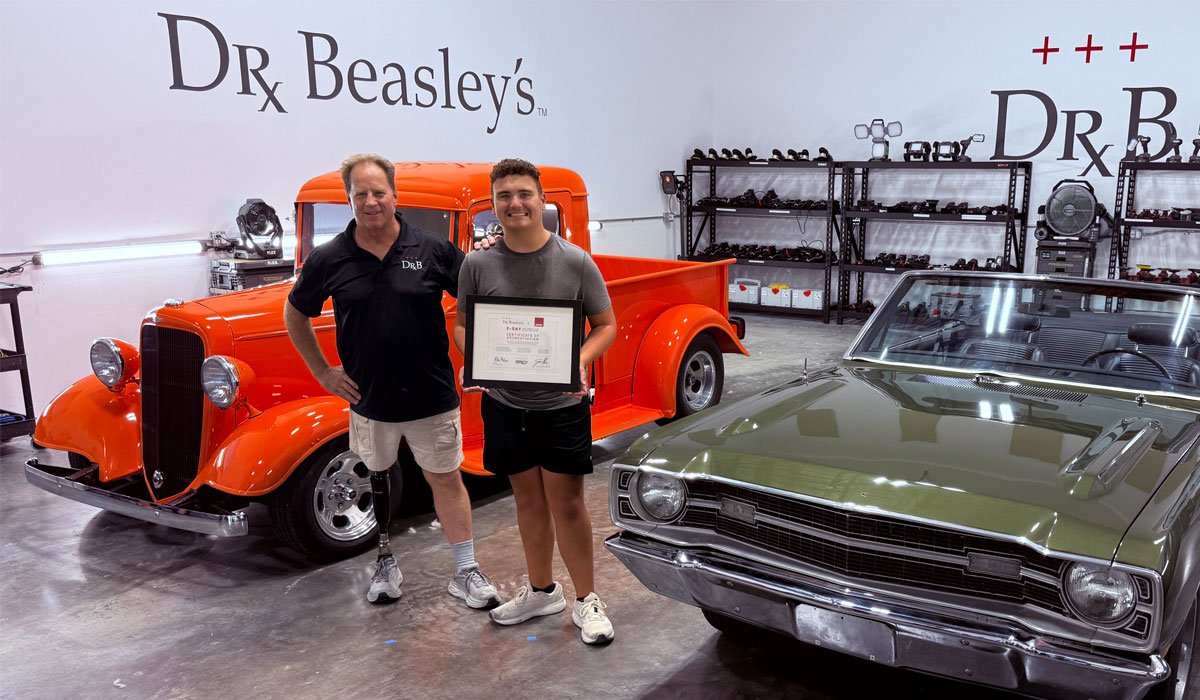
Best investment ever
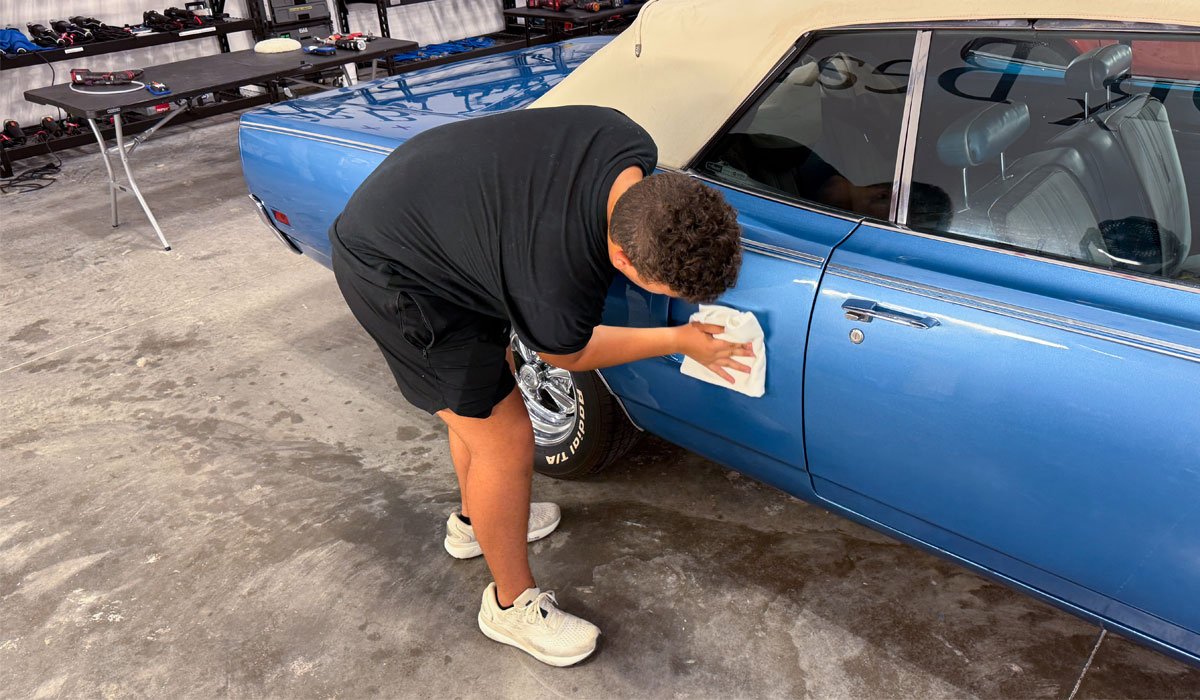
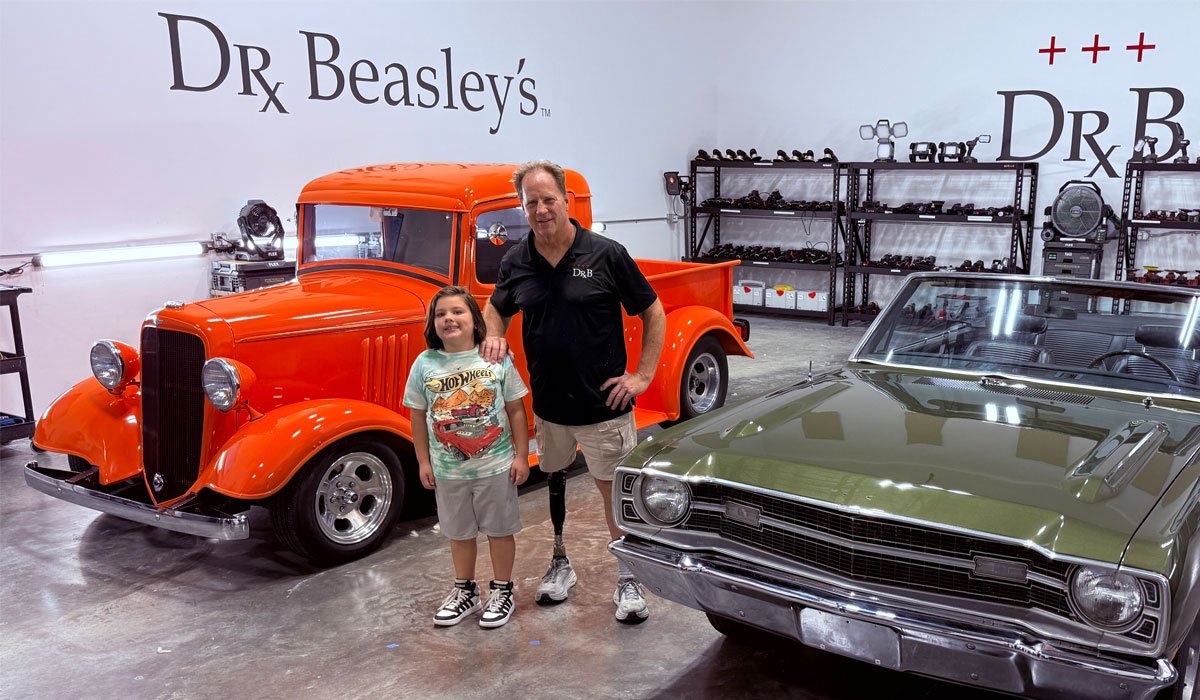
I can’t say enough great things about Mike and this class. I learned so much from his many years of experience. The guy is a genius when it comes to detailing and an amazing teacher. He really has a gift for it. Hands on training 98% of your time in this class. Me and my son both went to the class and have talked about it daily since we’ve left. We enjoyed it that much. I’ve been detailing for about 30 years and in the used car business about 25 years. I highly recommend this class to anyone in the profession or just as a hobby. You’re thoroughly enjoy it and be glad you went. Worth every penny.Hunter - Alabama
Gilberto - Florida
Sean - California
Sean's Review - Verified - I recommend this product
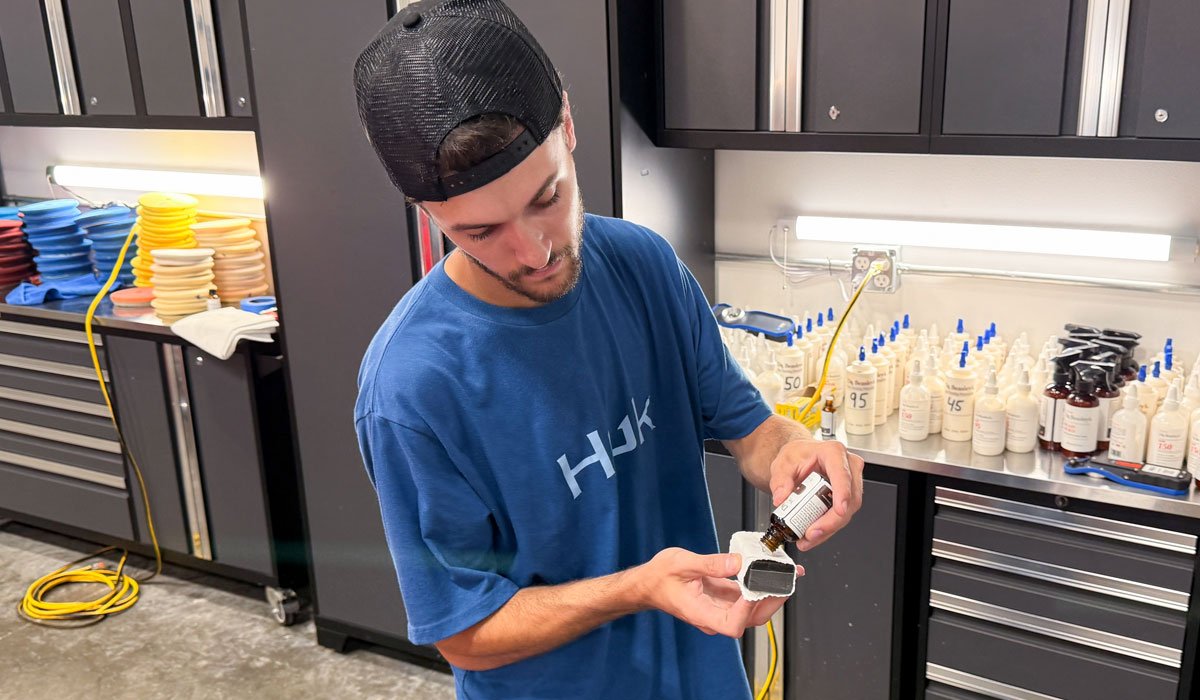
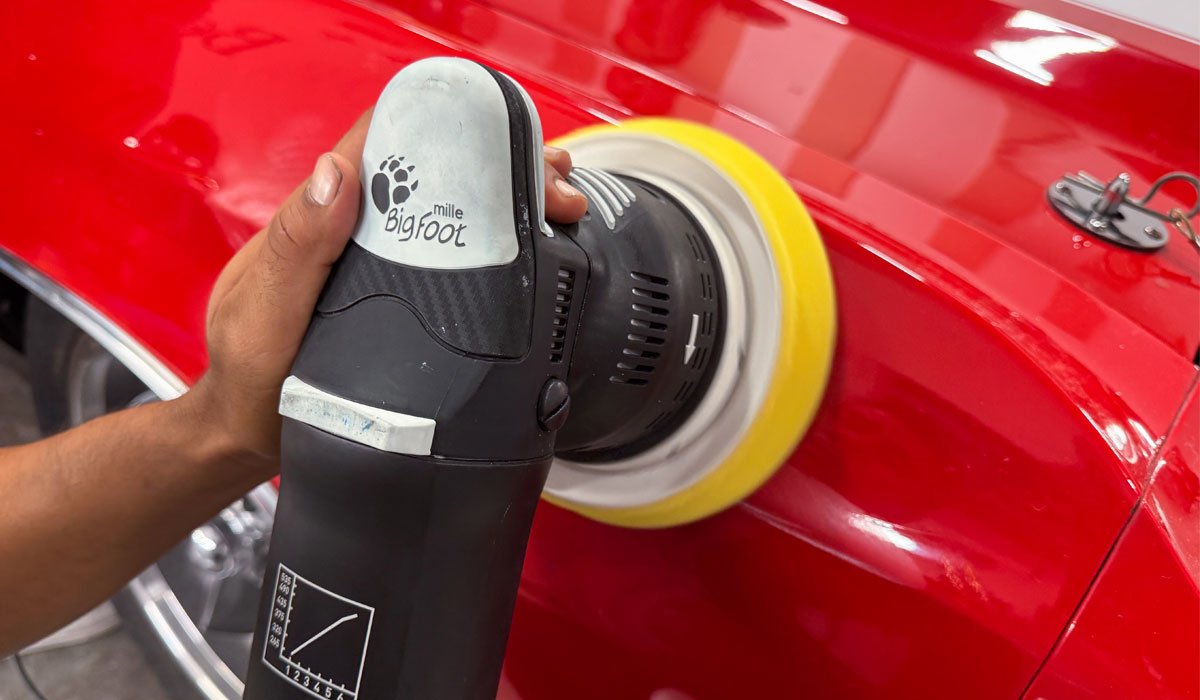
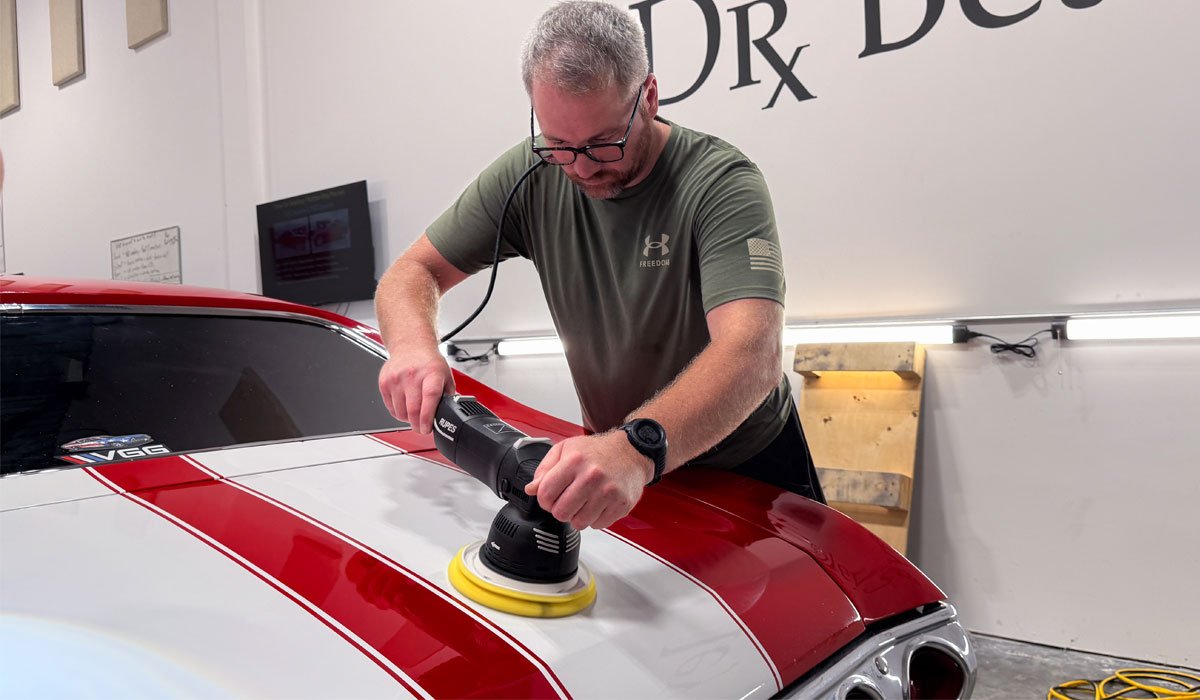
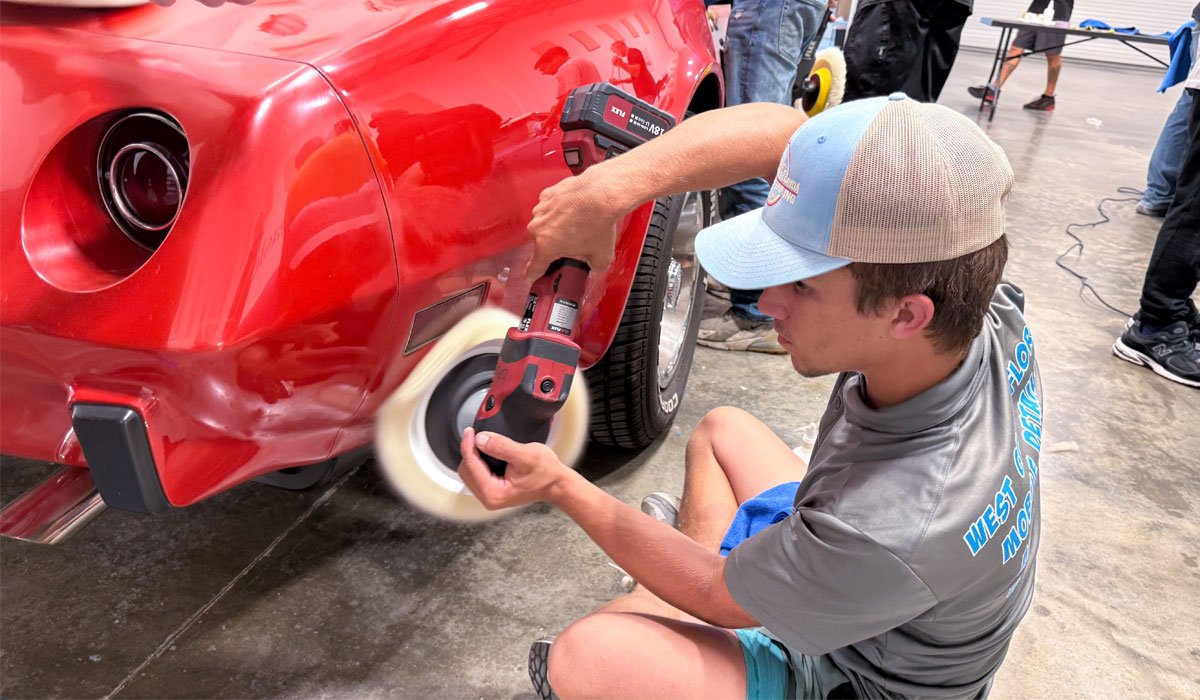
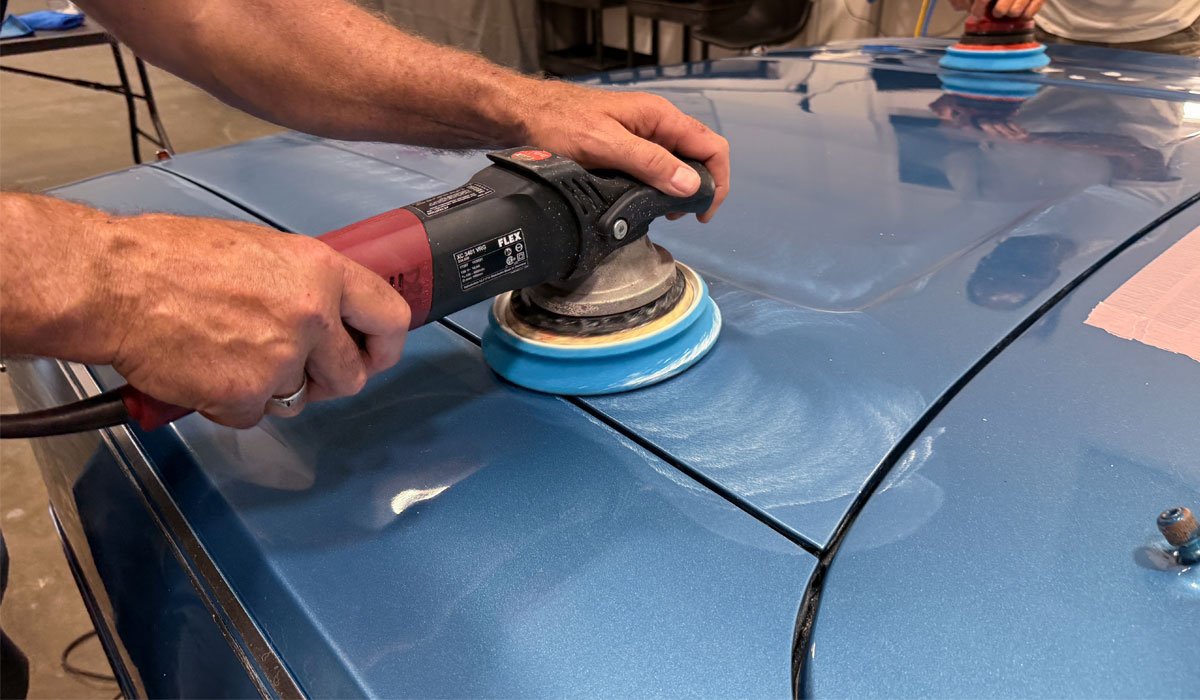
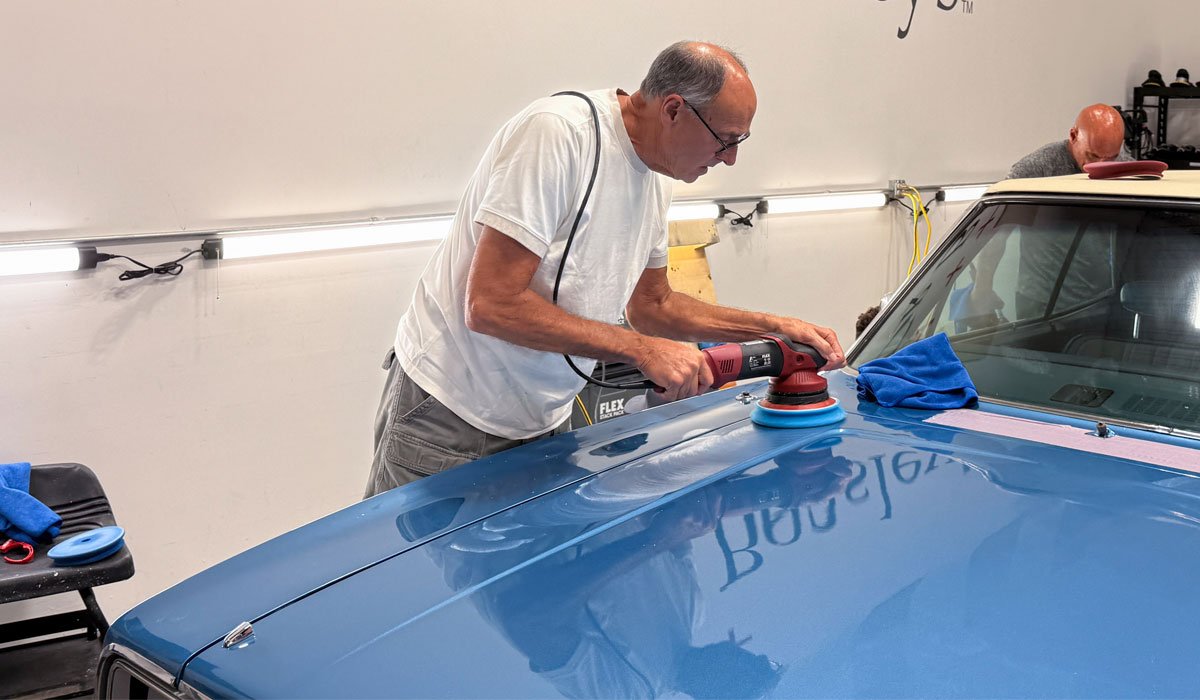
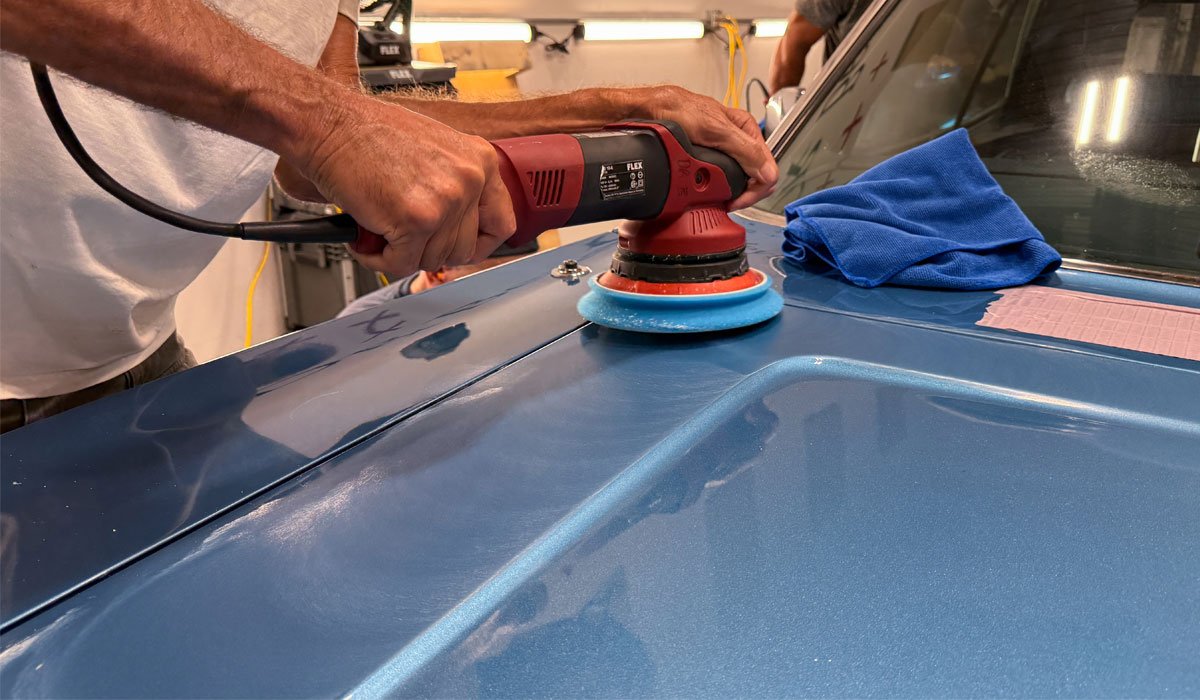
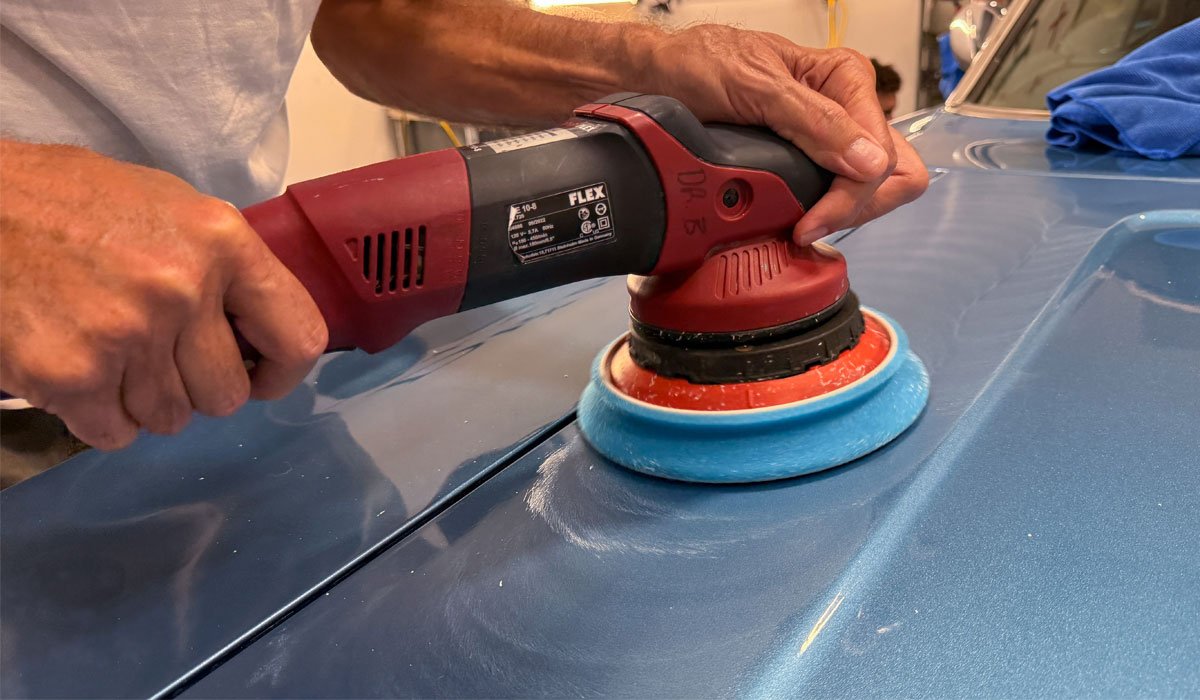
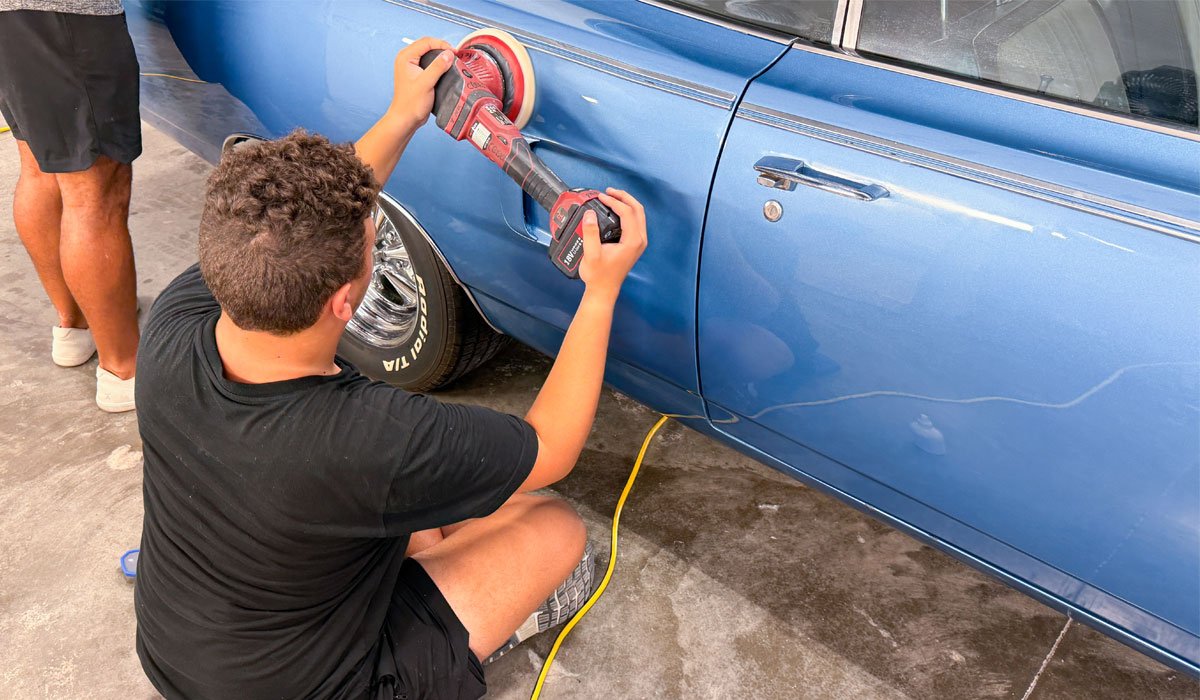
HANDS-ON DETAIL TRAINING (September 20-21, 2025)
Mike Philips' two-day detail training school is hands-on and comprehensive with a crowded itinerary. It moves fast and you will work. Fortunately, you have Mike and his two assistants (Willie and Yancy) to guide you and answer any questions. The school is instructive and it was what I was seeking--handling polishing tools and learning paint correction. I never knew anything about 'free-spinning' or 'gear-driven' polishers, rotary polishers, corded and battery-operated, etc. I learned key elements to each tool and it's prepared me in making future purchases for personal use. Mike's warehouse has storage shelves racked with an abundance of polishers to choose from. Brands such as Rupes, Flex, Griot's Garage, to Harbor Freight (Bauer).My recommendation: Wear gym clothes. I dressed in jeans for protection (PPE) and I was sweating. It was my first time visiting Florida, and it was warm/humid. First time I've encountered humidity (I'm from Silicon Valley). Couple the humidity with the non-stop class participation, and I was sweating (Between jet-lag and hustling in class, I regrettably missed the Saturday night dinner and went to sleep early). And I should have packed more comfortable shoes. I flew-in from Northern California to take Mike's school, and I packed light.
A special thank you and recognition to Mike's assistant, Willie. Mike gets busy during the class, and I formed a rapport with Willie. Willie answered all my questions, filmed me while polishing and played me video of what I was missing while performing paint-correction. Willie then demonstrated the correct technique to the area I struggled with the polisher. This is how you learn--try, make mistakes, and have a qualified instructor guide you in the right direction. Mike also taught me to control the polisher with one hand on the battery.
Class began on Saturday, but if you were there a day early, Mike invited you to arrive at his training facility and learn sub-surface glass polishing. I arrived on Friday, a few of us were there, and we immediately went to work with the polishers.
I absolutely recommend Mike's detailing school. It has inspired me to become more serious of this new hobby for me. If Mike has another variation of this detailing school, I would definitely sign-up and return.
Sorry for the delayed review, Mike. After your class, I drove to Miami and vacationed for a week. Like I said, it was my first time visiting Florida. I had fun!
Evan - California
Evan's Review - Verified - I recommend this product
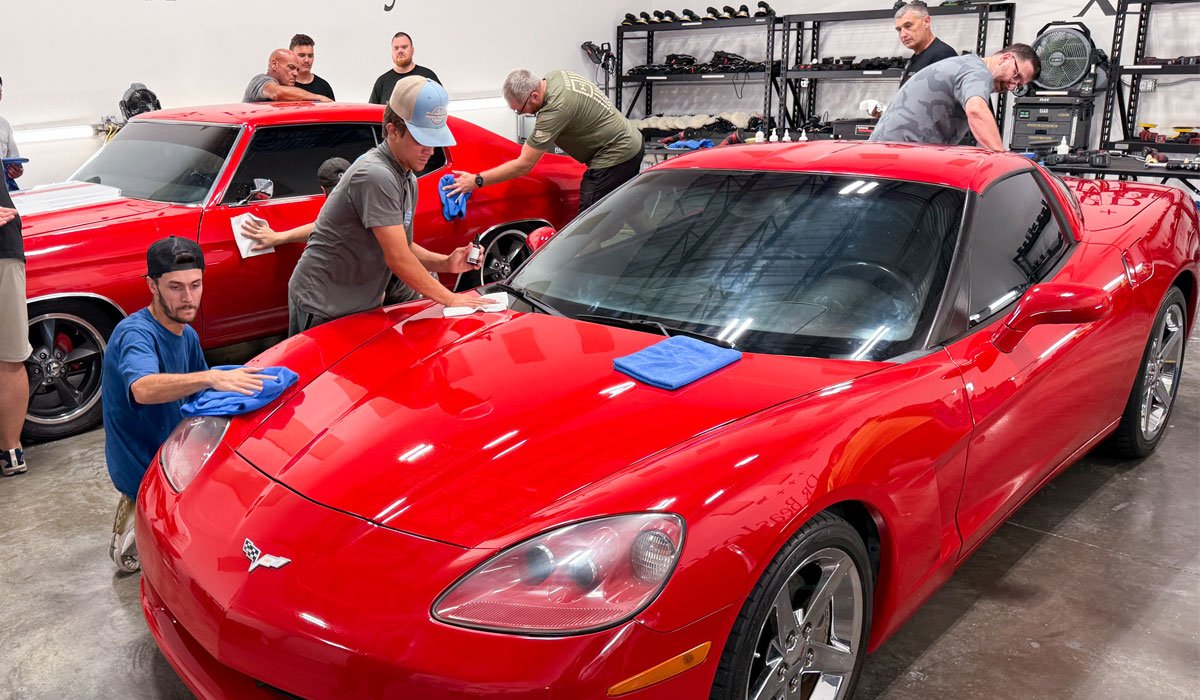
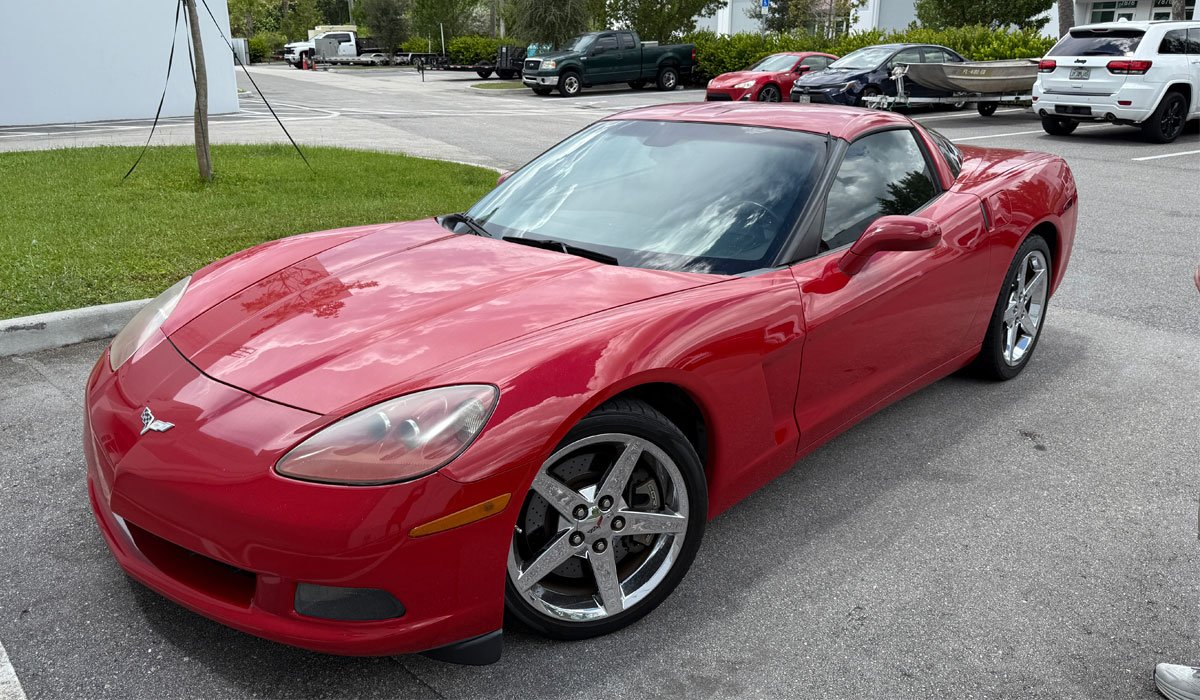
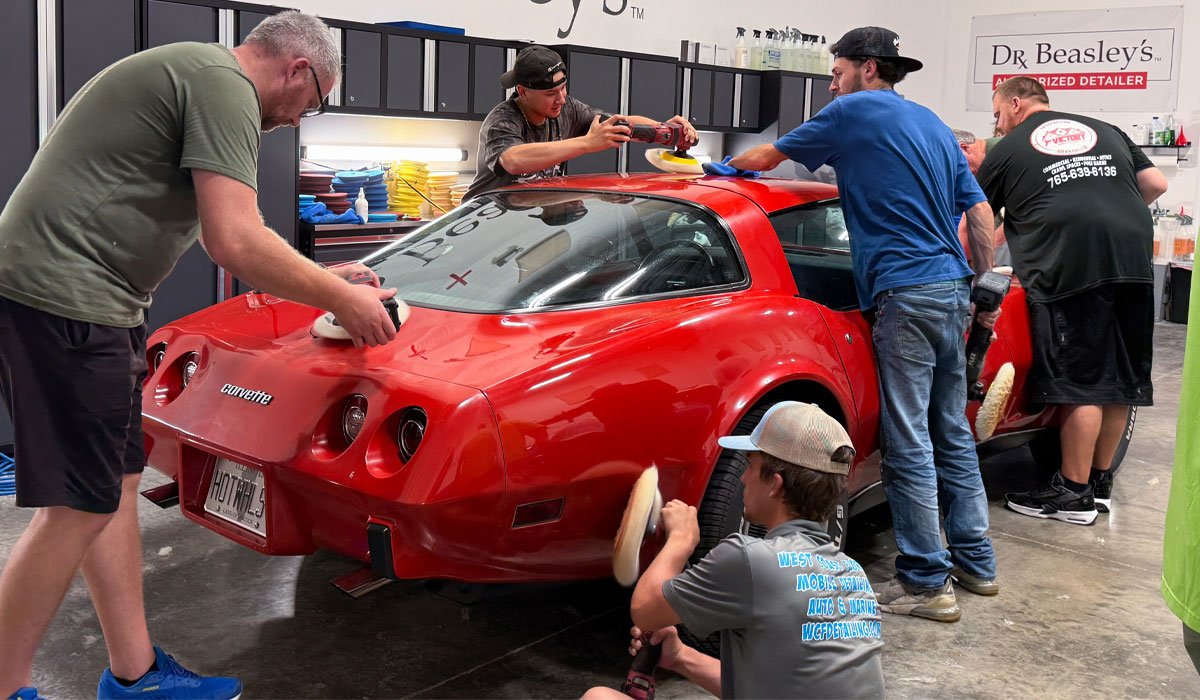
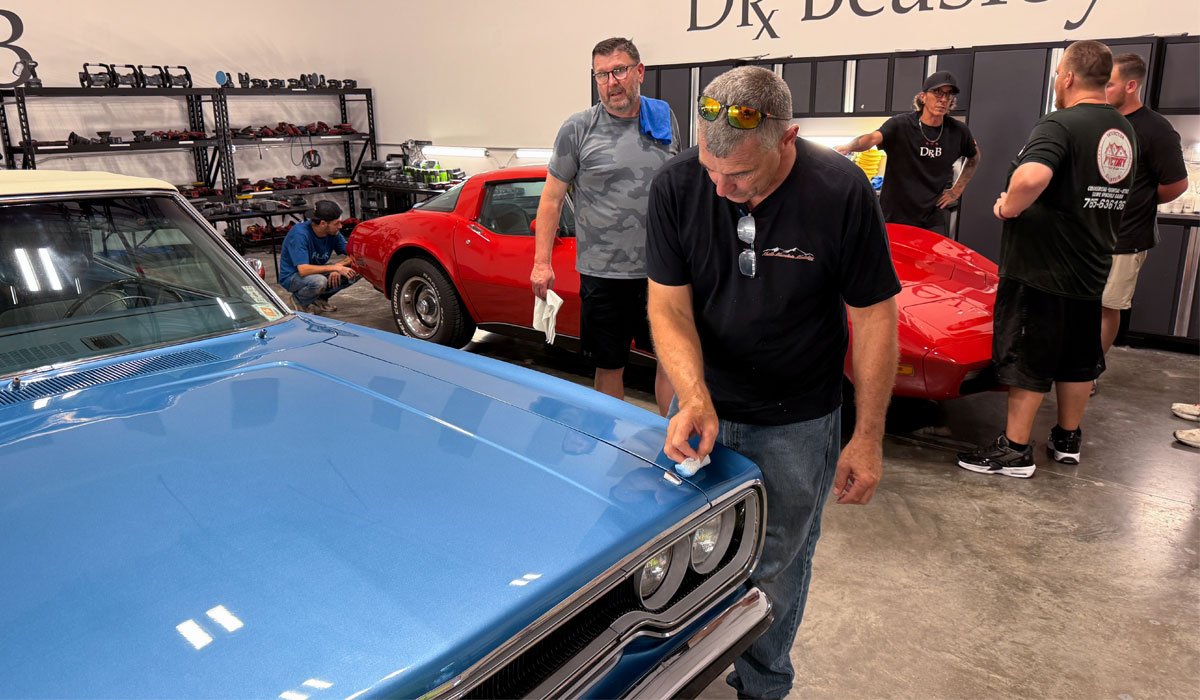
Auto detailing class
This class was a great experience. I learned a lot in 2 days. Never thought I’d be working on 8 cars in 2 days, but we did. This class showed me how to become a better detailer and more. Mike is an amazing teacher and is definitely in my eyes one of the best in the industry. I highly recommend taking this class if you want to learn more about getting into automotive detailing or if you want to take your business to the next level.Michael - Maryland
Michael's Review - Verified - I recommend this product
AMAZING CLASS! The absolute best!
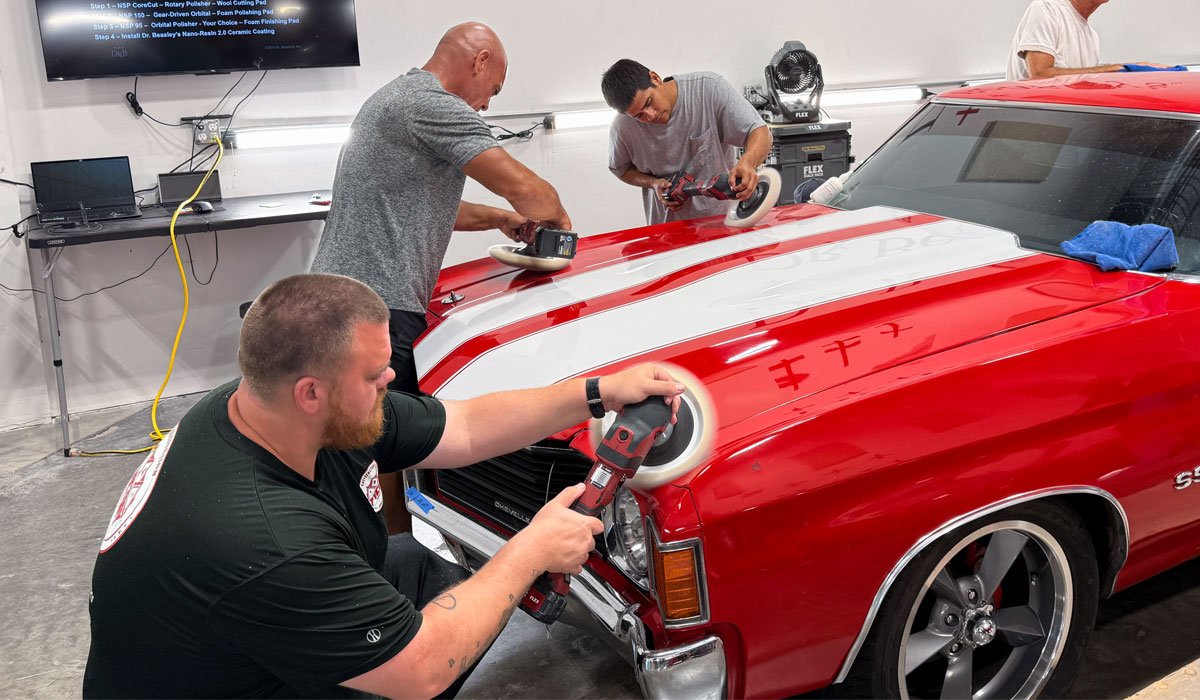
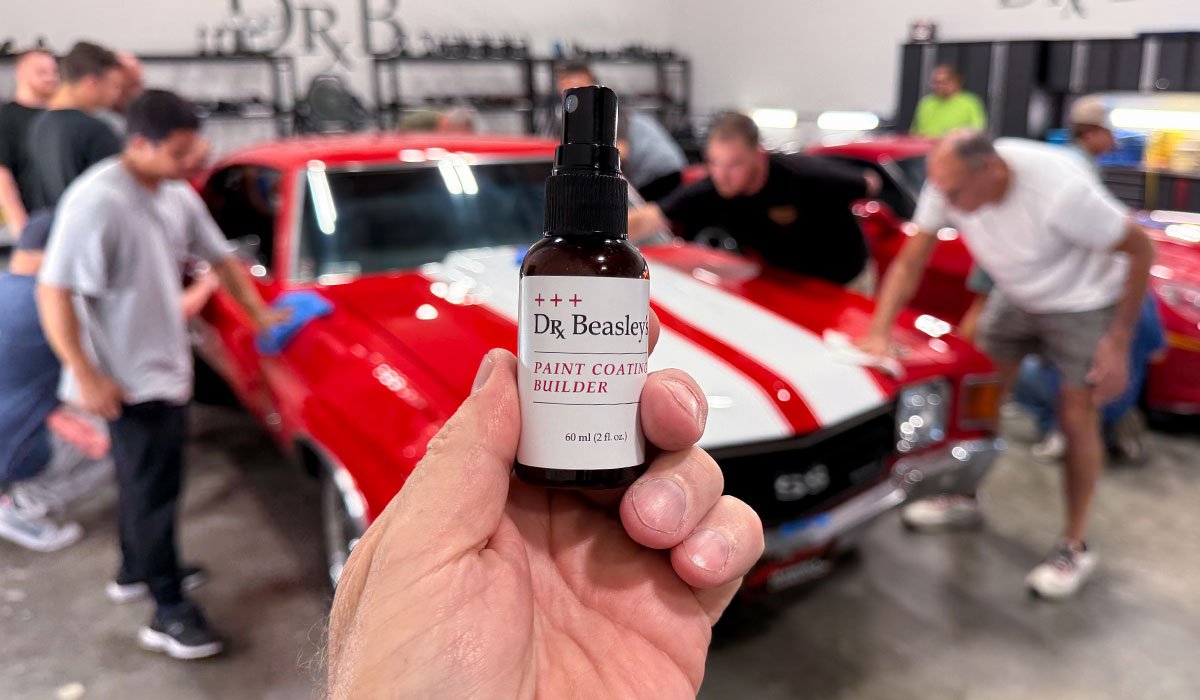
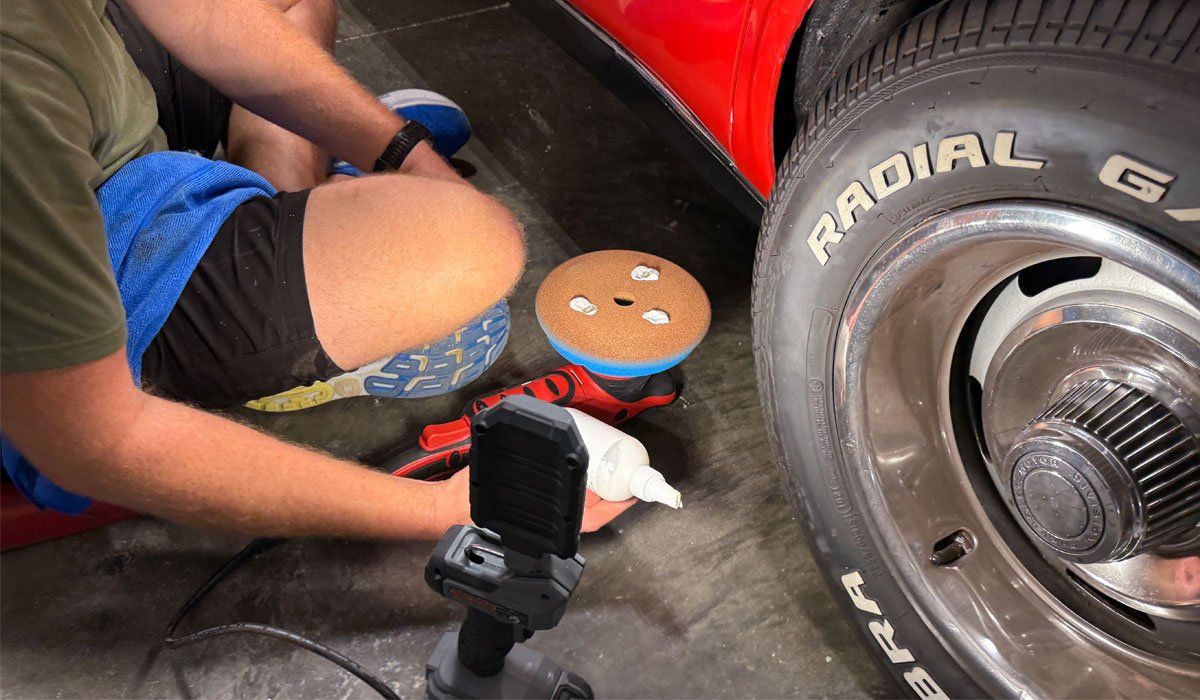
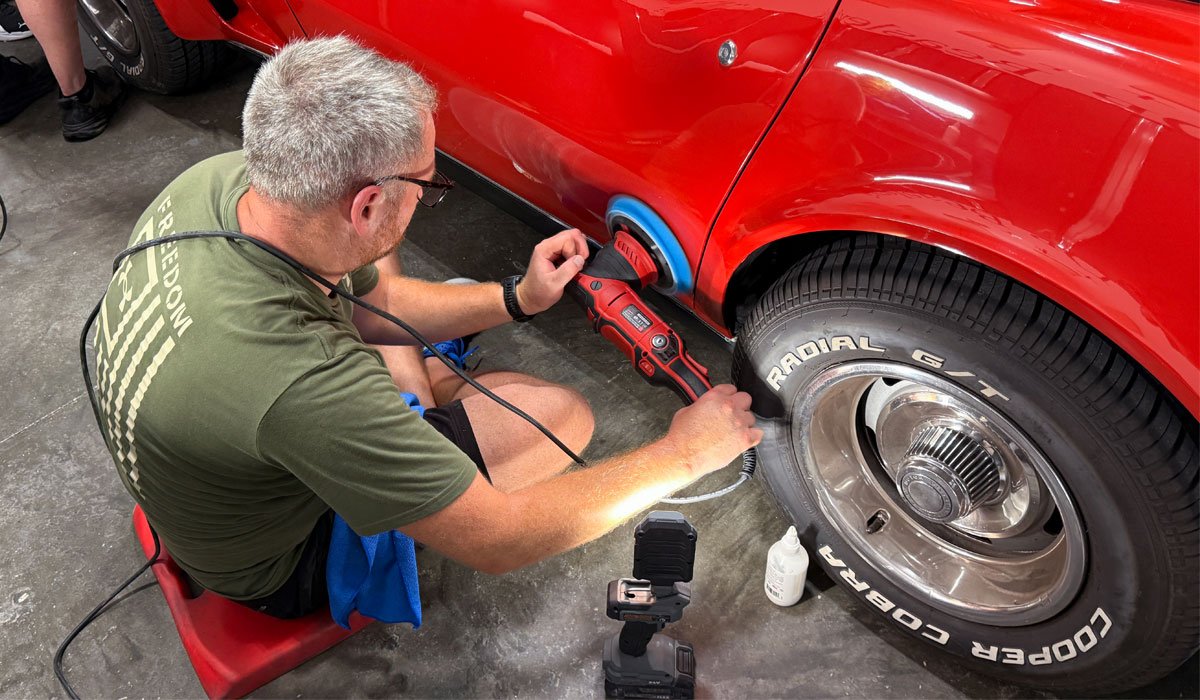
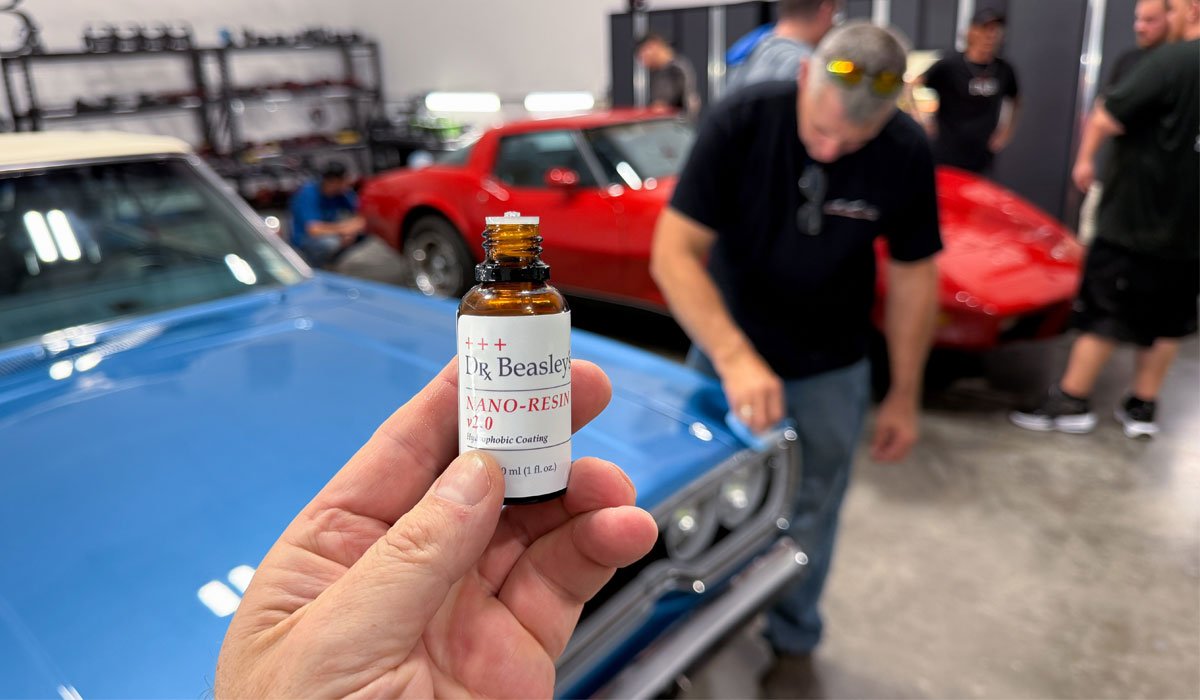
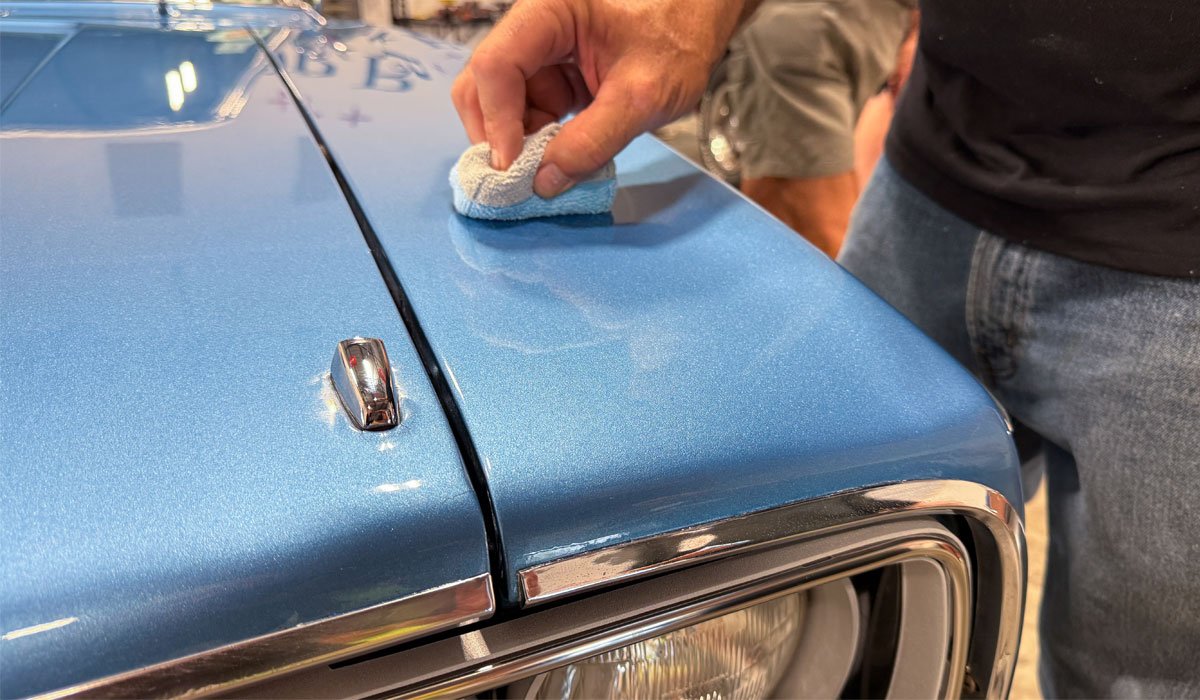
I recently completed the Dr. Beasley’s 2-Day Auto Detailing Course with Mike Phillips, and I cannot recommend it highly enough. From start to finish, the training was 100% hands-on, no long lectures, no sitting back. Every moment was spent actually detailing cars, learning real techniques including paint correction, polishing, tire/plastic/glass correction, and coating application.Mike Phillips is not only a master of his craft, but also an incredible teacher. He broke everything down step-by-step, making even the most advanced techniques approachable. What really impressed me was his dedication after the course, approximately 10 days later, Mike personally followed up with a phone call to check in and see if I had any questions or needed clarification on anything we covered.
That kind of follow-through shows how much he truly cares about his students’ success. If you’re serious about detailing, whether as a professional or an enthusiast, this course is absolutely worth it. You walk away with real confidence, practical skills, and the reassurance that Mike and the Dr. Beasley’s team have your back even after the class ends.
Joshua - Florida
Josh's Review - Verified - I recommend this product
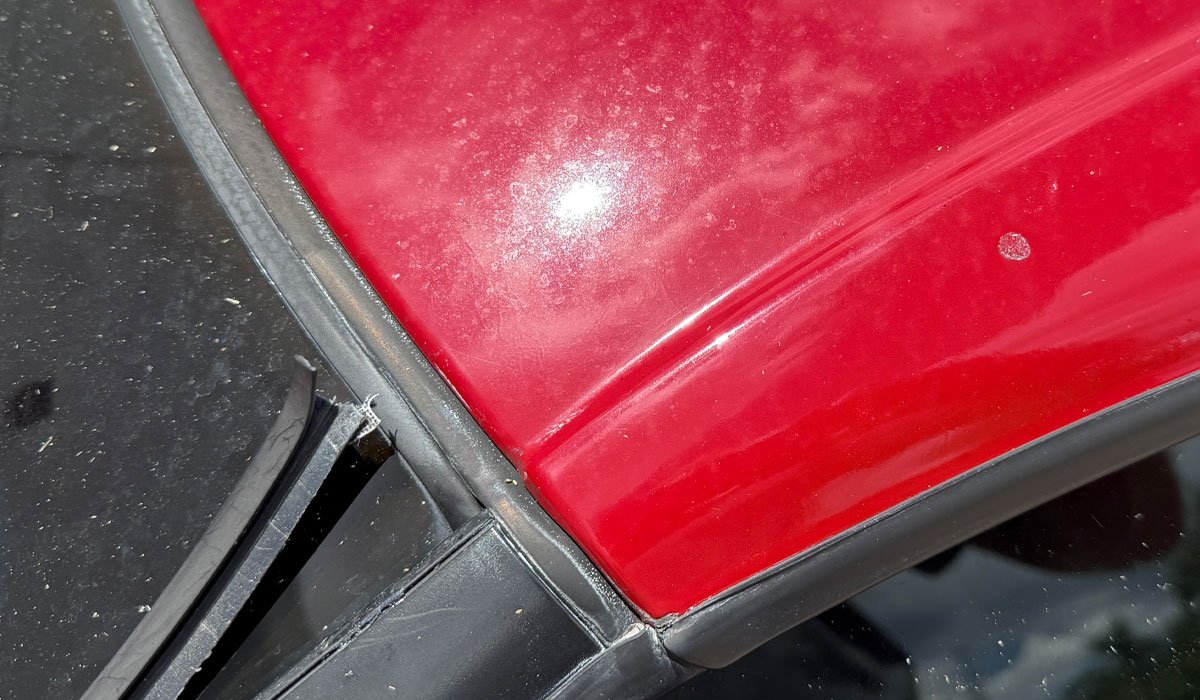
Mike Phillip’s 2-Day Paint Correction Class
Mike’s two-day paint correction class was an outstanding experience. We worked on a wide range of vehicles and tackled different levels of correction, which gave me the opportunity to learn and apply new techniques. The class offered access to a broad selection of tools, and I gained valuable hands-on experience with each. The group included participants of all experience levels, and no matter where you started, questions were always welcomed and answered thoroughly. Both Mike and his assistant instructors provided excellent guidance and feedback throughout. I highly recommend this class to anyone looking to expand their skills in paint correction.Roger- Ohio
Roger P. - Verified - I recommend this product
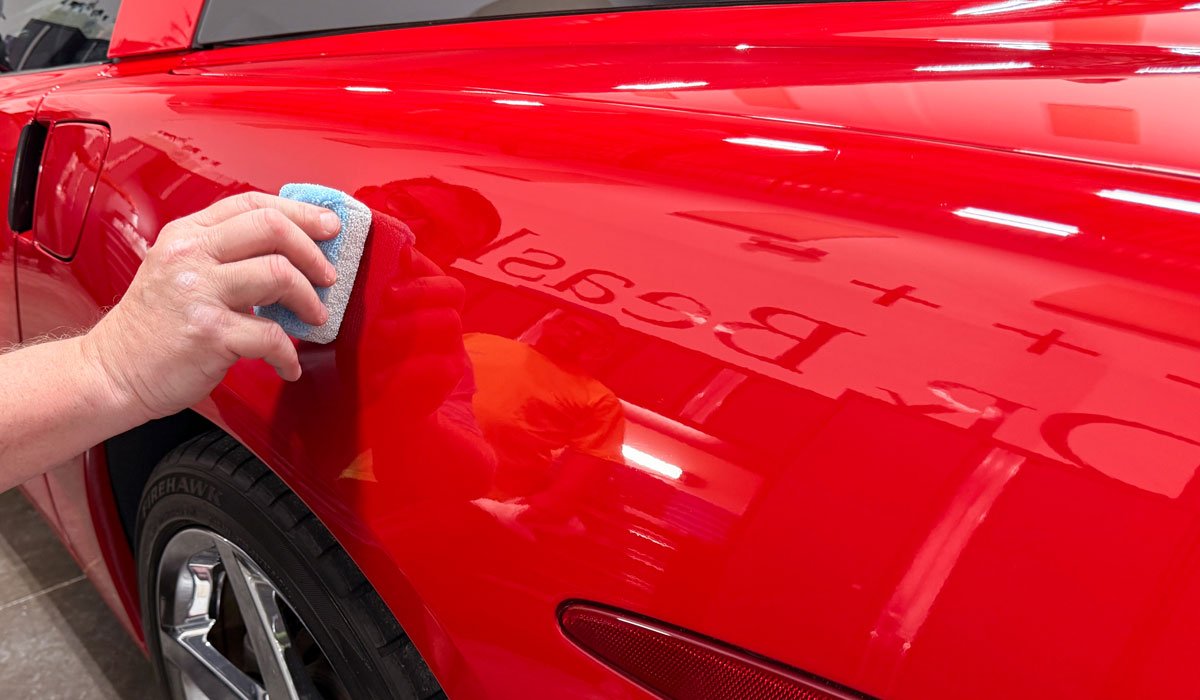
Comprehensive Paint Correction Instruction
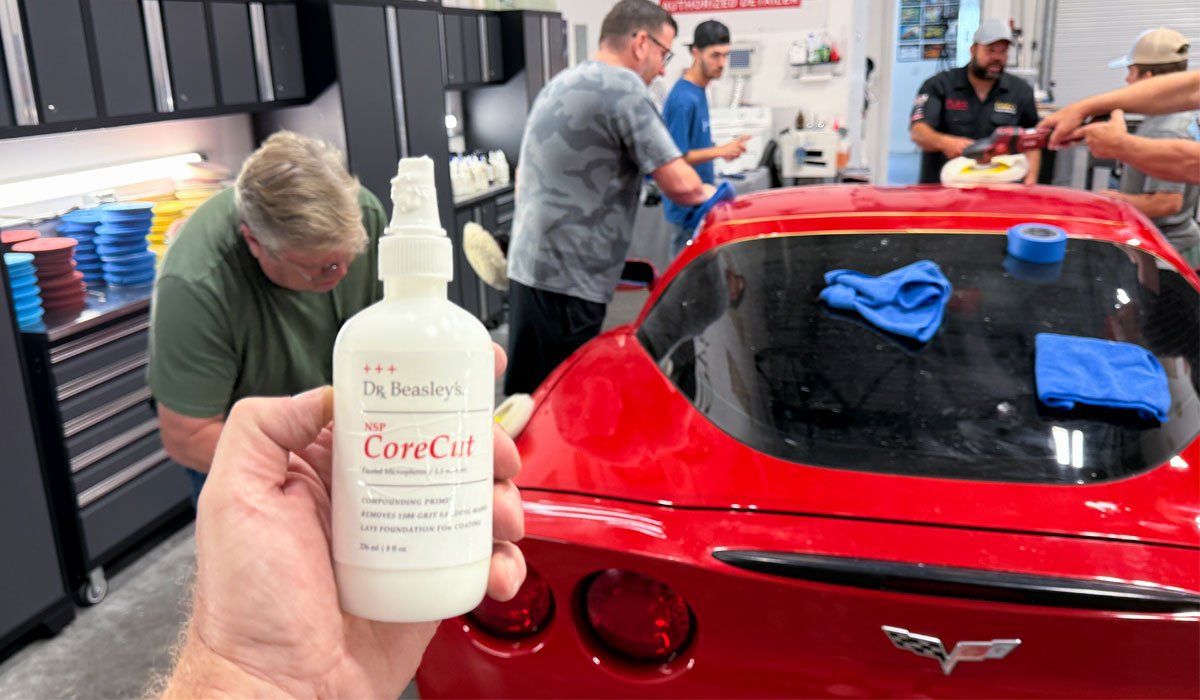
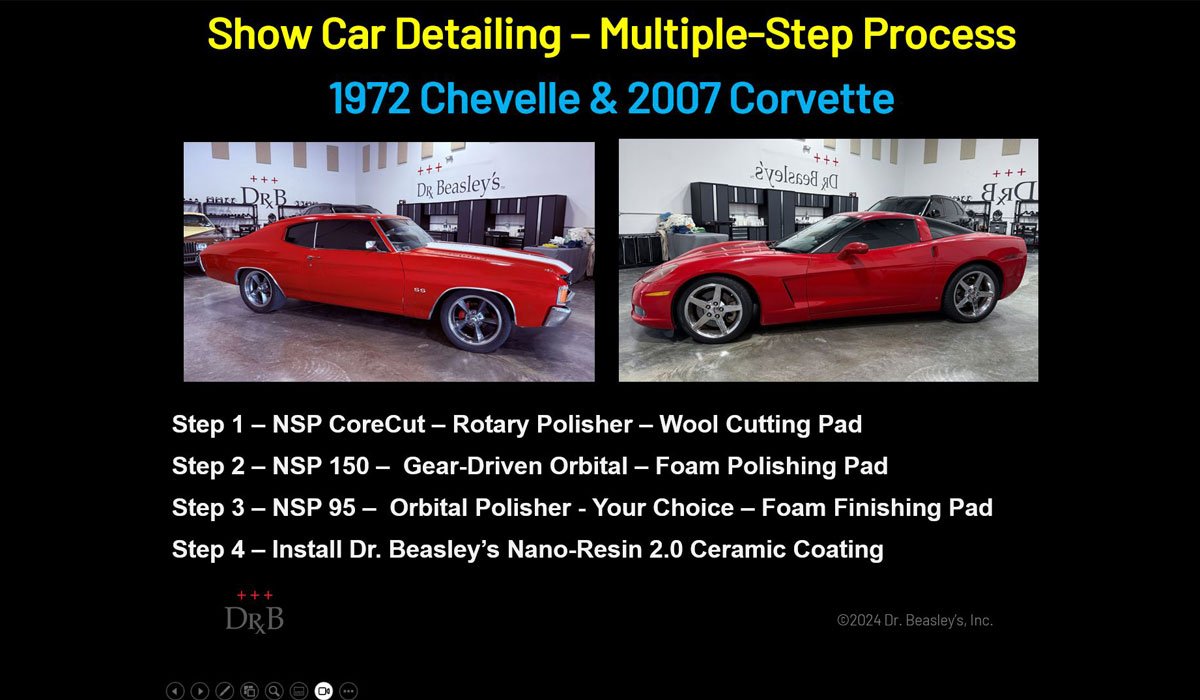
No disappointments! This class was well organized and beneficial whether novice or expert. Mike Phillips provided start to finish hands on Instruction to automotive paint restoration. All steps... beginning with cleaning the paint substrate, sanding (wet/dry) coarse/fine cutting, polishing, to ceramic finish, Mike covers it all in detail and much more. A multitude of top name equipment is at your disposal to experience, along with personal technique instructions on each. The amount and level of knowledge provided in this class can't be expressed in the limited space of this review. Whether beginner or a seasoned veteran, this knowledge and instruction is well worth the time and effort. And come well rested!Thanks, Mike, for the well-rounded experience, I'm looking forward to buying some equipment and putting this training to use.
Jonathan - Georgia
Jonathan - Verified - I recommend this product
2 day class was Fabulous!!
This was an Awesome hands-on class! Mike is unbelievable teacher/guide, I felt like we were just working in the shop. Didn’t never feel like he was trying to be teacher looking down so to say. Just gives knowledge and techniques to get it done and fastest way to do so.I have had few teachers in the past sitting on high horse. We were going all day long no sitting around. He taught us techniques, systems, processes and all about several different products / polishers. He wasn’t there to sell you something. He was there truly teaching detailing. I learned so much way more than I was expecting too!
So, I highly recommend taking Mike’s class regardless of your level of detailing experience. He just wants to see you succeed and be ready take on the world. He took my knowledge and confidence of wet sanding out the roof. So you will not regret taking his class the only regret I have about the class. Is that I didn’t take it sooner. Value of the class is much much higher then actual cost. Thanks so much !!Go head sign up!
Troy - Florida
Troy's Review - Verified - I recommend this product
Absolutely recommend
This was my 2nd time taking Mikes class. Just like the 1st class, it was very informative, and very hands on. Now I am able to implement what I’ve learned and take it to the field, doesn’t get any better than that! Mike’s a great teacher and very passionate about what he does, which makes his classes a must take, couldn’t recommend more. Thank you Mike!Scott - South Carolina
Scott's Review - Verified - I recommend this product
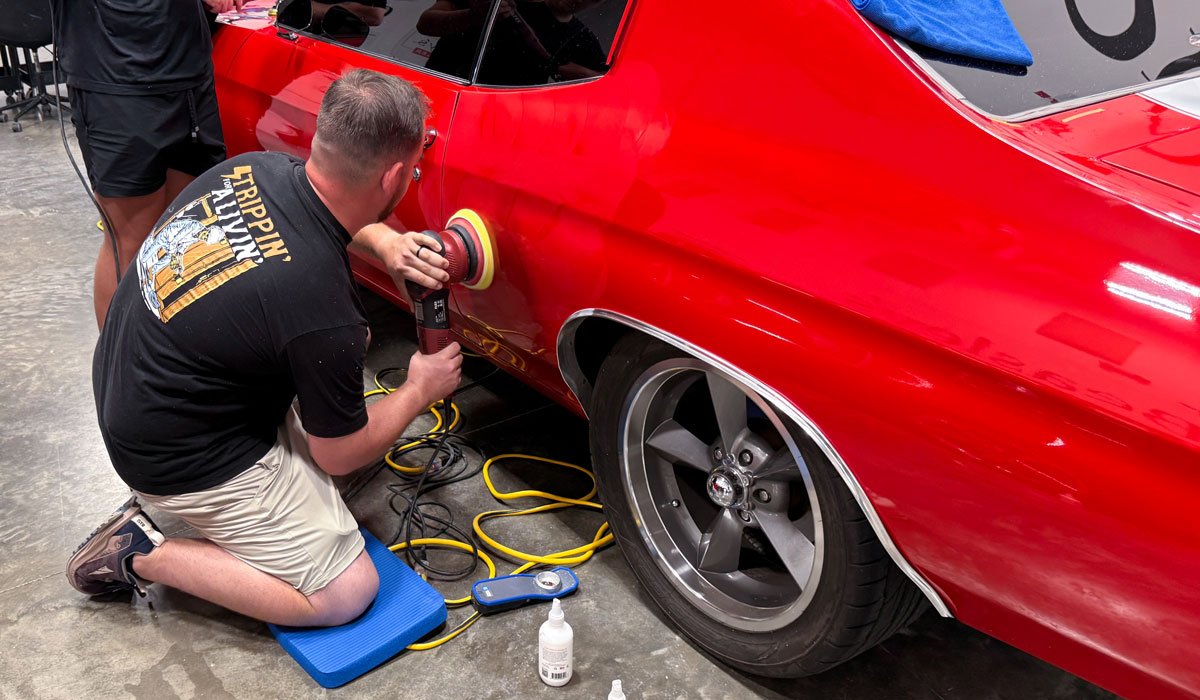
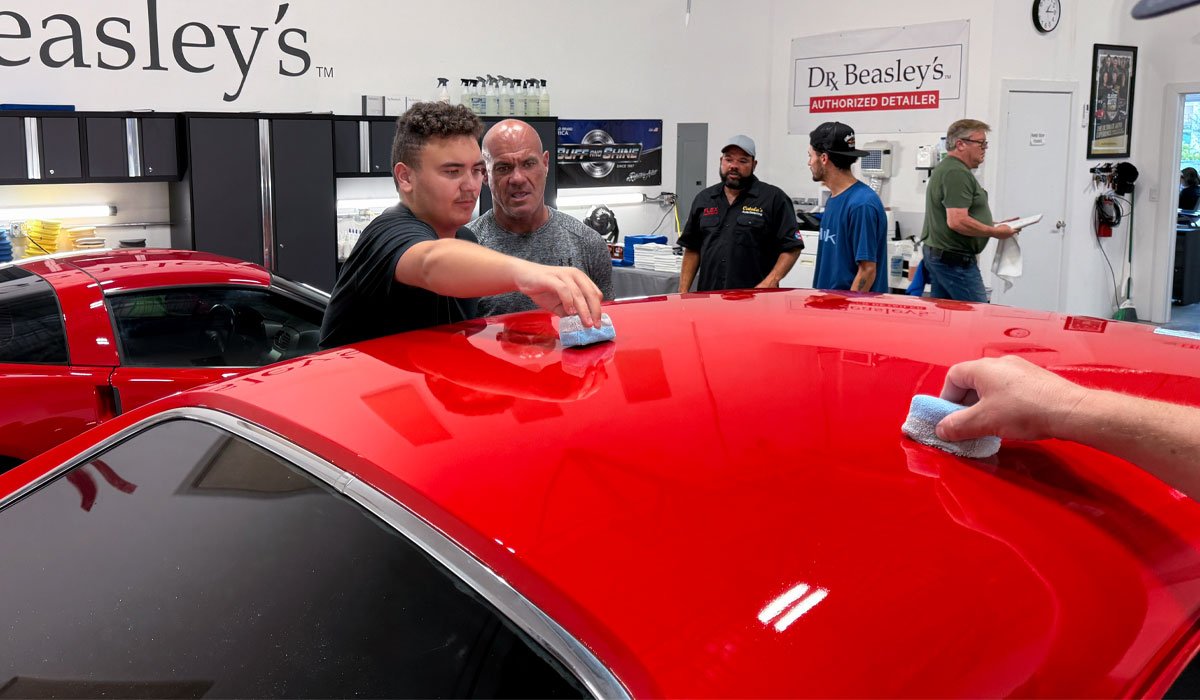
You will leave this class with confidence
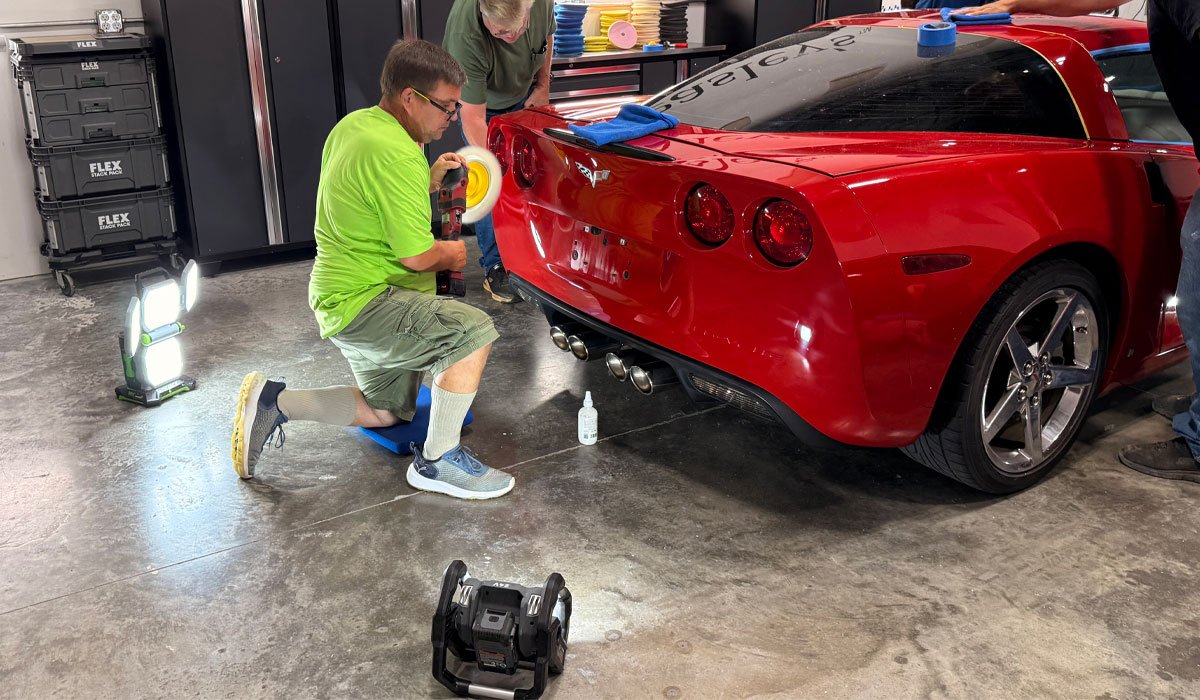
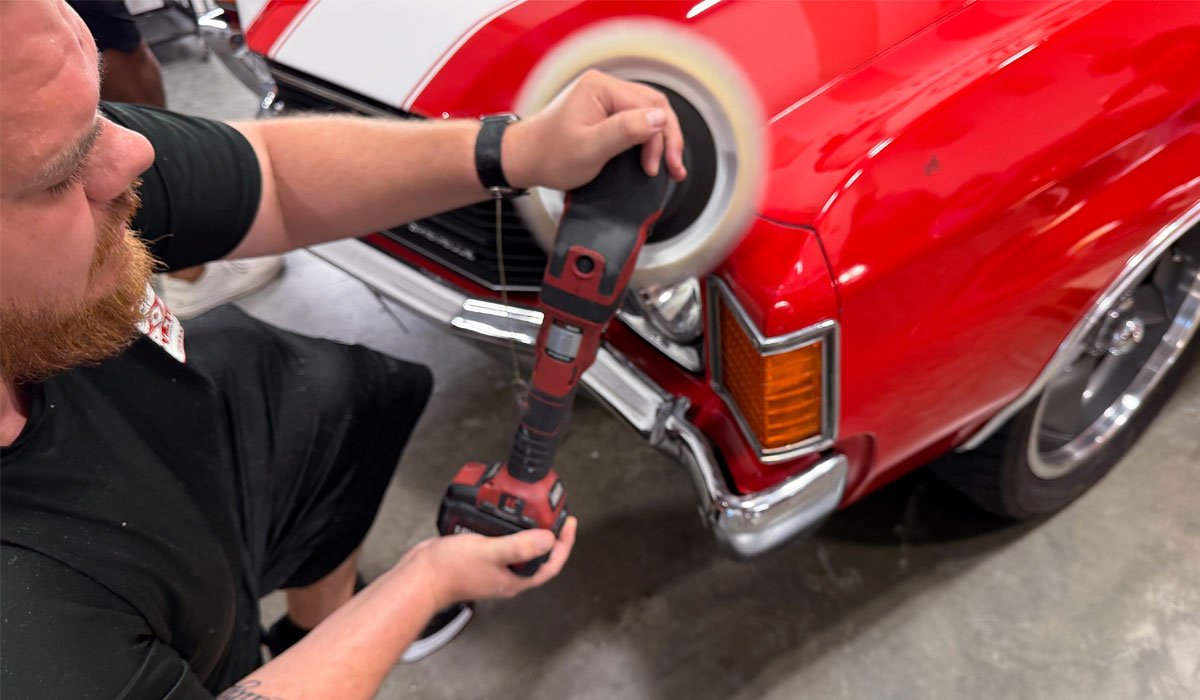
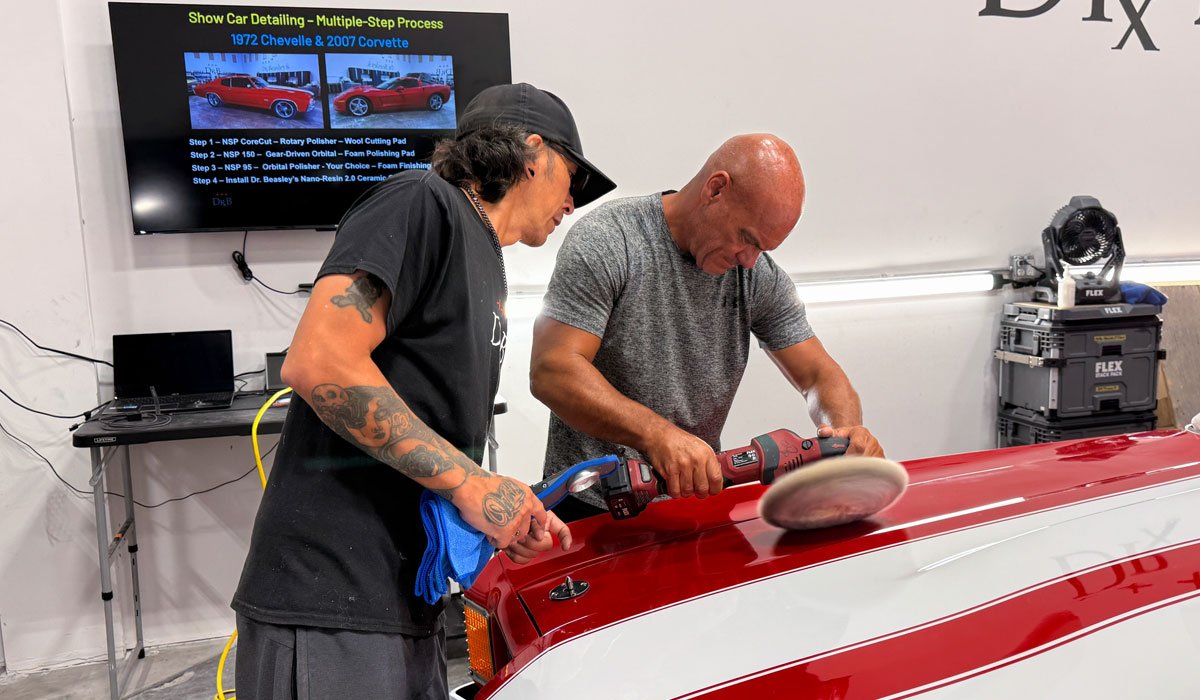
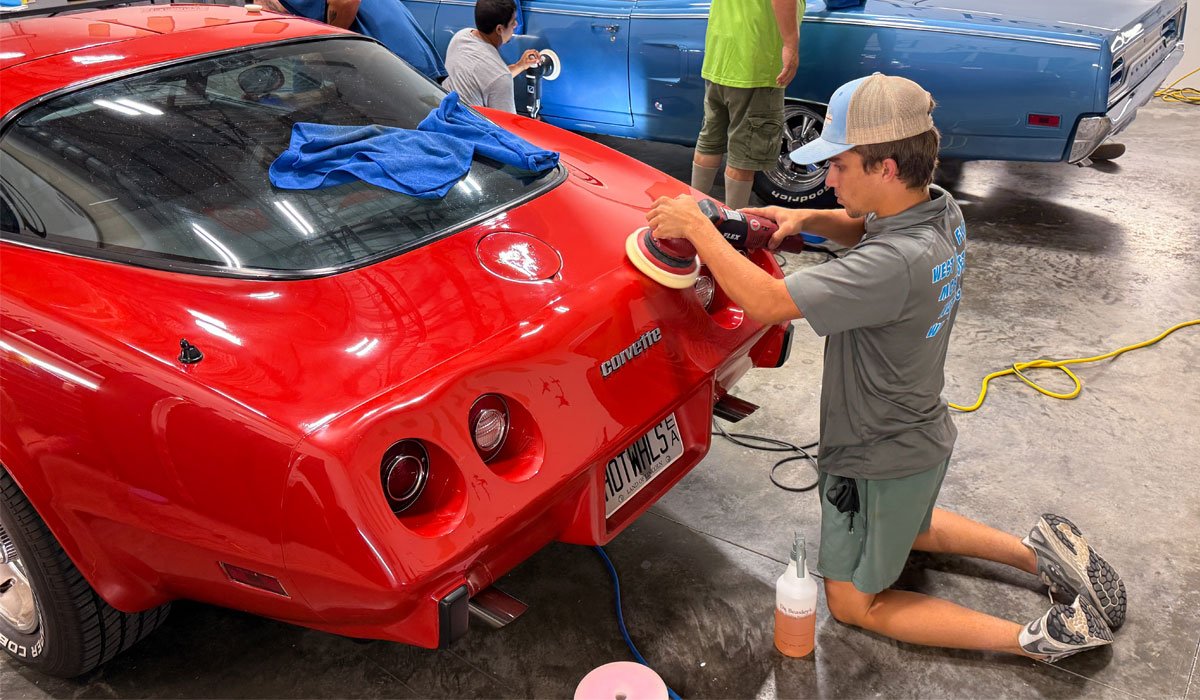
Great! I had never used a machine buffer in my life and in less than 30 minutes of first day of class was using one on a Corvette! I am 59 years old and enjoying taking classes and learning new things. I have taken courses on painting classic cars , custom fabrication etc., and unlike Instructors I had in the past, Mike teaches you like he has hired you and expects you to be able to work on your own in a couple of days. He puts the equipment in you're hands and tells you to go to it , furthermore shows you how to get it done fast for maximum profit.You don't pass the tools around he has 20+ of every tool and the best ones in the Industry Flex Rupes etc., I left this class felling as if I wanted to open up a detail shop tomorrow! I have been given enough hands-on training and knowledge to do so.
Paden - California
Ray - Pennsylvania
Ray's Review - Verified - I recommend this product
I arrived on Saturday morning and Mike went over all the equipment we were going to use over the 2-day period we were going to be in class, then it was off to work, starting with headlight sanding and polishing. Next we moved on to cutting and polishing, it was all hands on. Mike was a very good instructor, very informative and full of tips for the best end result. Yancy was Mikes assistant and was also very helpful, these guys were down to business but when the class was over, you walked away with new friendships.
I would highly recommend this class, weather you’re an enthusiast like myself or looking to go into the business professionally, these guys will teach you what you need to know to make that brilliant shine you and your customers are looking for.
Mitchell - Indiana
Quintin - California
Quintin's Review - Verified - I recommend this product
110% RECOMMEND
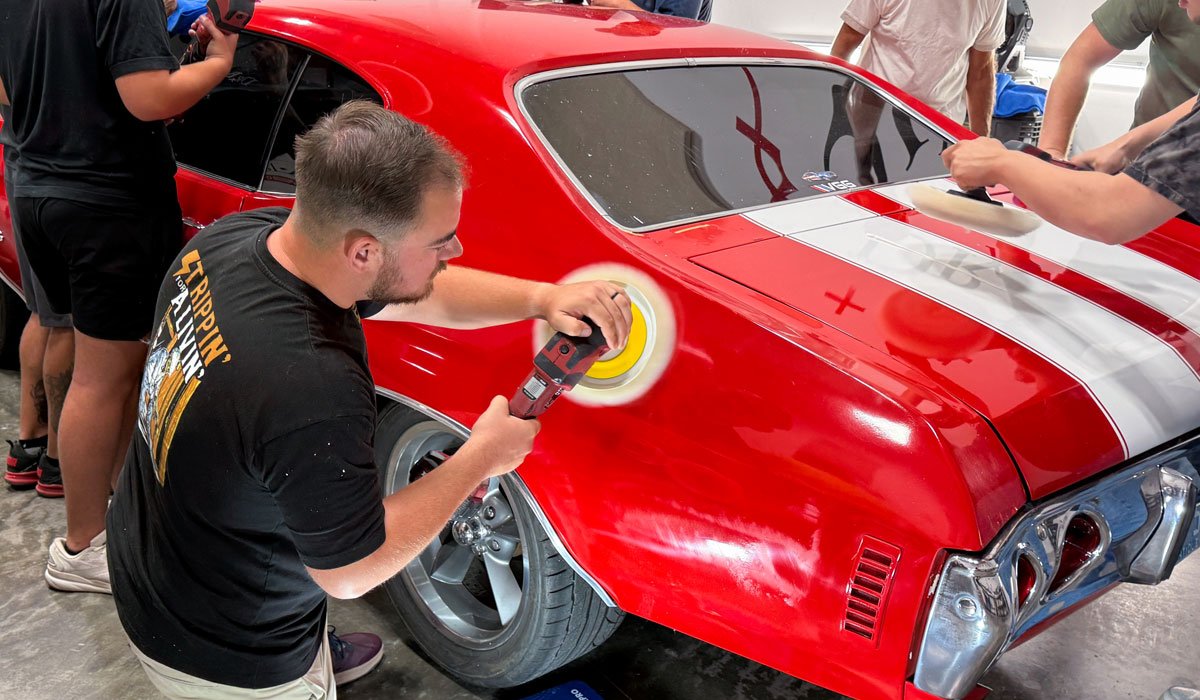
Fairly new to the detailing world, extremely new to the paint correction portion. Mike’s class was filled with a lot of firsts for me. First time using a rotary and DA, first time ceramic coating, first time wet sanding and so much more. I went from having no idea where to begin before this class to now having the confidence, knowledge, and mechanical skills to begin this journey on my own.I cannot stress this enough, whether you’ve never paint corrected or have been for years, TAKE THIS CLASS. The two 8 hour days of straight work with almost 0 downtime taught me more than I would’ve ever learned from the YouTube gurus. Thank you for offering this class Mike. Will be recommending this to anyone and everyone who is looking to further their paint correction skills!
Brad - Illinois
Brad's Review - Verified - I recommend this product
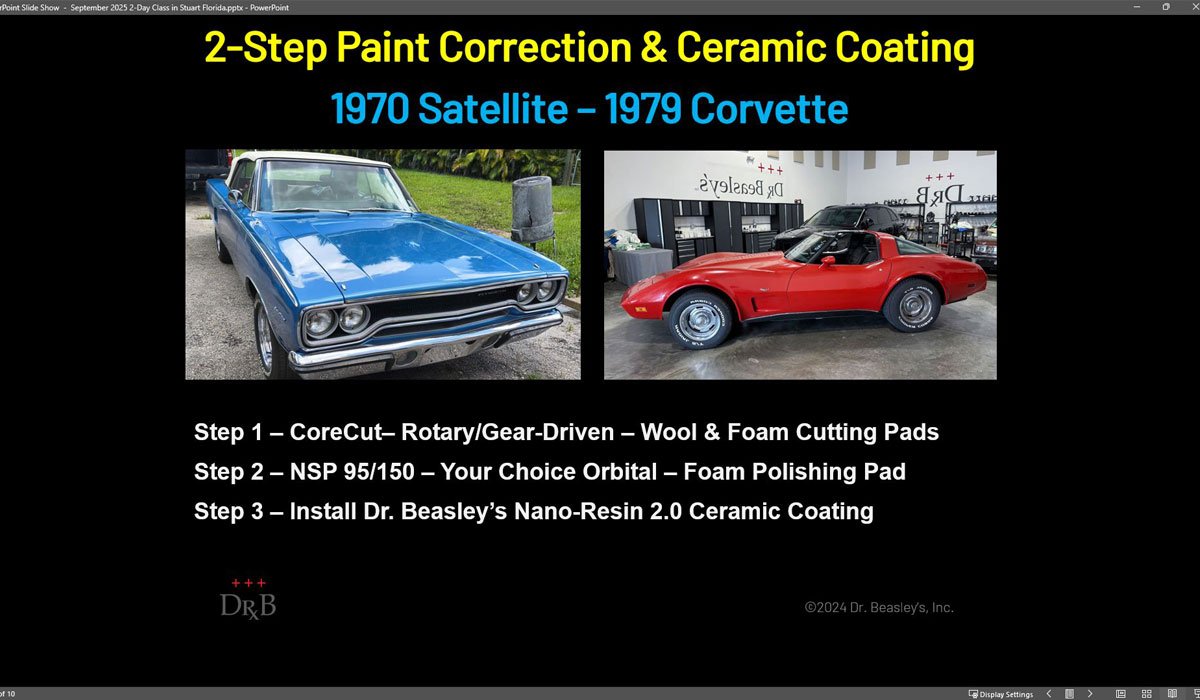
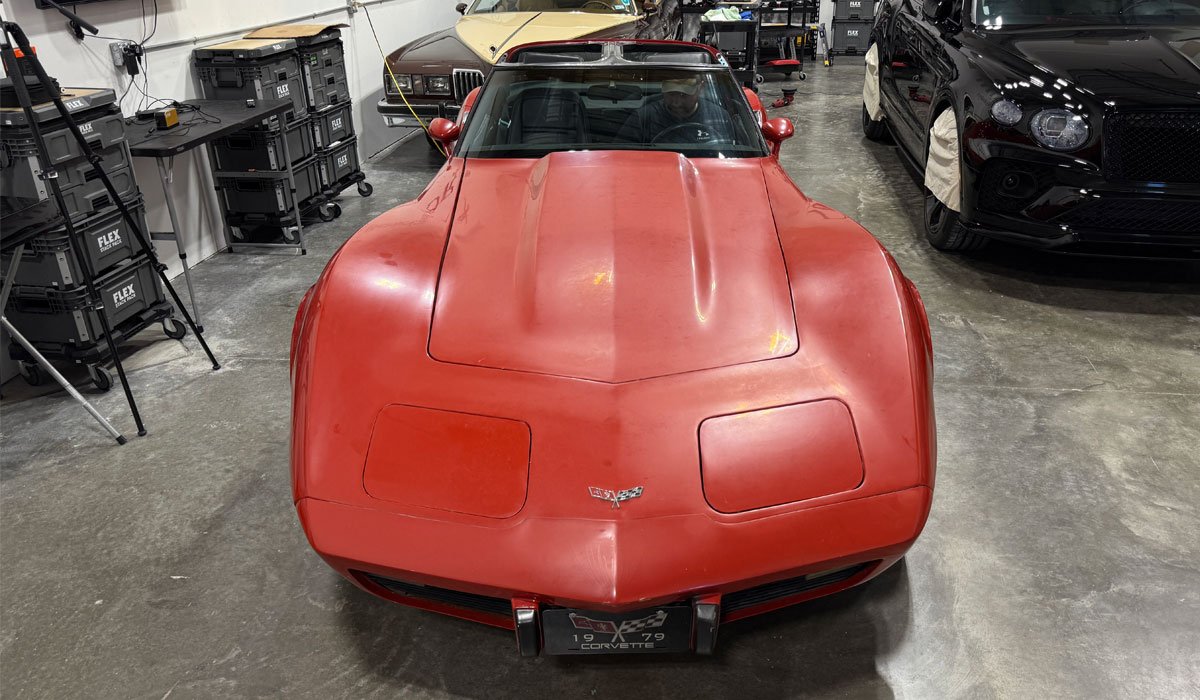
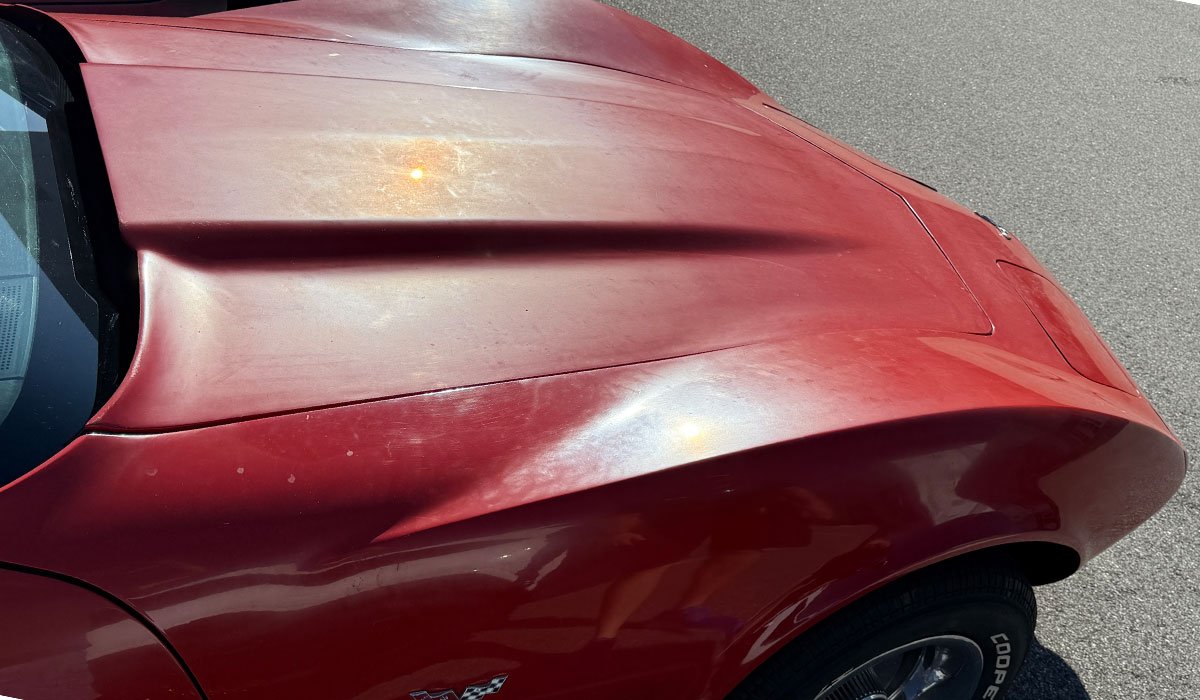
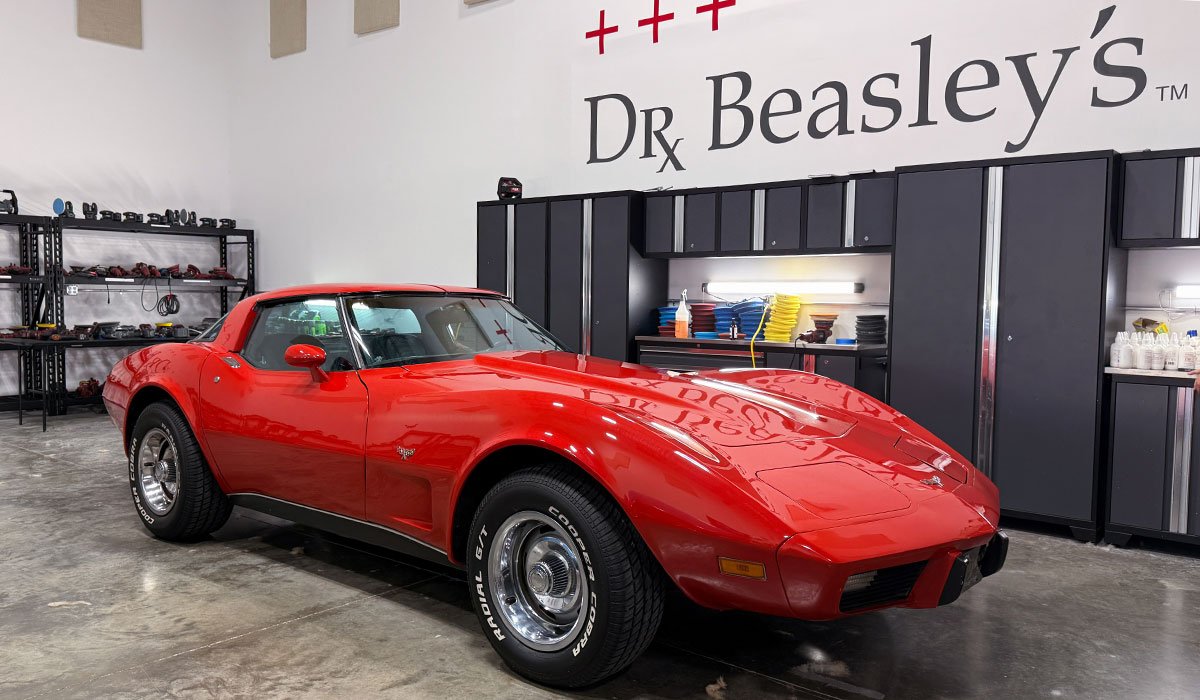
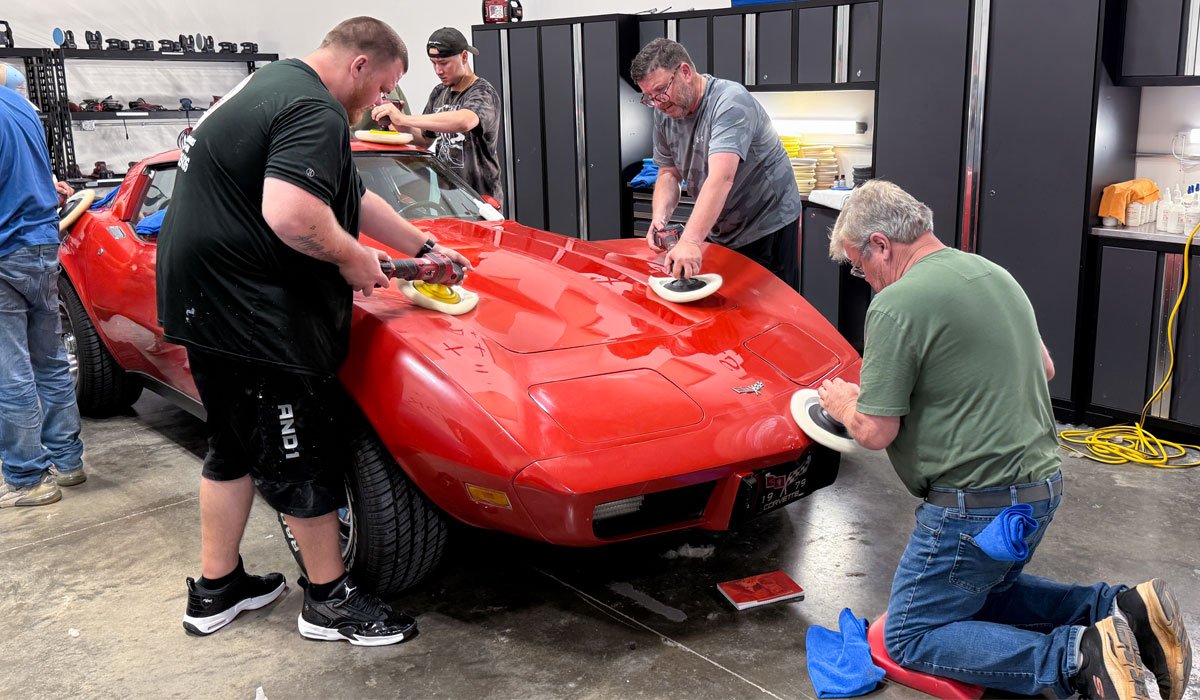
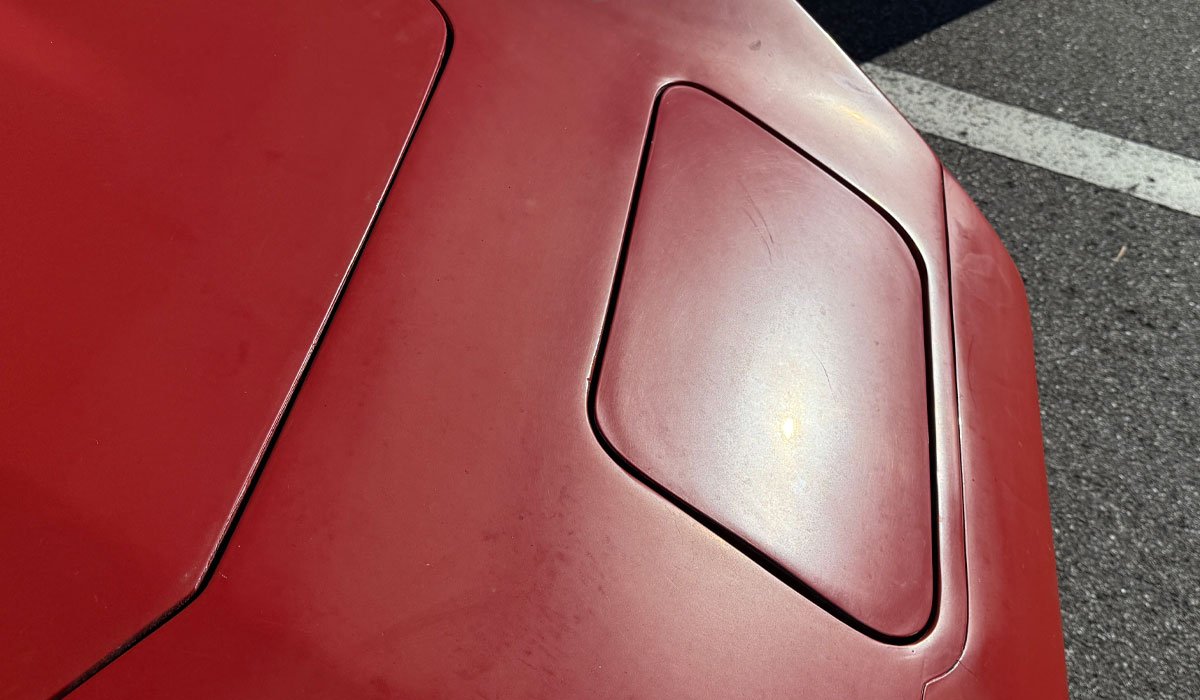
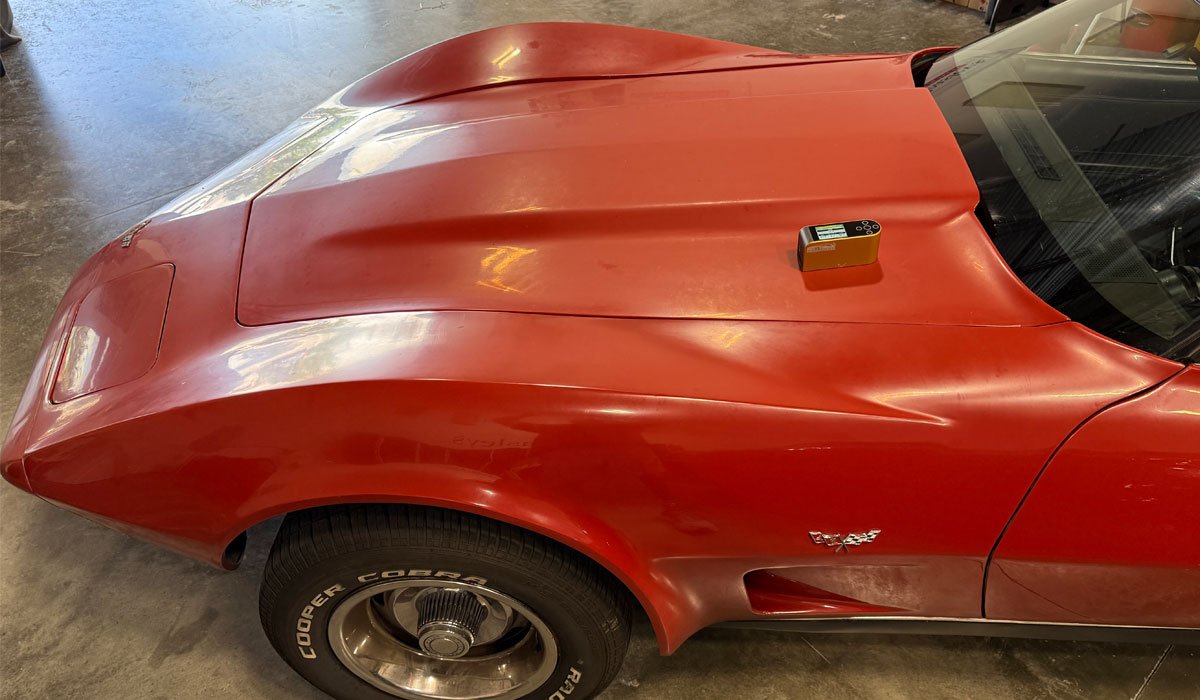
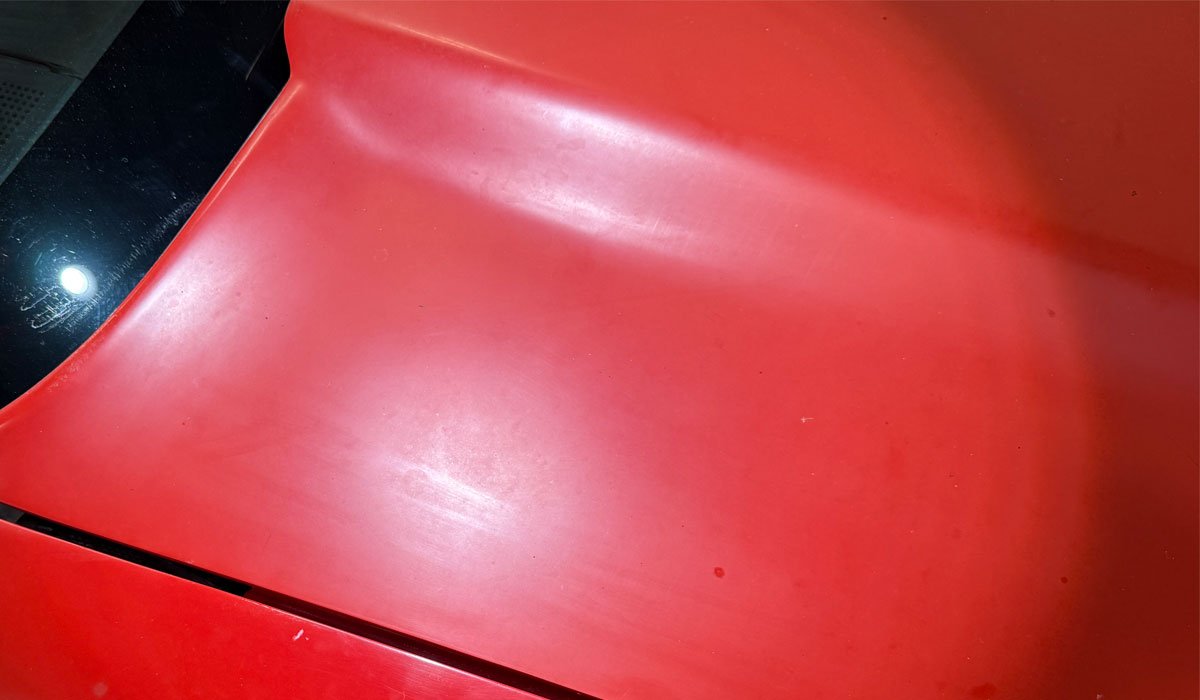
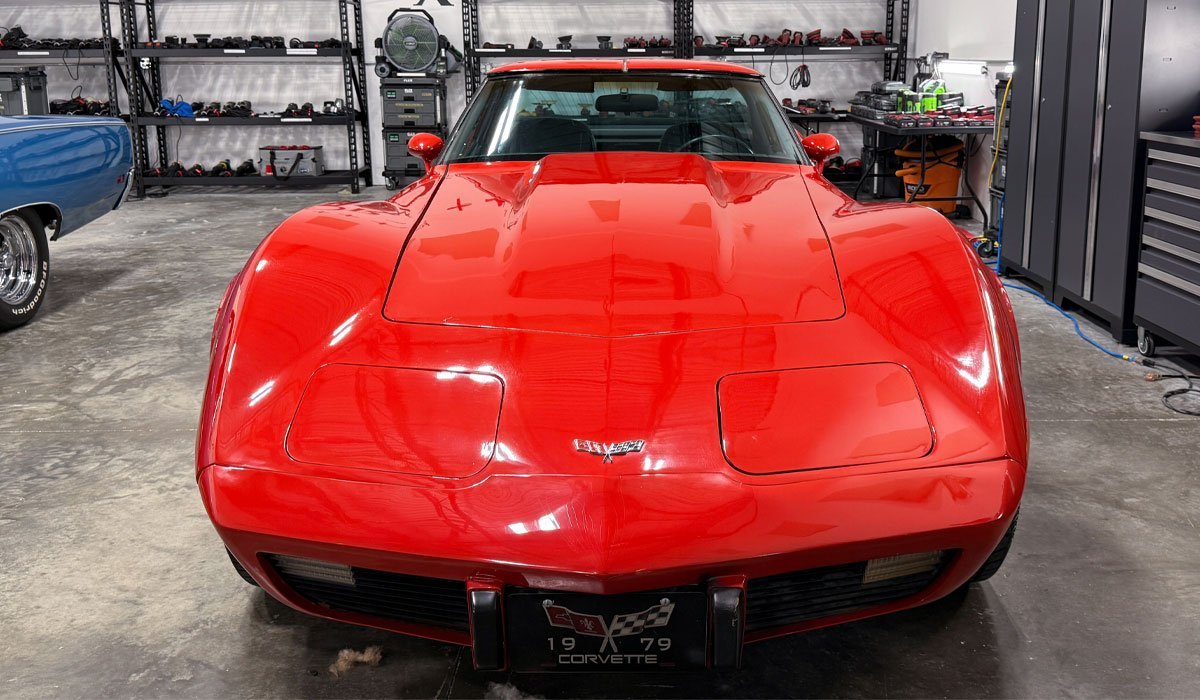
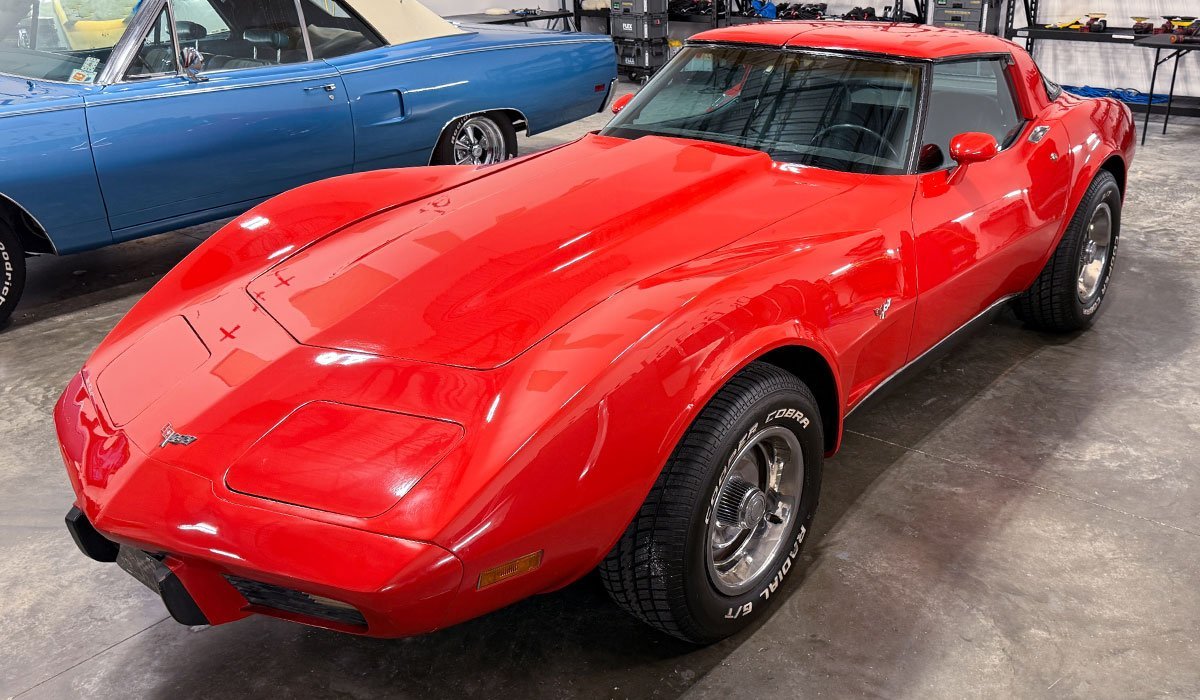
110% RECOMMEND
Must have knowledge in your toolkit! Mike’s two-day class was fantastic. I was able to bring in my ‘79 Vette to learn on. As someone new to the detailing world and classic cars, I wanted to learn from the best so I could get my vehicle looking fantastic and maintain that protection and shine.Primary Assistant Instructor - Yancy Martinez
Second Assistant Instructor - William Catala
Third Assistant Instructor - Matteo Catala
Not pictured - Caridad Escudero - Willy's Wife (thank you for all your help)
What do you want to learn the most?
Before the class starts, I like to go around the room and ask each person what their highest priority is to learn while taking the class. I note this on the Dry Erase Board and then at the end of the class we take inventory to see if met their expectations.
Awesome people! Thank you for your trust. -Mike Phillips
Last edited: