Continued....
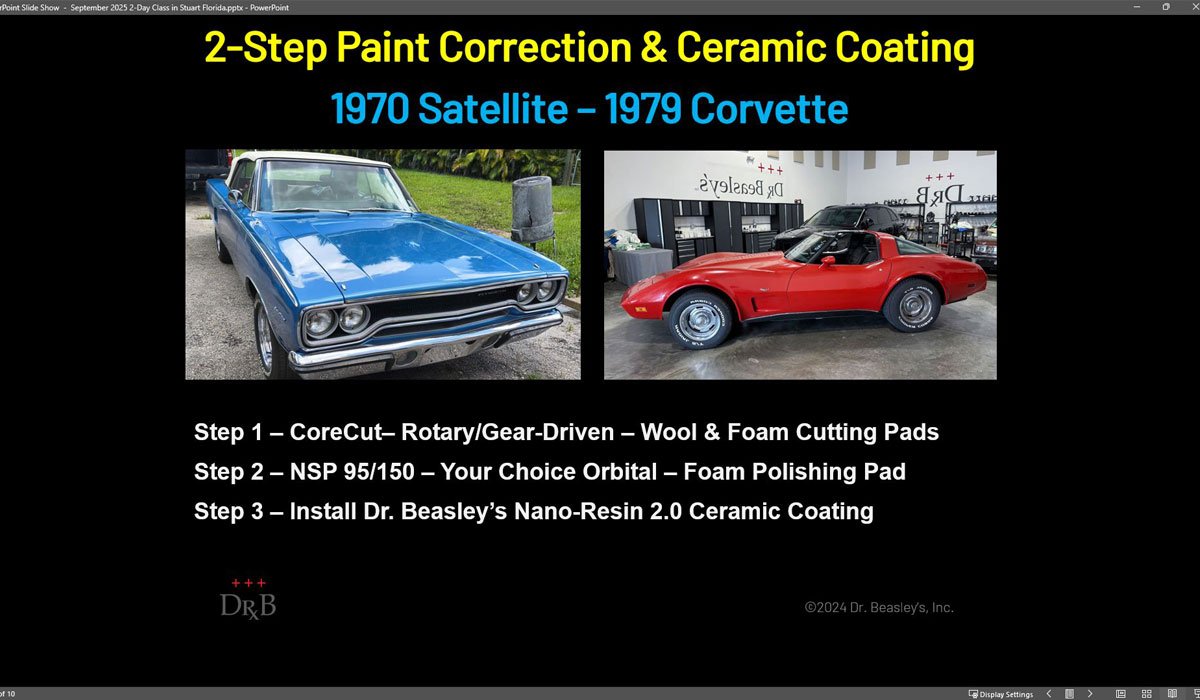
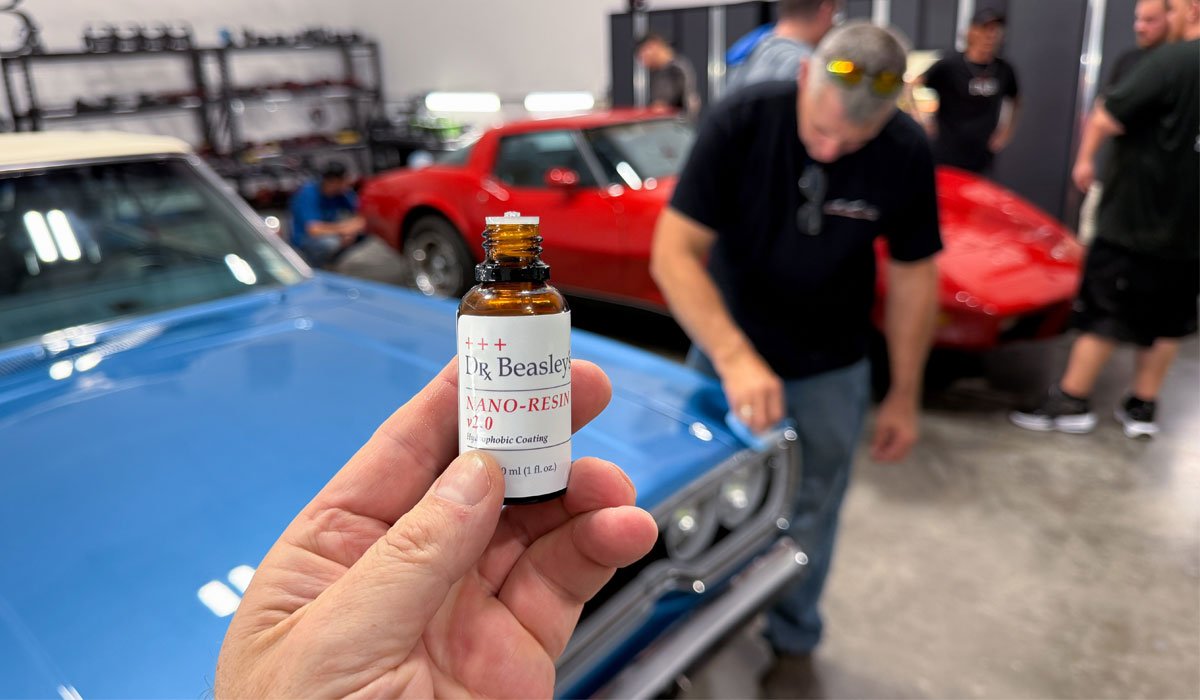
Next topic - 2-Step Paint Correction & Ceramic Coating
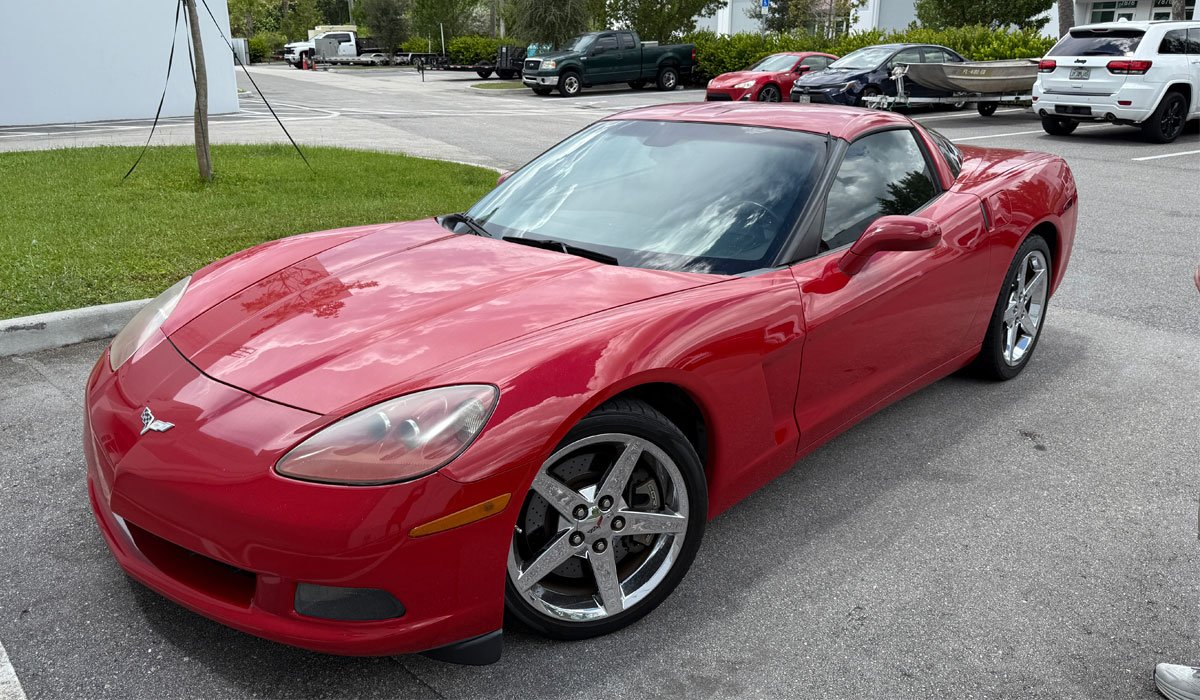
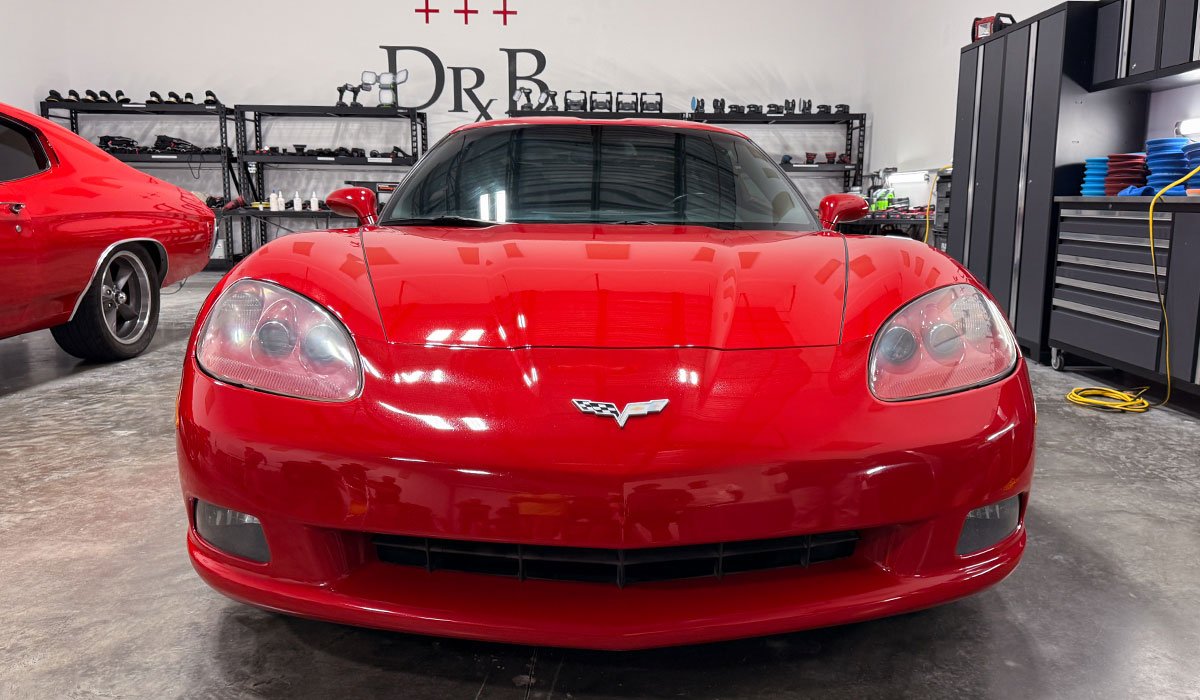
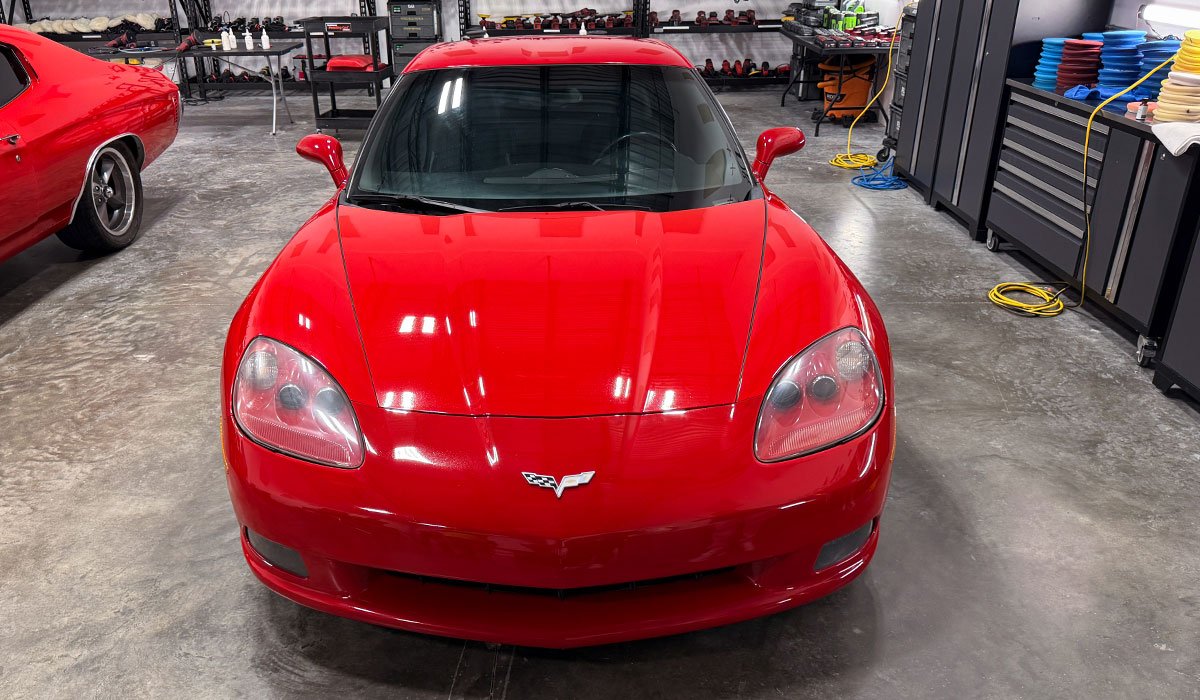
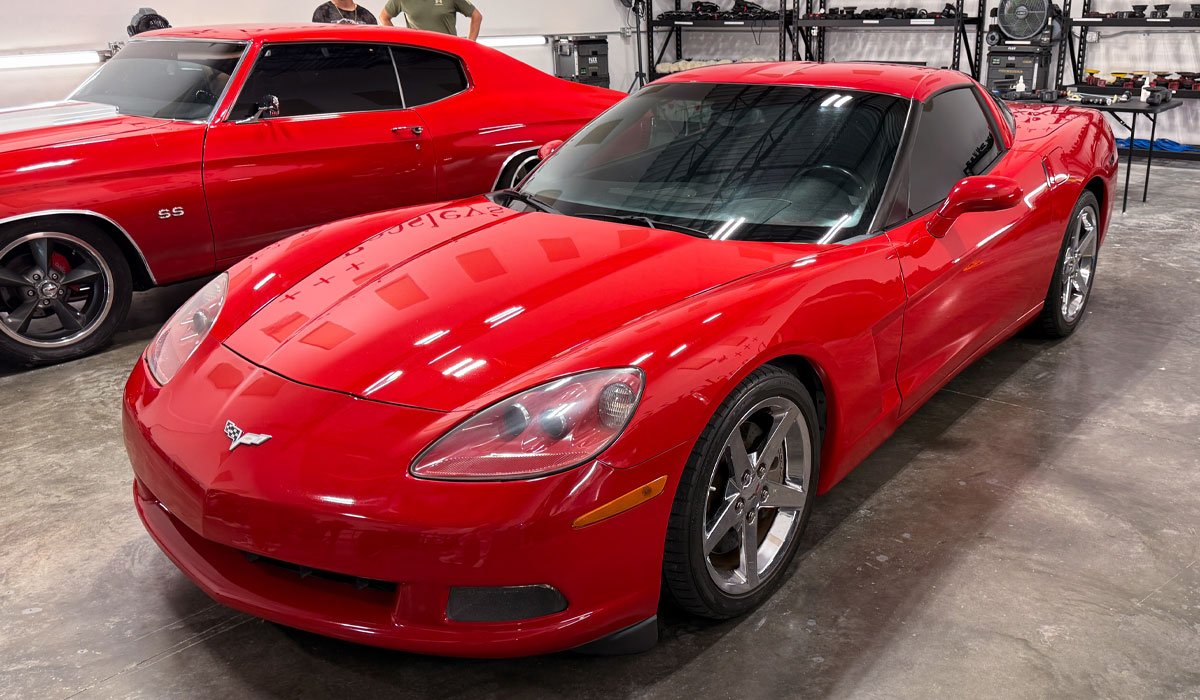
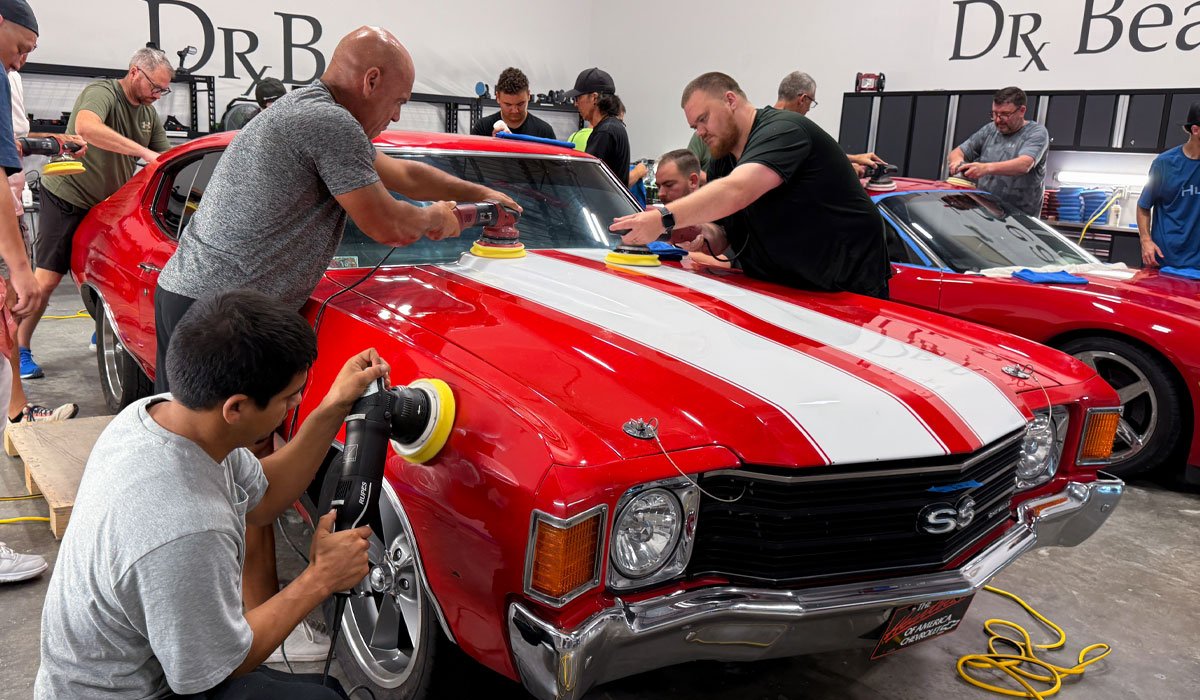
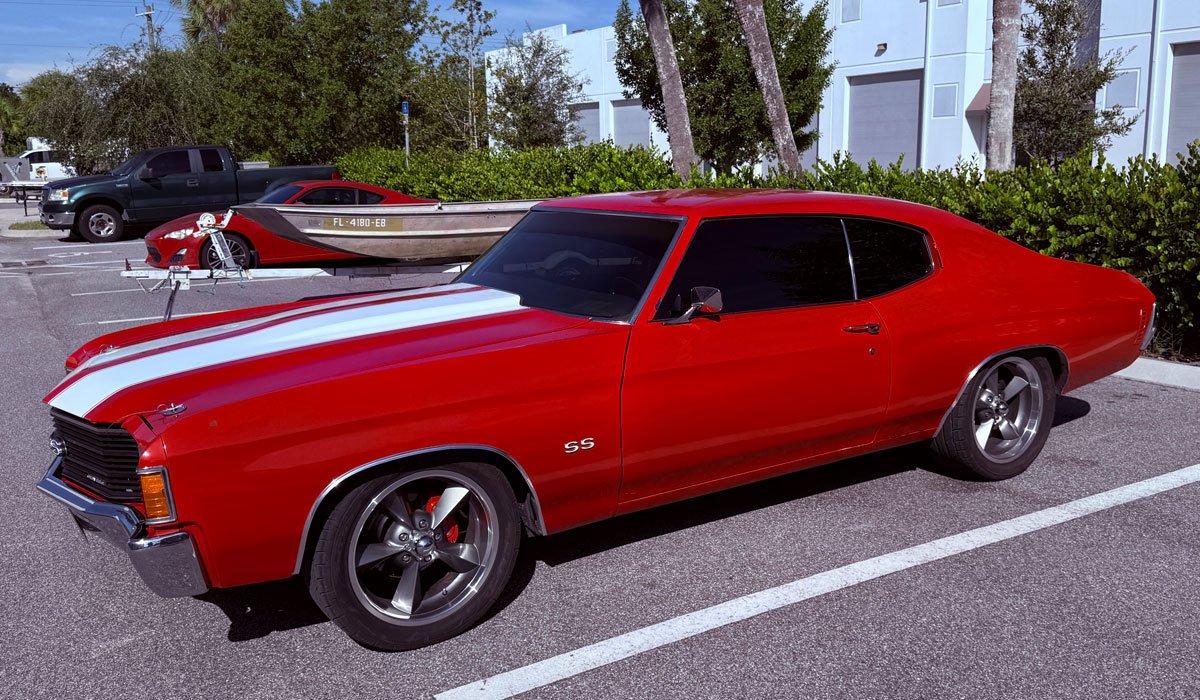
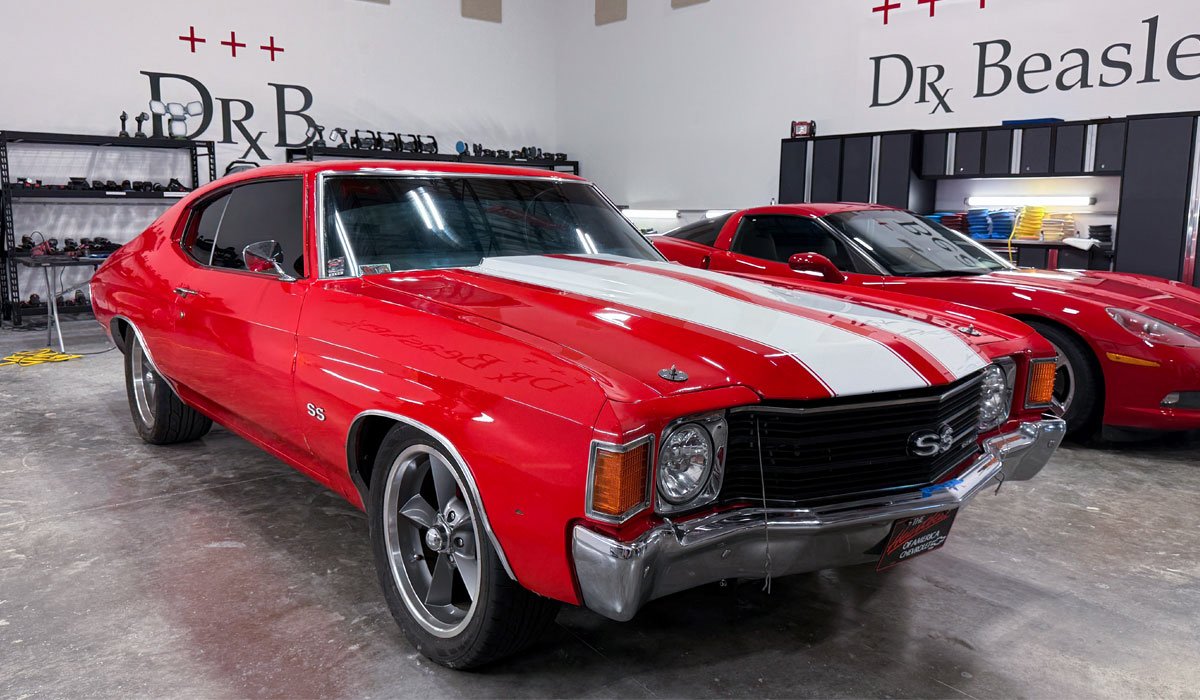
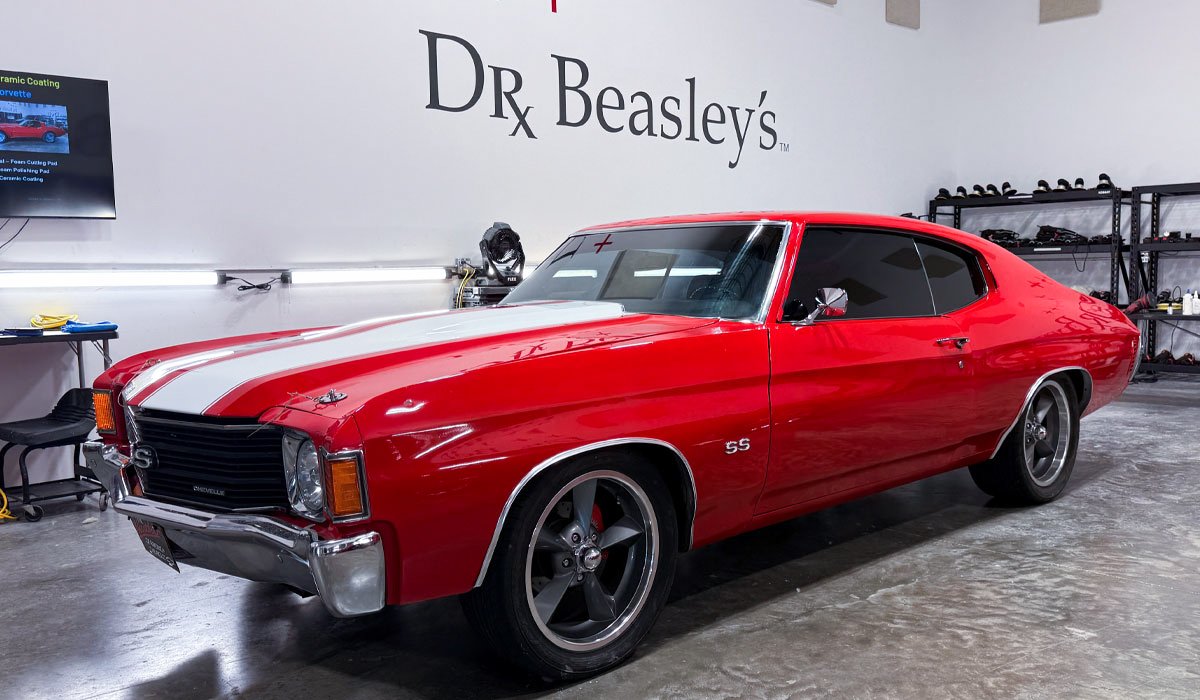
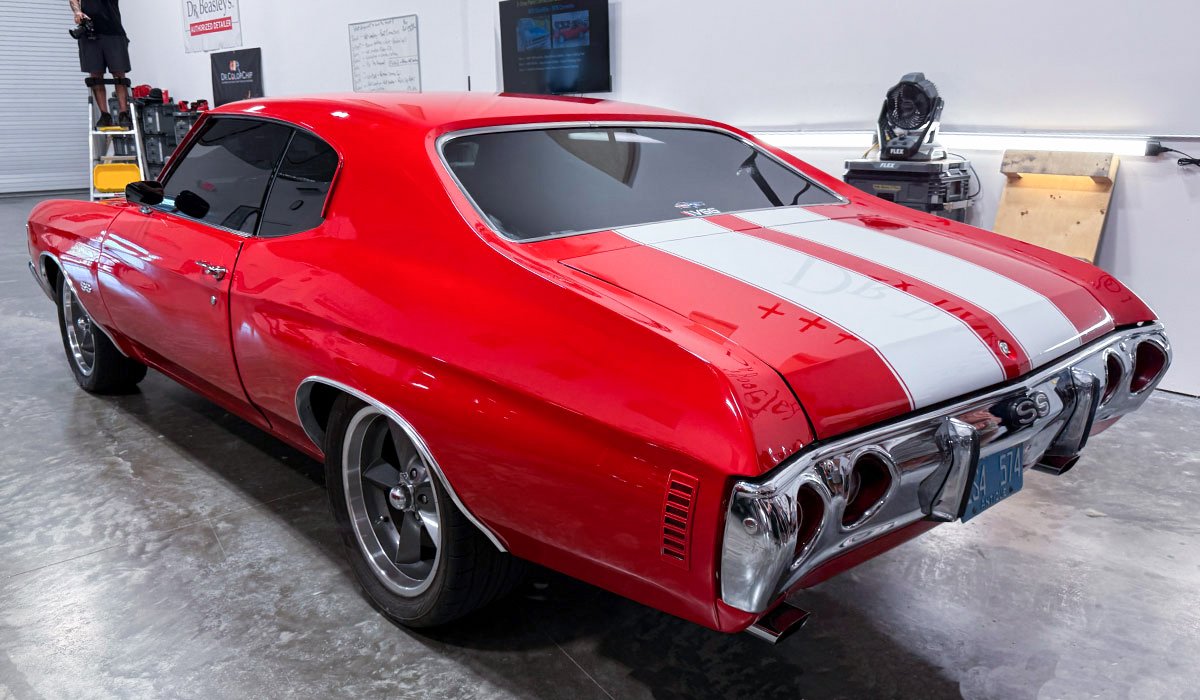
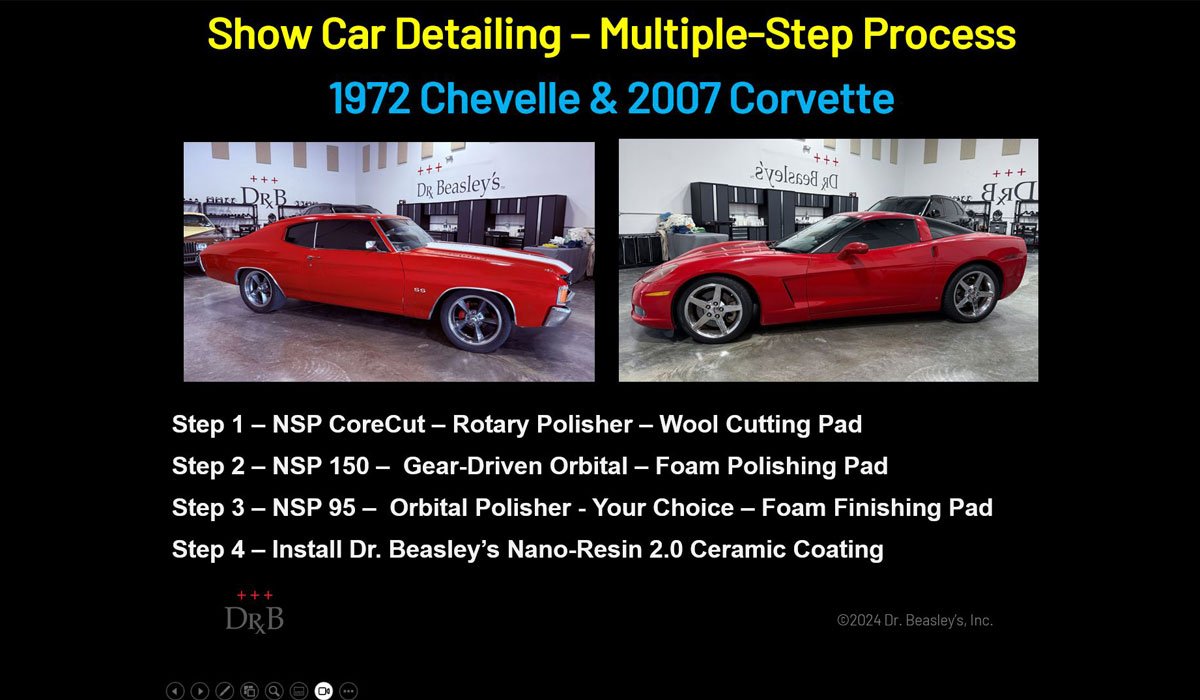
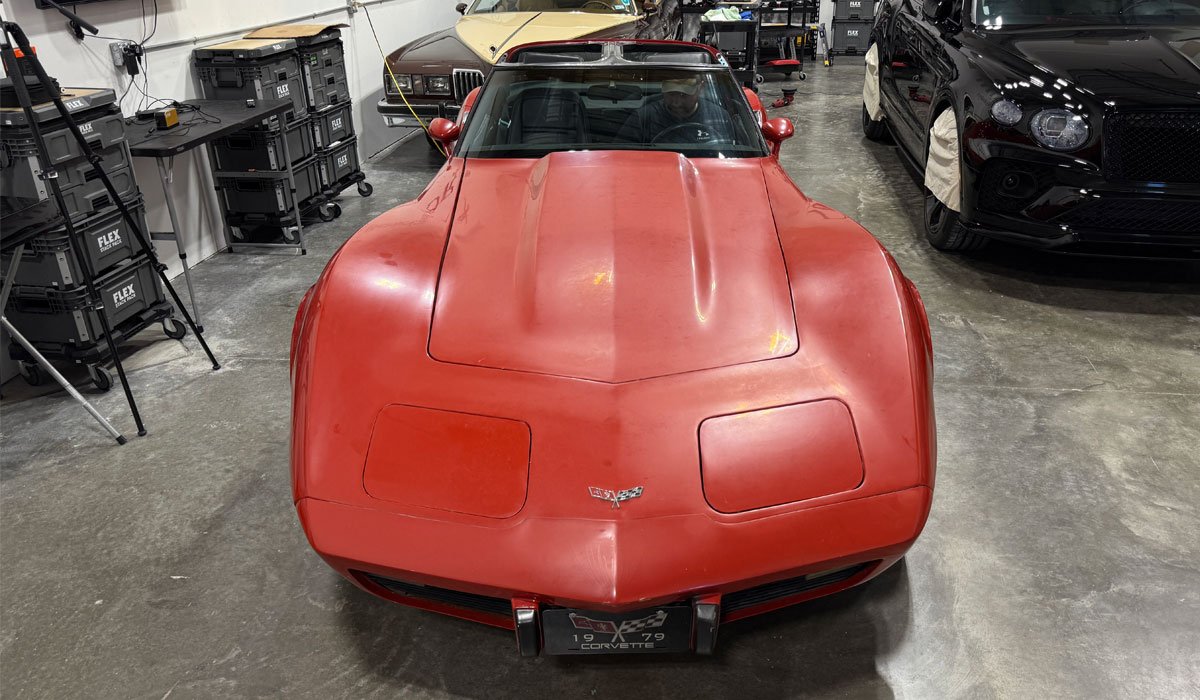
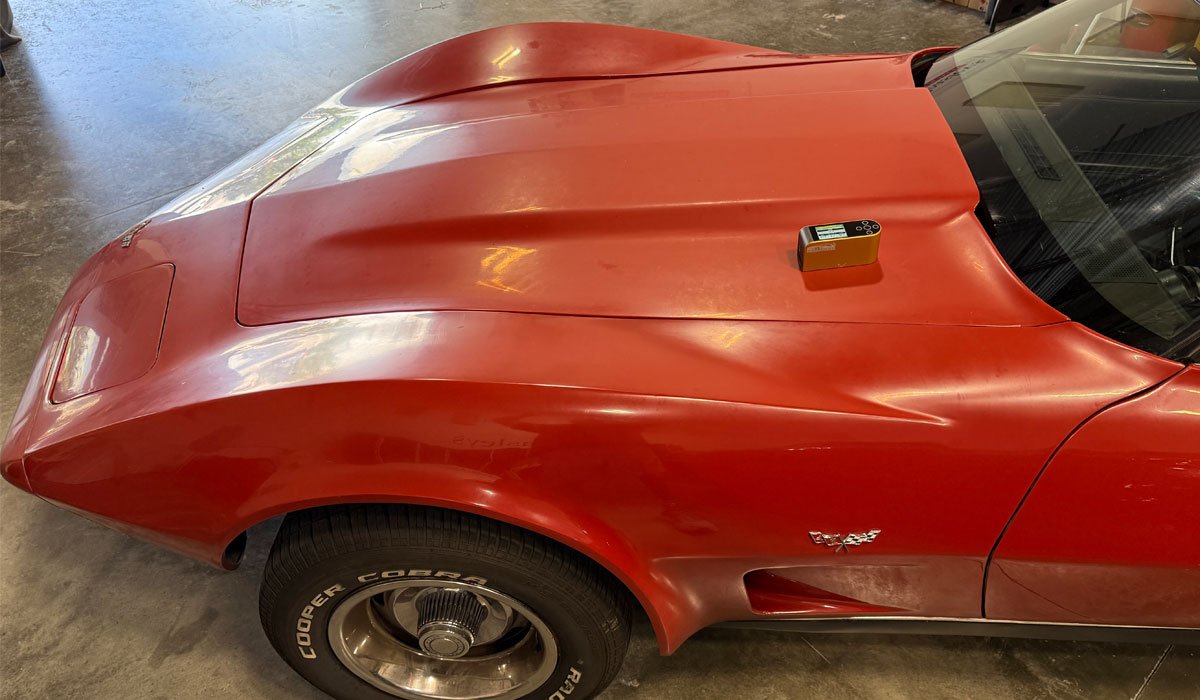
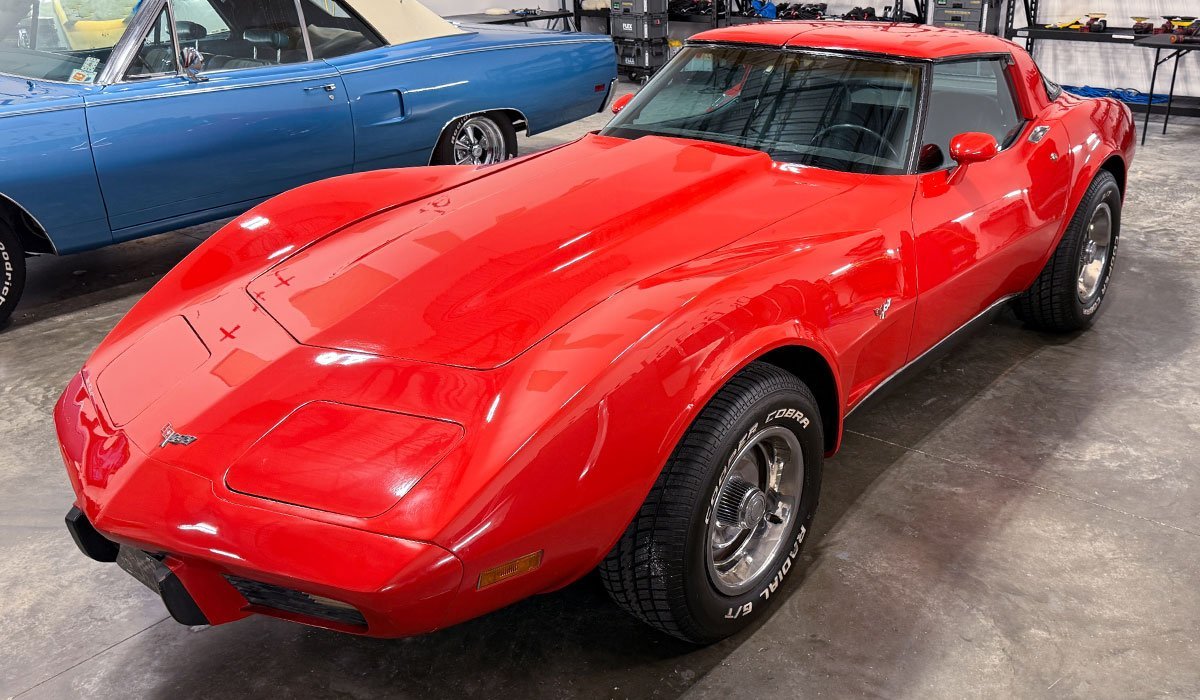
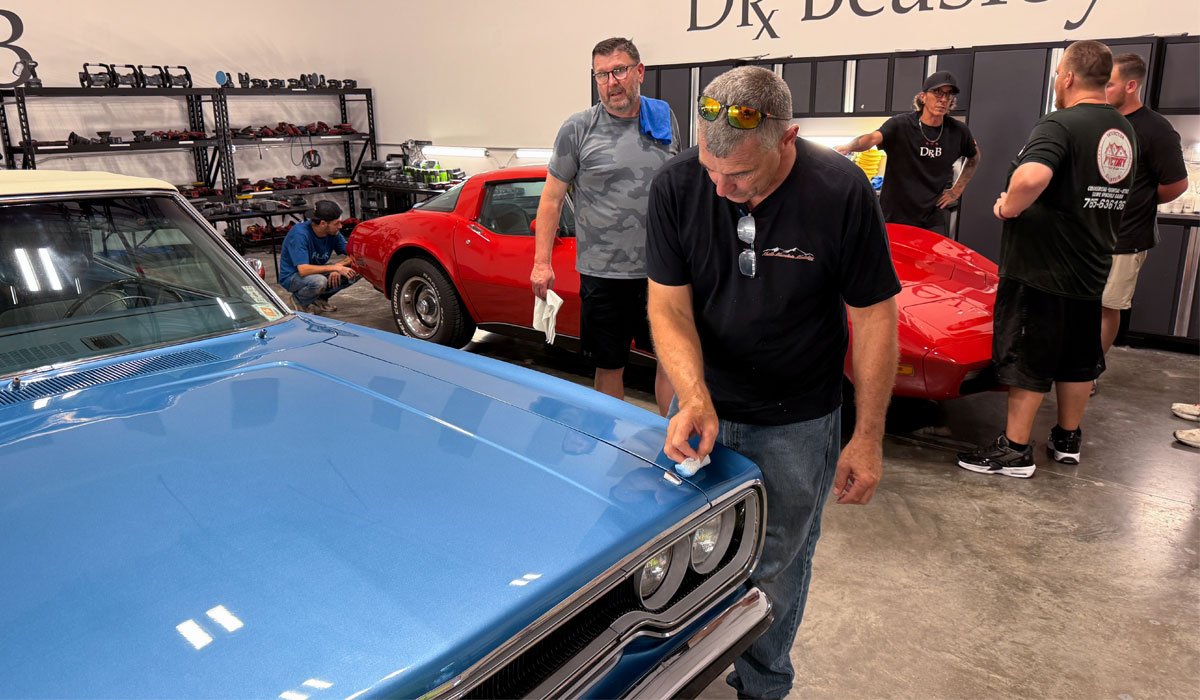
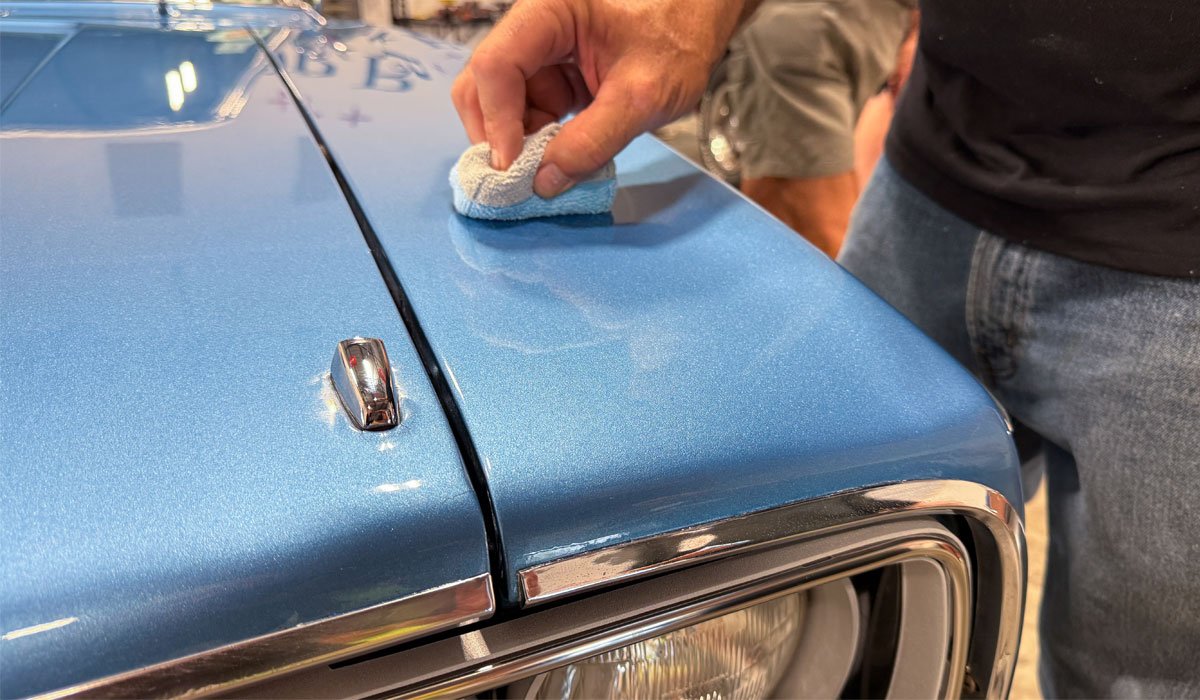
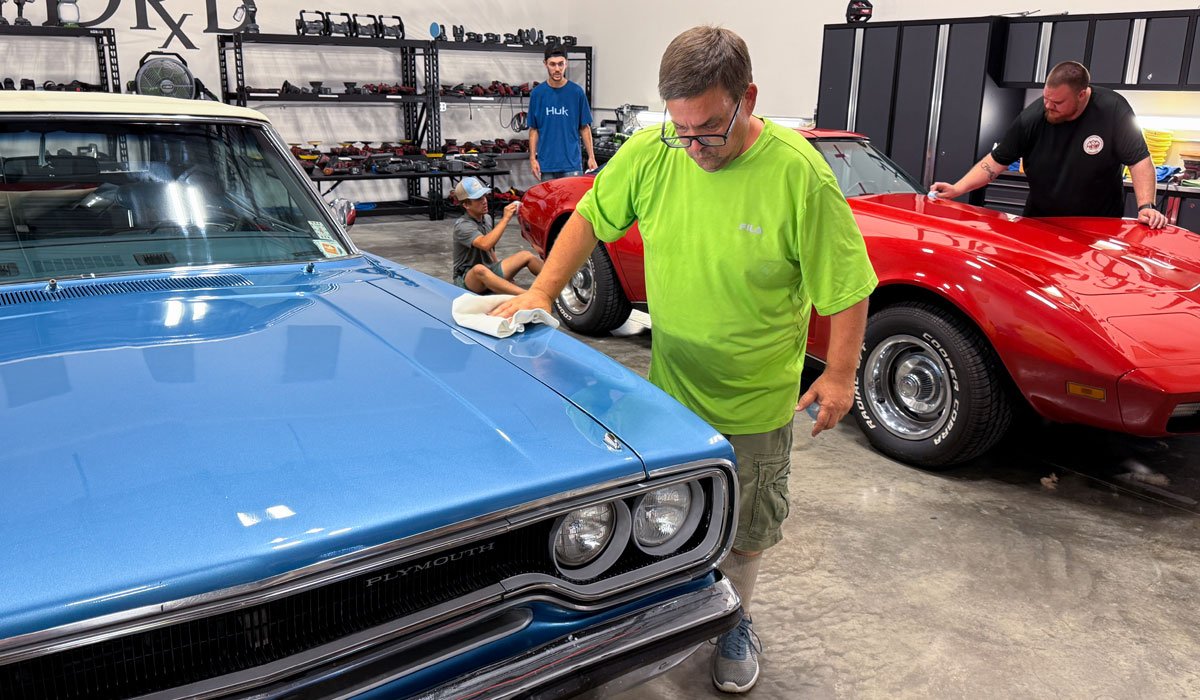
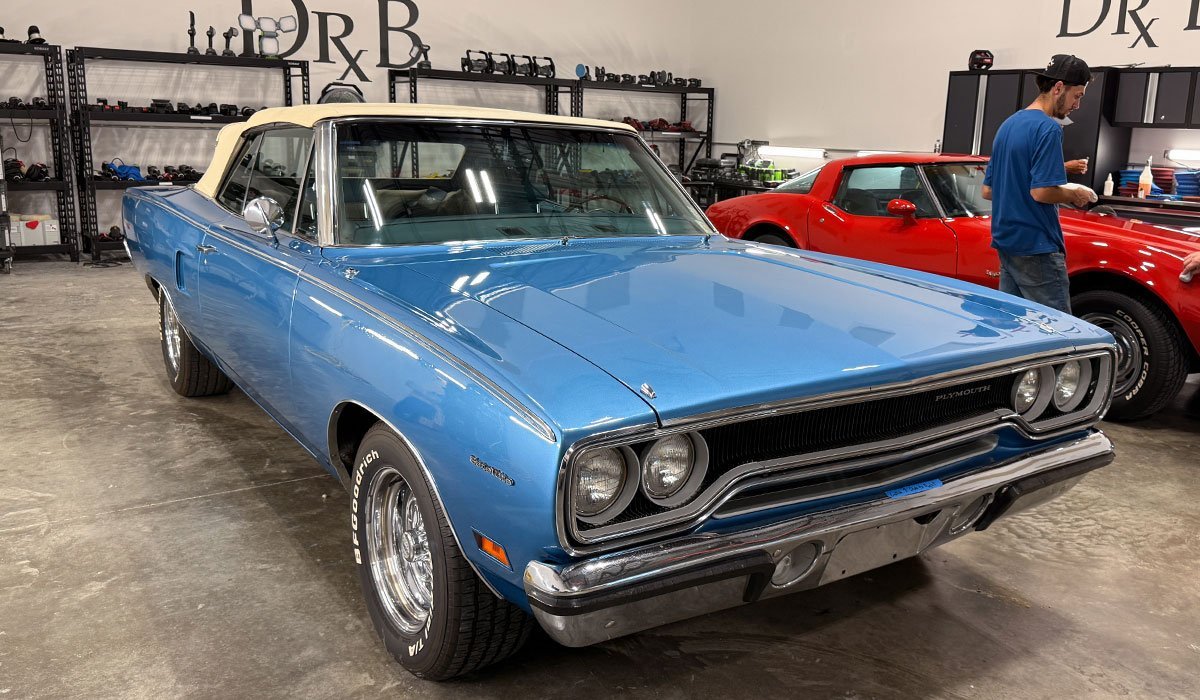
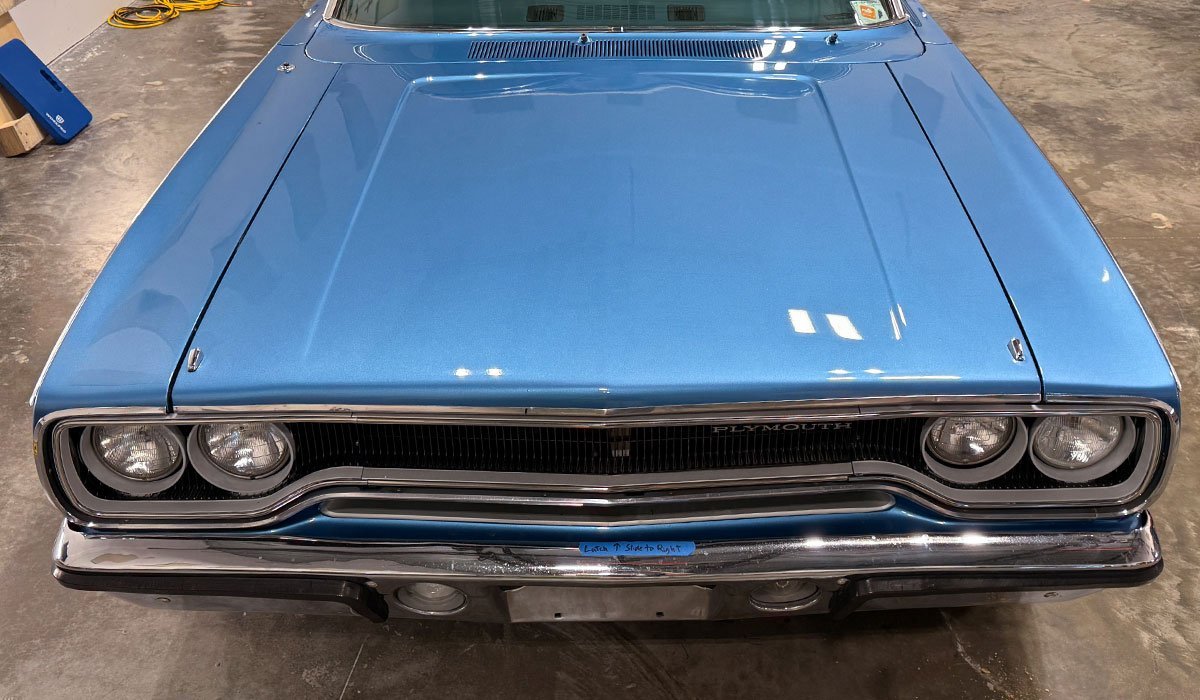
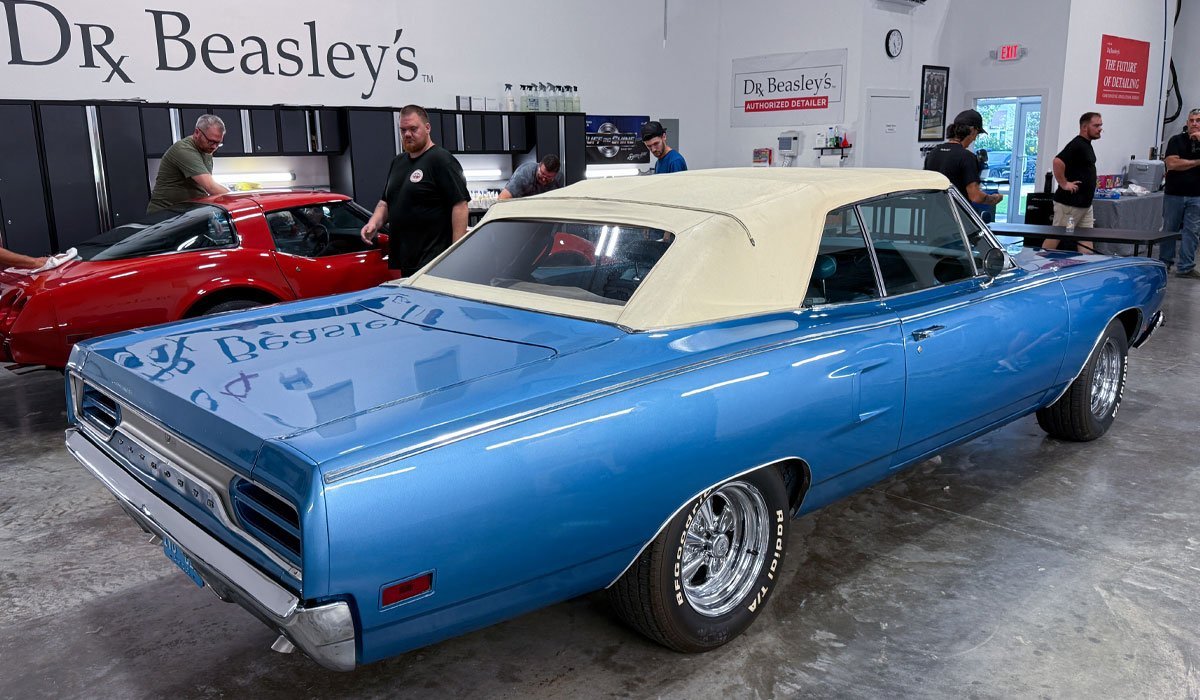
For this second topic, now that the class is fully warmed-up after buffing out the 1972 Chevelle and the 2007 Corvette, we move onto the 1979 Corvette, (with single stage paint), and the 1970 Plymouth Satellite with a modern basecoat/clearcoat paint job.
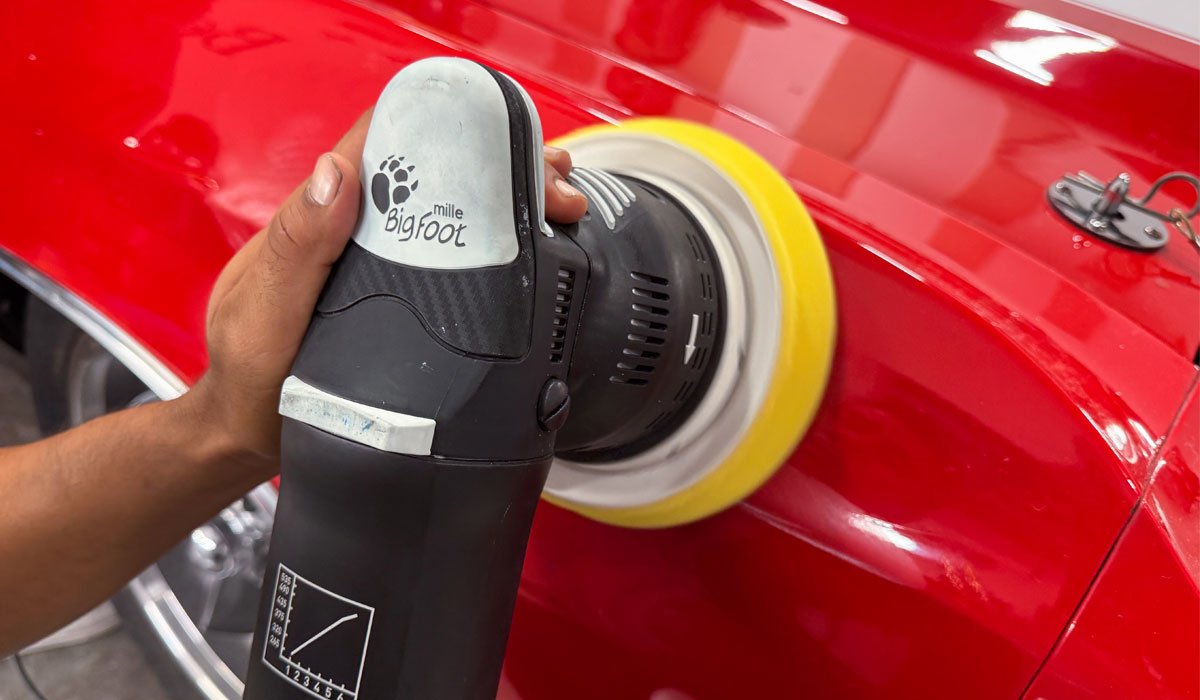
For this topic, the topic, the focus is on gear-driven orbital polishers, but any of the students are encouraged to use a wool pad on a rotary polisher if they see that it would be the right tool for the job.
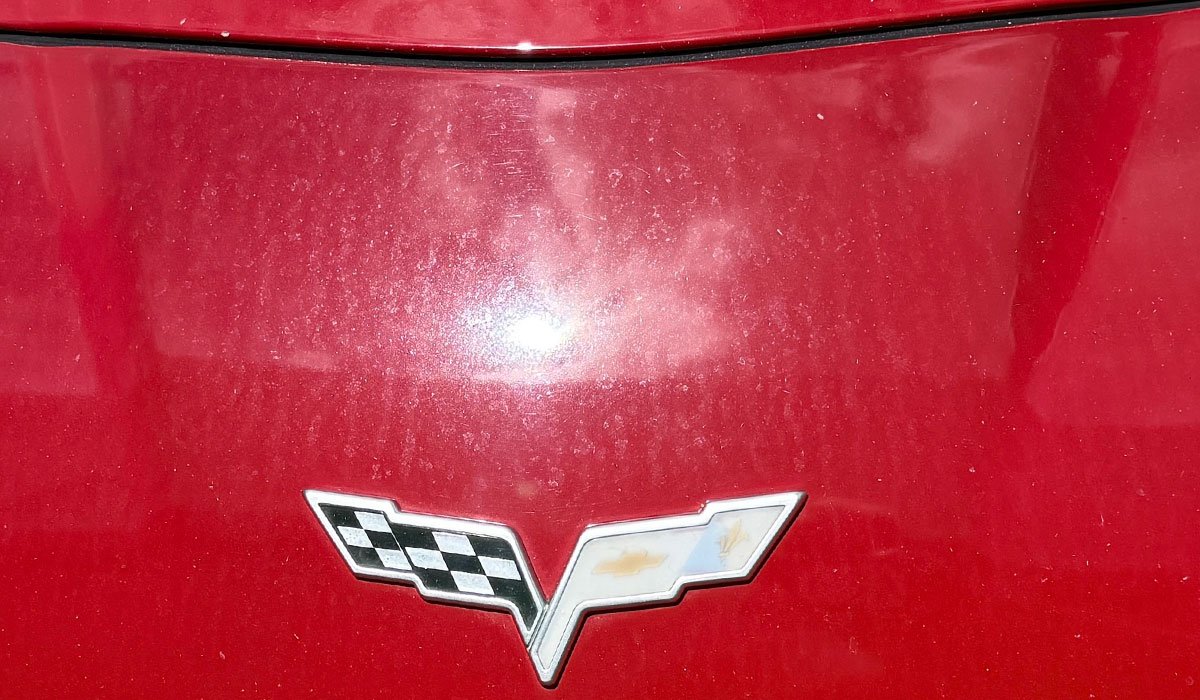
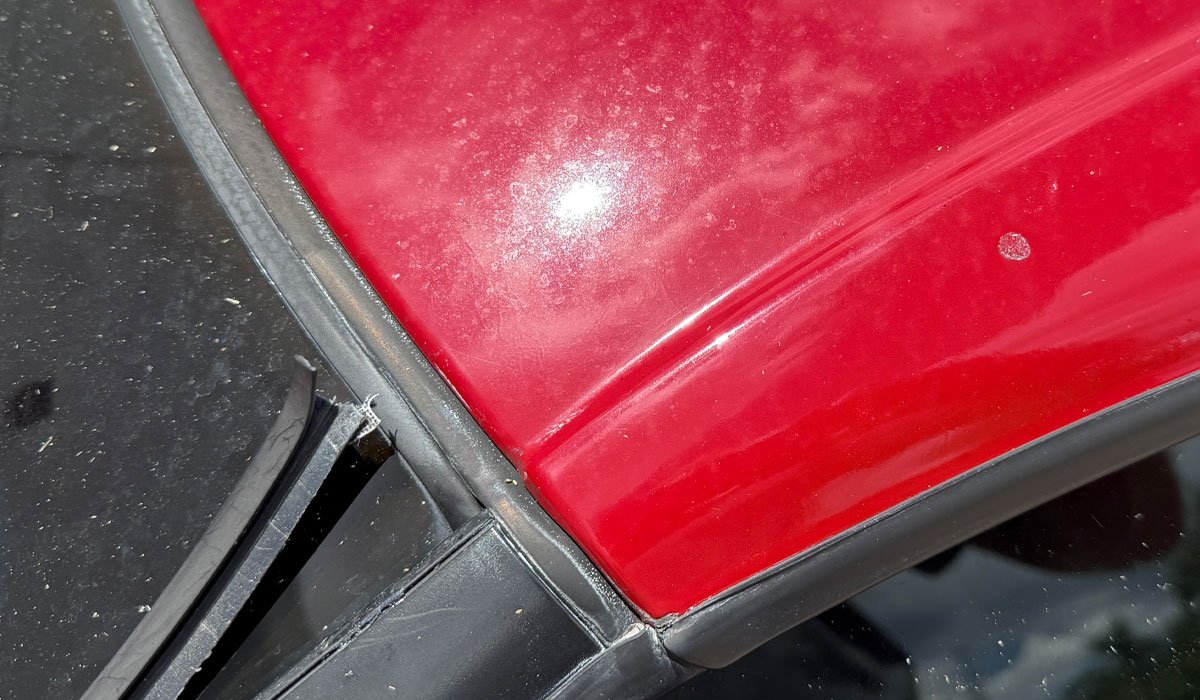
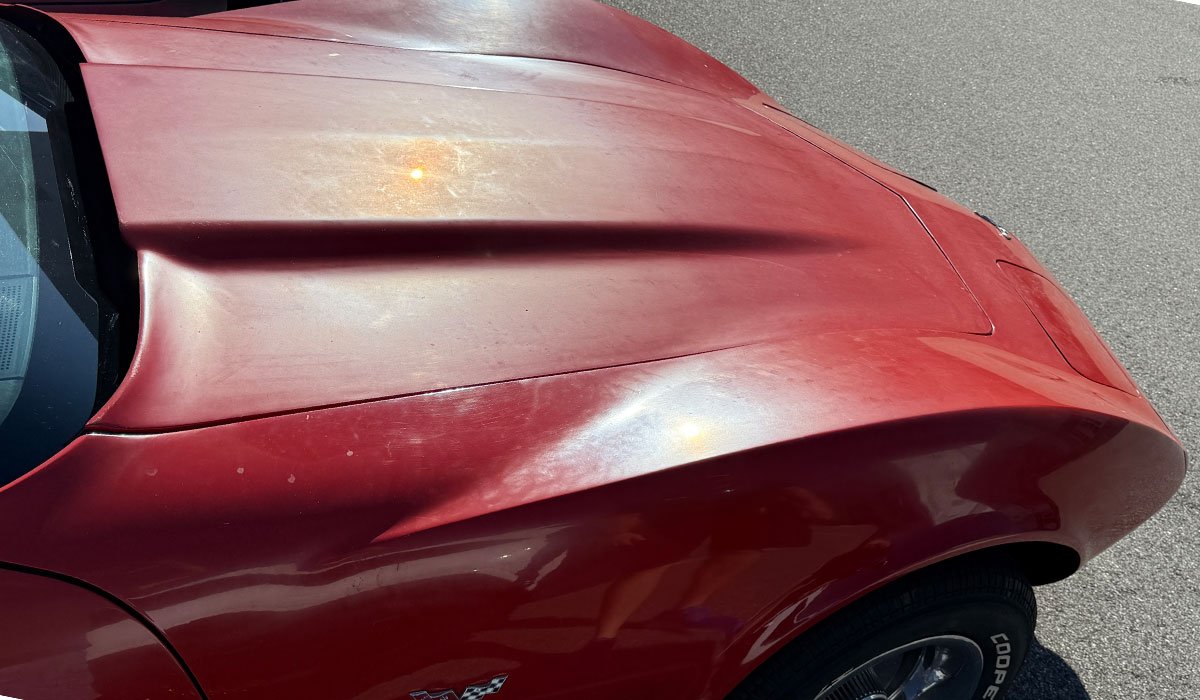
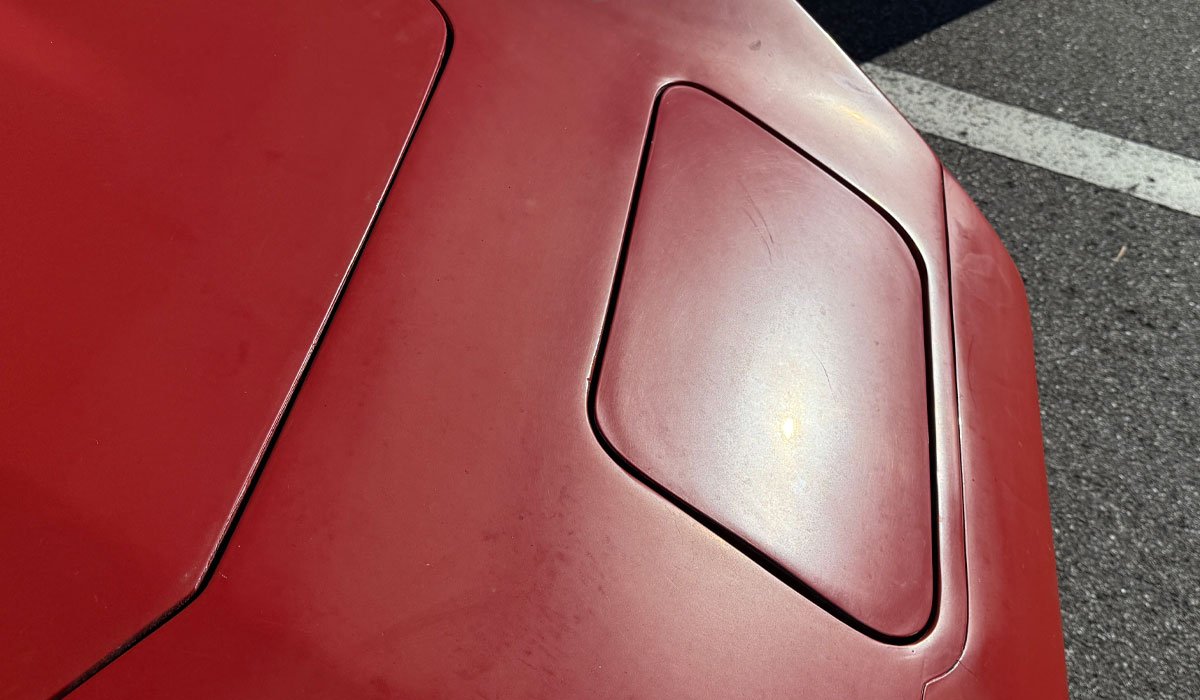
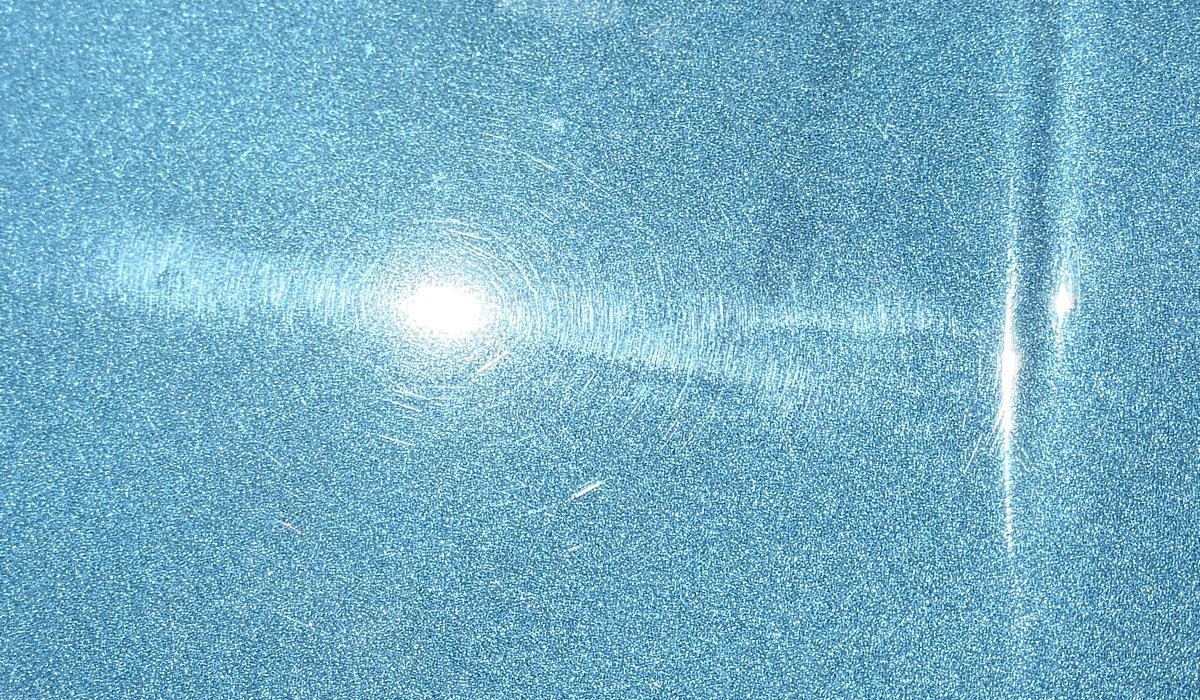
First, here's a couple of videos showing the before condition.
It's GO TIME!
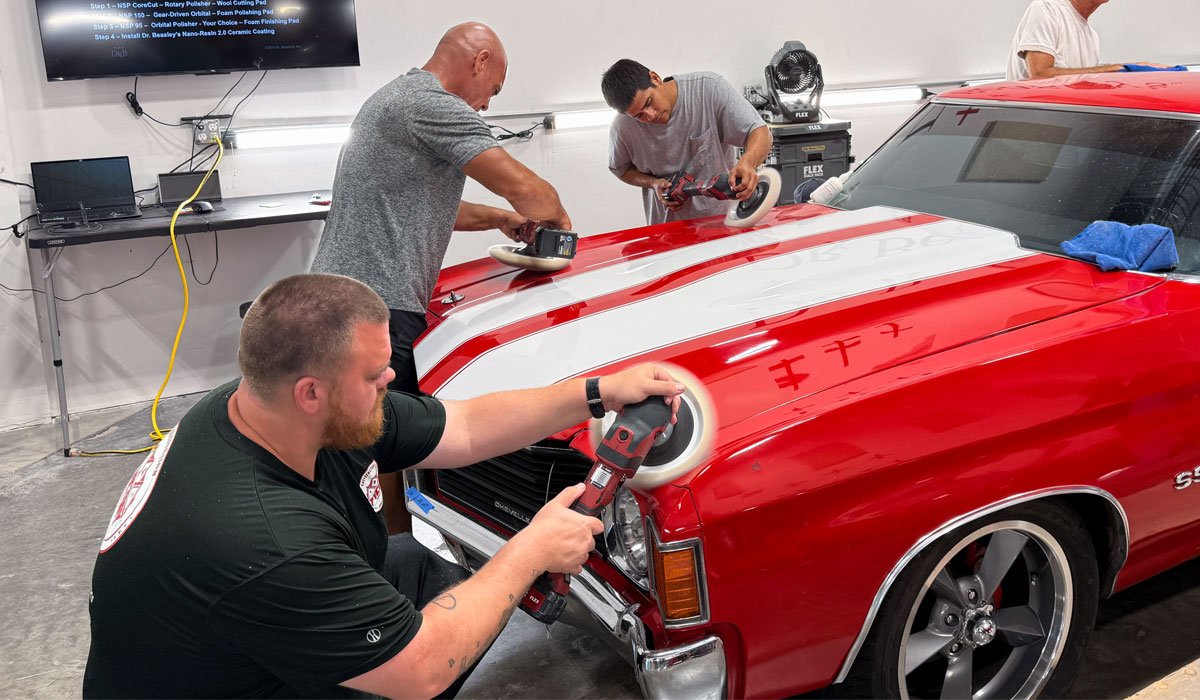
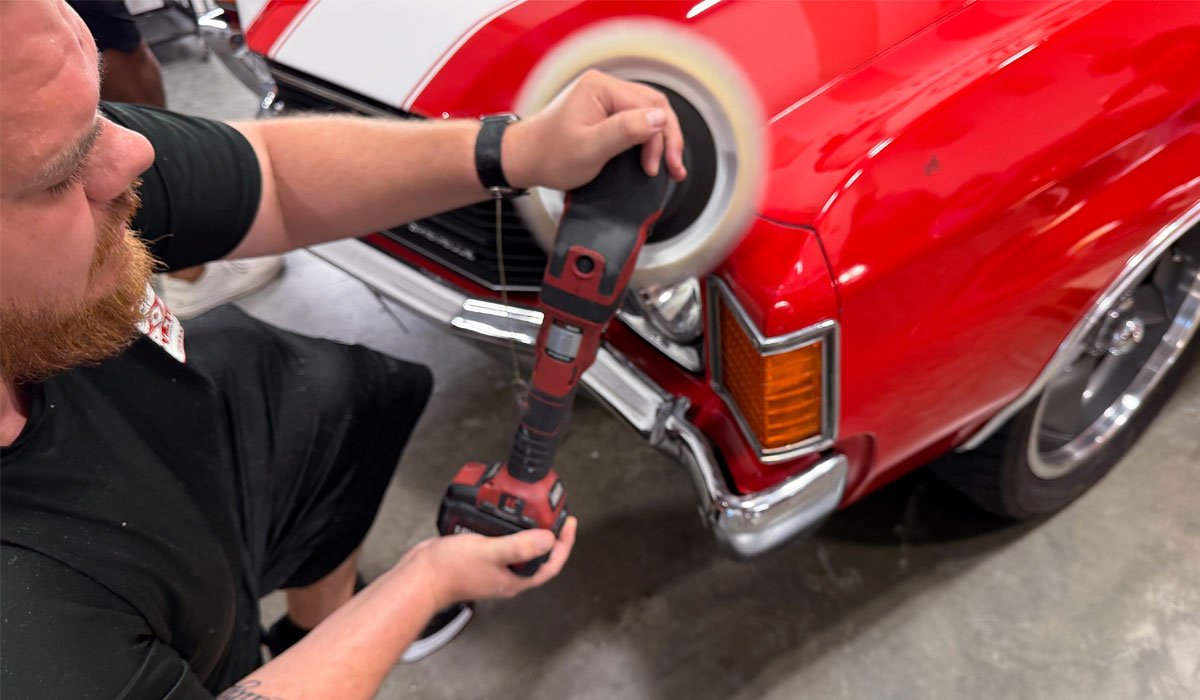
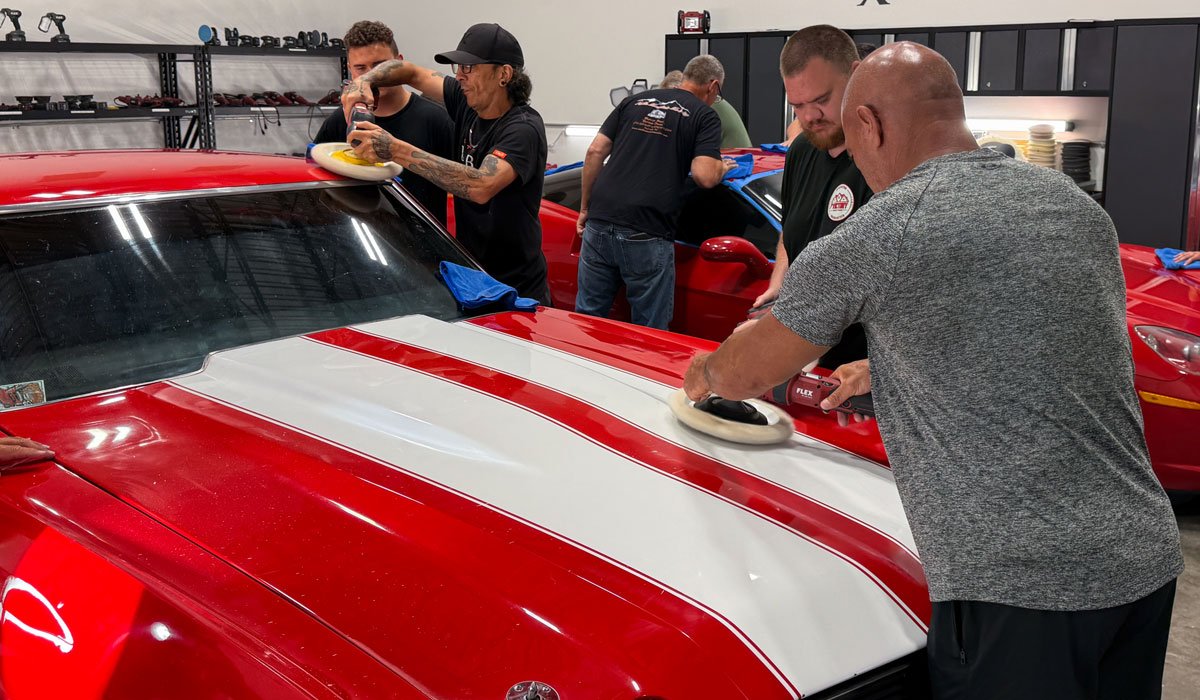
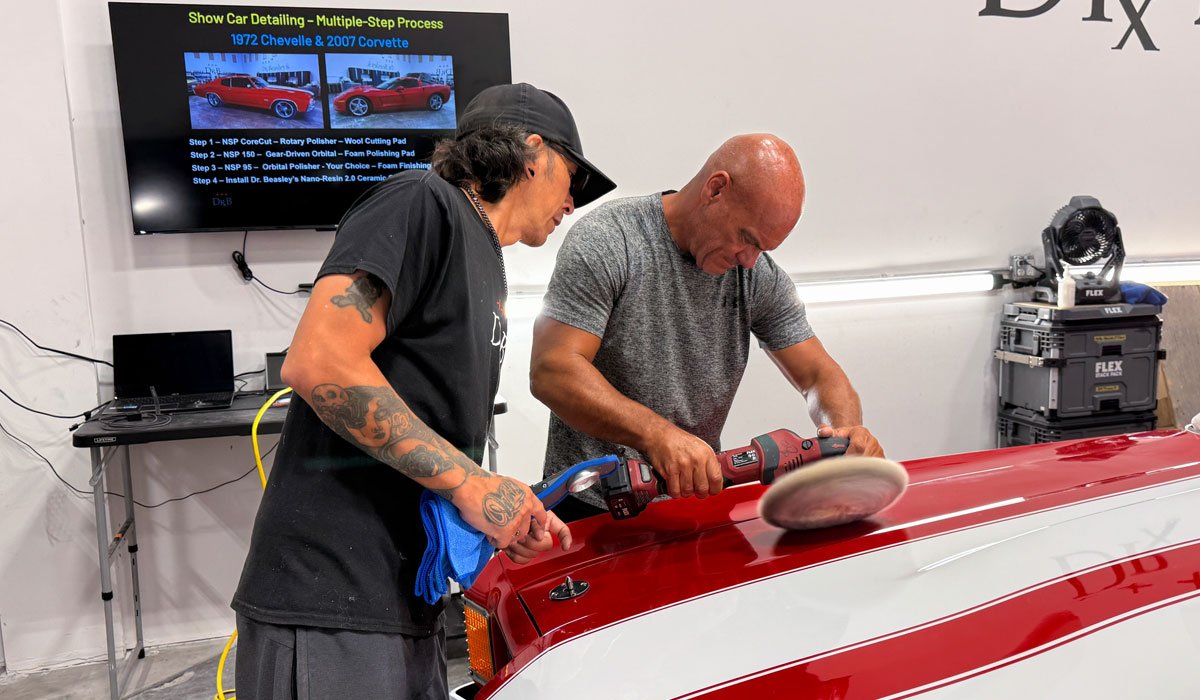
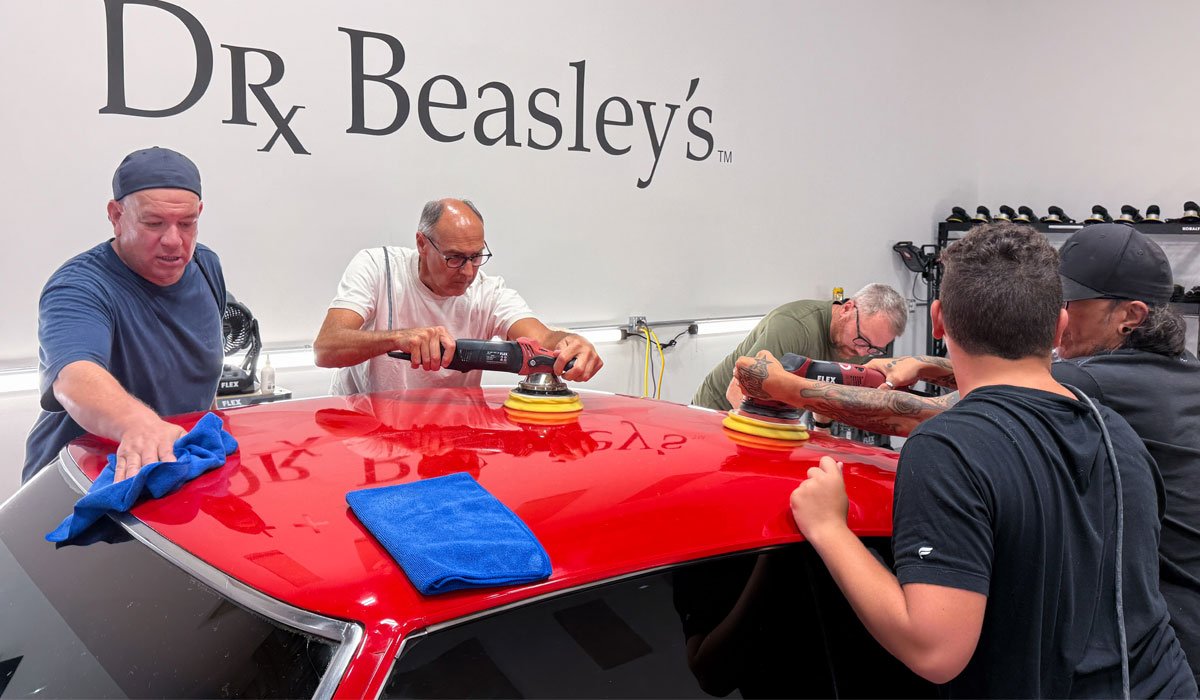
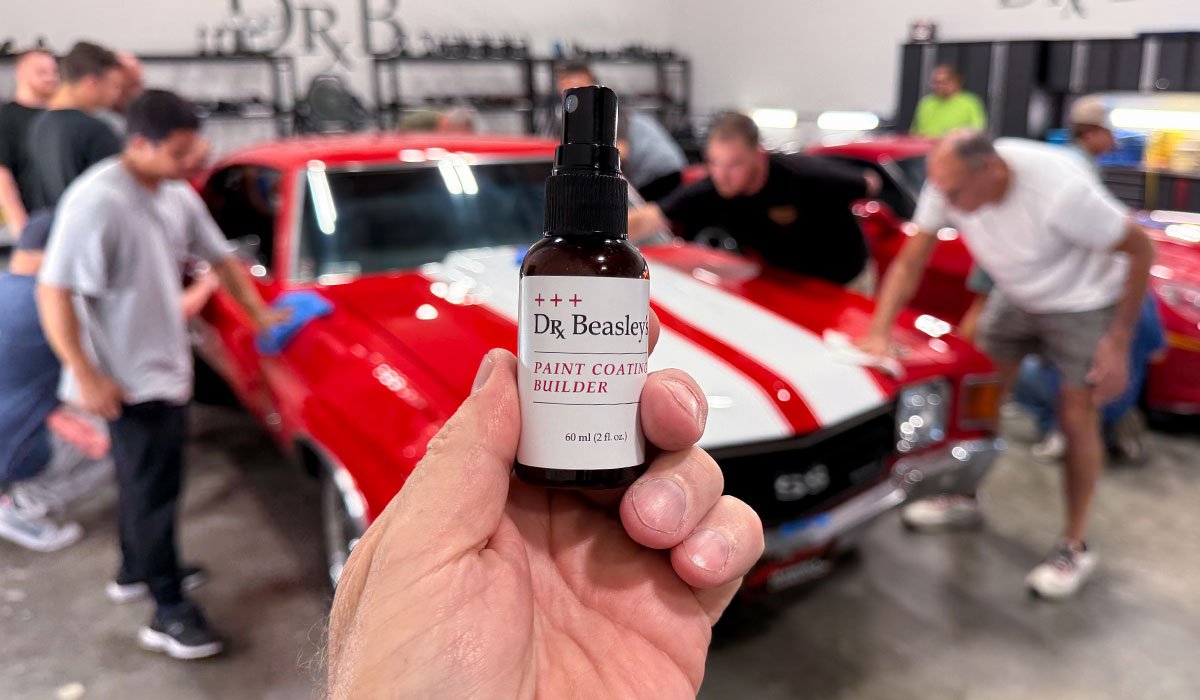
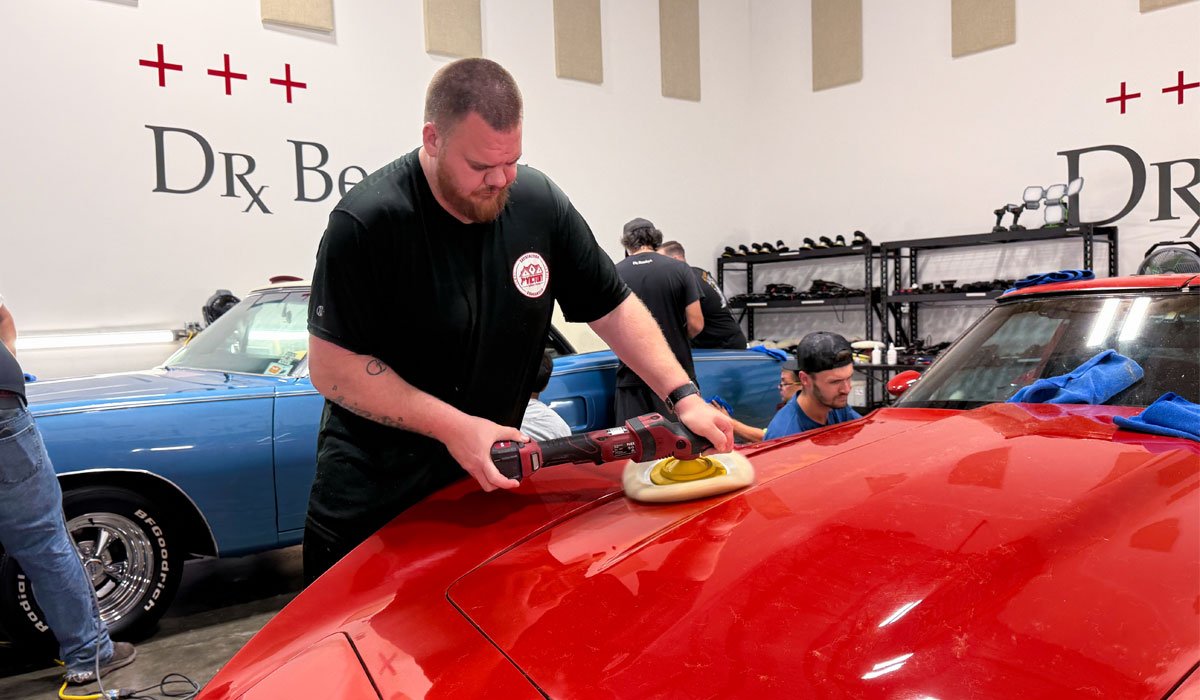
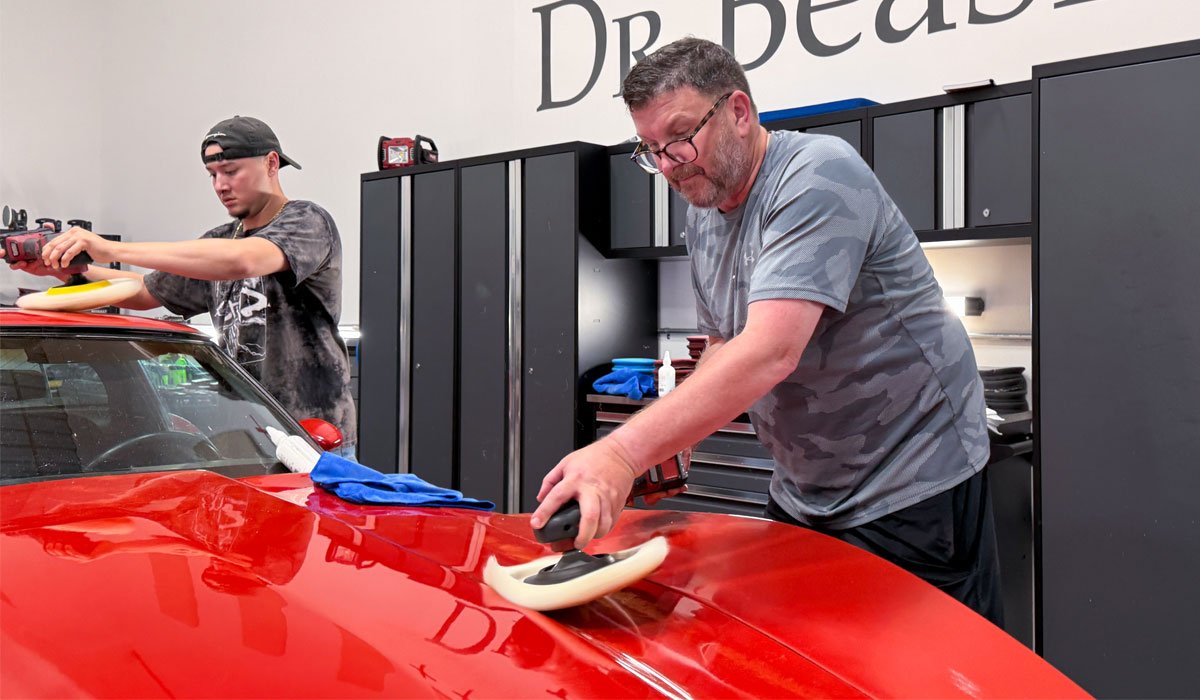
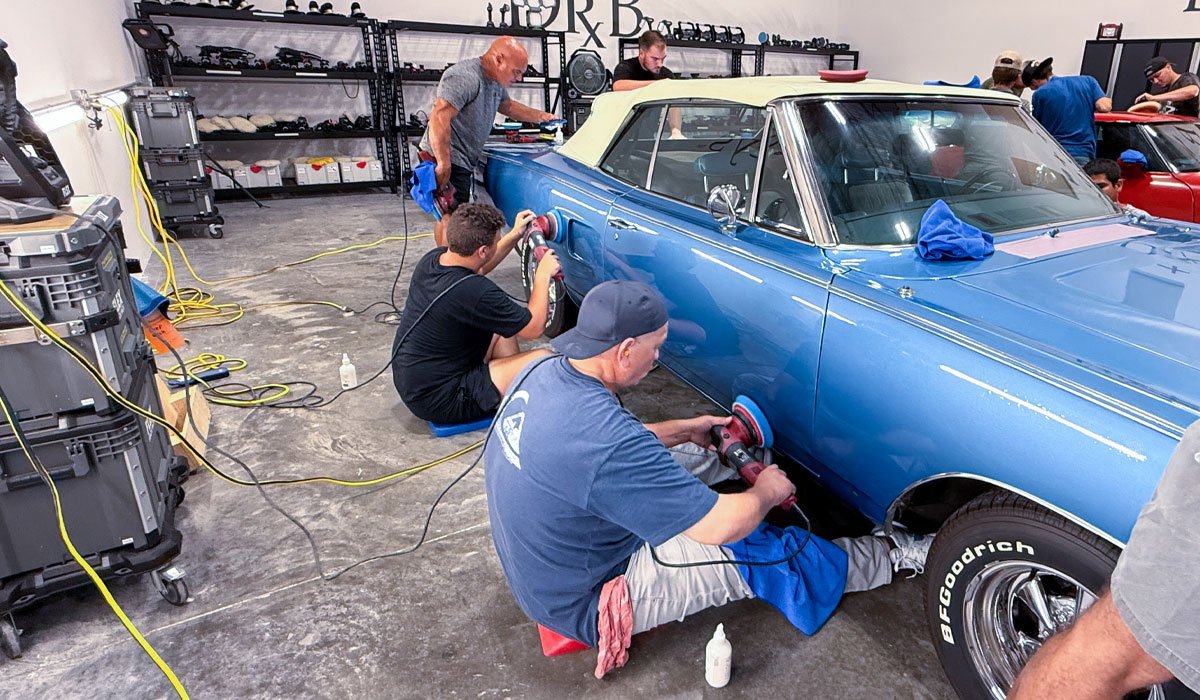
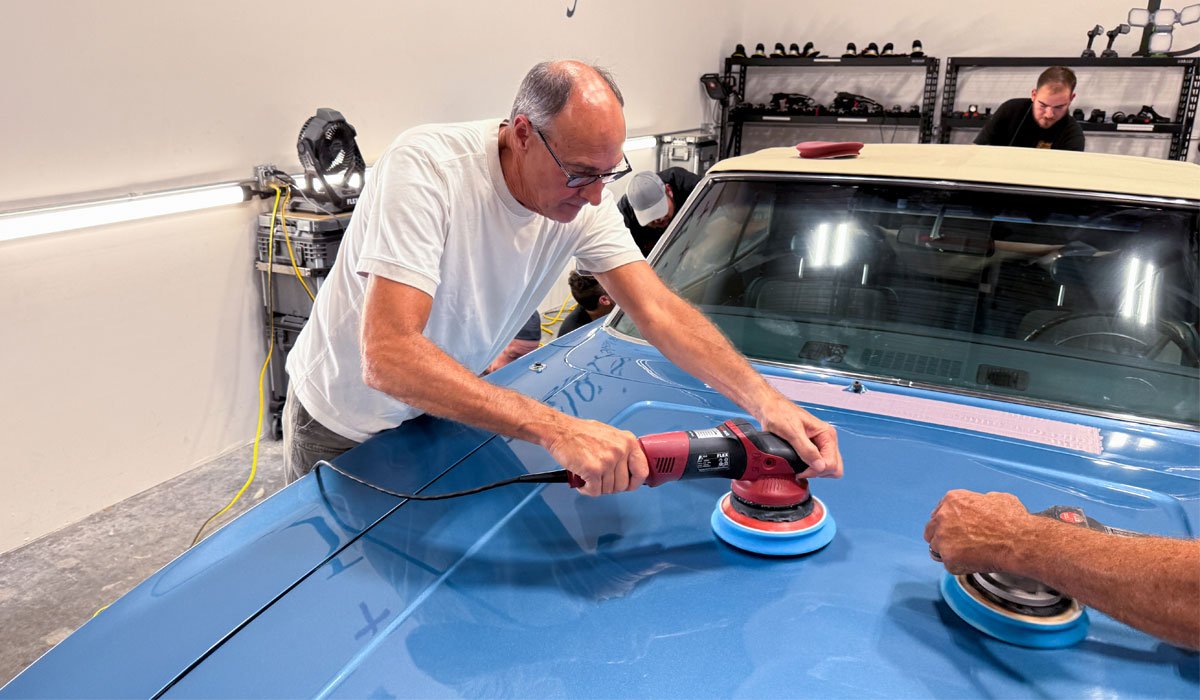
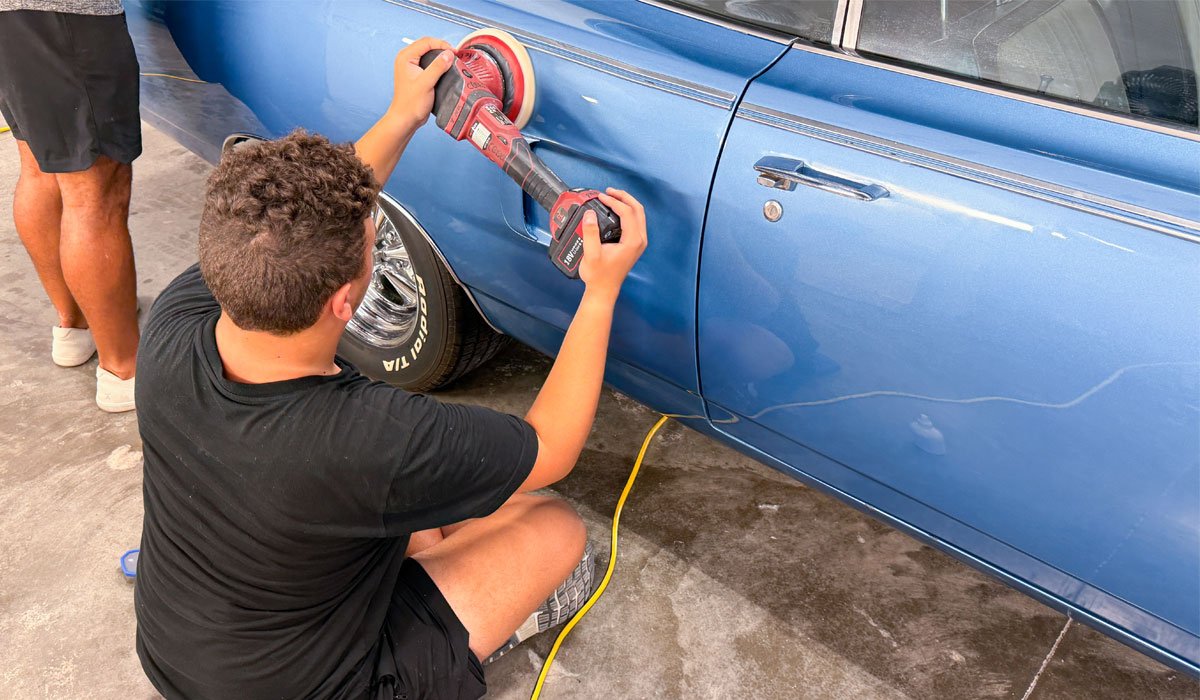
Here's Mitchell starting out using the FLEX cordless PE-150 Rotary Polisher with a Buff and Shine wool cutting pad and Dr. Beasley's CoreCut
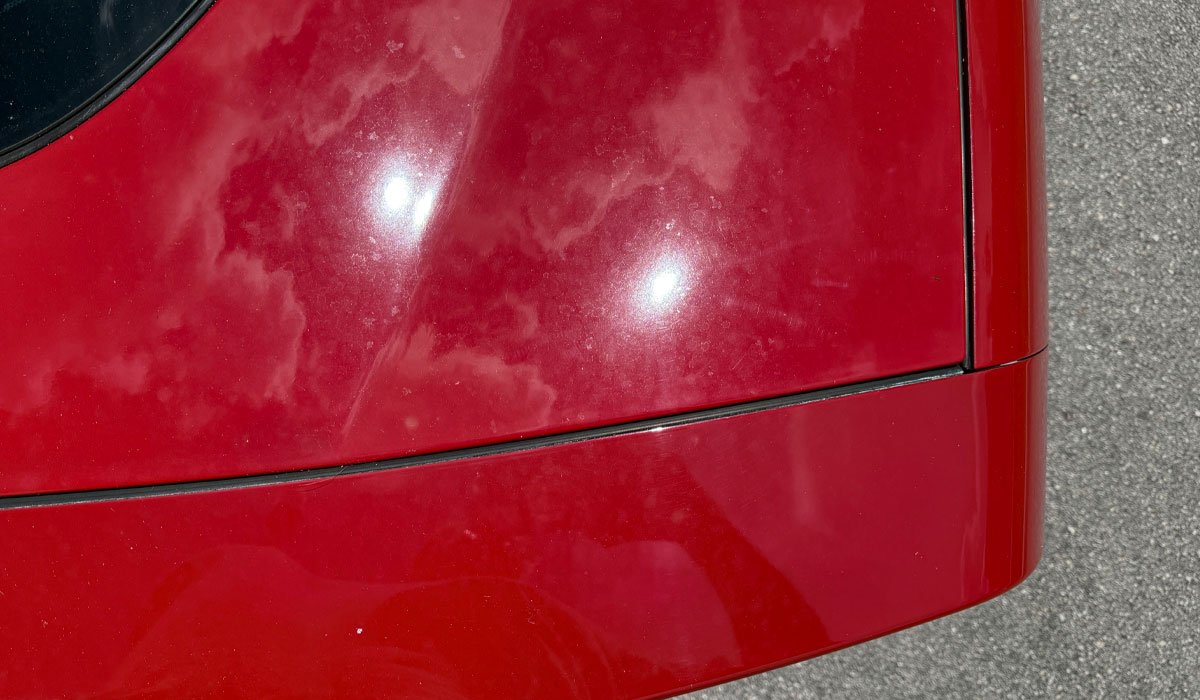
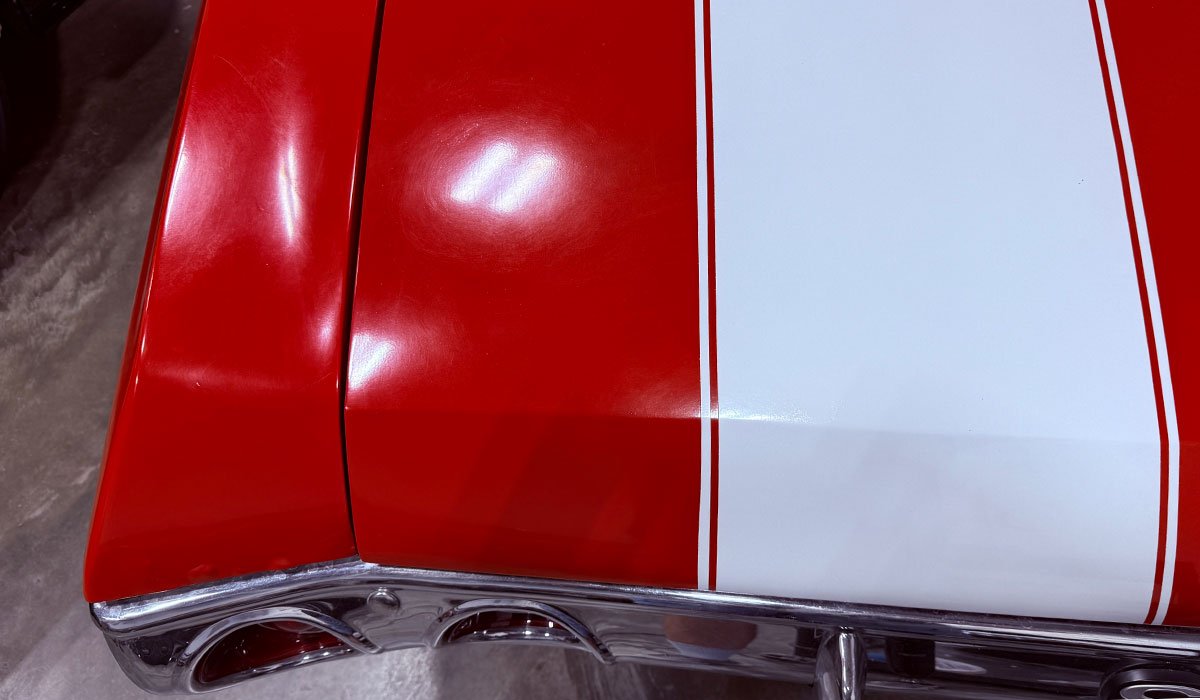
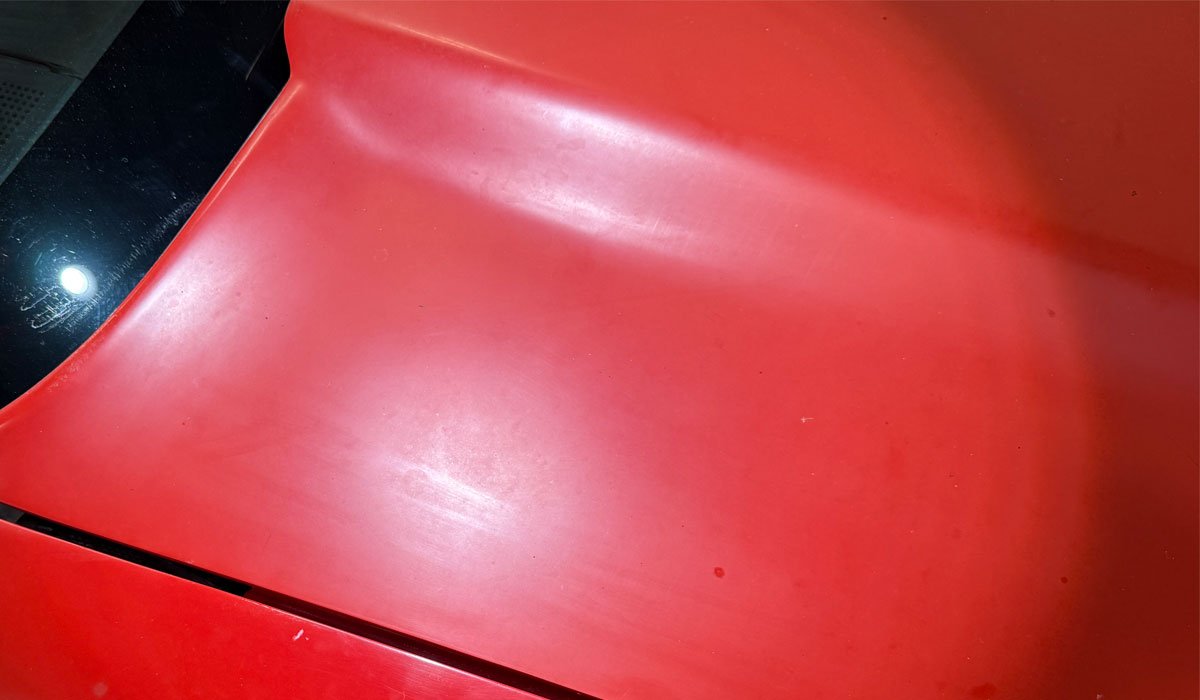
Single Stage Paint
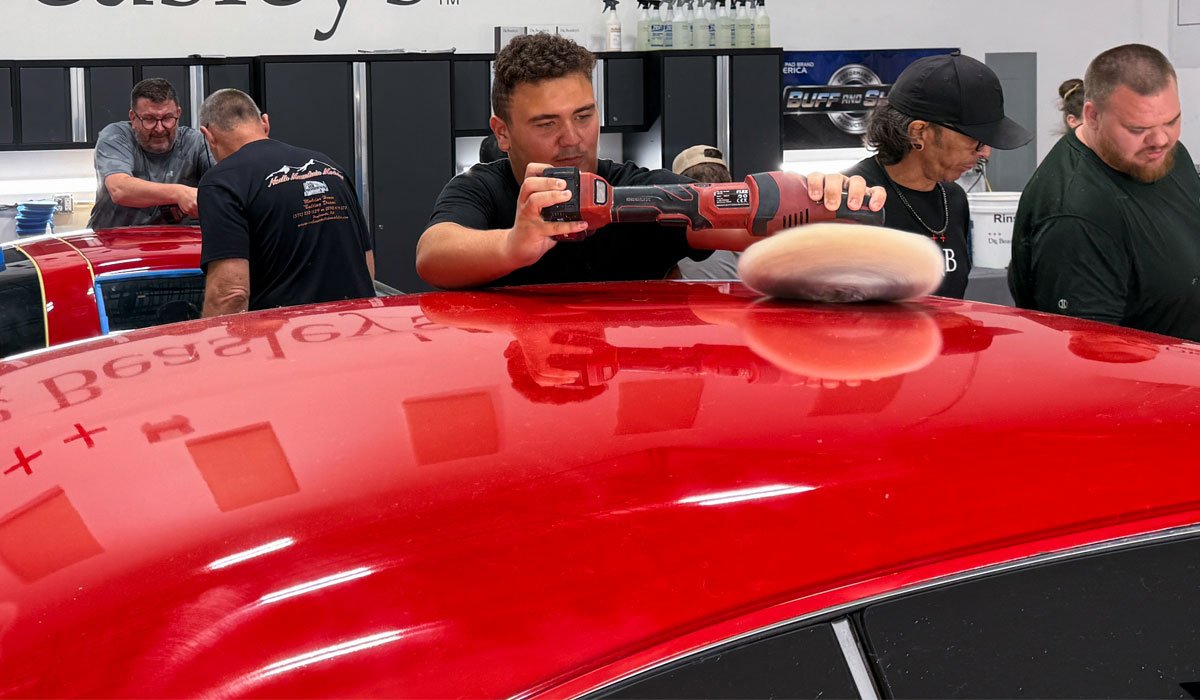
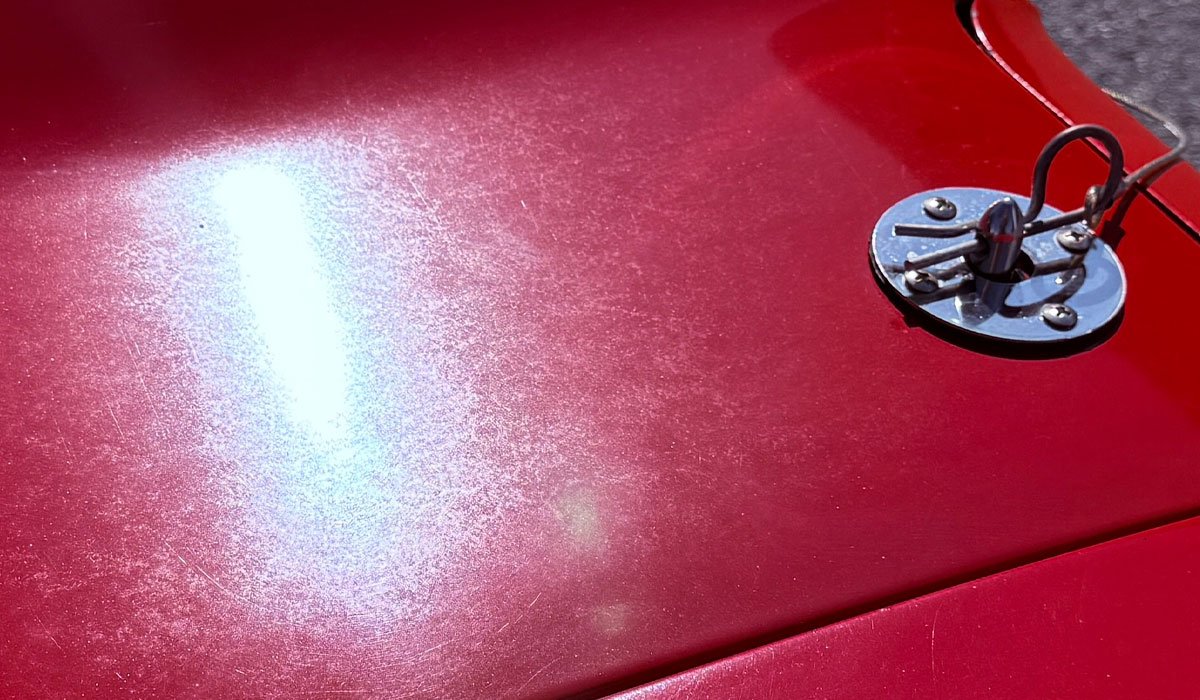
If you've never buffed on single stage paint, what you see below is NORMAL. Single stage paint is resin plus pigment but no top coat of clearcoat paint. Thus when you buff on the paint you see the color of the pigment used to create the color for the paint.
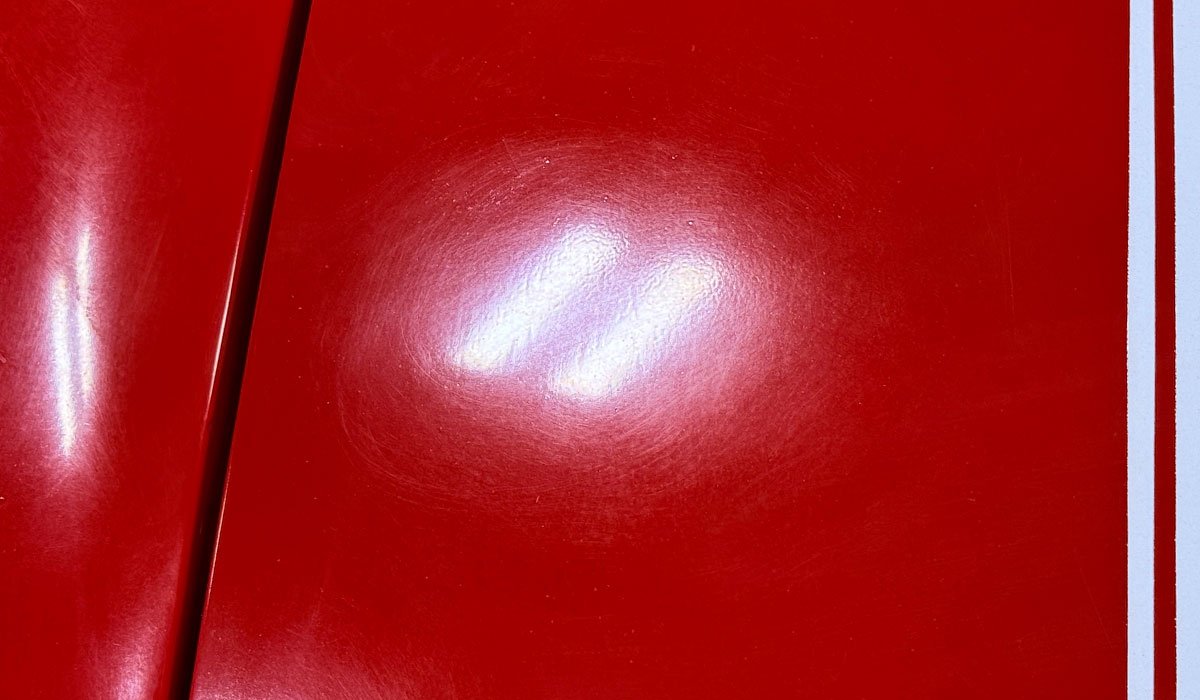
Dead, Oxidized Paint
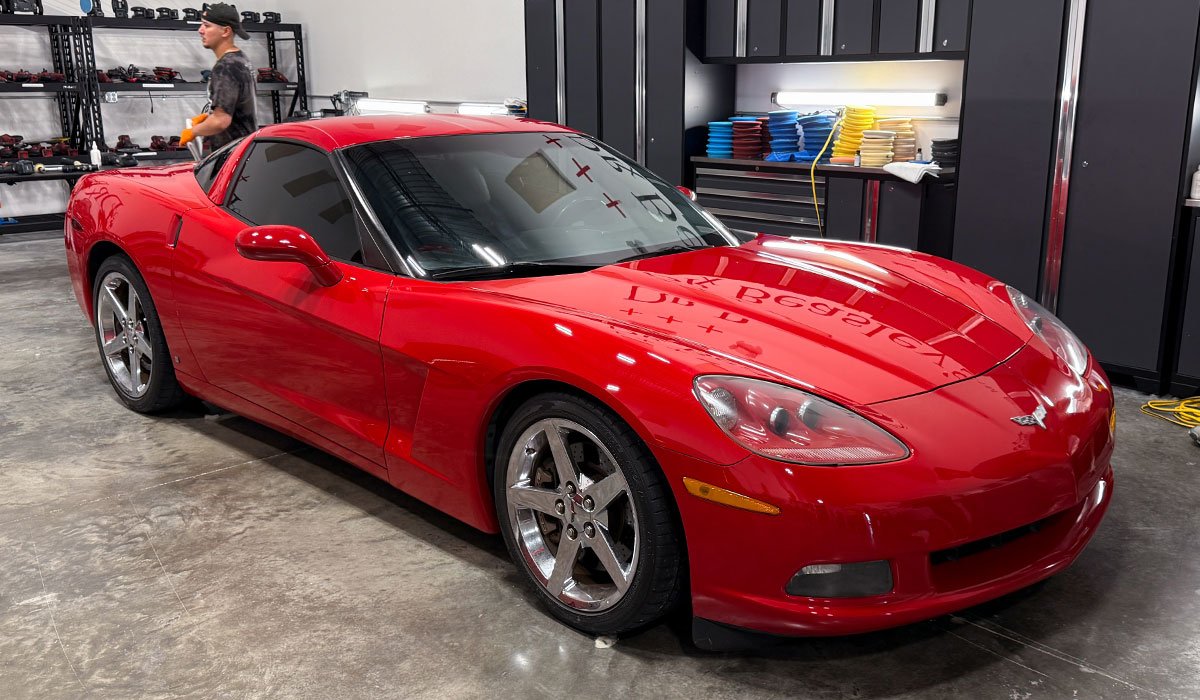
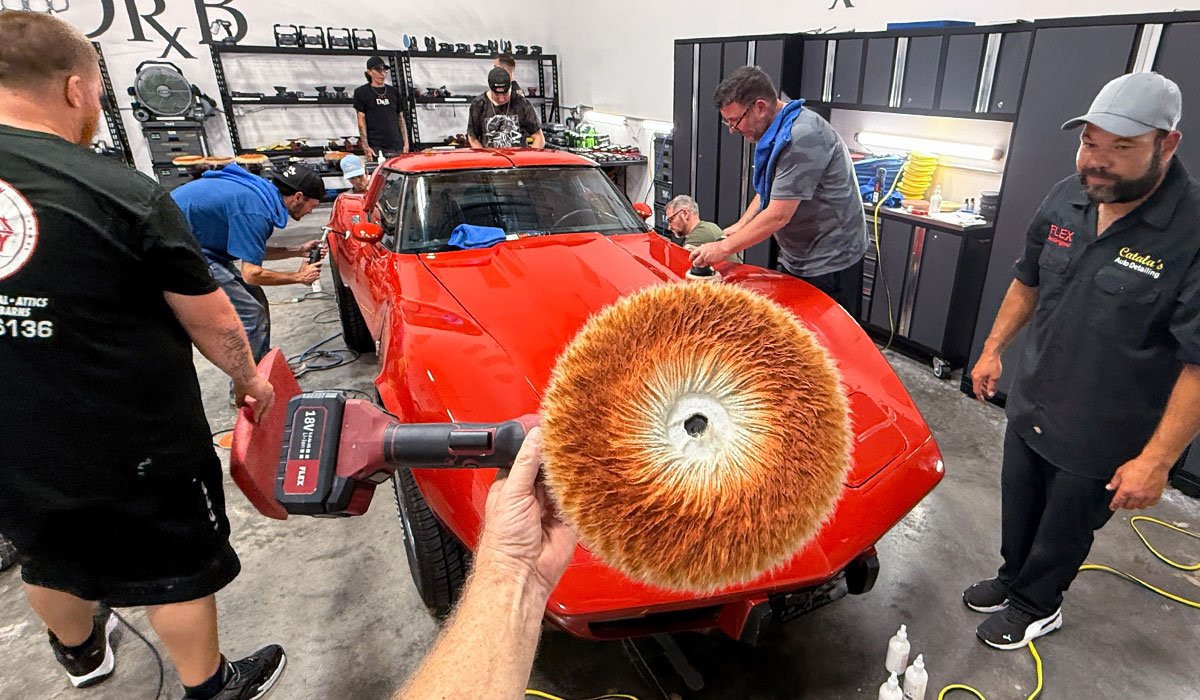
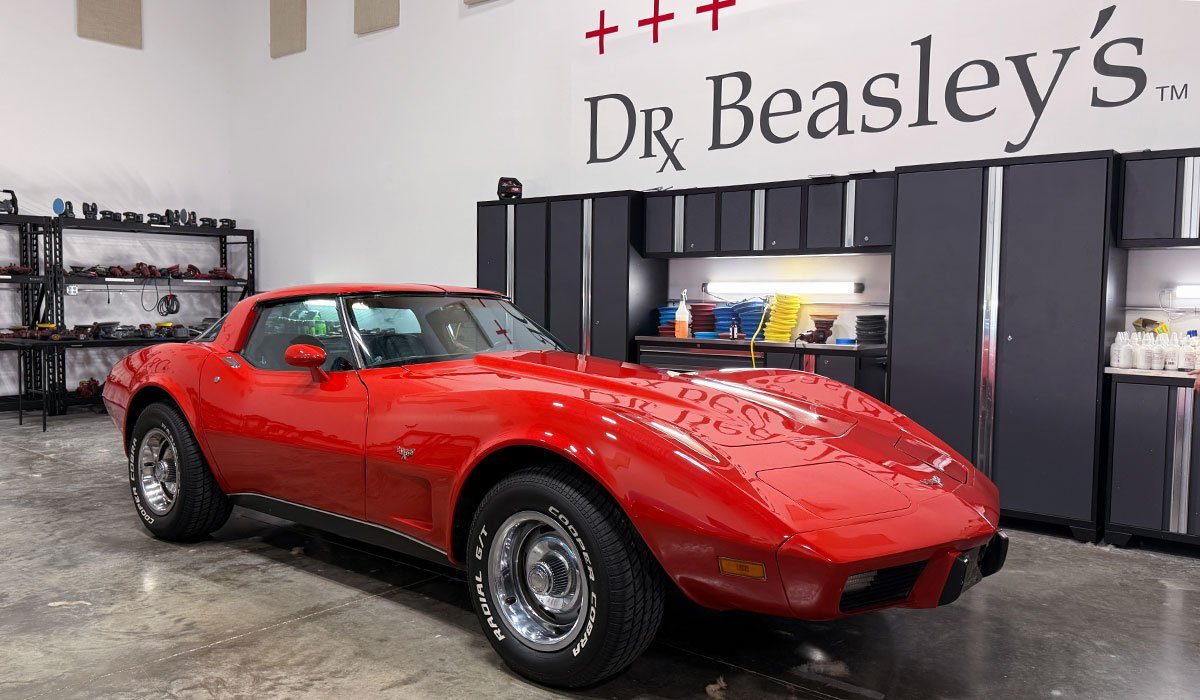
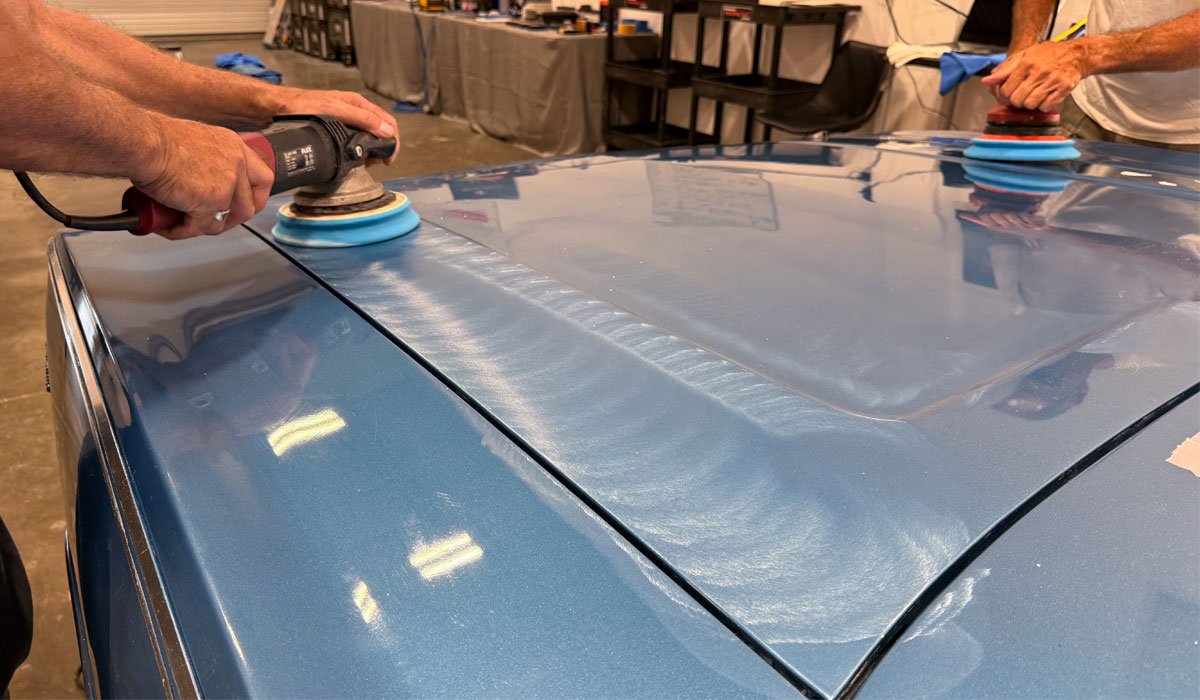
If you look at the Corvette in the background, you can see the paint is becoming very clear and glossy, with excellent richness-of-color. And if you look at the face of the pad you'll see all the faded, oxidized paint that was removed off the body panels. And of course, the class learns the importance of cleaning their pads and cleaning them often.
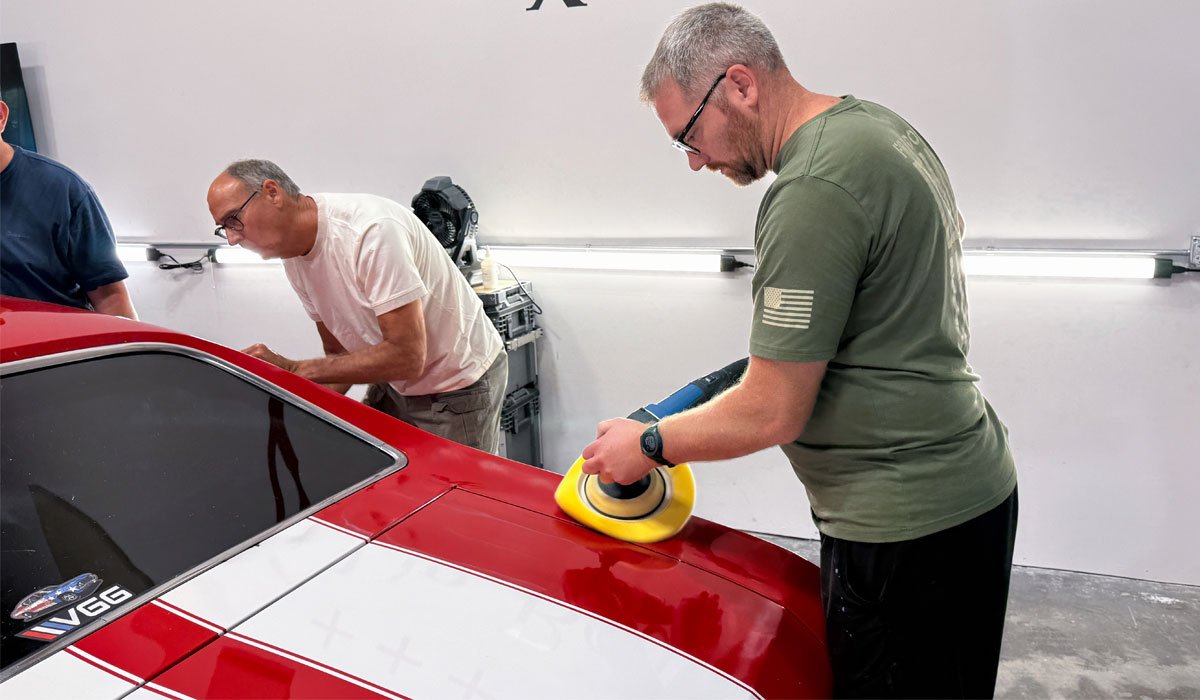
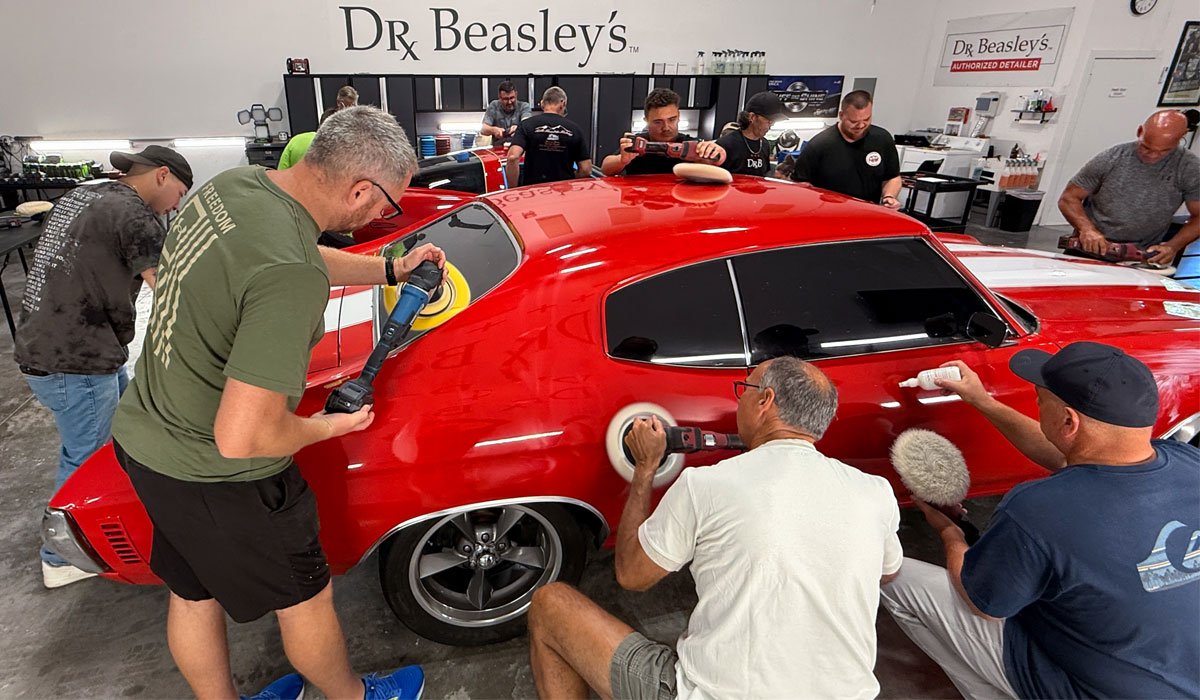
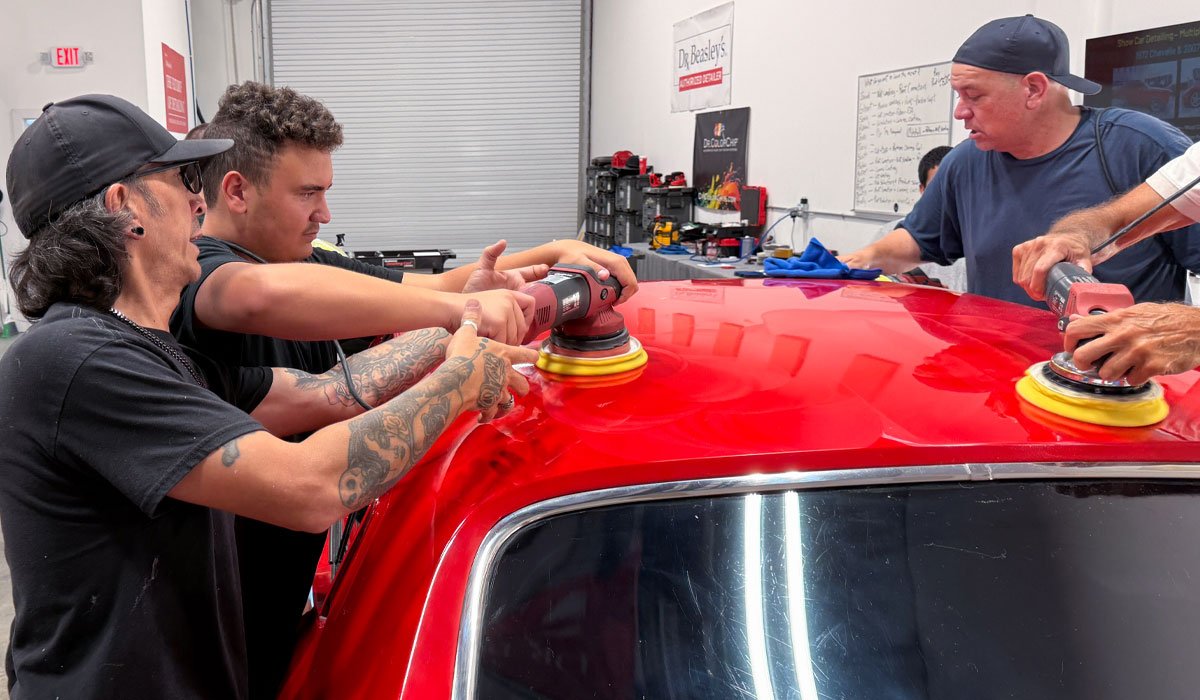
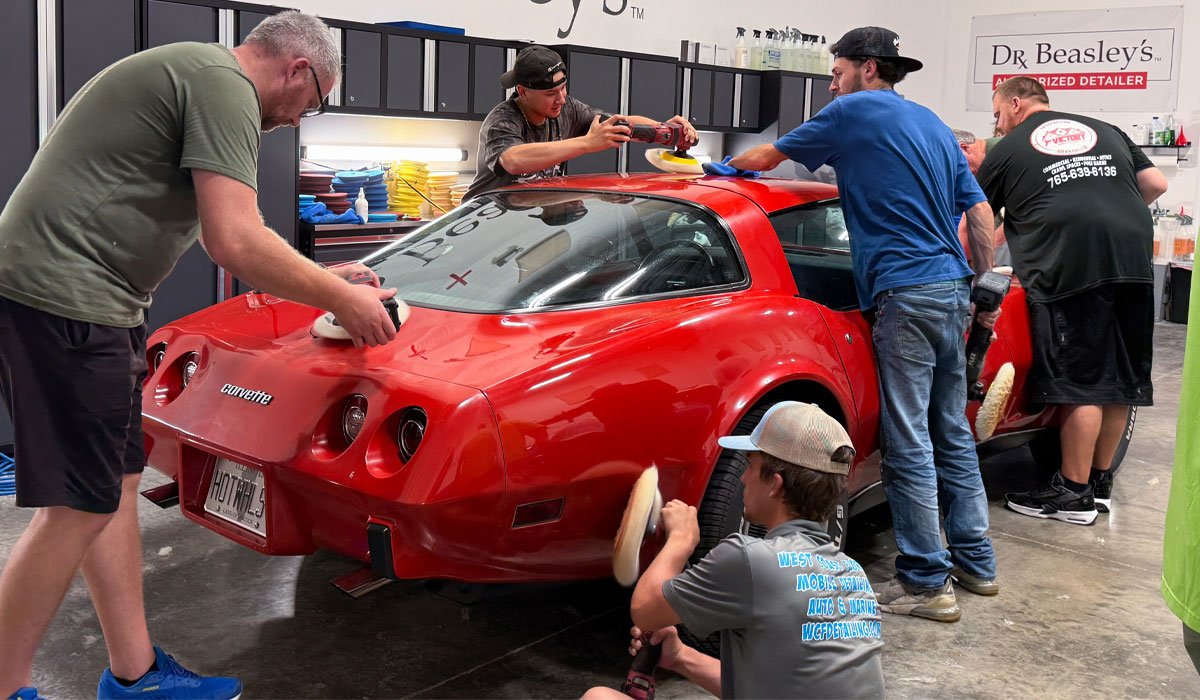
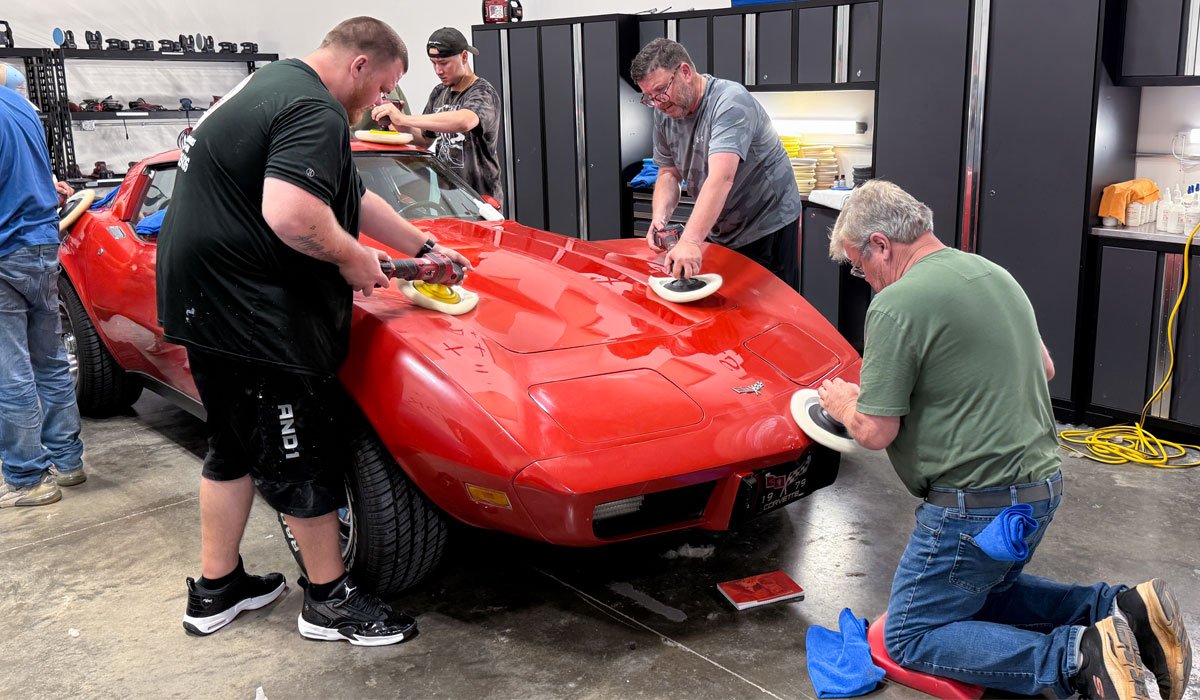
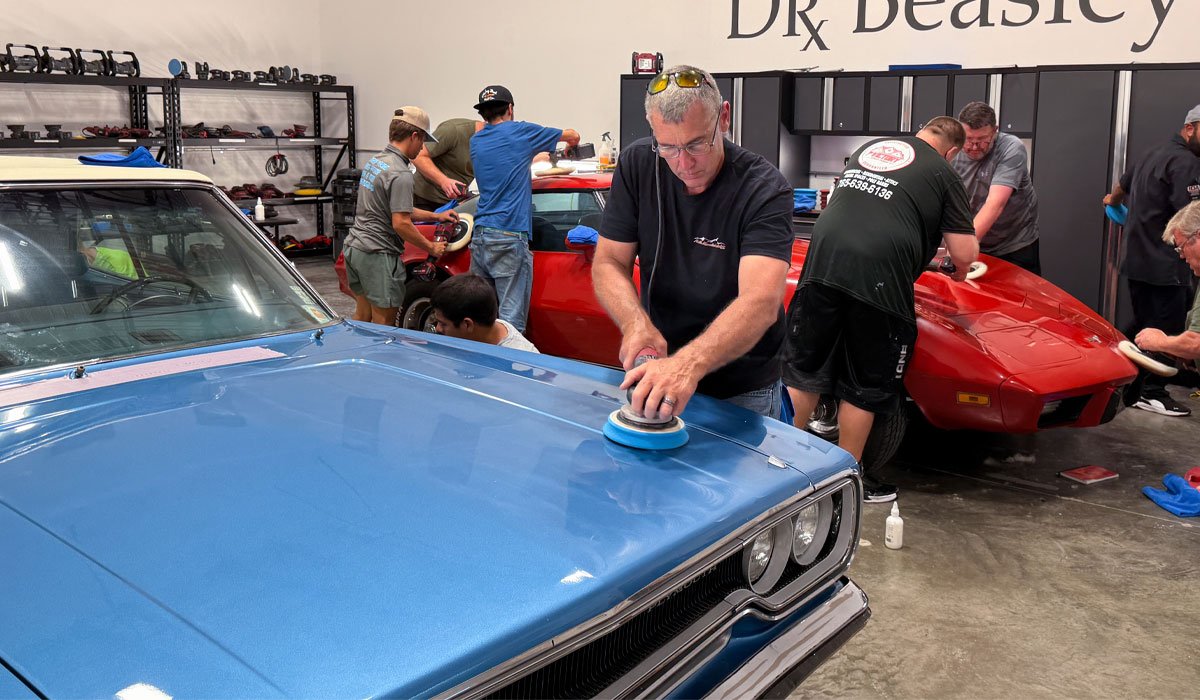
Here's Quintin, Mike and Scott tackling the driver's side of this super cool Corvette.
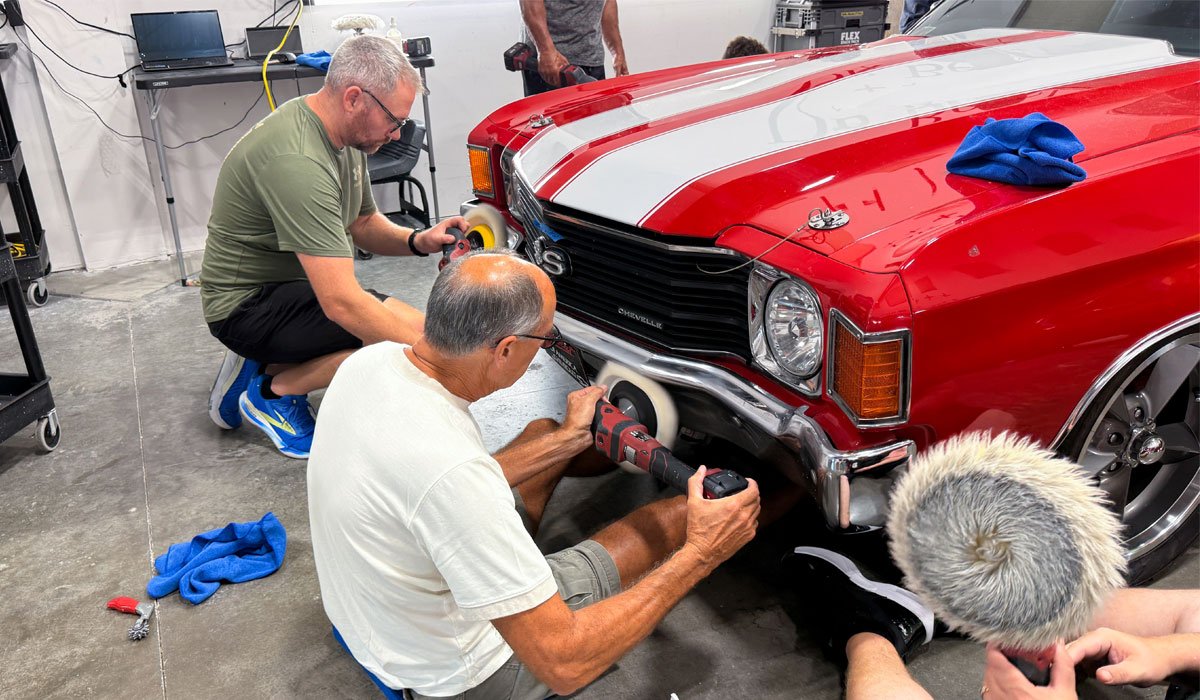
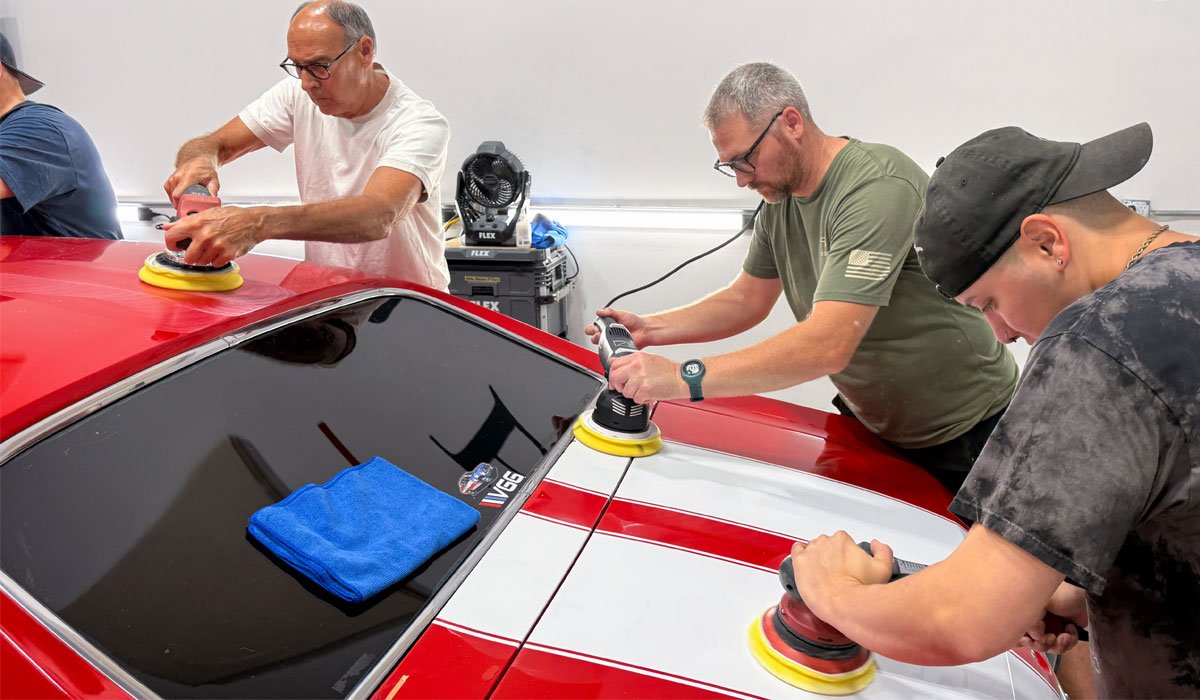
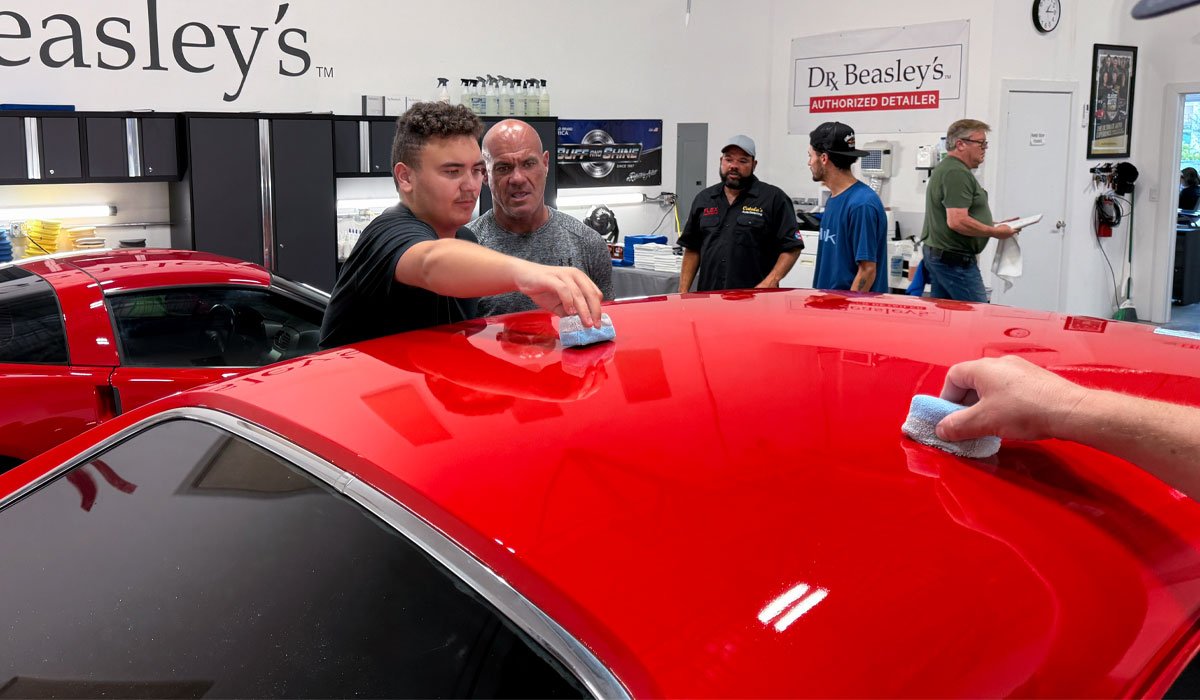
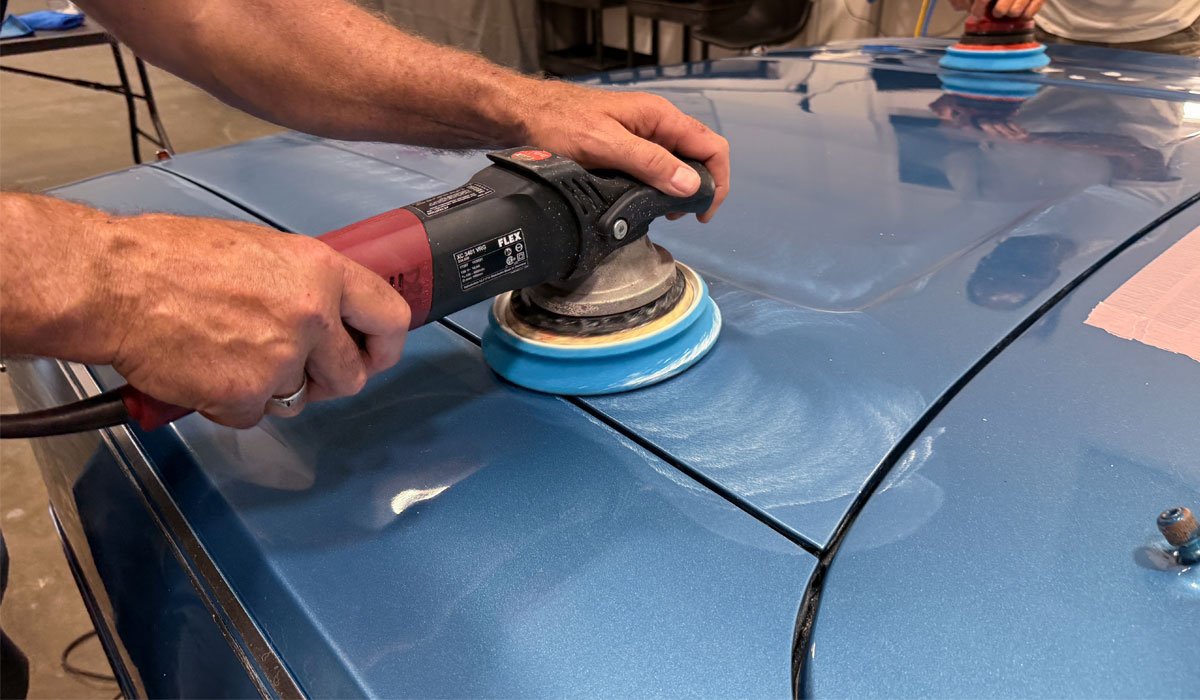
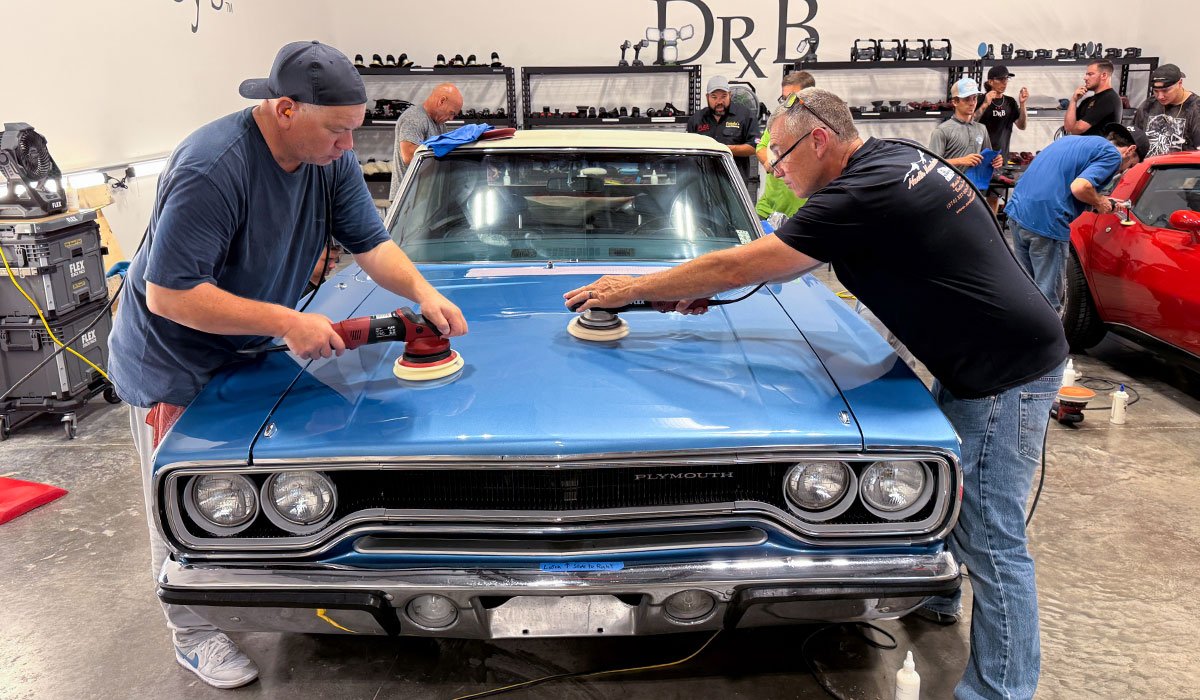
Correct Technique
Here you see Quintin and Mike holding the cordless rotary polishers in a way that the buffing pad is TILTED so that only a portion of the spinning wool pad is touching the surface. This is correcti technique. Others are free to disagree, but anytime someone tells me this is wrong technique - it tells me they've never buffed out a
large boat.
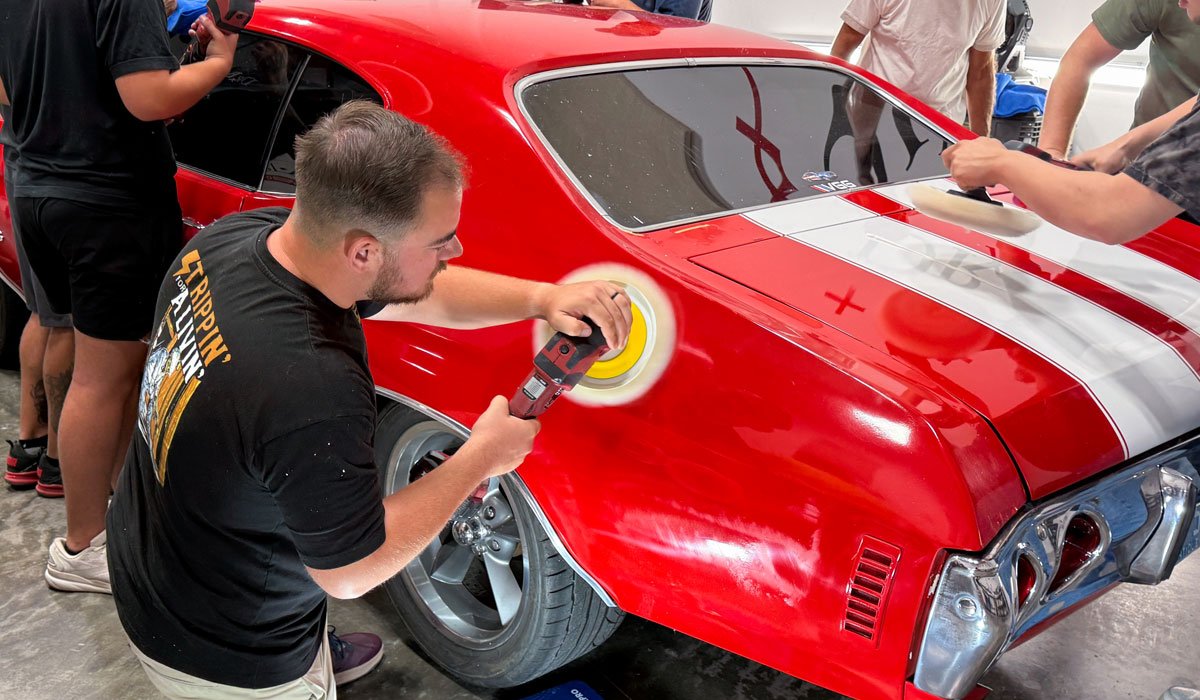
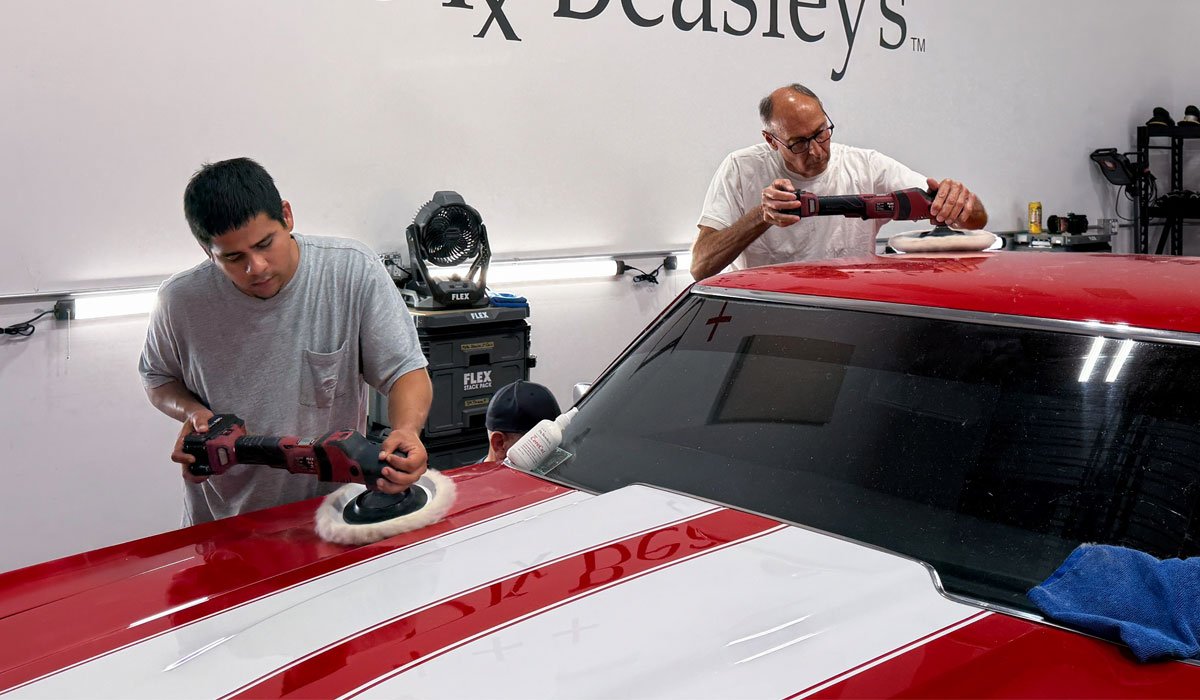
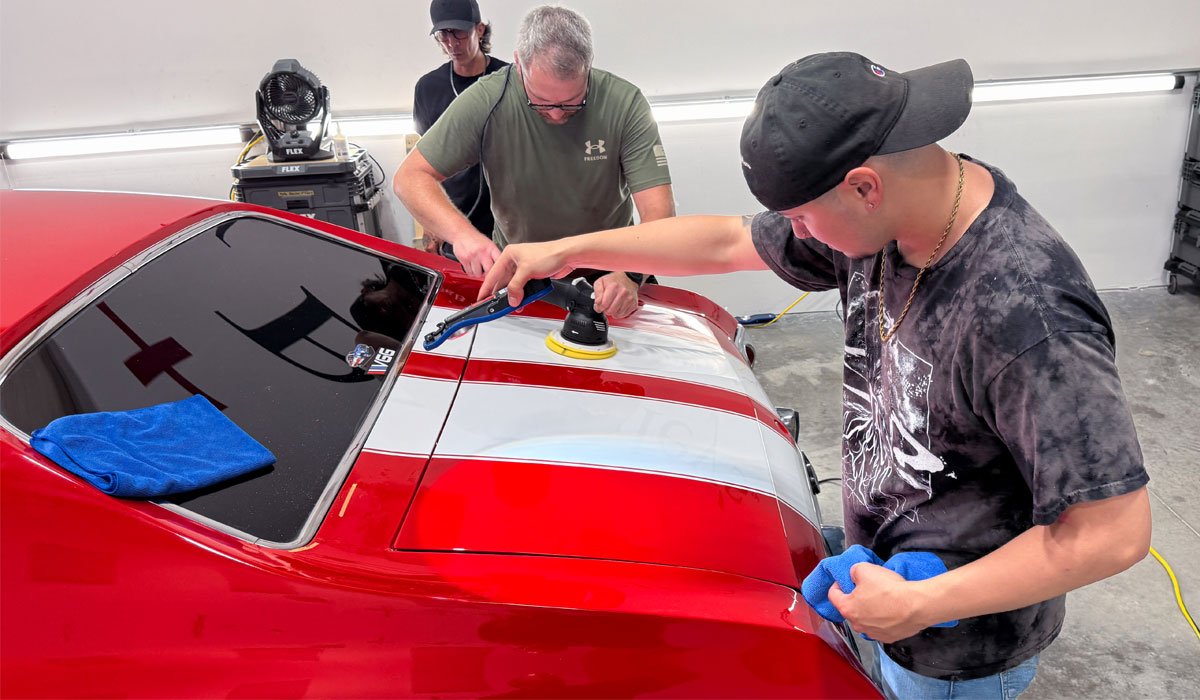
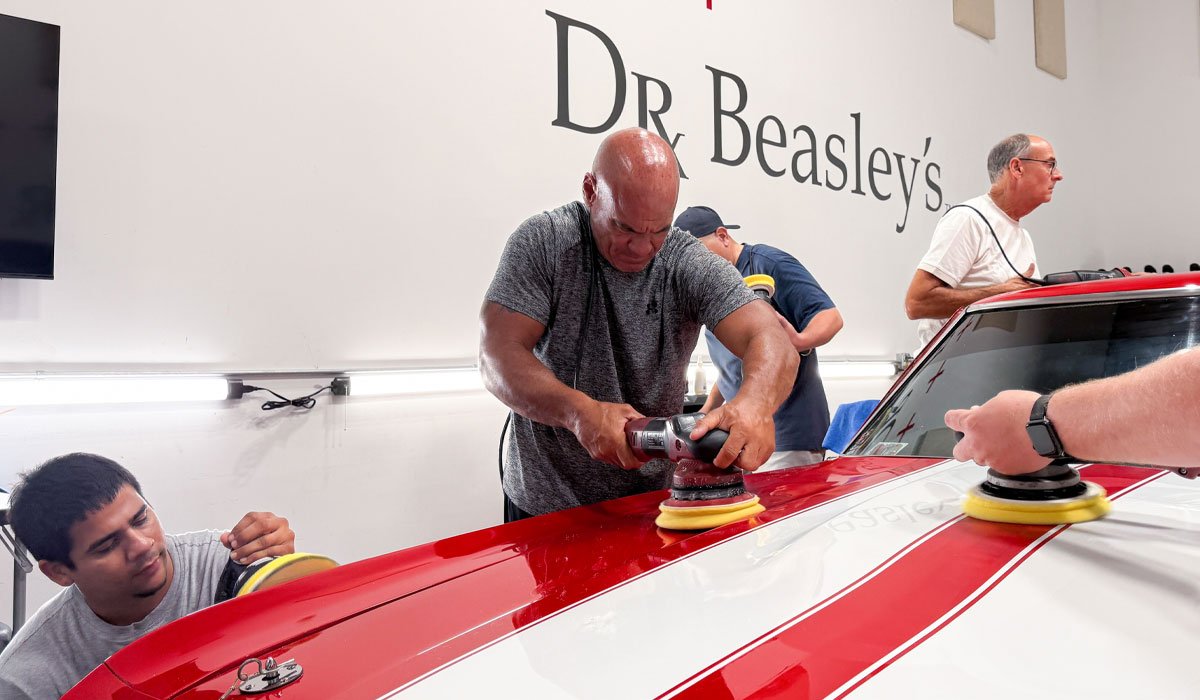
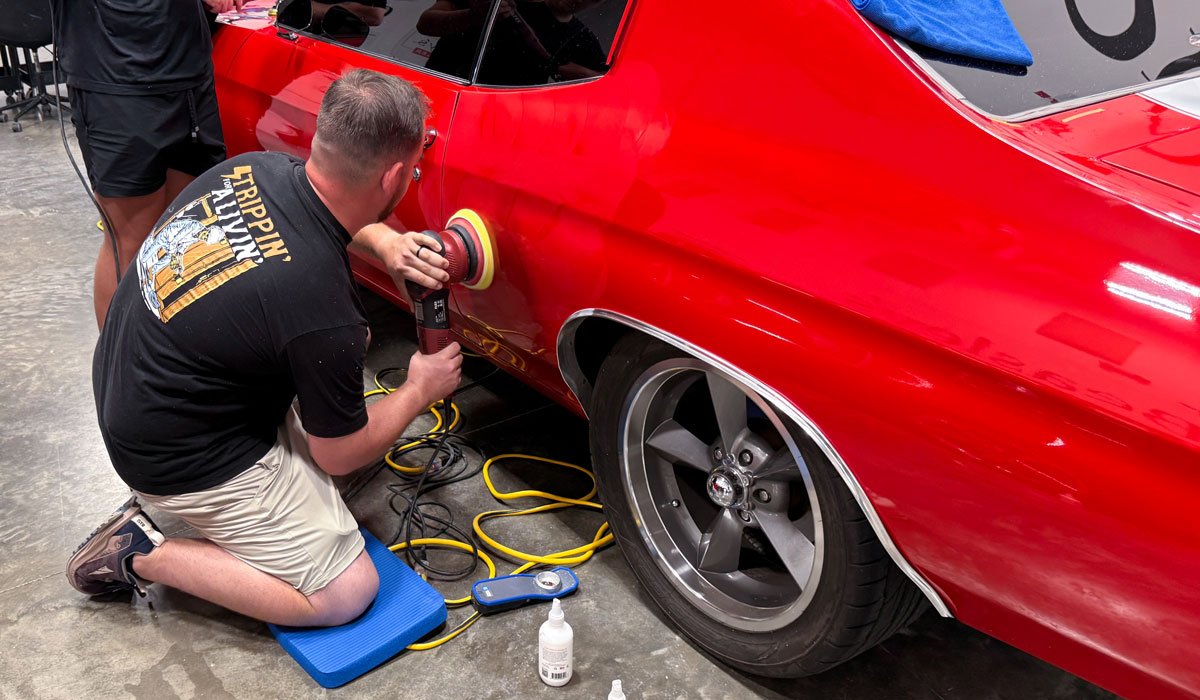
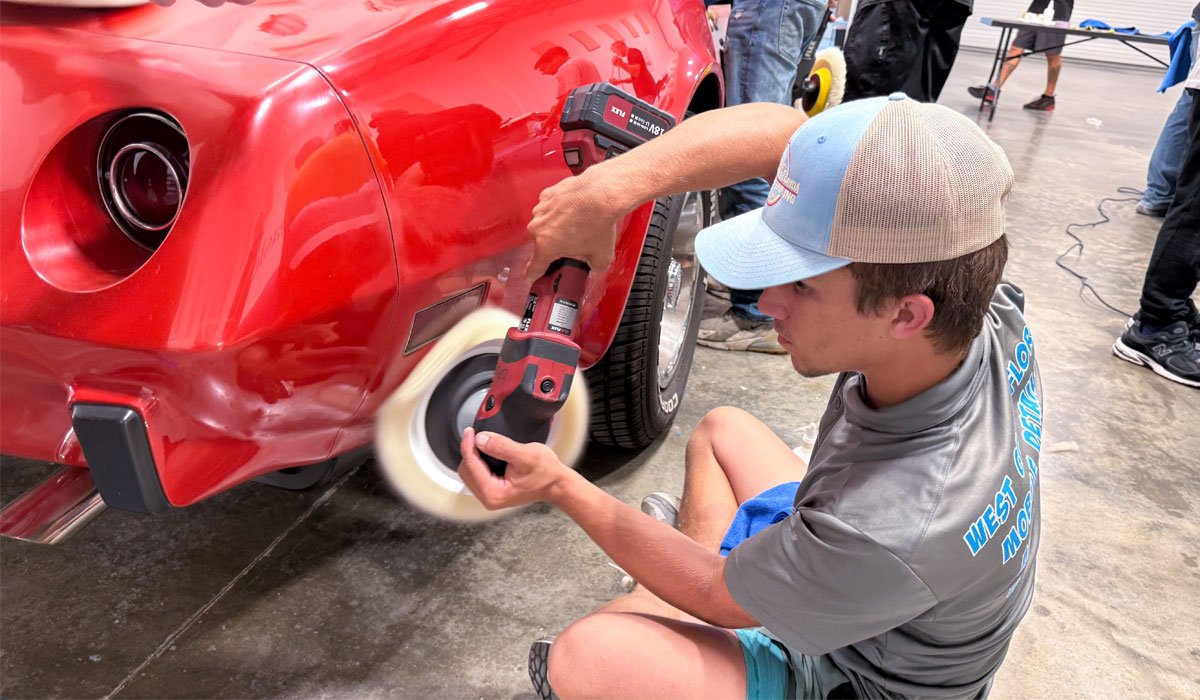
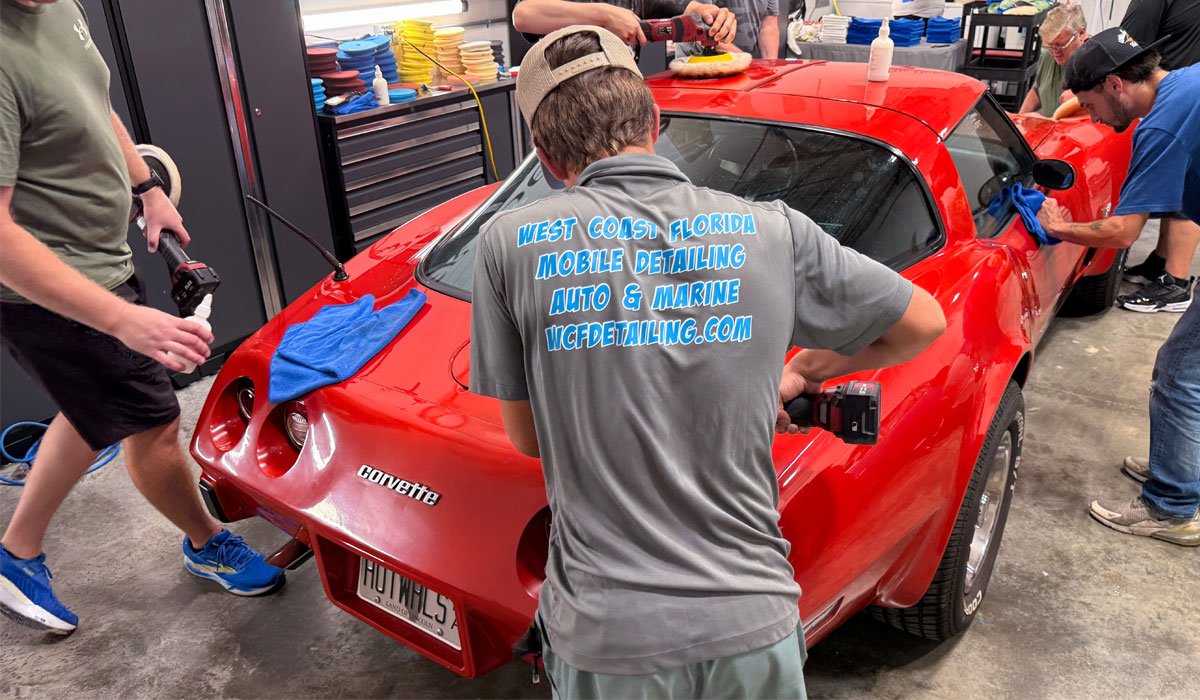
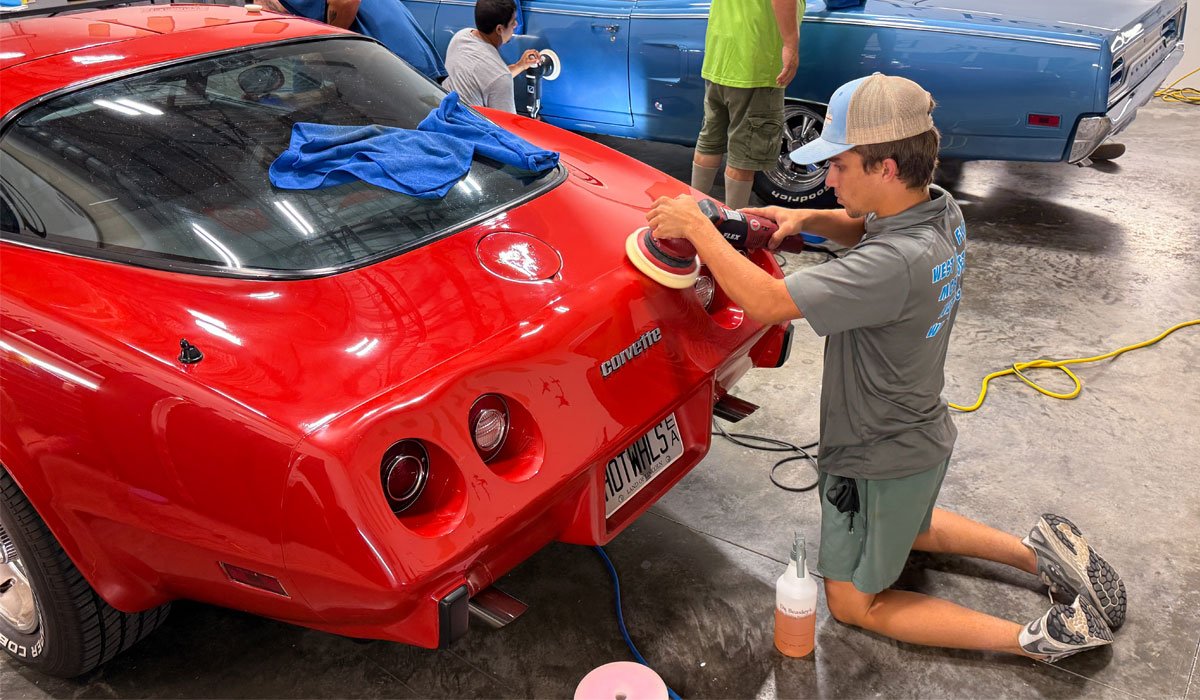
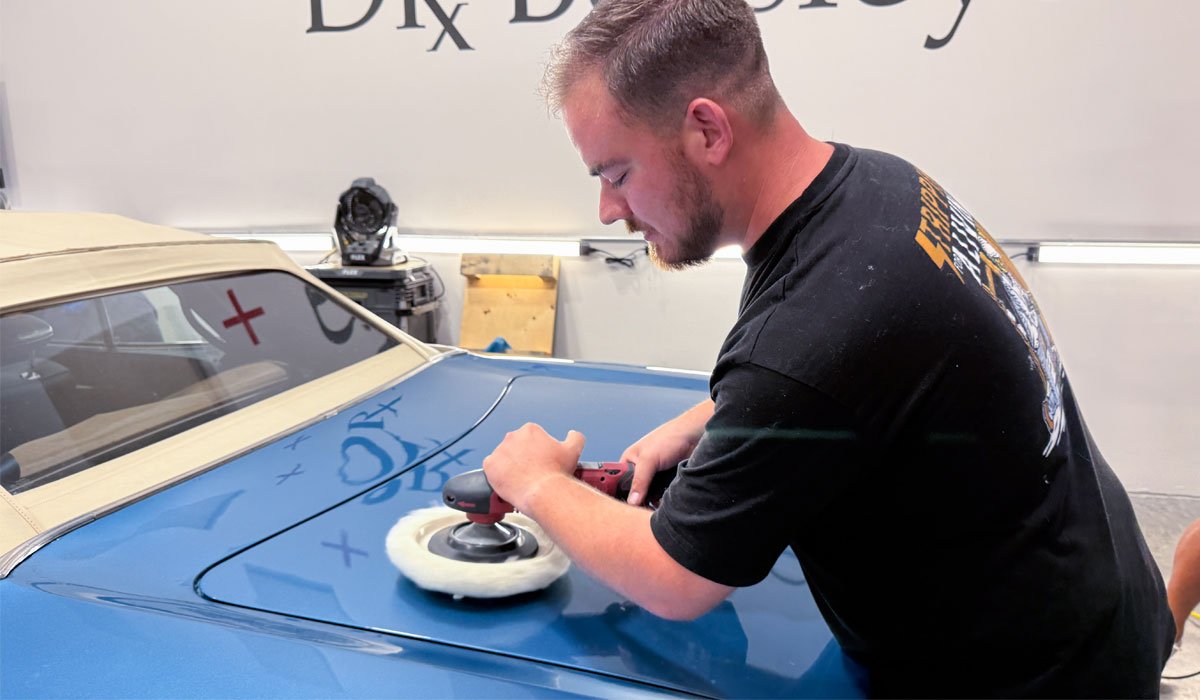
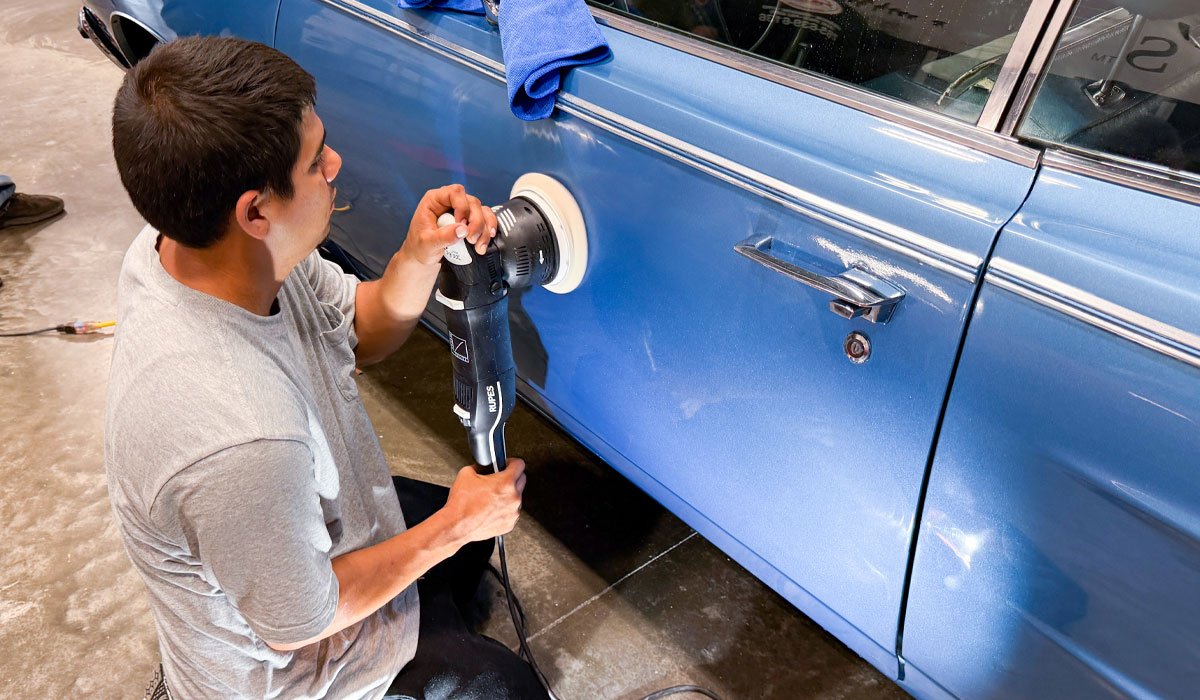
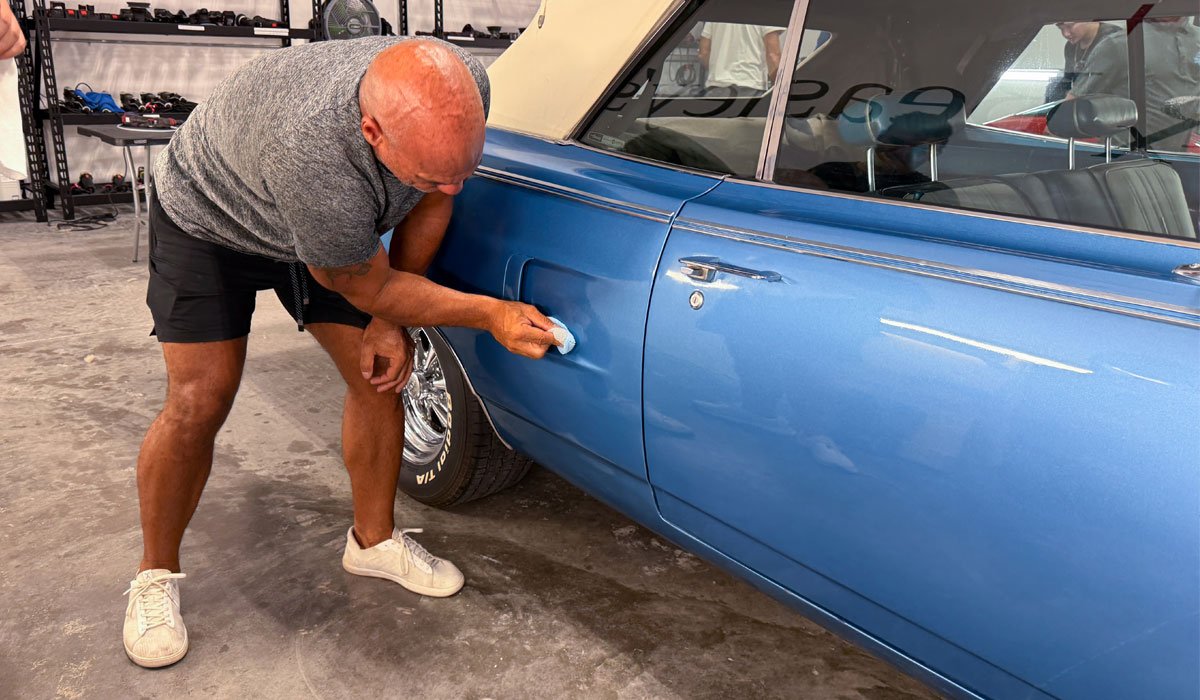
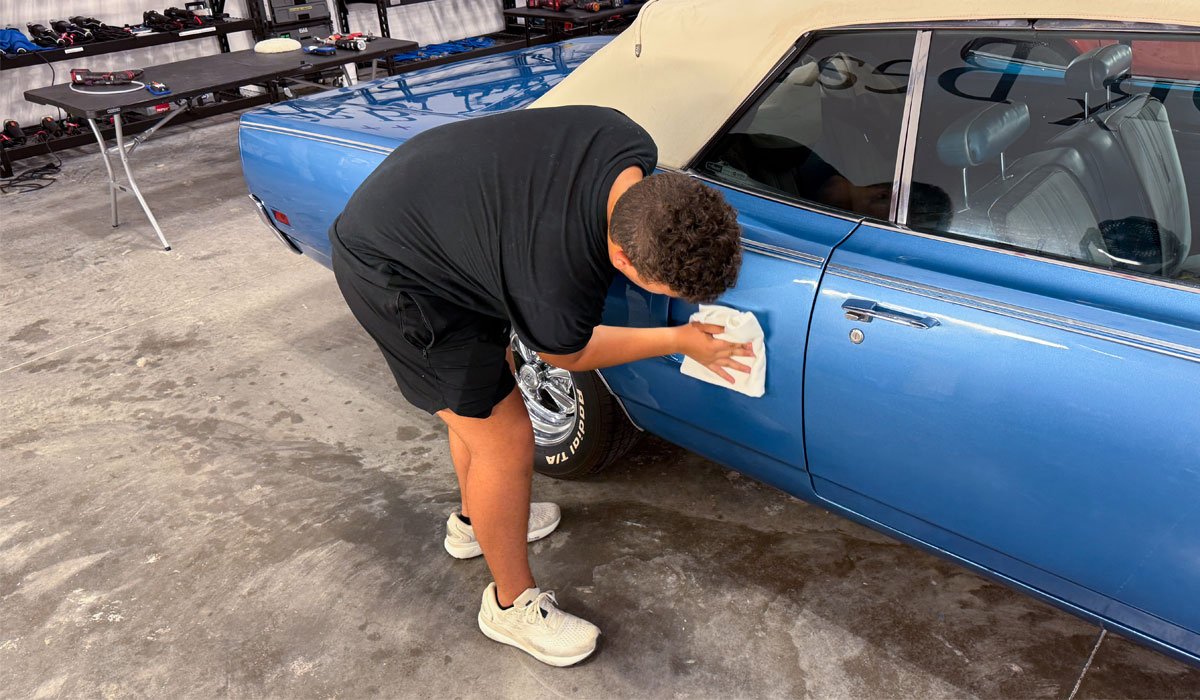
Here's Josh tackling the lower quarter panel...
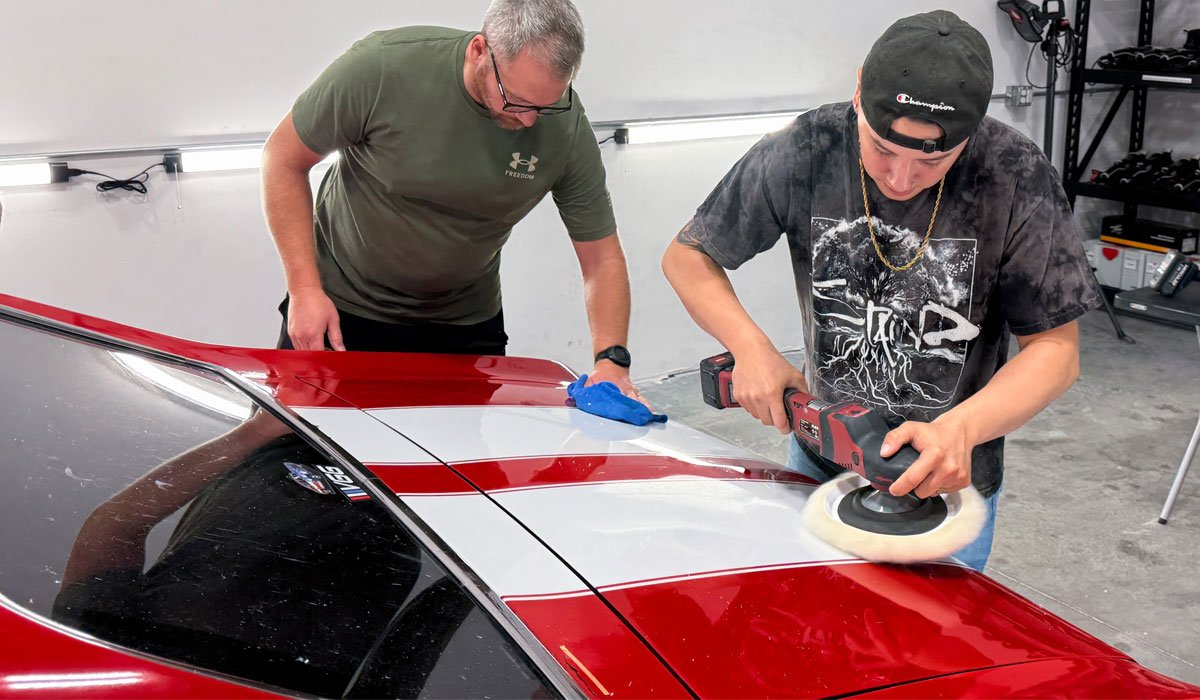
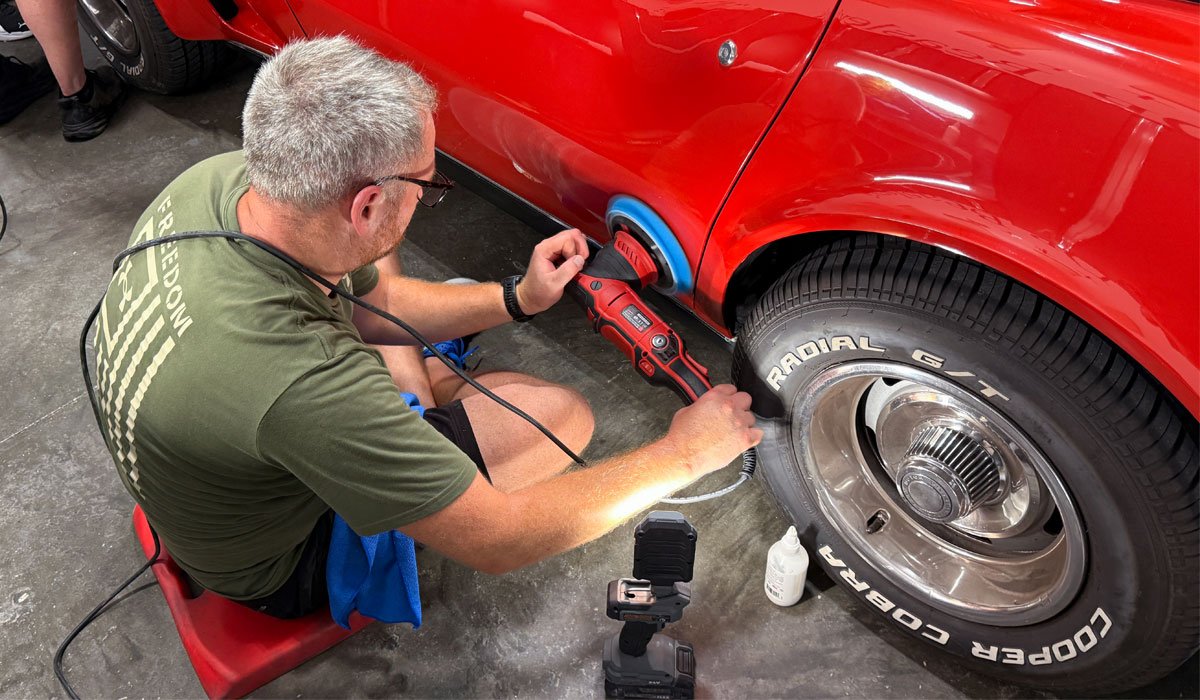
The gentleman on the left-hand side of the below picture is Brad, the owner of this 1979 Corvette. And yes, Brad purchased the Corvette as you see it in the before pictures. He was elated with the final results!
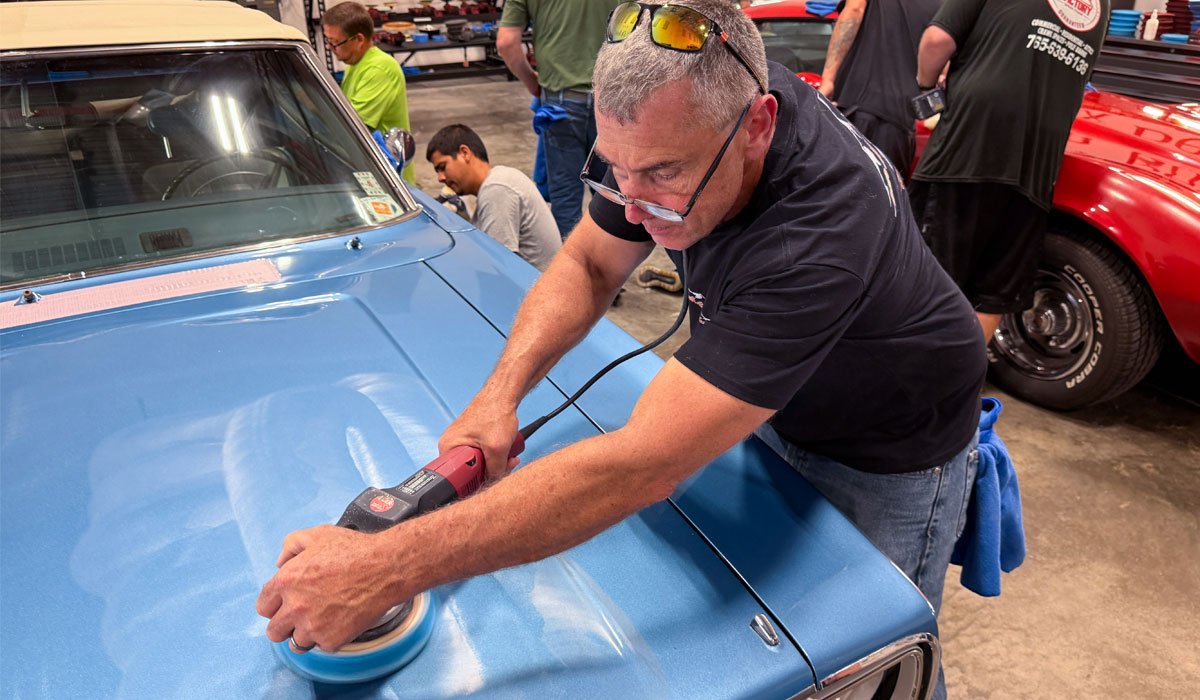
I agree with Quintin - I love using my cordless FLEX rotary polisher for heavy cutting.
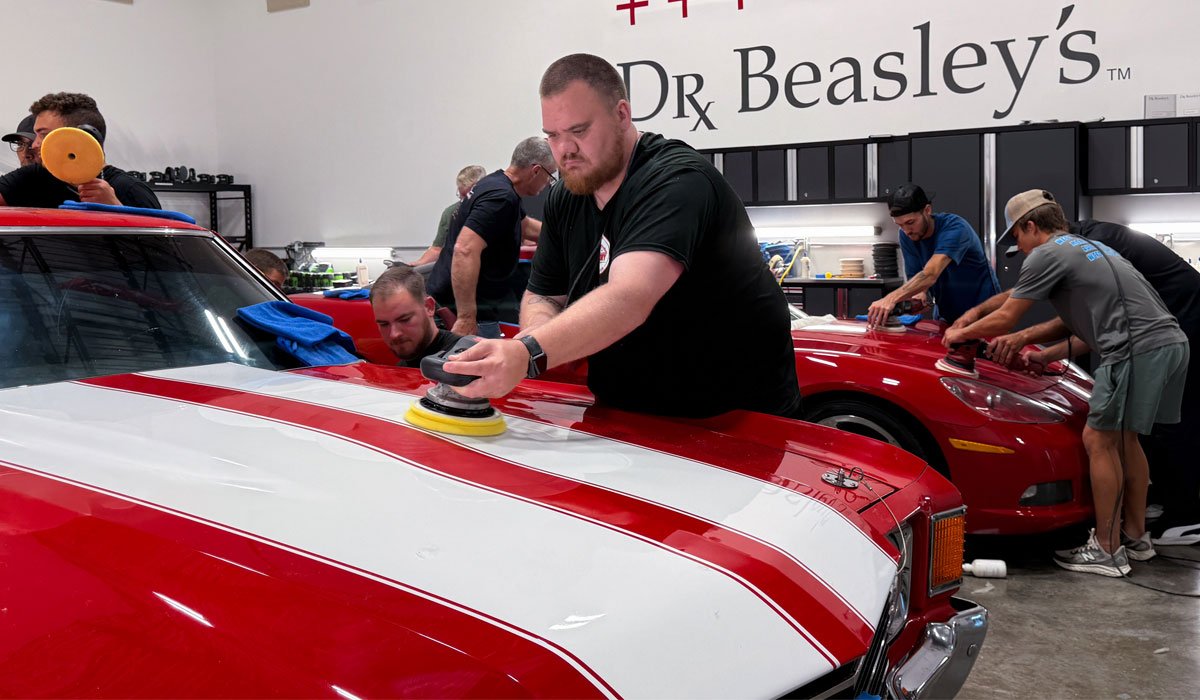
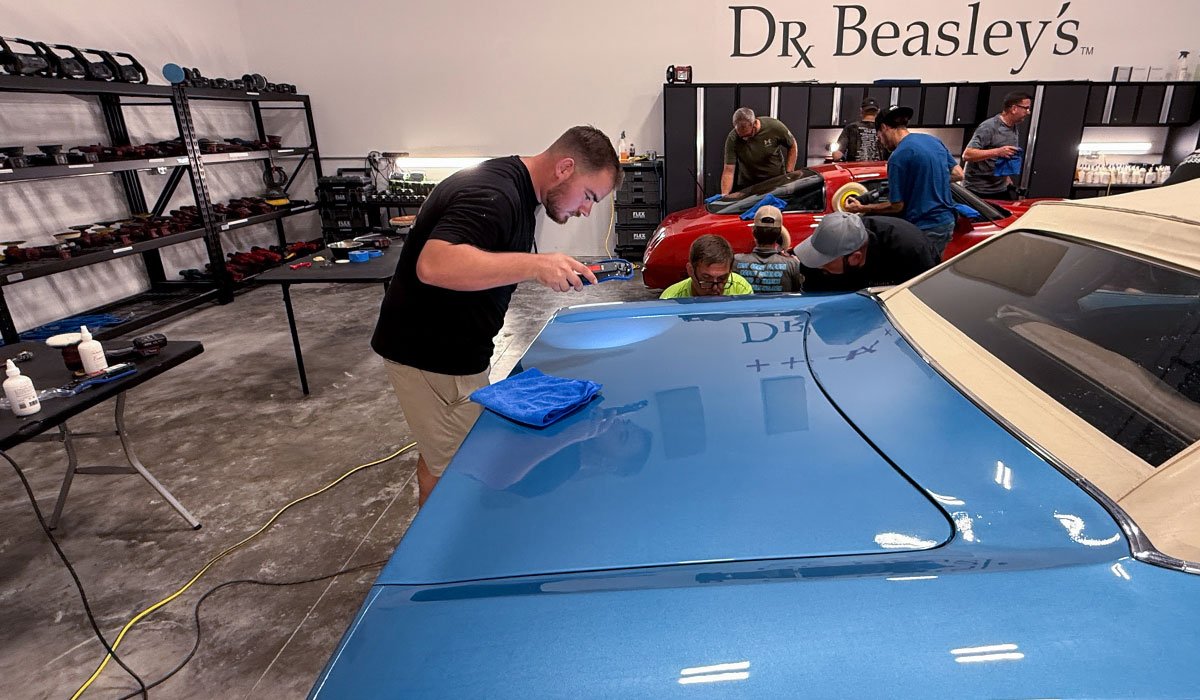
No Chairs. Zero Sitting
If you learn better by doing than sitting in a chair looking at a PowerPoint while someone drones on and on and on, then clear your schedule and get signed up for one of our future classes. With the cars change, the format is always the same. You're on your feet with tools-in-hand, training on actual cars, and also super cool cars. Other classes? Normally what you get to train on are demo hoods, test panels and rental cars. That's after sitting for hours.
Do-it-Yourselfers and Pro Detailers
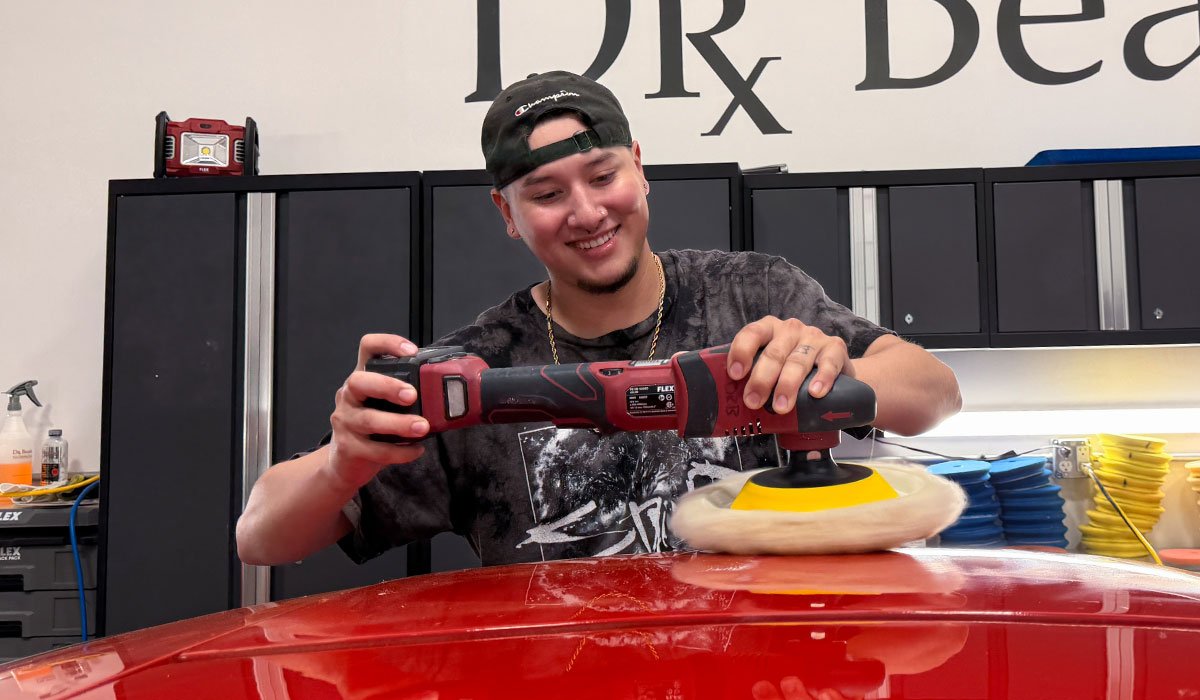
Our classes are tailored for both absolute beginners to seasoned experts and Josh is here becoming an expert!
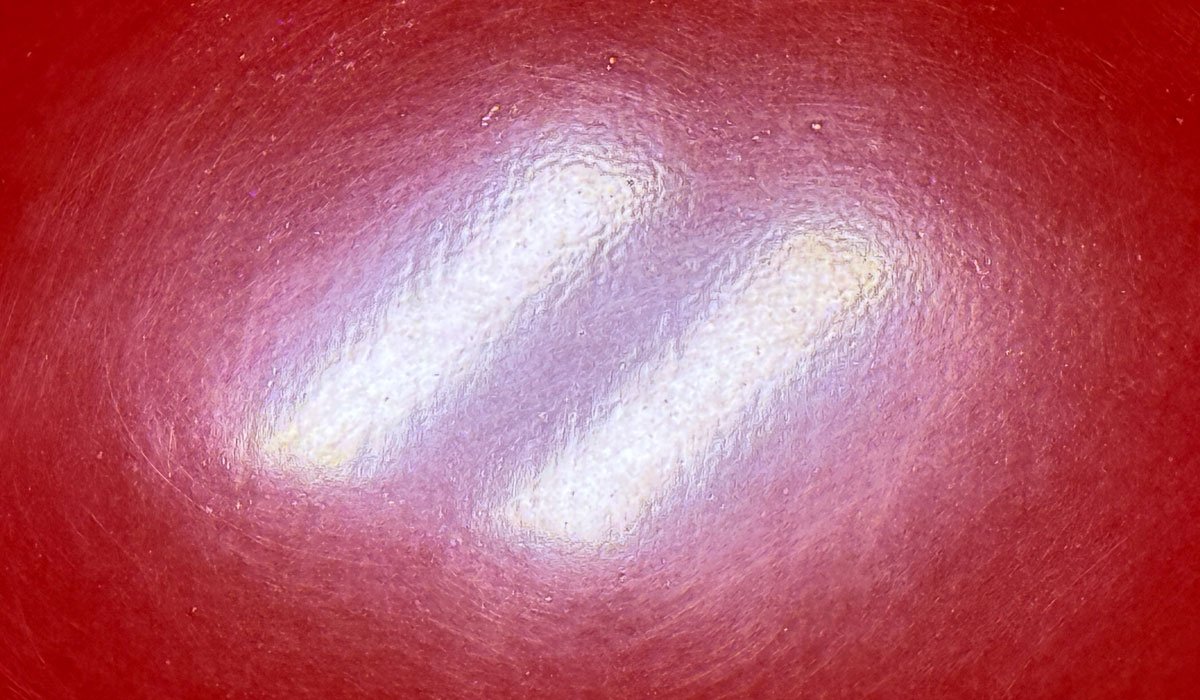
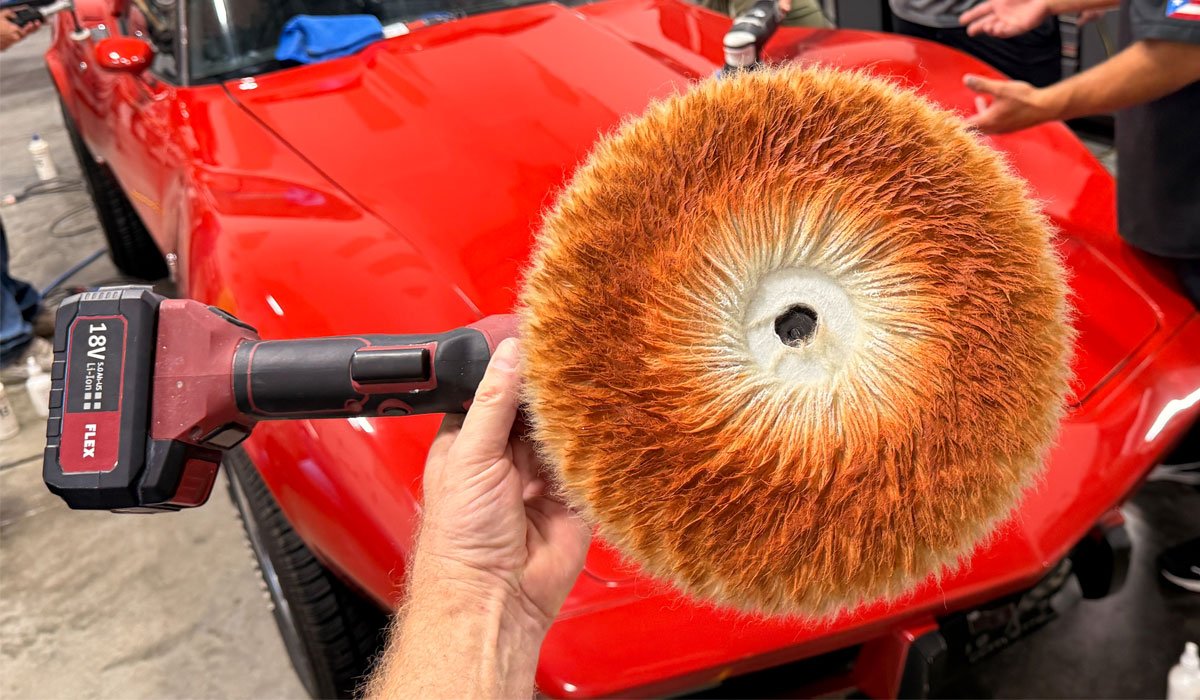
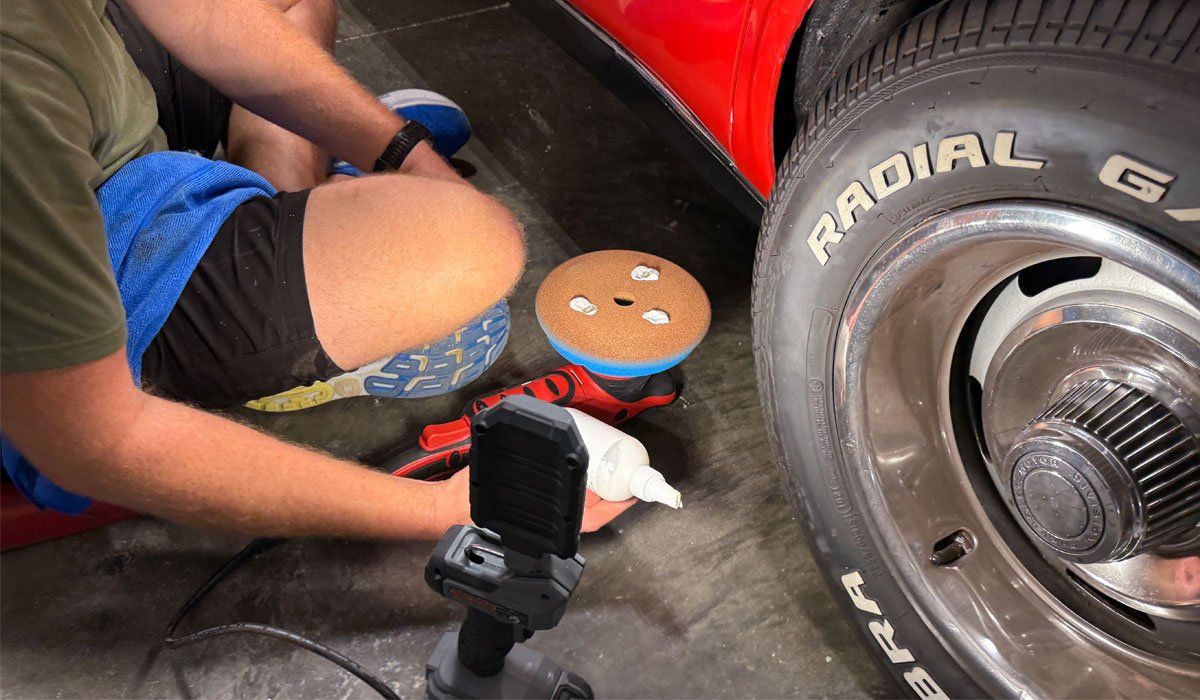
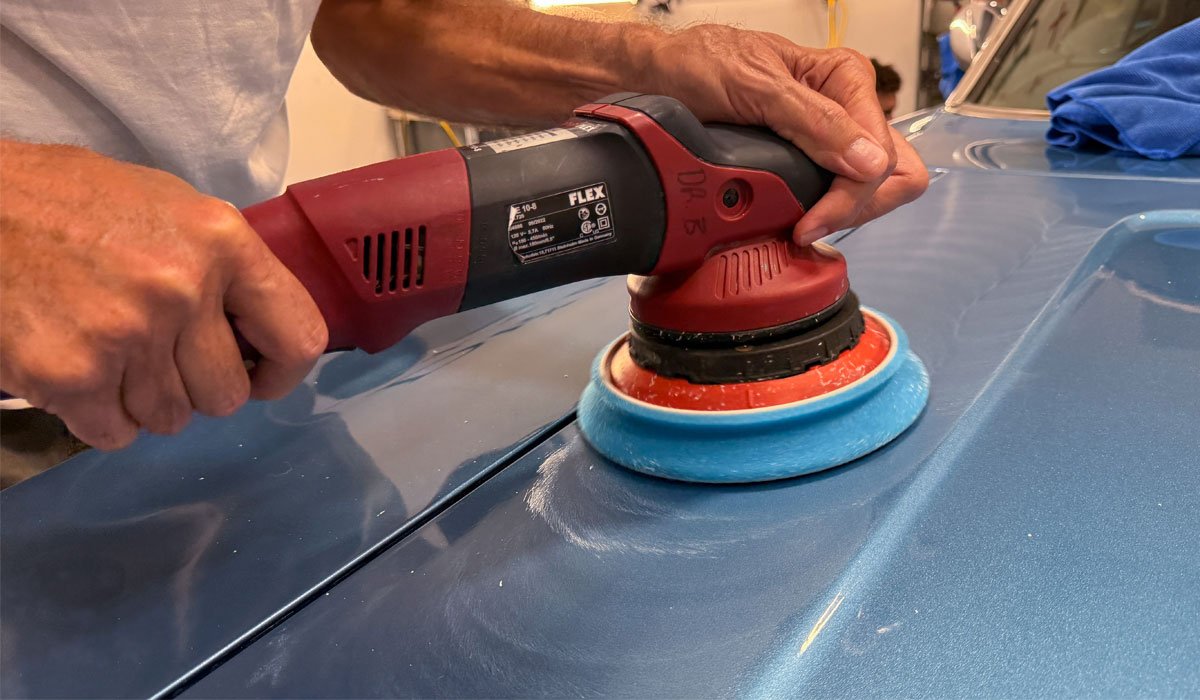
See the orange paint on the face of the buffing pad? The pigments show up on both wool pads and foam pads. Nothing to worry about.
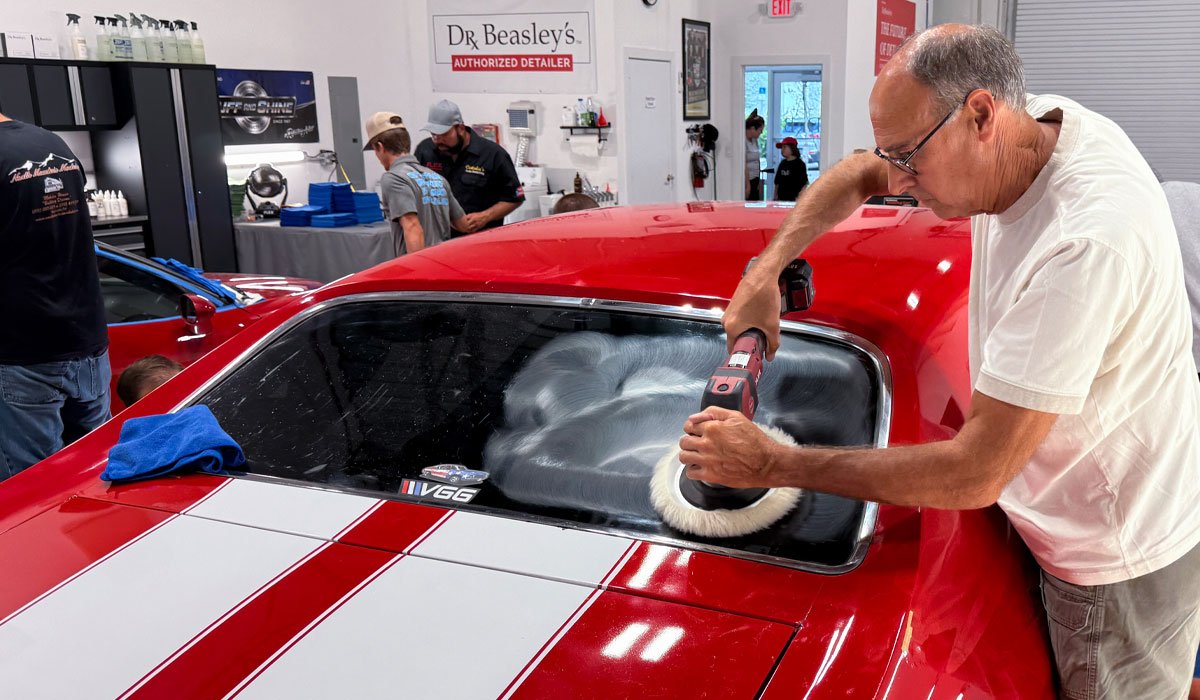
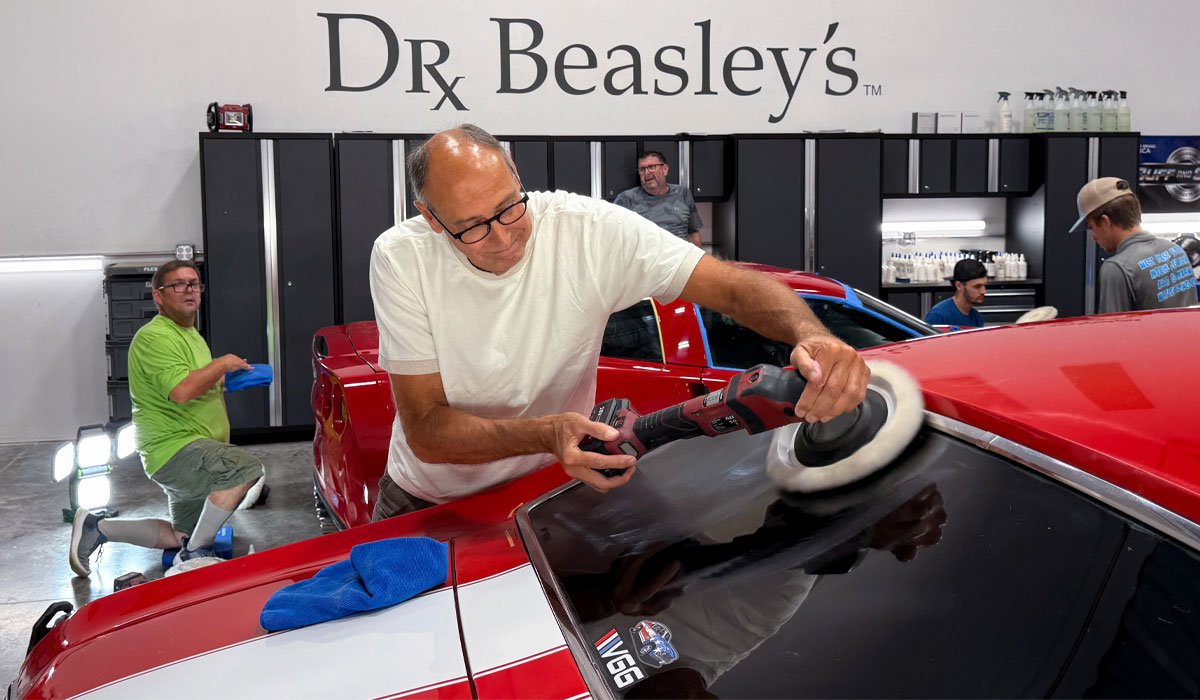
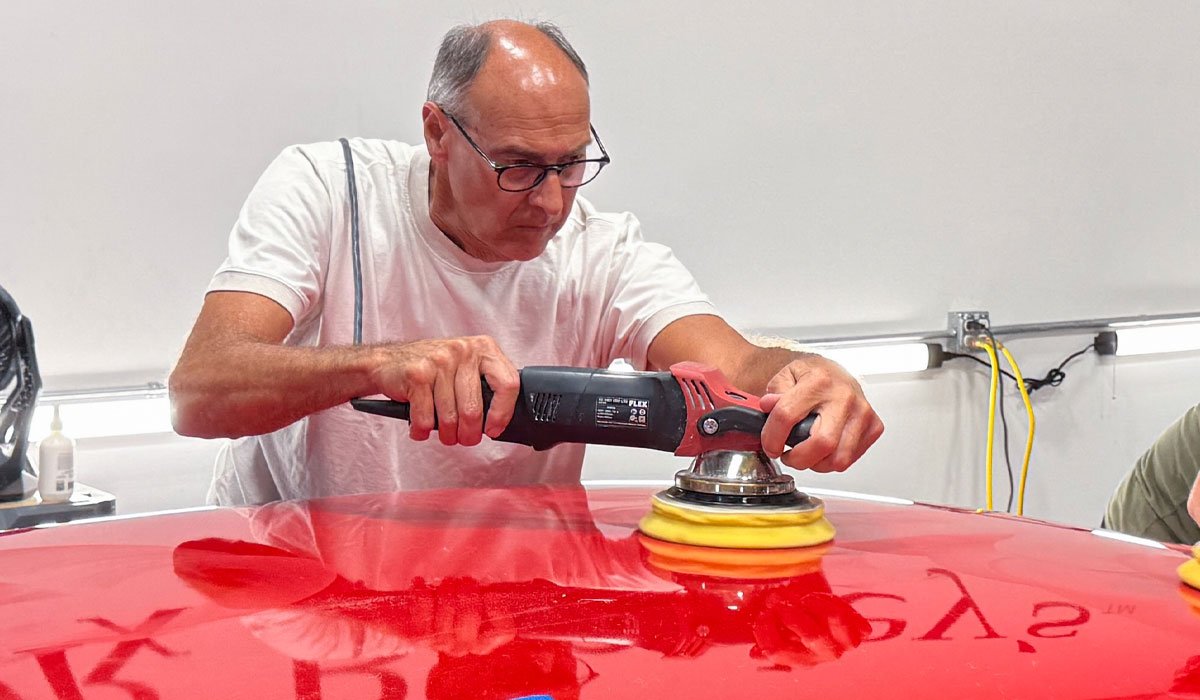
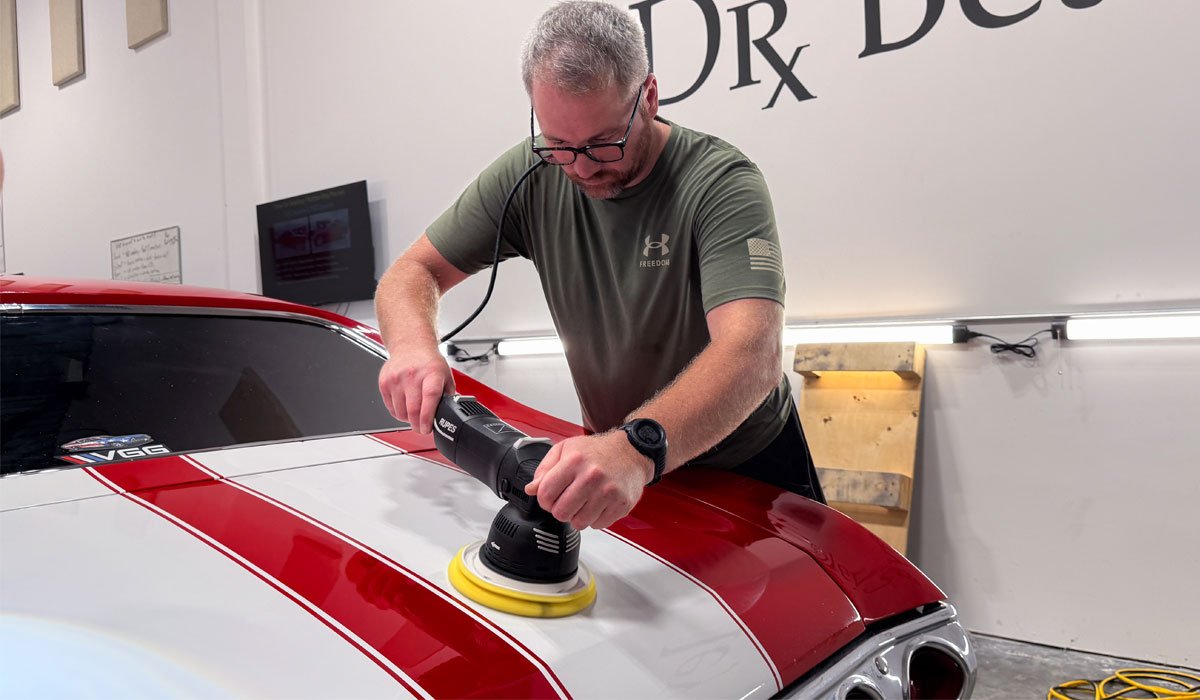
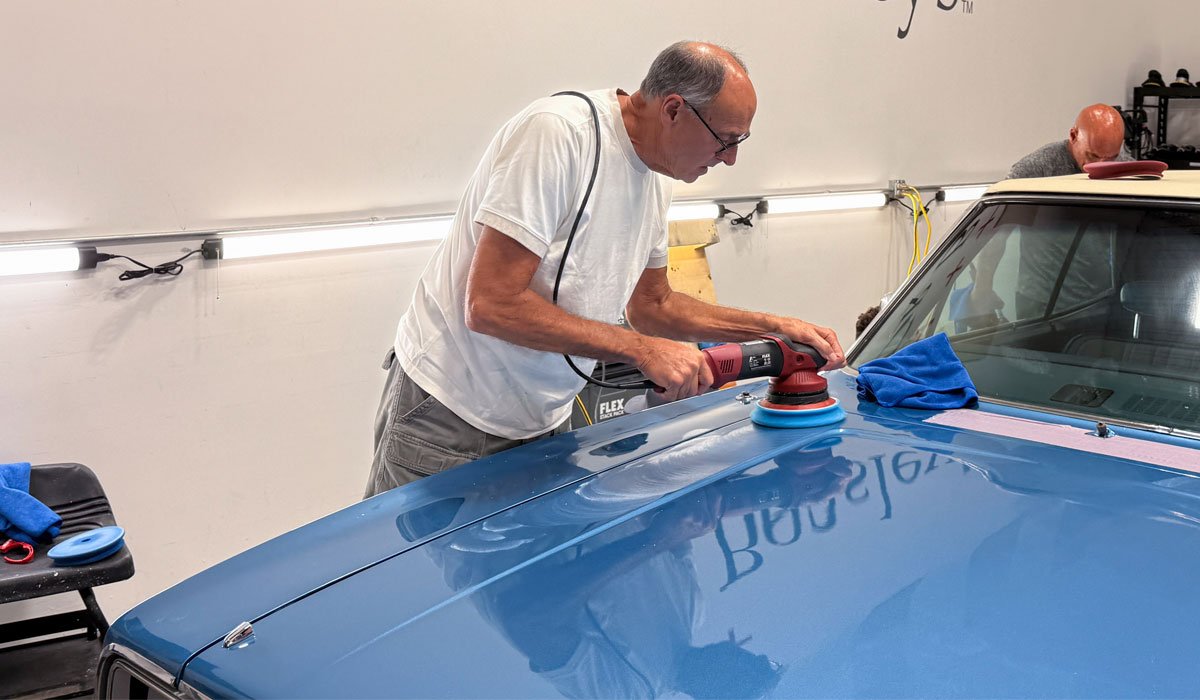
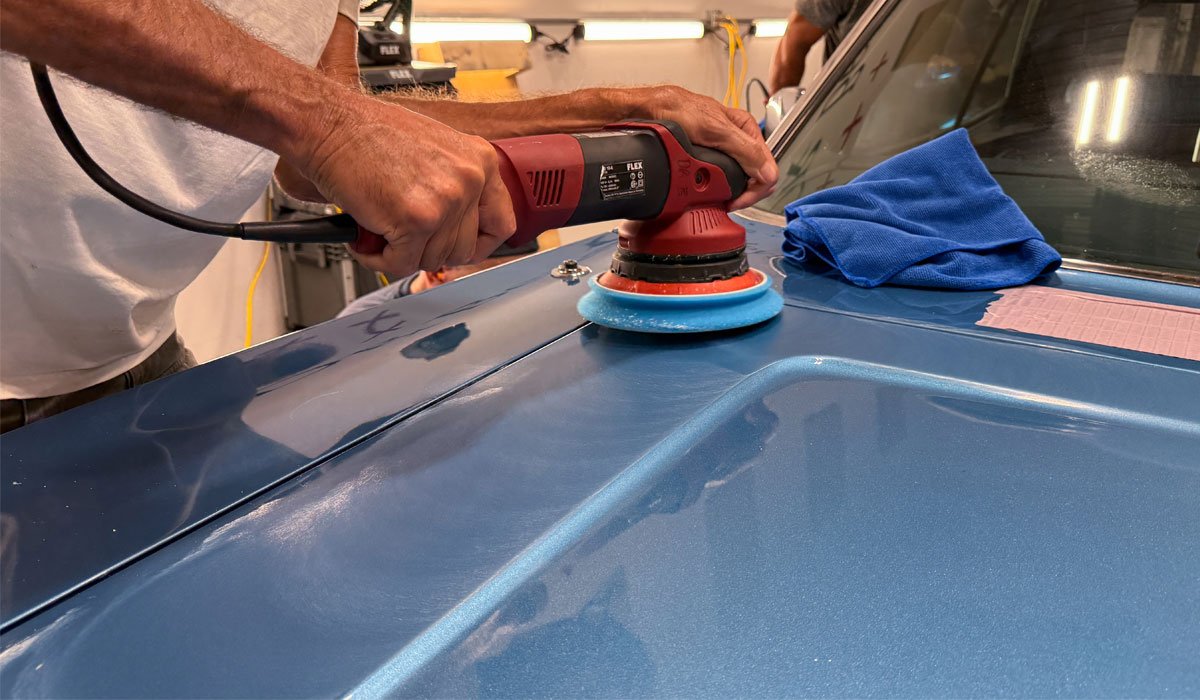
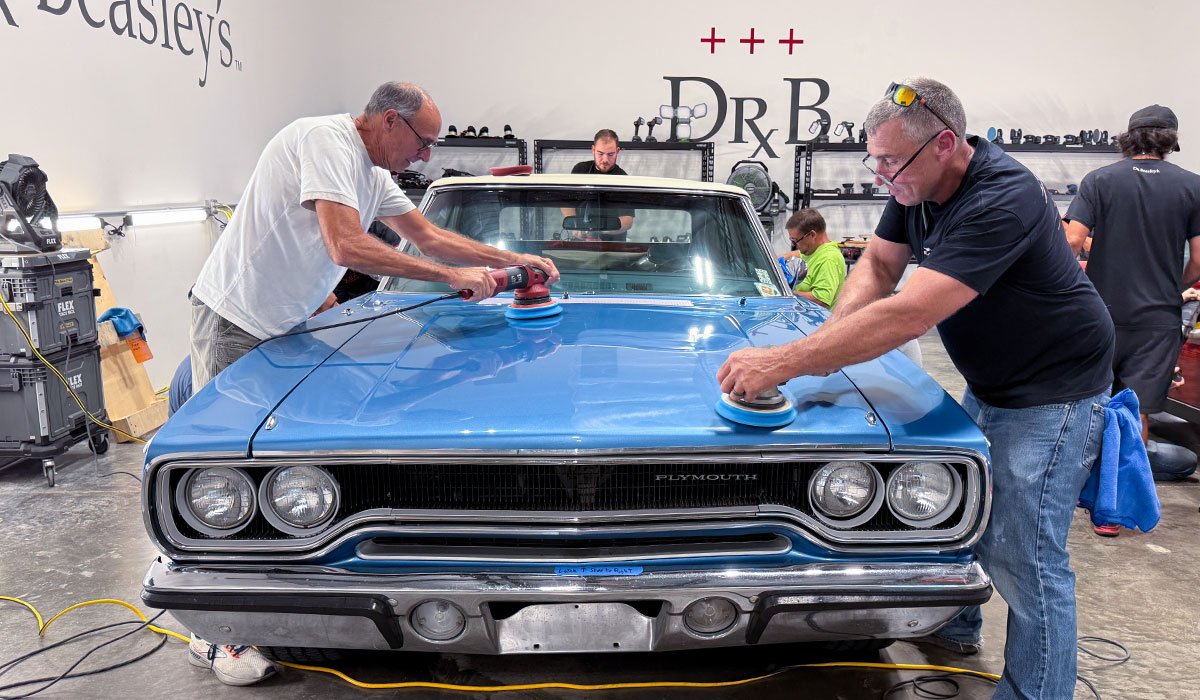
Here's Brad testing out the Griot's Garage G9
This is a 9mm free spinning, random orbital polisher and as of the time and day I'm typing this, in my opinion and experience, this tool does the best job out of any other free spinning, random orbital polisher I've ever used. It is the tool in this category to beat. And this means both short stroke and long stroke options.
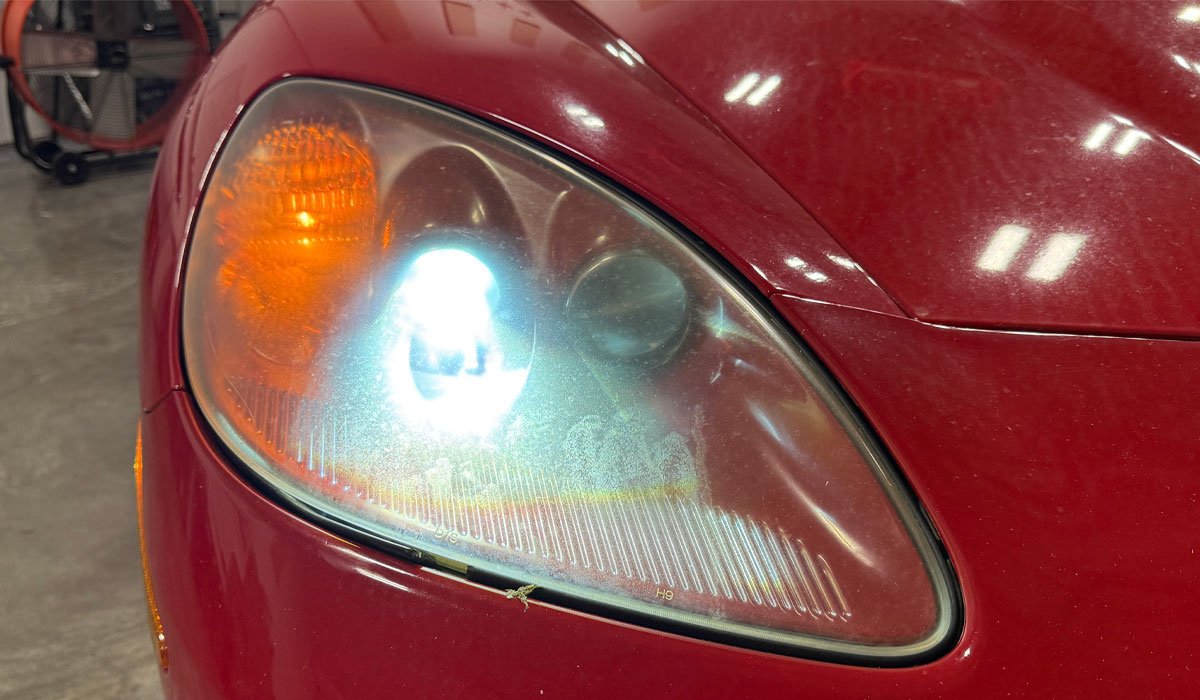
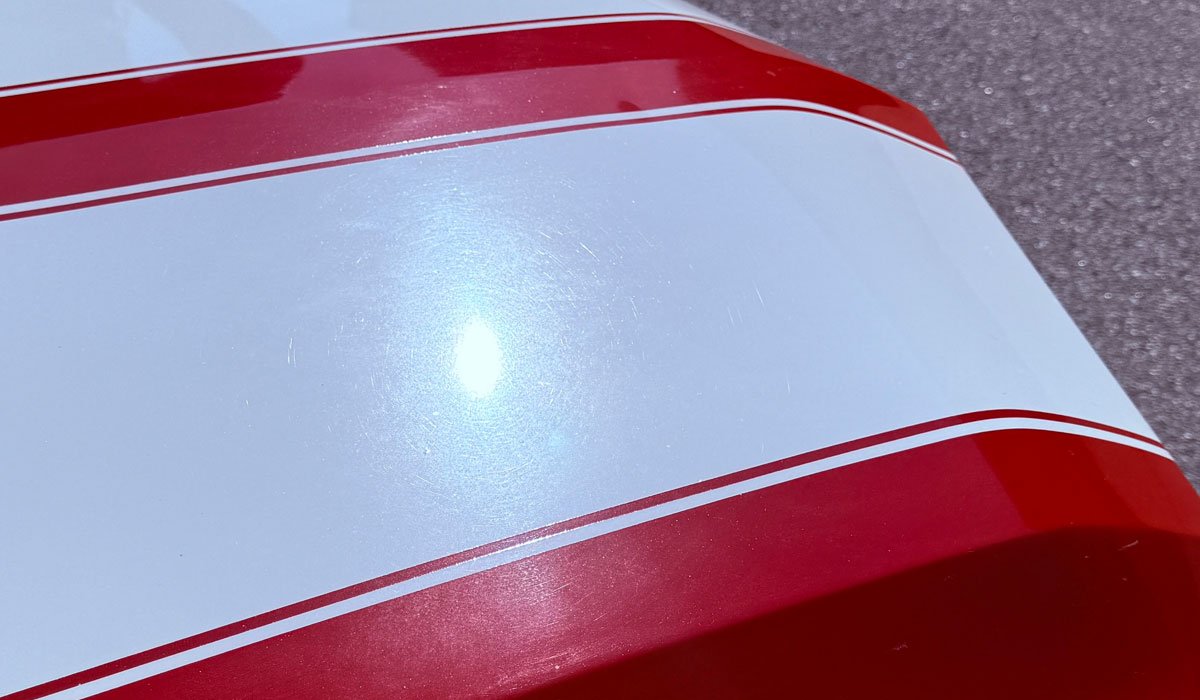
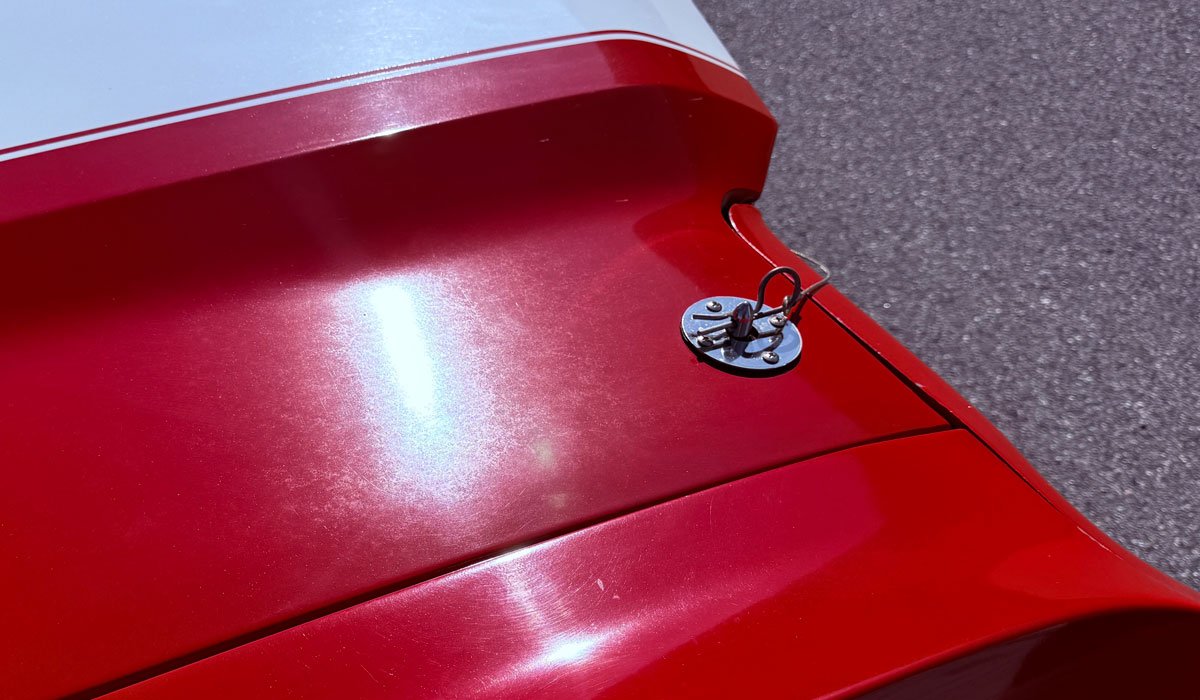
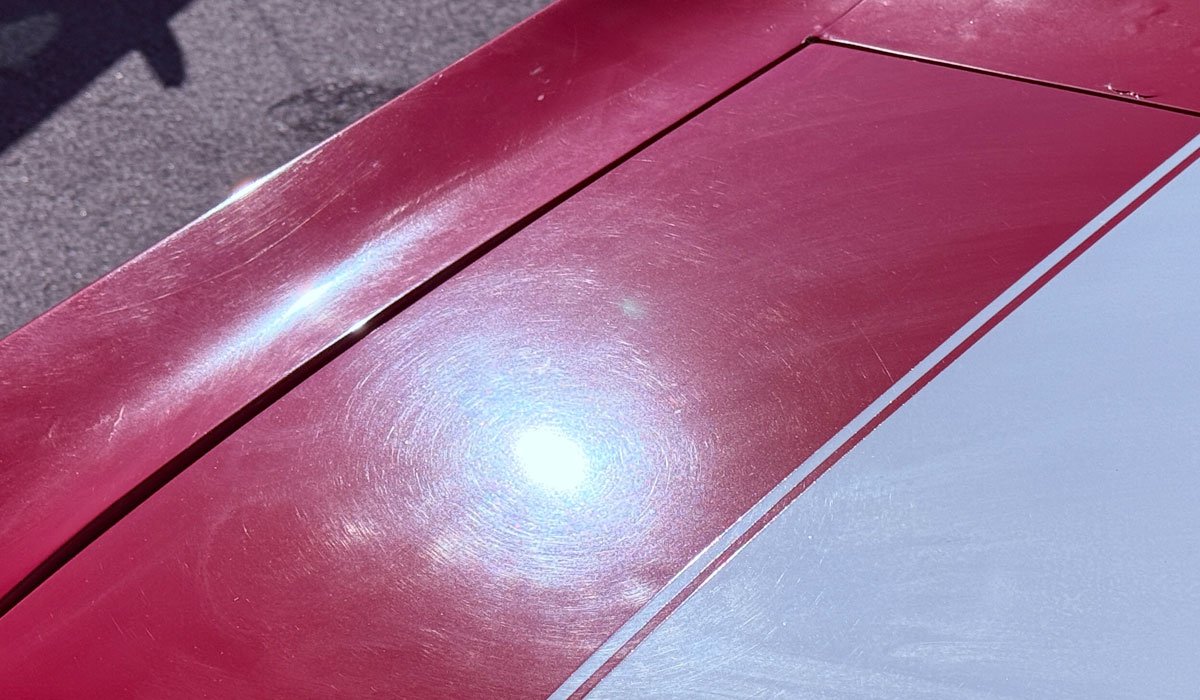
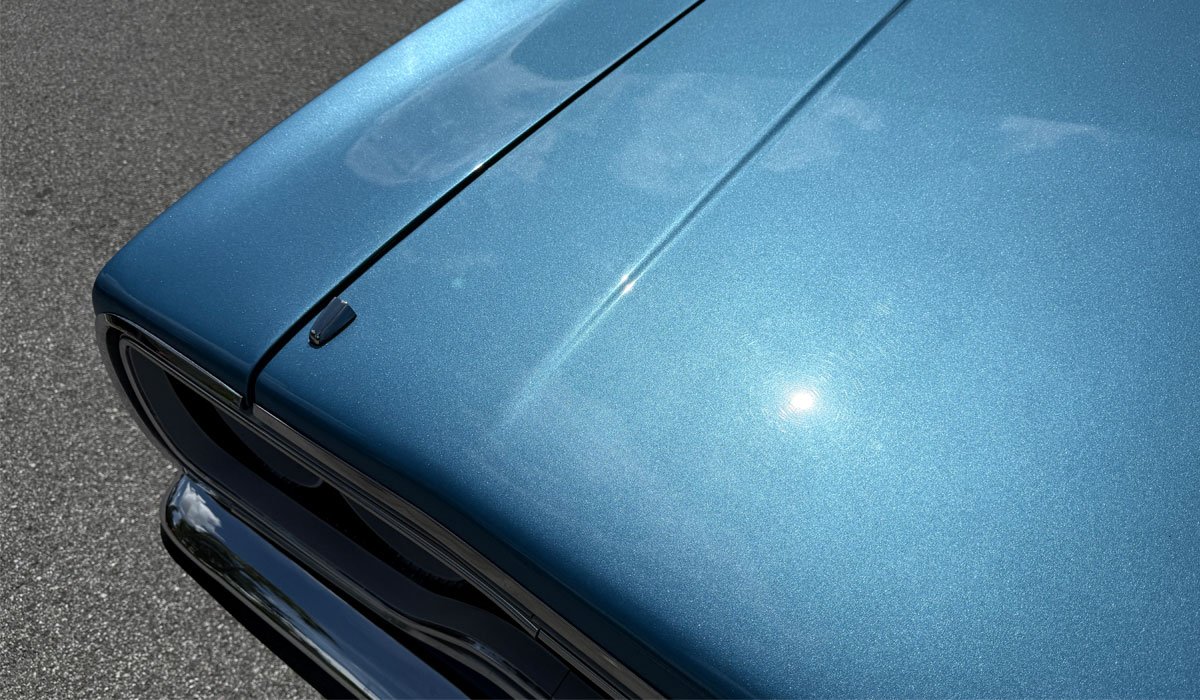
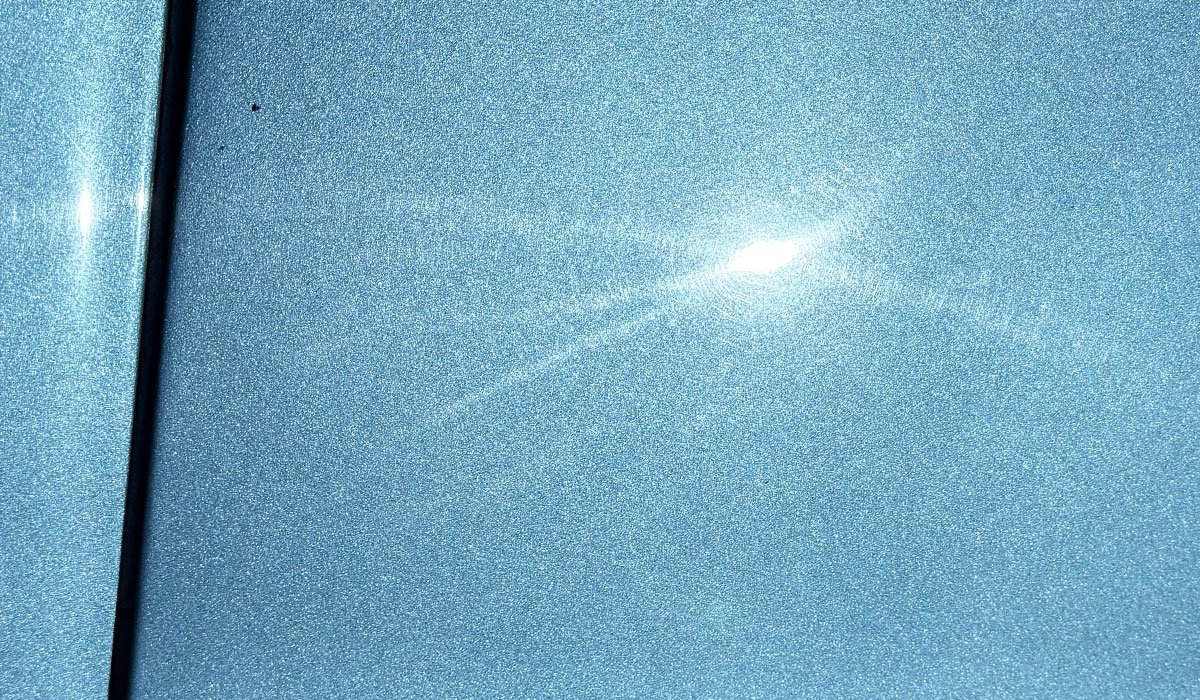
Here's the BEFORE condition
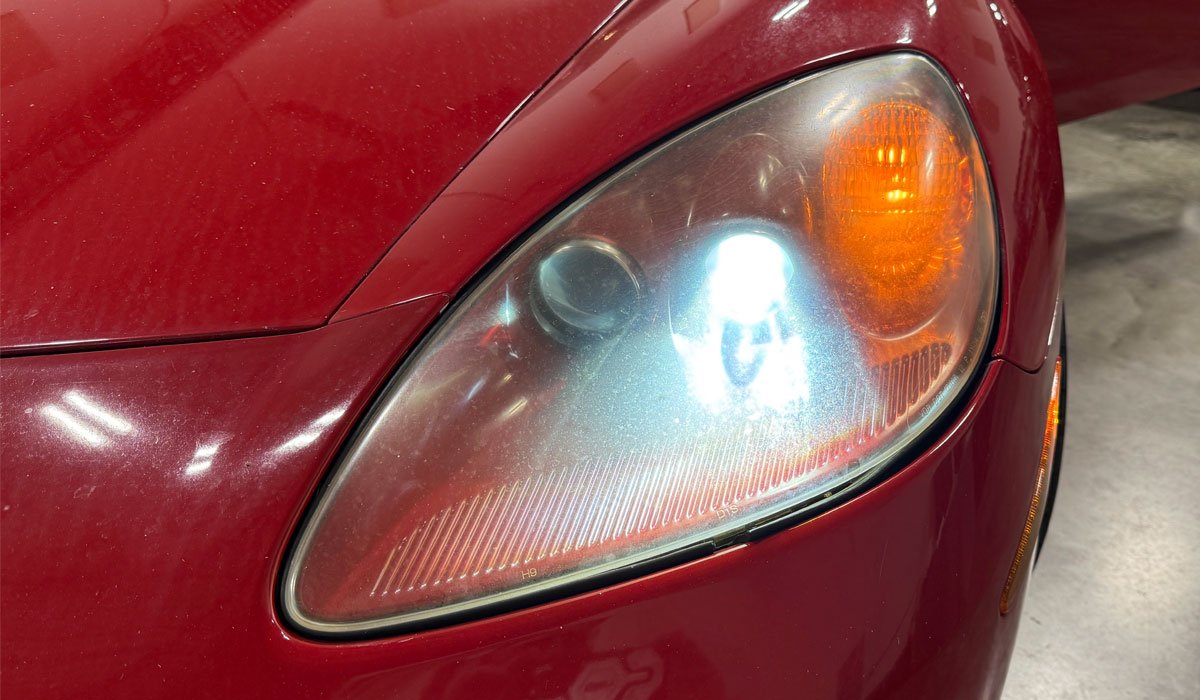
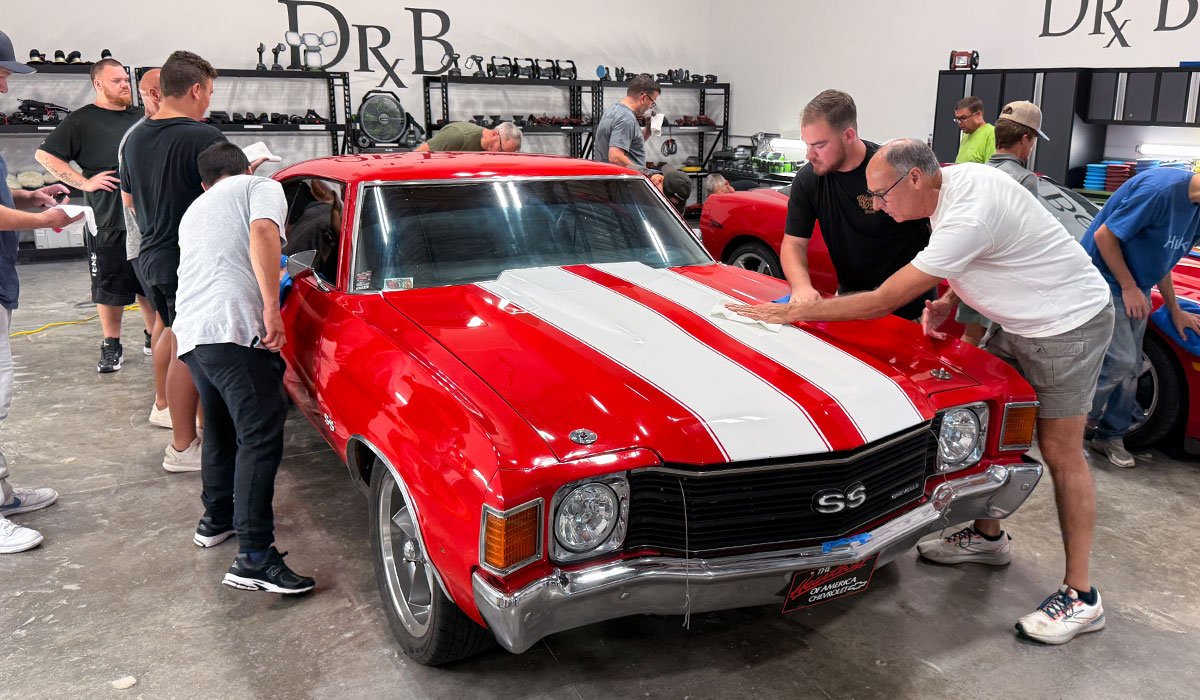
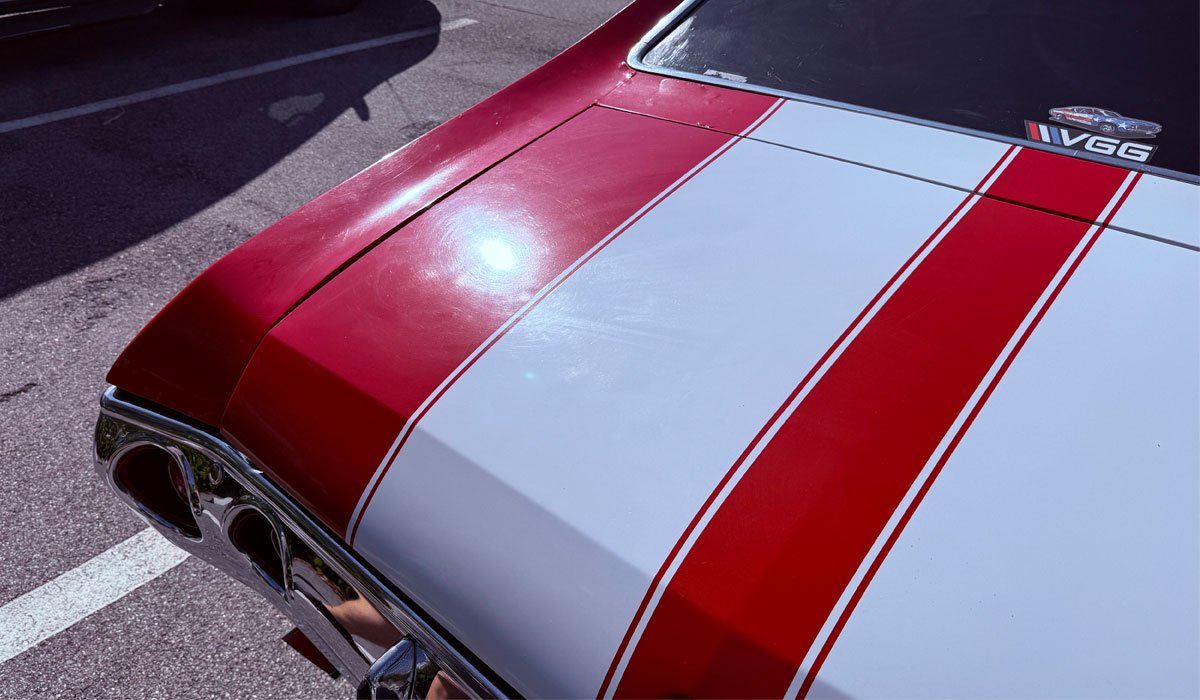
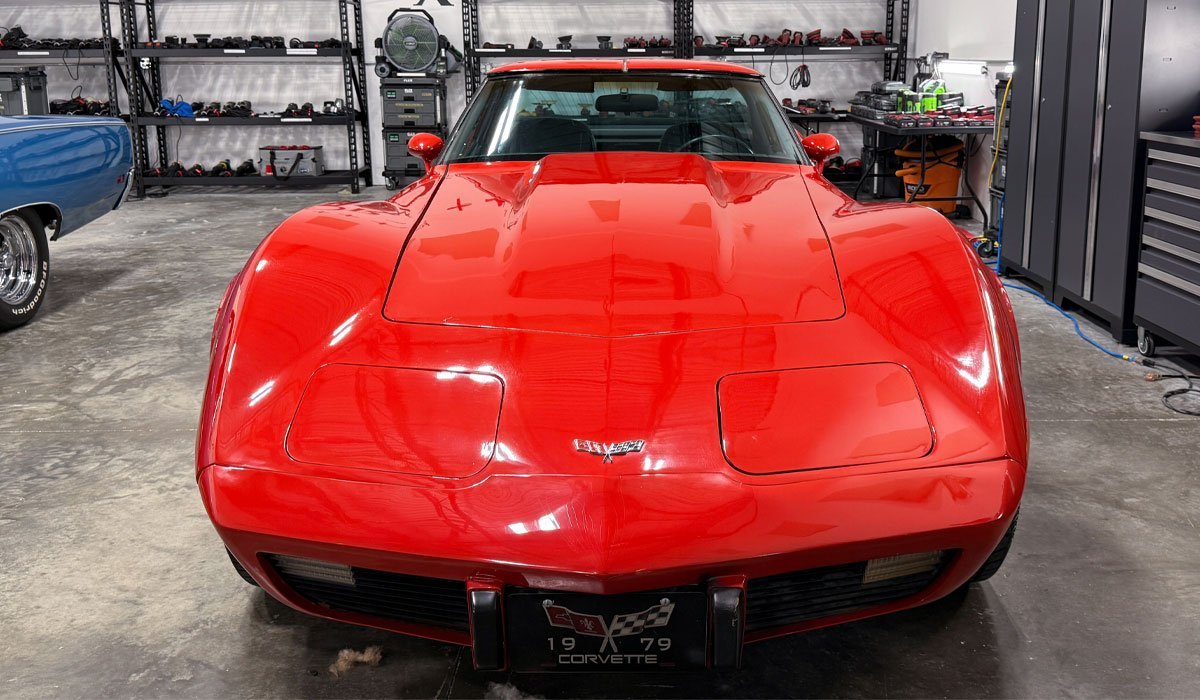
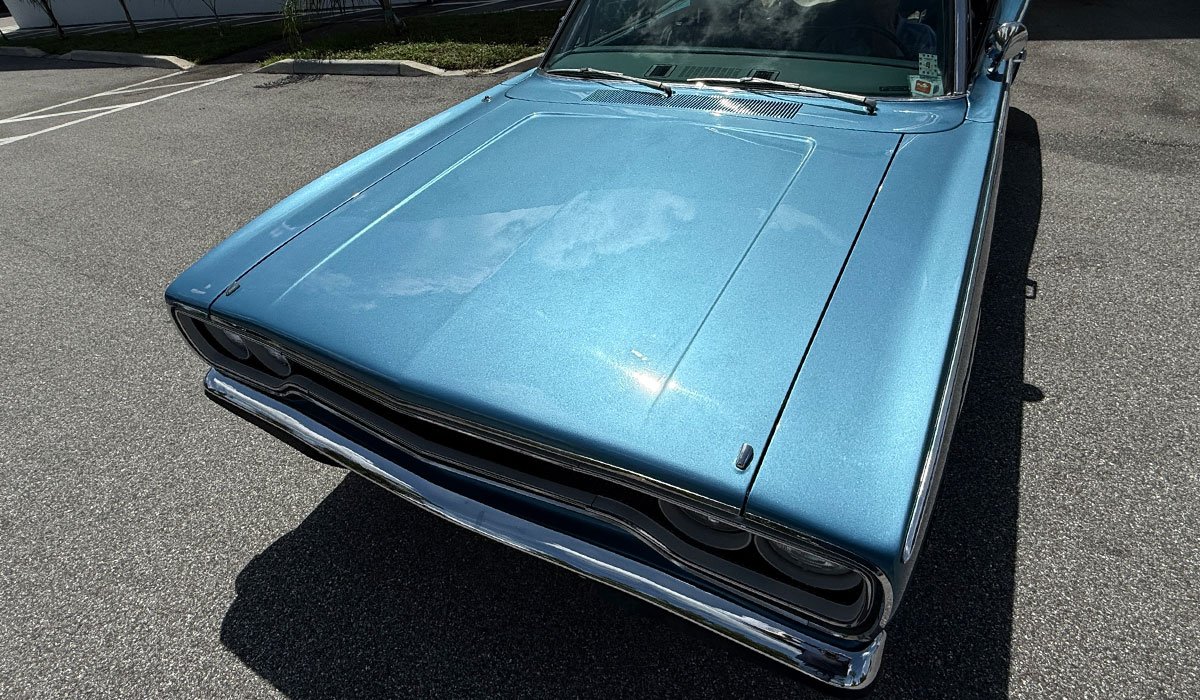
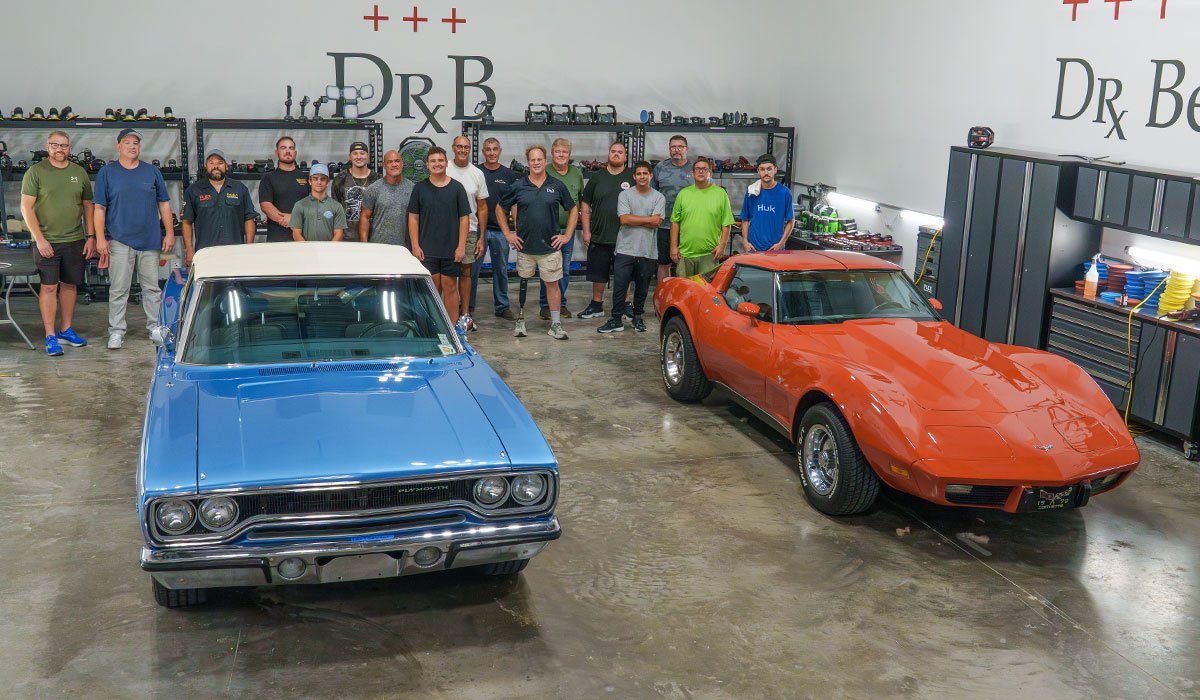
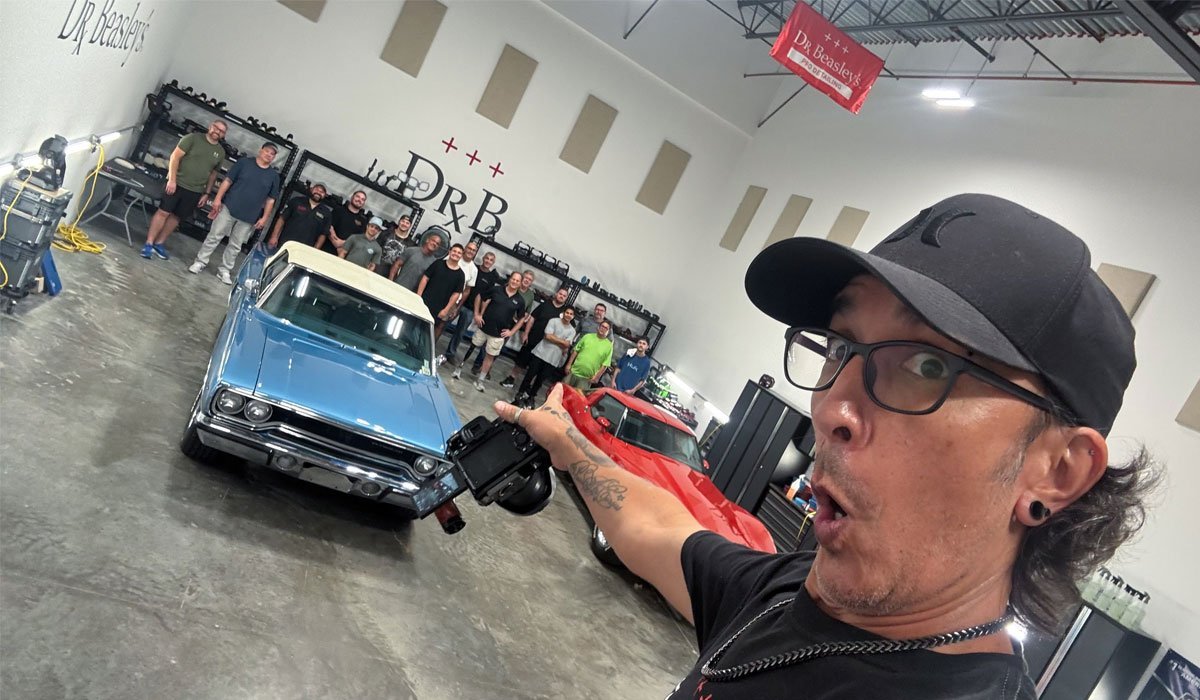
Here's the final results!
Nice work everyone!
While both cars came out looking amazing, its the extreme transformation that you see with the paint on the 1979 Corvette that was freaking amazing!
Mike
p.s.
Be sure to click on the numbers below to go to the next page of this write-up.