- Admin
- #13
- Joined
- May 21, 2021
- Messages
- 2,703
- Reaction score
- 1,624
- Points
- 113
- Location
- Stuart, Florida
- Website
- themikephillipsforum.com
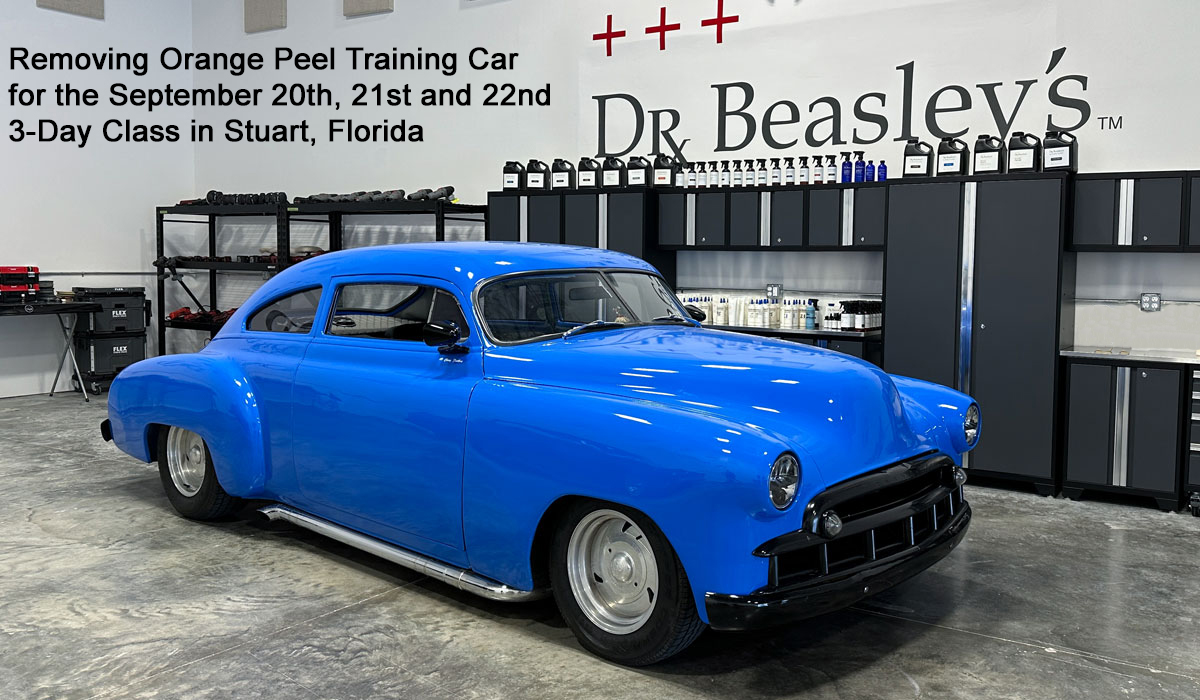
Continued....
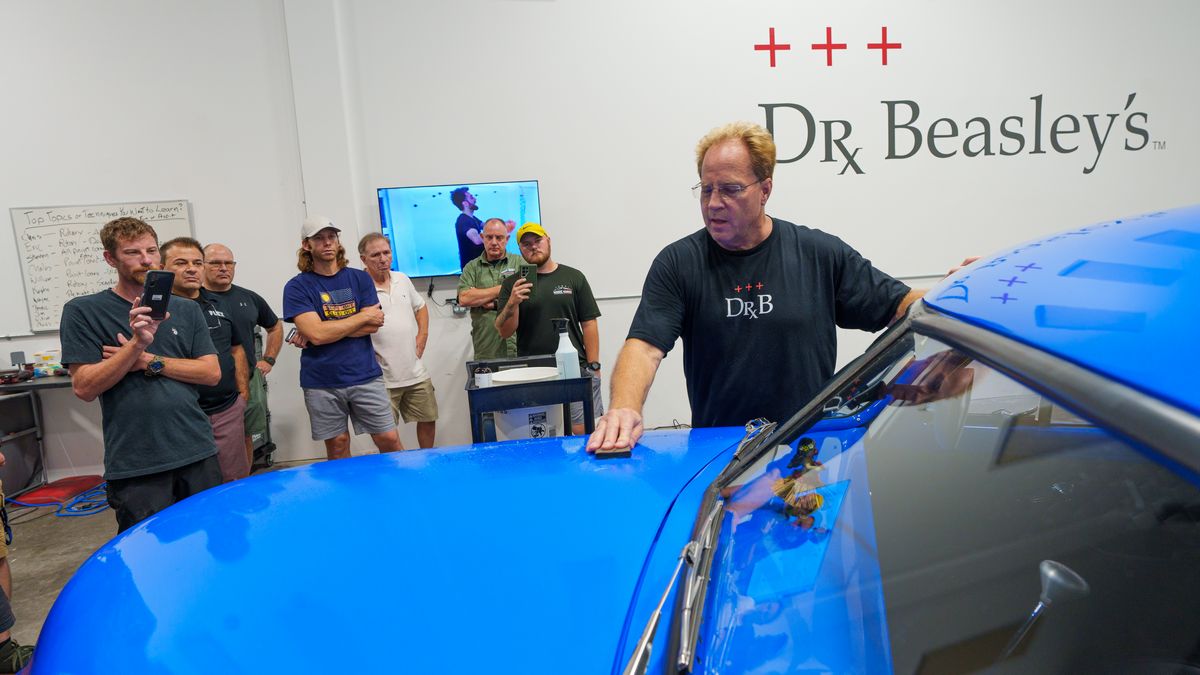
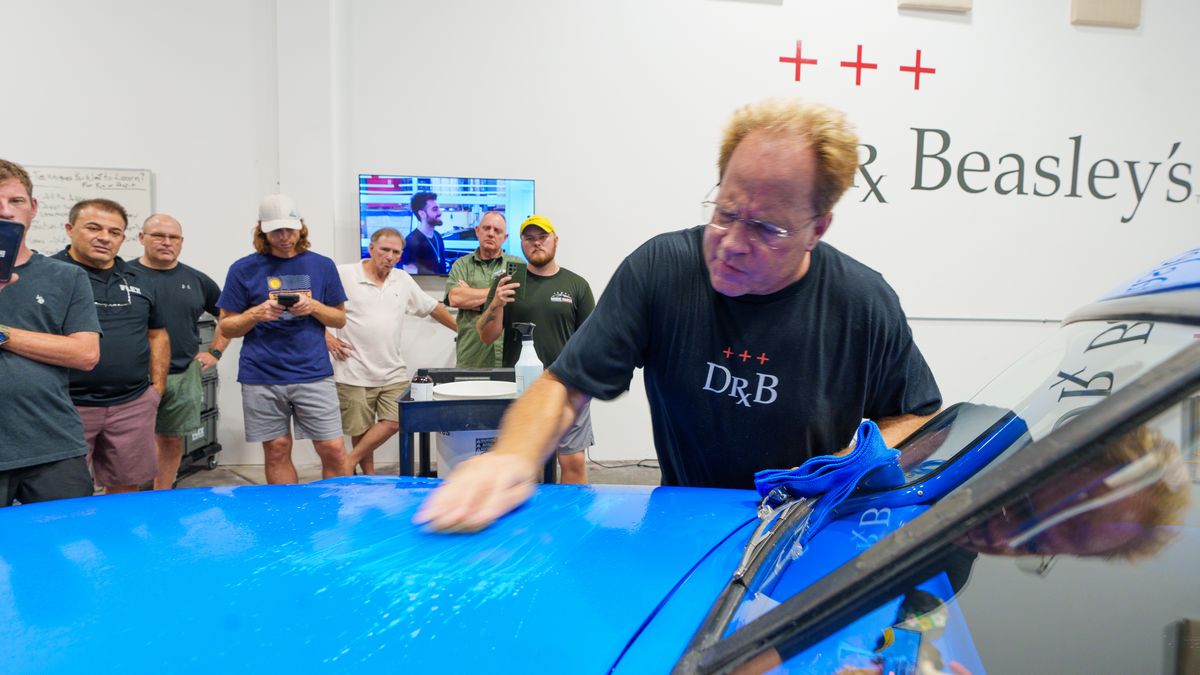
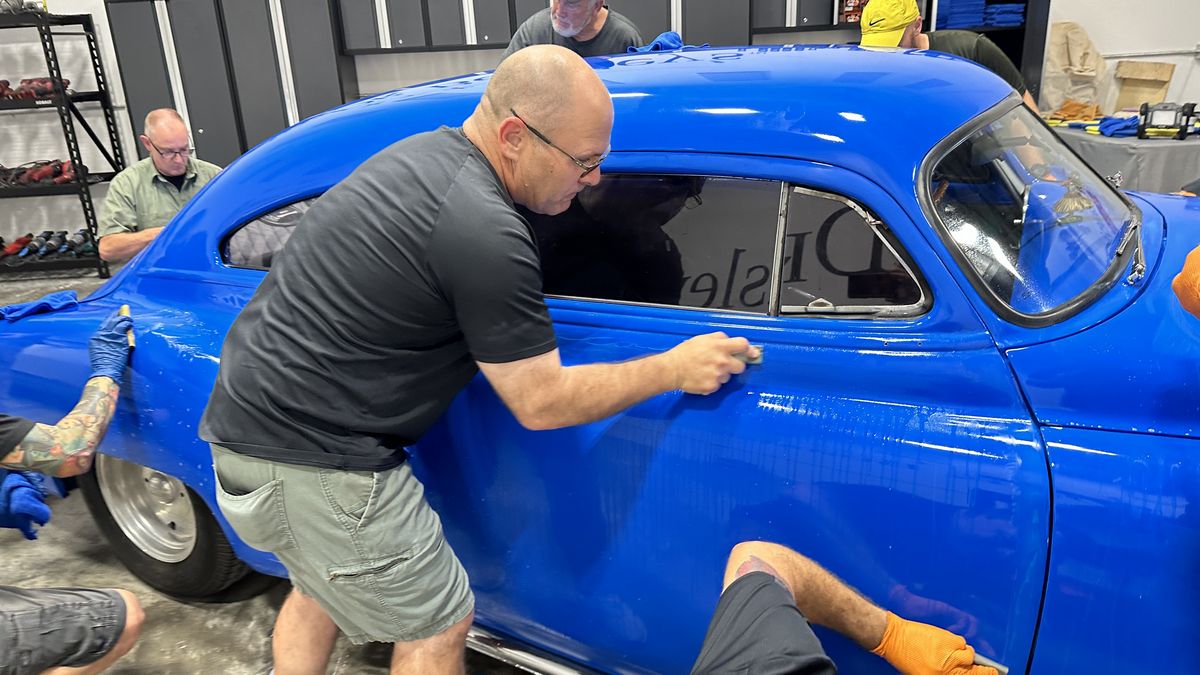
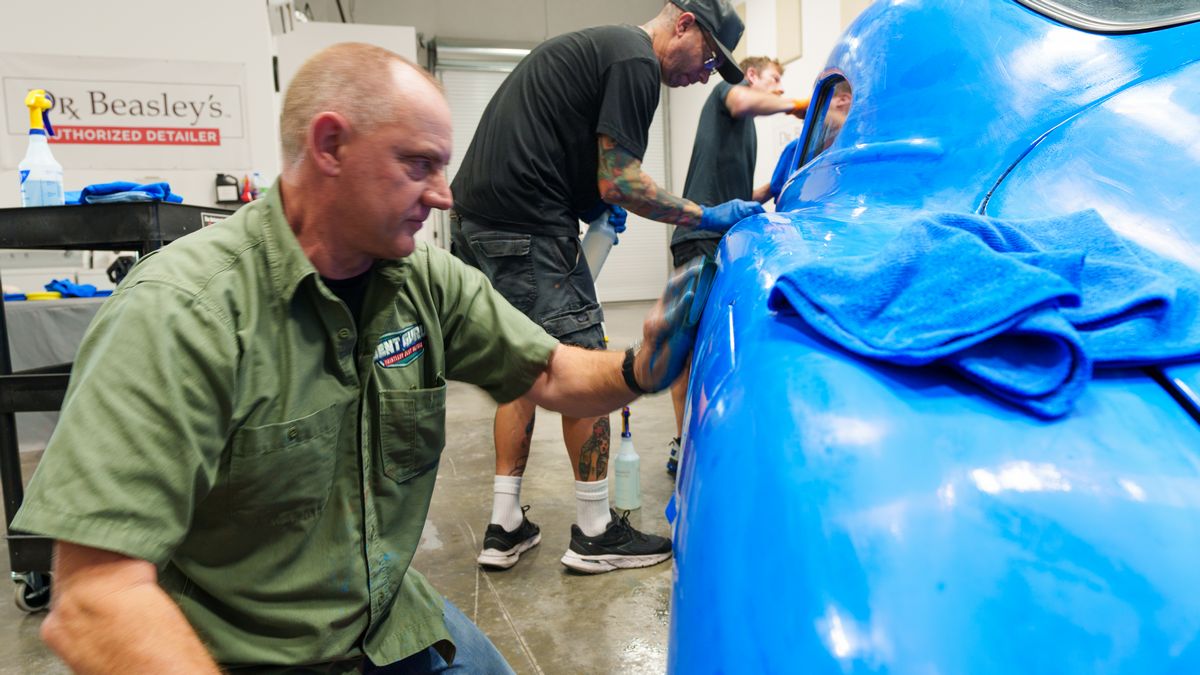
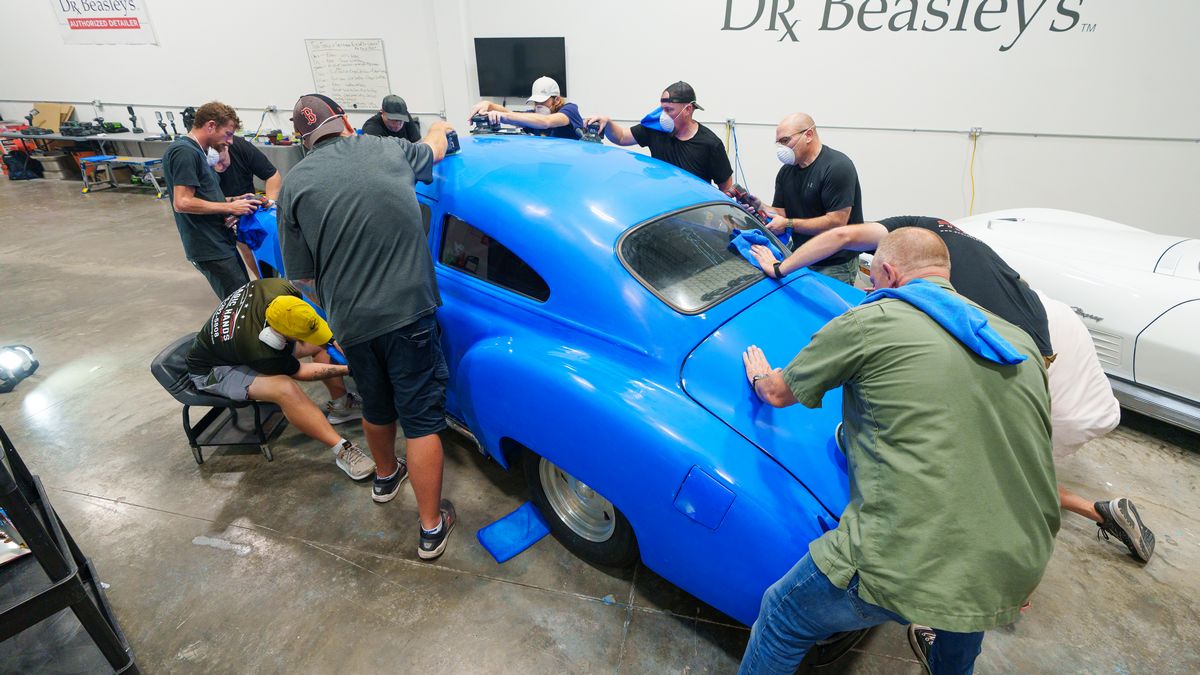
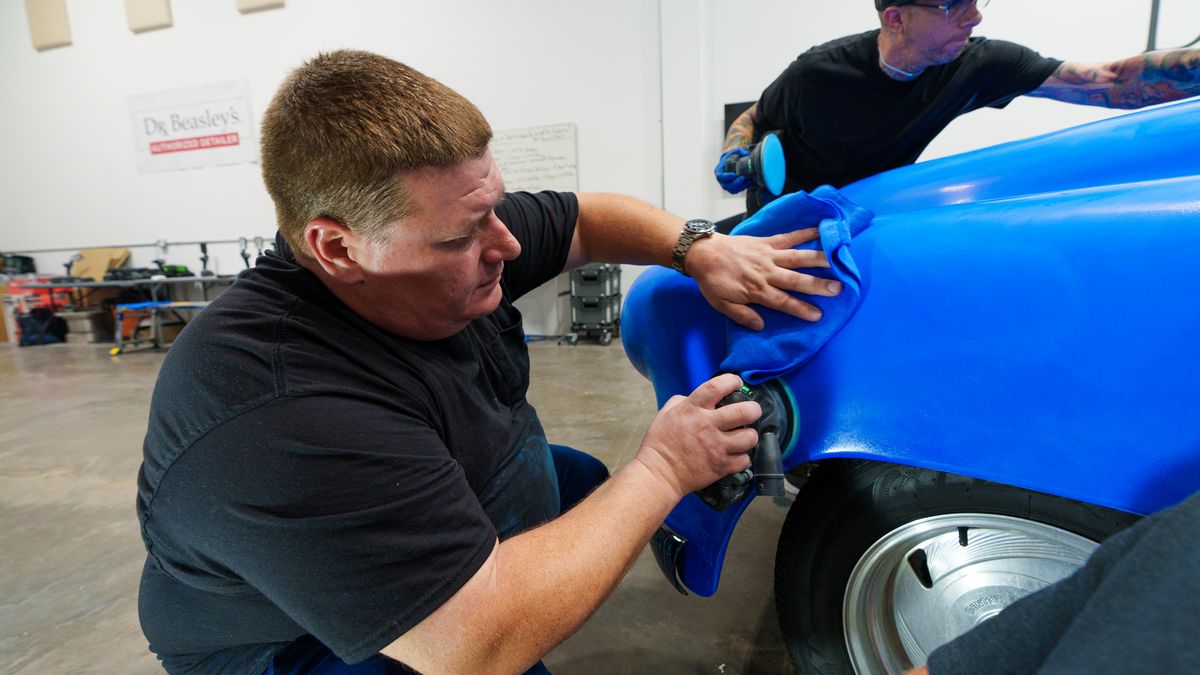
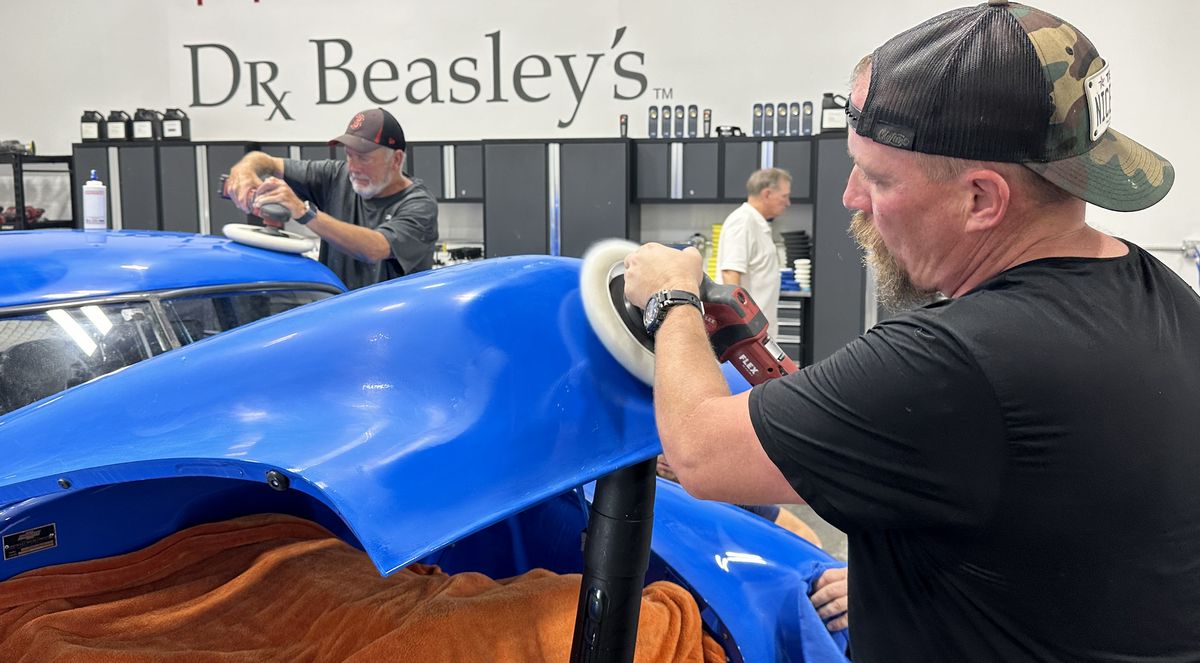
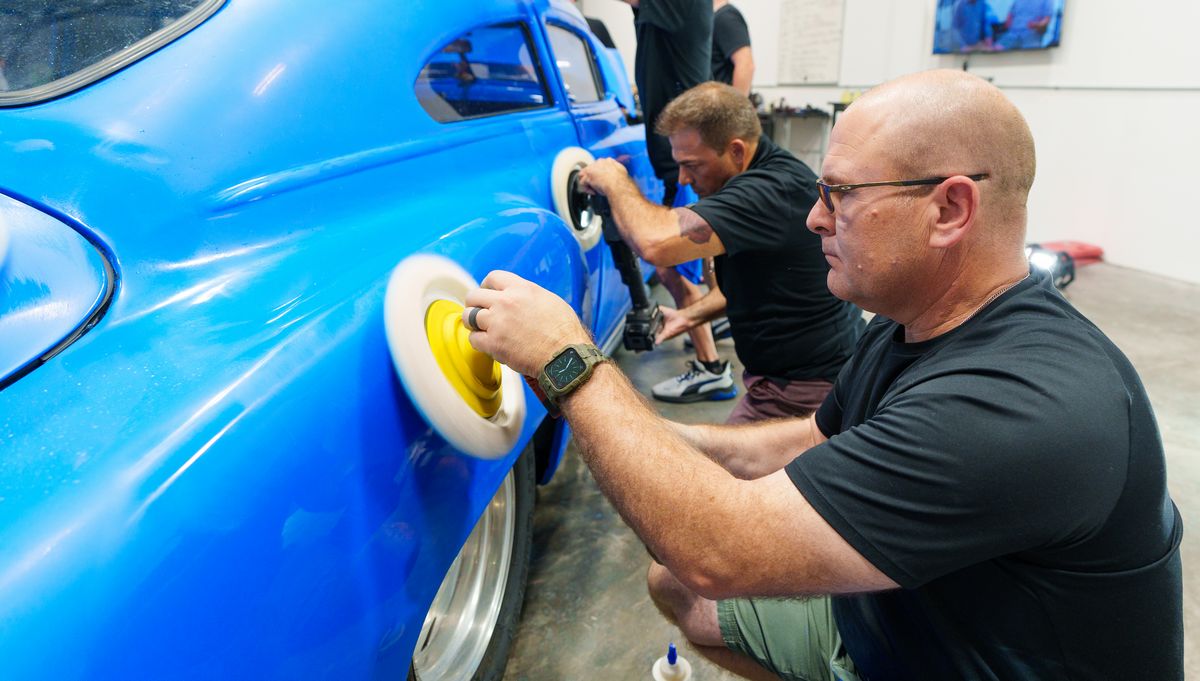
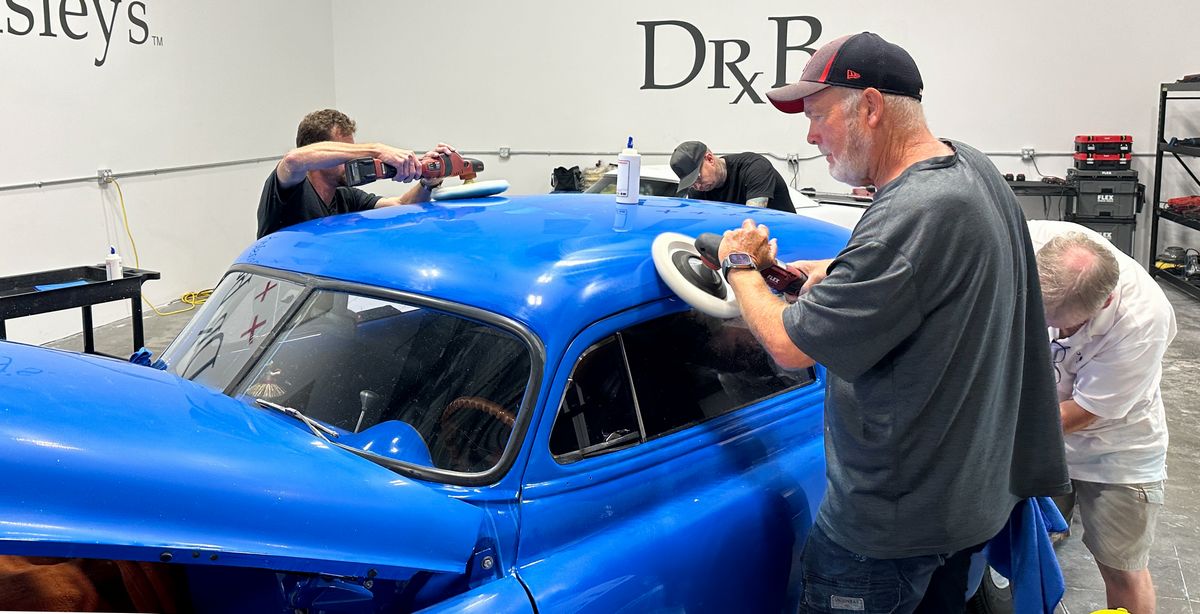
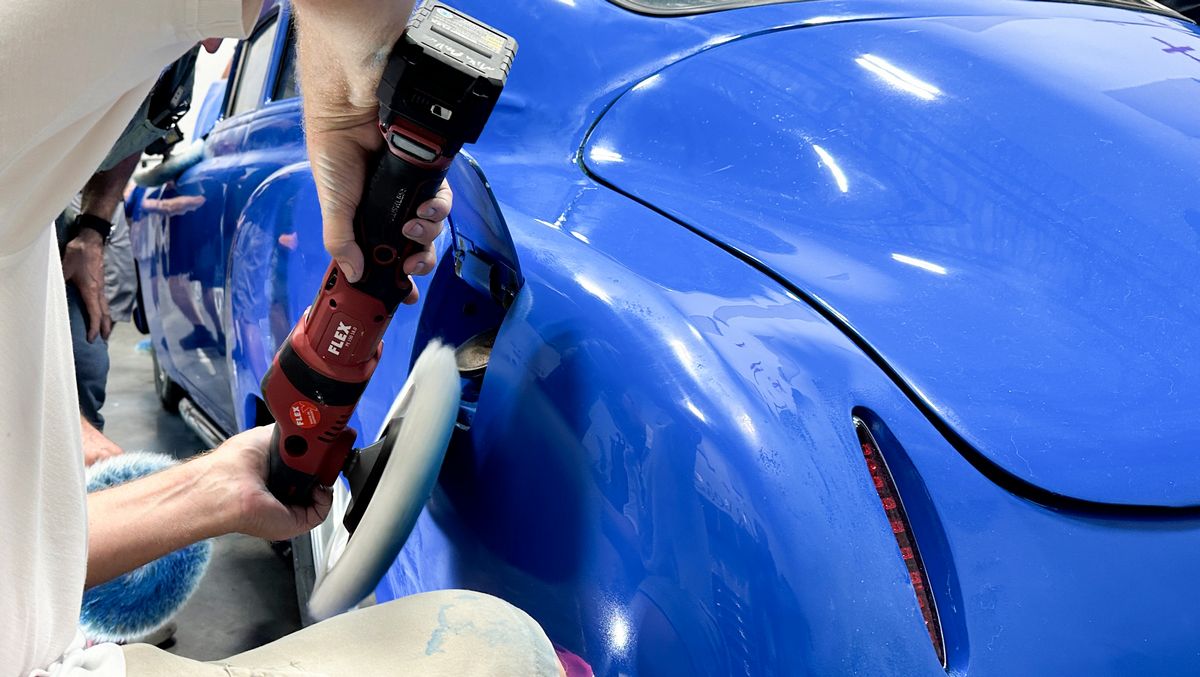
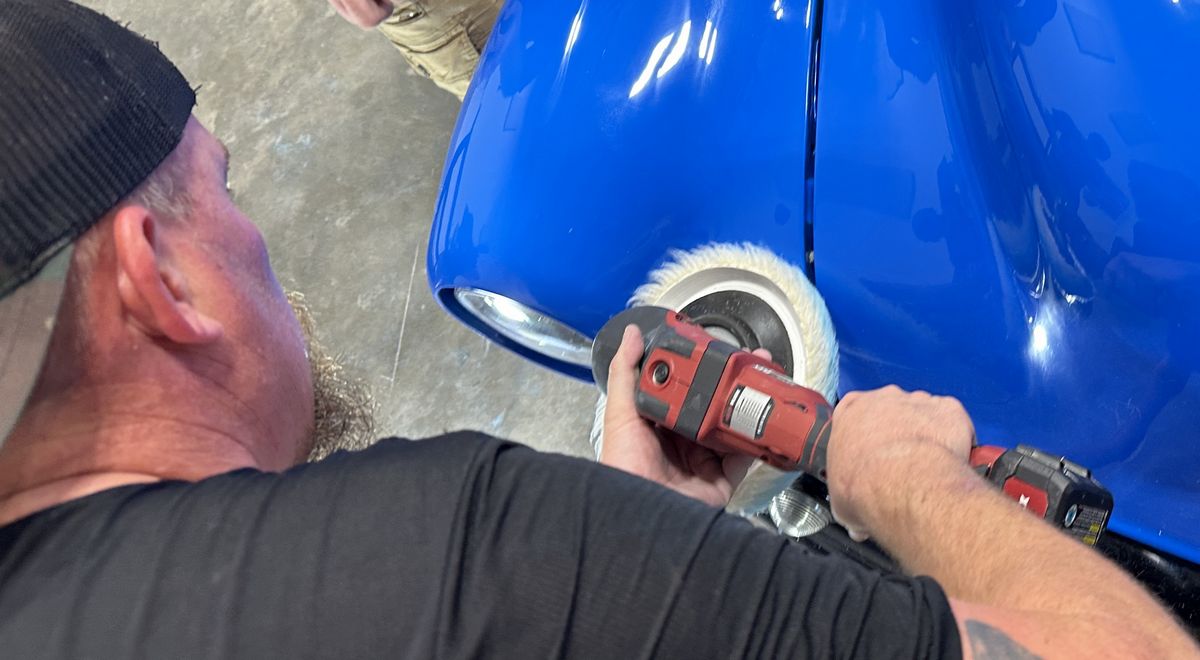
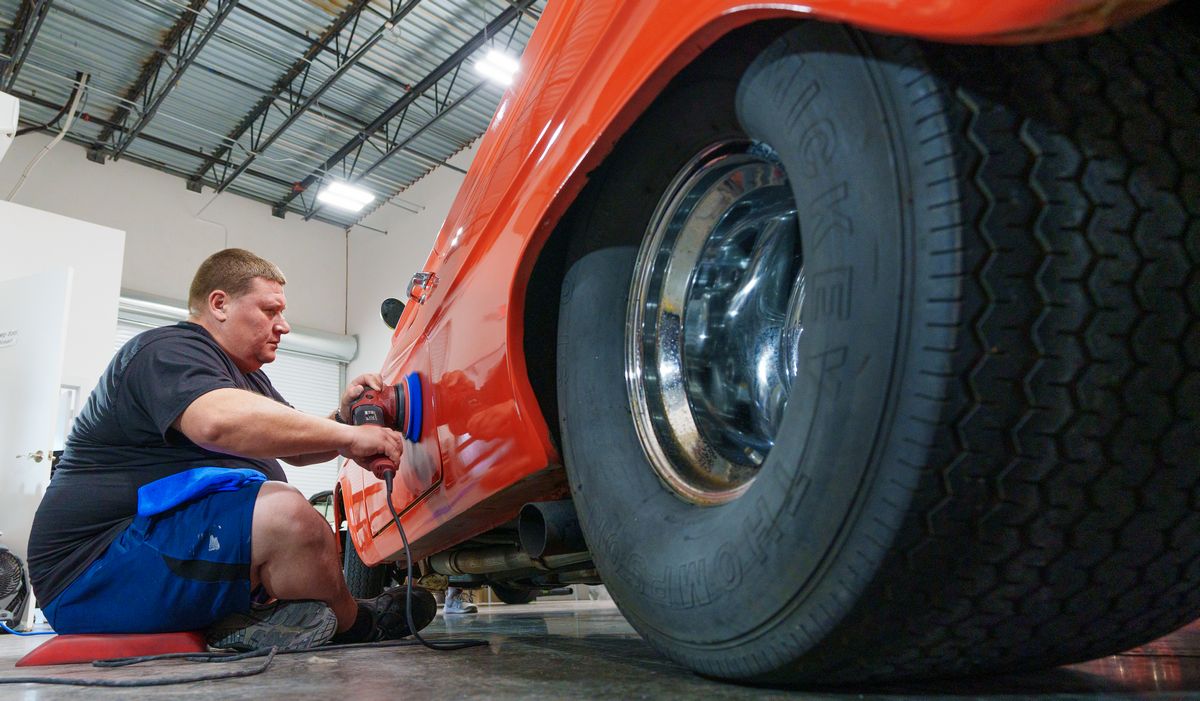
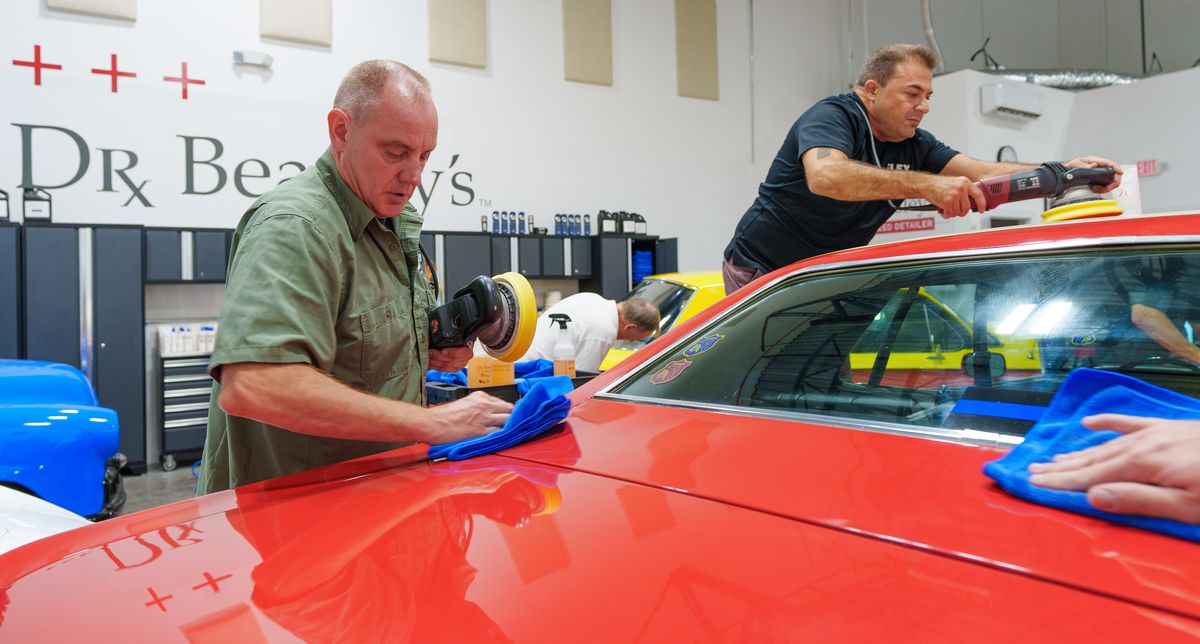
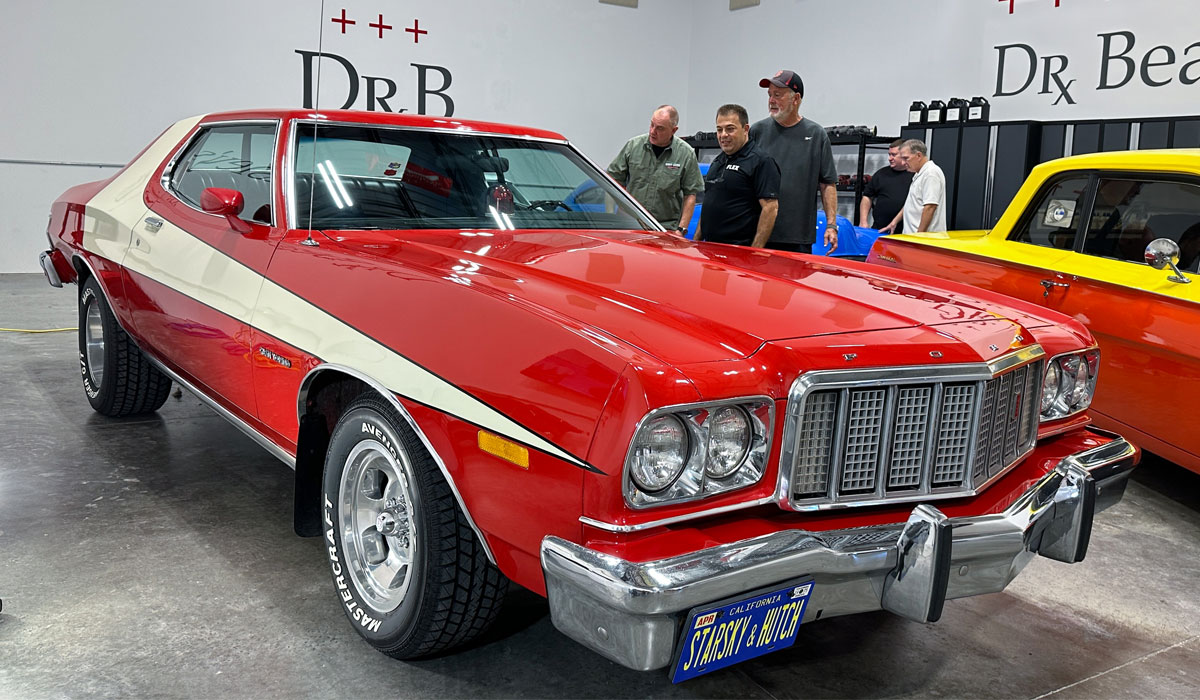
Here's Travis, an alumni student, here with his son, also an alumni student from past classes that travelled here all the way from Michigan to take this class. Here's Travis using the FLEX PXE-80 in rotary mode with a 3" extension to convince the swirls and scratches out of Starsky and Hutche's Police Car to LEAVE.
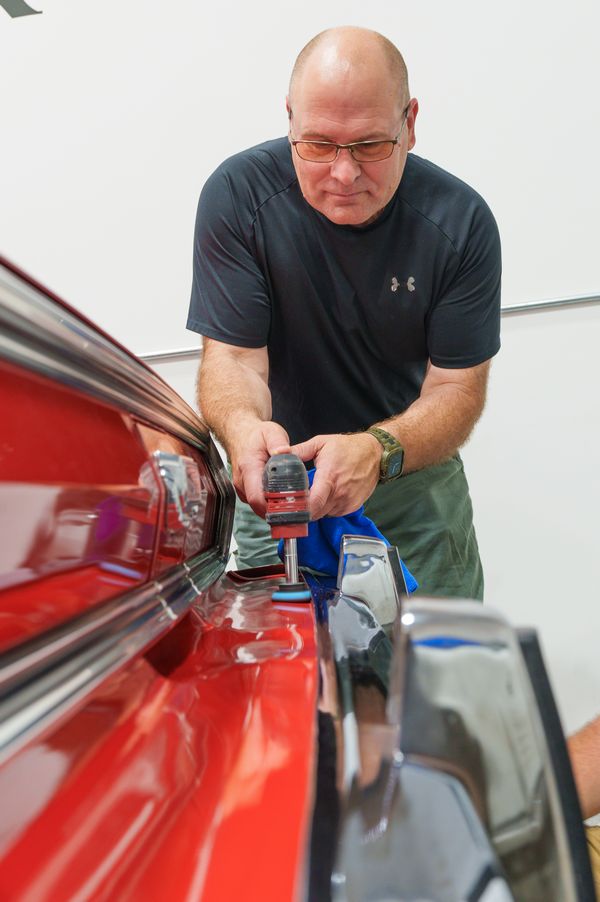
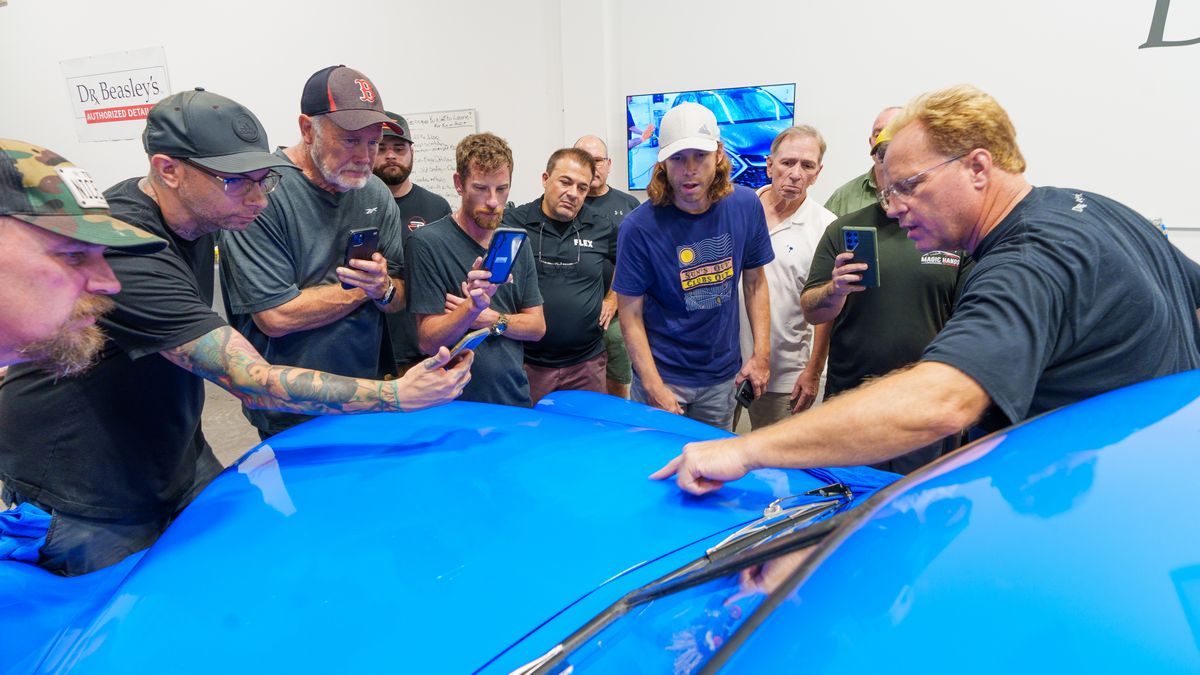
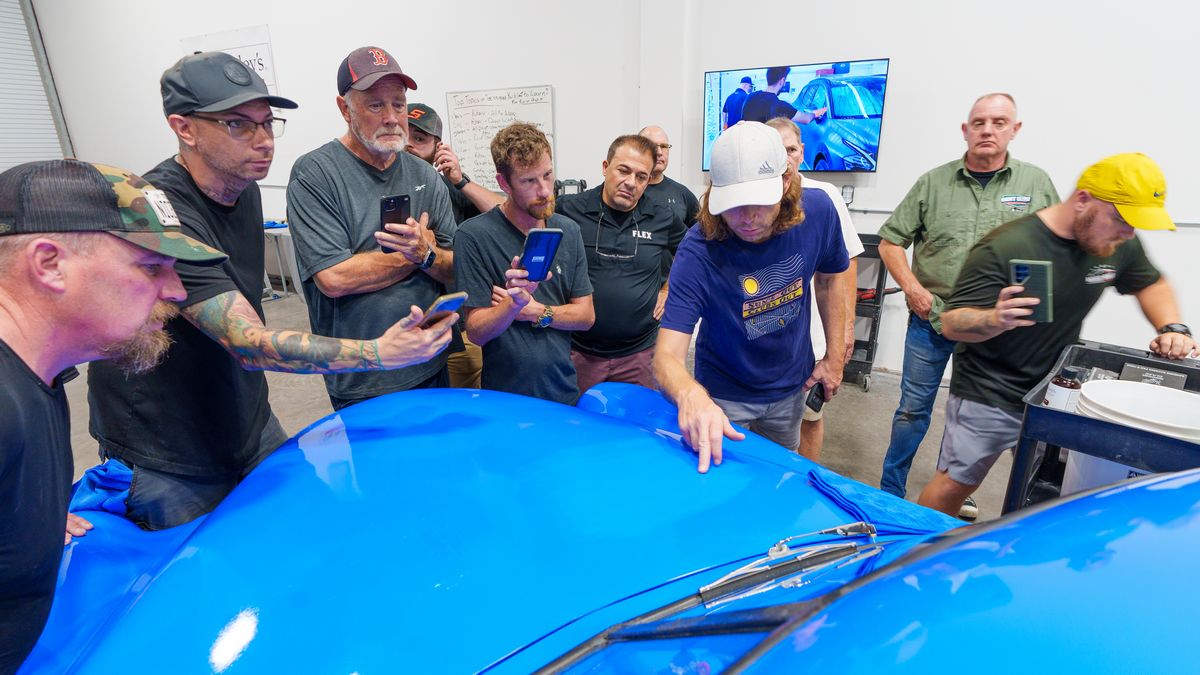
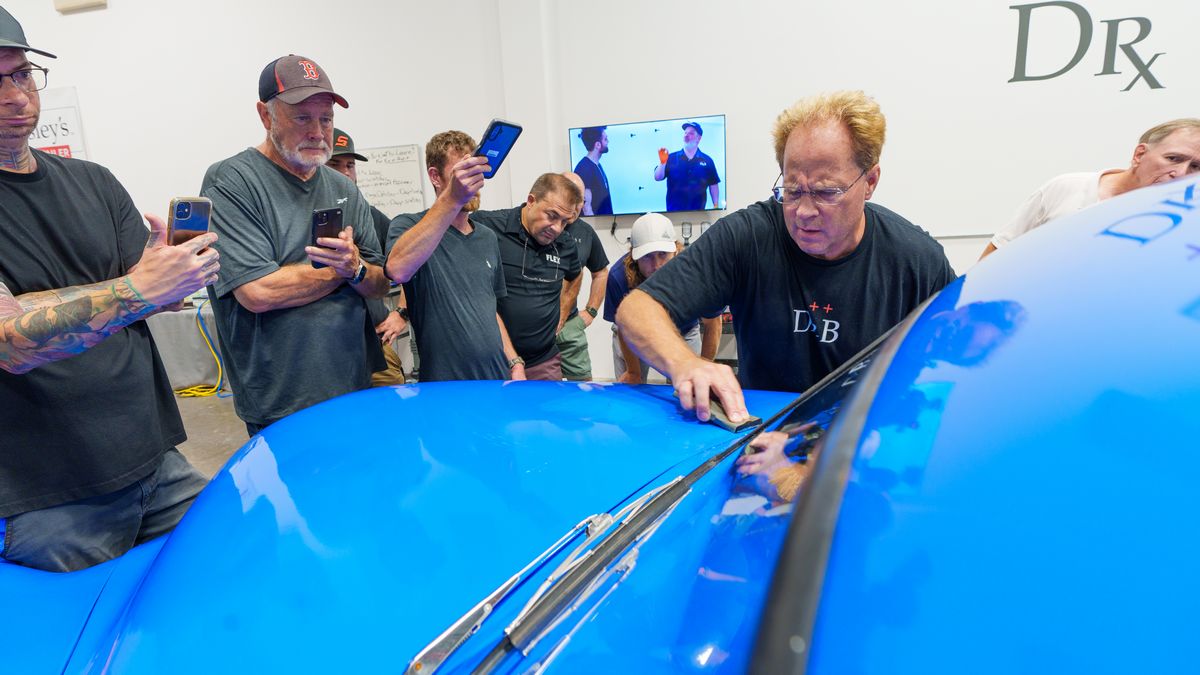
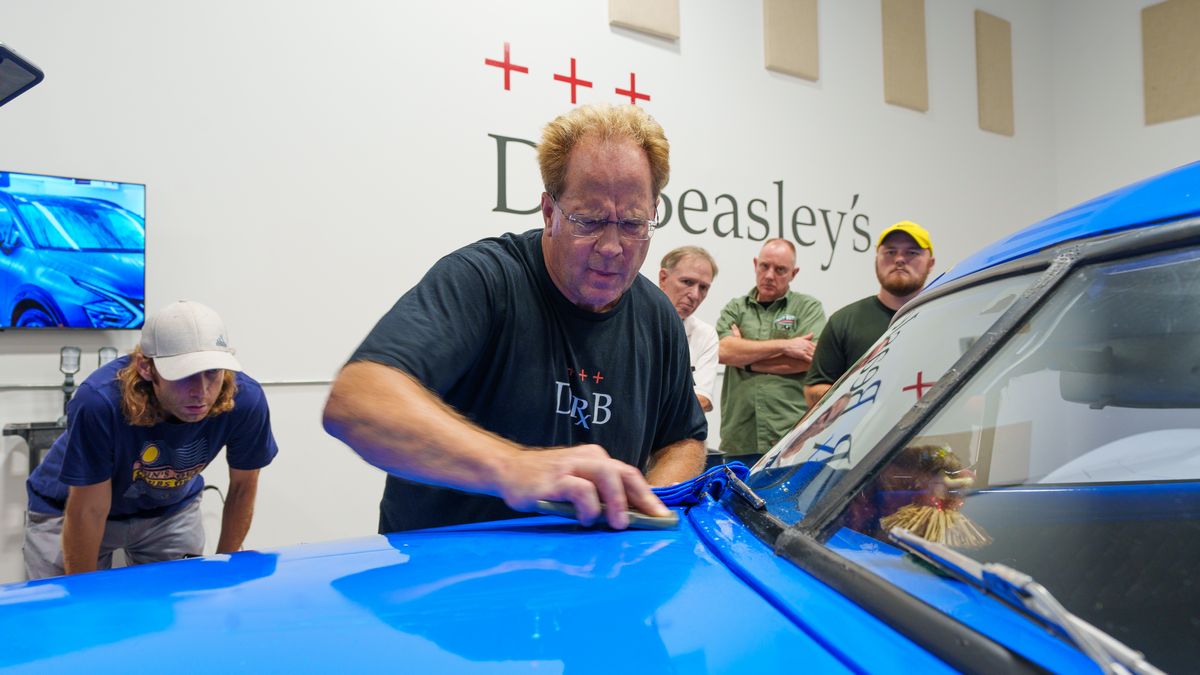
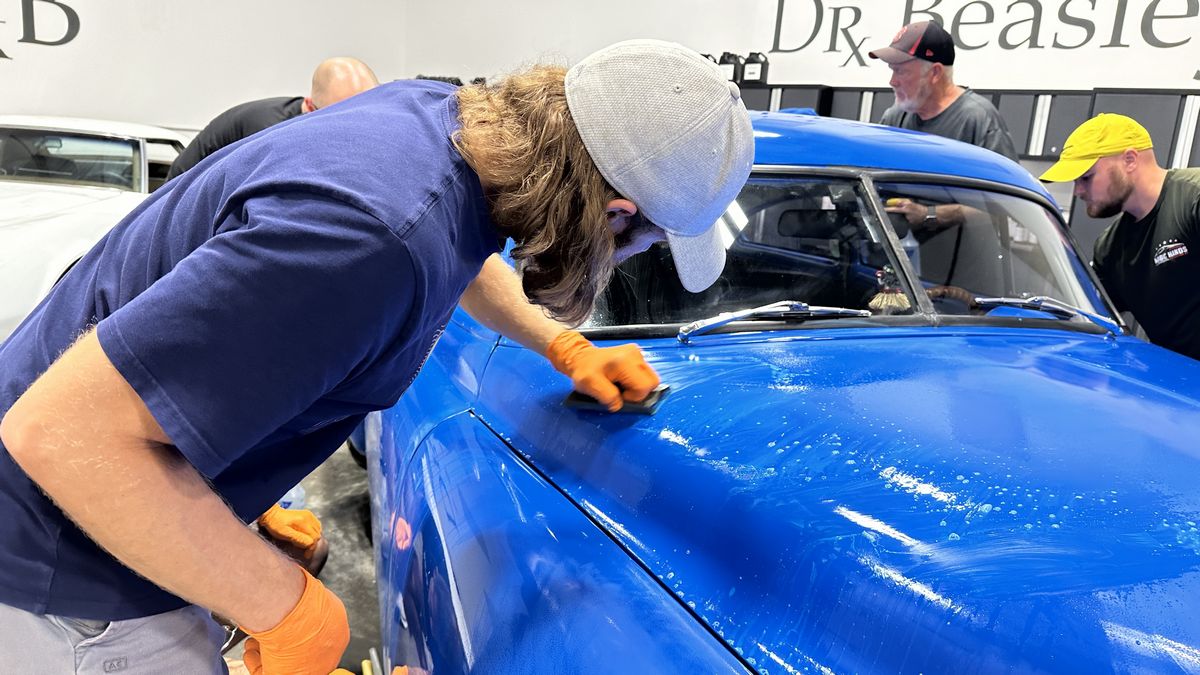
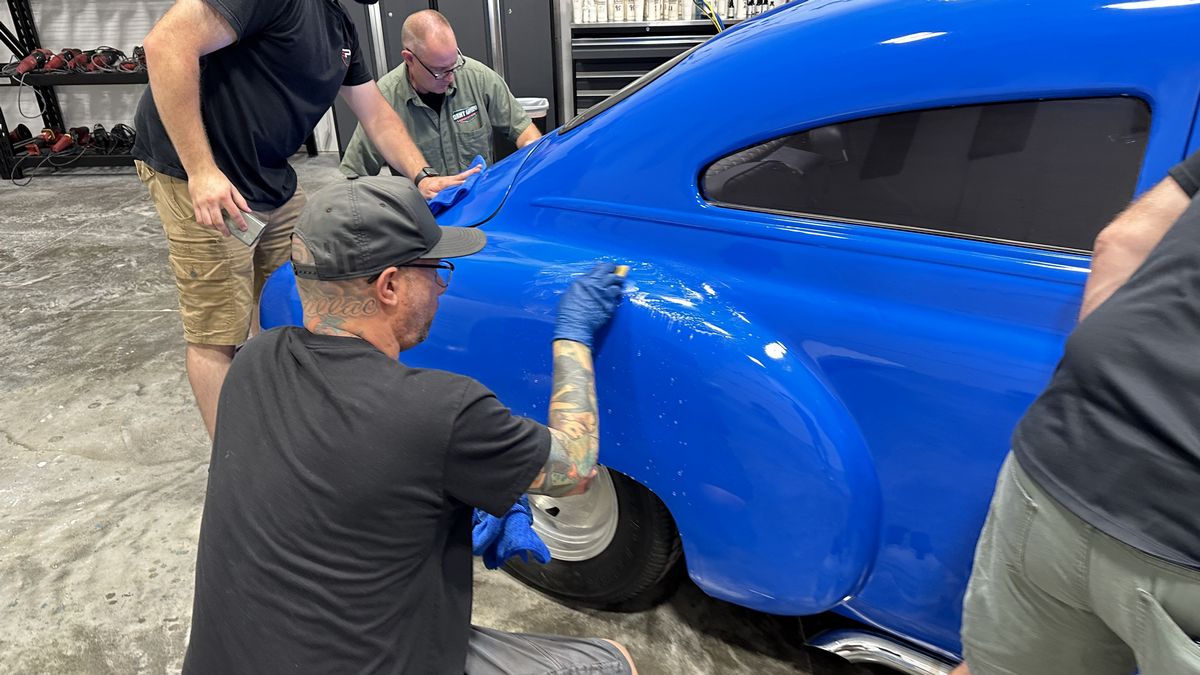
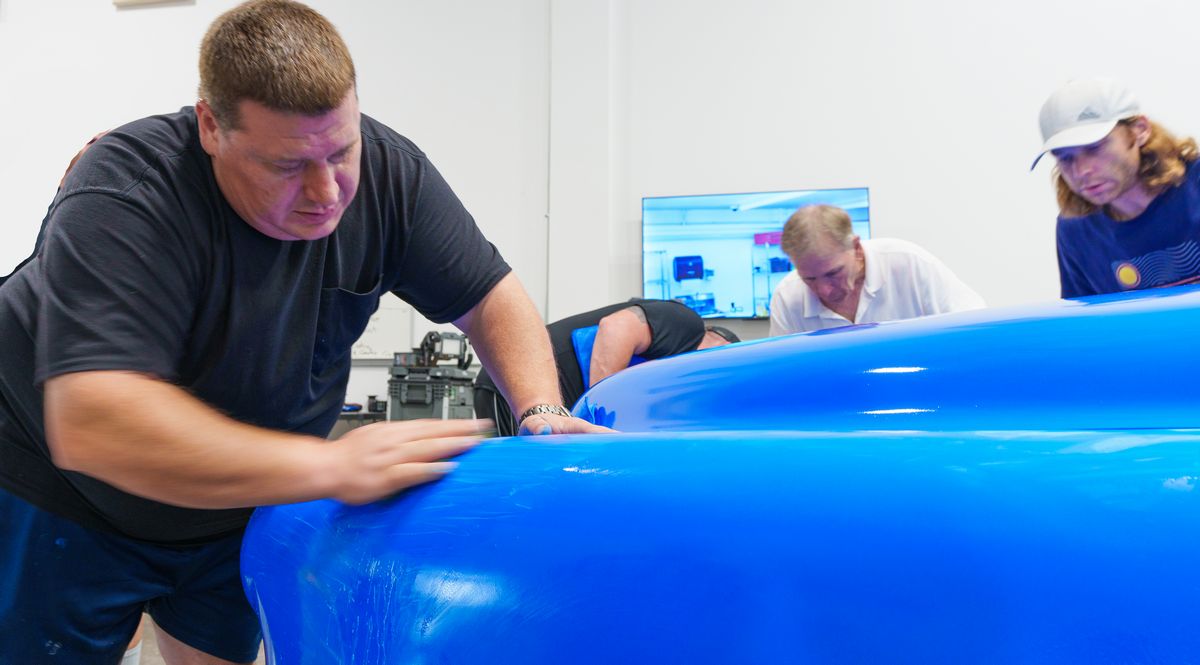
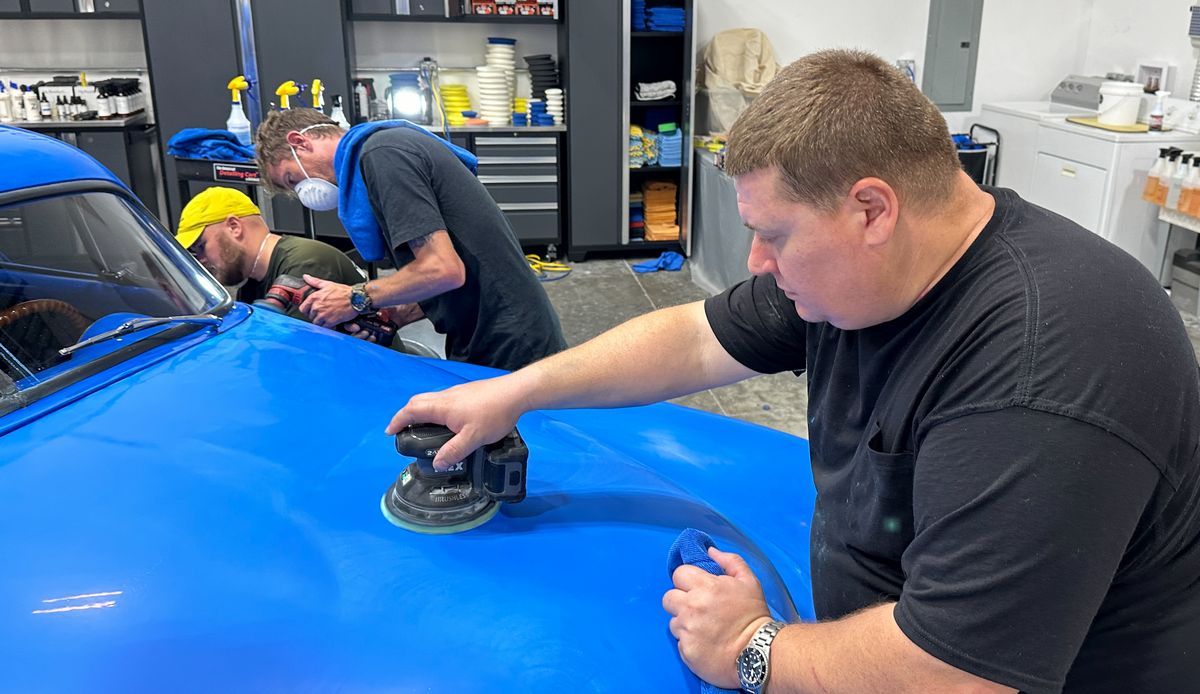
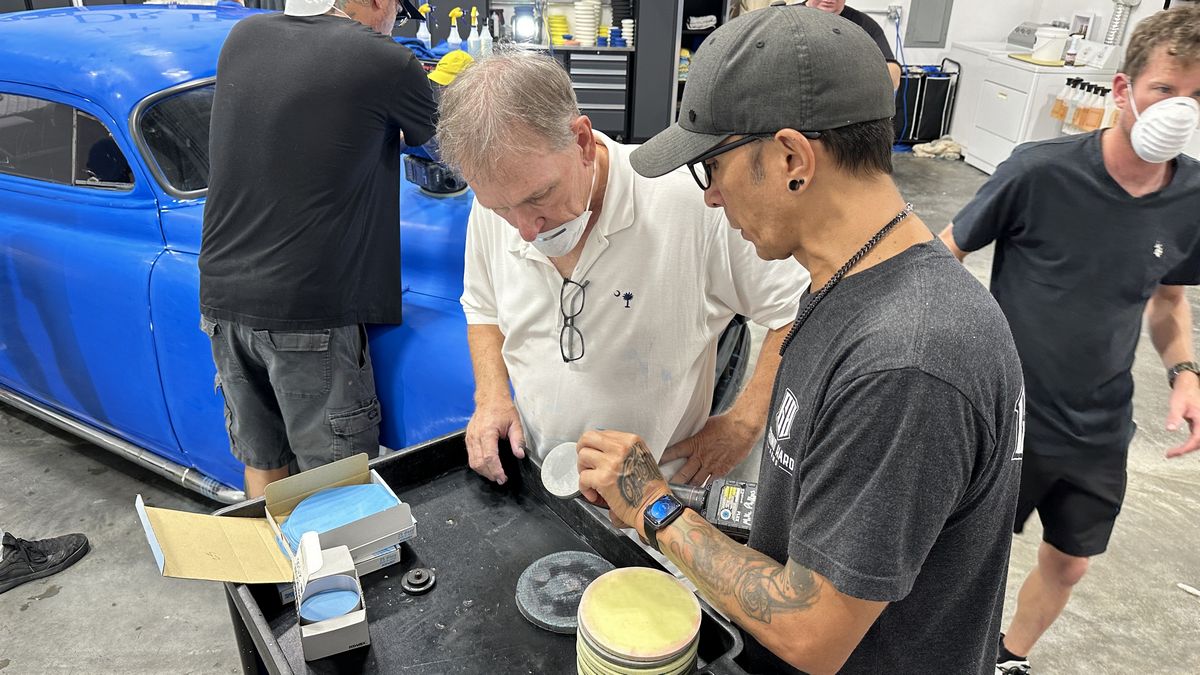
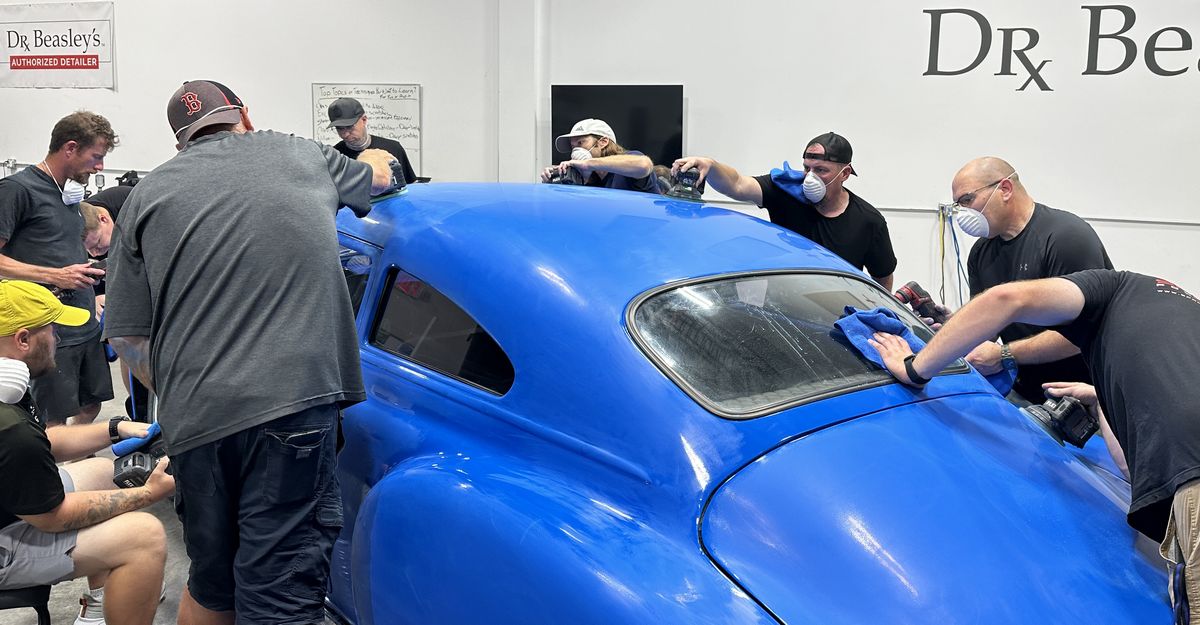
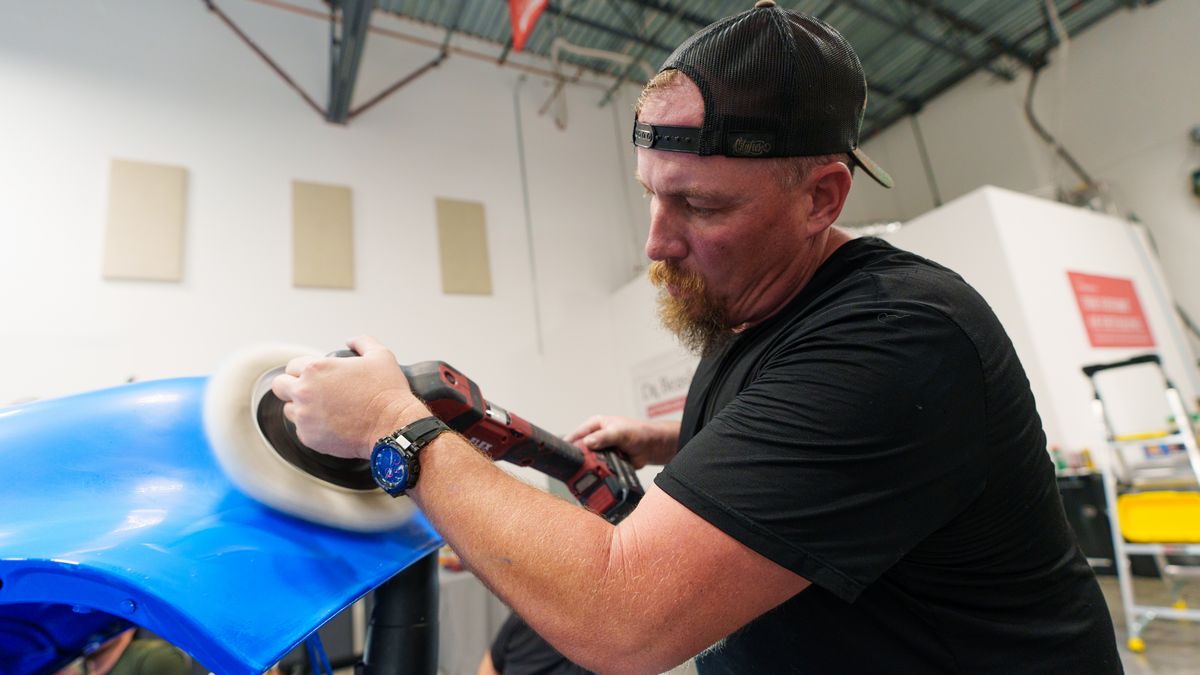
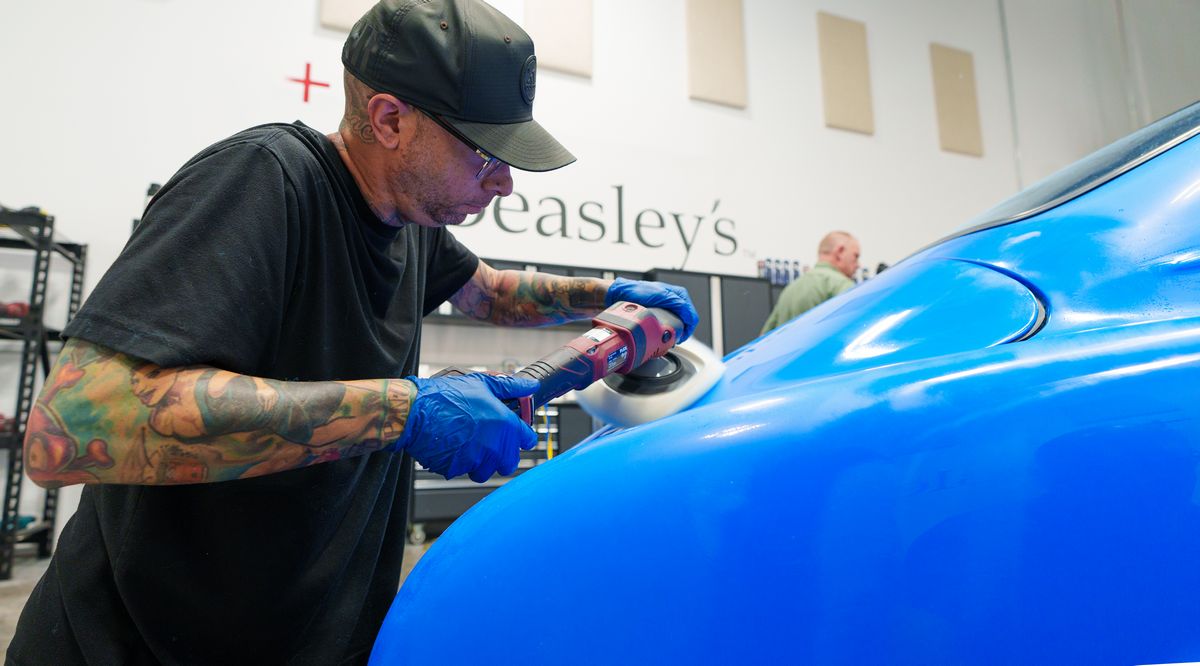
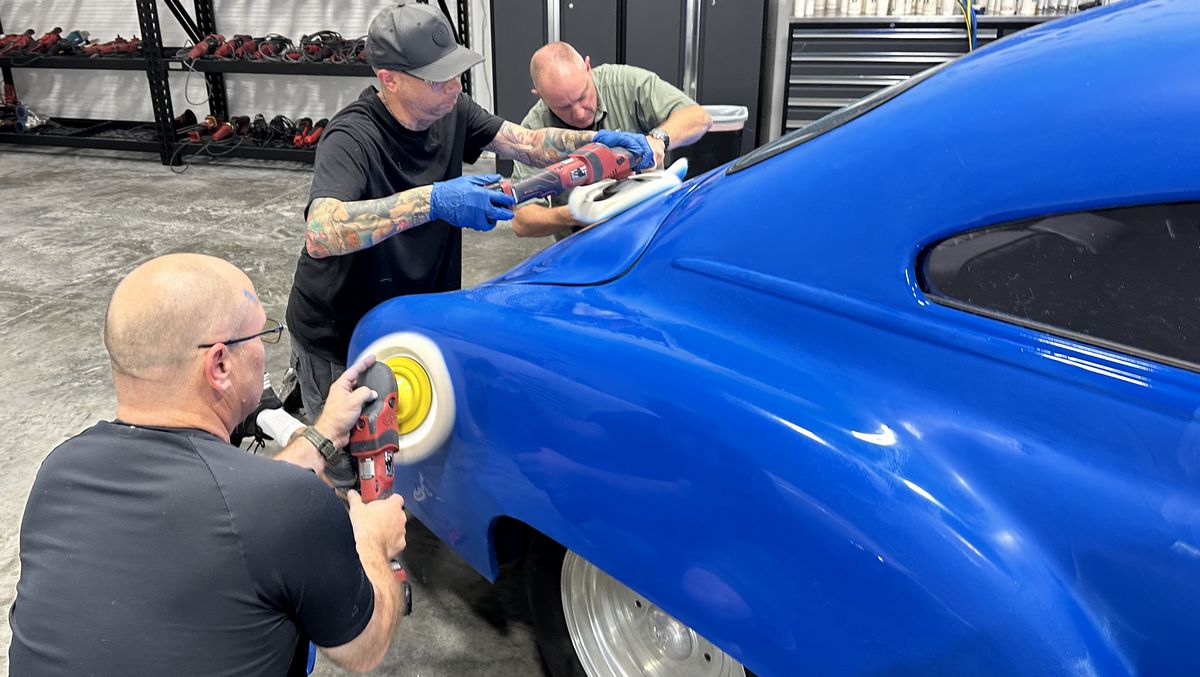
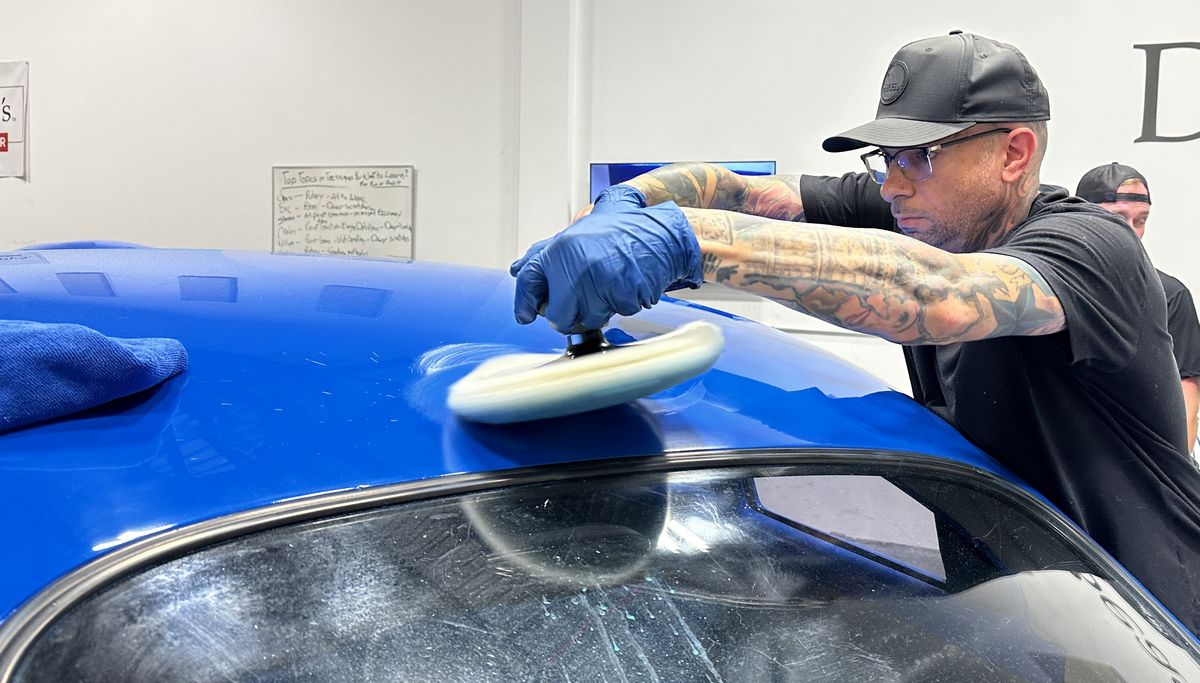
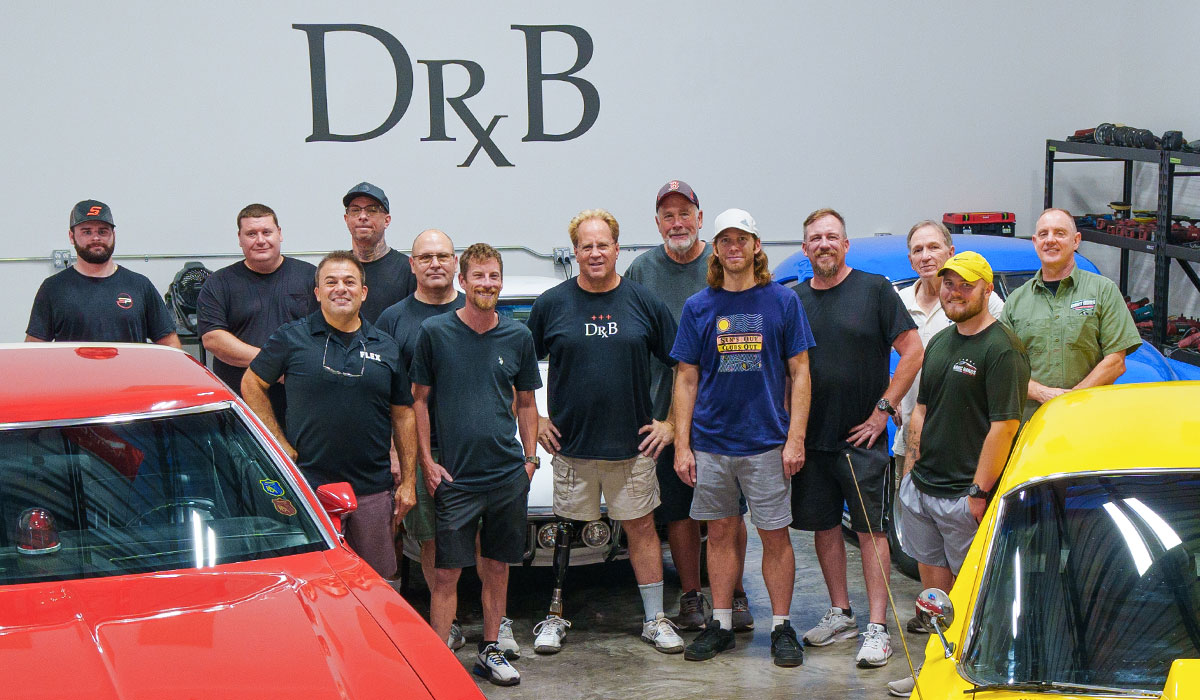
Christopher was who I call a Go-Getter, he really poured himself into every aspect of this class.
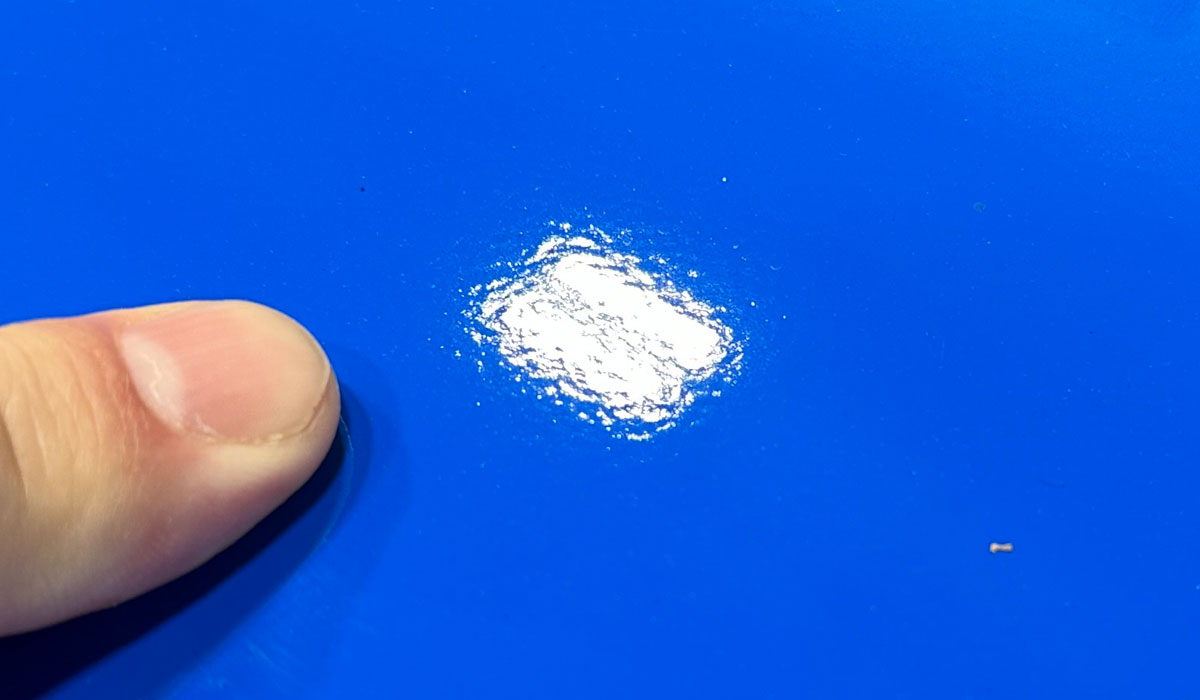
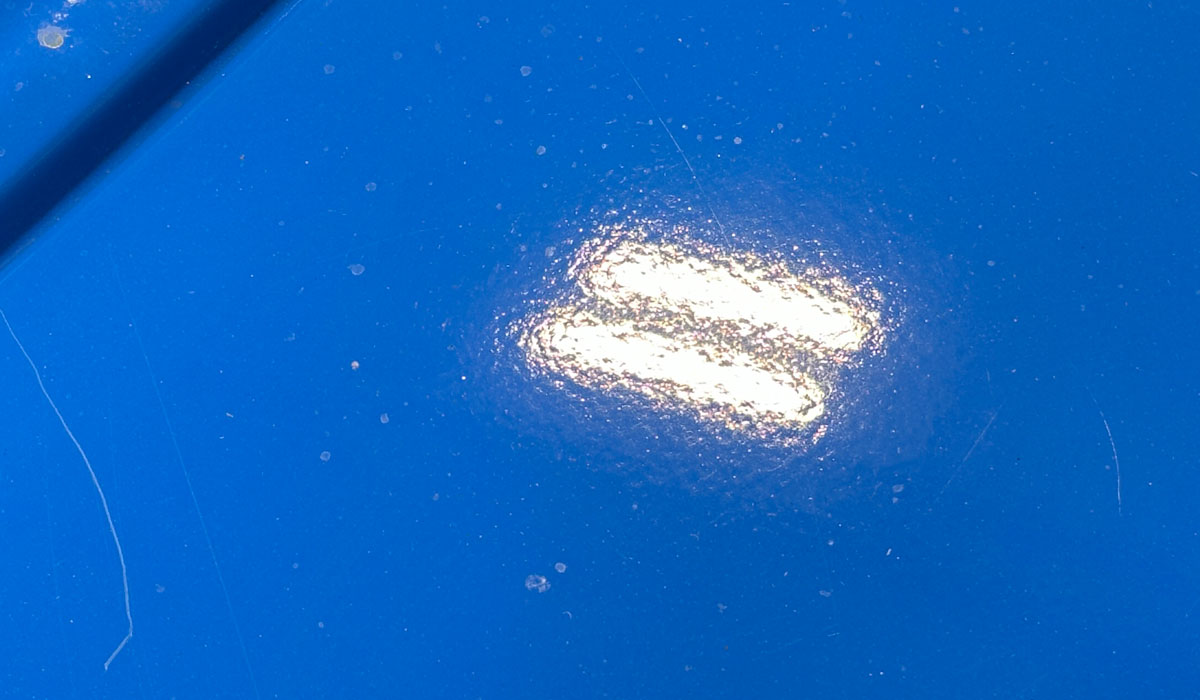
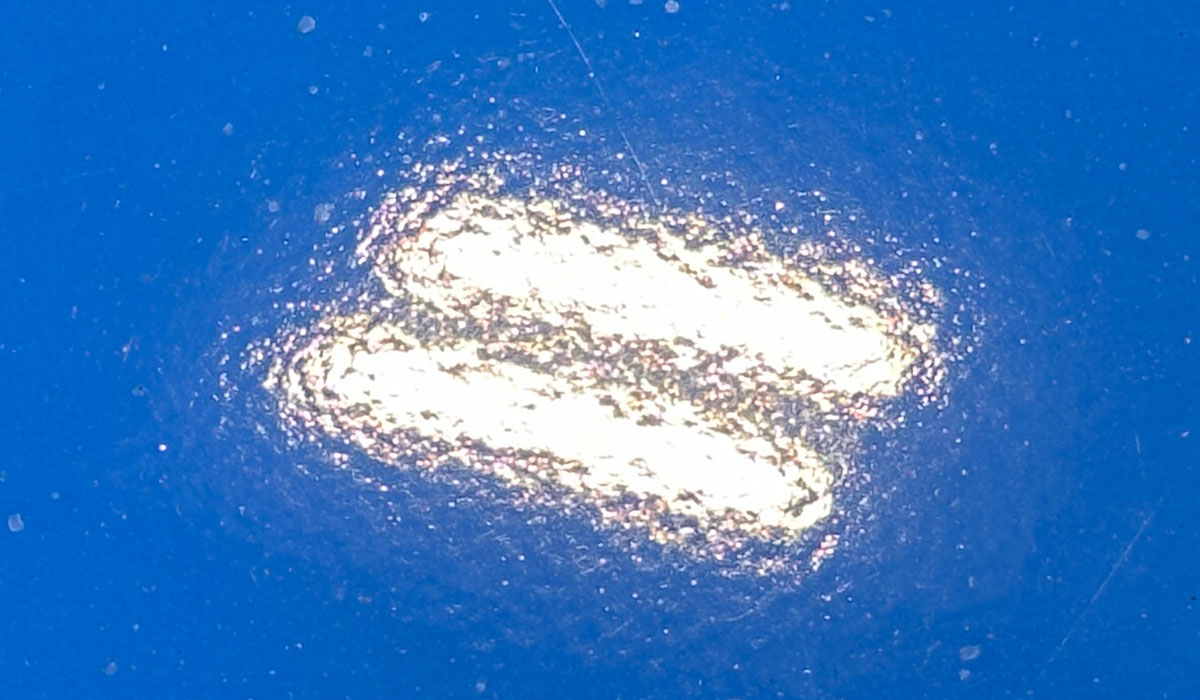
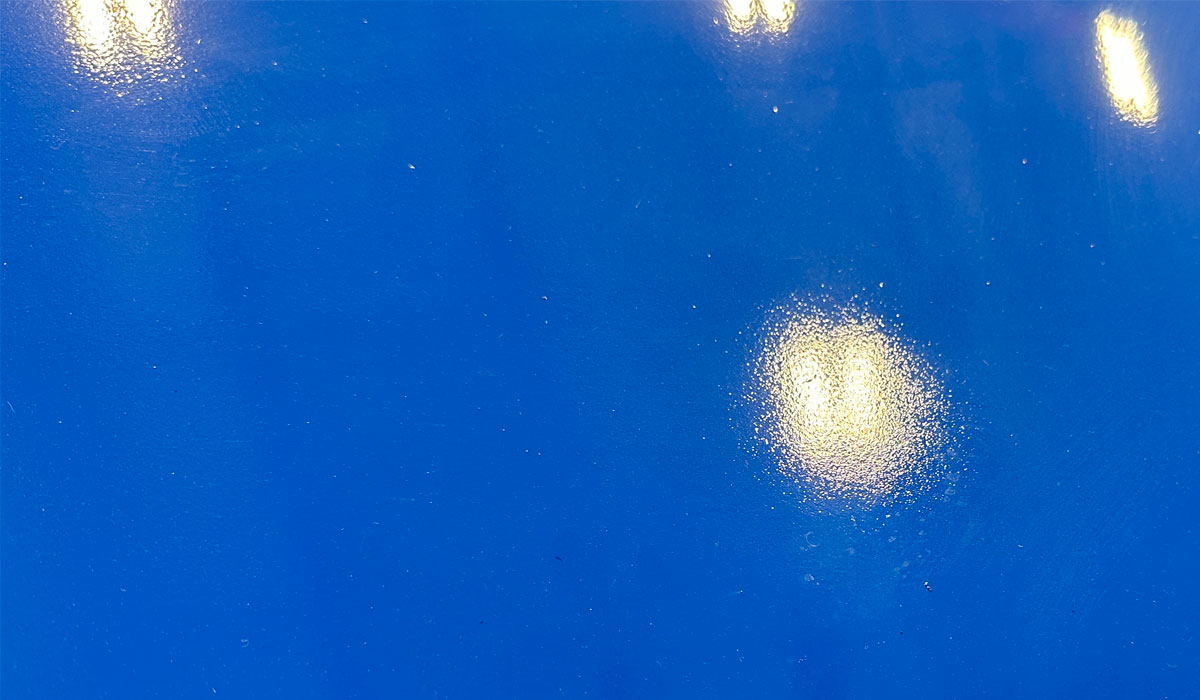
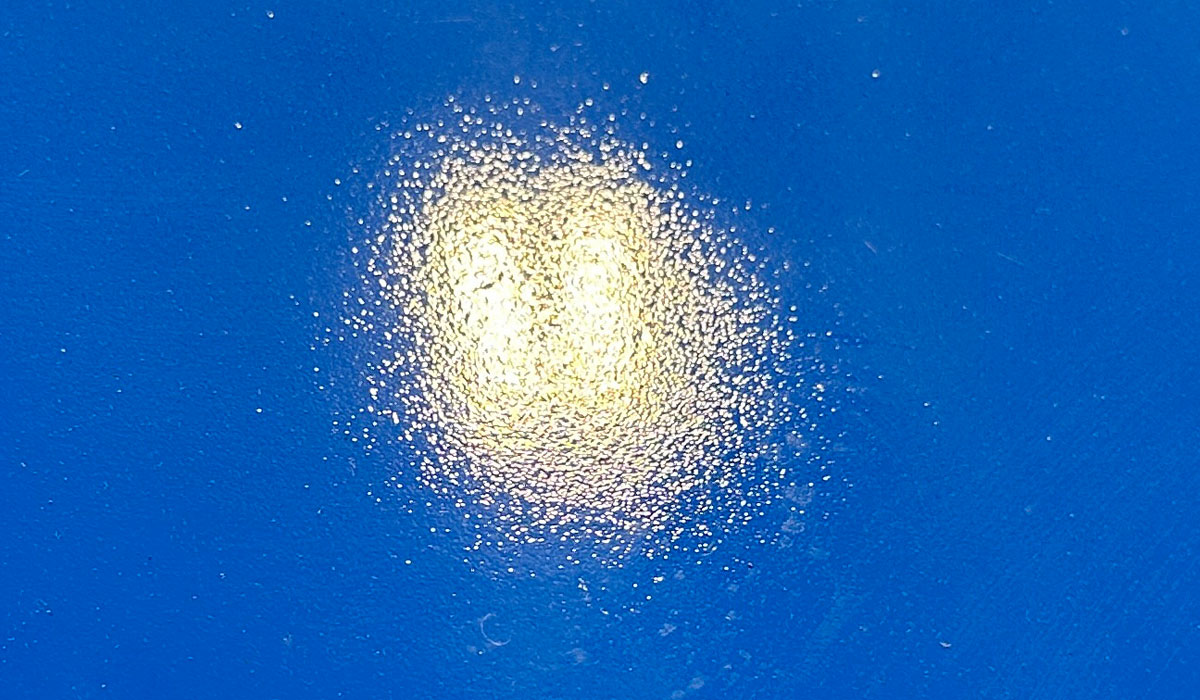
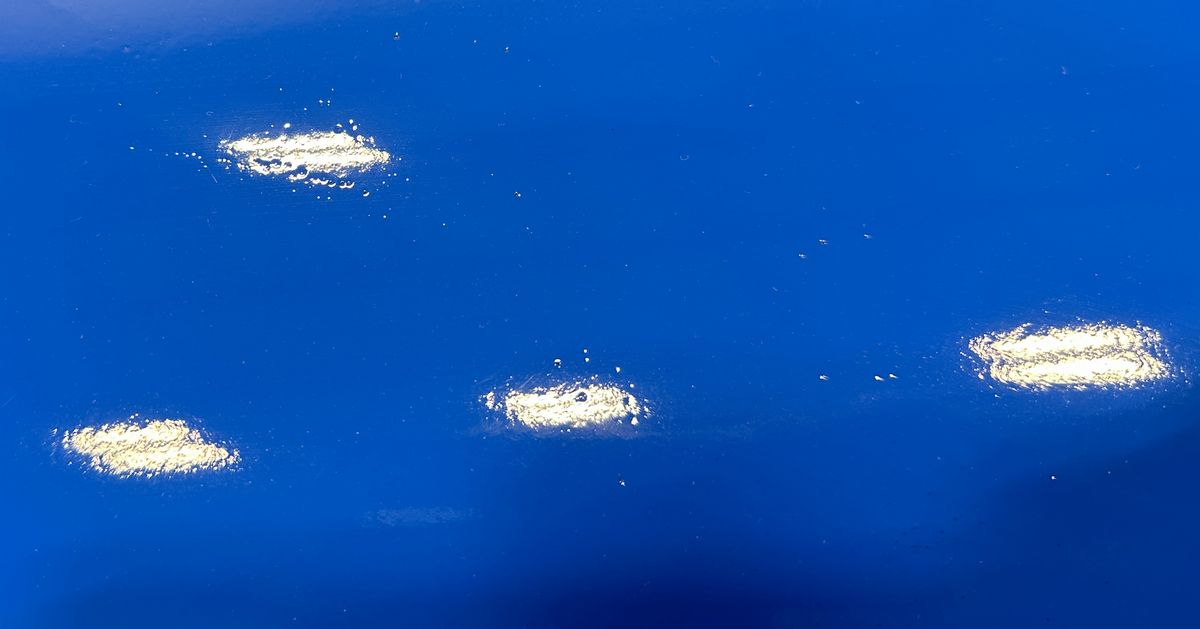
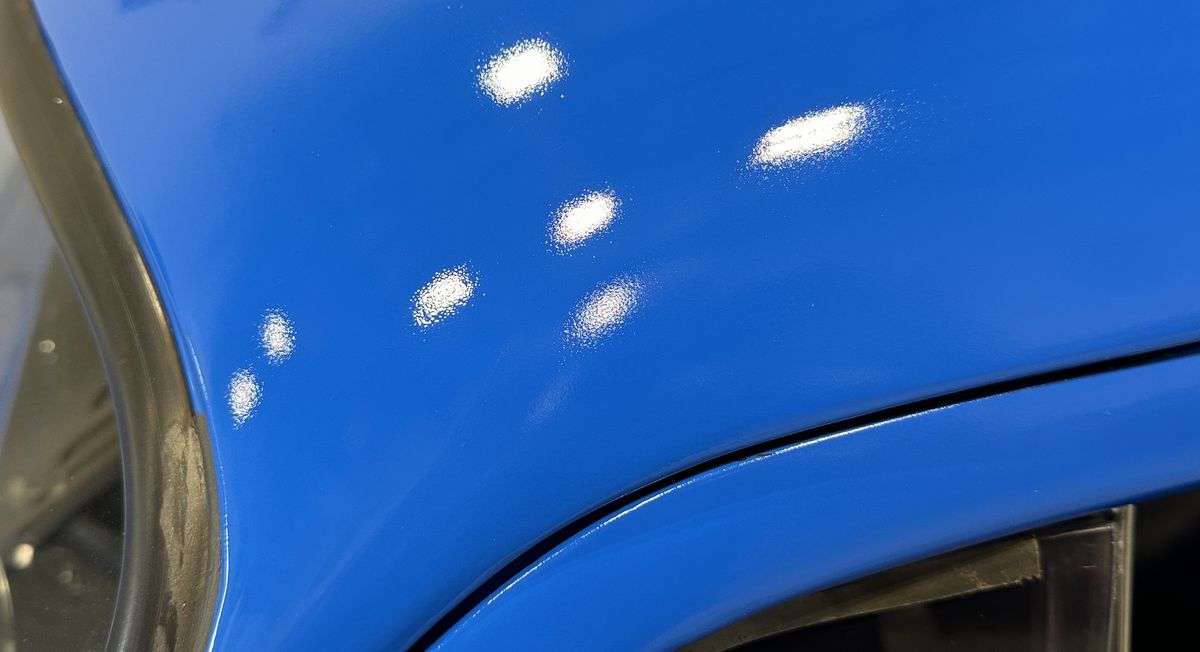
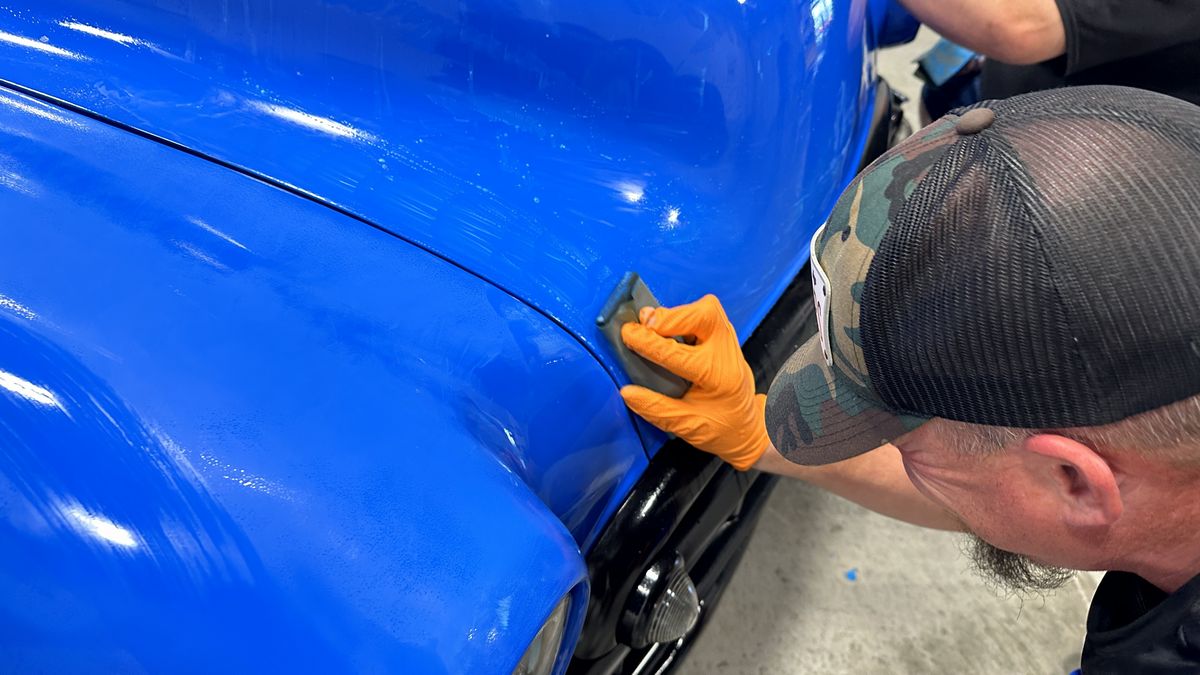
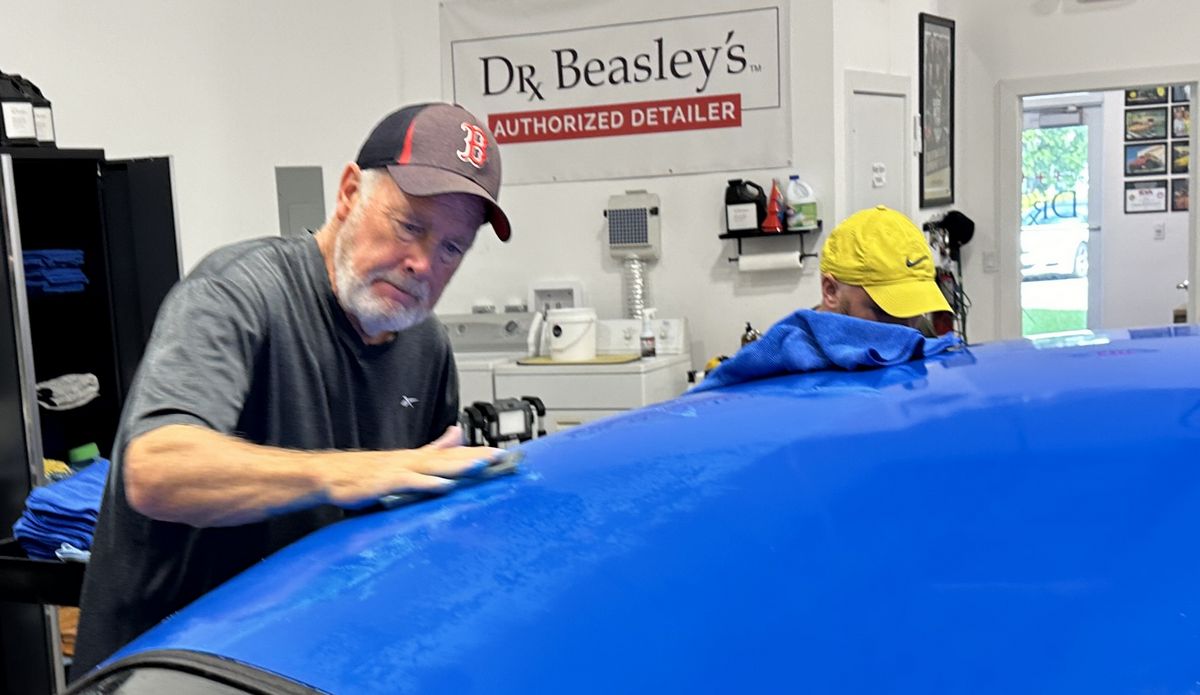
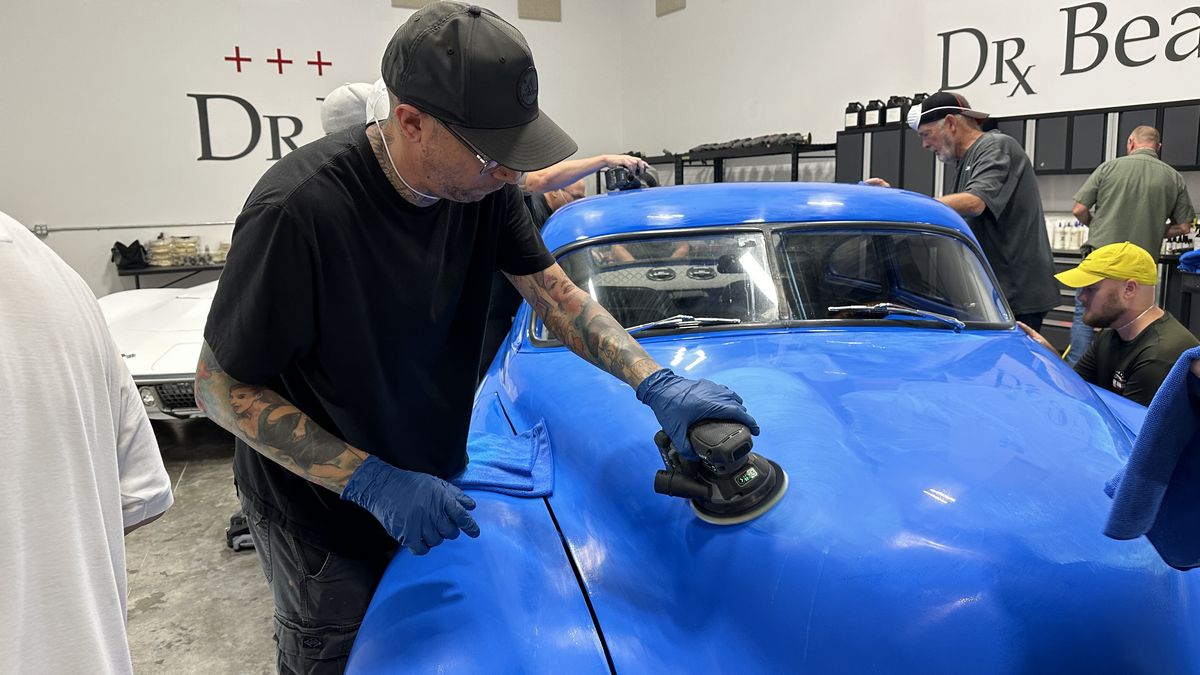
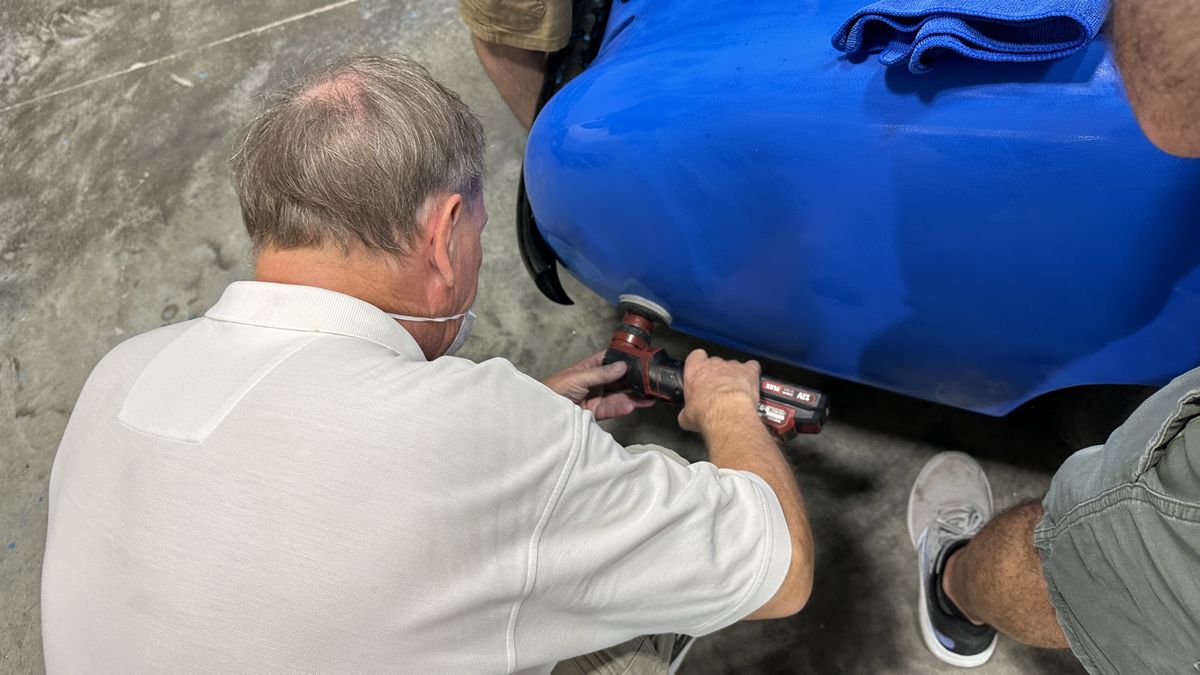
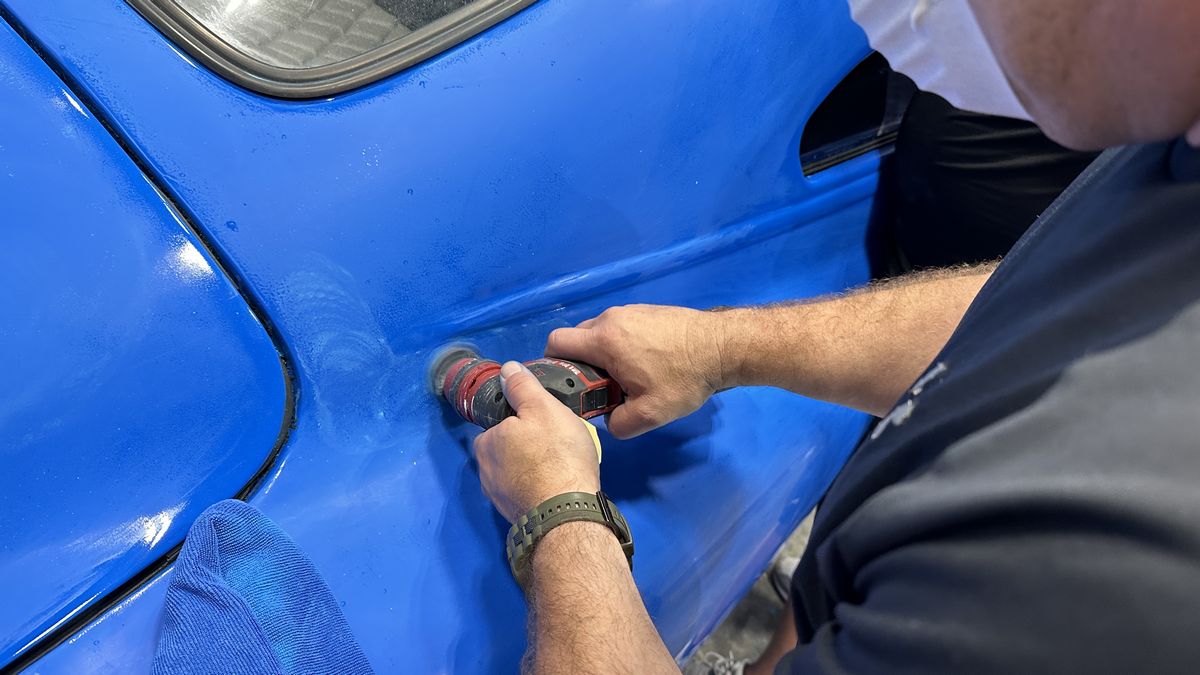
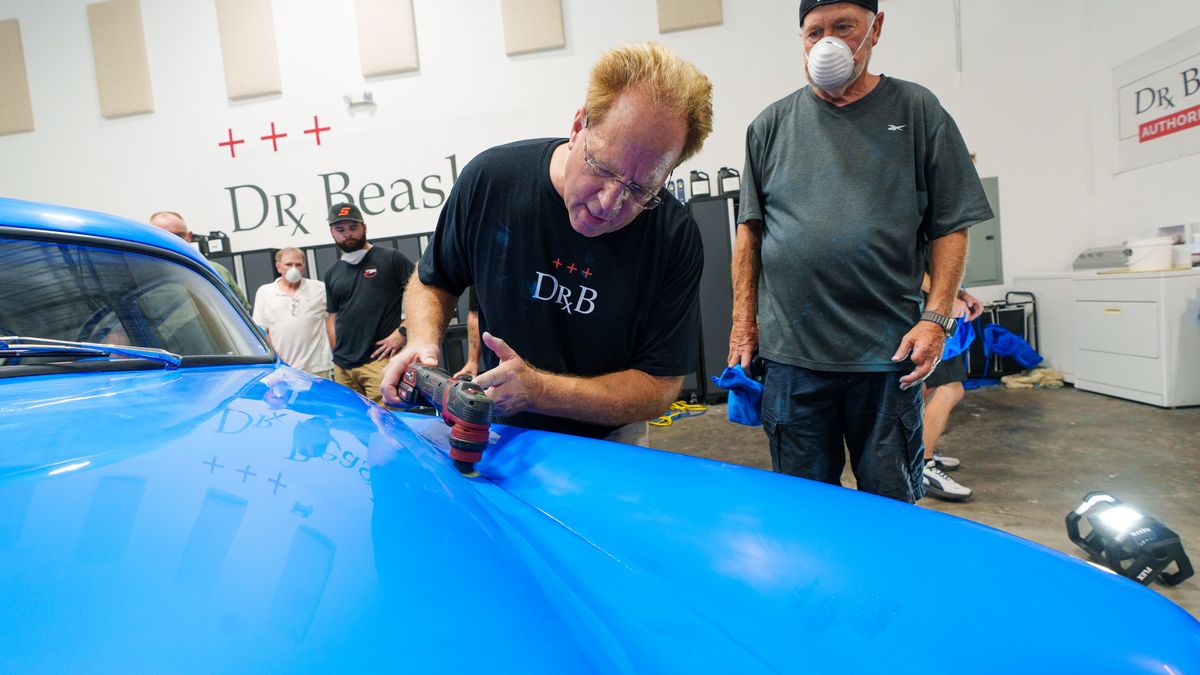
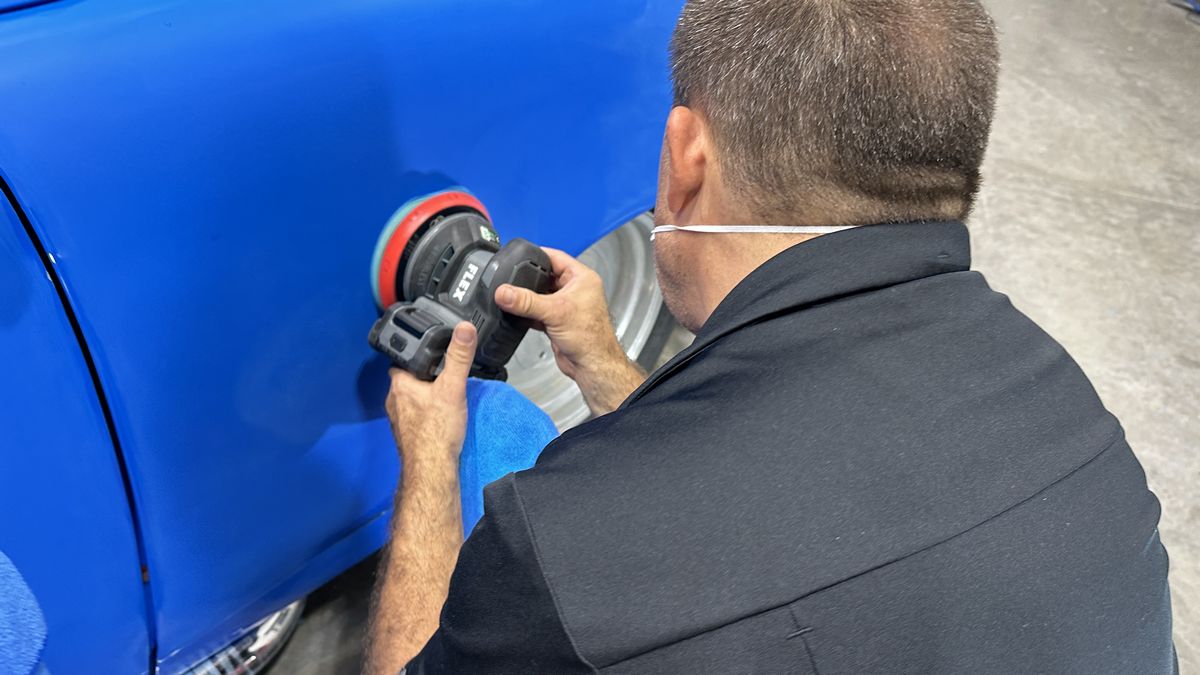
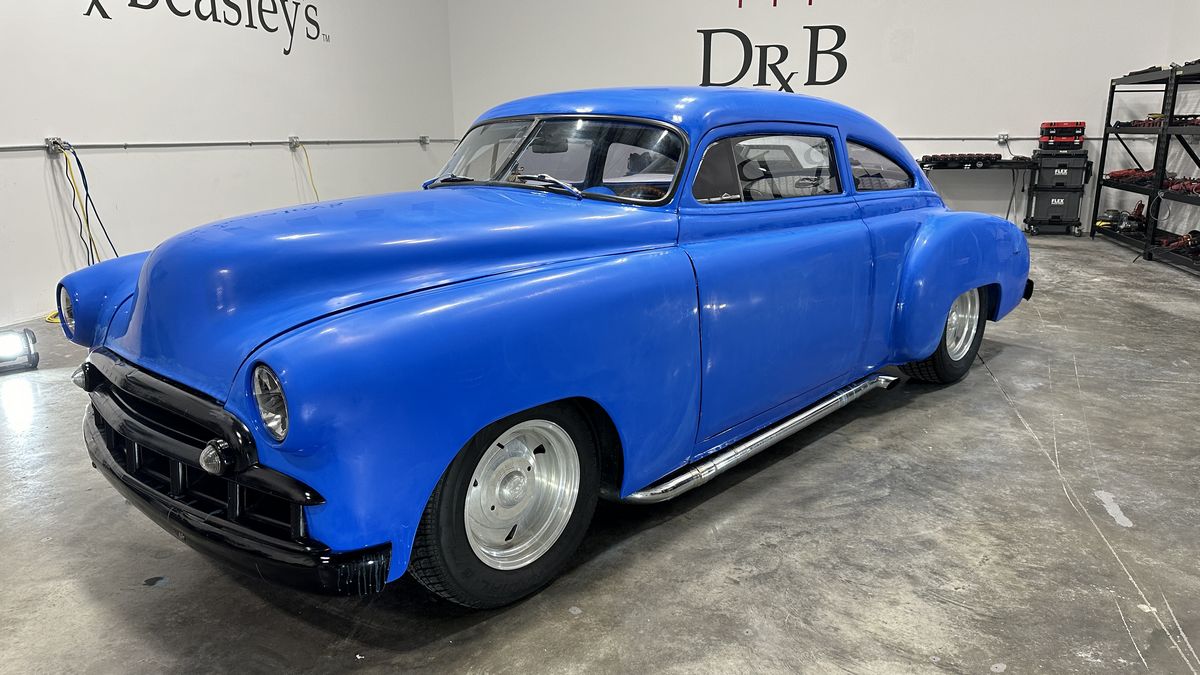
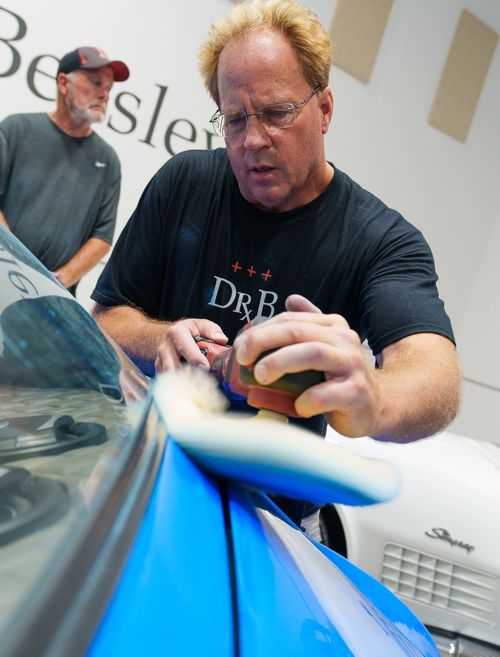
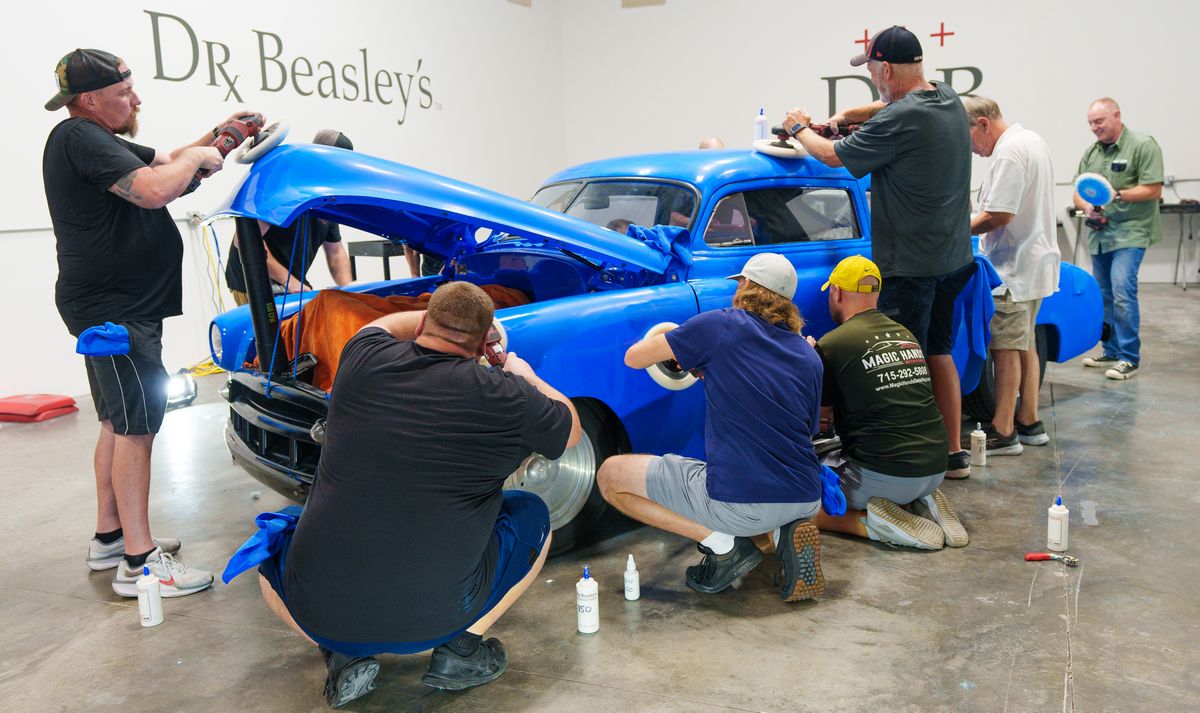
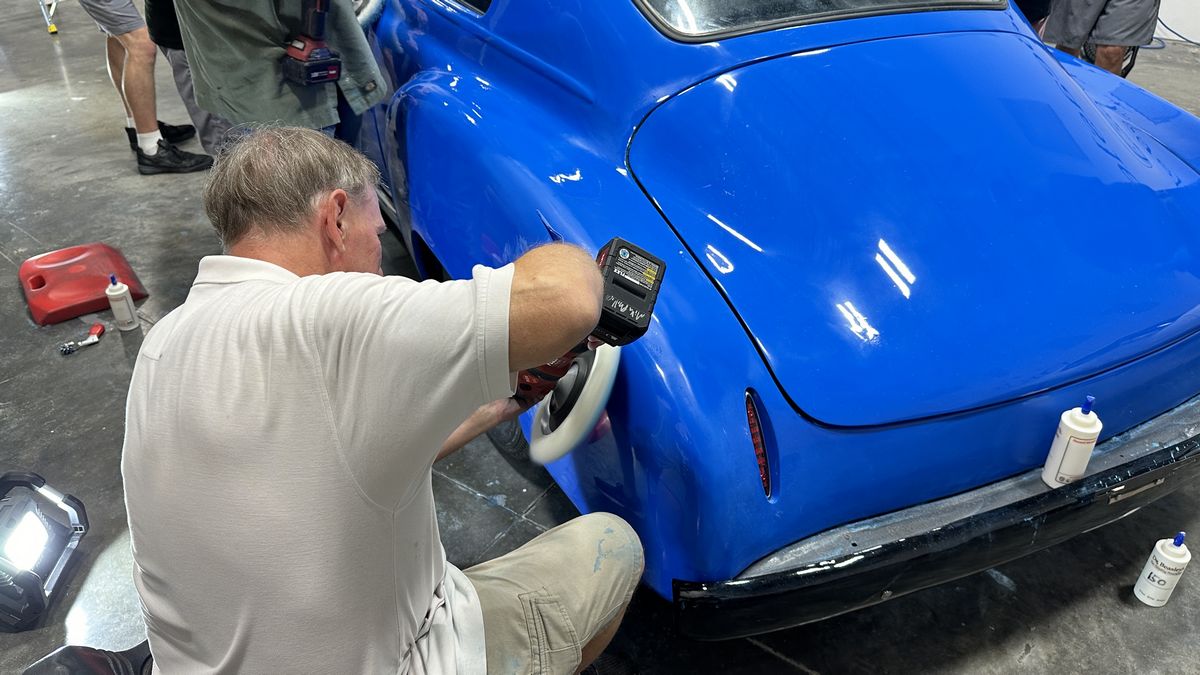
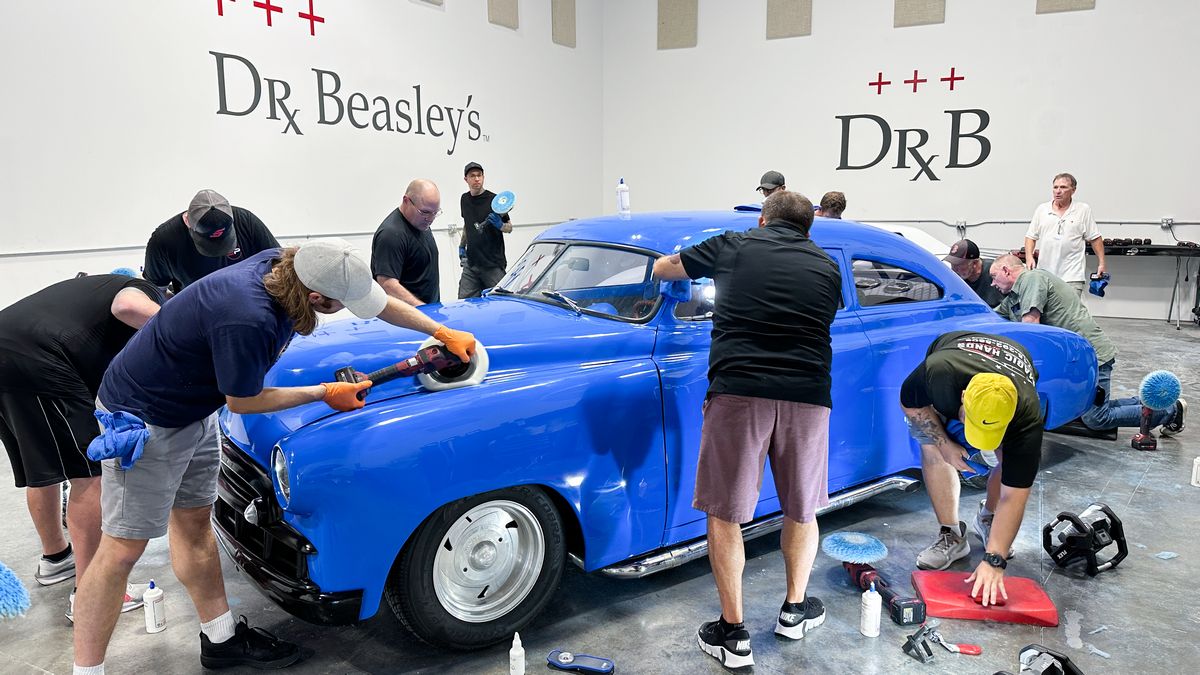
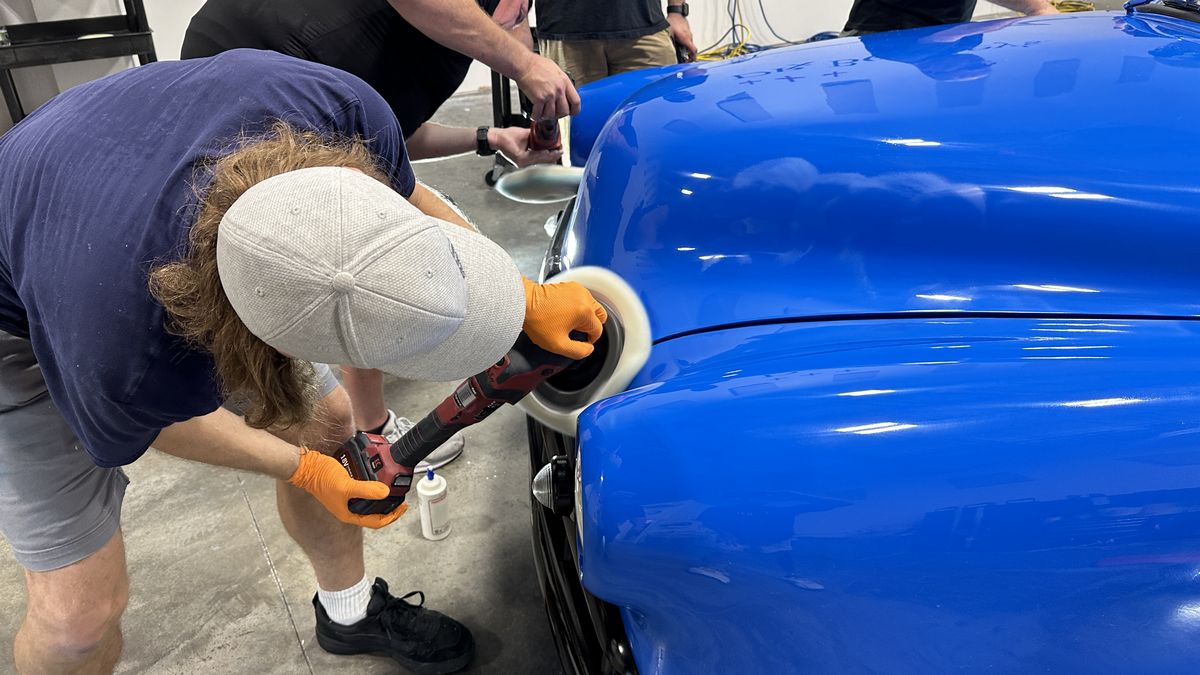
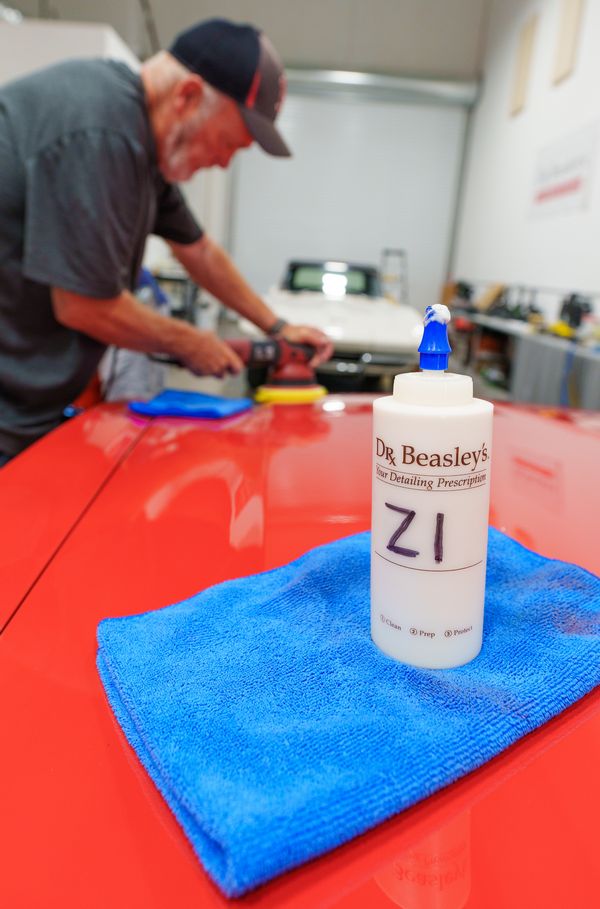
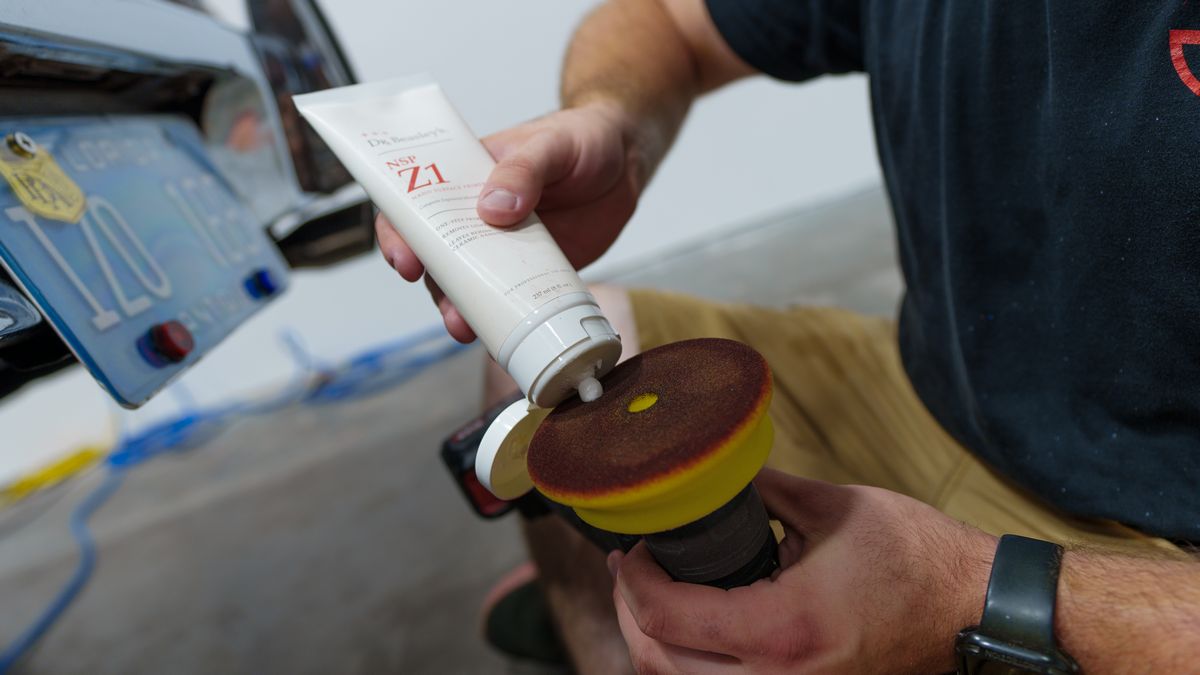
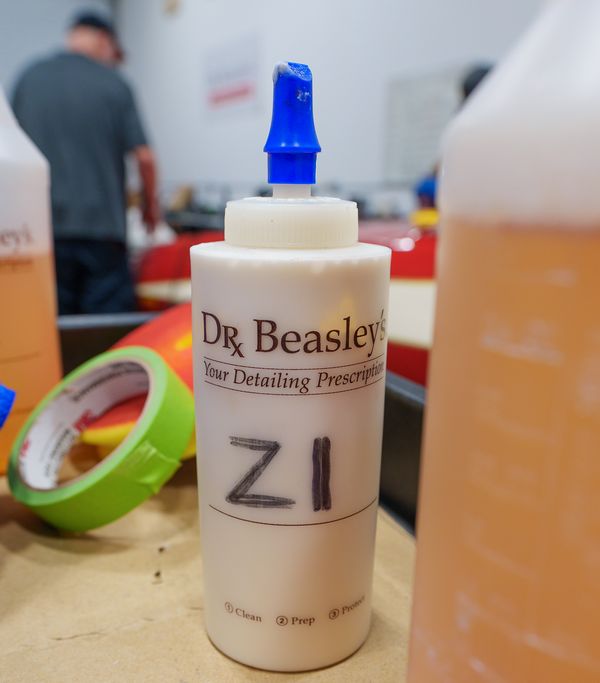
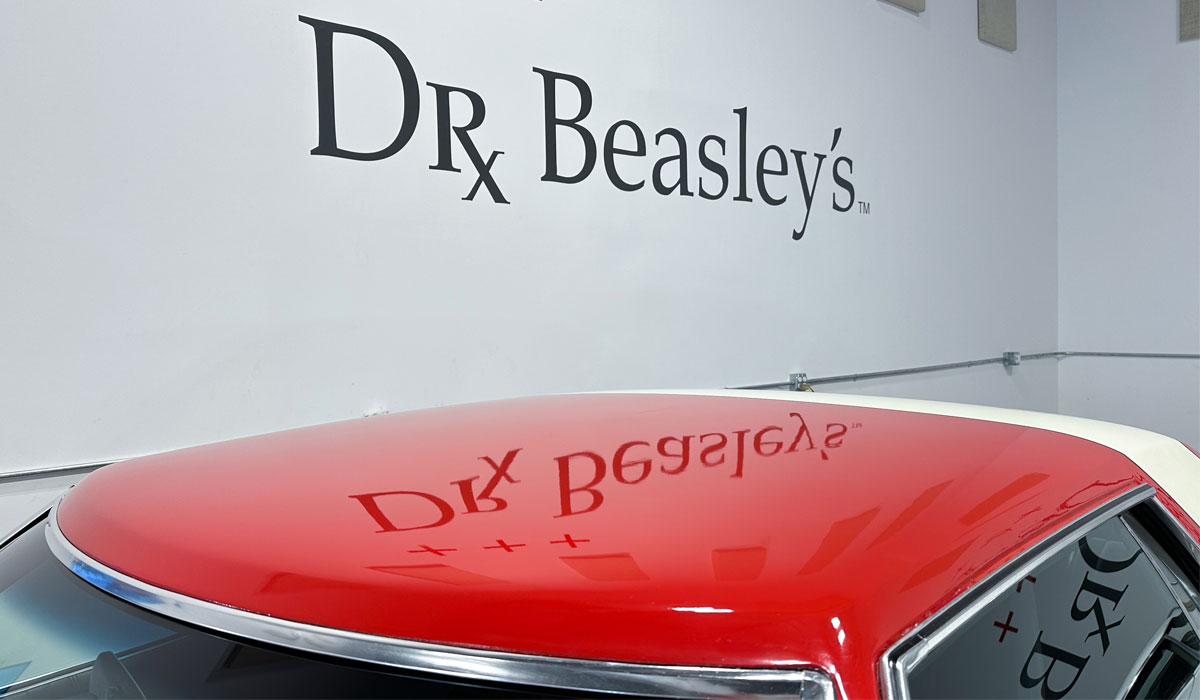
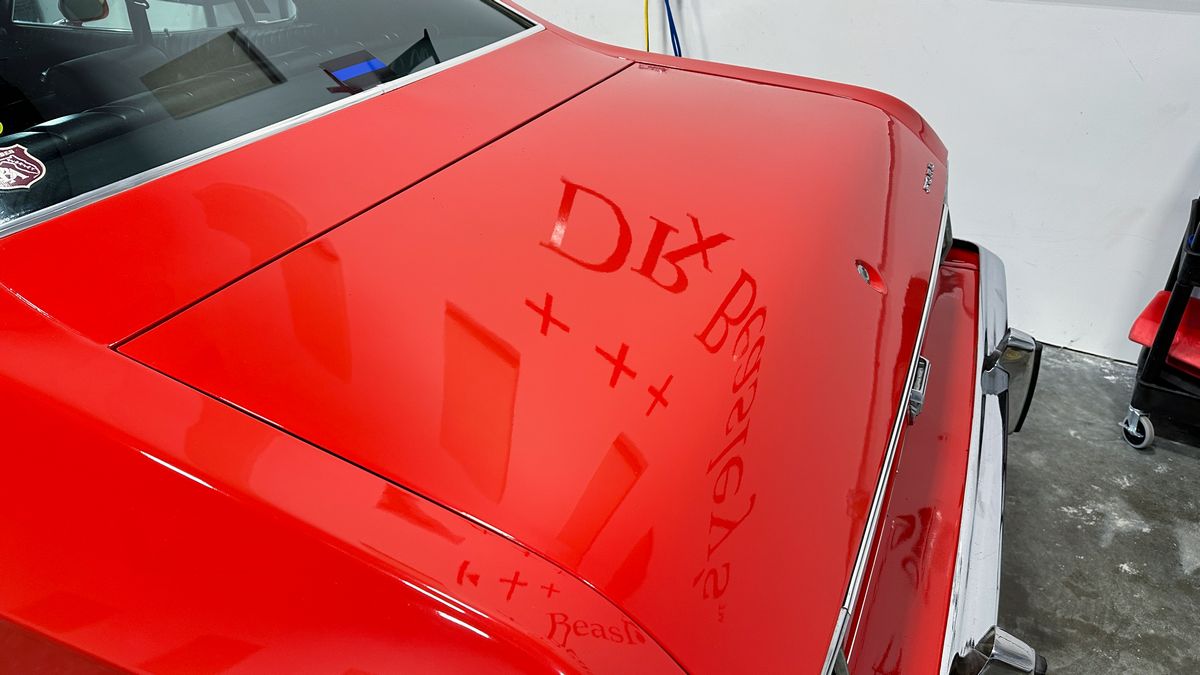
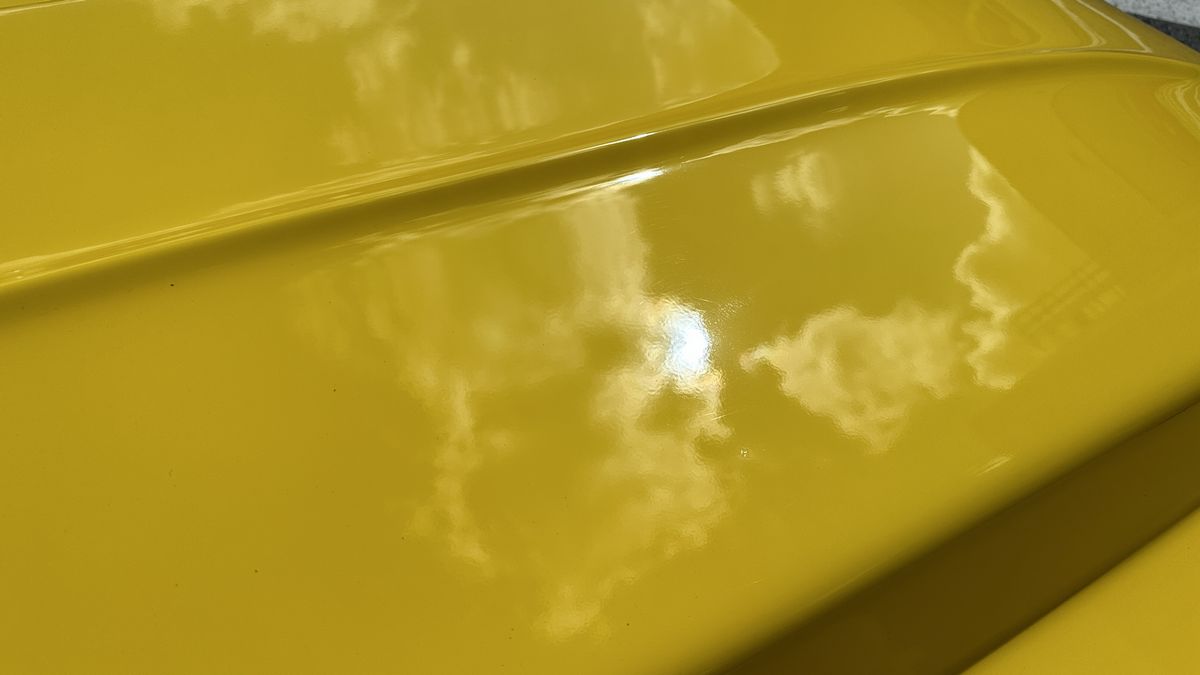
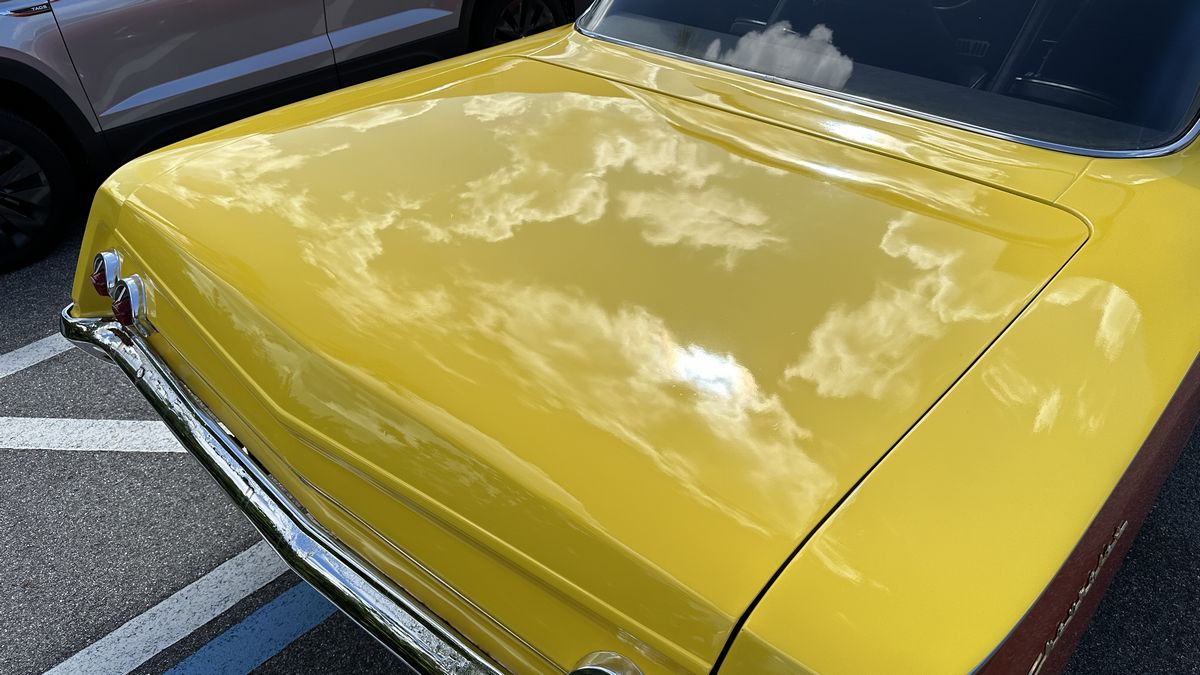
Remember just how BAD the paint was on these two cars and keep in mind, the only product the class is using is the Dr. Beasley's NSP Z1 - which is a Ceramic AIO or All-in-One. This means it removes defects, polishes the paint to super high gloss and leaves behind ceramic protection. Remember this because as you scroll down this page you're going to be BLOWN AWAY with the after results.
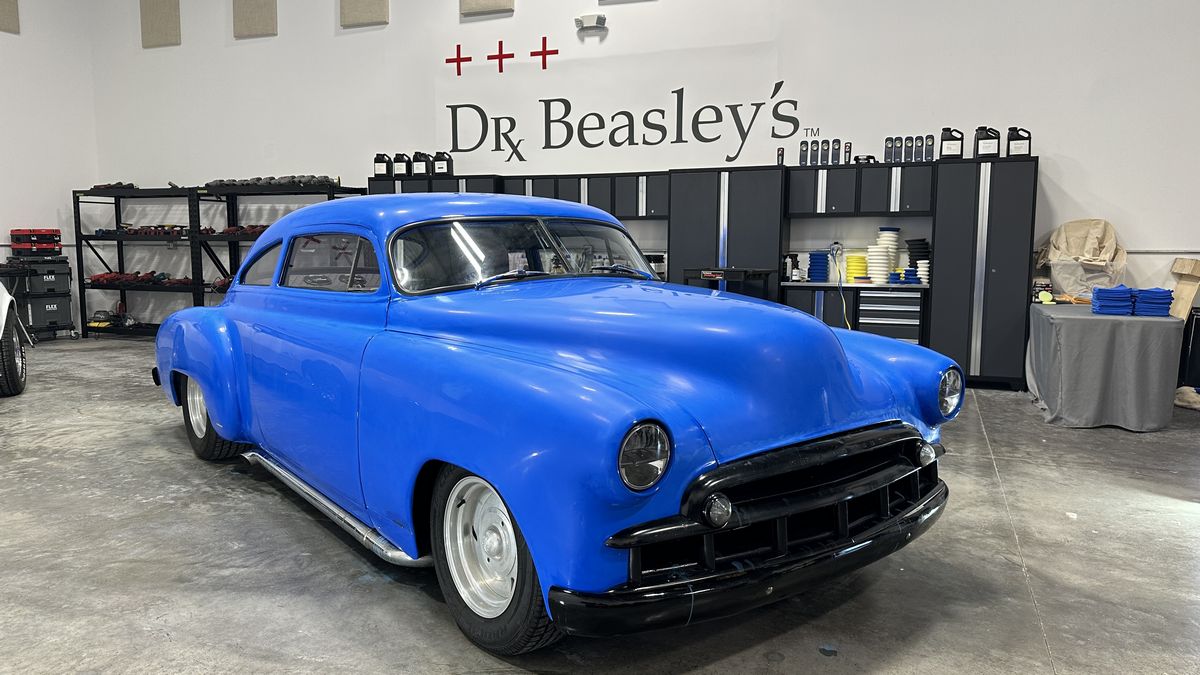
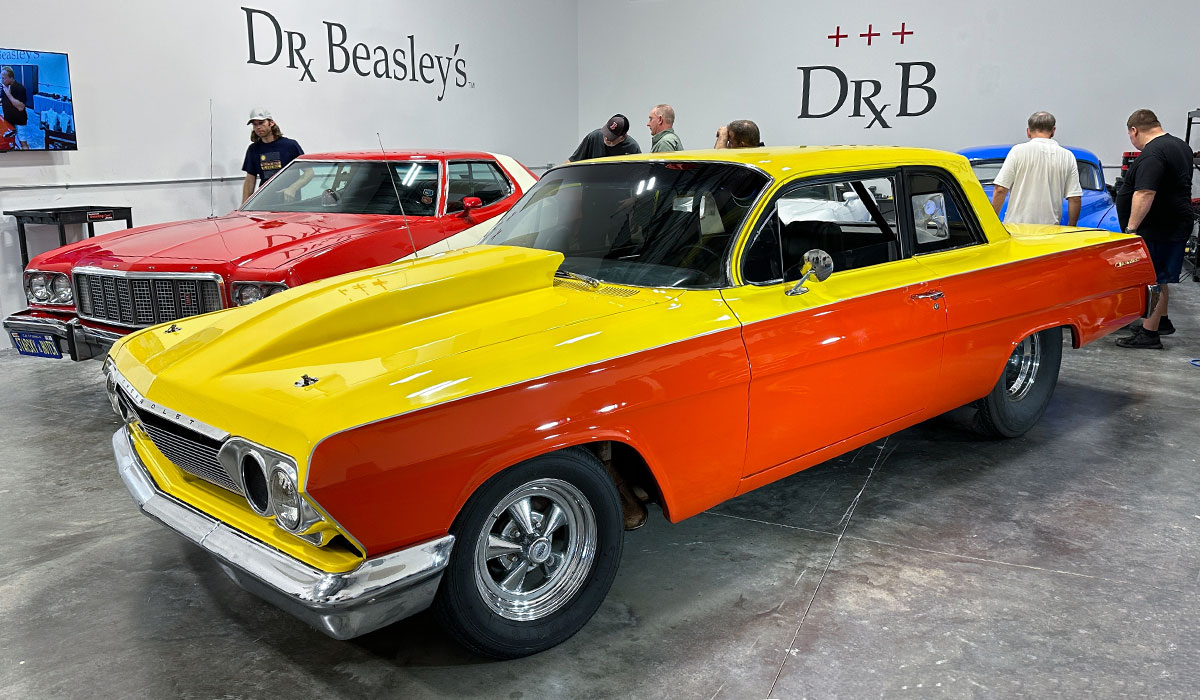
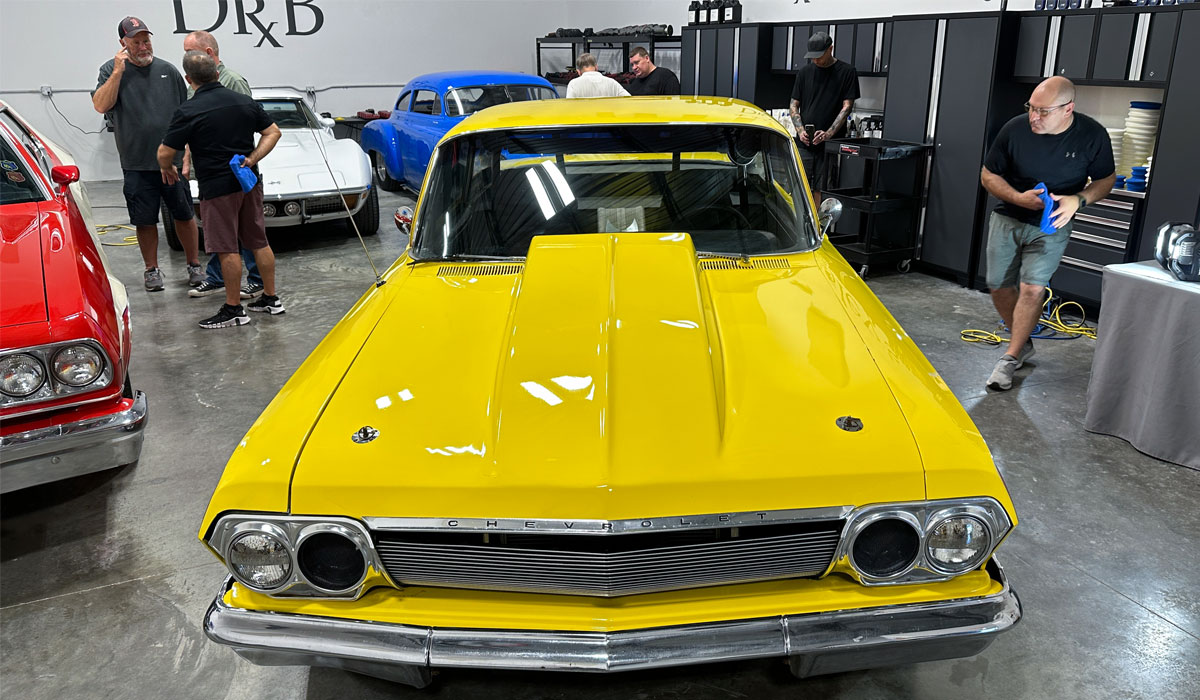
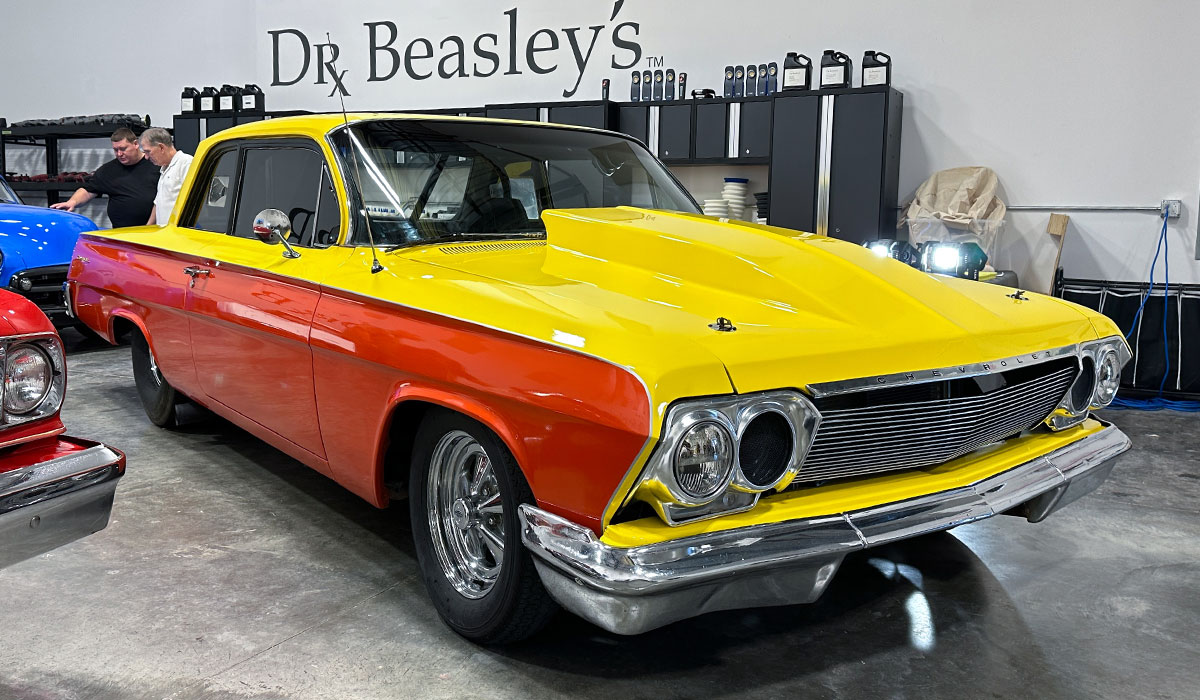
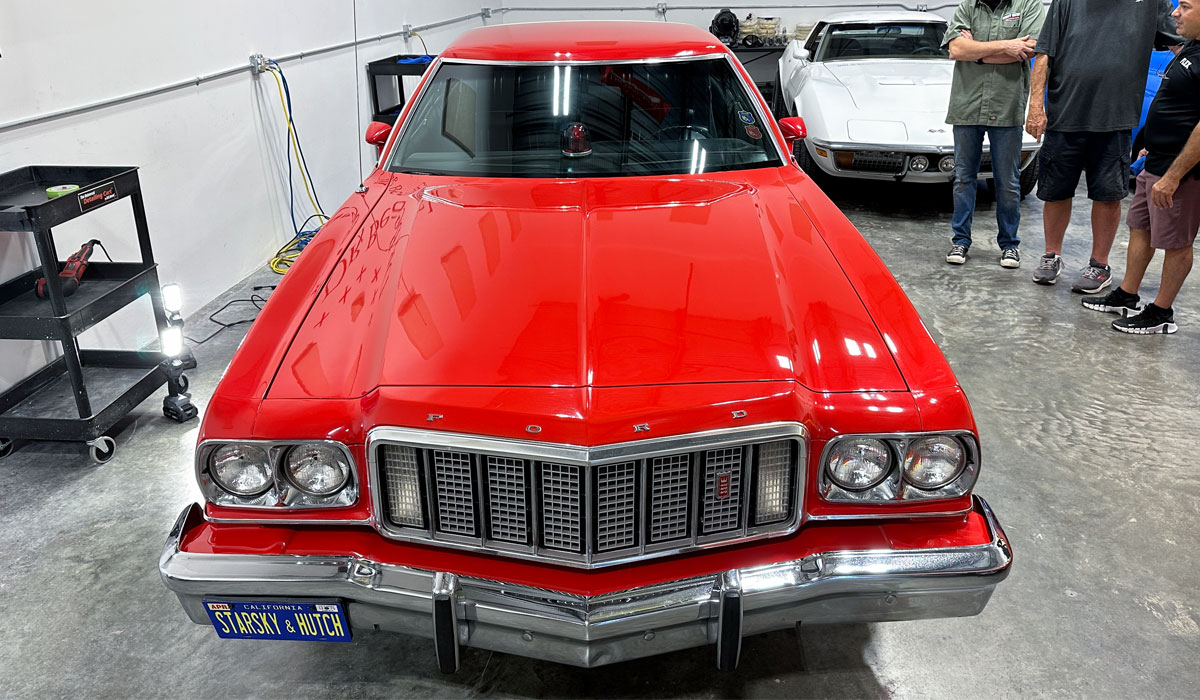
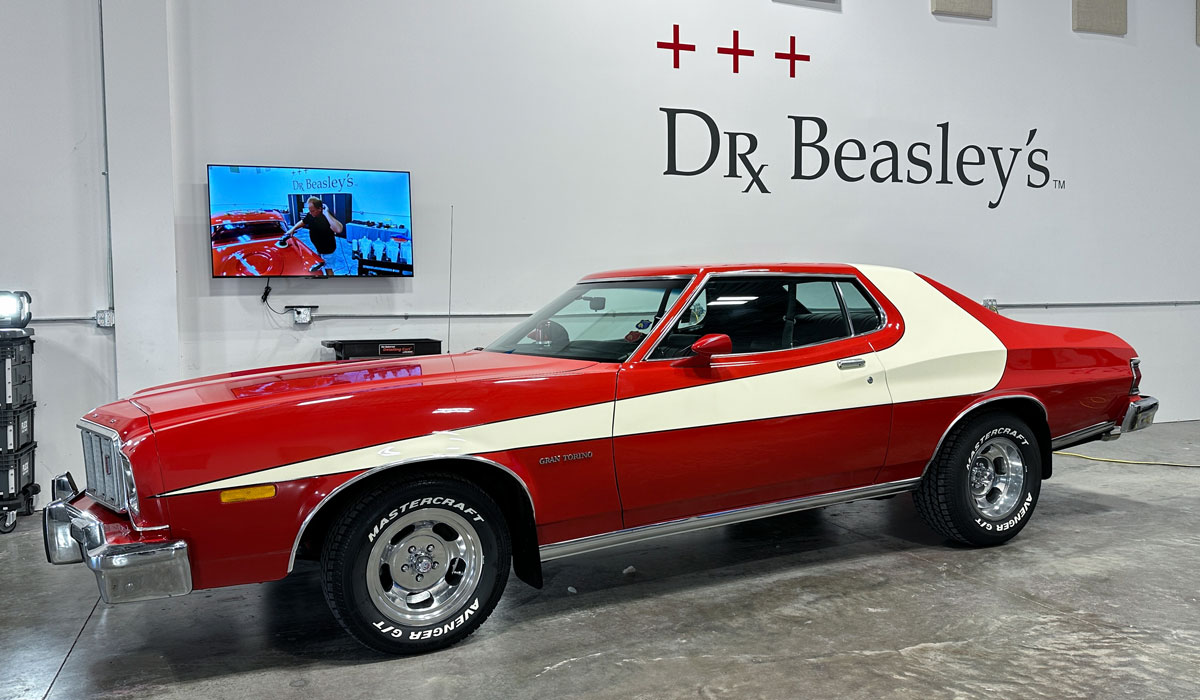
Here are the final results from a simple, 1-Step Paint Correction Process using Dr. Beasley's Z1

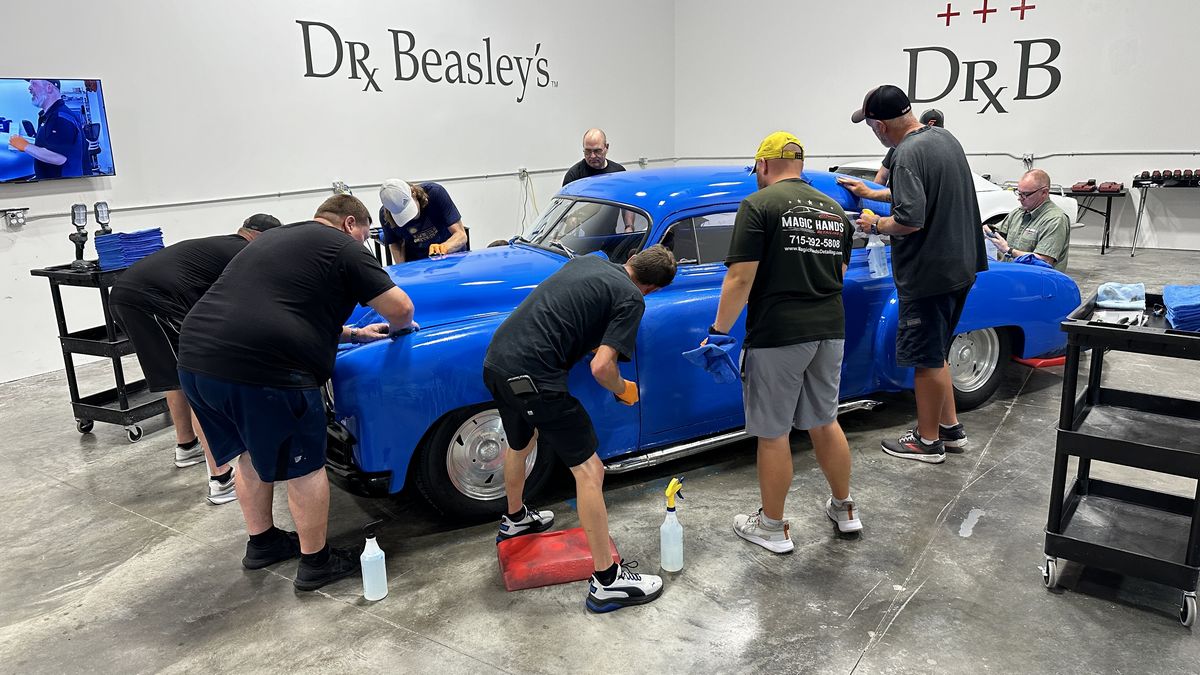
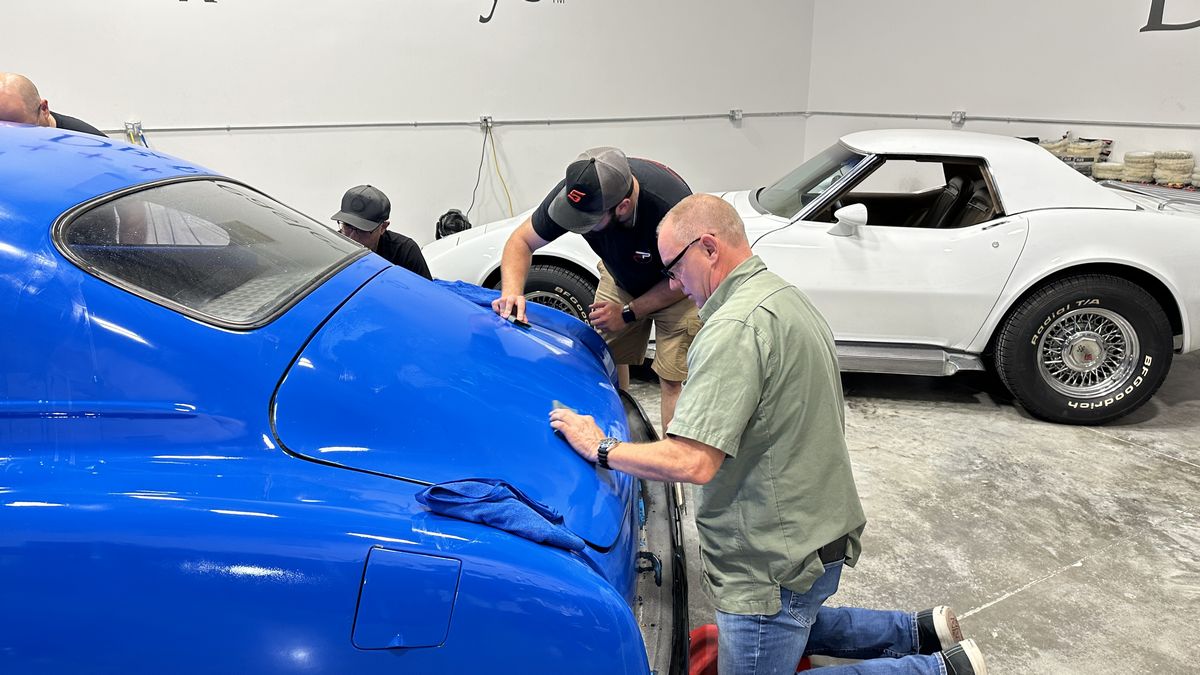
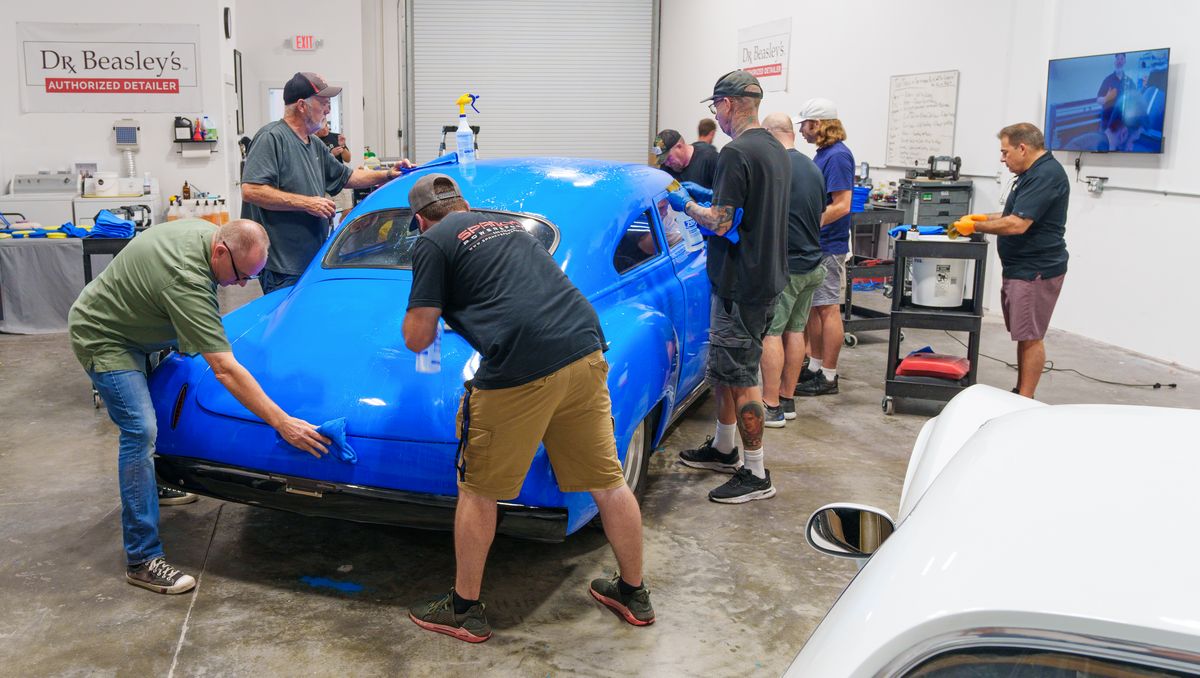
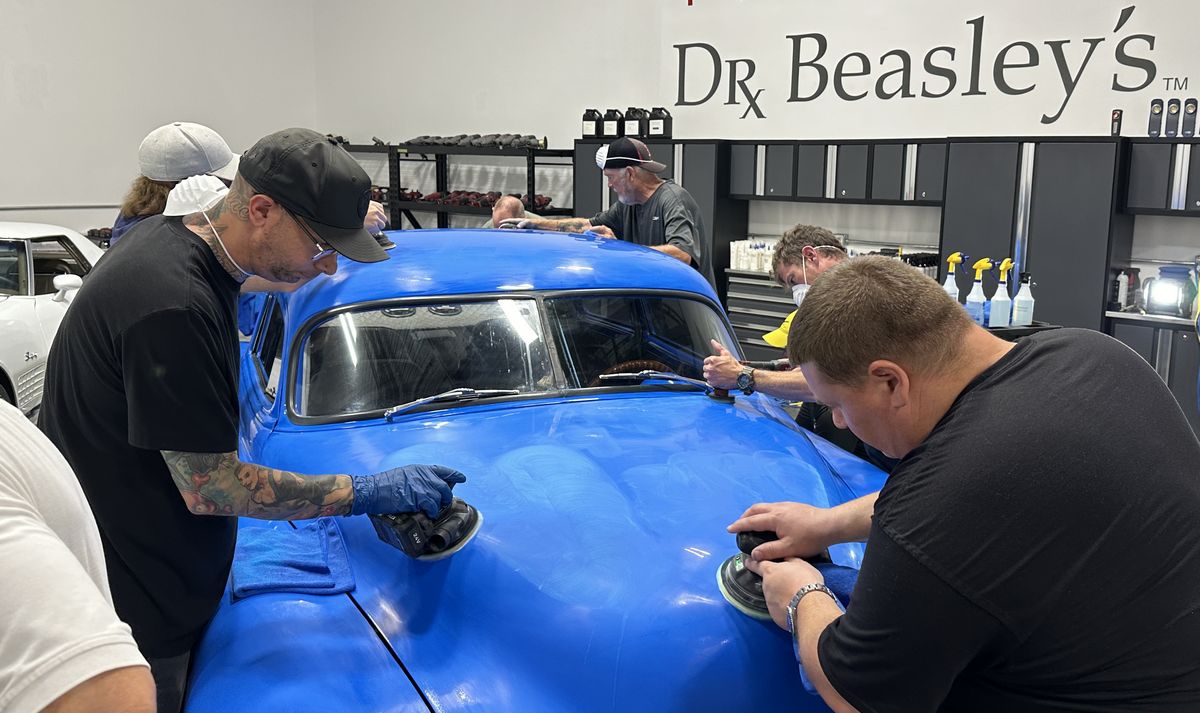
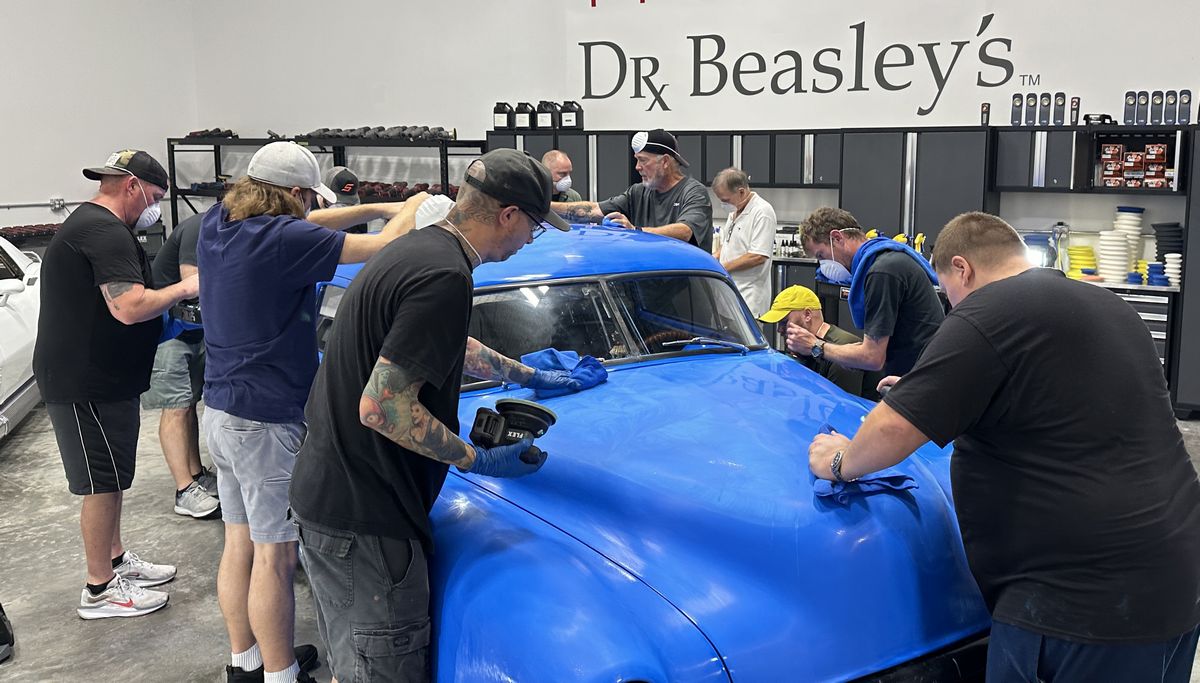
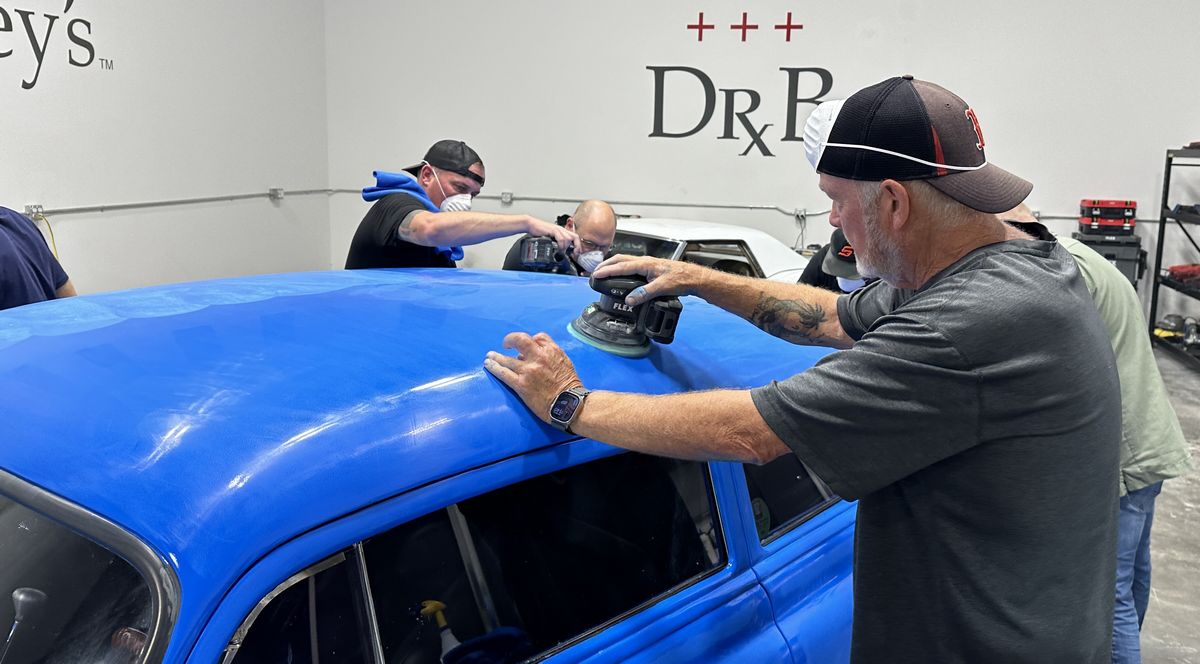
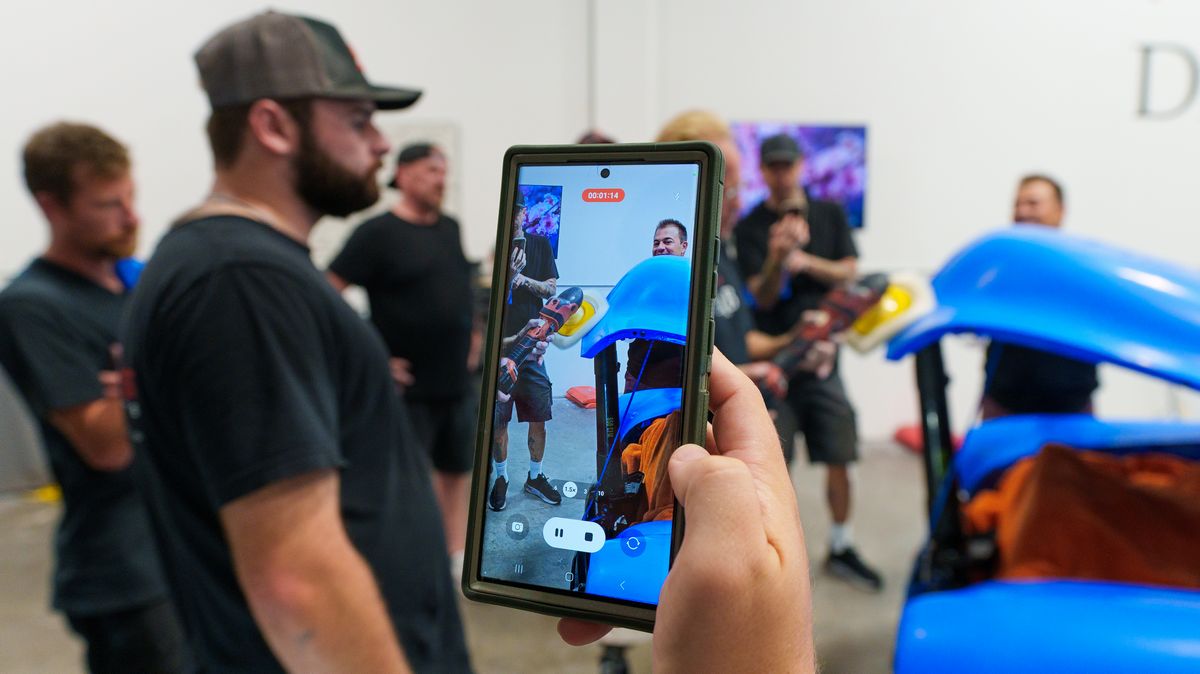
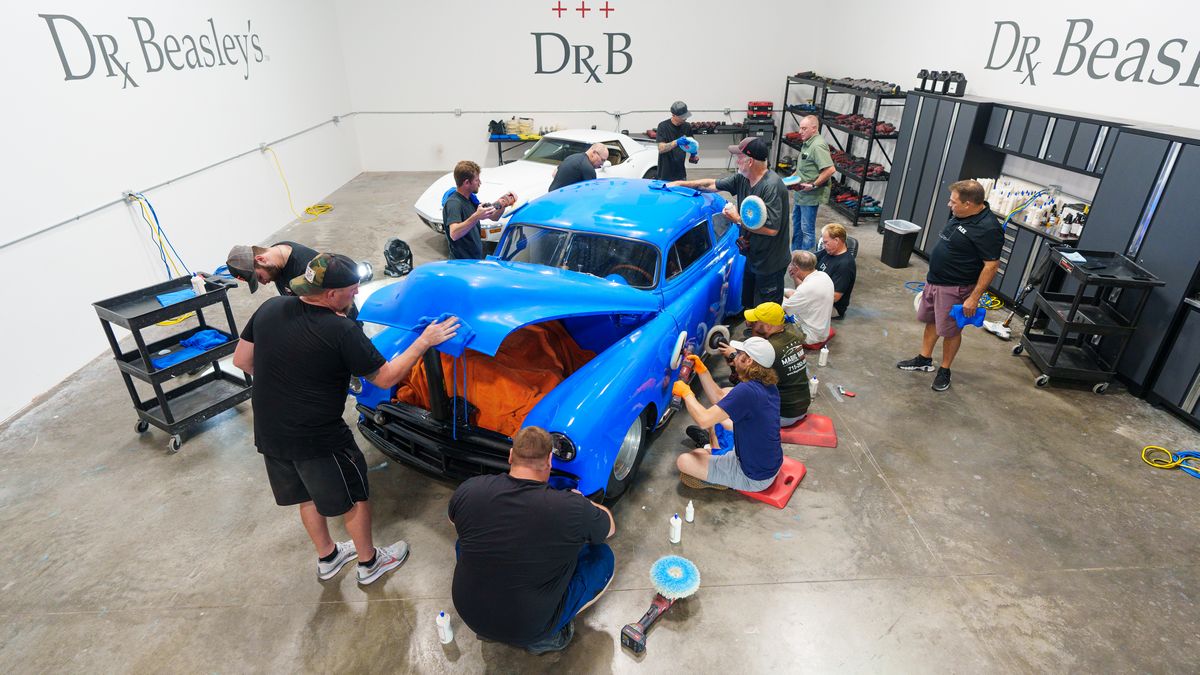
First training cars are done for Saturday morning!
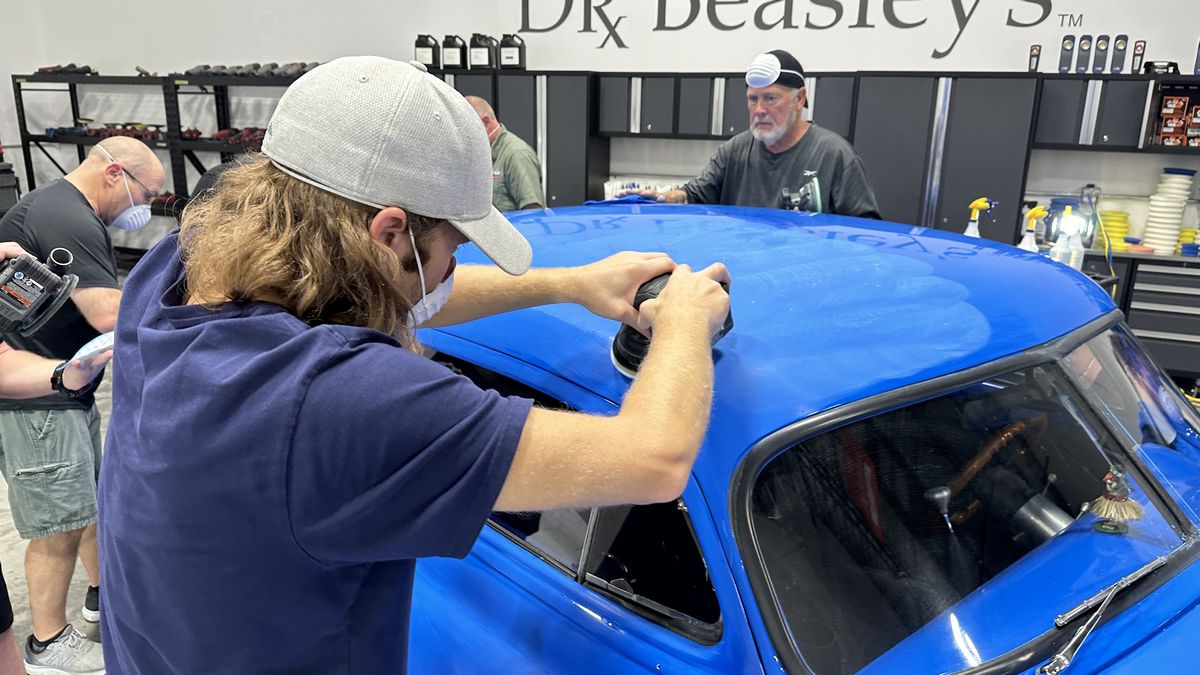
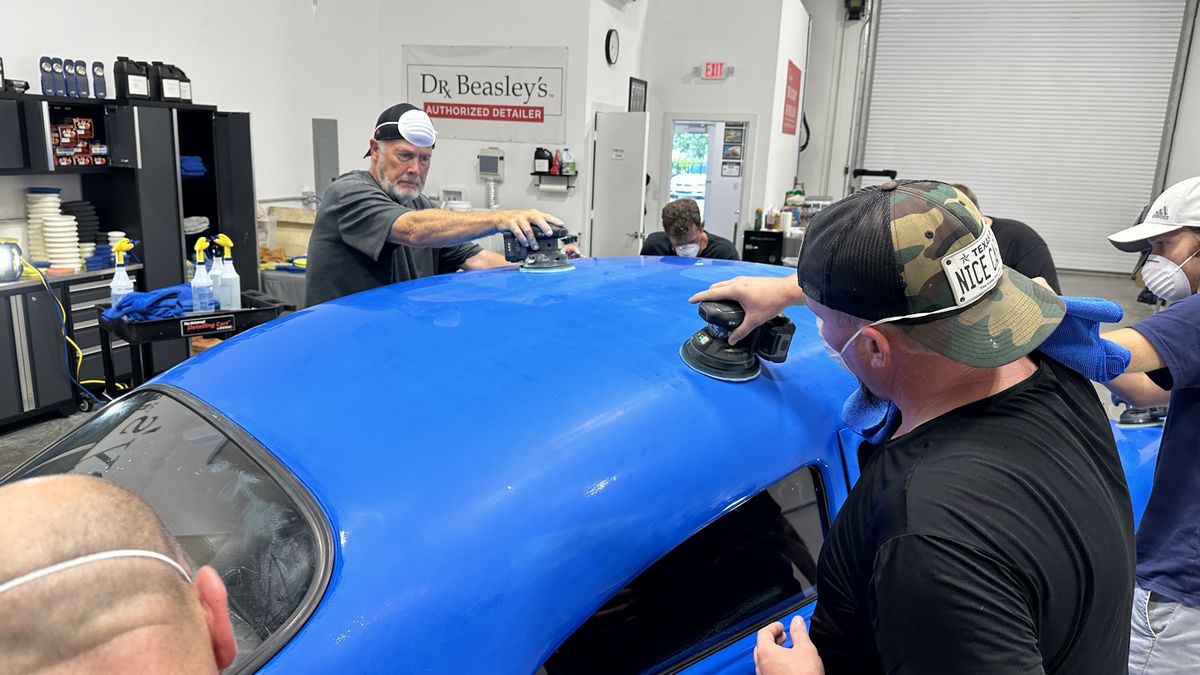
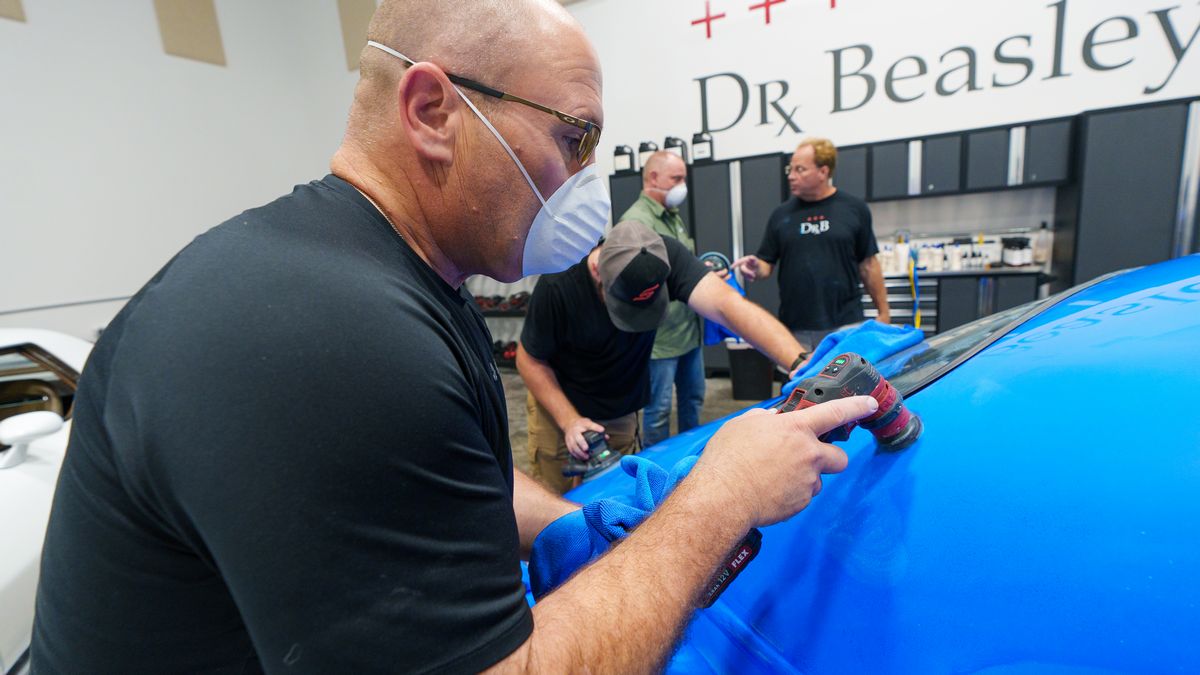
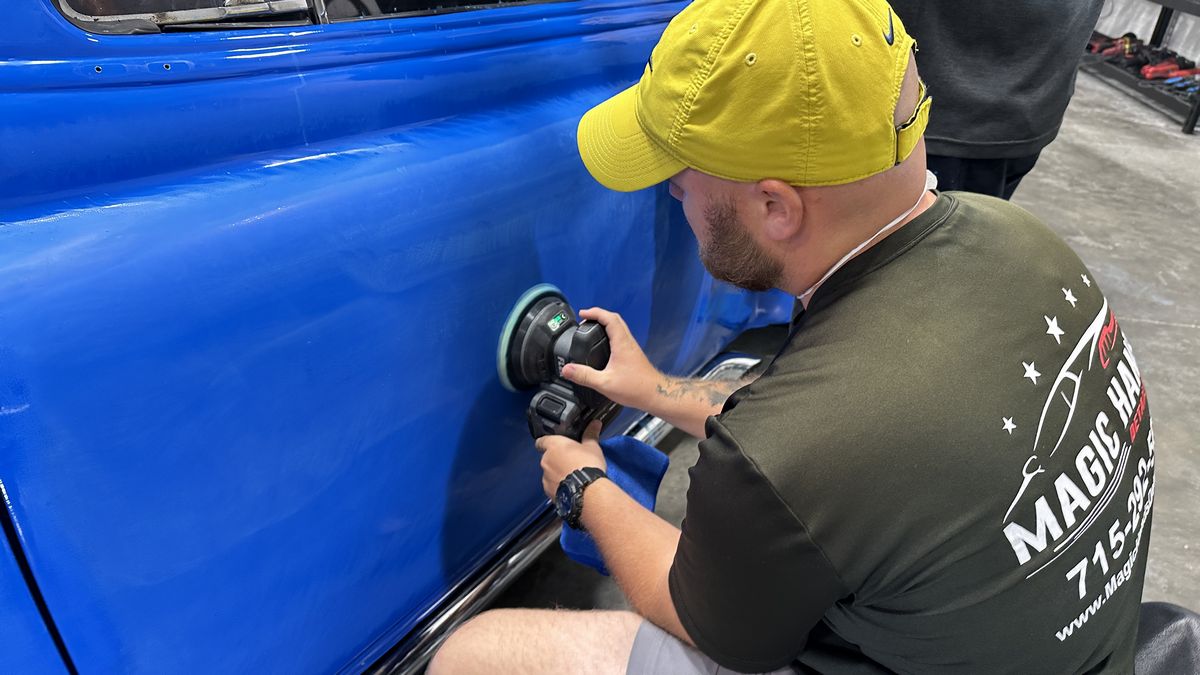
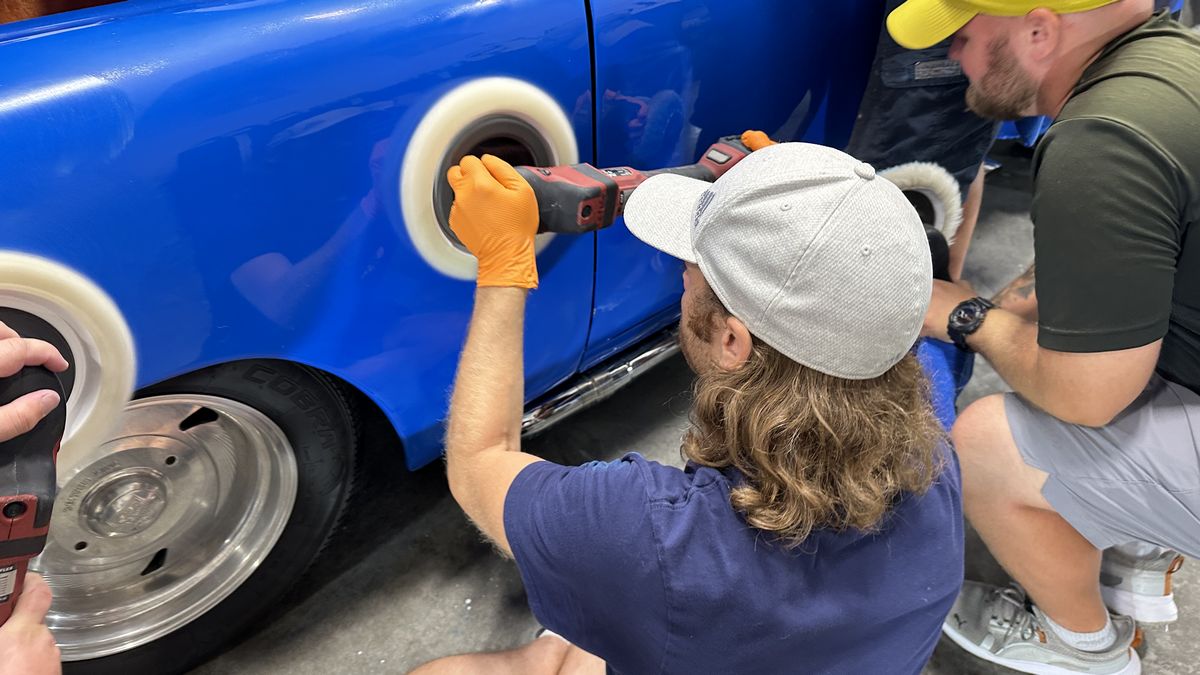
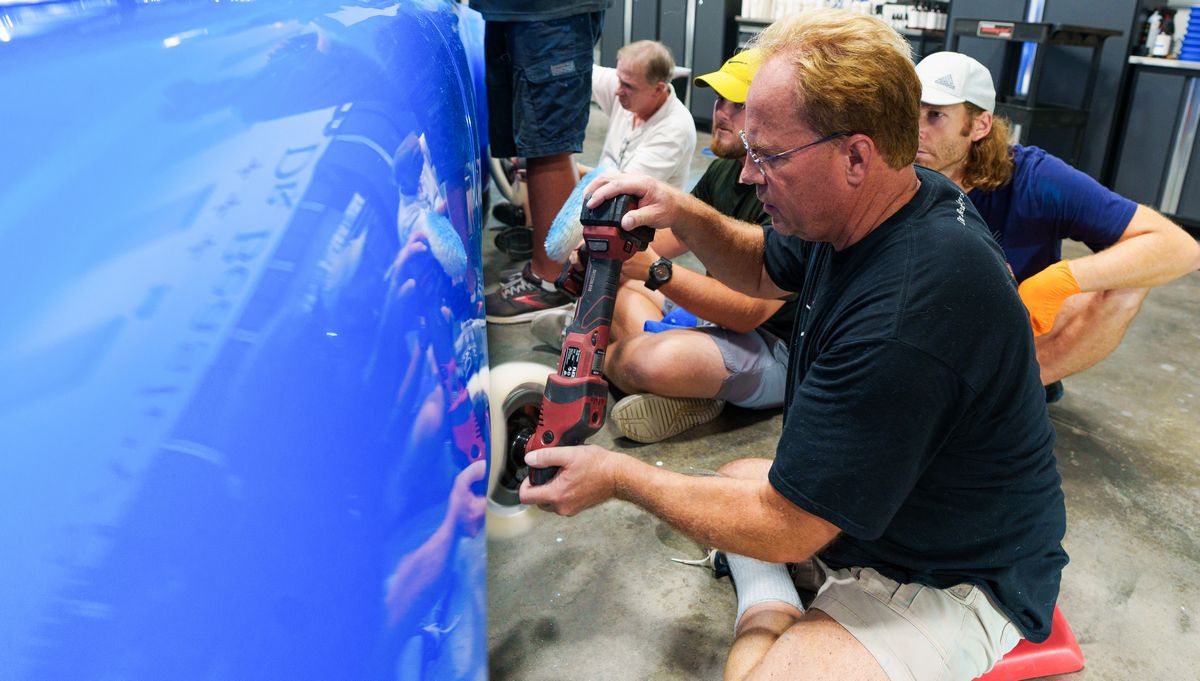
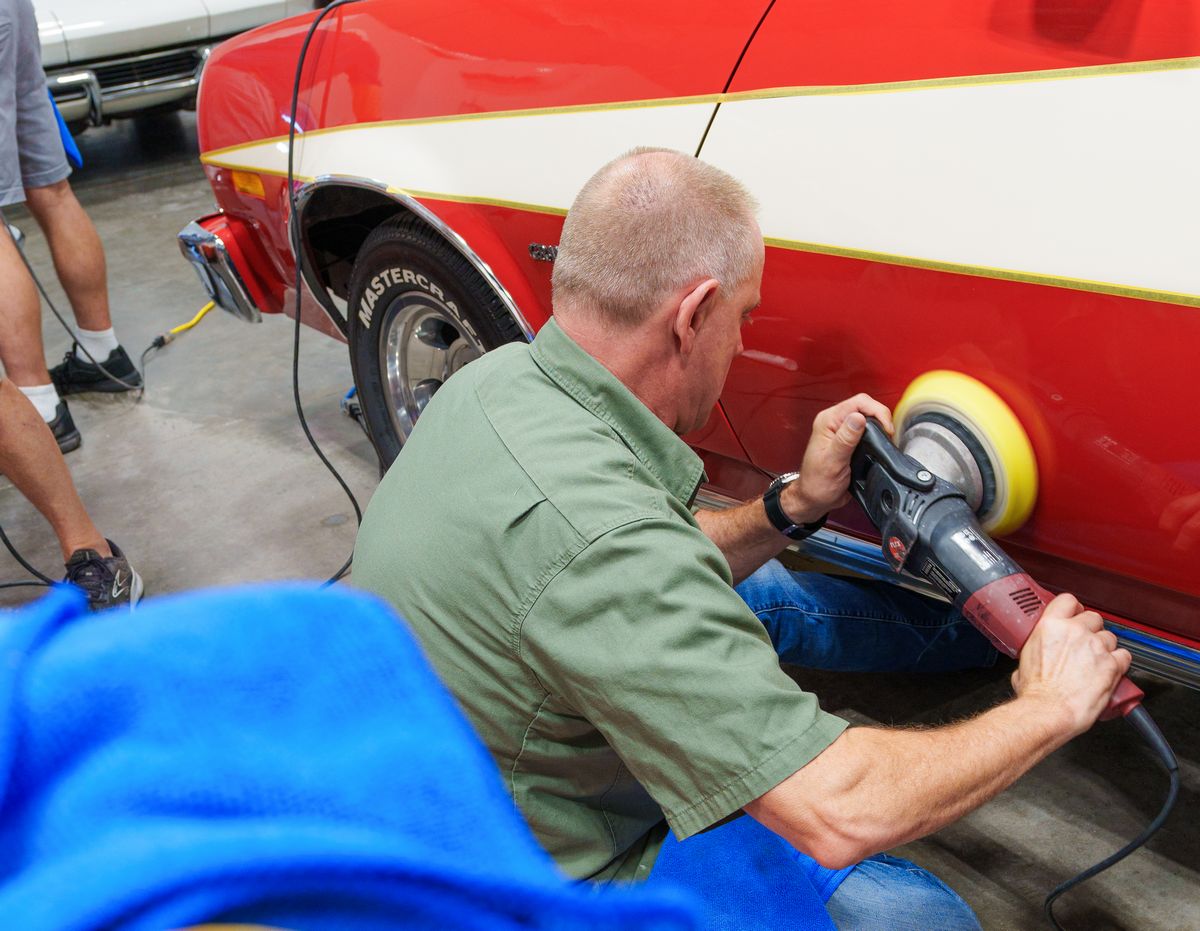
I love how these classes always attract super high caliber people. I'm confident some of these guys were tired after a FULL day on Friday but they bring their A-Game, and it shows!
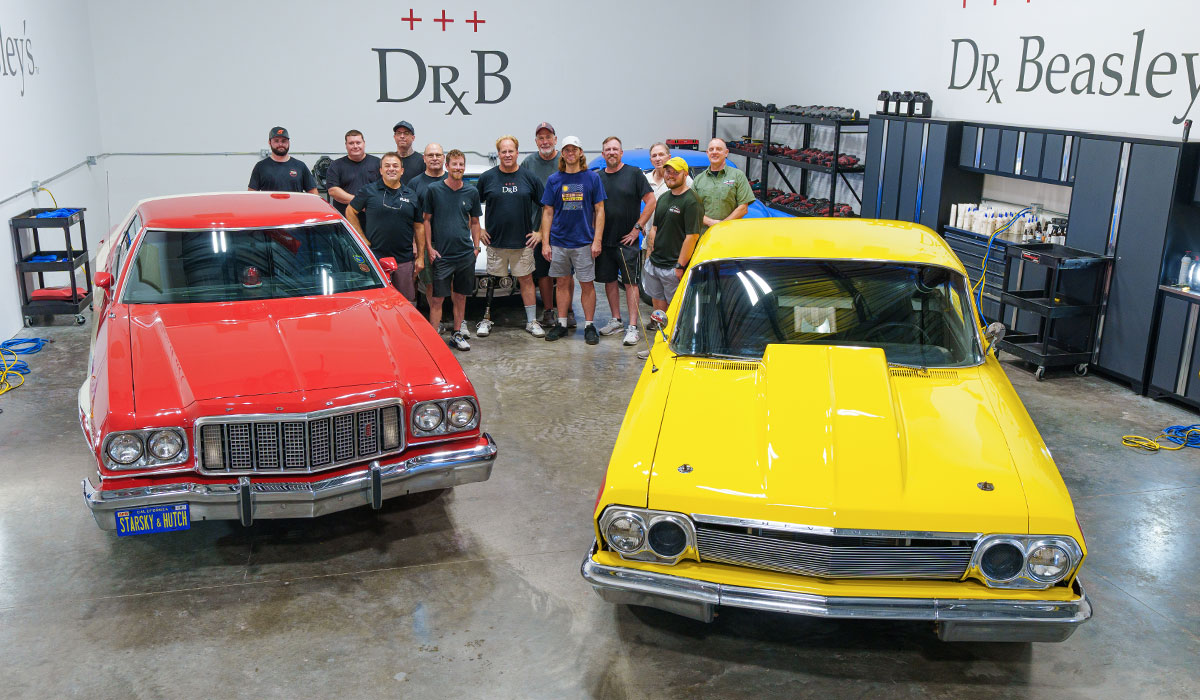
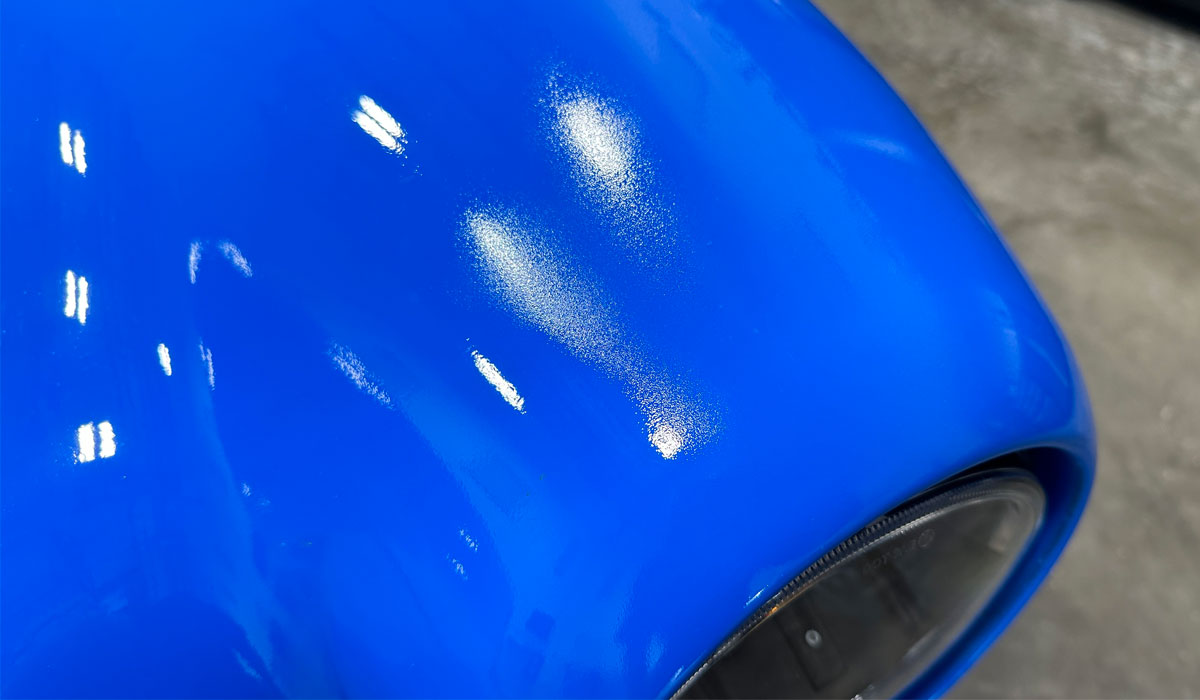
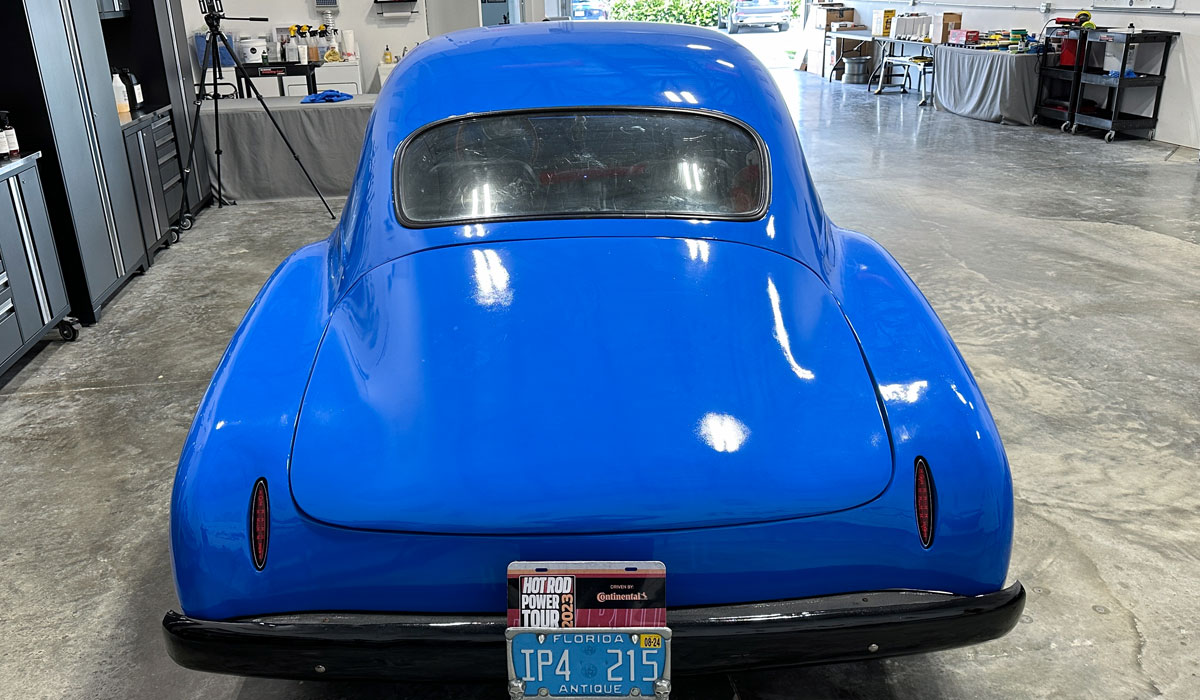
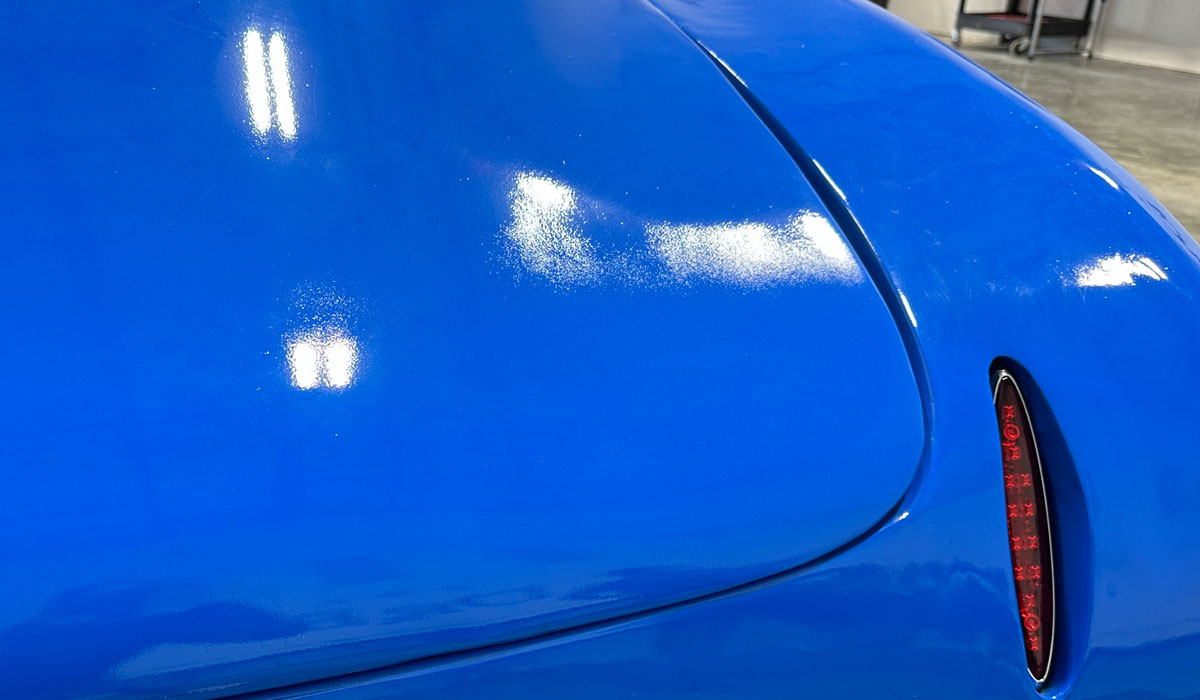
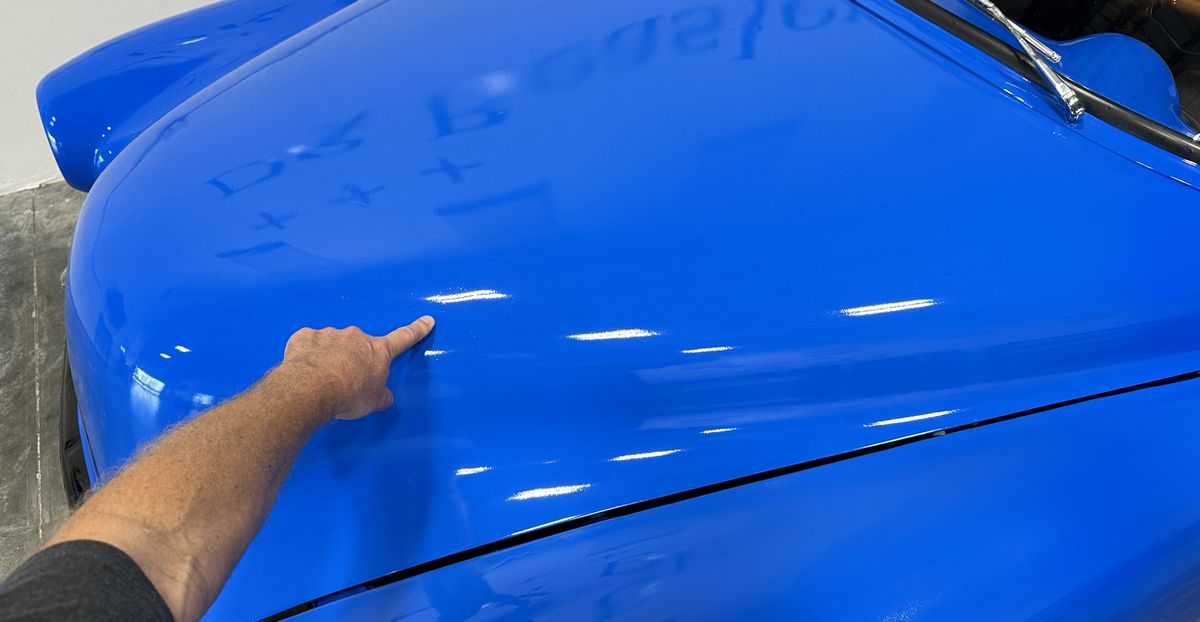
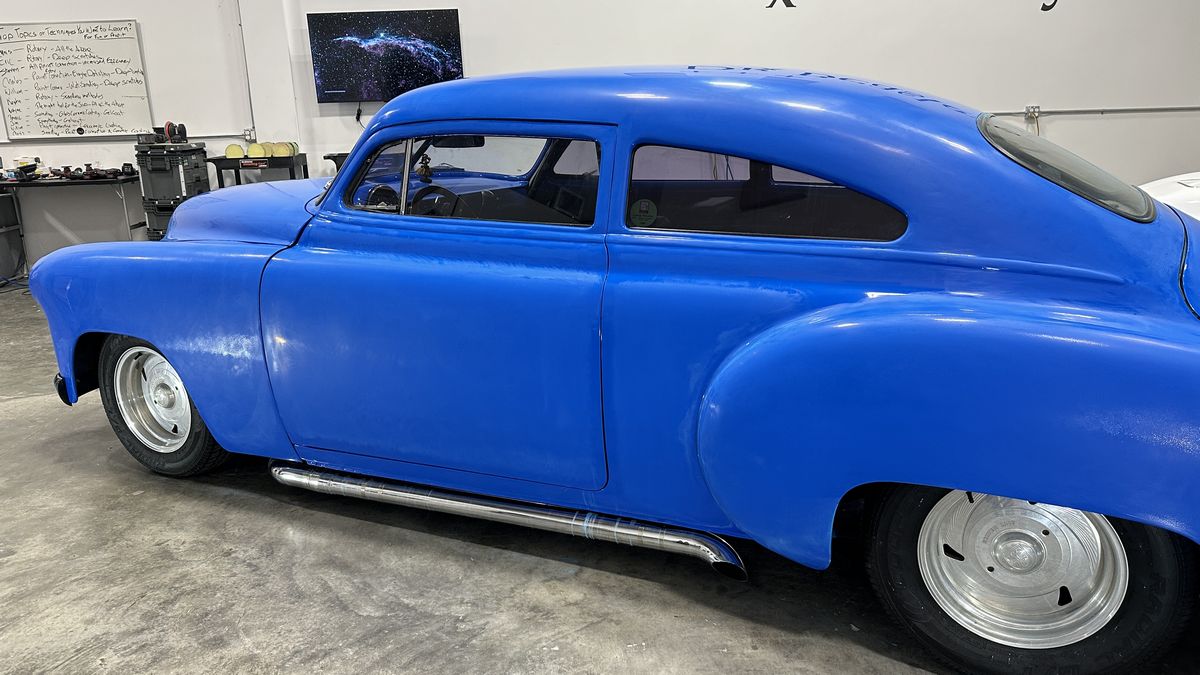
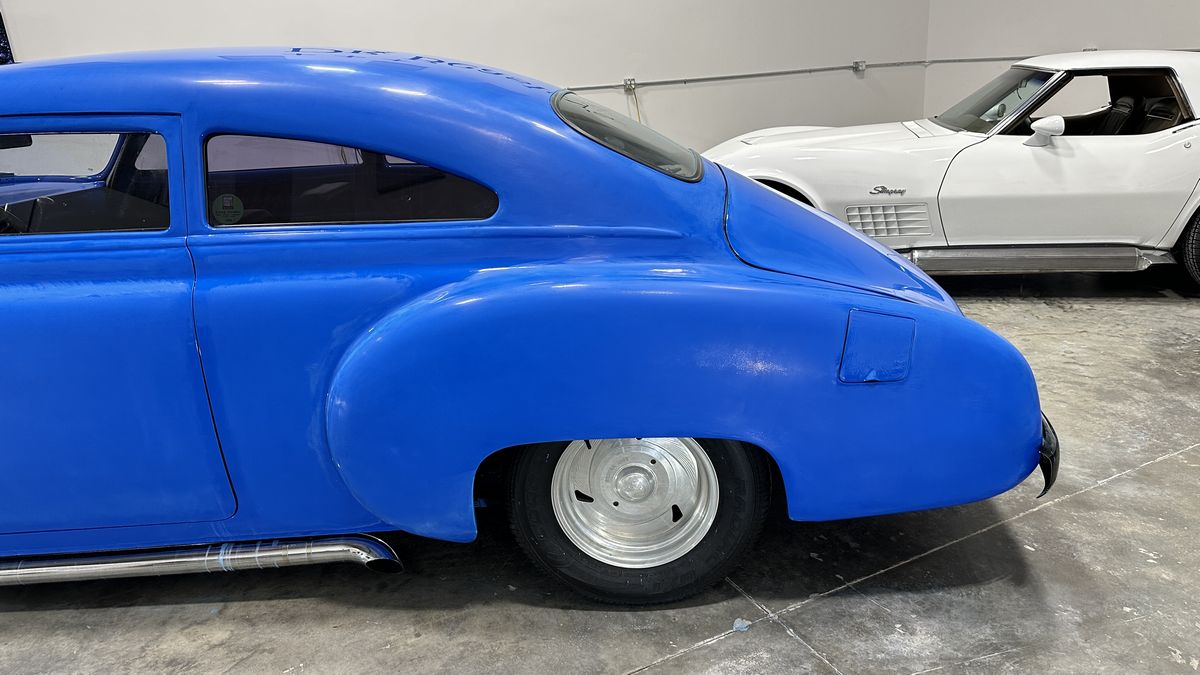
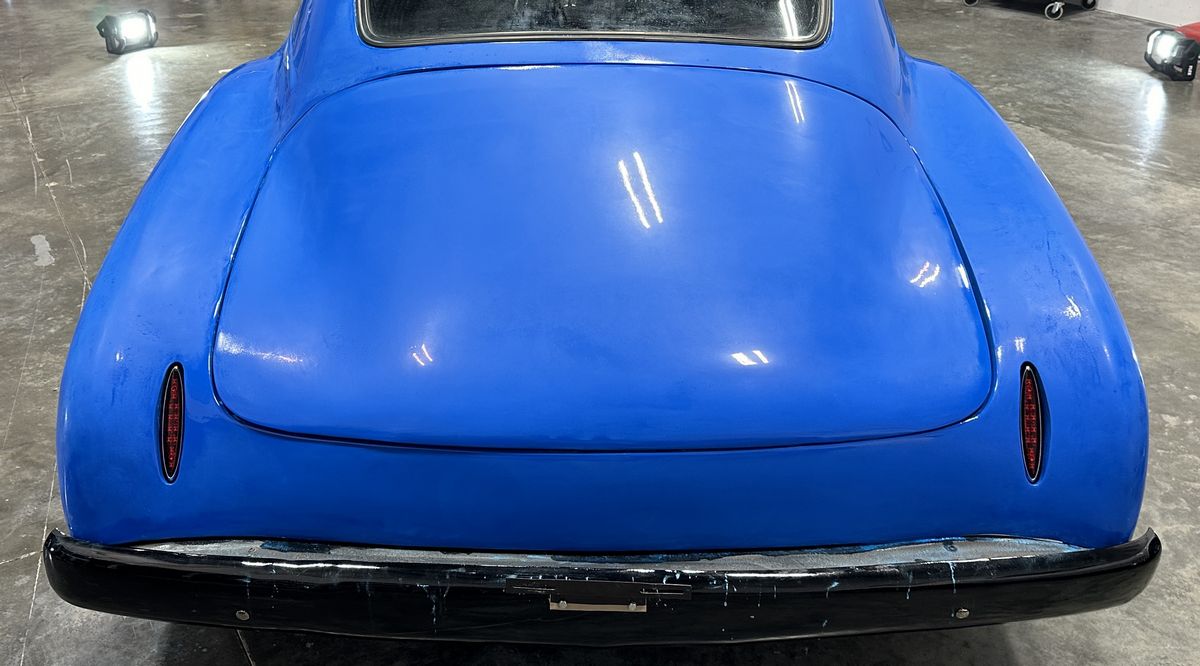
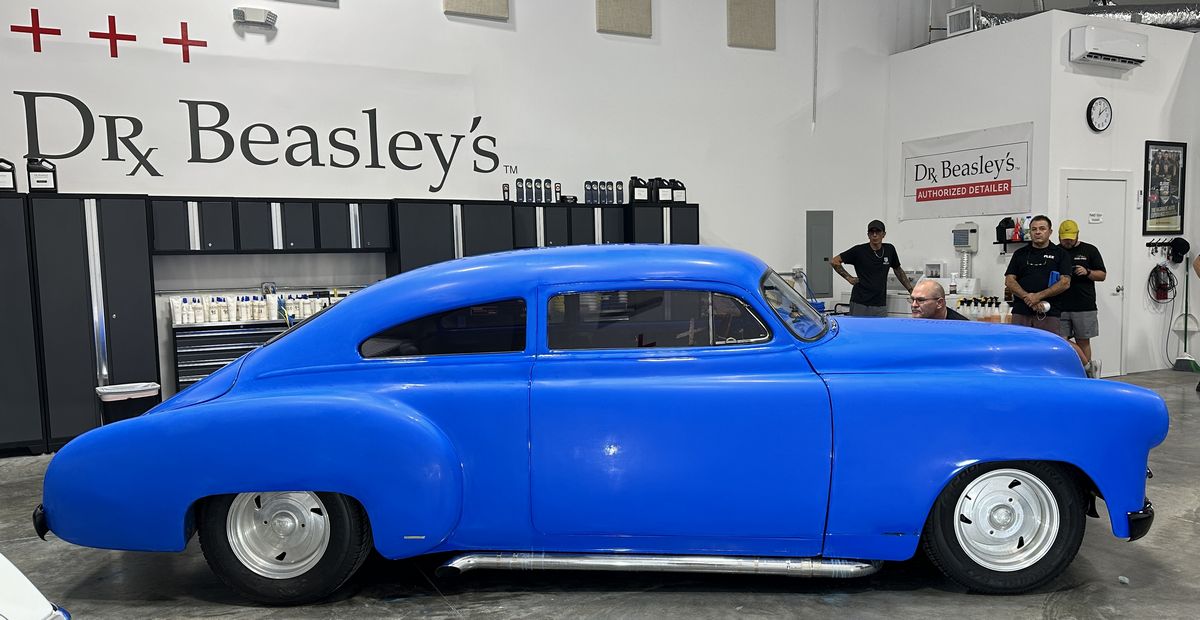
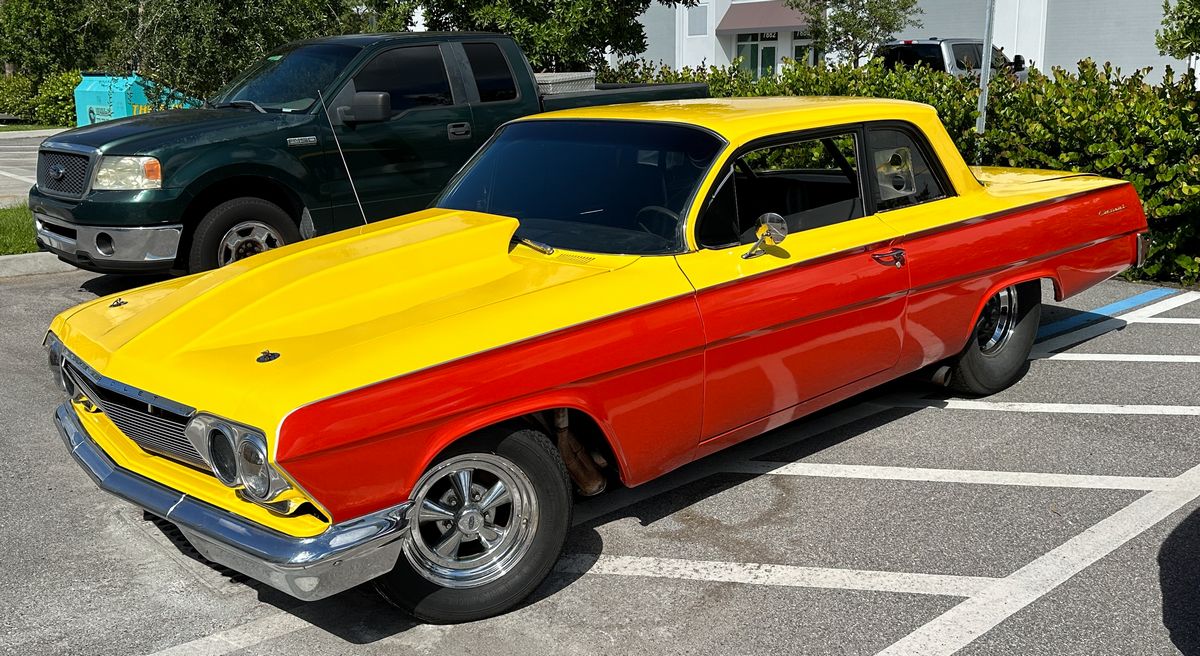
Here's a couple of shots of the Pro Street 1962 Chevy outside, it was a tick cloudy, but I did my best to show the paint is truly swirl-free. The 1976 Ford Torino Starsky and Hutch Police Car left before I could get full sun pictures, but it looks just as amazing.
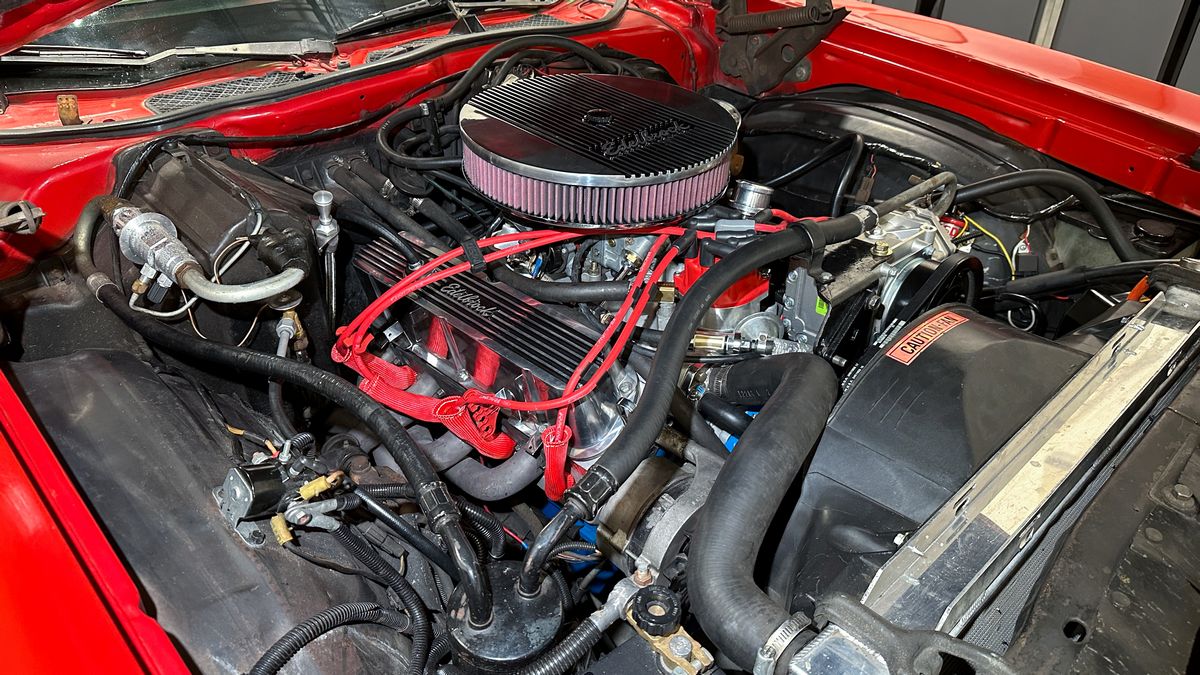
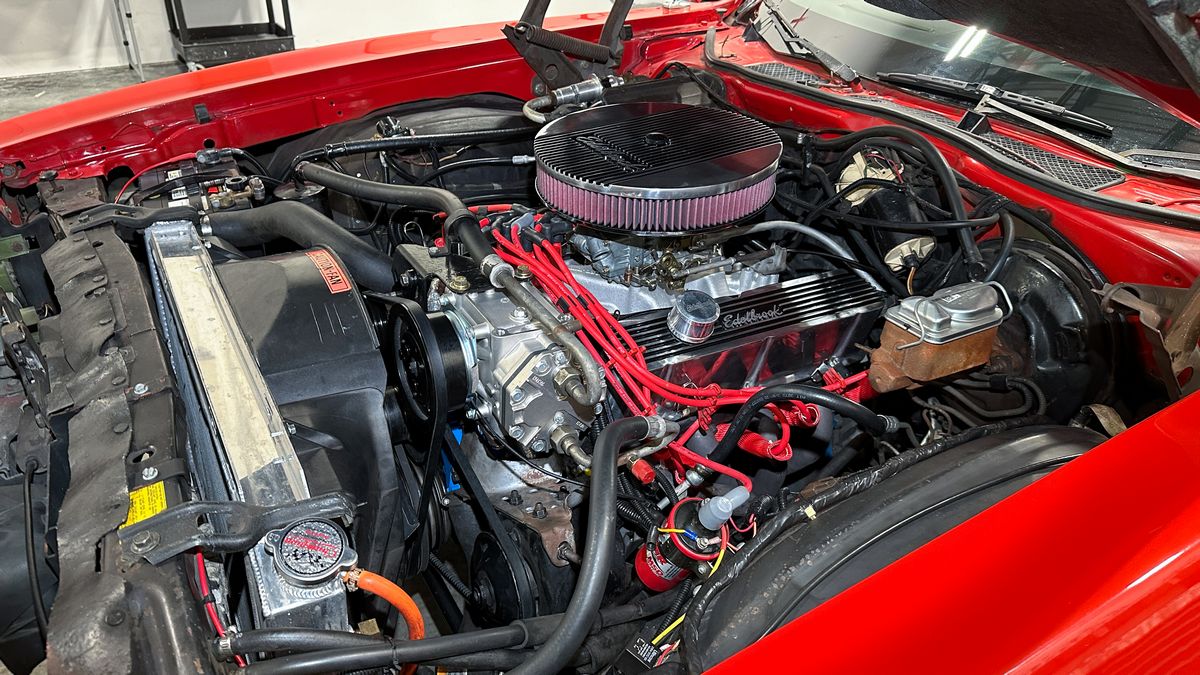
I had numerous people ask me for pictures of the engine, so here you go. This is high-end build, high horsepower, high torque Ford 351 Windsor.
Mike
Here's Travis, an alumni student, here with his son, also an alumni student from past classes that travelled here all the way from Michigan to take this class. Here's Travis using the FLEX PXE-80 in rotary mode with a 3" extension to convince the swirls and scratches out of Starsky and Hutche's Police Car to LEAVE.
Christopher was who I call a Go-Getter, he really poured himself into every aspect of this class.
Remember just how BAD the paint was on these two cars and keep in mind, the only product the class is using is the Dr. Beasley's NSP Z1 - which is a Ceramic AIO or All-in-One. This means it removes defects, polishes the paint to super high gloss and leaves behind ceramic protection. Remember this because as you scroll down this page you're going to be BLOWN AWAY with the after results.
Here are the final results from a simple, 1-Step Paint Correction Process using Dr. Beasley's Z1
First training cars are done for Saturday morning!
I love how these classes always attract super high caliber people. I'm confident some of these guys were tired after a FULL day on Friday but they bring their A-Game, and it shows!
Here's a couple of shots of the Pro Street 1962 Chevy outside, it was a tick cloudy, but I did my best to show the paint is truly swirl-free. The 1976 Ford Torino Starsky and Hutch Police Car left before I could get full sun pictures, but it looks just as amazing.
I had numerous people ask me for pictures of the engine, so here you go. This is high-end build, high horsepower, high torque Ford 351 Windsor.
Mike
Last edited: