

- Admin
- #25
- Joined
- May 21, 2021
- Messages
- 2,703
- Reaction score
- 1,624
- Points
- 113
- Location
- Stuart, Florida
- Website
- themikephillipsforum.com
More...
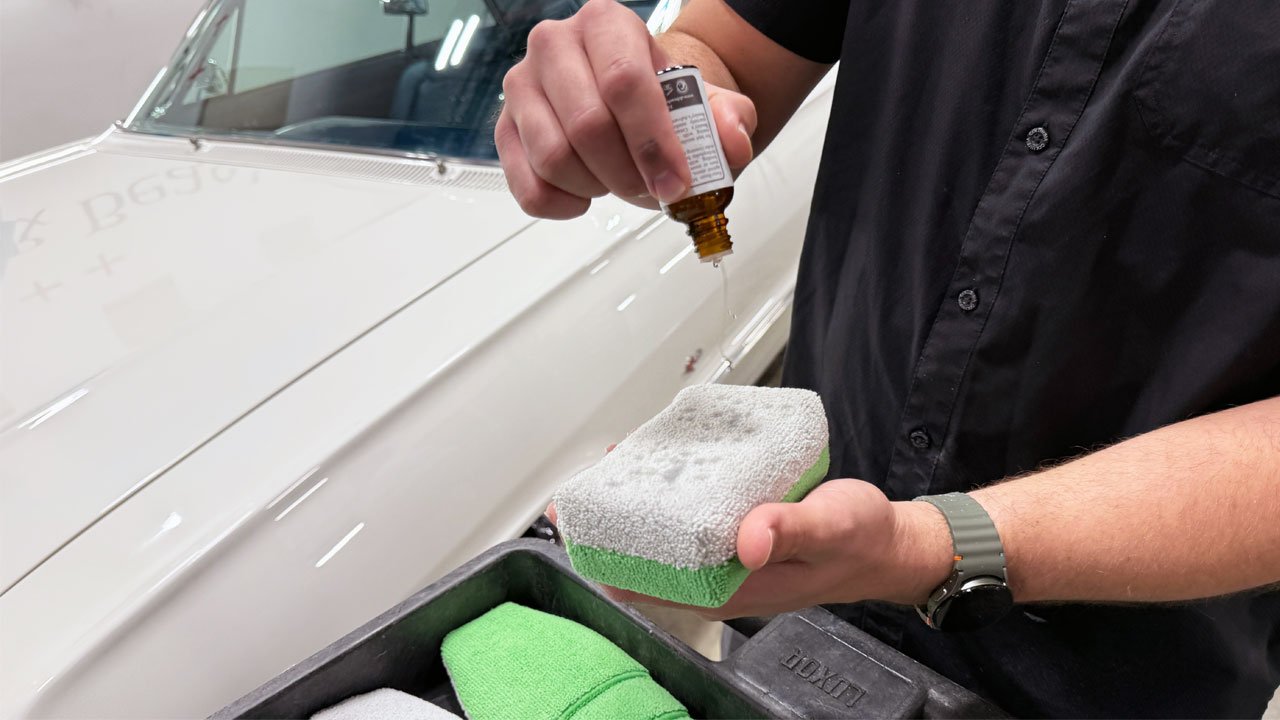
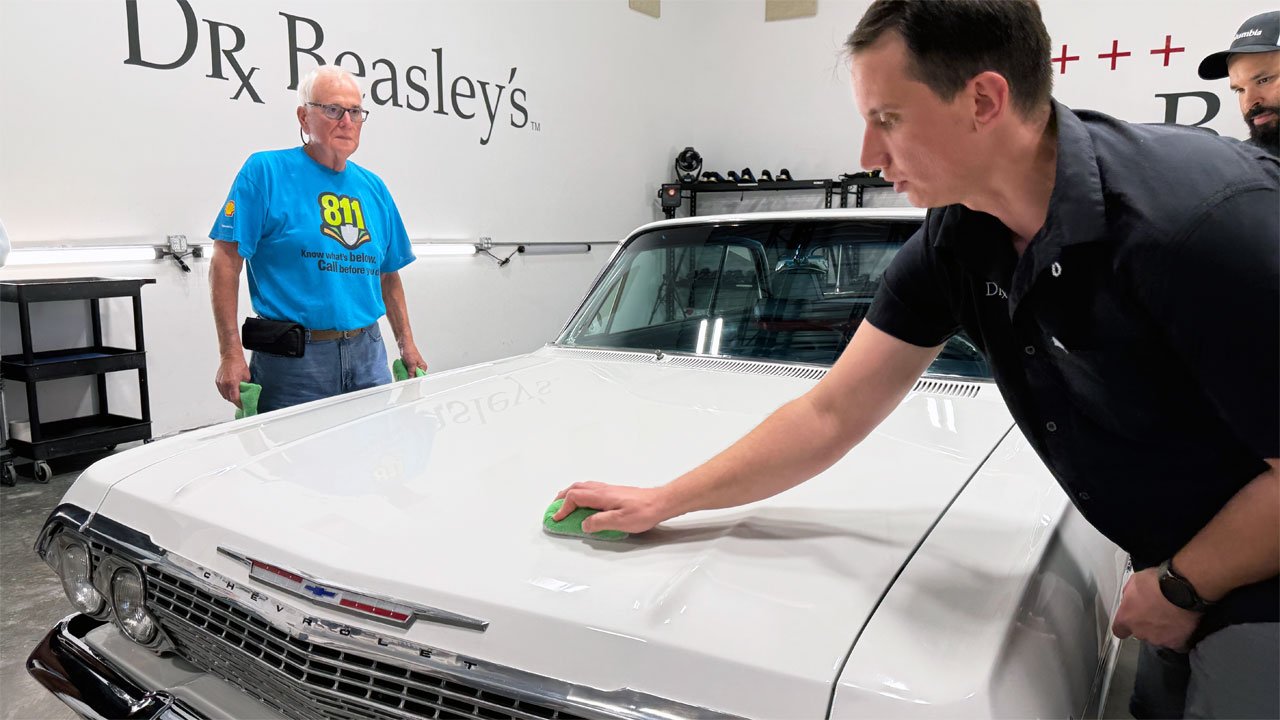
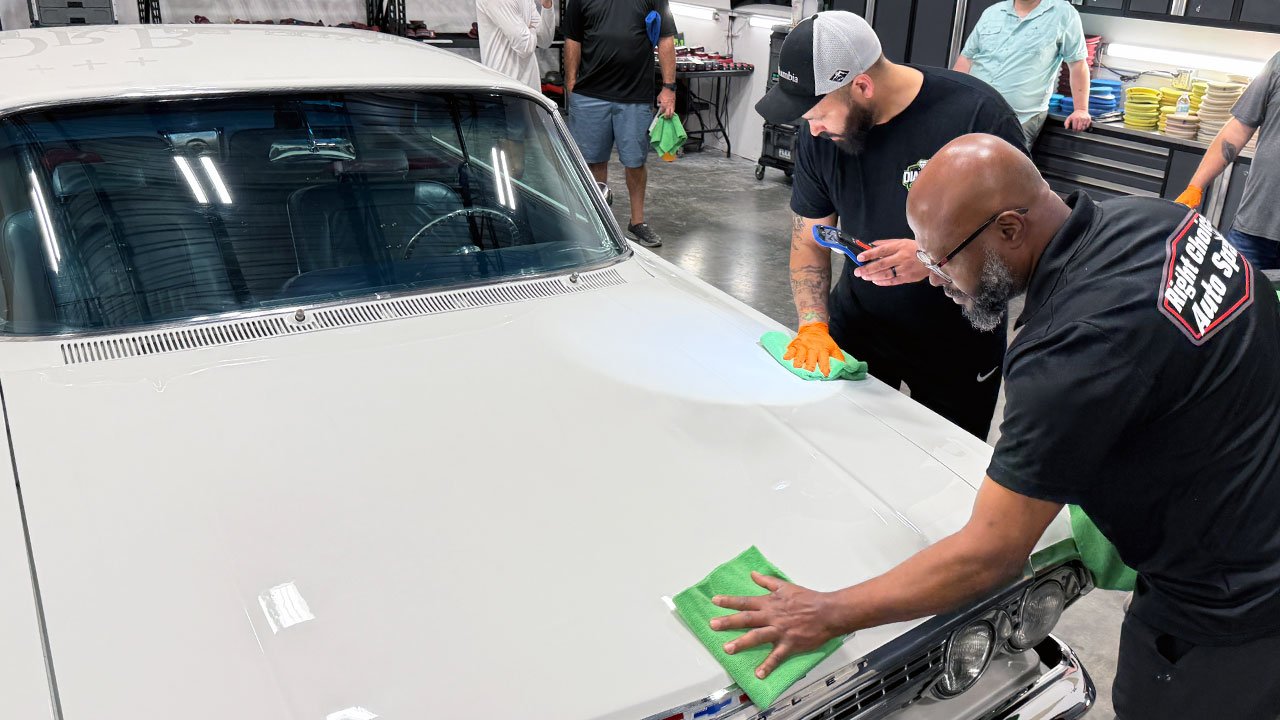
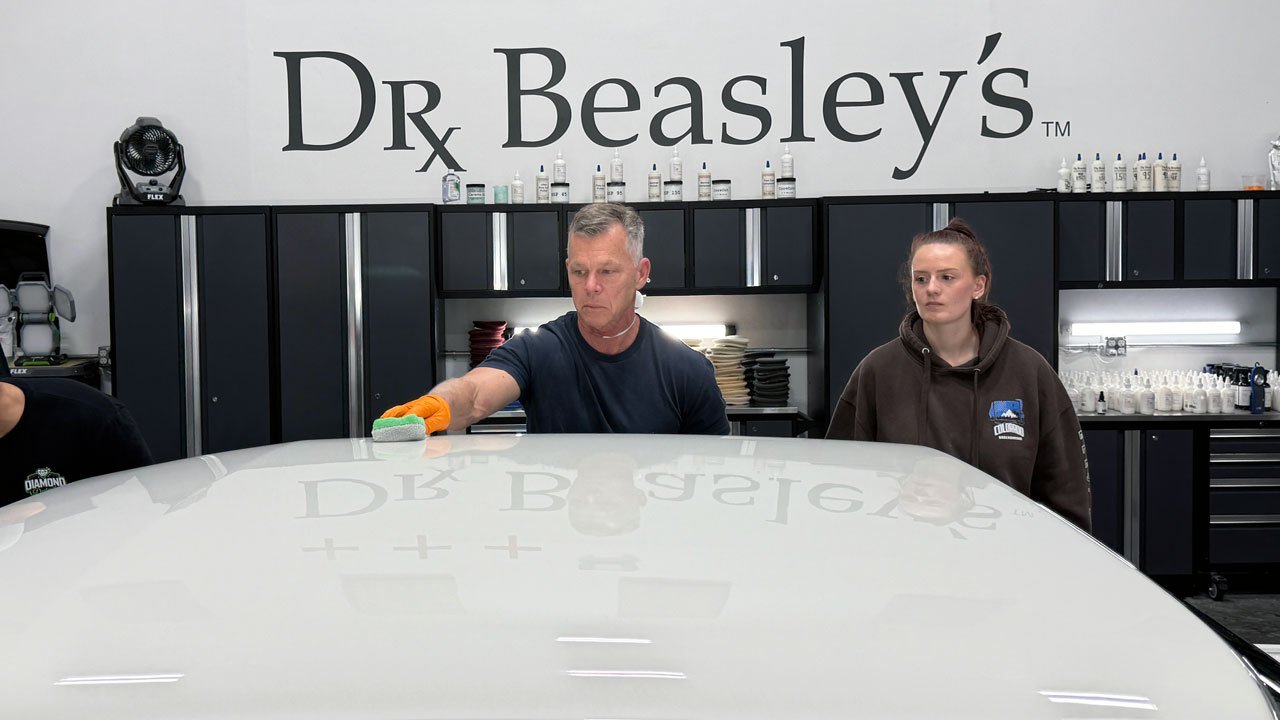
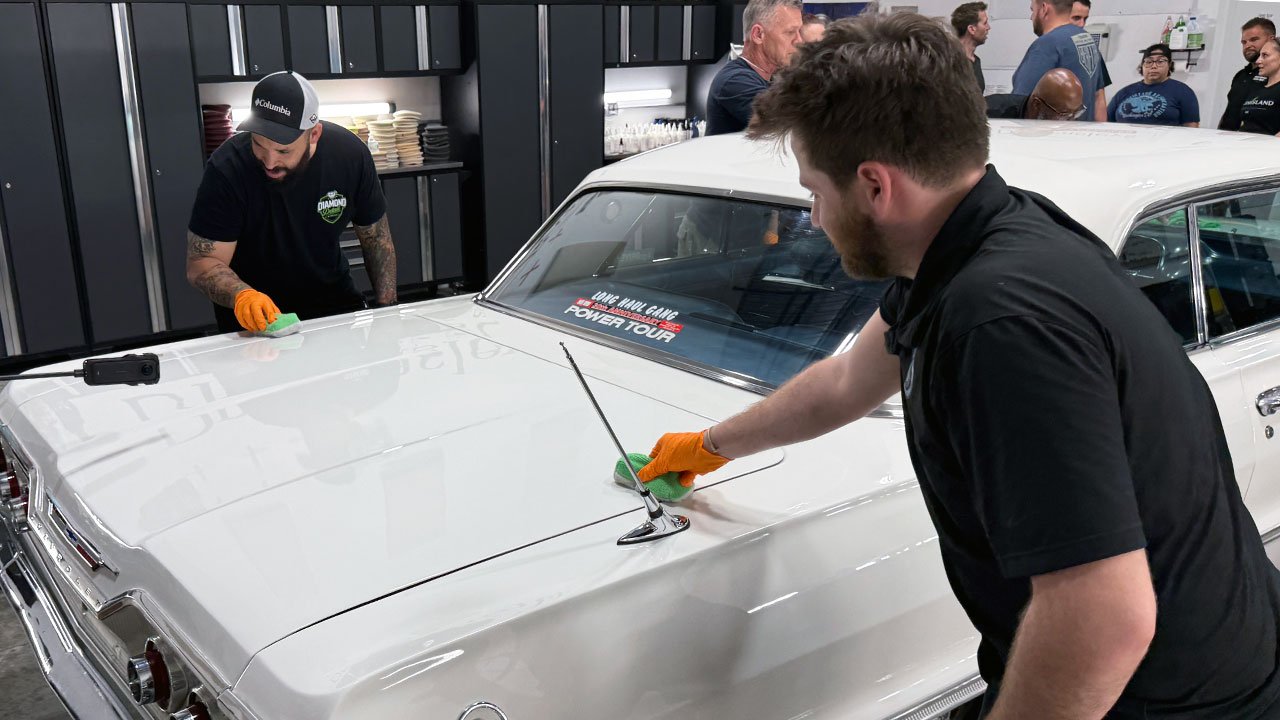
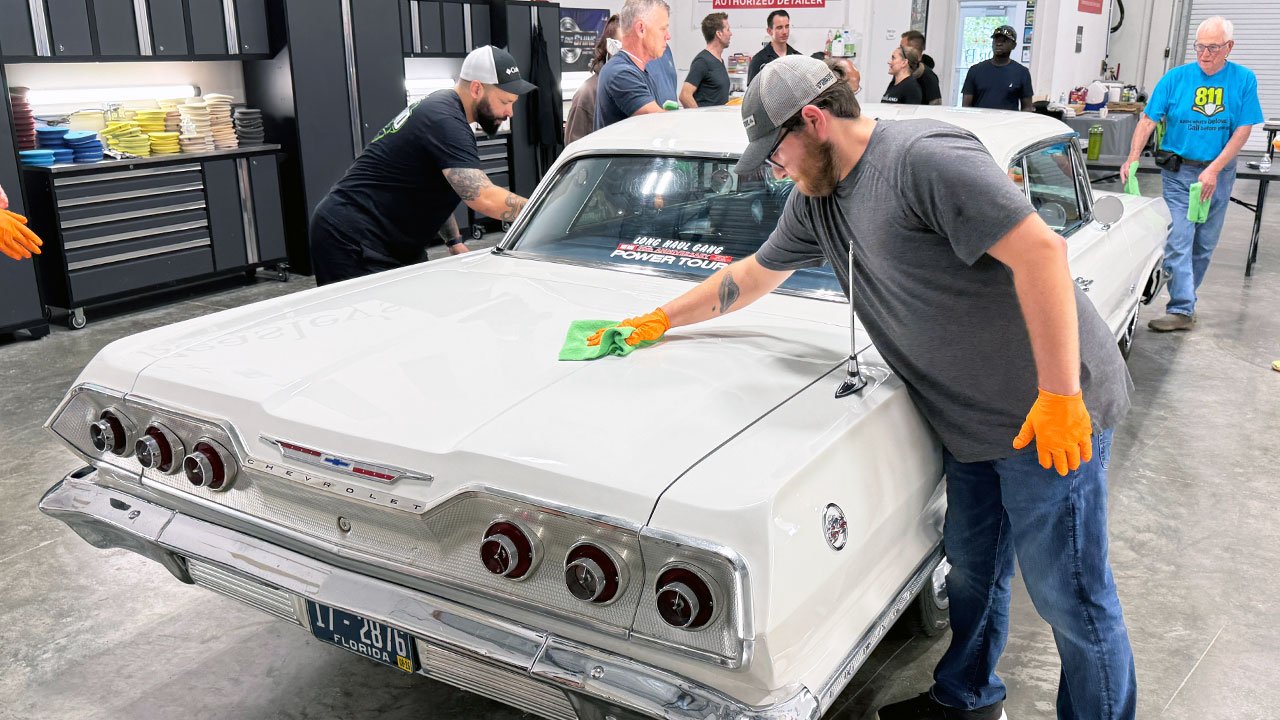
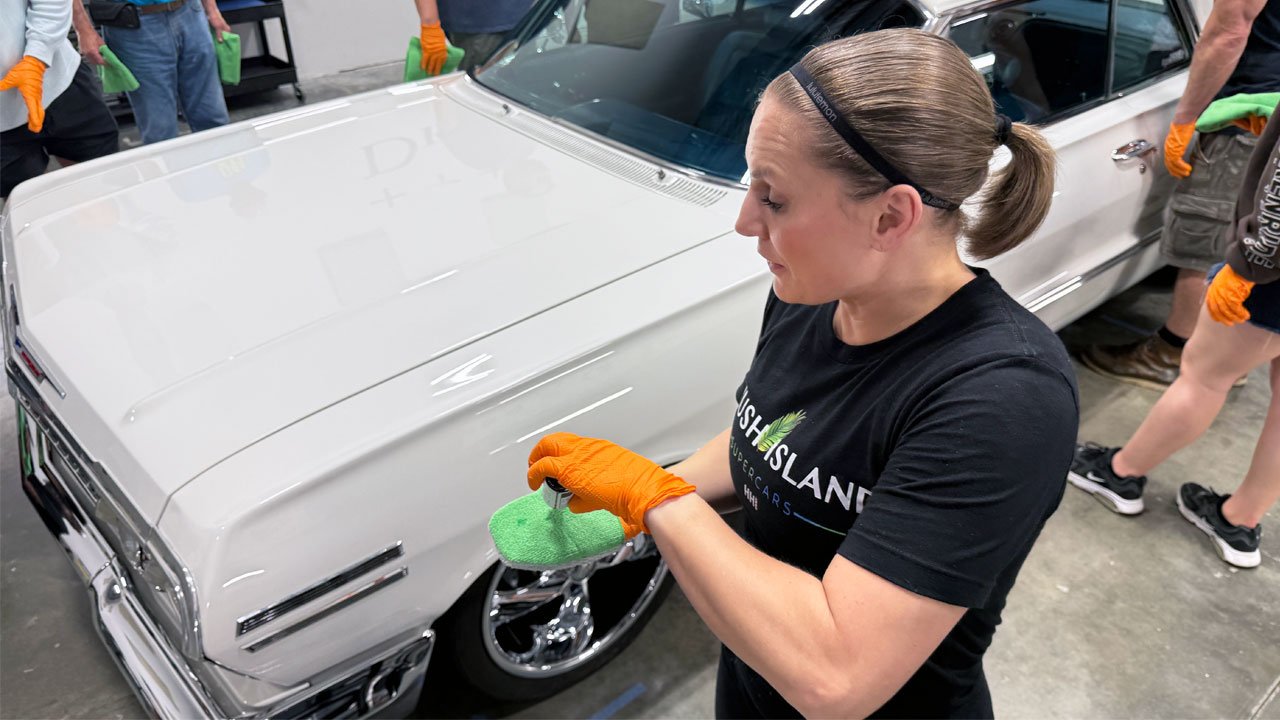
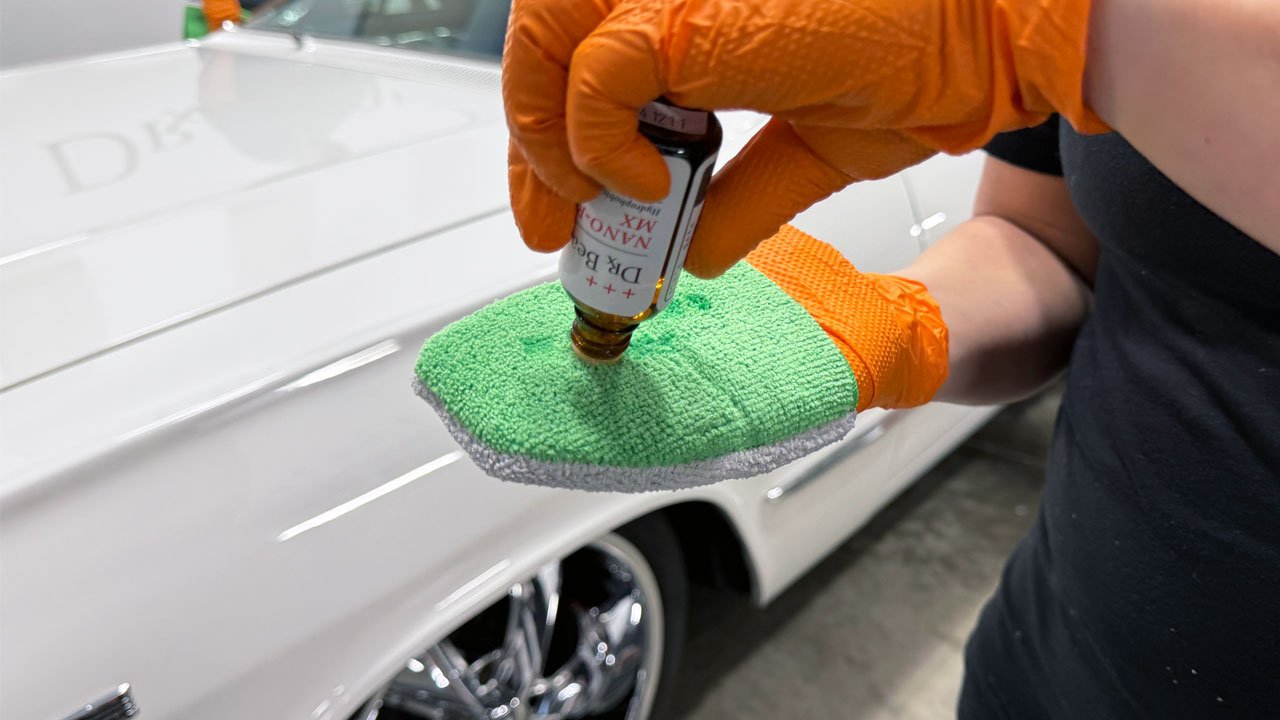
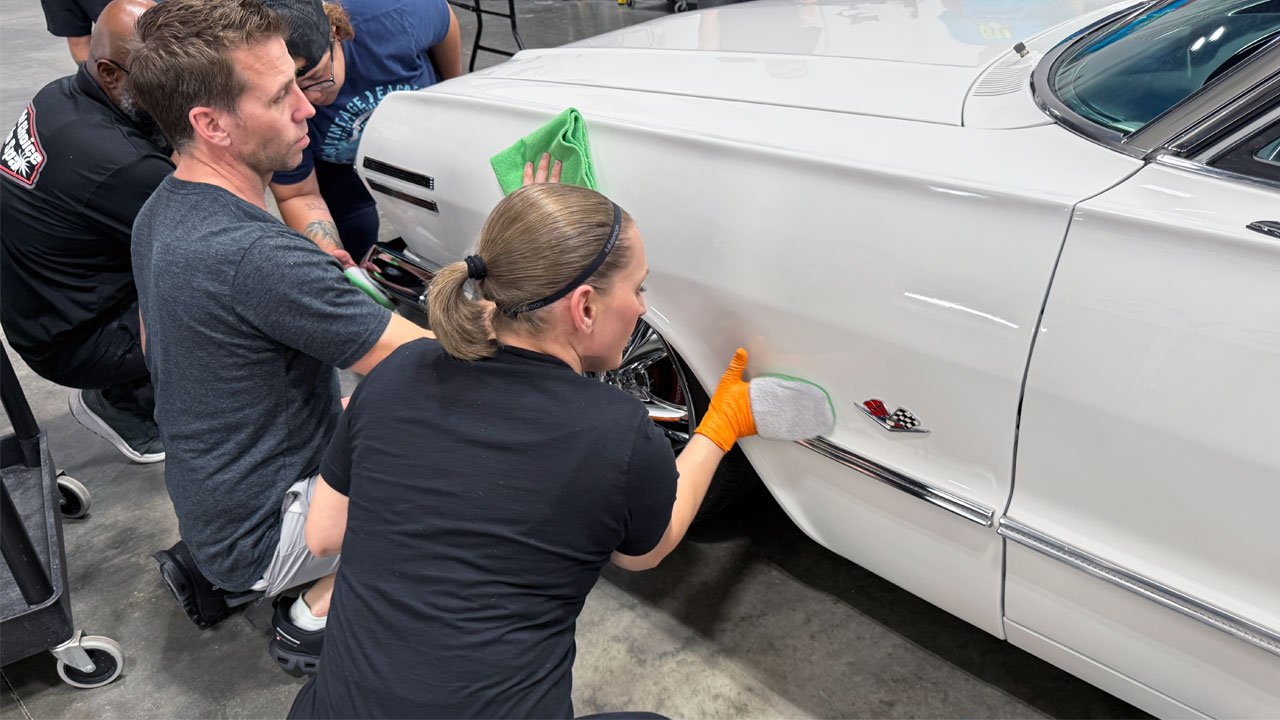
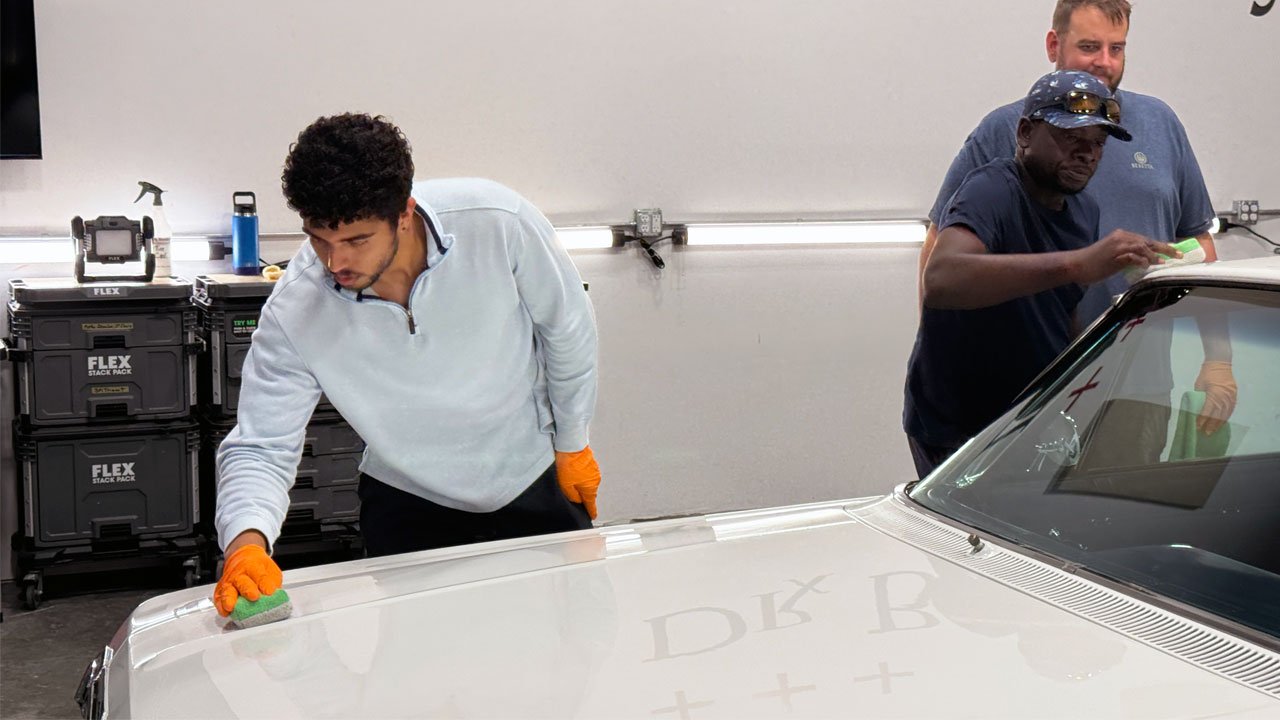
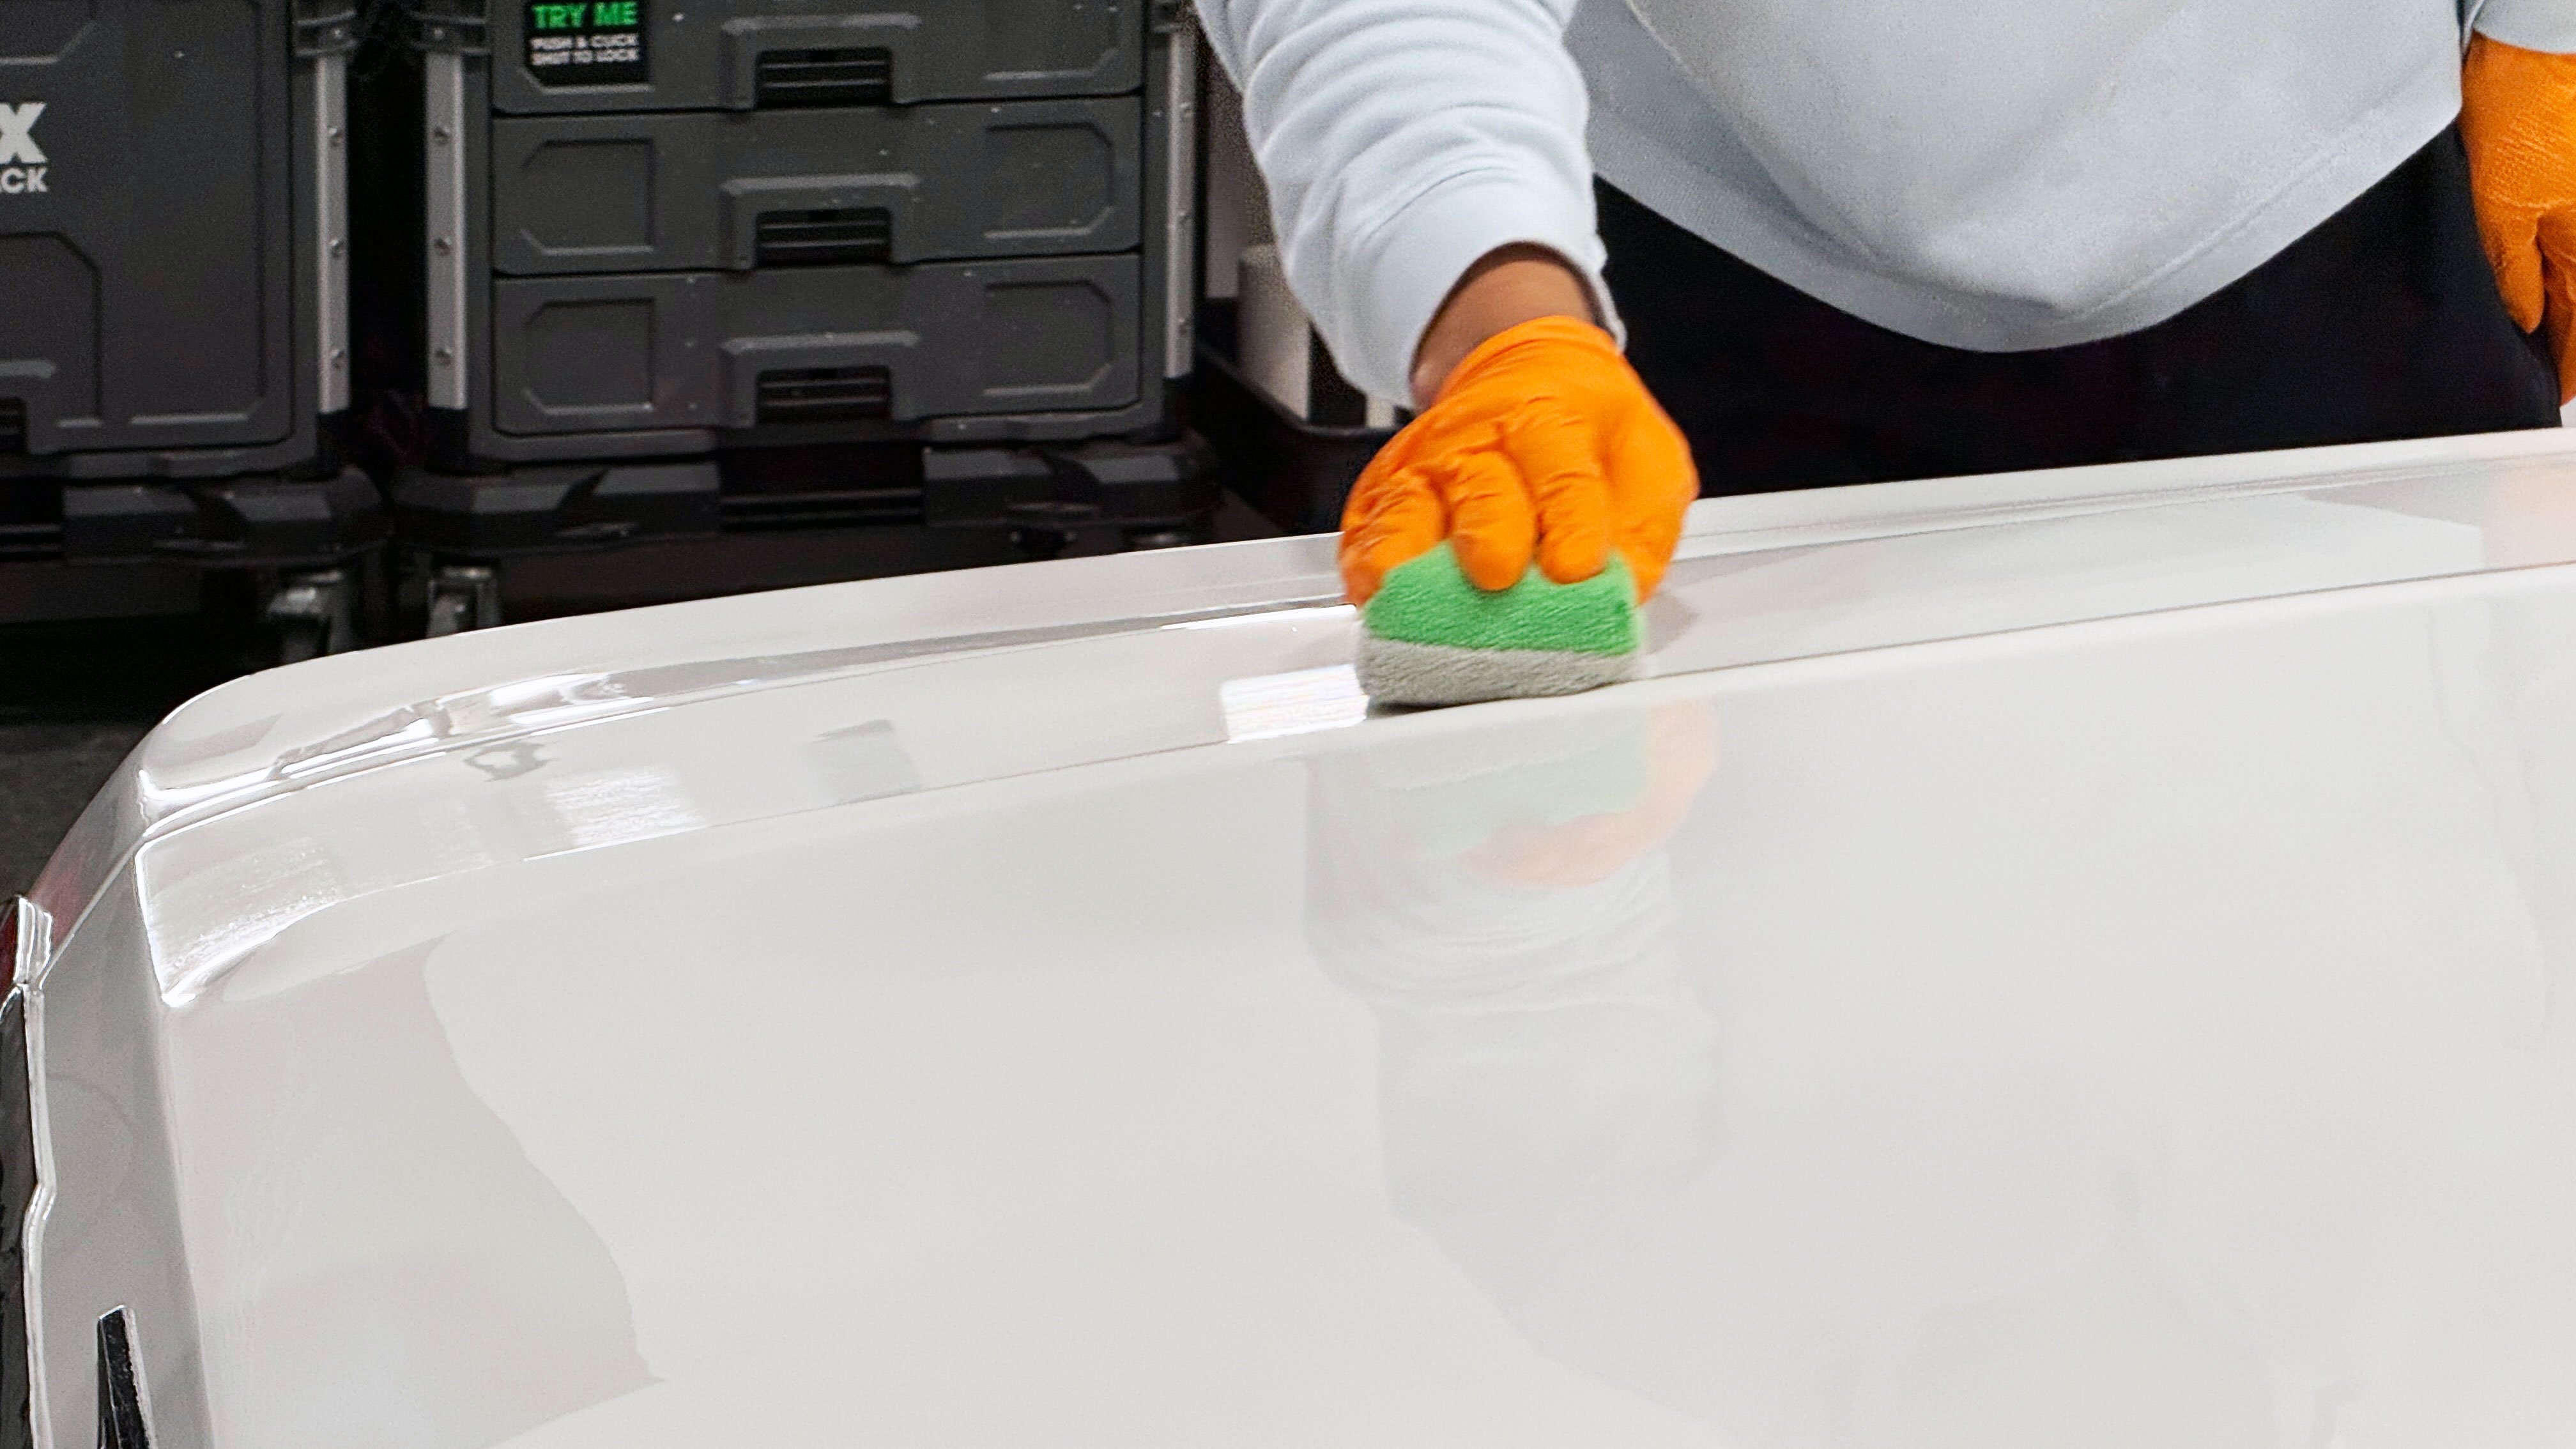
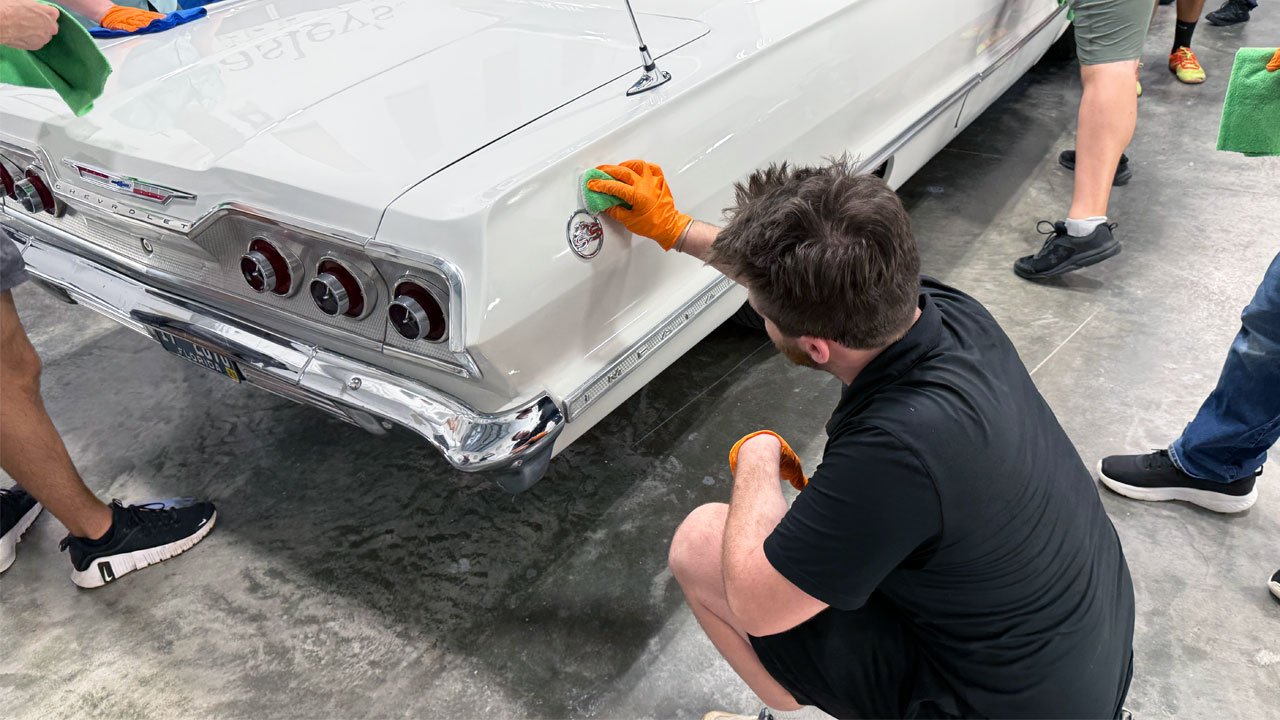
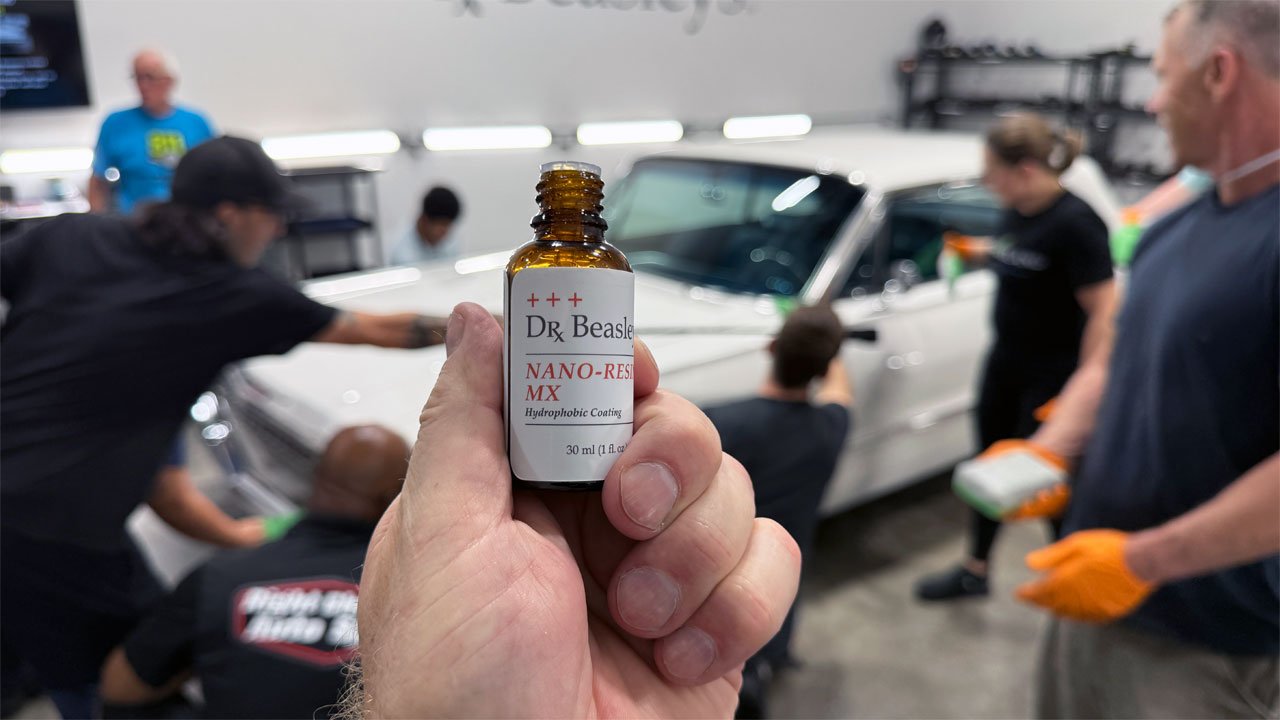
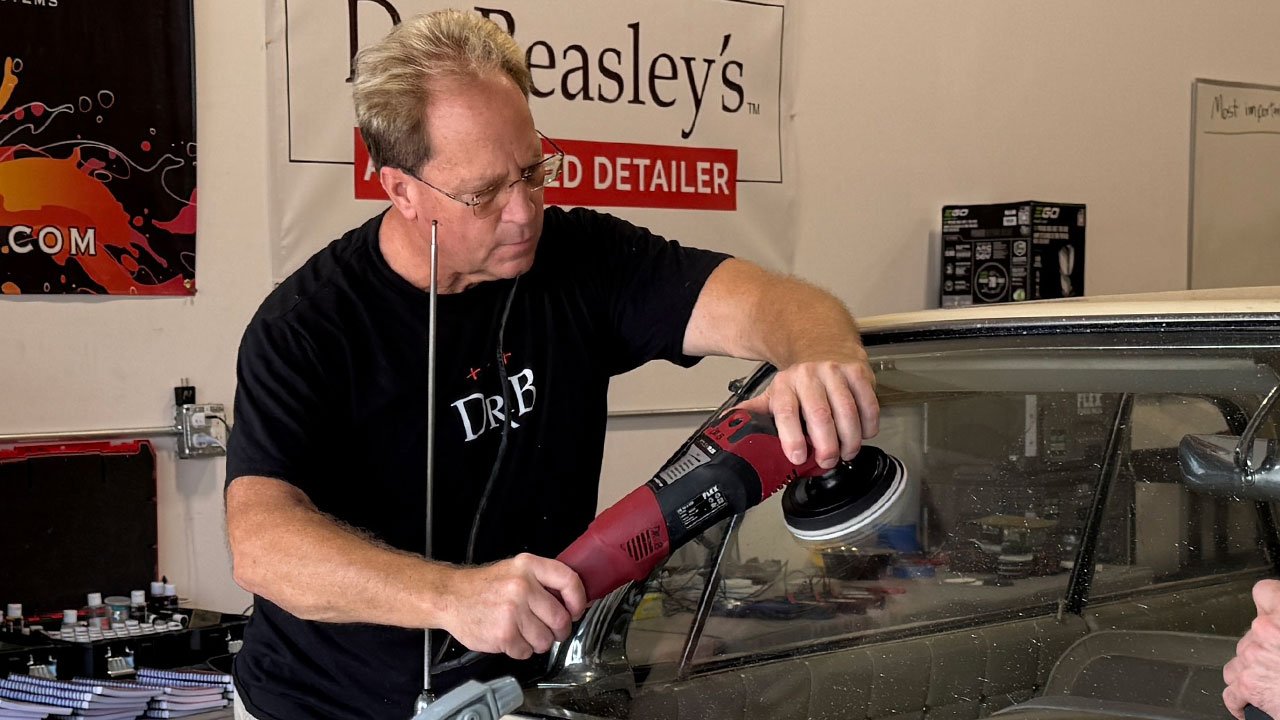
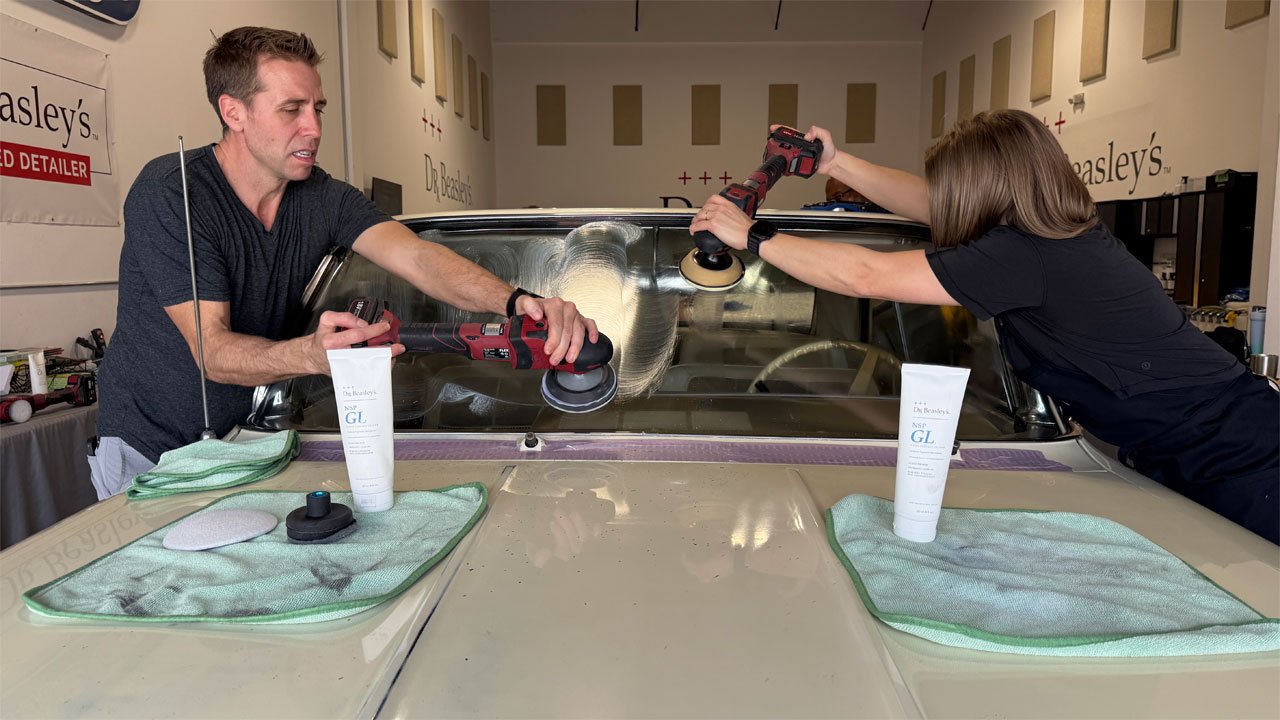
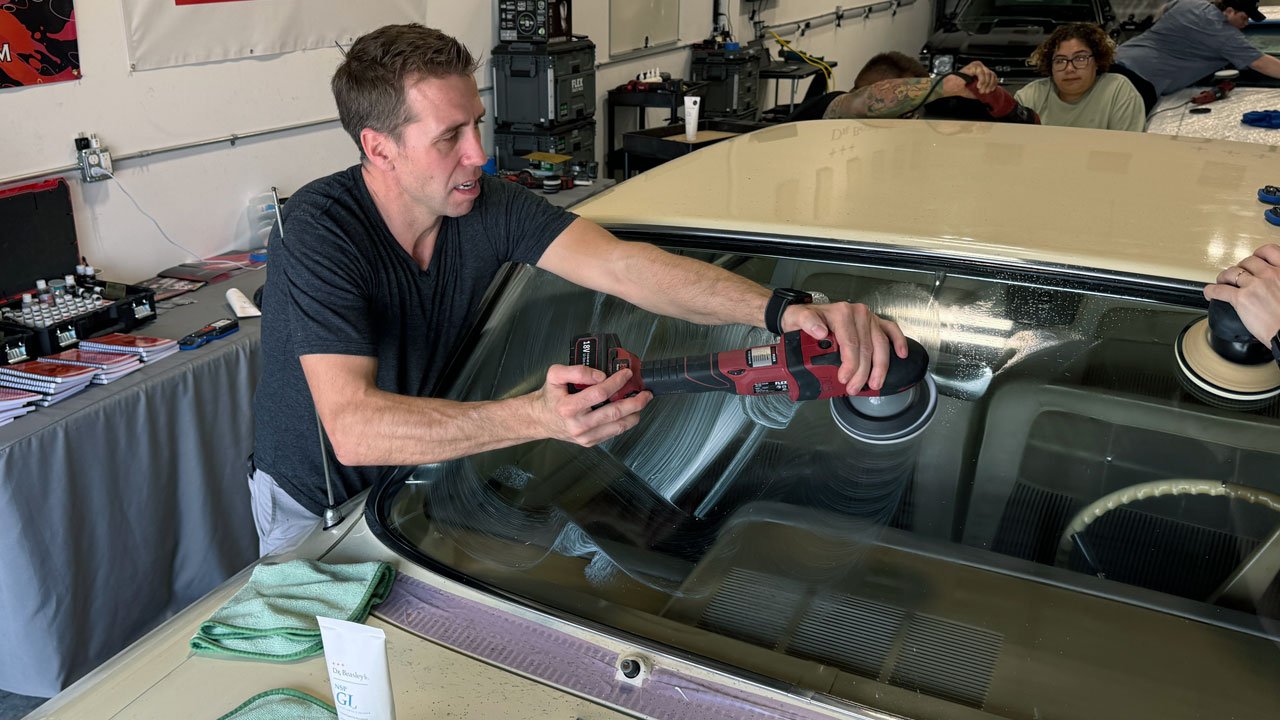
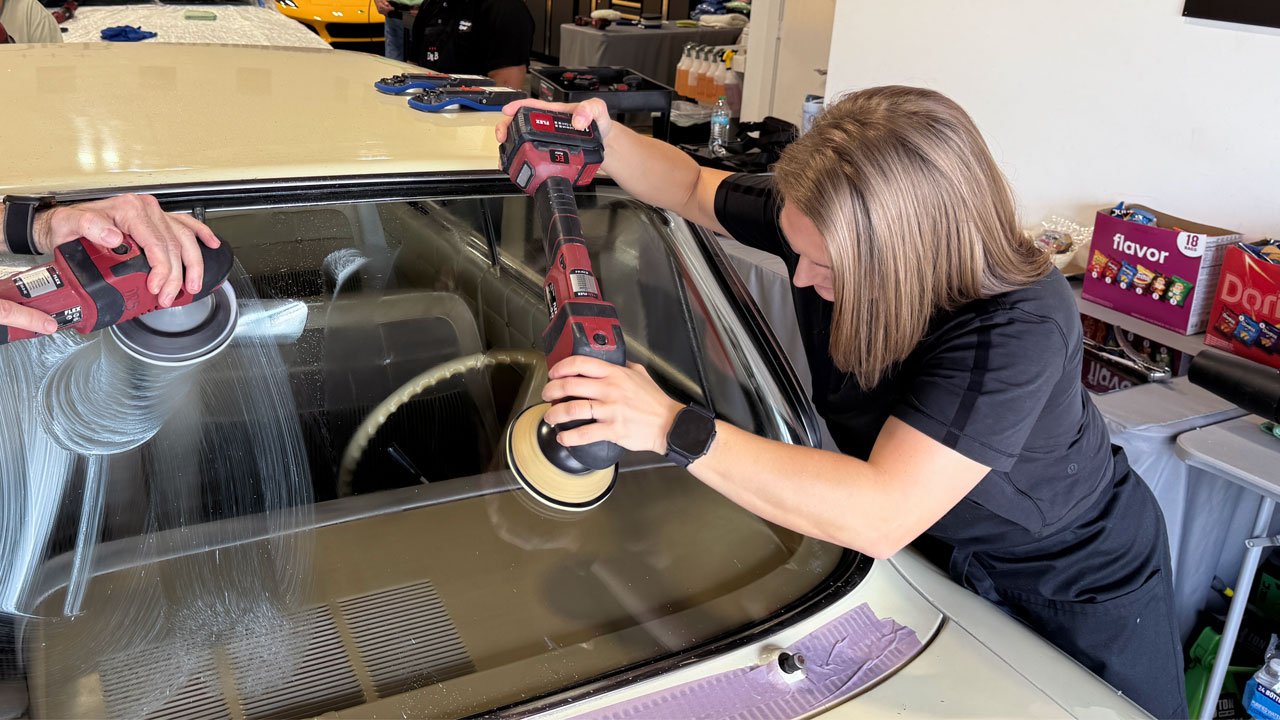
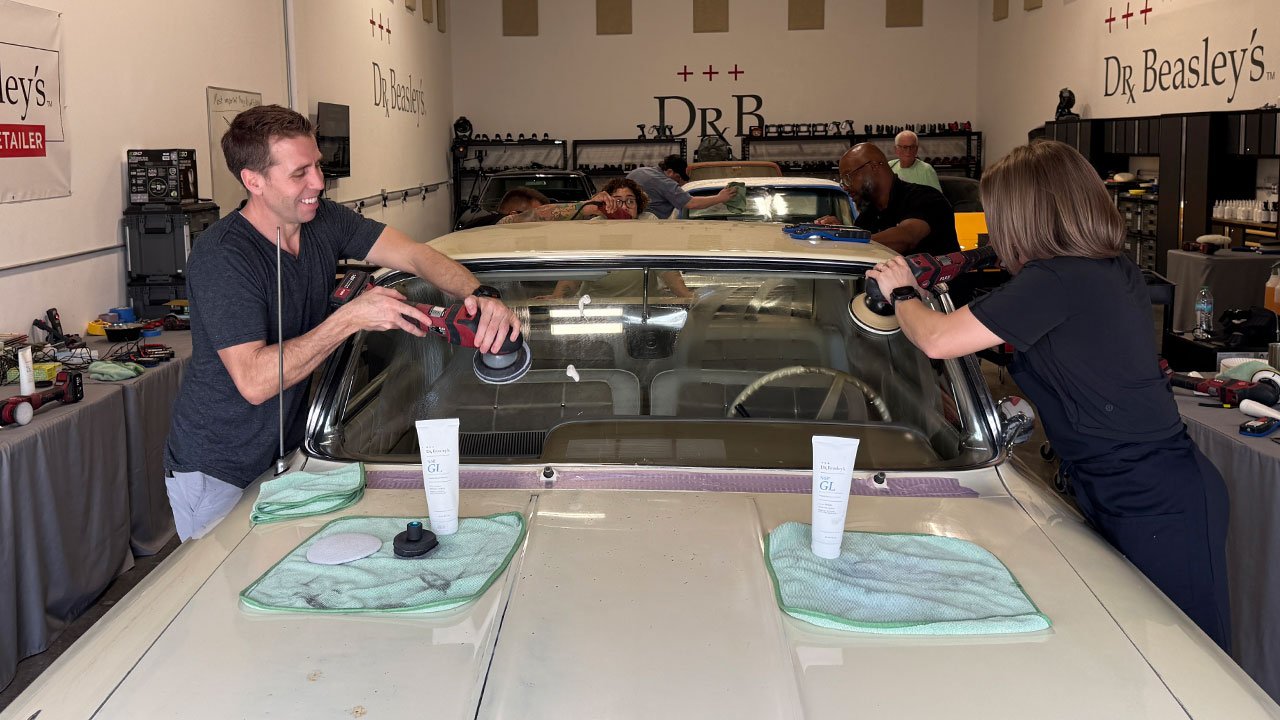
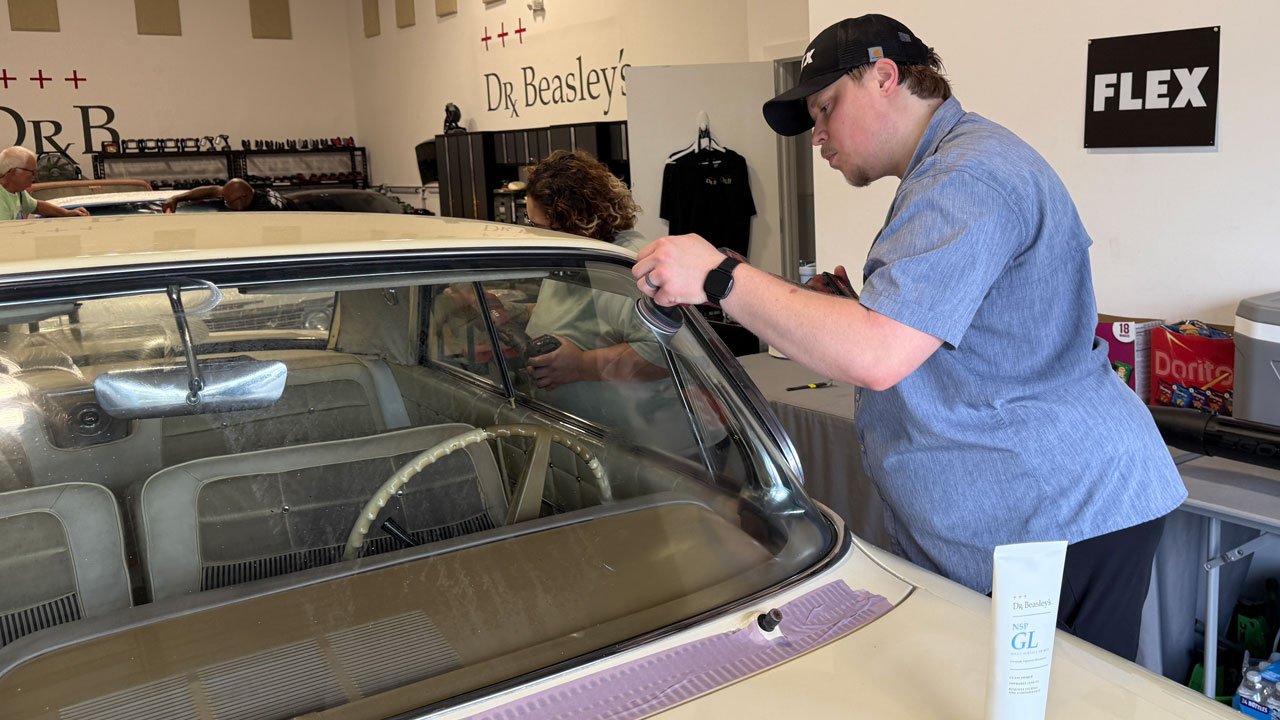
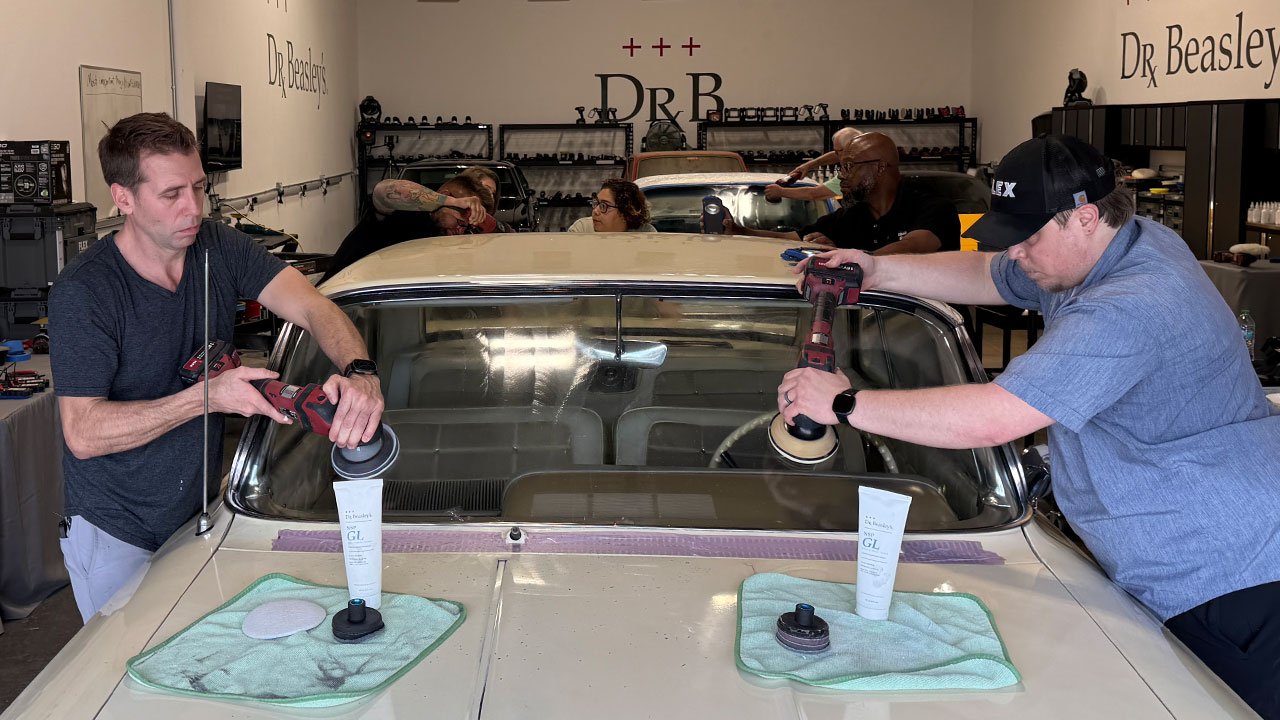
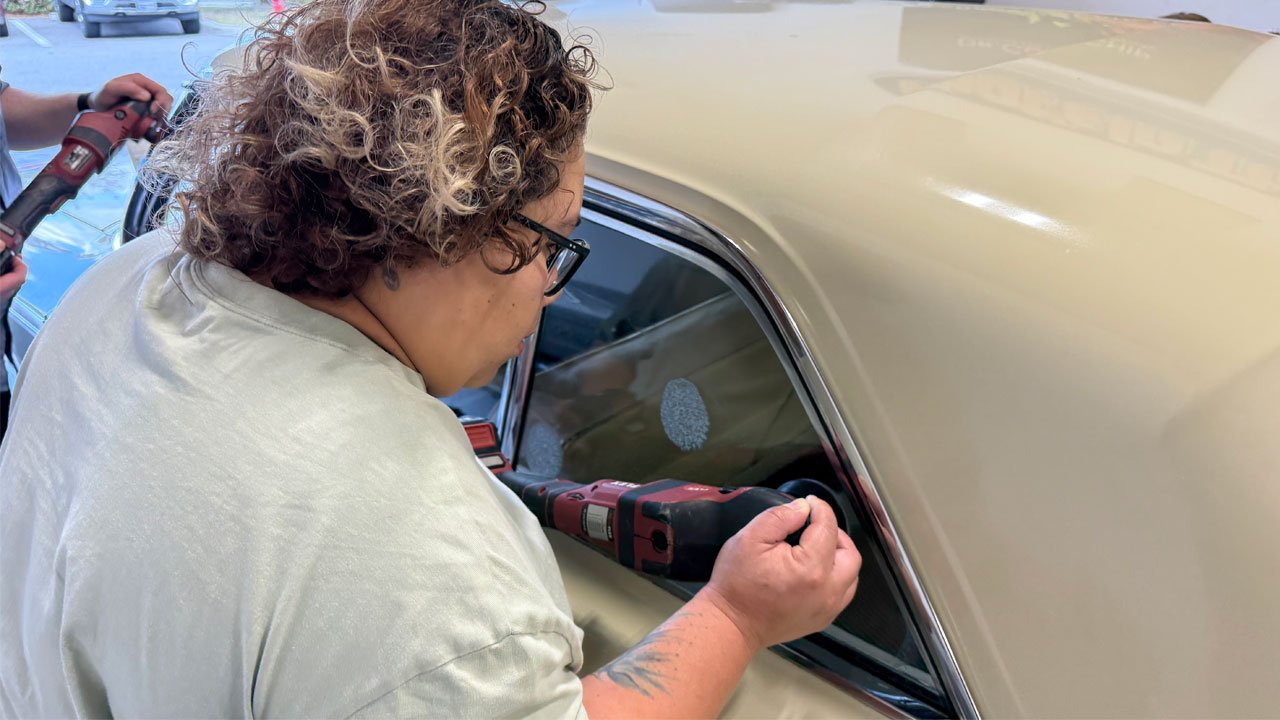
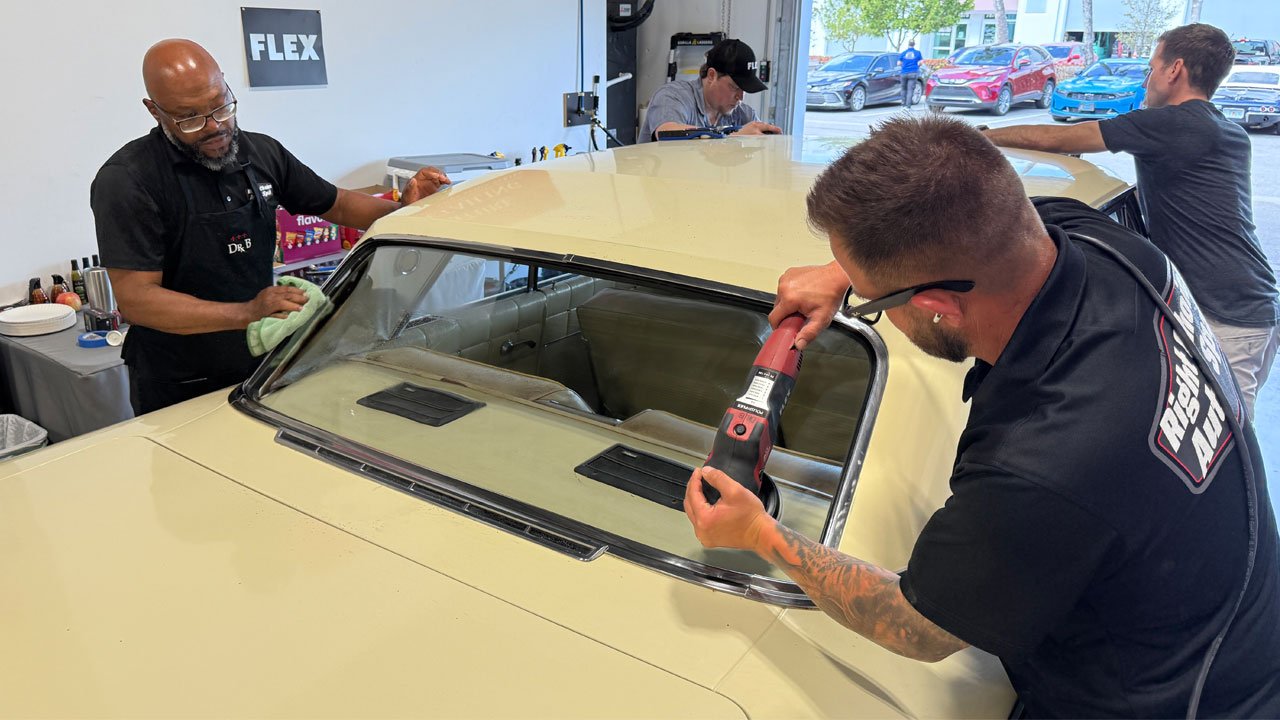
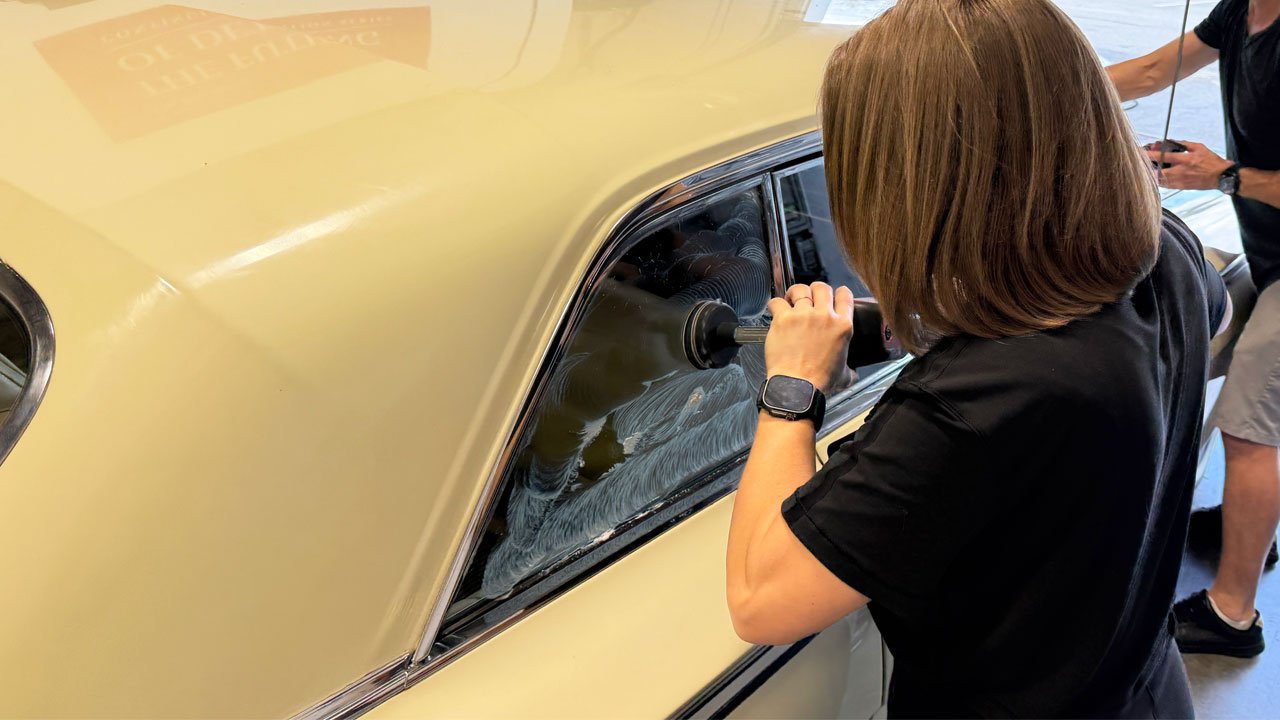
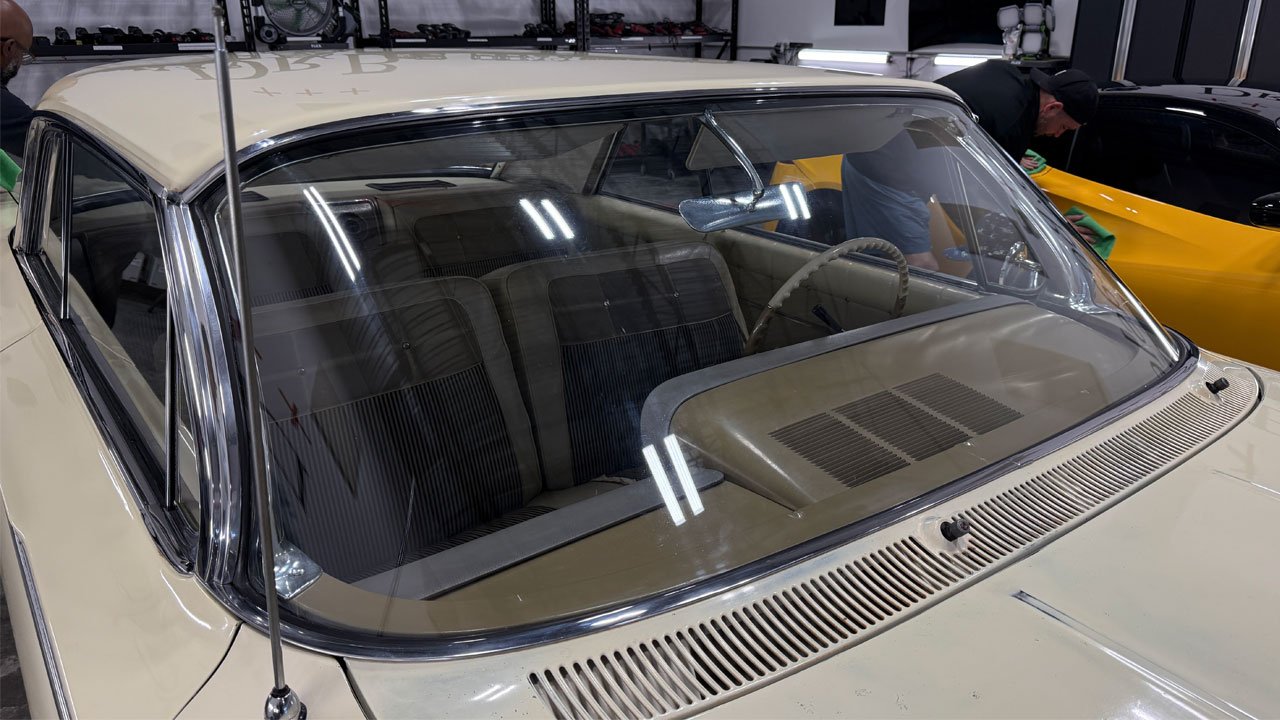
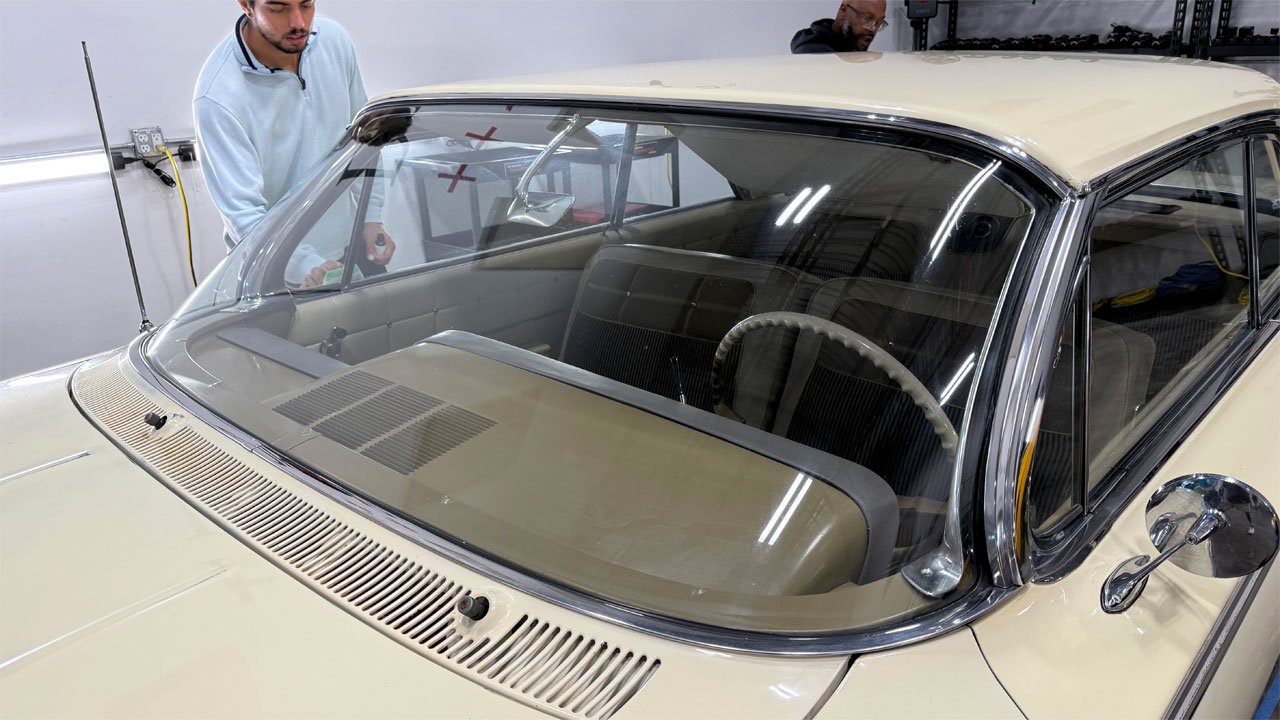
To seal the paint, the class will install the Dr. Beasley's Nano-Resin MX Ceramic Coating. This is a two part process starting with applying the Paint Coating Builder and followed with the actual coating.
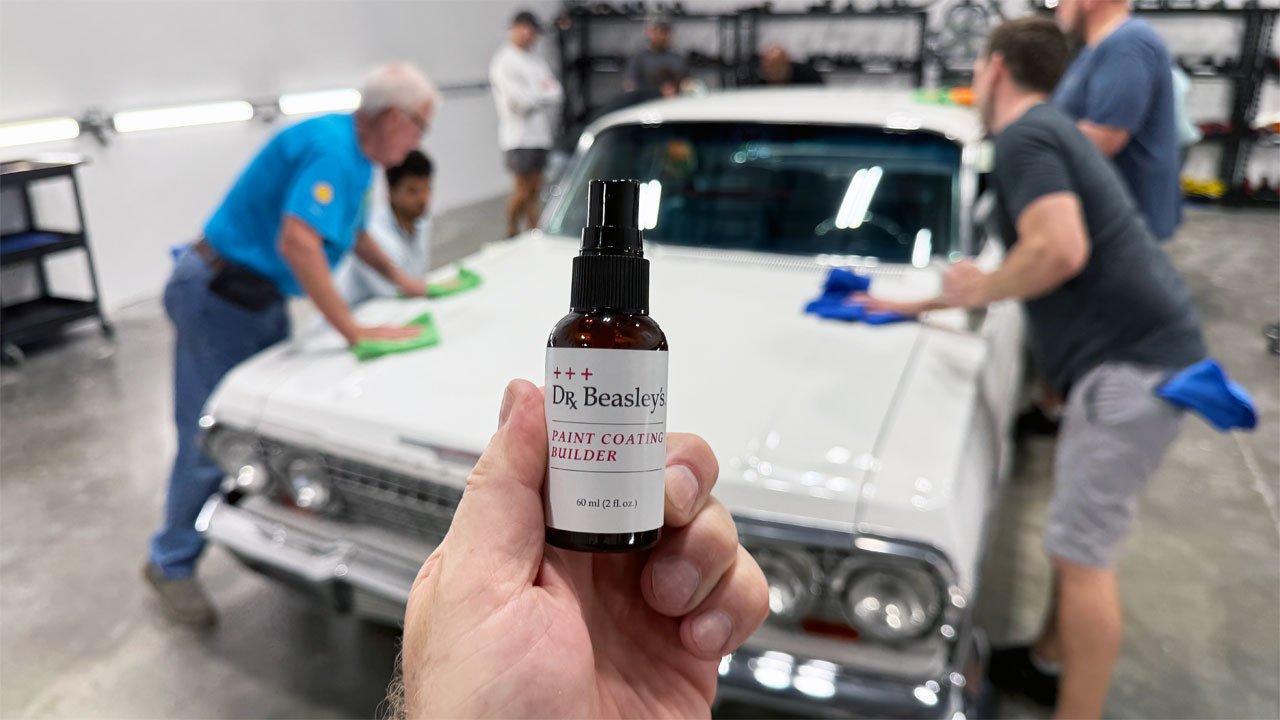
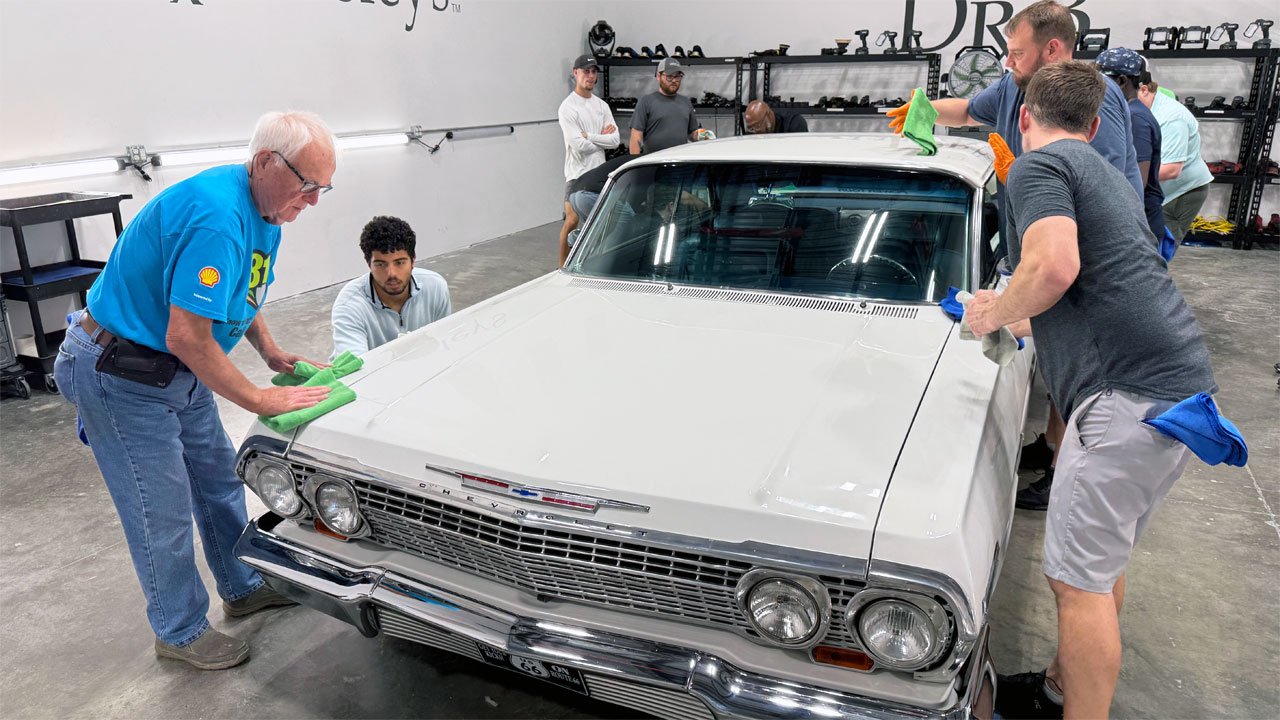
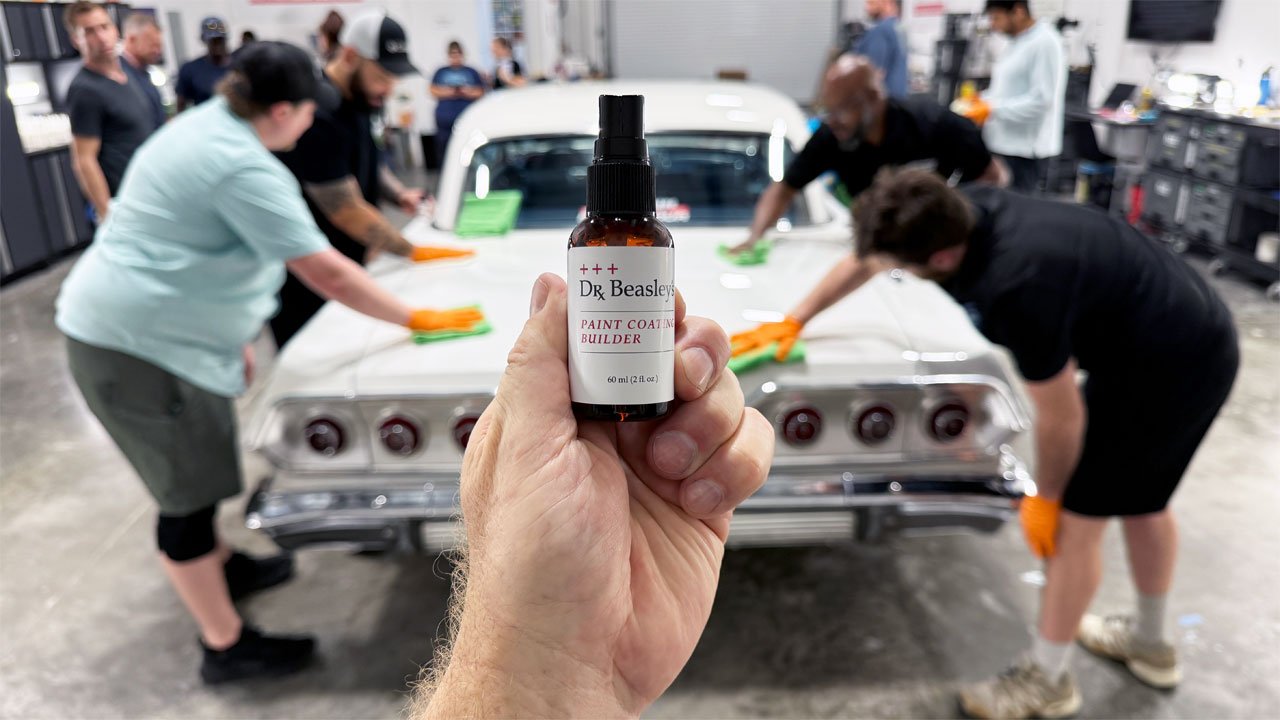
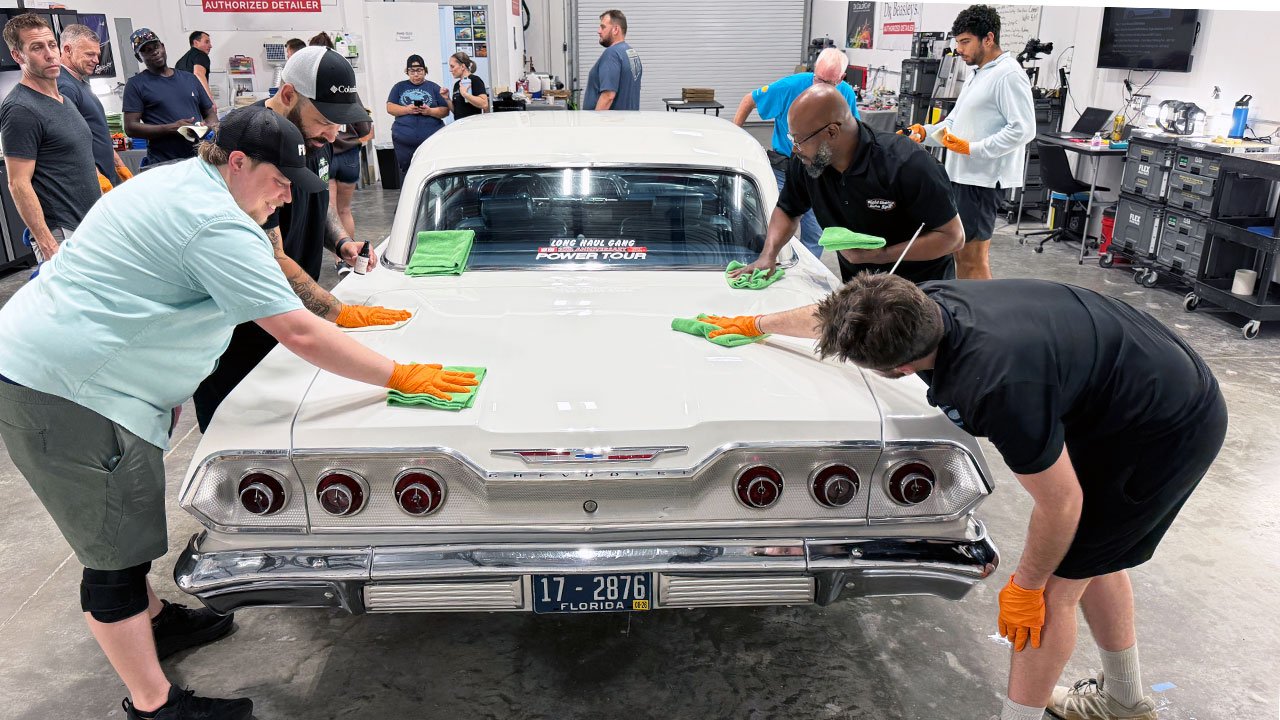
Here's Cam demonstrating the correct technique for applying, leveling and then removing a ceramic coating.

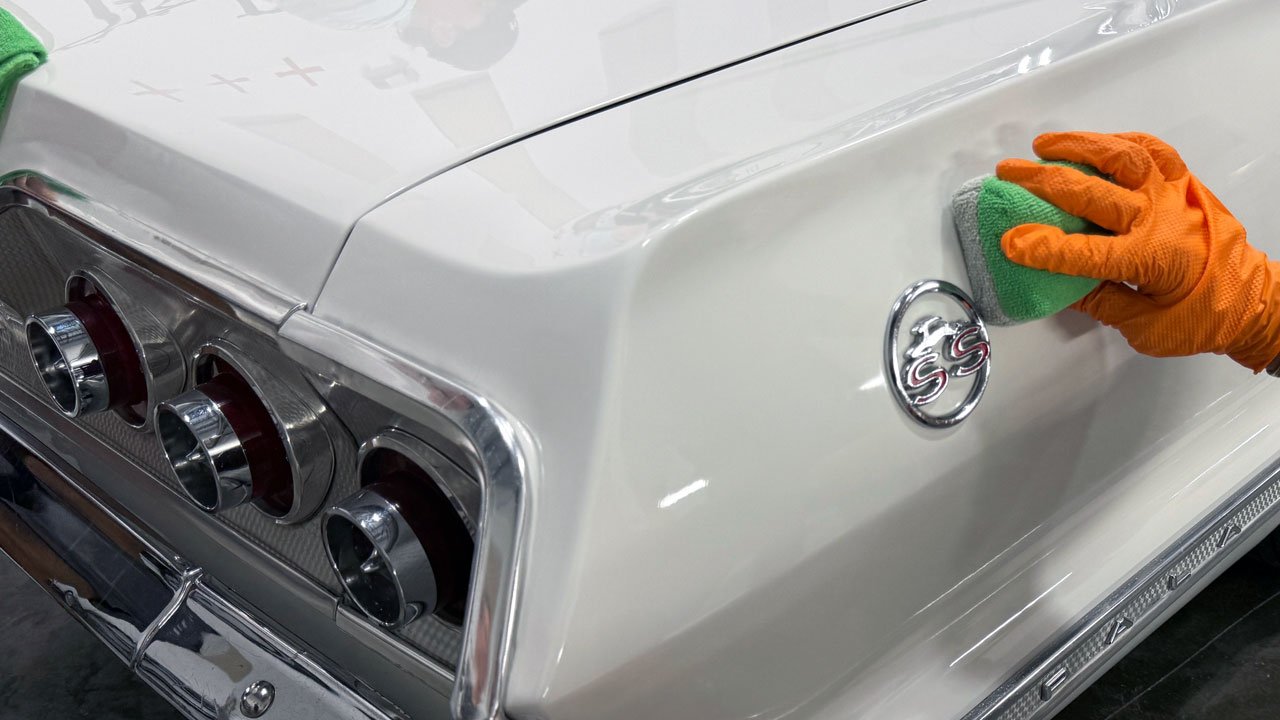
Mike
To seal the paint, the class will install the Dr. Beasley's Nano-Resin MX Ceramic Coating. This is a two part process starting with applying the Paint Coating Builder and followed with the actual coating.
Here's Cam demonstrating the correct technique for applying, leveling and then removing a ceramic coating.
Mike


")