More...
Why Machine Dry Sanding?
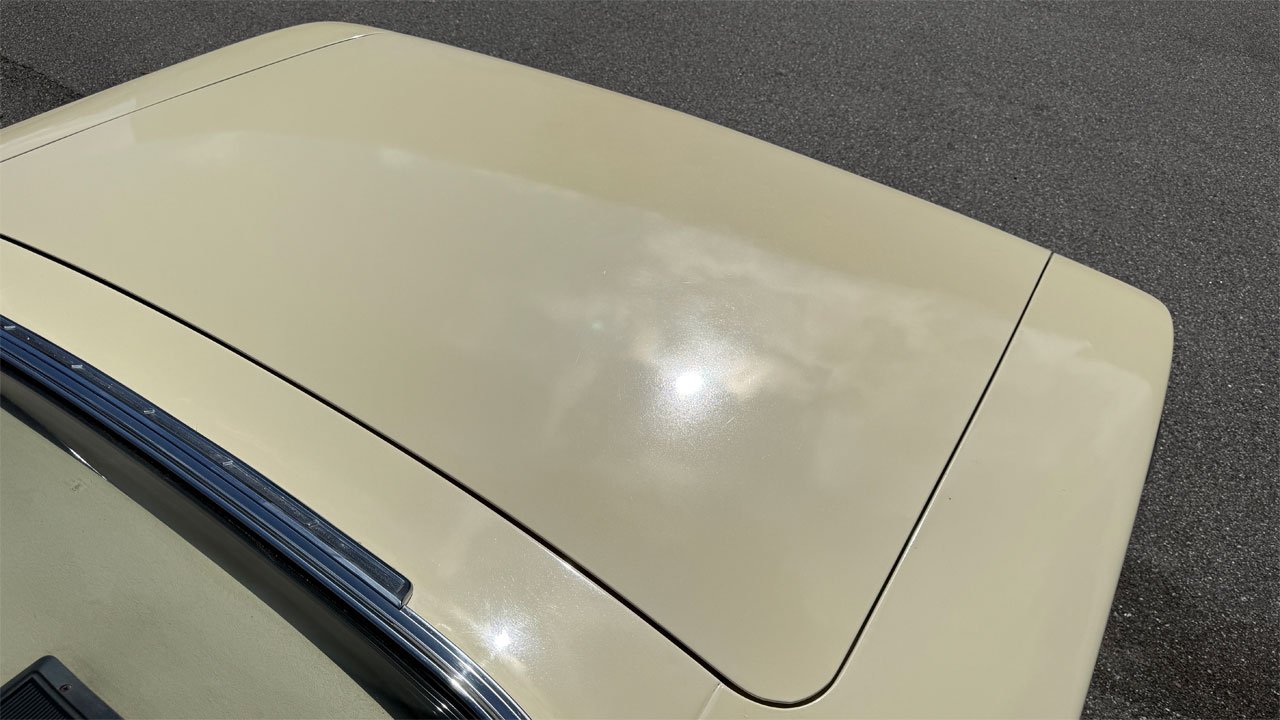
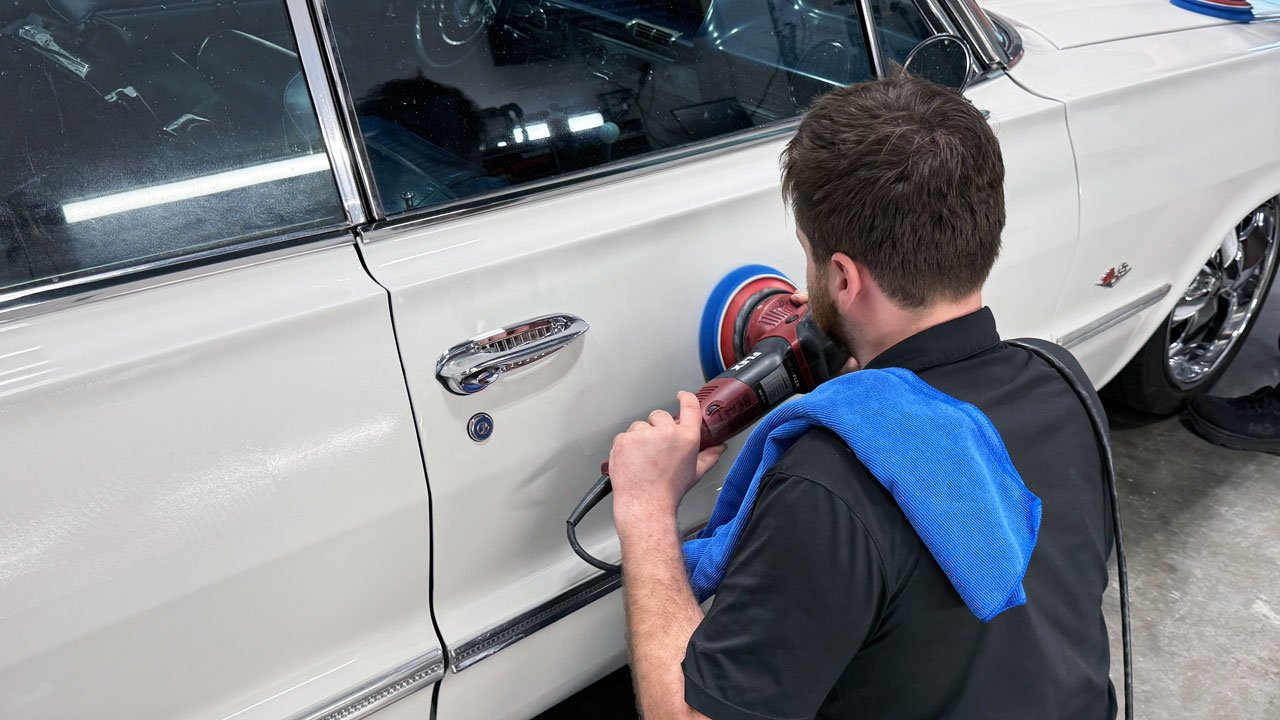
Easy, because it is EASY. It's a lot easier to let a cordless DA Sander oscillate a sanding disc over the surface than it is to use you hand to push a hand sanding backing pad over the surface. The human hand gets tired easily and you have to focus and WORK at applying equal pressure while using a tight pattern to sand and level paint. And YES, starting with hand sanding is the best way to flatten the surface texture, (like orange peel), to maximize D.O.I. or Distinction of Image.
But once you've done the initial cut via hand wet sanding, it's almost fun to switch over to machine dry sanding. Now instead of you doing the work, the machine does all the work. The sanding action is VERY UNIFORM and there's no mess like you get with the sanding slurry that you get when wet sanding.
The Problem with Foam Backed Sanding Discs
I don't ever see much machine dry sanding anywhere in the Internet an especially in car detailing classes. Most classes either focus on hand wetsanding or dampsanding using the 3M Trizact sanding discs. The problem with the Trizact sanding discs is they have FOAM BACKING as a part of the design and this means they are no where near as effective at actually LEVELING orange peel as compared to hand sanding or machine dry sanding.
With 3M Trizact or ANY other type or brand of sanding disc with a foam backing, the sandpaper surface sands BOTH the high points and the low points, so compared to NO foam backing, it's a lot less effective and it removes paint needlessly.
Pneumatic Sanders vs Electric Sanders vs Cordless Sanders
To day, I've NEVER see any other class using CORDLESS sanders but instead they are using traditional pneumatic or air-powered sanders.
Pneumatic Sanders
The problem with pneumatic sanders, at least for newbies, is the entire time you're sanding, you have deal with and MANAGE a very stiff, air line. It's either trying to kick the back of the sander UP so the sanding disc is not flat to the surface, for example, placing the airline over your shoulder. Or the stiff airline is trying to pull the back of the sander downward, which kicks up the front of the sander and again, it's more difficult to keep the sanding disc FLAT against the surface. It's simply more work. And, you also need to have a larger air compressor, usually a 60 Gallon Air Compressor, The tank is about as tall as you), in order to feed enough air to the sander as ALL air tools are AIR HOGS, even small air powered tool.
Electric Sanders
Electric DA Sanders like the Mirka
Mirka DEROS II 650 Dust-Free Sander with Case is almost $700.00 while the
FLEX FX3411 Cordless DA Sander is under $150.00. And of course you can use "some" DA Polishers as sanders, like short orbit stroke polishers like the Porter Cable 7424XP, the
Harbor Freight BAUER 5.7 Amp, 6 in., 8 mm Short-Throw Random Orbit DA Polisher/Sander. I've used the Porter Cable polisher many times as an ELECTRIC DA SANDER but this large orbit stroke makes this what is referred to as a ROUGHWORK sander. And for car paint, it's better and safer to use a FINISHING sander, something in the 3mm to 6mm in Metric units or 3/32" to 3/16" in U.S. Standard units.
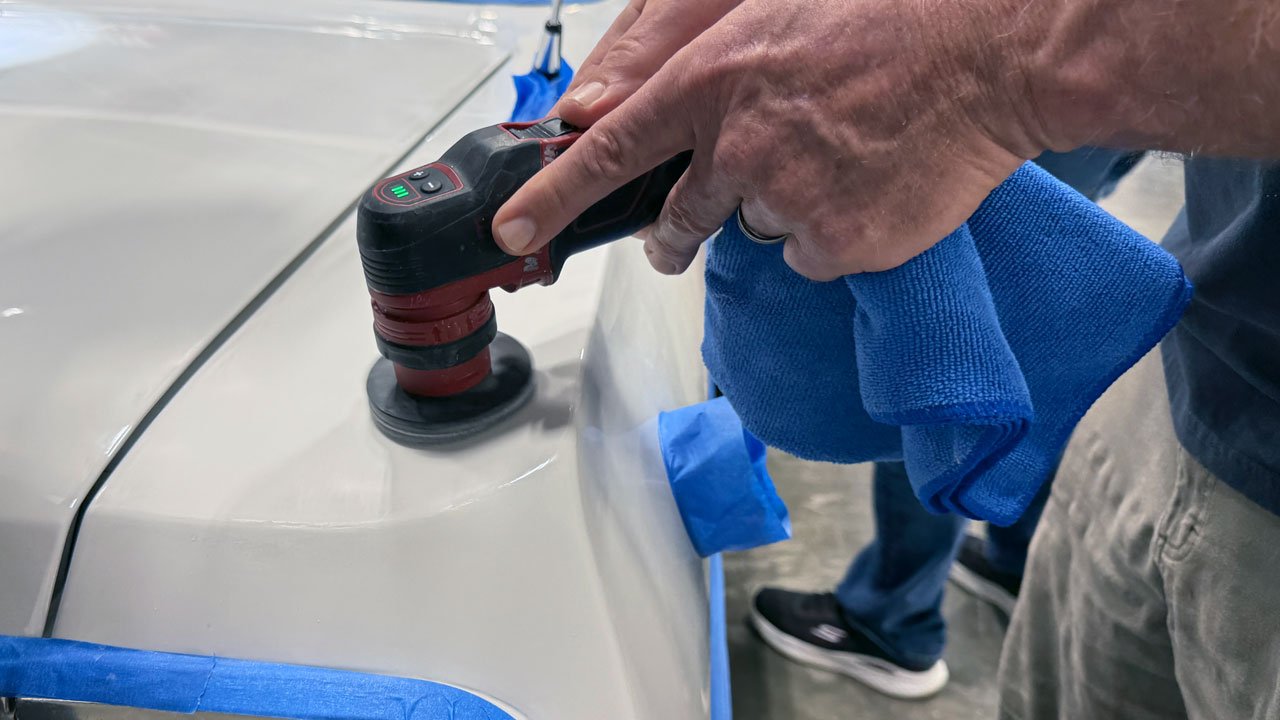
Cordless Sanders
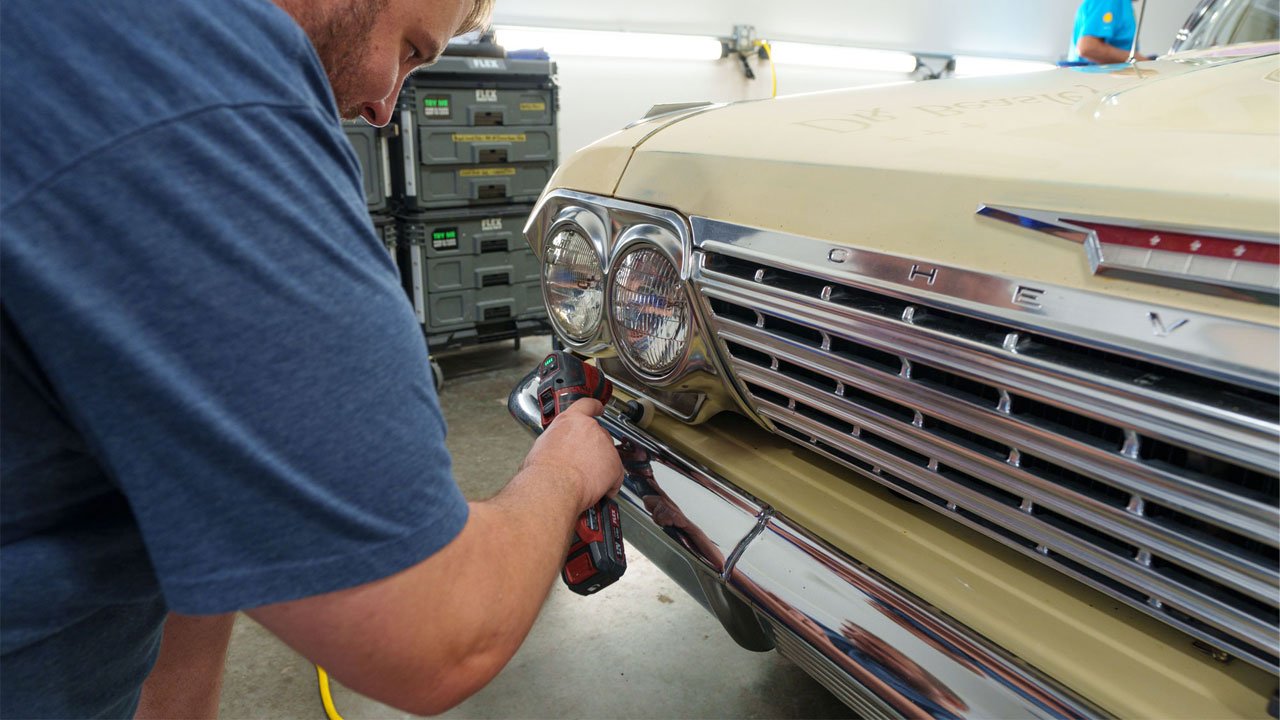
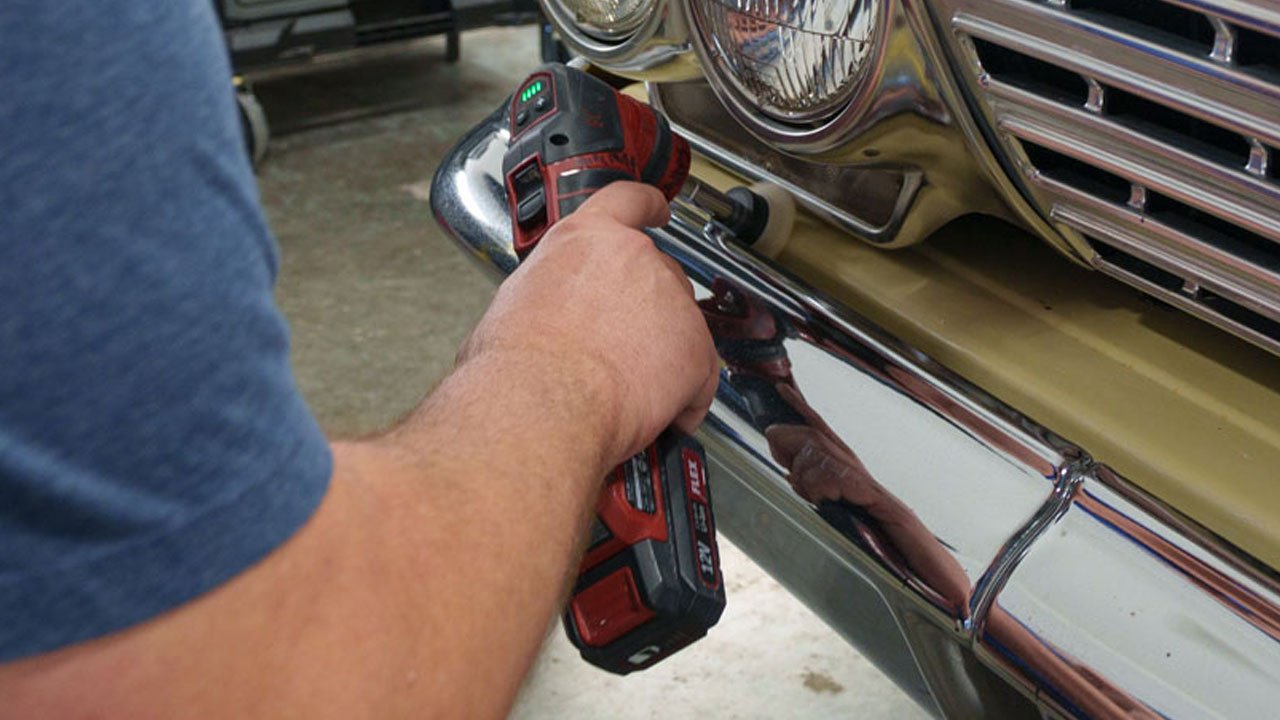
With a cordless sander, you have absolute freedom to sand around the car with NEVER having to manage a stiff airline. And while I'm a big fan of the FLEX cordless sanders, you can pick up the cheaper
BAUER 20V Cordless, 5 in. Random Orbit Sander with Dust Bag - (Tool Only) for $25.00, you still have to purchase batteries and a charger and because I have TWO of these in the Dr. Beasley's Stuart Training Center, I know first hand they are junk compared to FLEX FX3411. Considering what your time and energy are worth, please don't be a pound-wise and penny-foolish, get the best tool for the job.
The Secret is the Hook & Loop
When talking about velcro or hook and loop material, a lot of the foam interfaces on the market have a long or tall HOOK and this creates a lot of variance as it relates to "trying" to sand only the highest portions of the paint surface. Orange Peel is like hills and valleys and when sanding to flatten the surface, the goal or idea is to keep all the sanding action on the high point until the are level with the low points, thus creatin a FLAT surface.
RUPES Foam Interface Pads
While I like the Eagle Abrasives by KOVAX foam interface pads as they have a micro-hook design, which keeps the sanding action on the highest points on the surface, my long-time friend at RUPES Jason Rose, and his team came up with what I think is the PERFECT foam interface pad. The foam itself is firm but flexible and of course, like the Eagle Abrasives by KOVAX foam interface pads, they use micro-hooks. Plus I love co-mingling RUPES with FLEX, just to drive my freinds at RUPES crazy!
Summary
For all the above reasons, we show the two most important skills, hand wetsanding followed by machine dry sanding. For the type of sanding that is predominantly done in the CAR DETAILING WORLD -it's simply a powerful 1-2 Punch. I know all the Social Media Experts will disagree, but I have yet to see their article or video explaining all of the above as I have done here, nor have I ever seen any of the Social Media Experts SHARE PICTURES from THIER CLASSES. They don't exist, so it's just bloviating and puffing themselves up to appear as the expert in sanding.
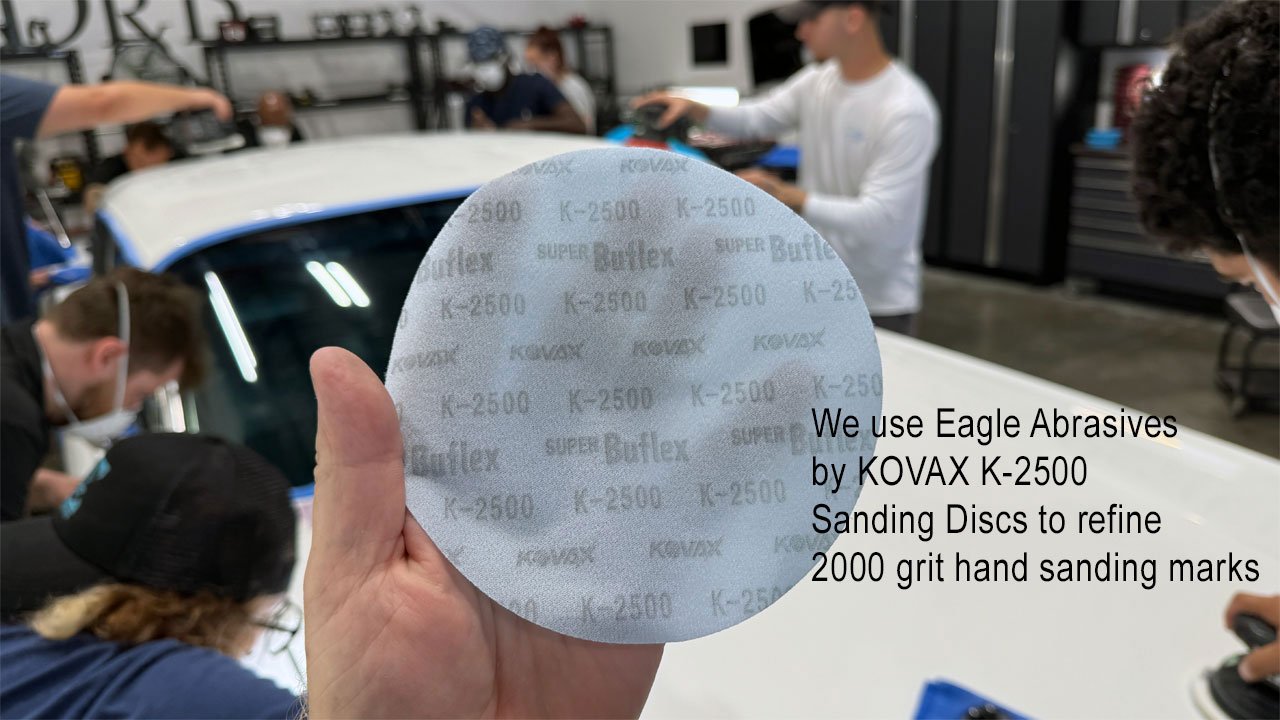
Eagle Abrasives by KOVAX (the actual name of the brand, not just KOVAX)
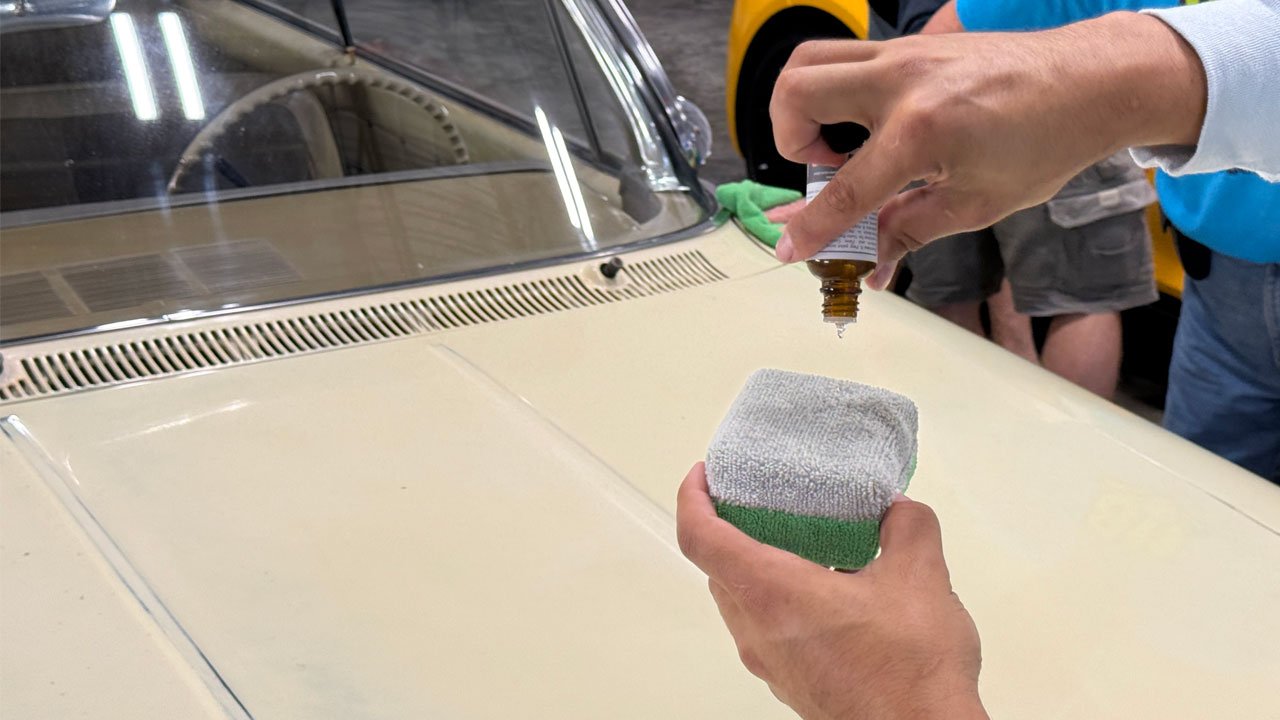
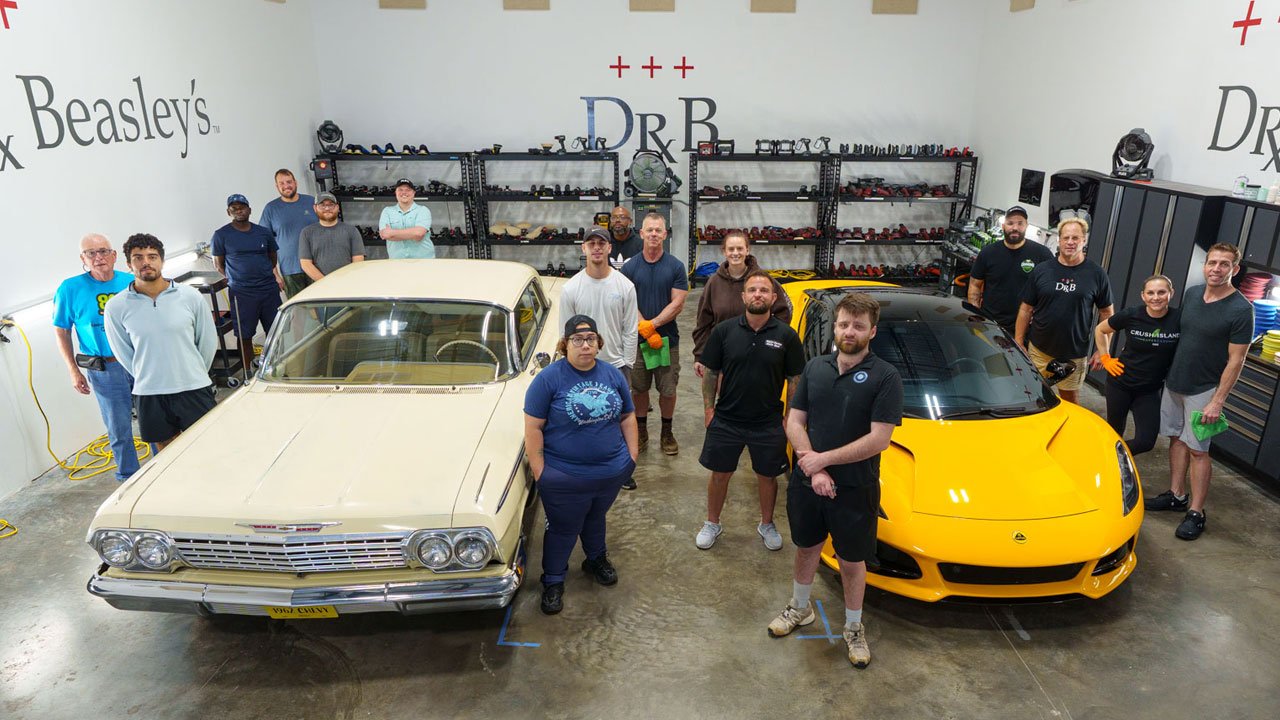
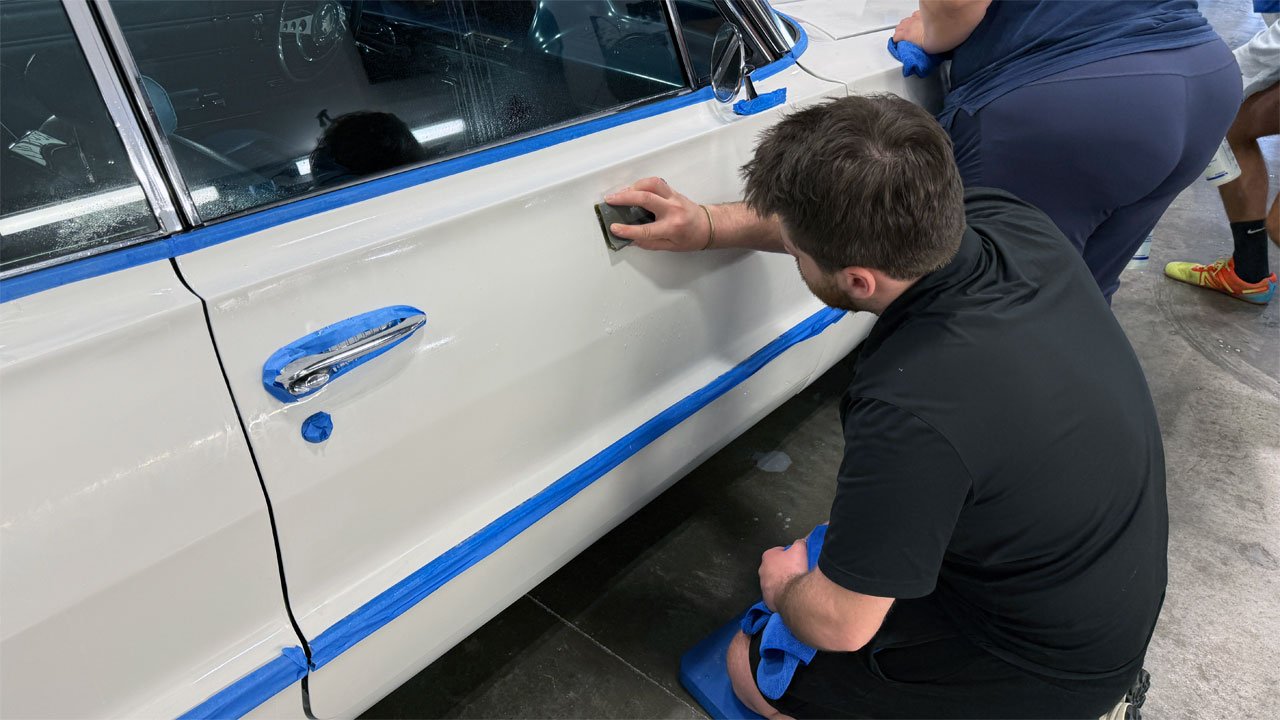
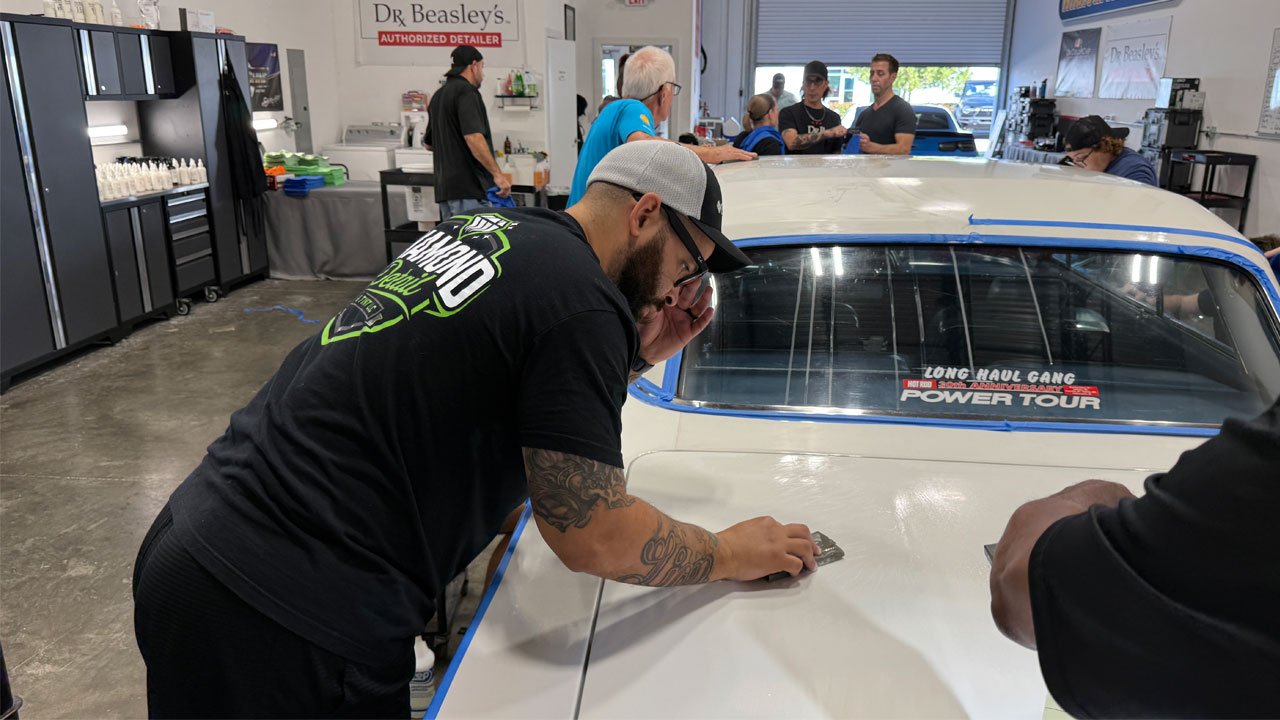
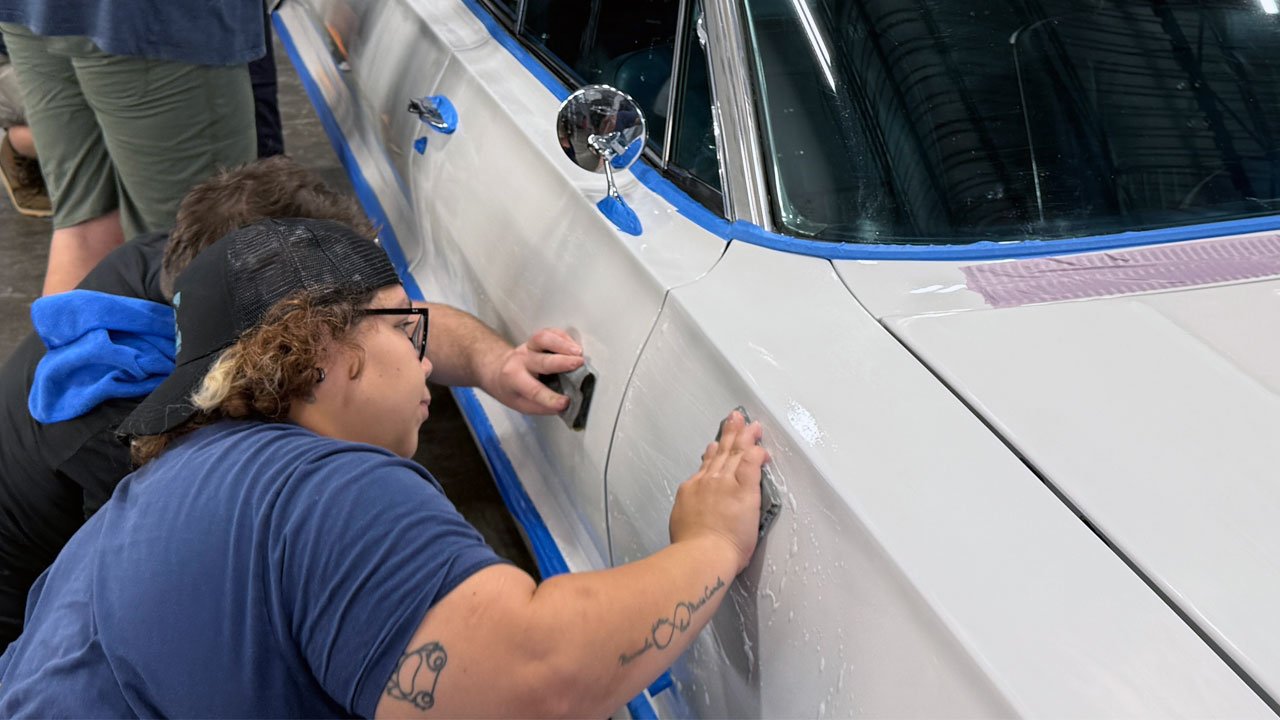
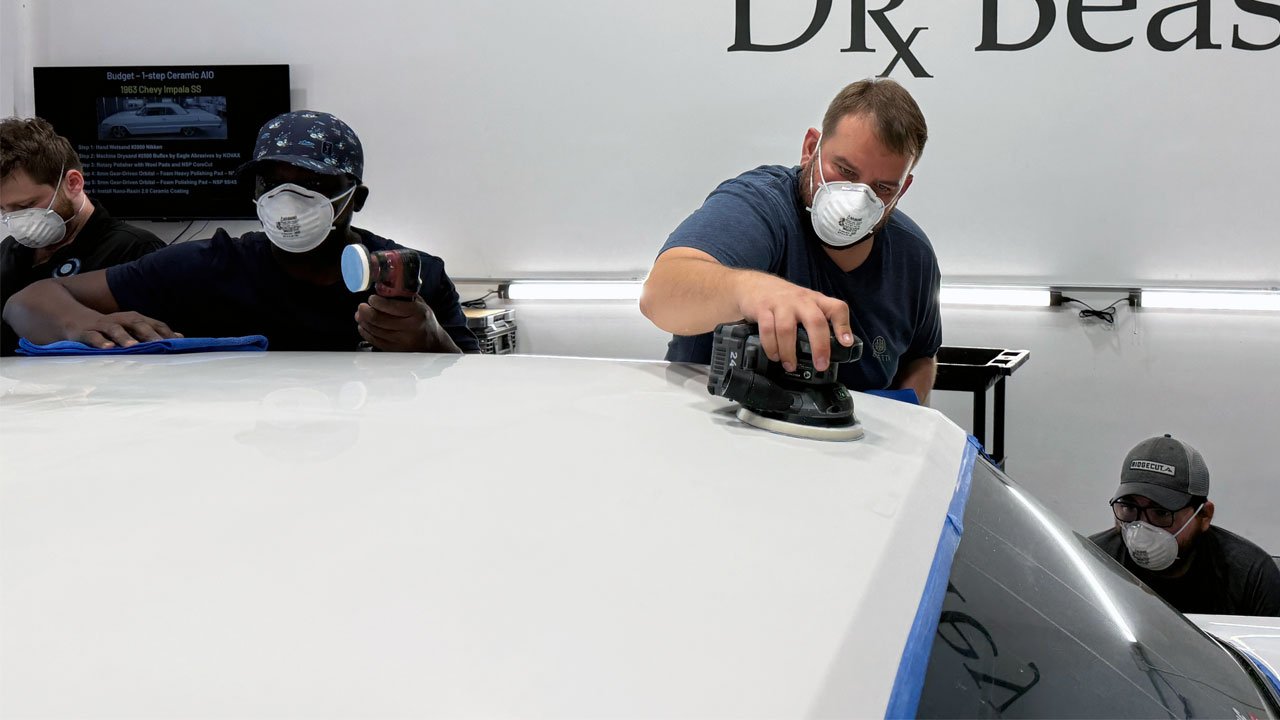
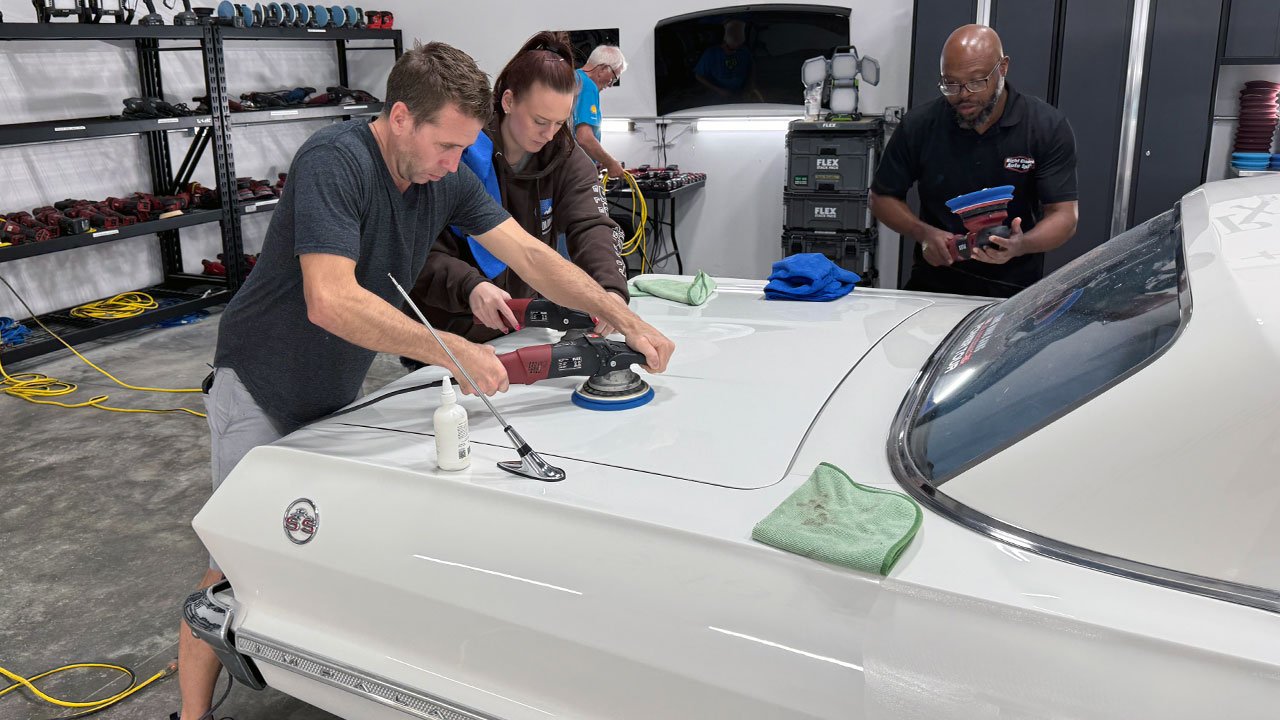
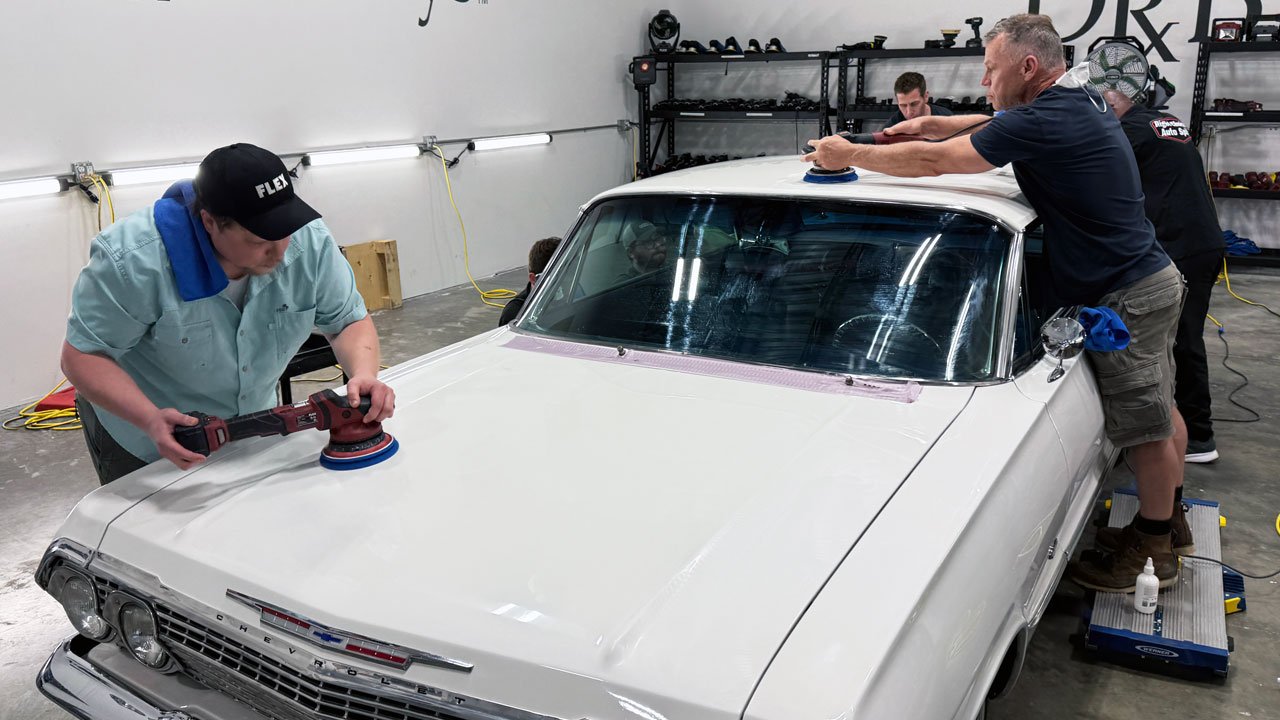
In our sanding classes, the goal is to never create the perfect show car finish, the goal is to teach people how to move their hand when hand sanding and how to move their hand when machine sanding. For this reason and because we normally don't have the paint FILM BUILD like you would have if you worked in Dave Kindigs shop, we keep everyone safe and tend to start either with 1500 grit or 2000 grit for hand wet sanding and then 2000 or 2500 grit for refining the hand sanding marks via machine dry sanding.
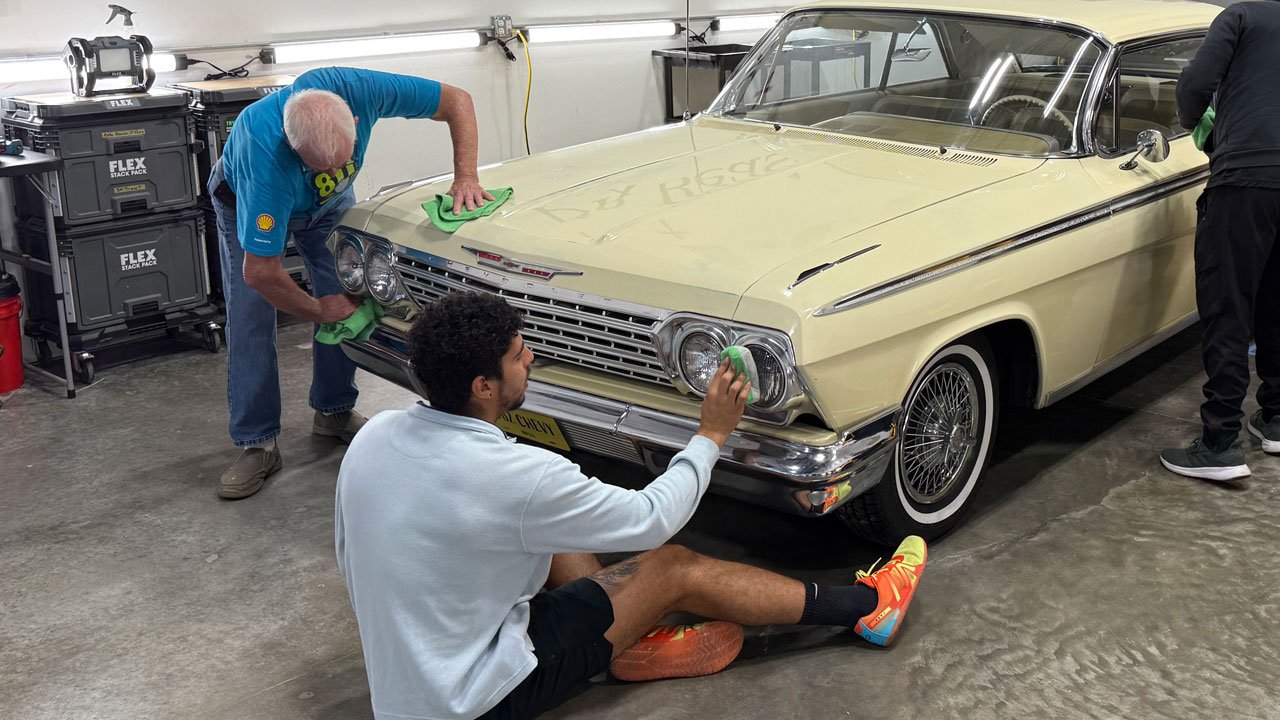
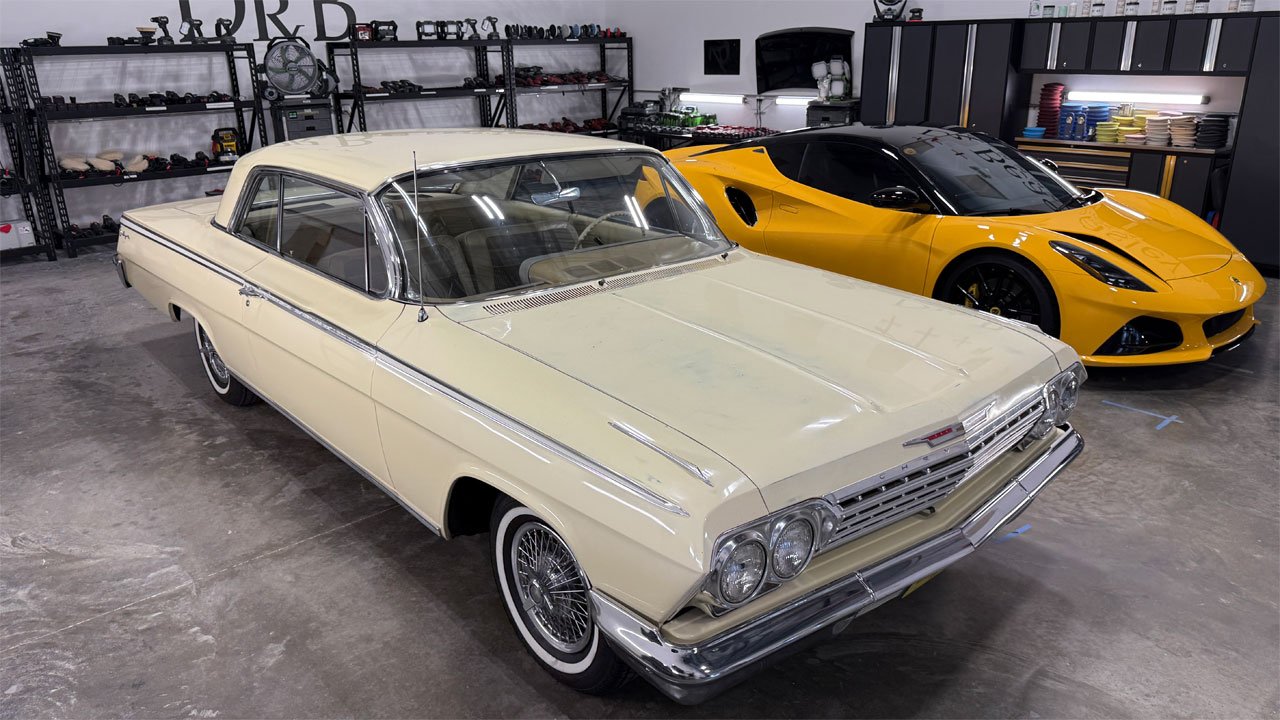
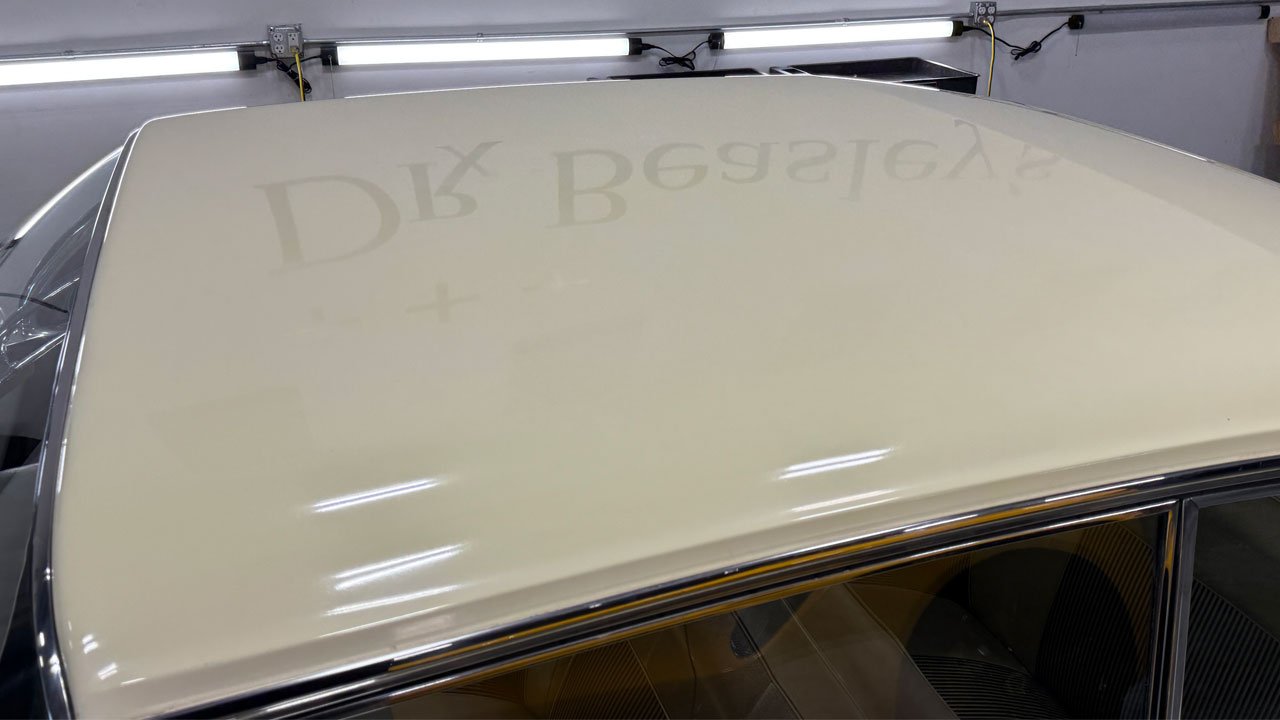
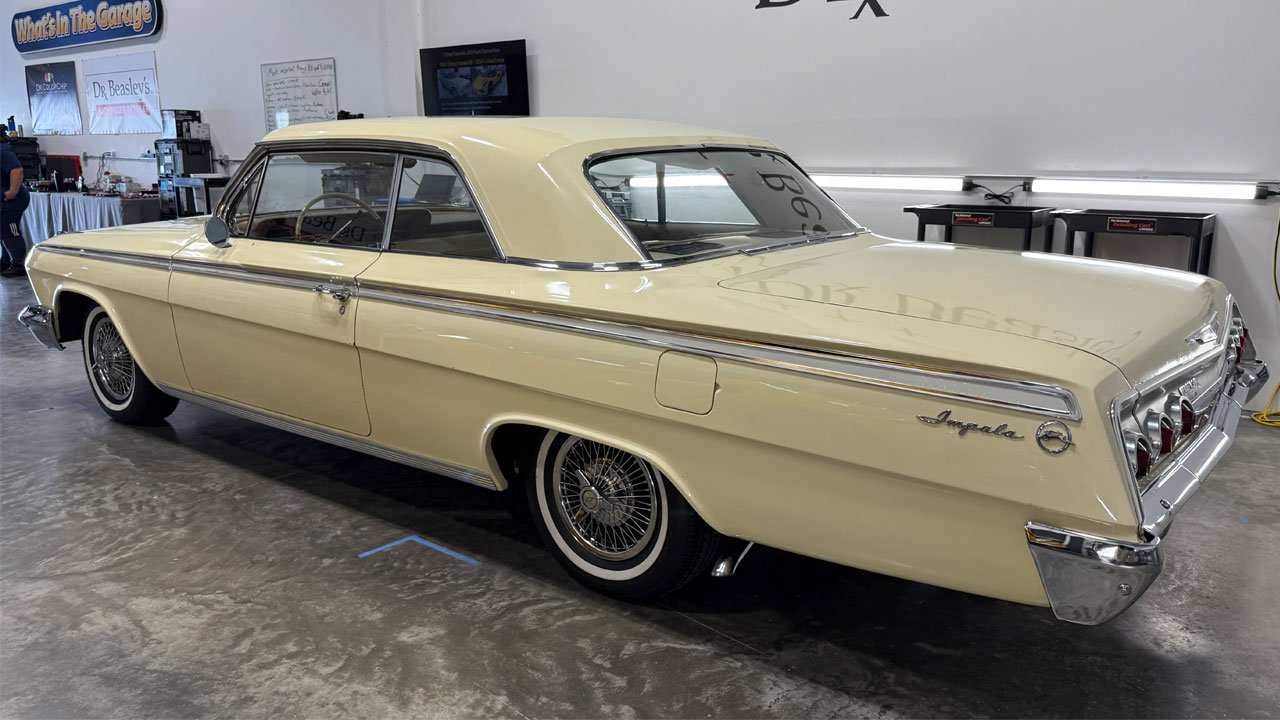
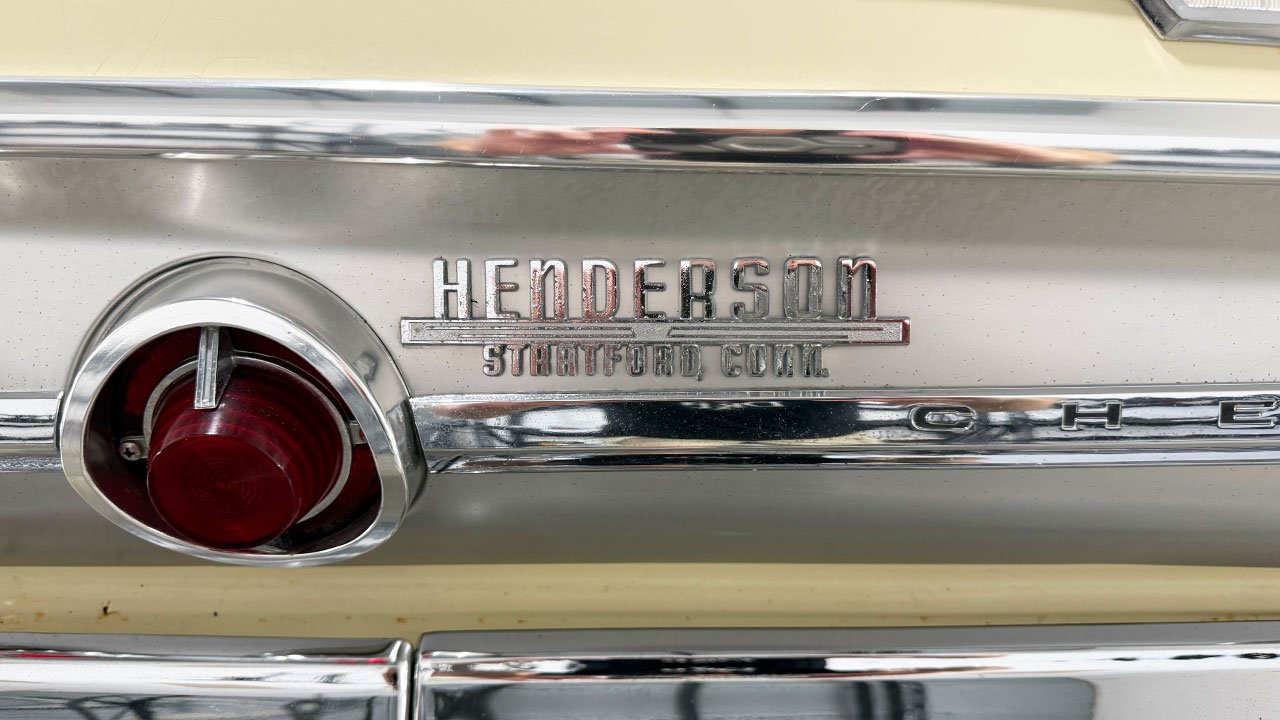
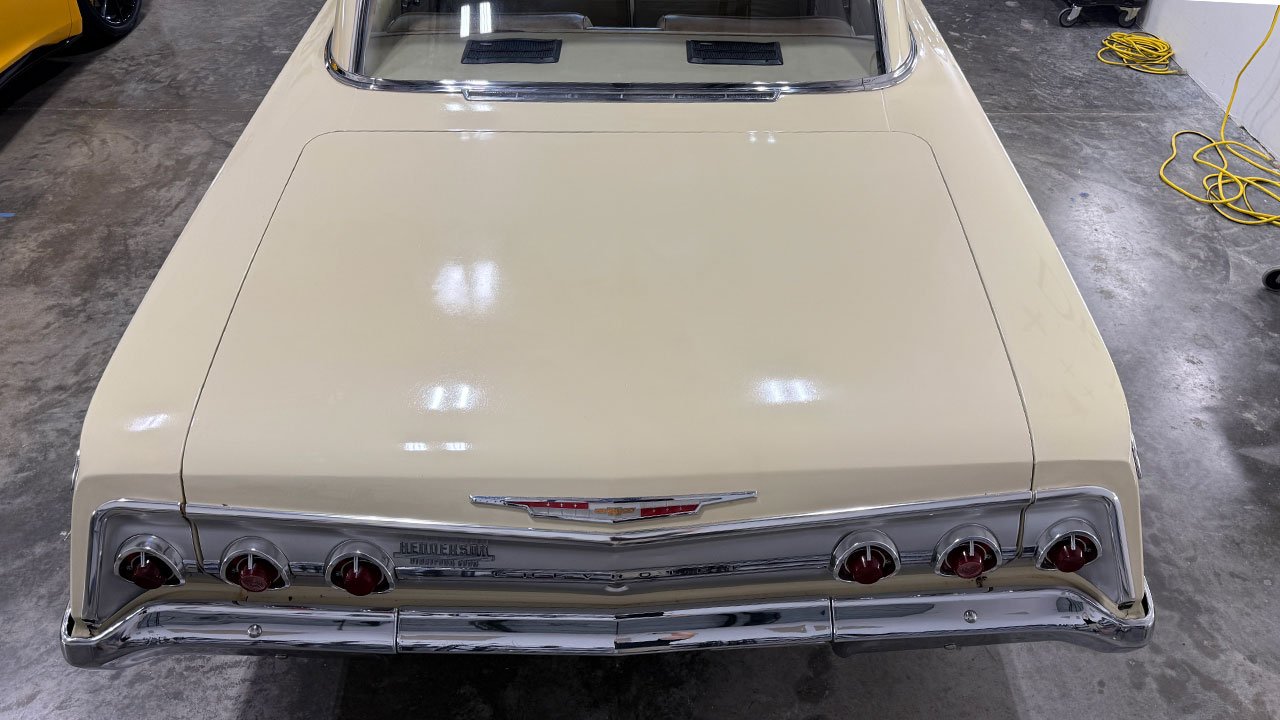
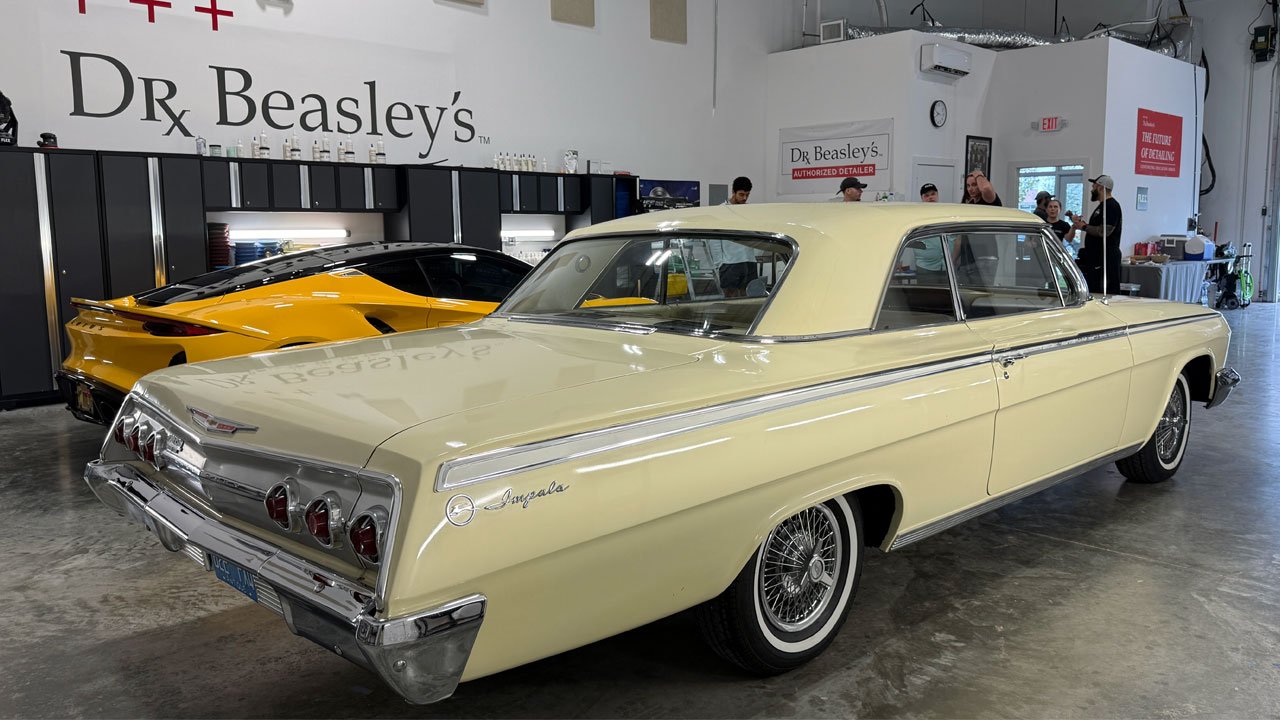
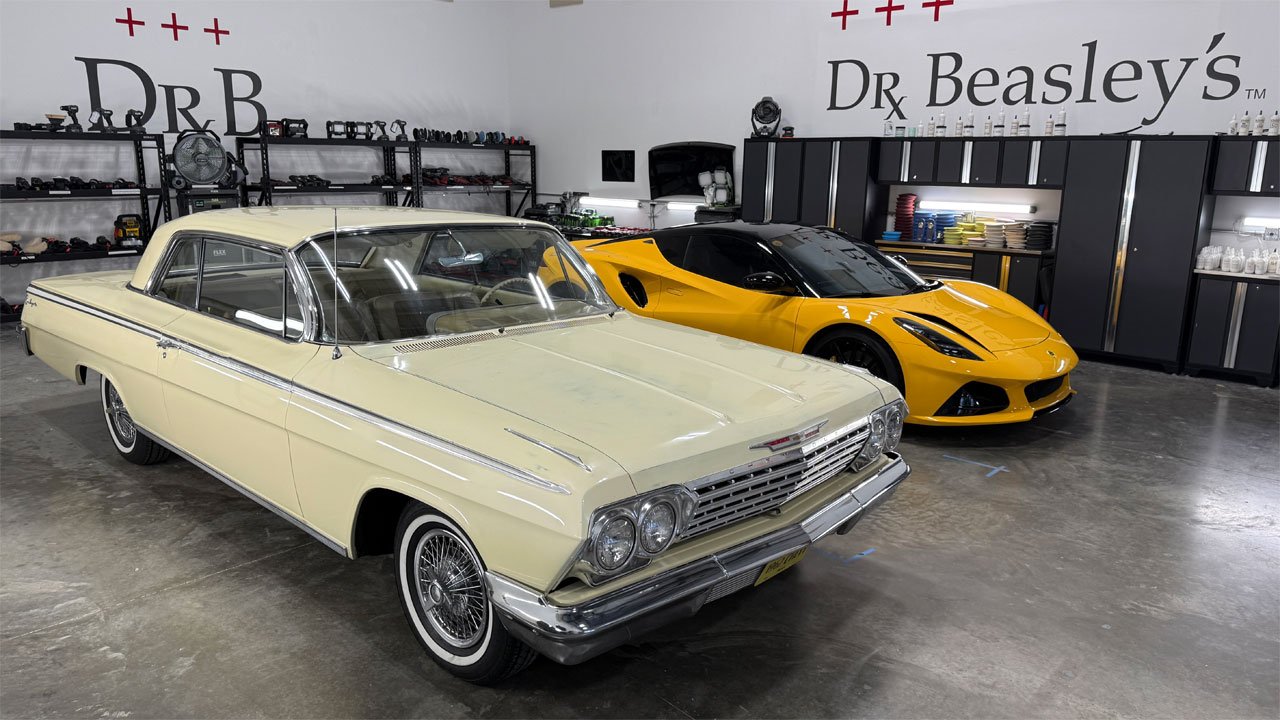
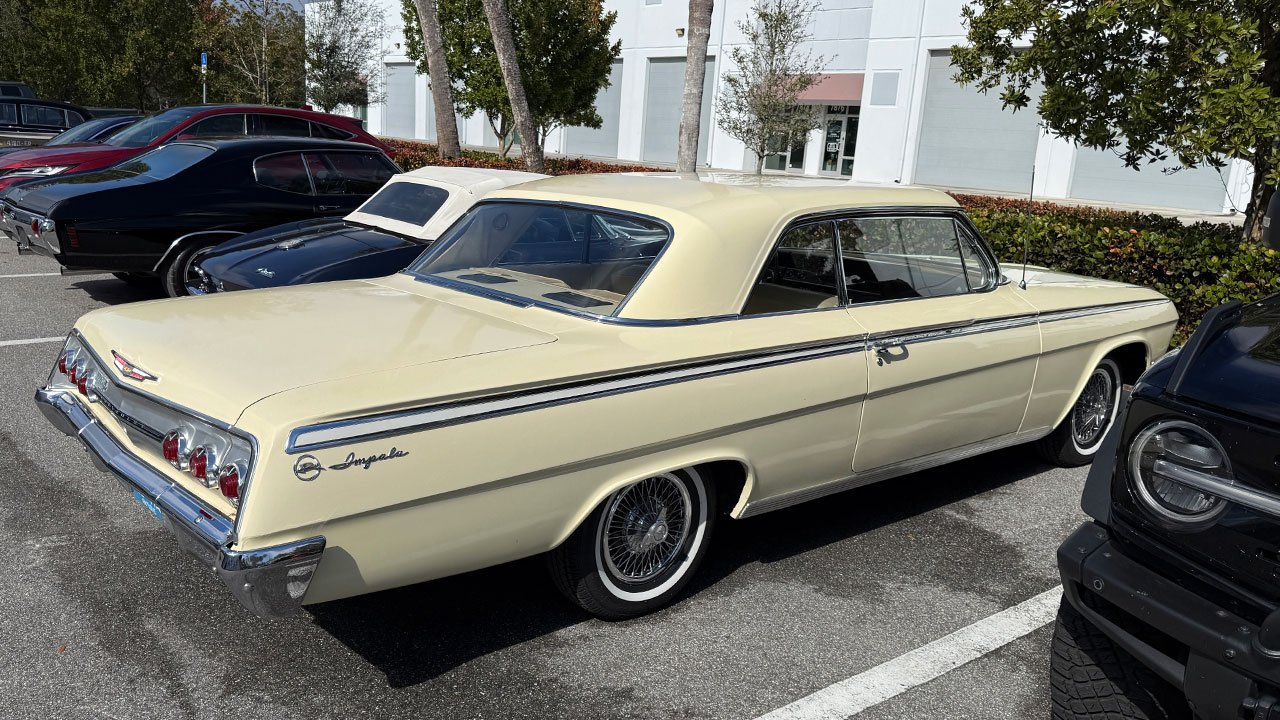
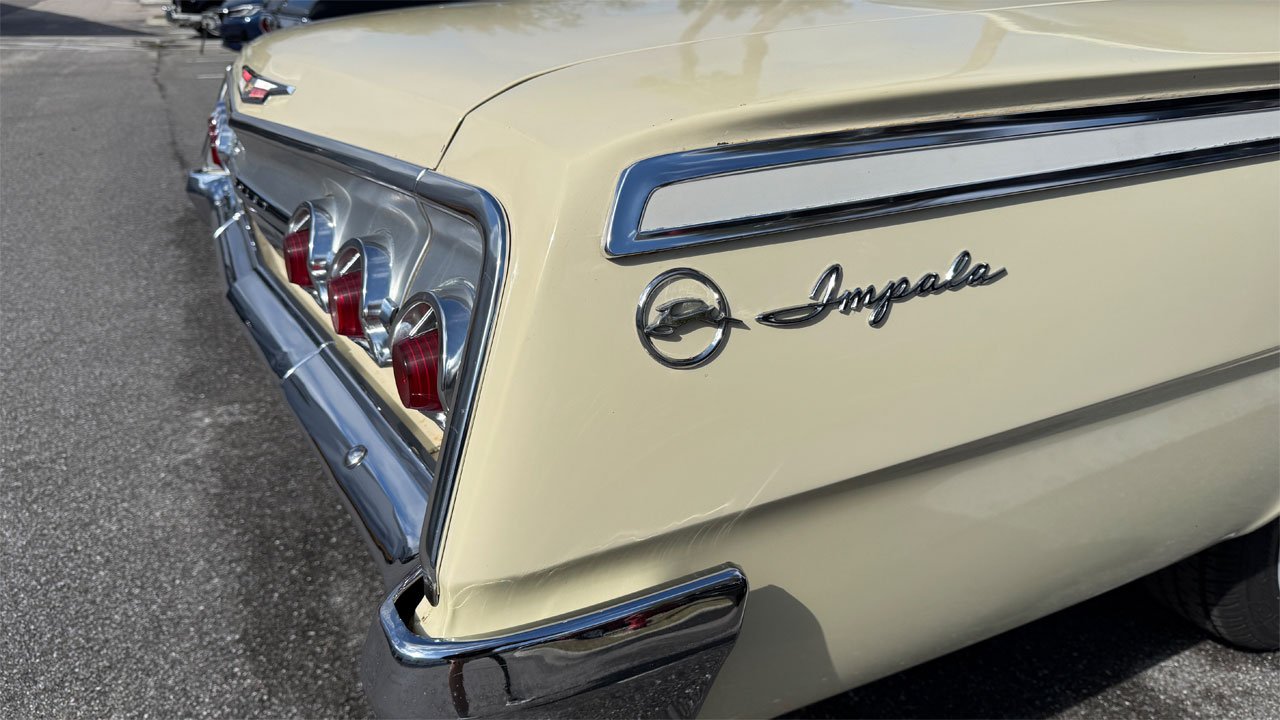
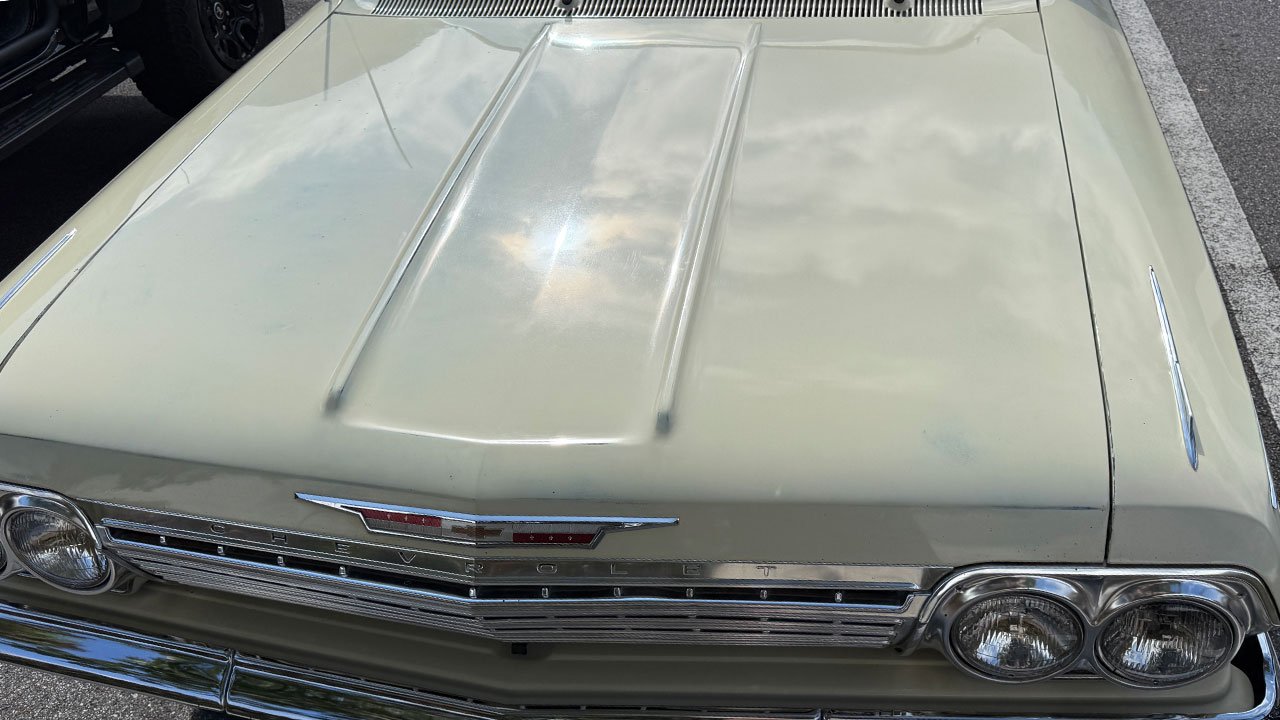
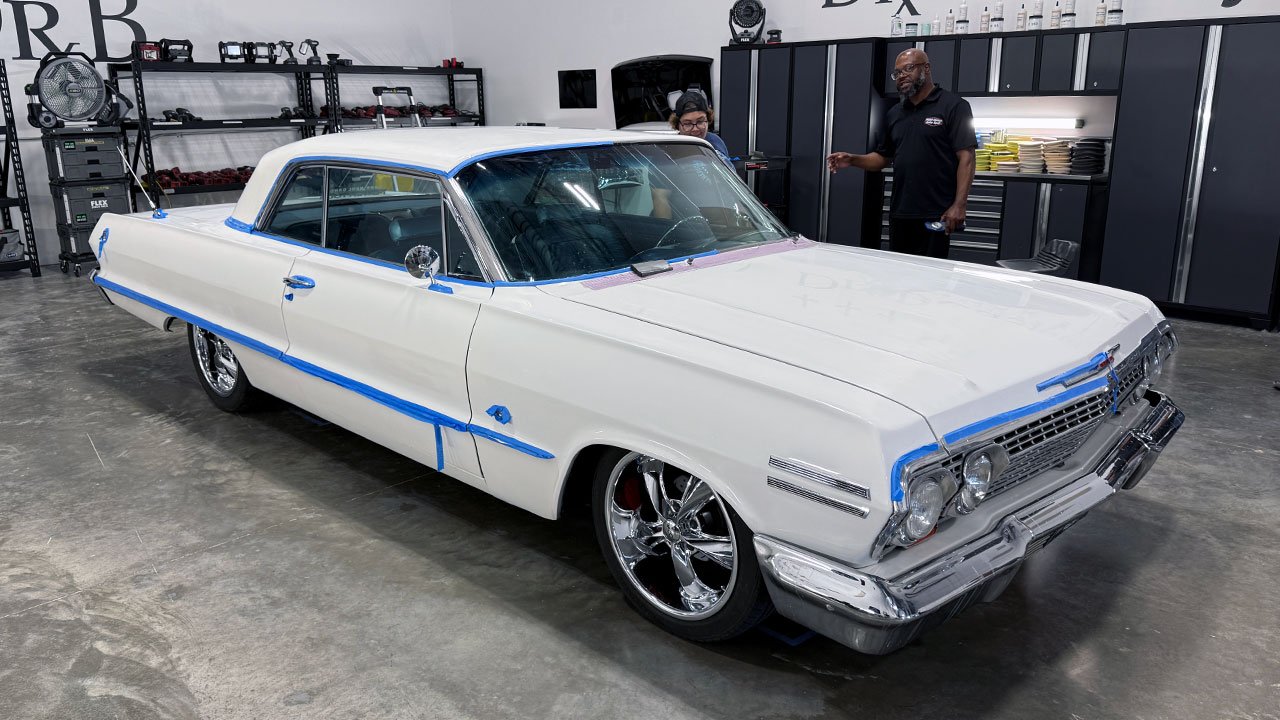
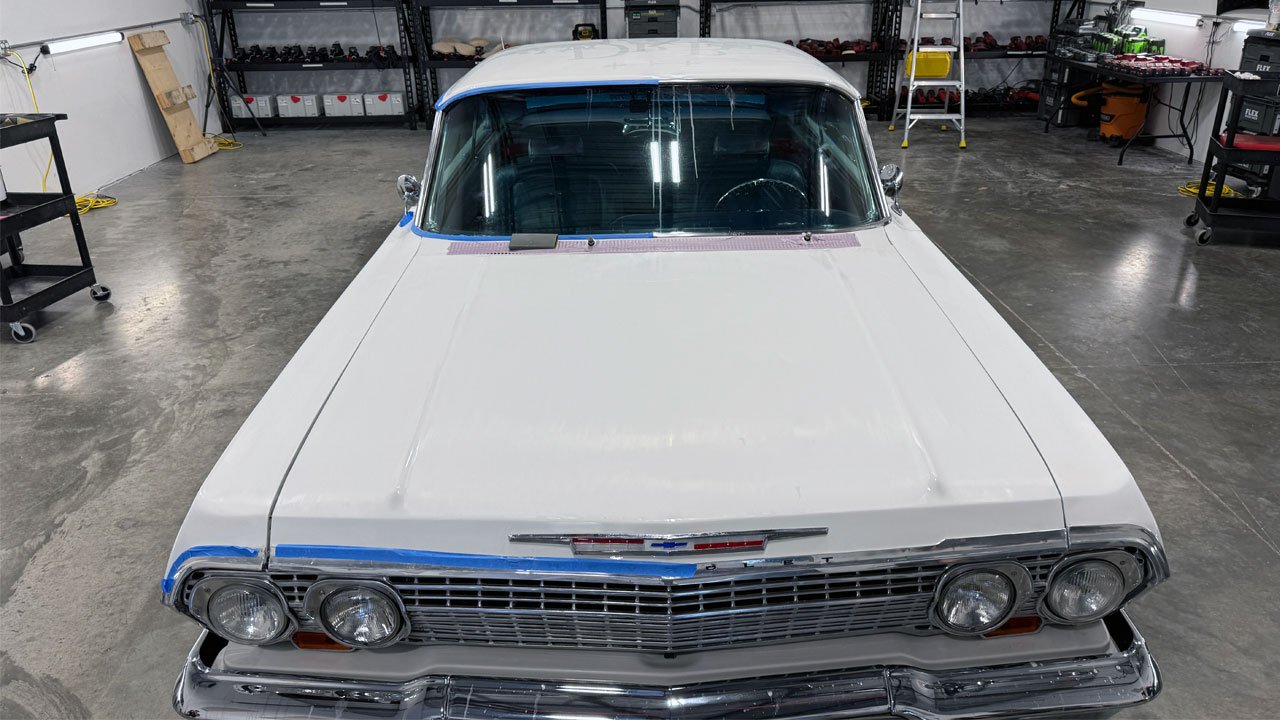
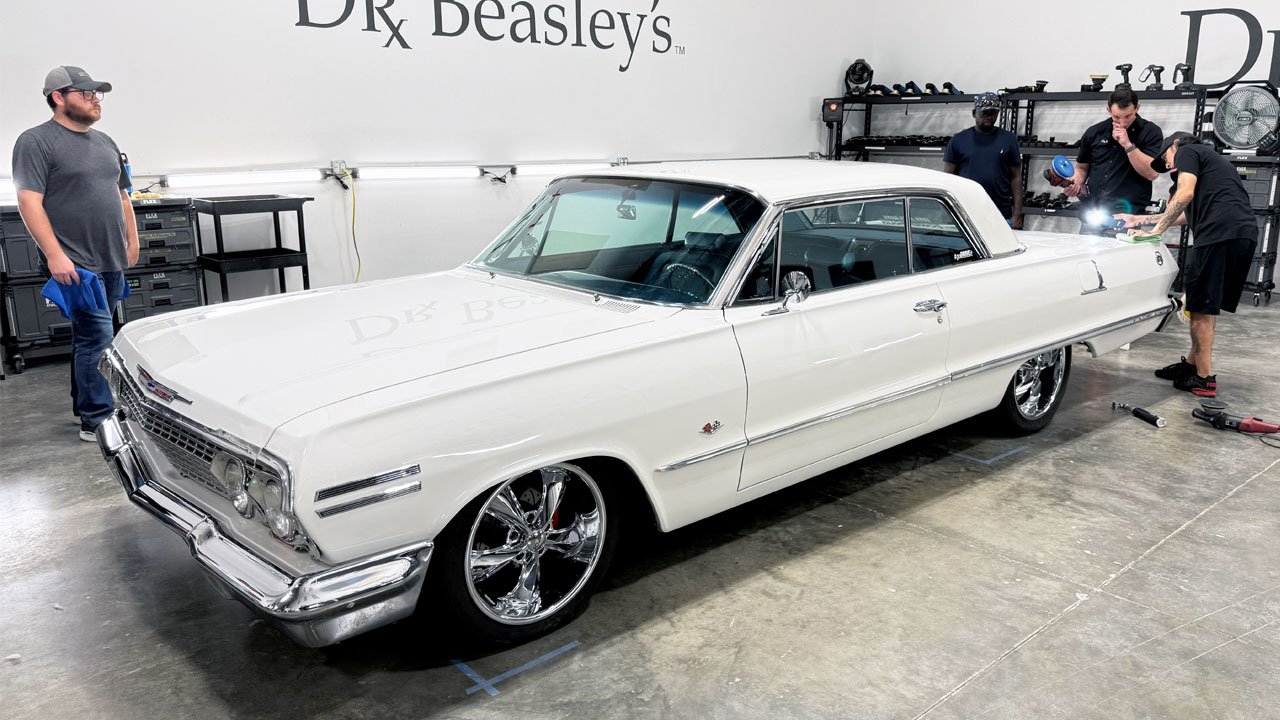
It all depends on my confidence in the topcoat thickness. And as a rule, I practice, preach and teach to ALWAYS try to contact the painter and explain you're going to sand one of their paint jobs and simply ASK THEM - How much clear did you spray on this 1963 Impala, which I did and my buddy Jeff said he sprayed 4 solid coats of clear over the white basecoat.
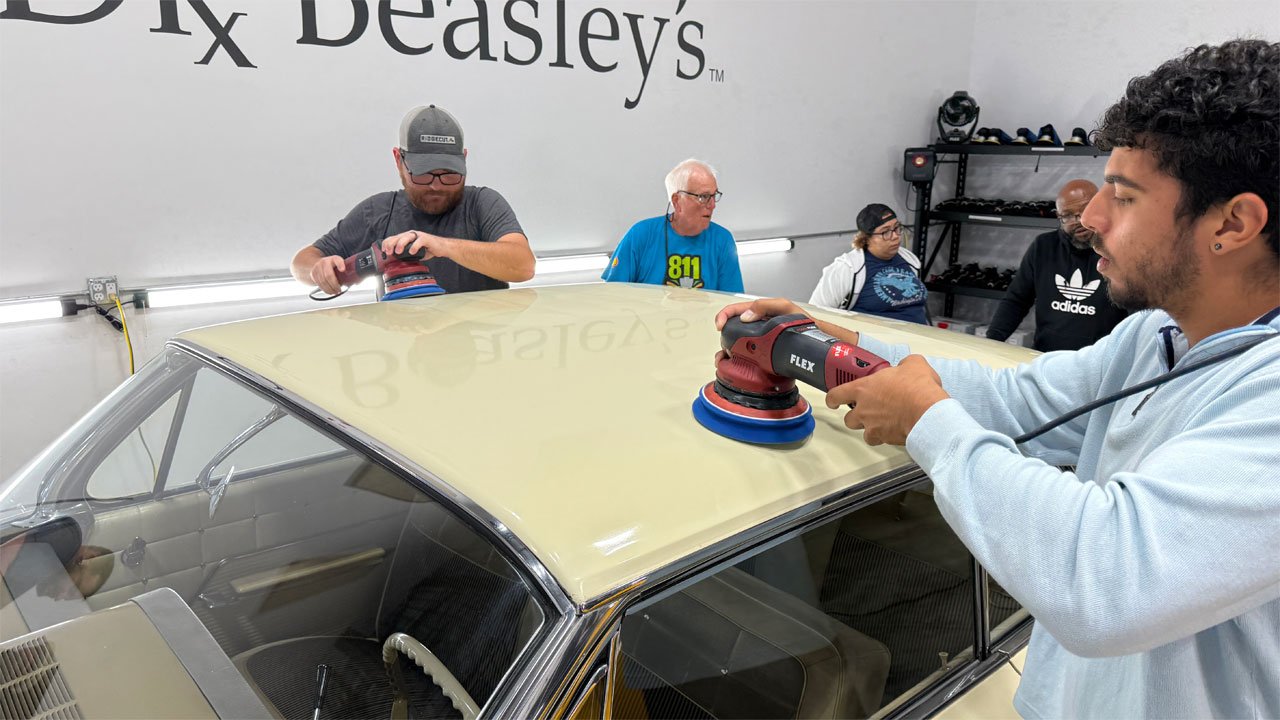
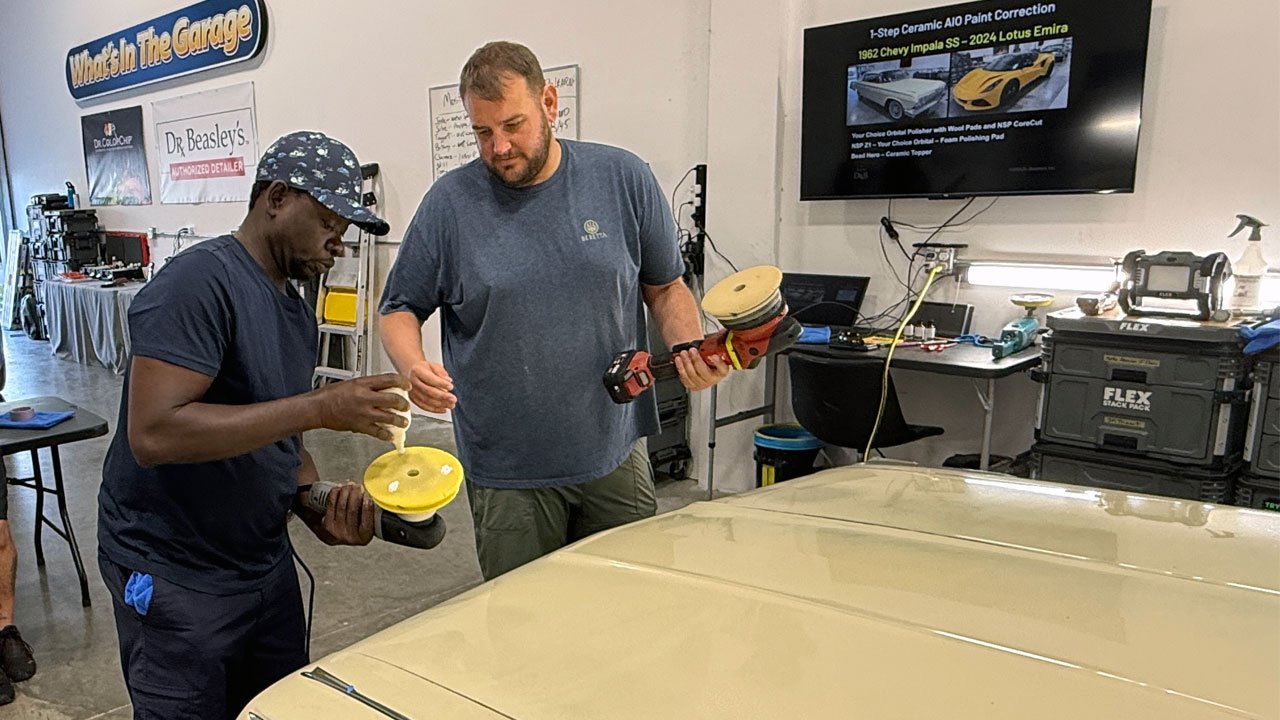
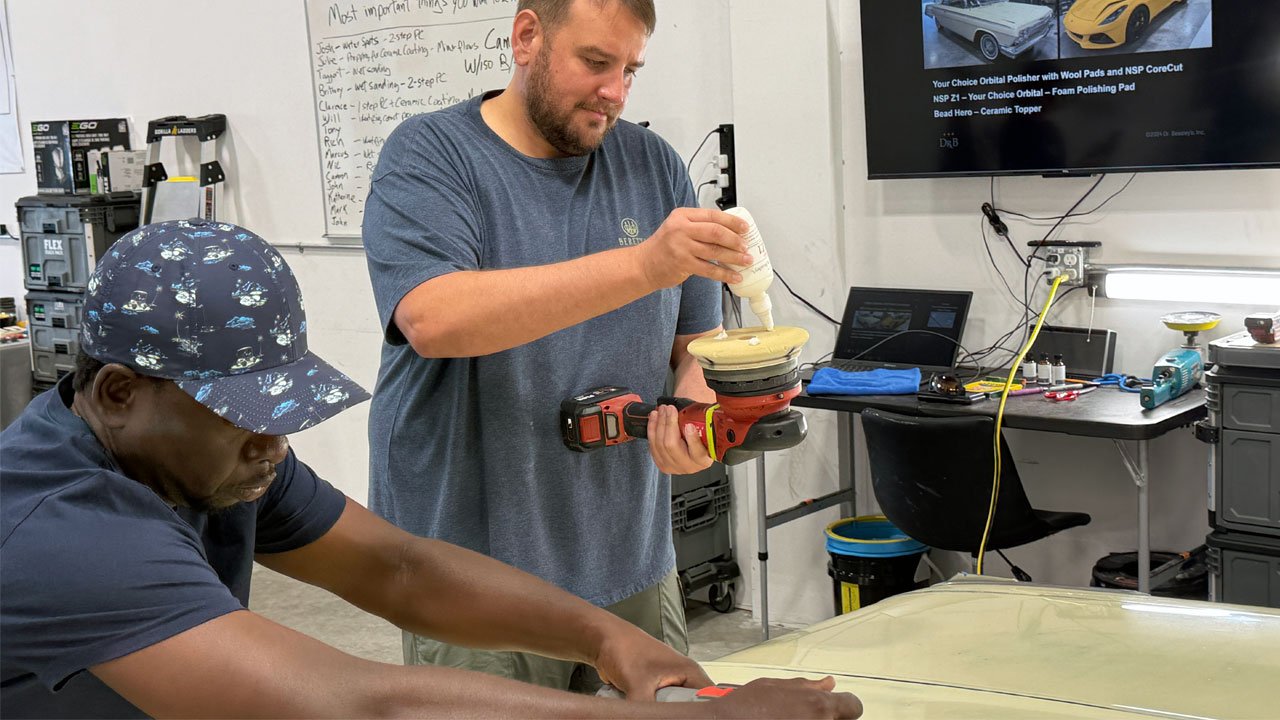
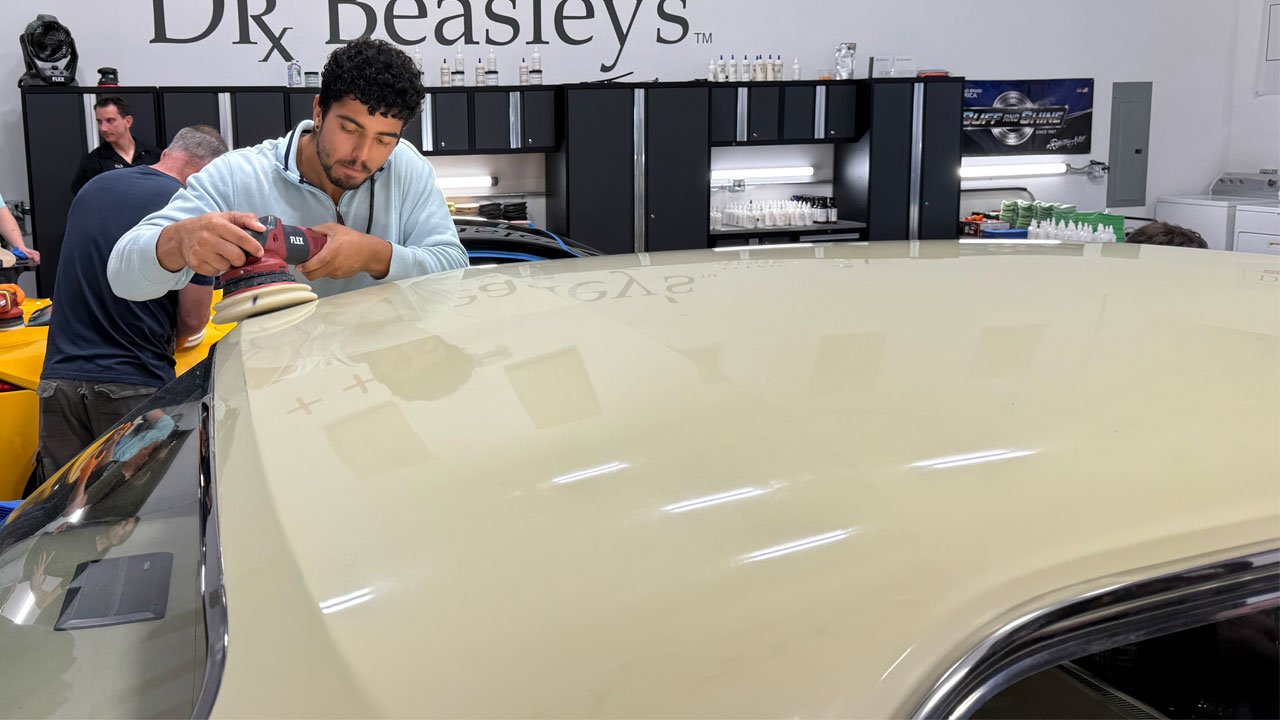
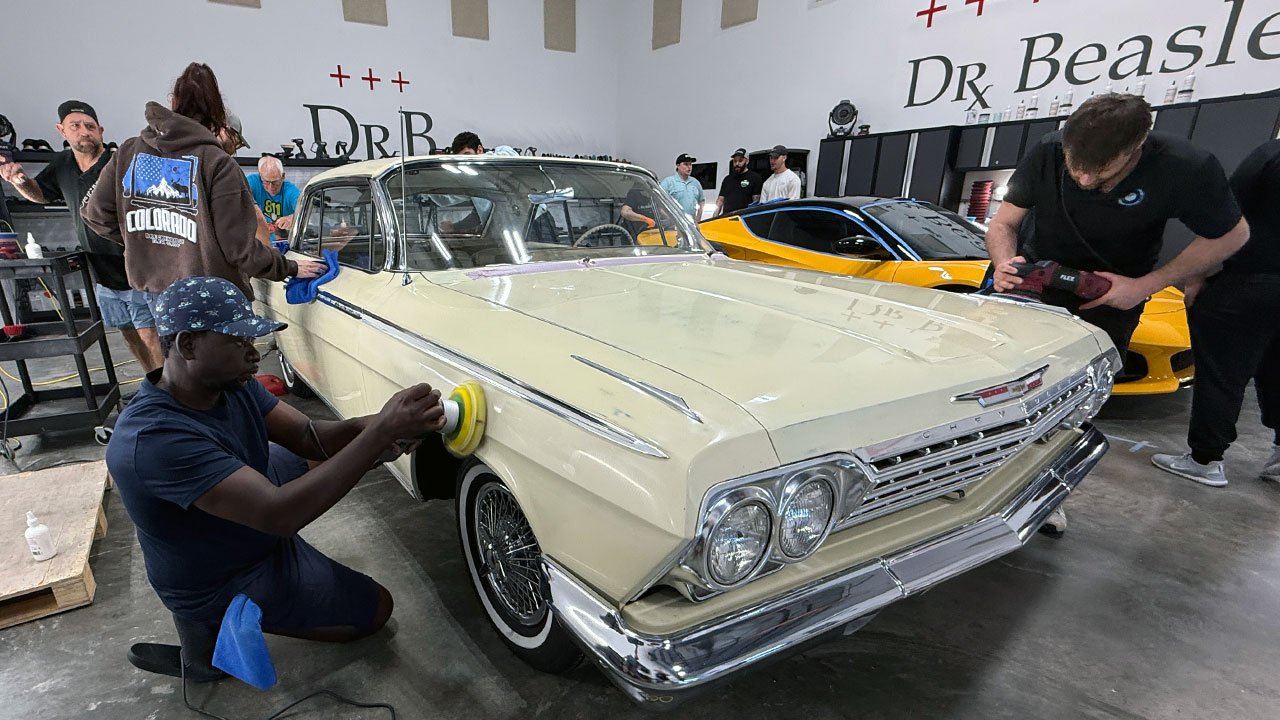
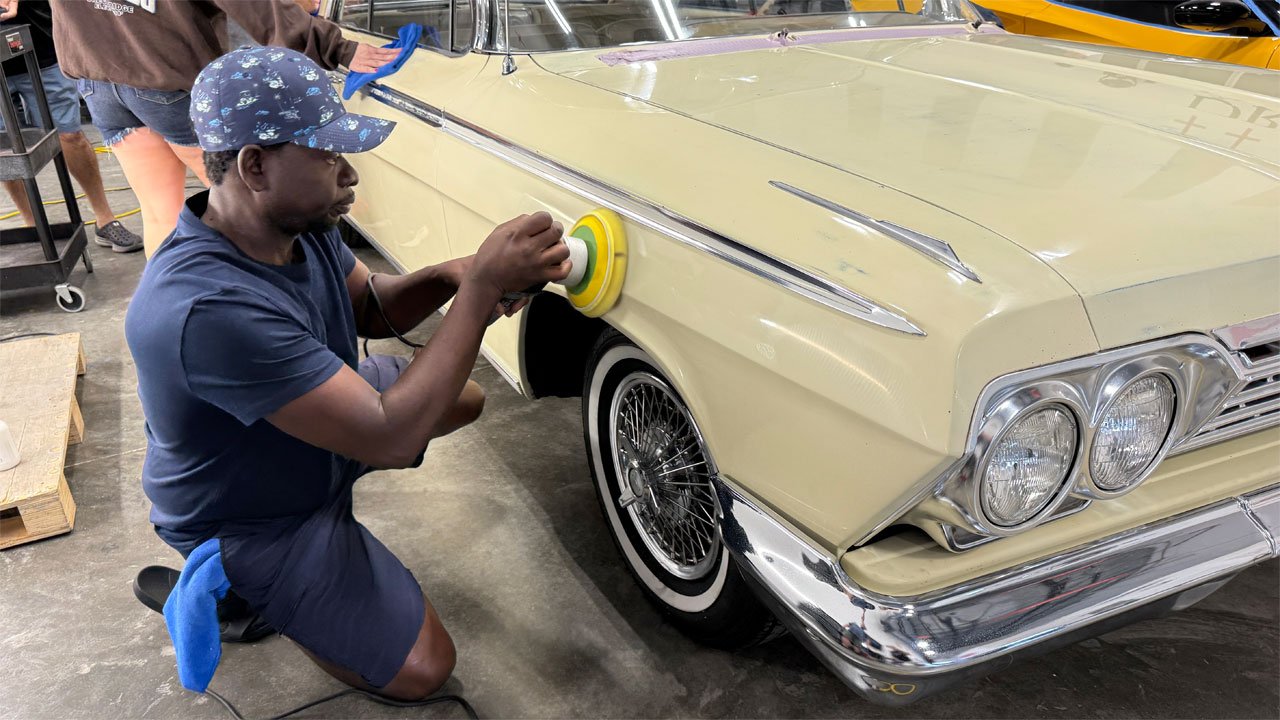
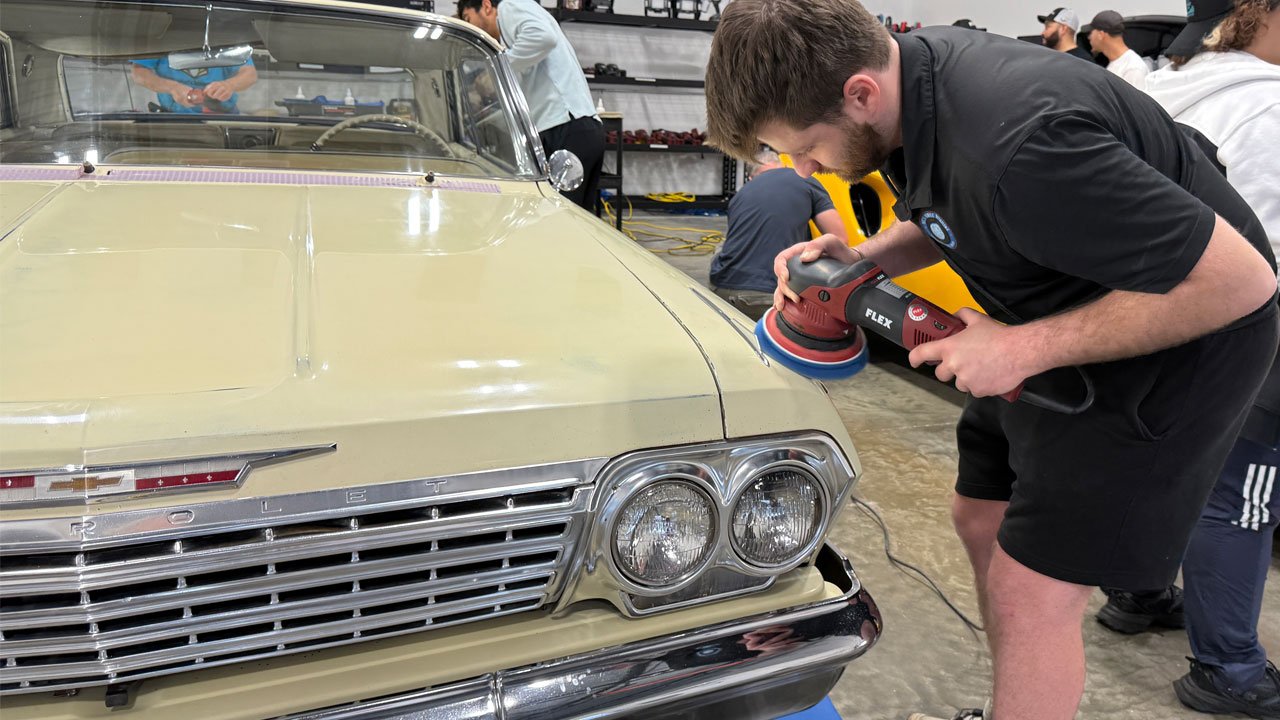
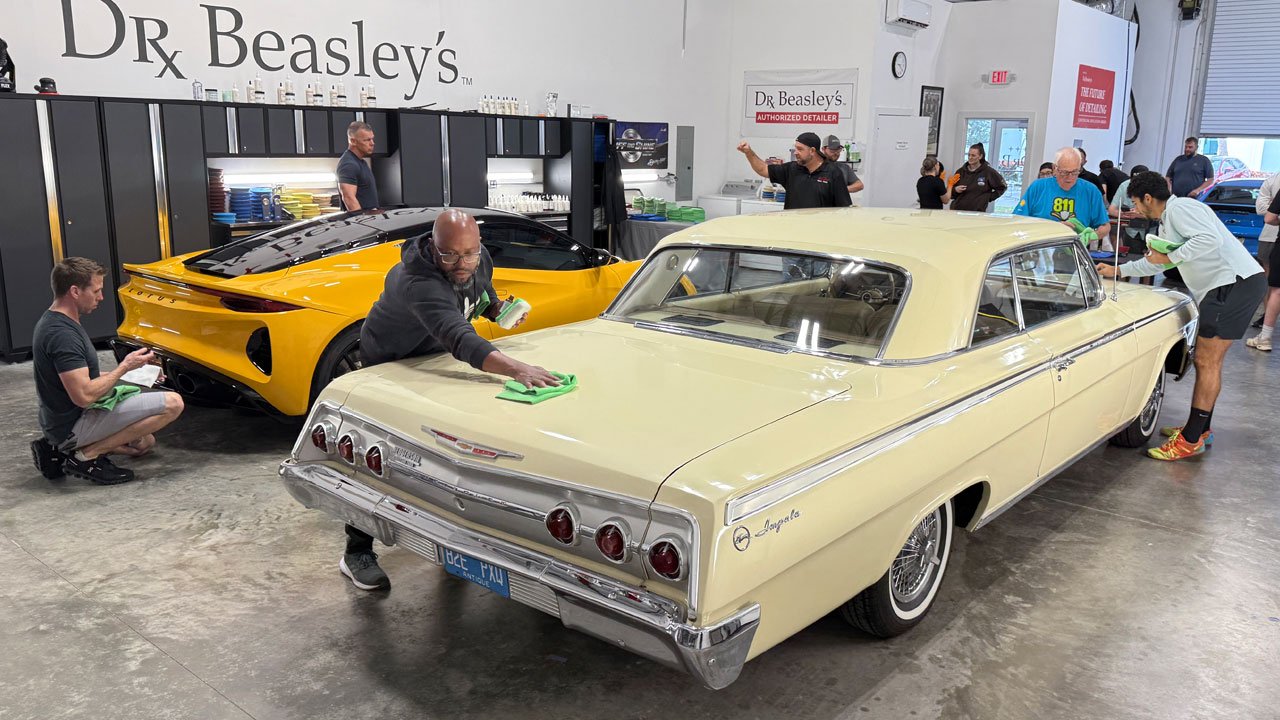
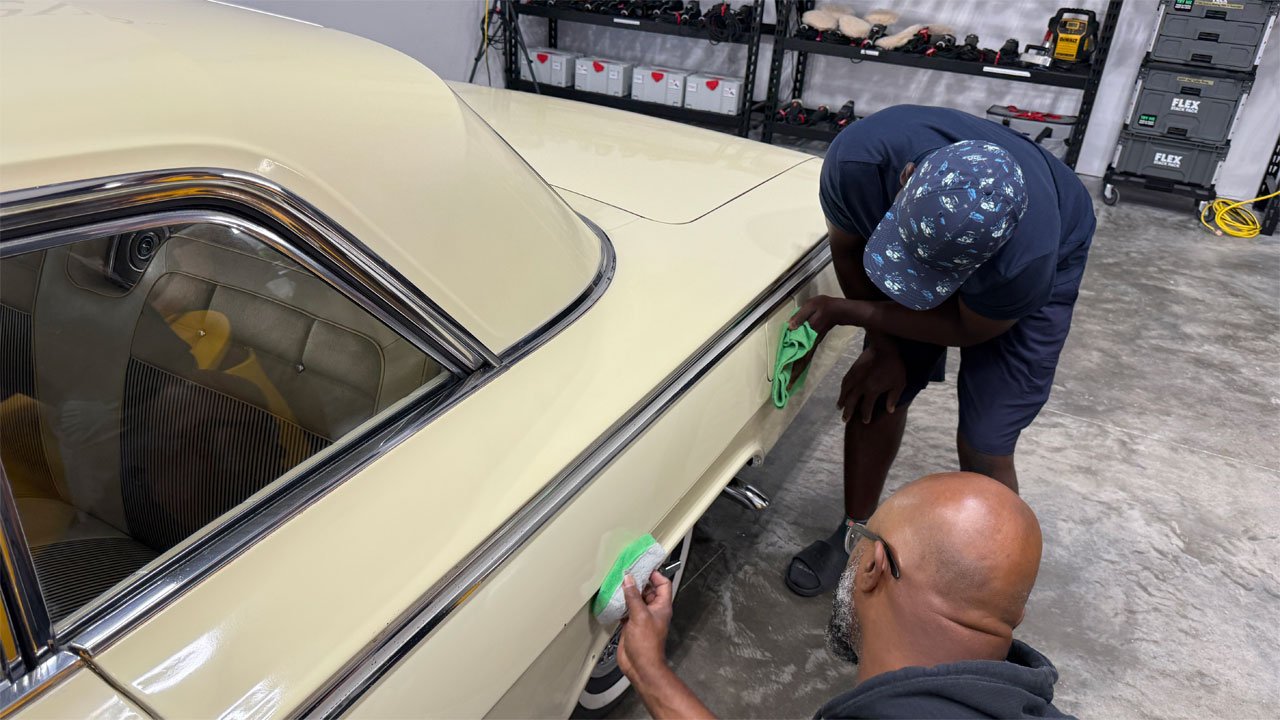
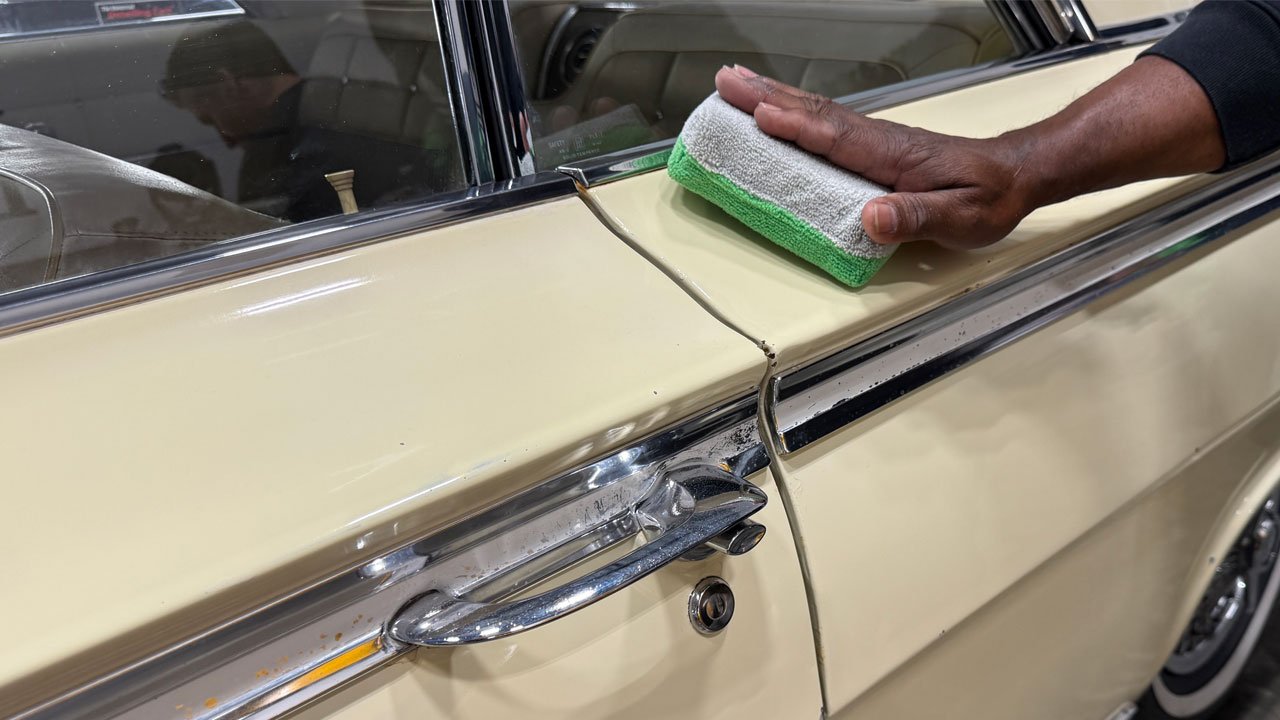
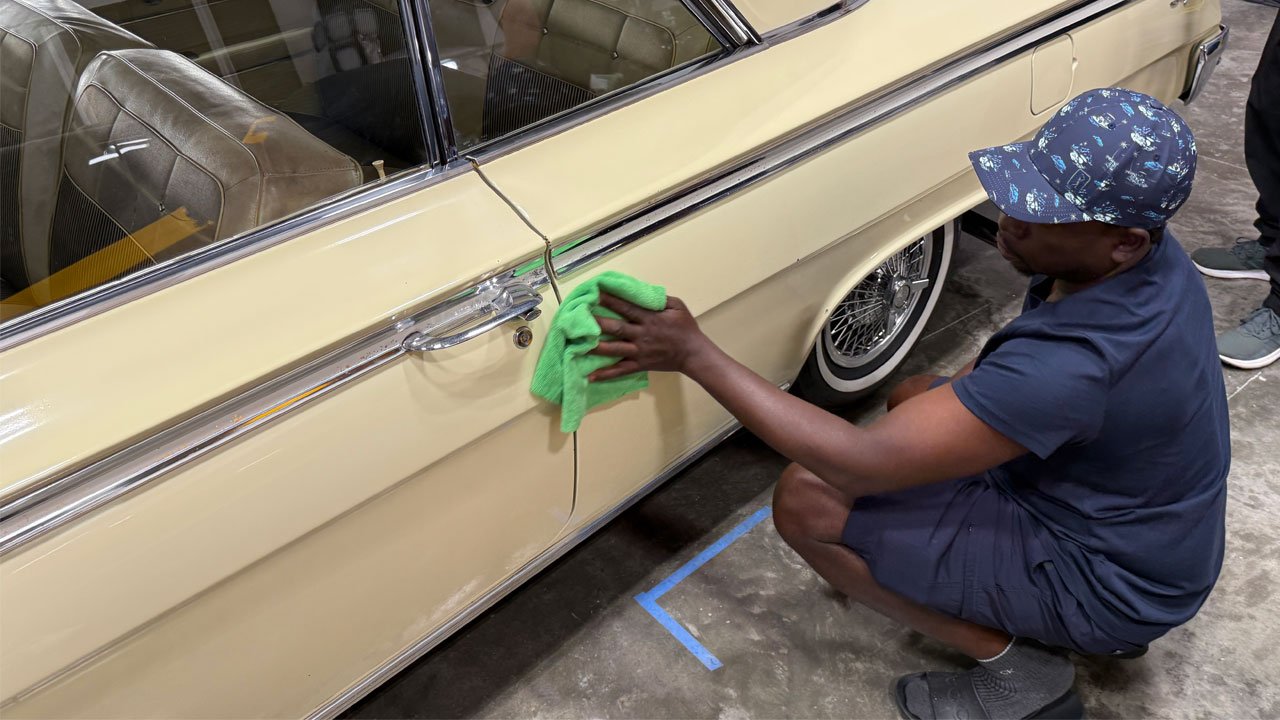
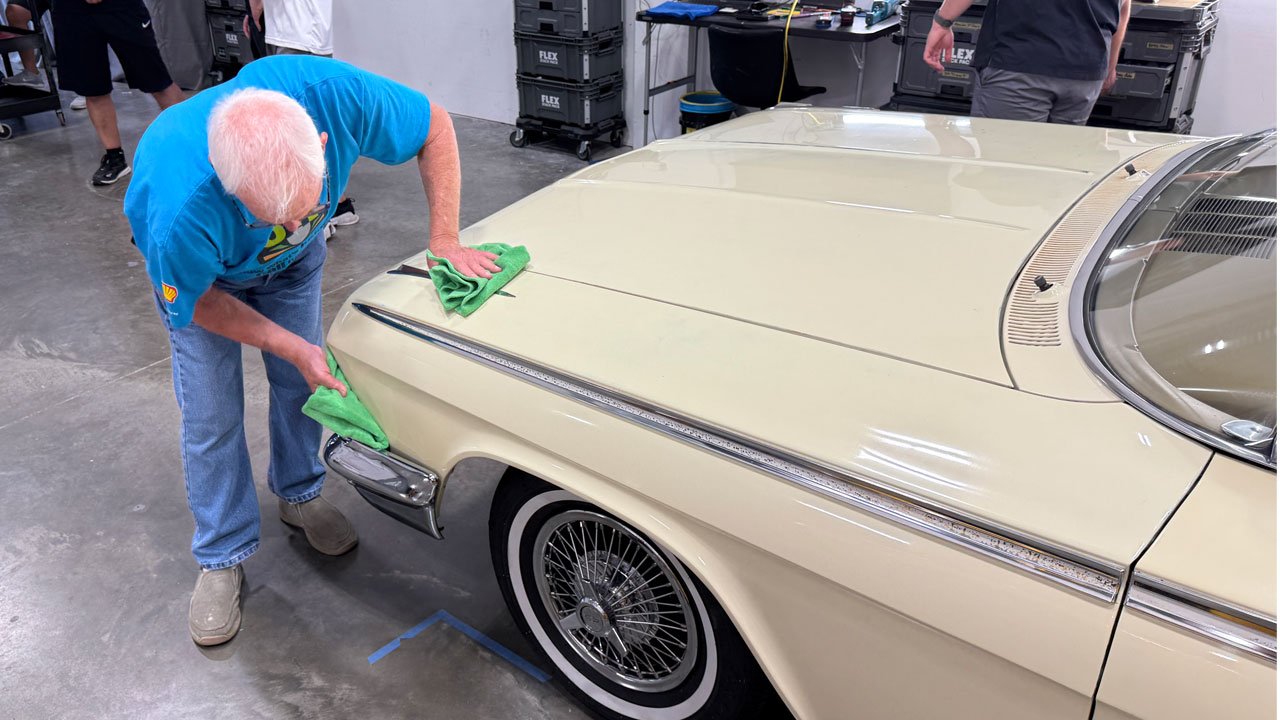
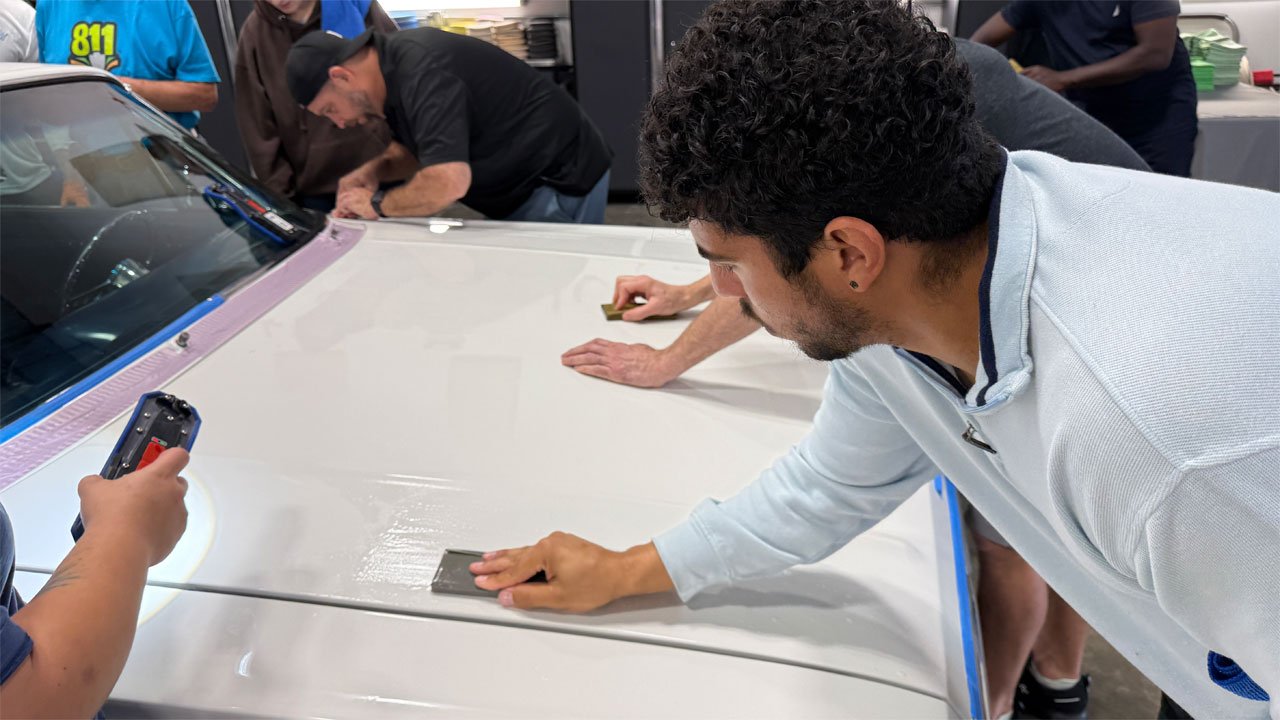
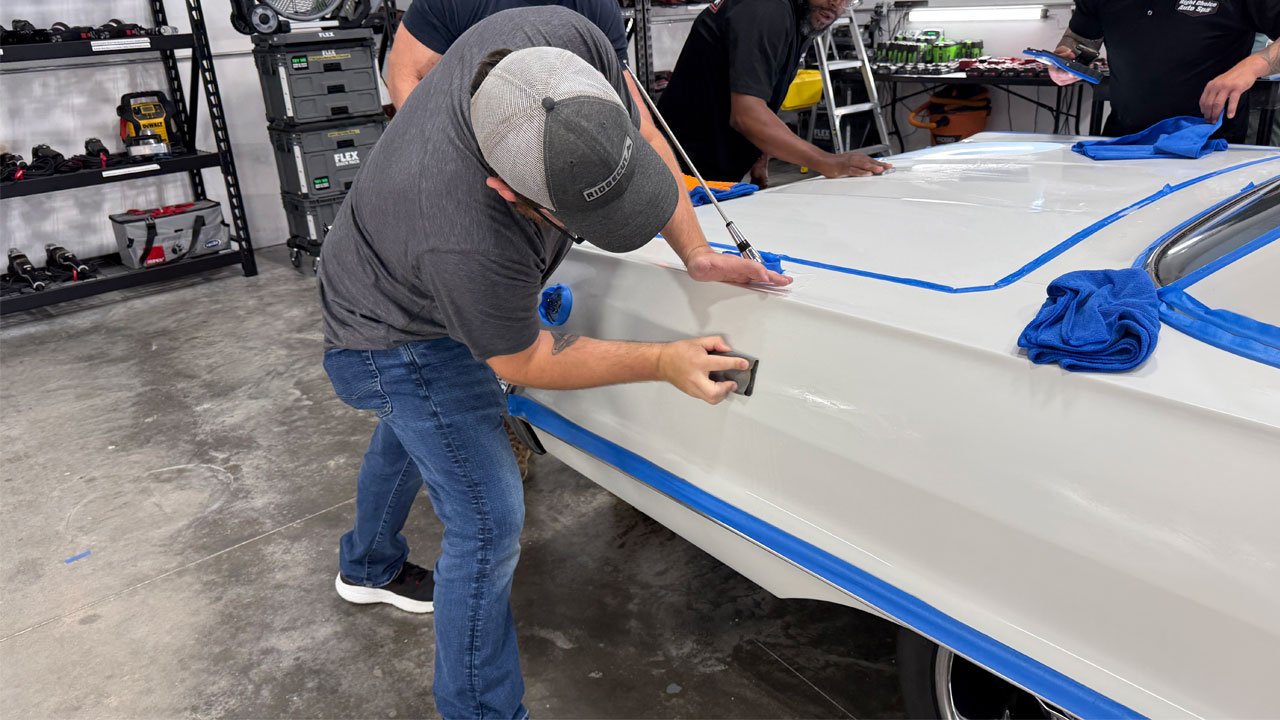
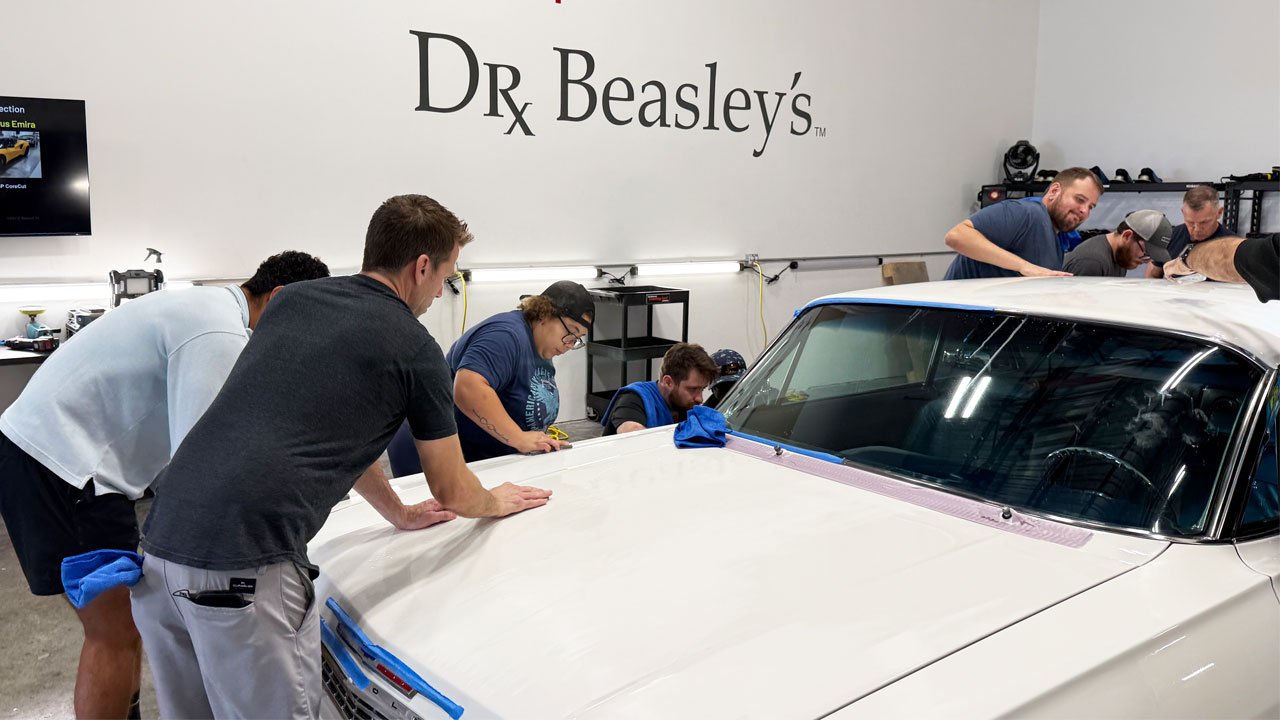
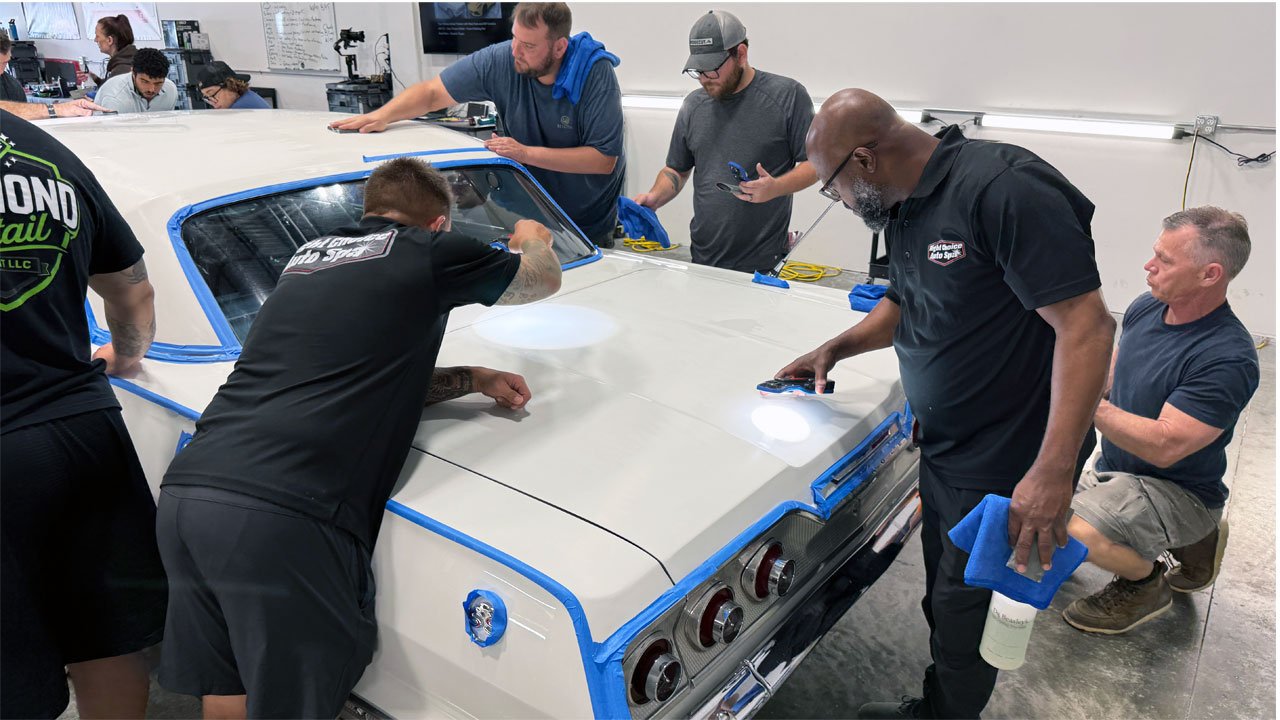
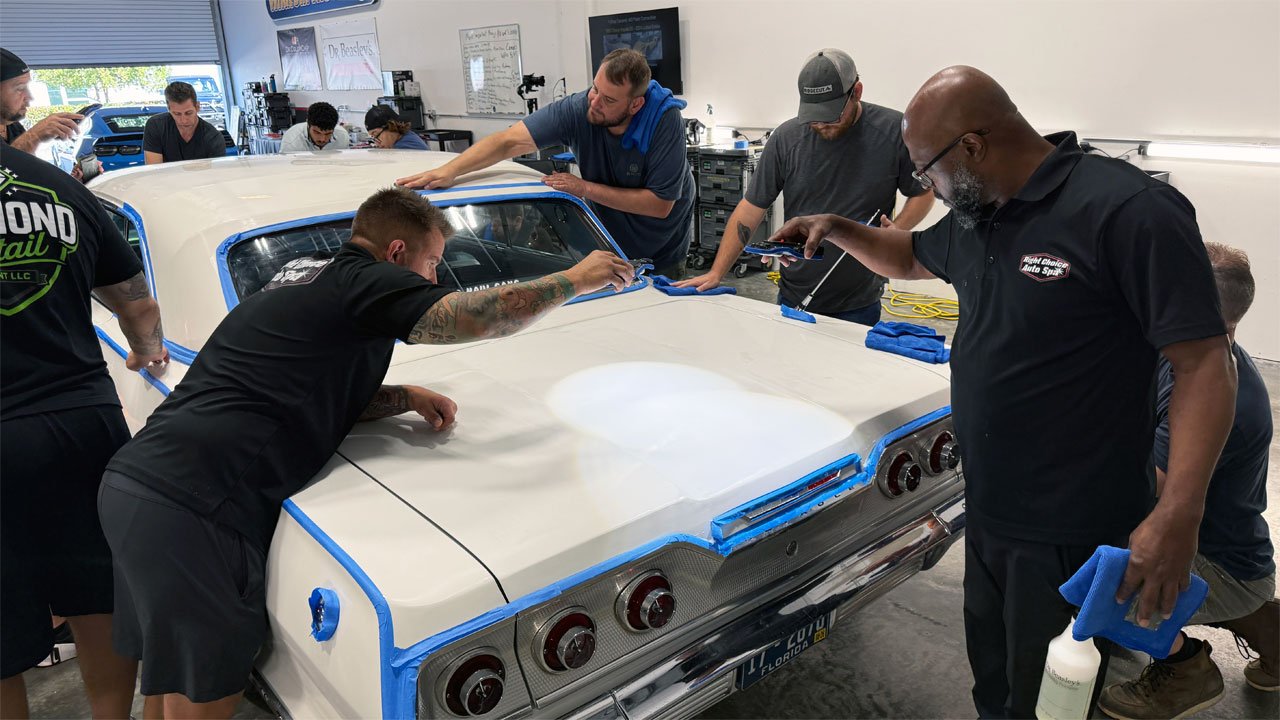
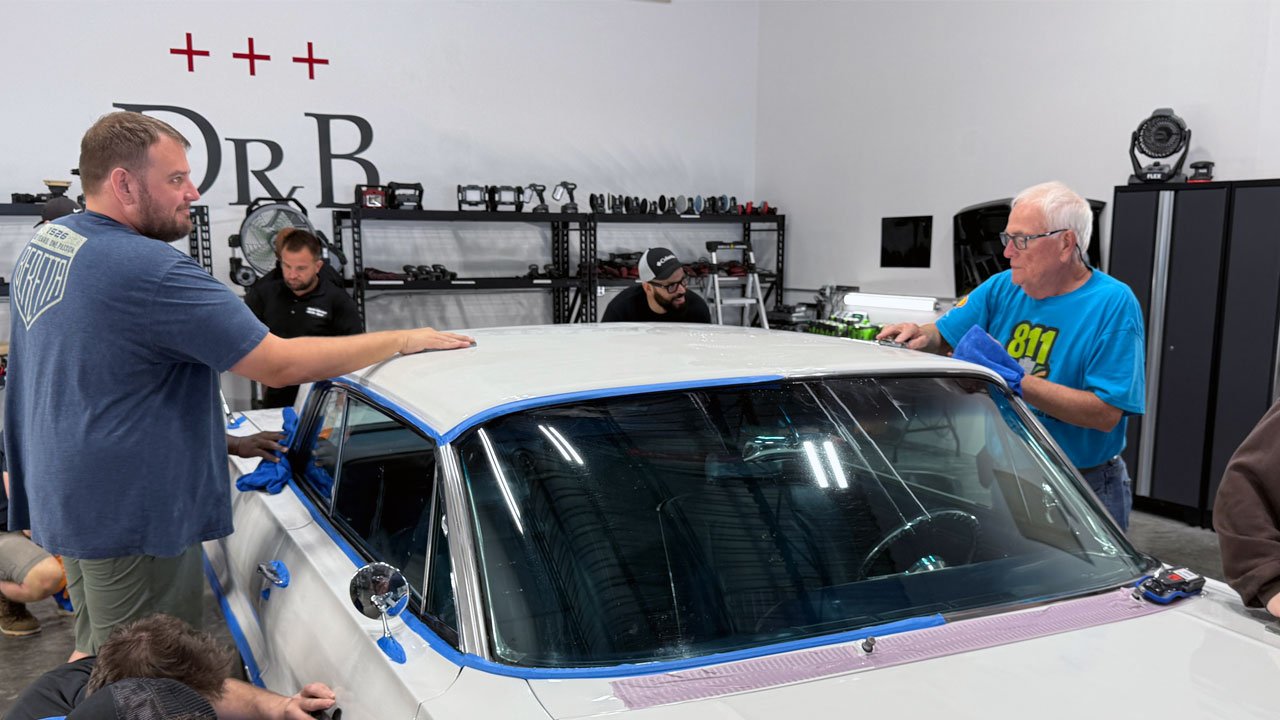
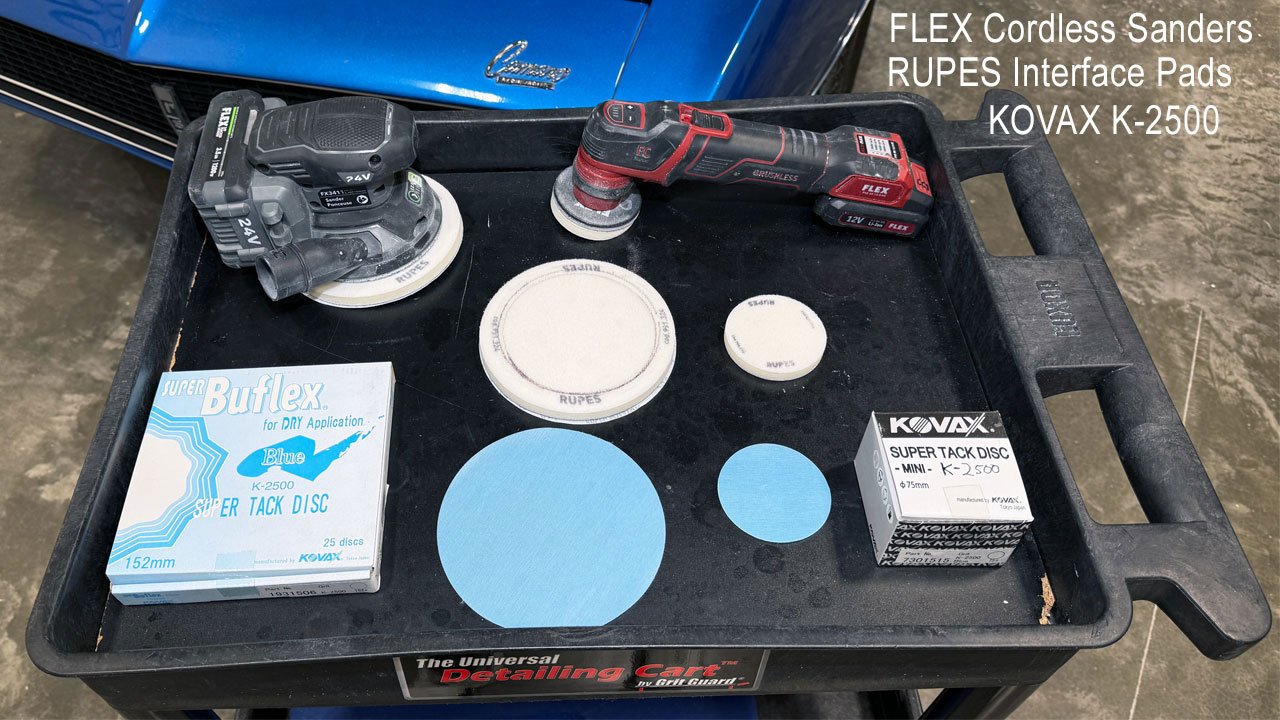
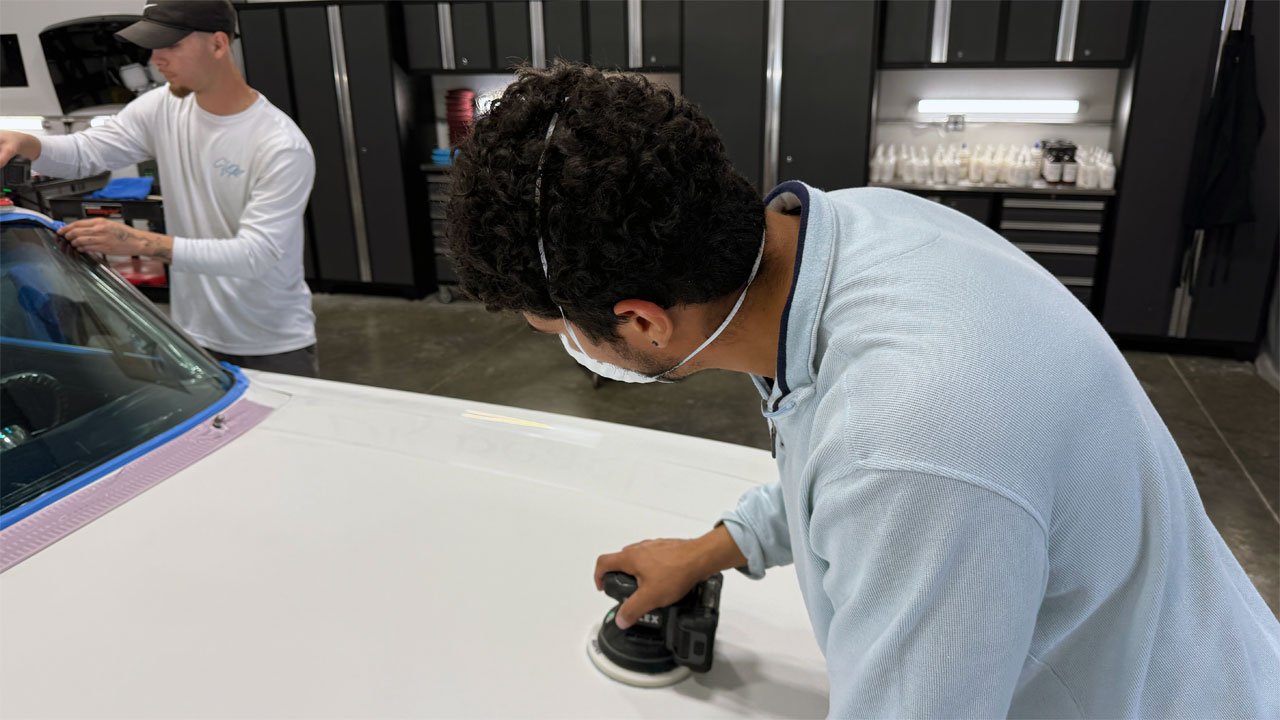
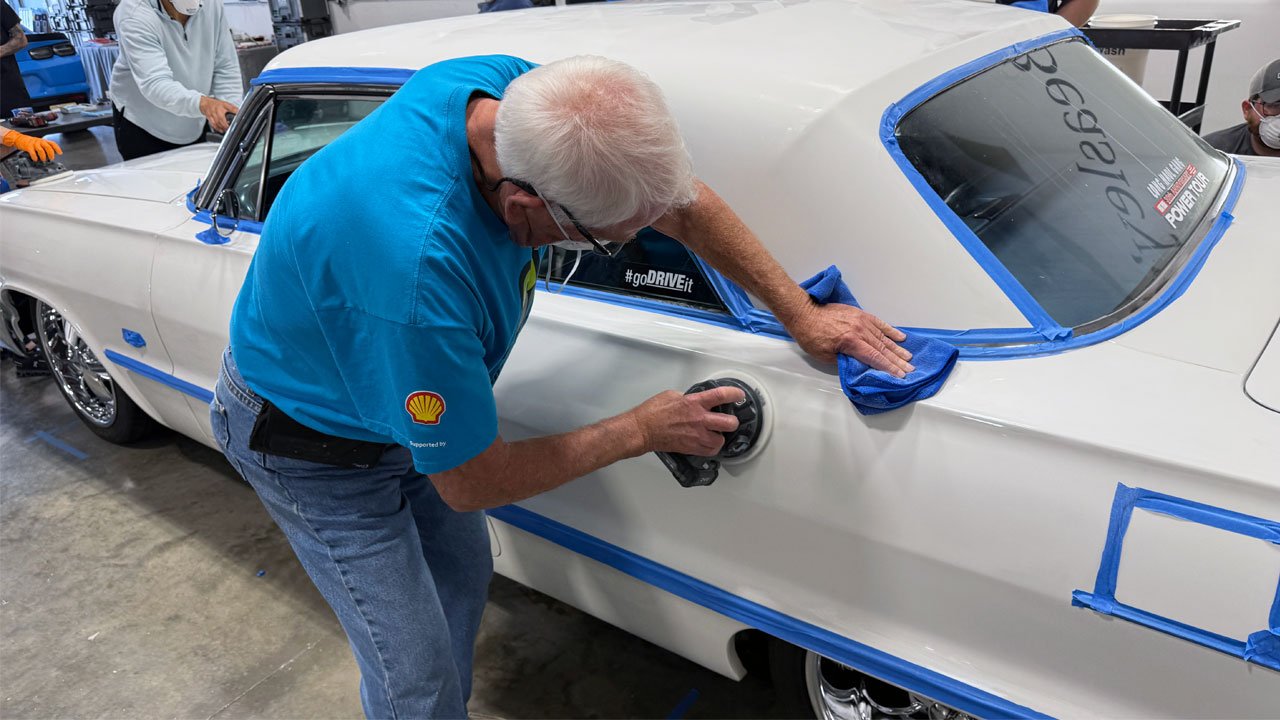
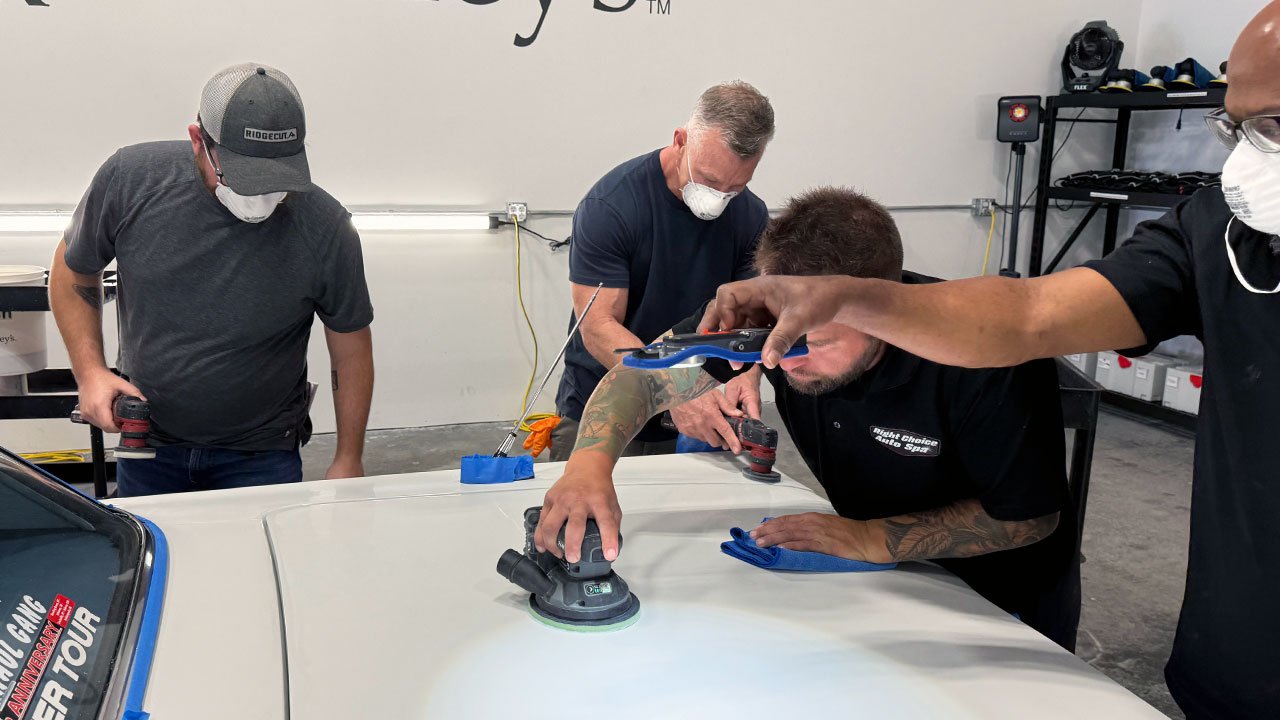
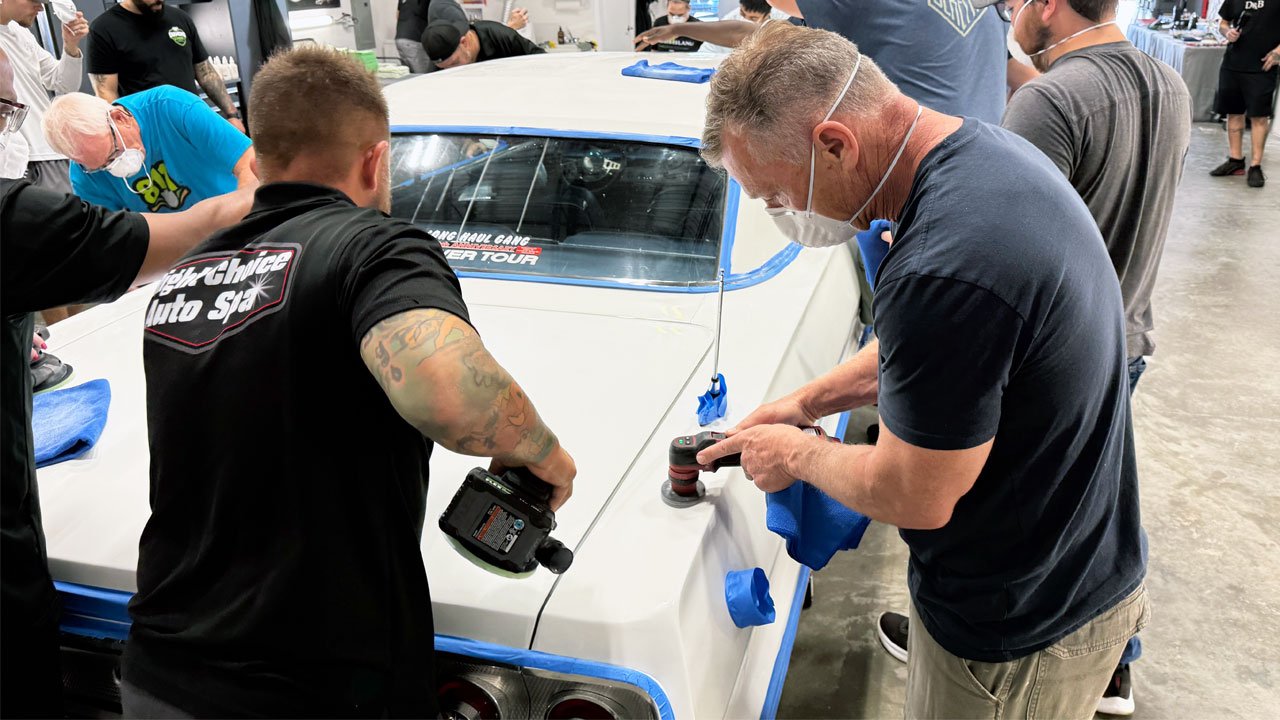
Here you can see all the tools we used for the 1963 Impala SS
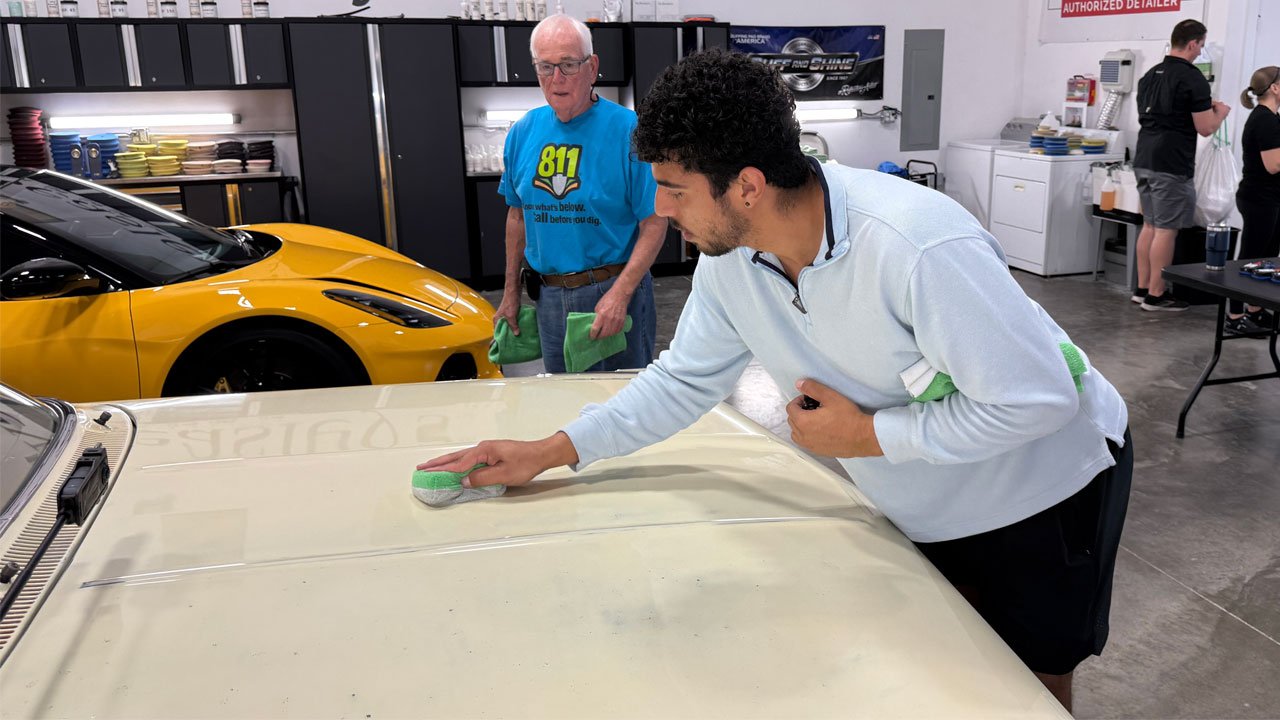
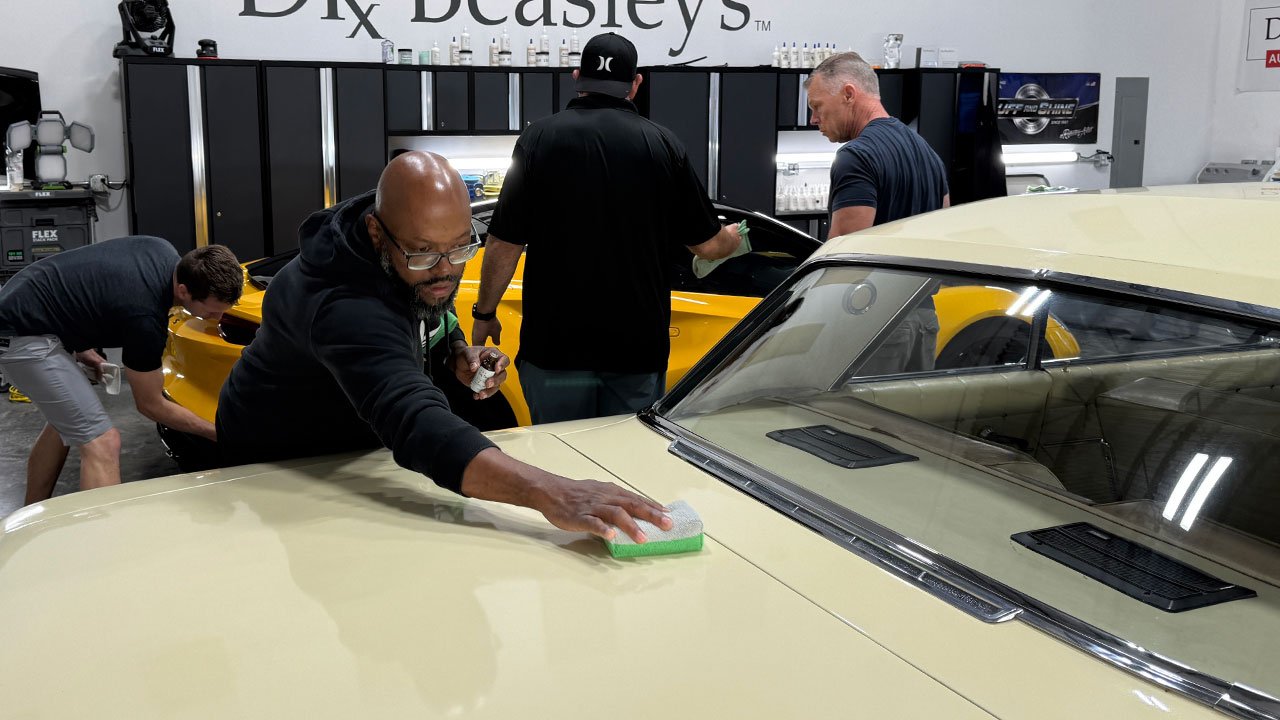
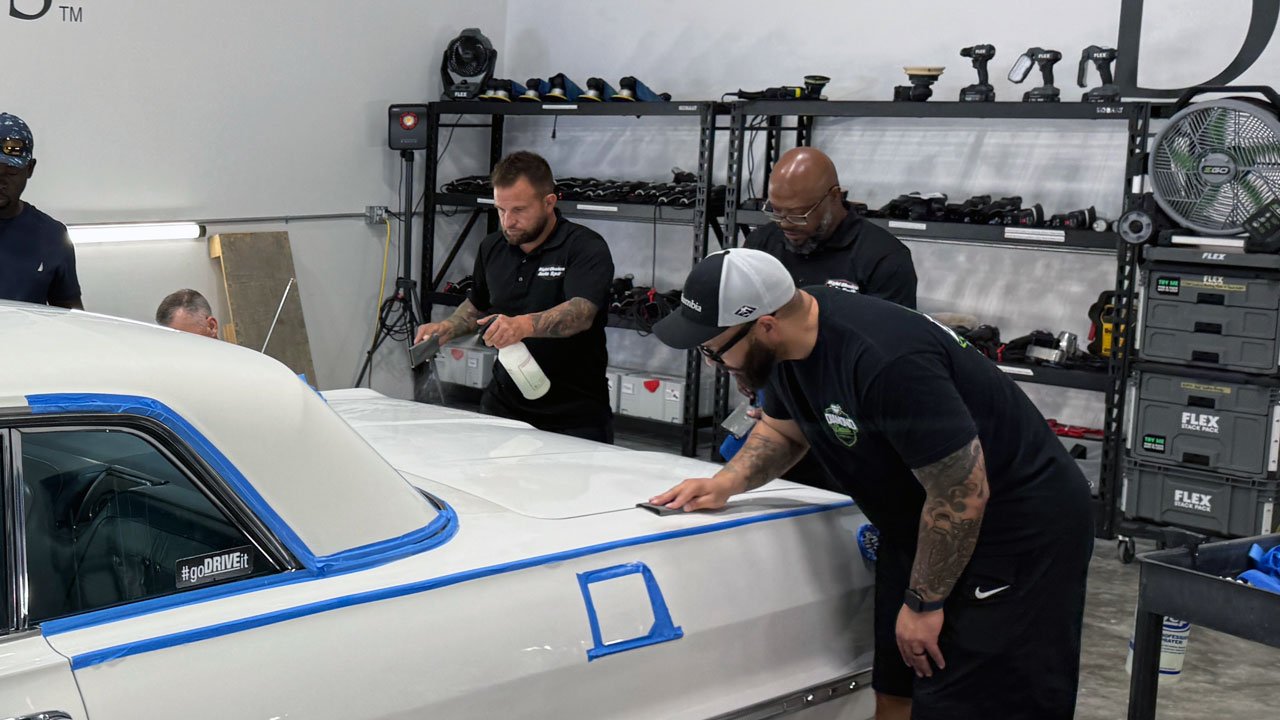
It's GO TIME!
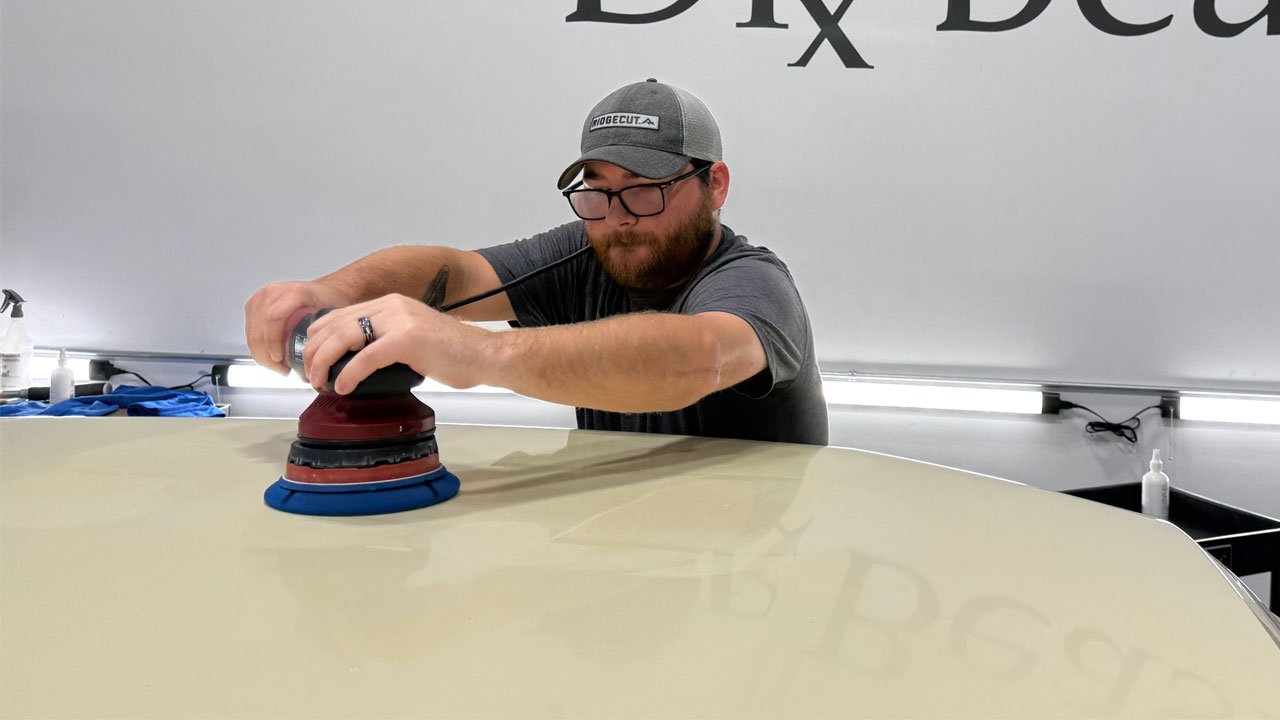
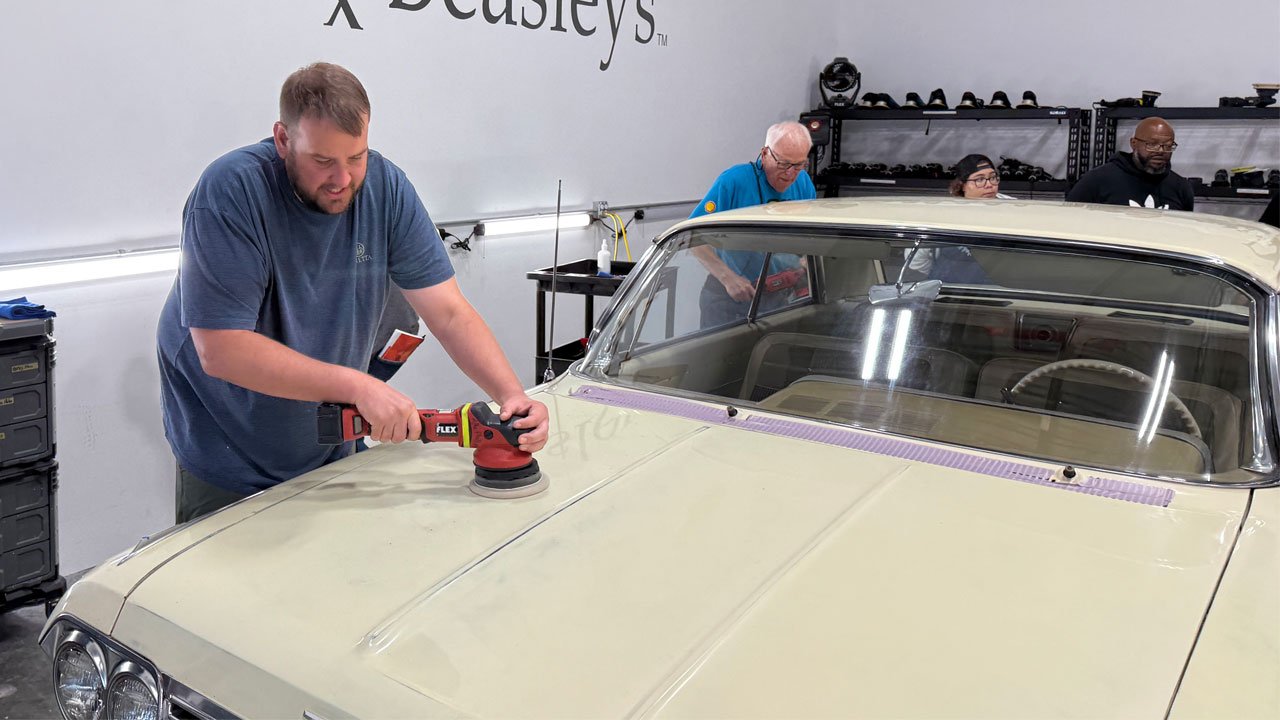
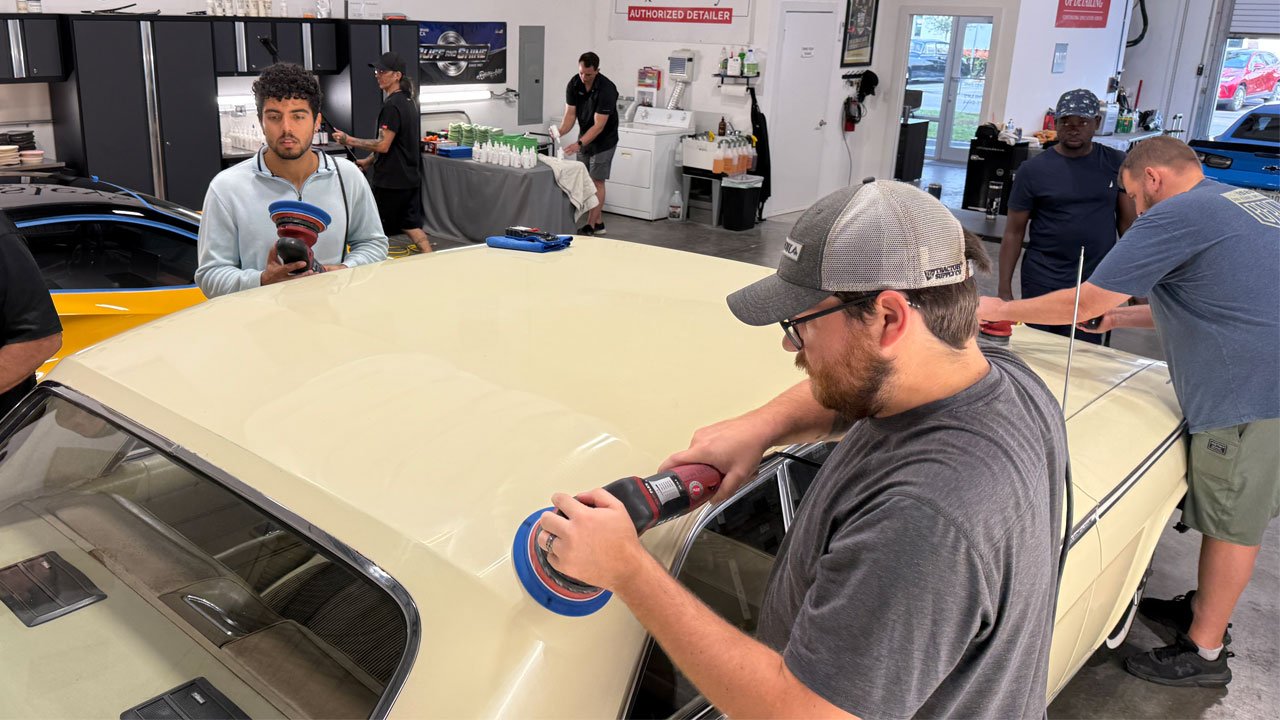
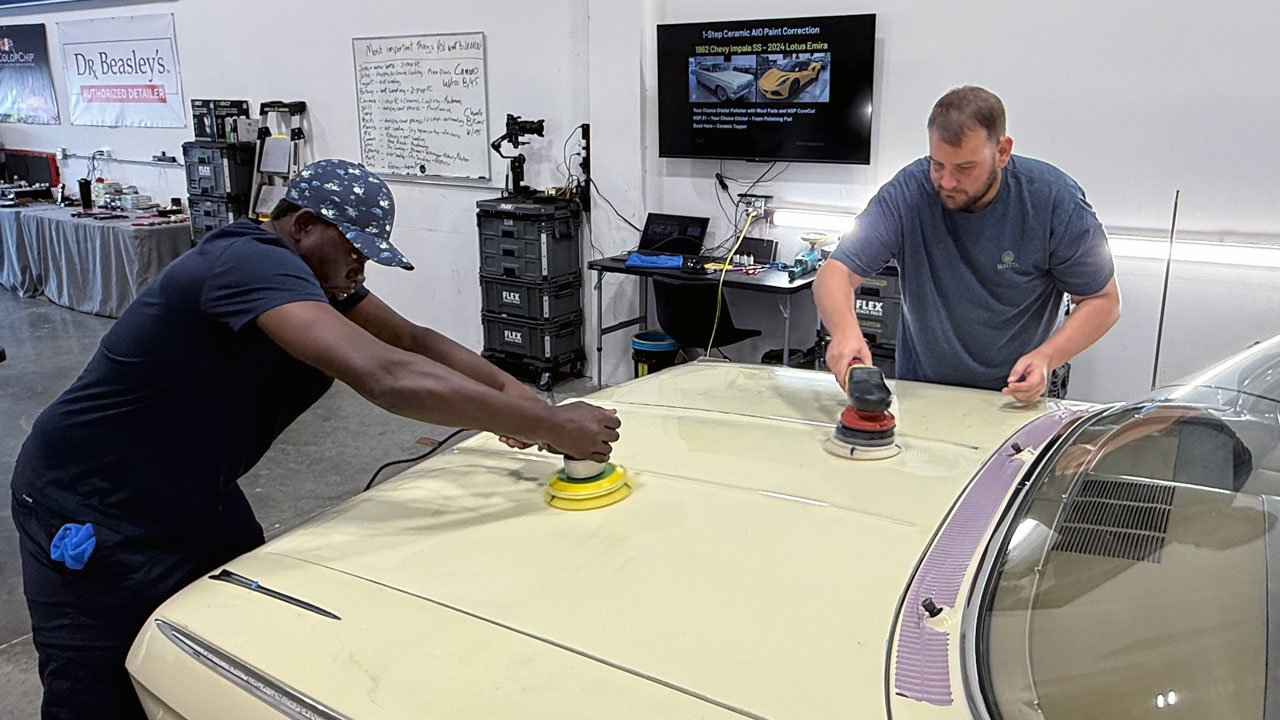
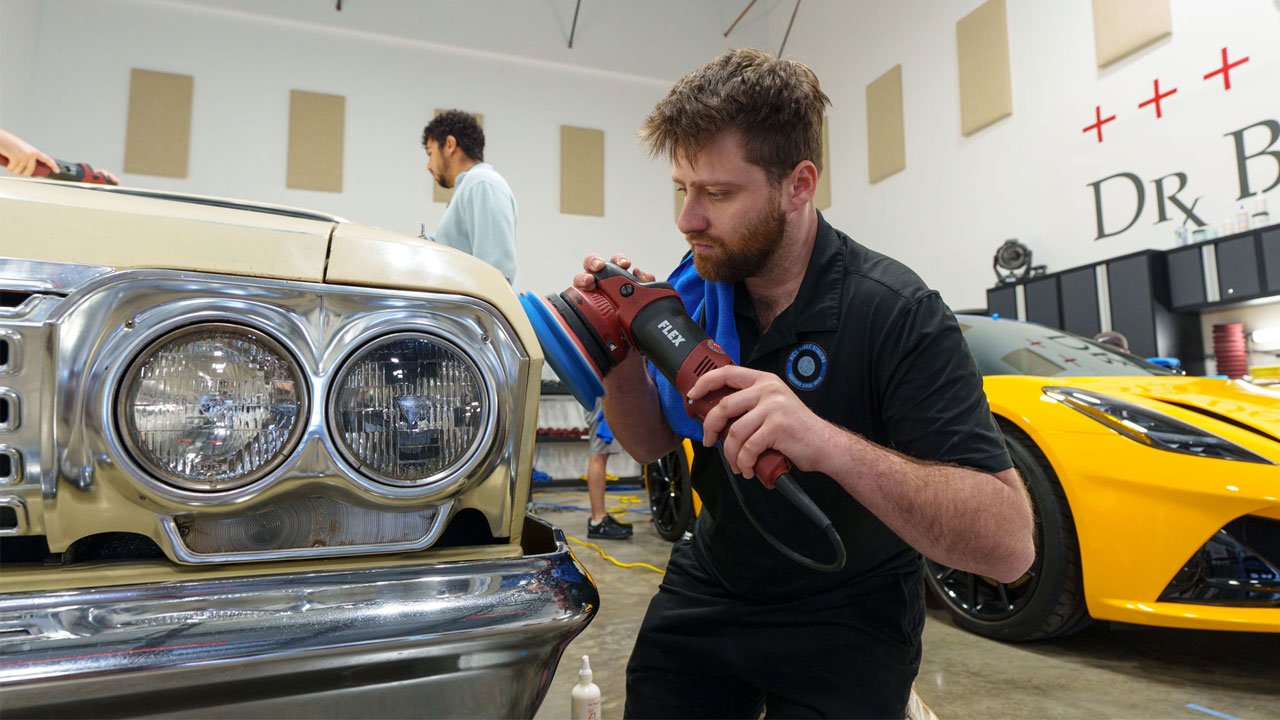
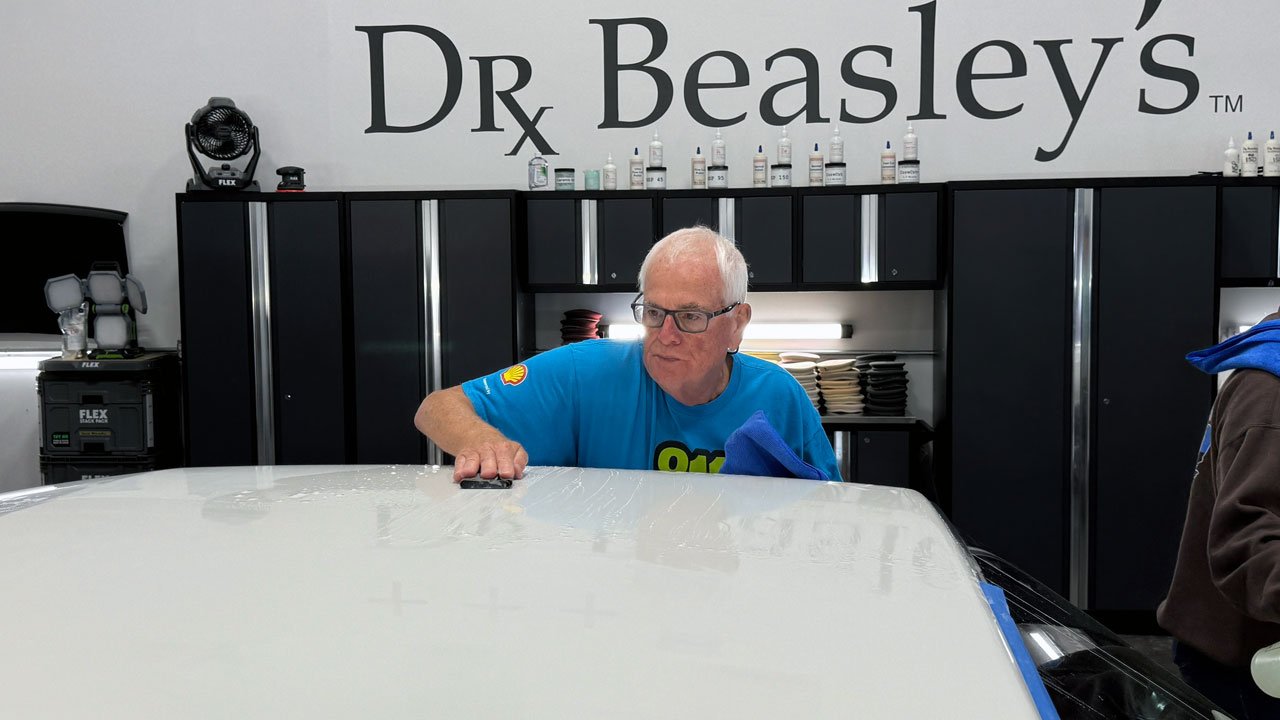
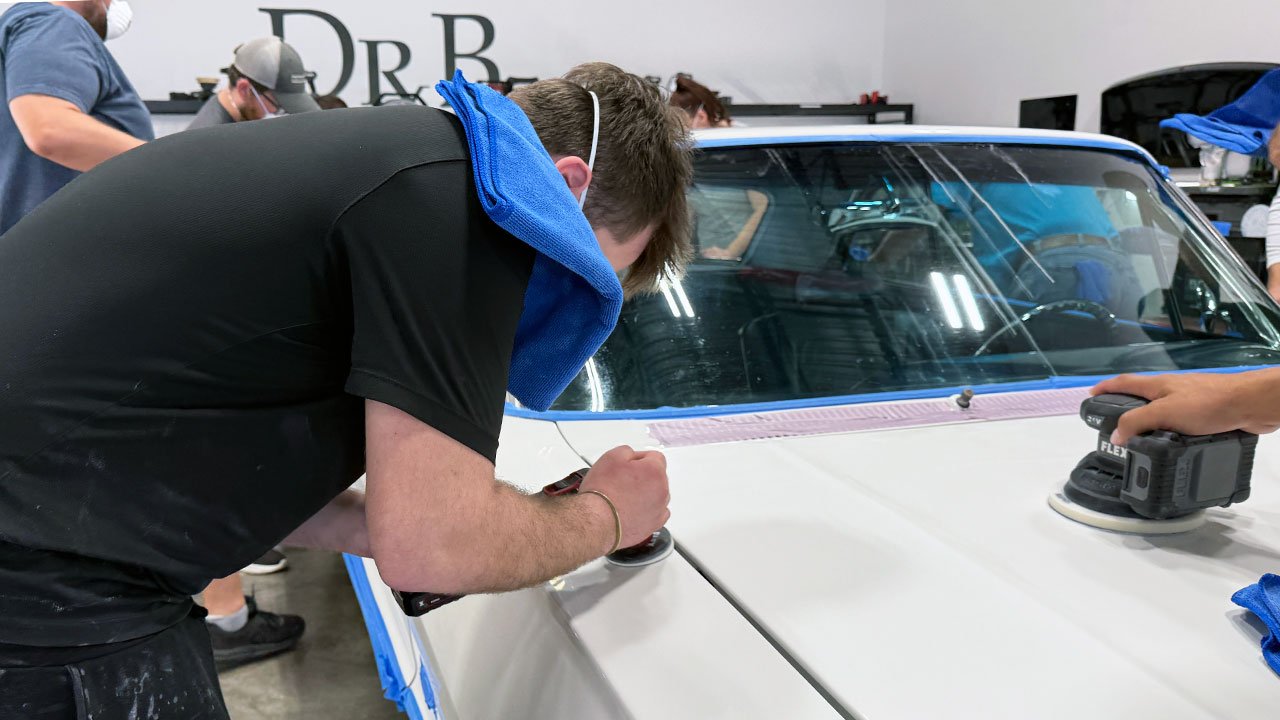
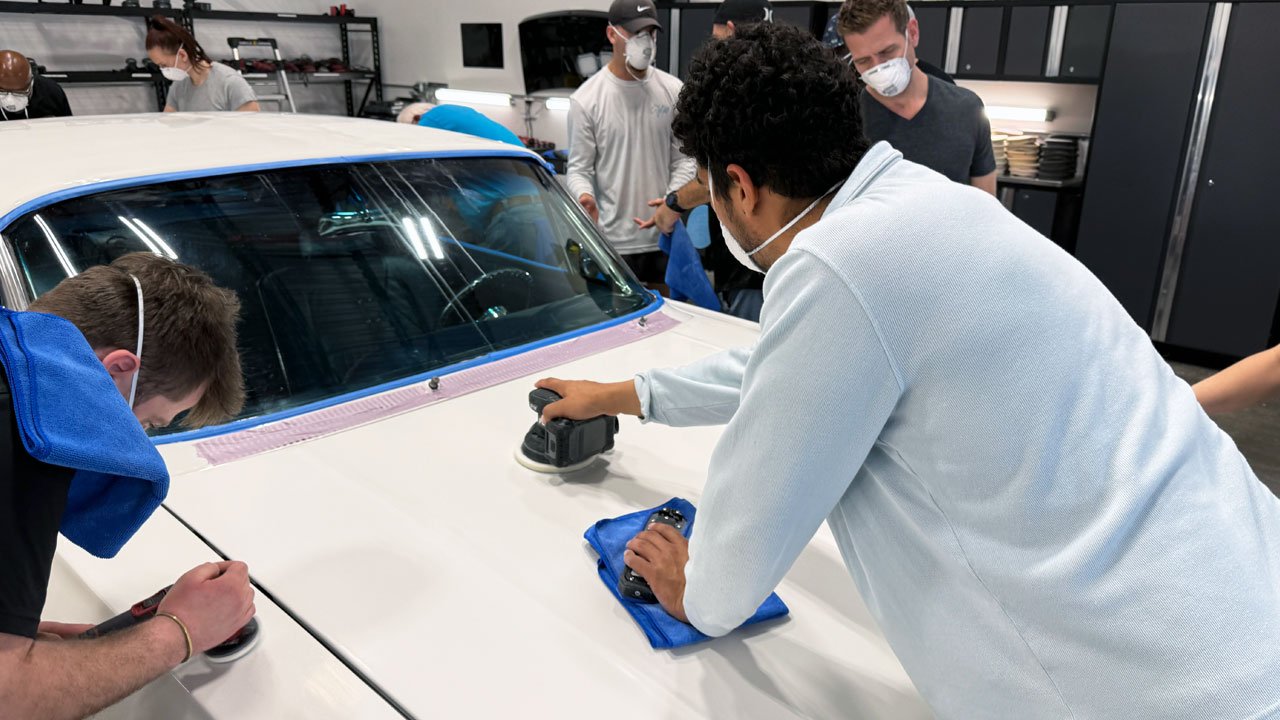
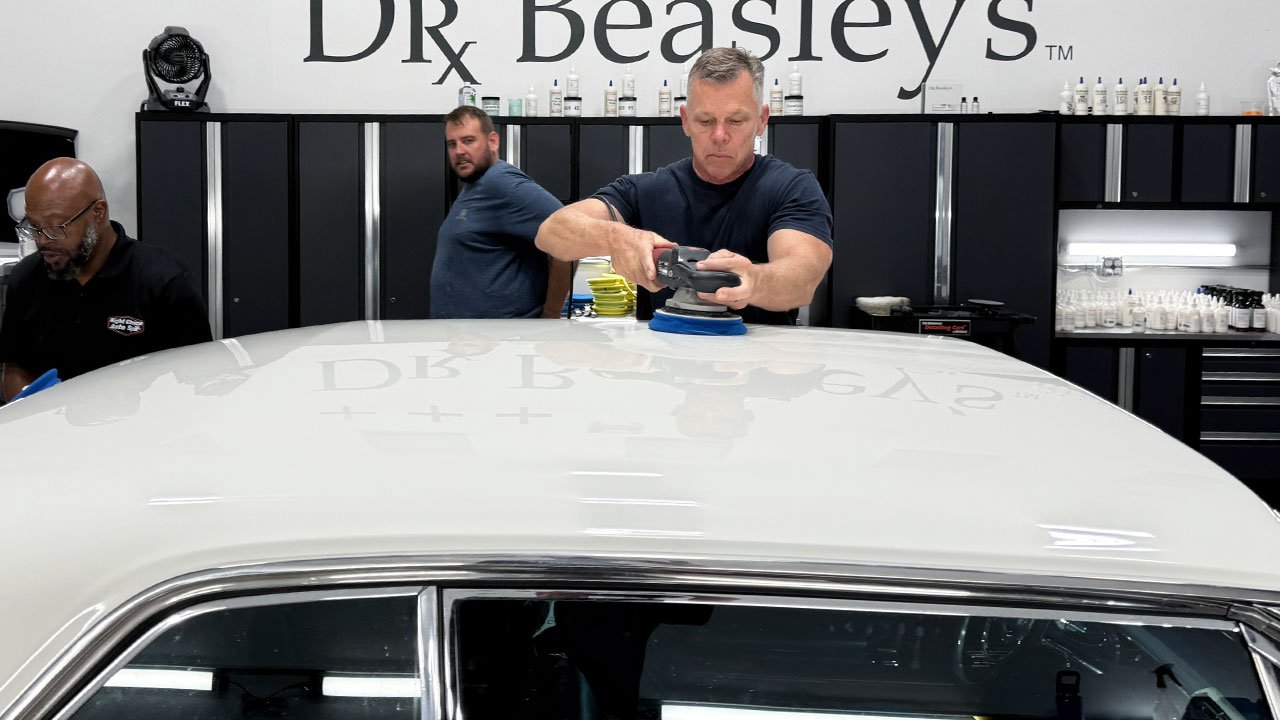
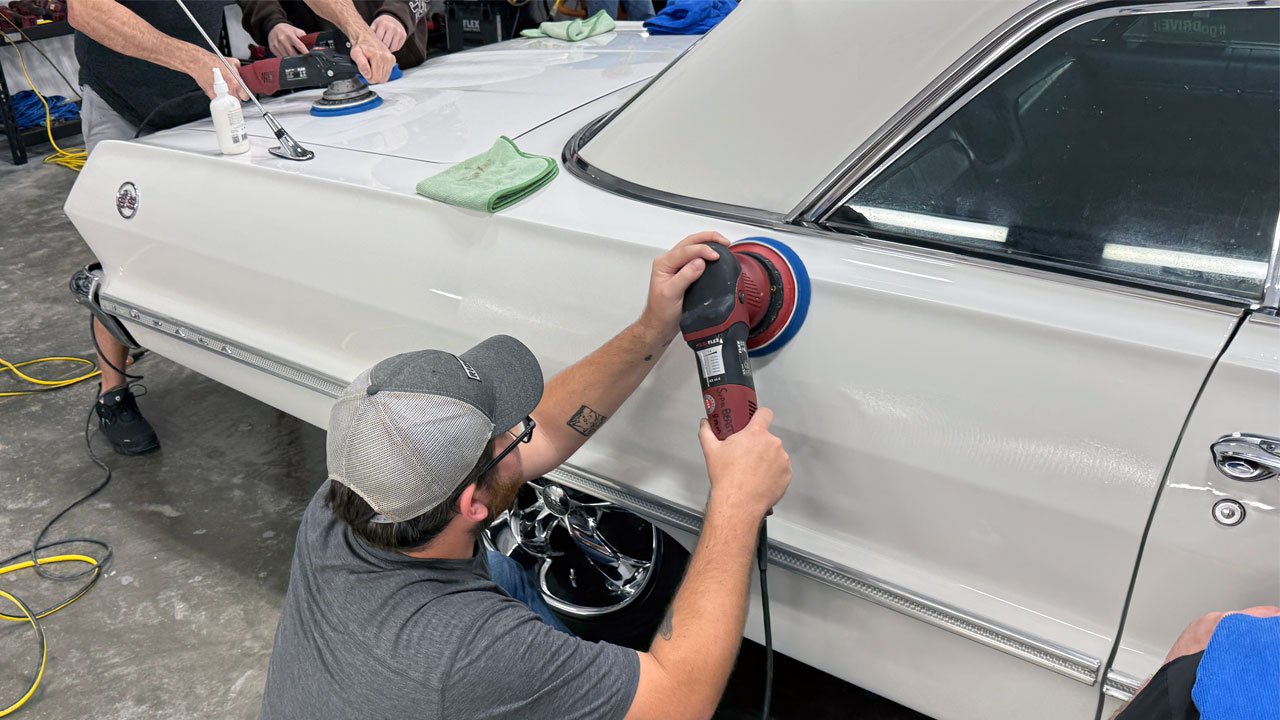
After a demonstration on correct technique for machine dry sanding, I turn the class loose and then continually walk around the car, monitoring the students and what they are doing to ensure no mistakes.
Always Wear Some Form of Breathing Protection
None of us should be breathing in clearcoat paint particles into our lungs, so always wear some form of protection.
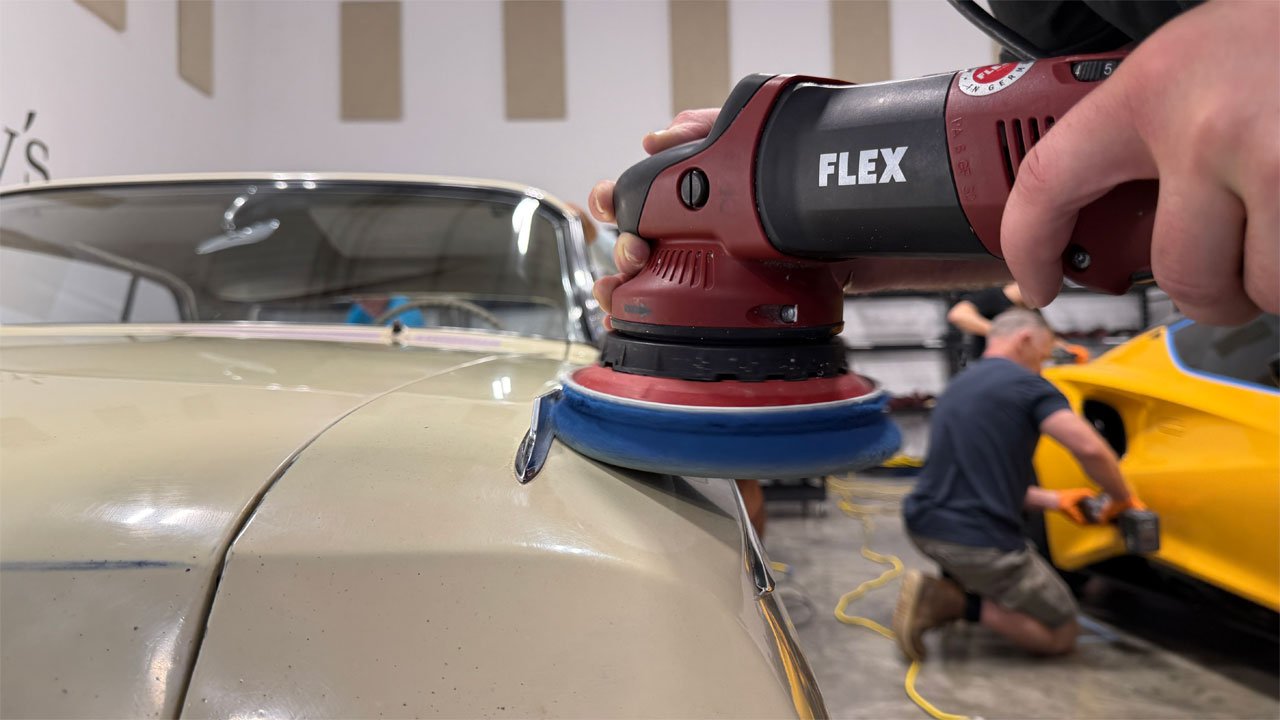
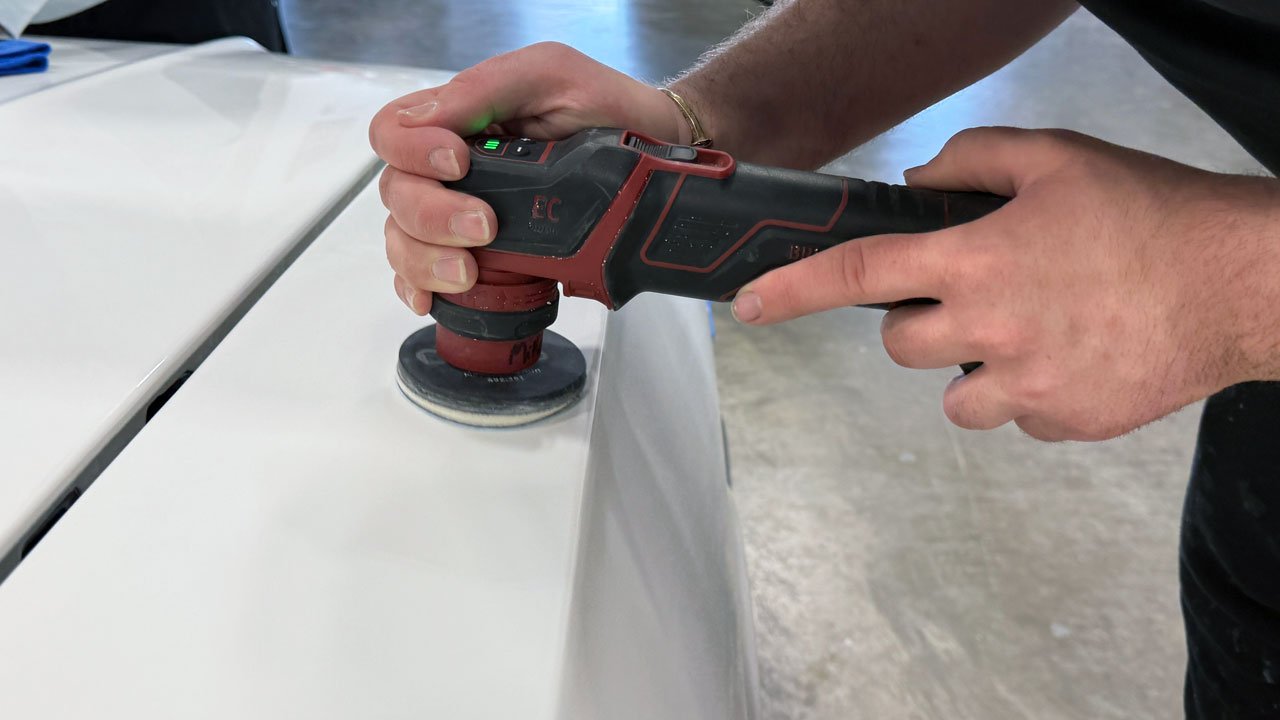
FLEX PXE-80 - BEST 3" Sander Hands Down
When this tool first came out it was introduced as a paint correction tool, a polisher. When I looked at it, (and I received the very first unit in the USA), what I saw wat the BEST 3" Cordless DA Sander. The problem however is this tools comes with 3 drive unites, none of them any good for sanding.
1: Rotary Drive Unit
2: 12mm Orbital Drive Unit
3: 3mm Orbital Drive Unit
You can't sand with a rotary drive unit as it's no longer sanding, but grinding. The 12mm drive unit has such a LONG stroke, that you can't sand next to edges or raised body lines without risking sanding ON the edge or raised body line and then when you go to buff out your sanding marks, you burn through the paint. And the 3mm is to anemic or week, it struggles to maintain good sanding disc rotation and oscillation.
The Fix - 6mm Orbital Drive Unit
Once I realized the 12mm and the 3mm orbital drive units were worthless for sanding, I took some pictures using this tool to sand my black demo hood and sent them to the President, (at that time), of FLEX in Steinheim, Germany, (at that time, now they've moved manufacturing to China), and asked him,
Could you please have your Engineers make me any of the below drive units and send me one.
5mm
6mm
7mm
8mm
A few months later, they sent me a 6mm drive unit and as the saying goes,
the rest is history.
Mike