- Admin
- #7
- Joined
- May 21, 2021
- Messages
- 2,703
- Reaction score
- 1,624
- Points
- 113
- Location
- Stuart, Florida
- Website
- themikephillipsforum.com
Continued....
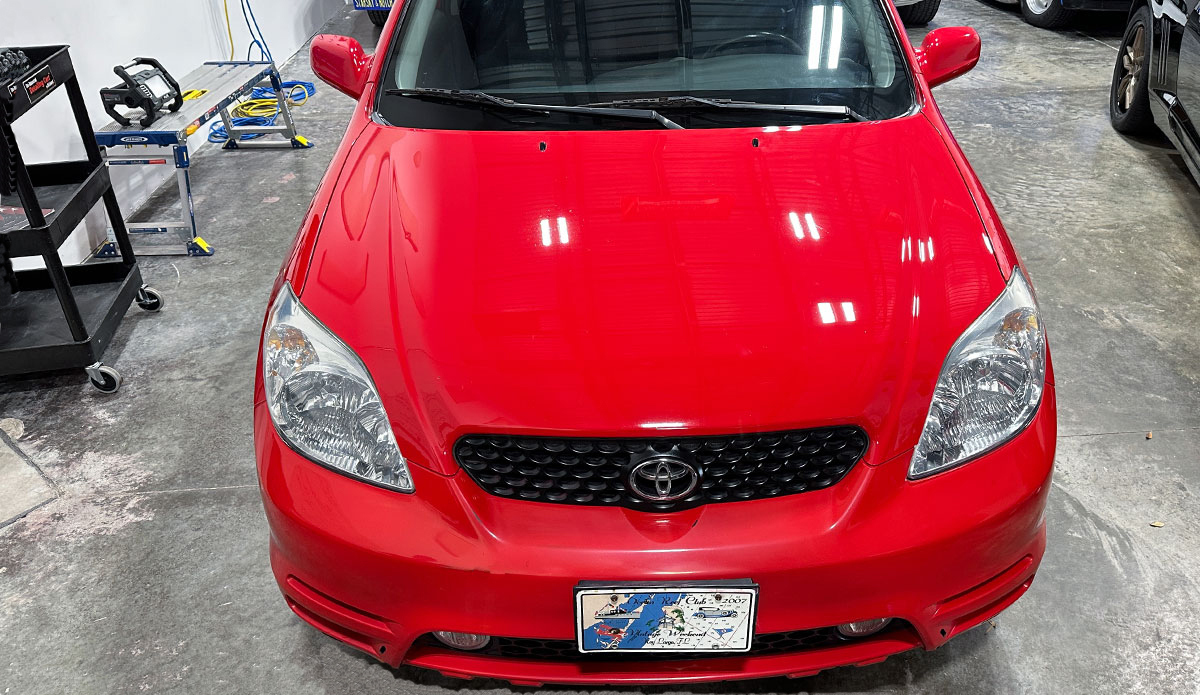
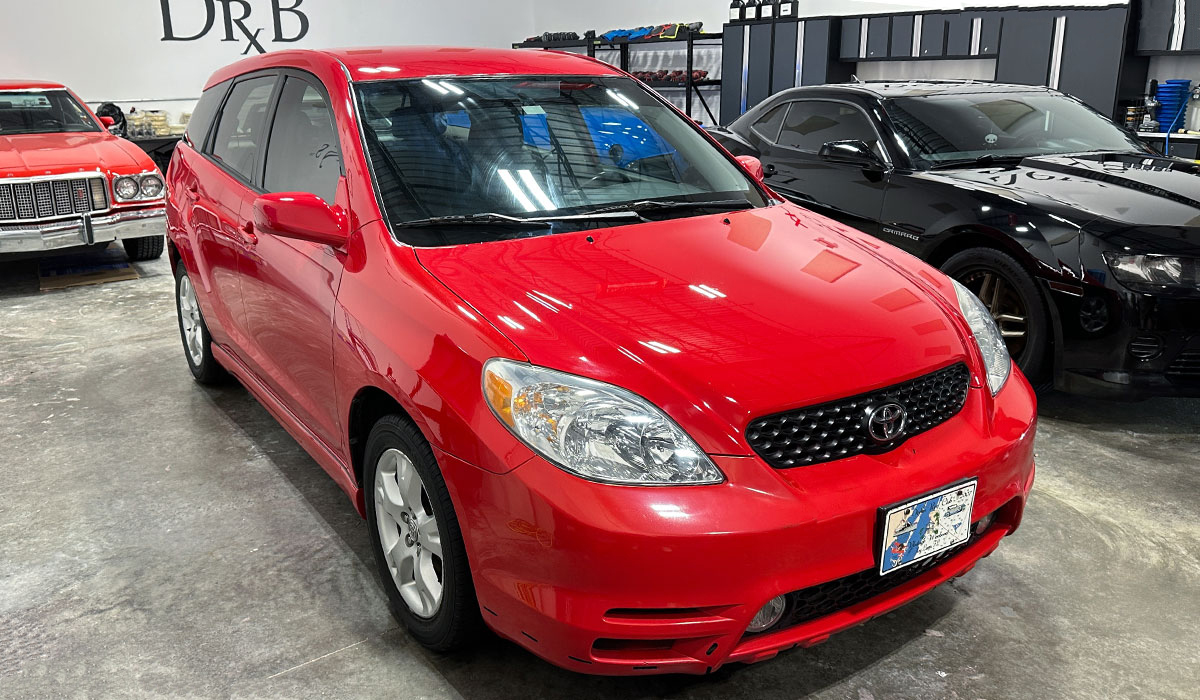
Here's the final results for the 2013 Toyota Matrix

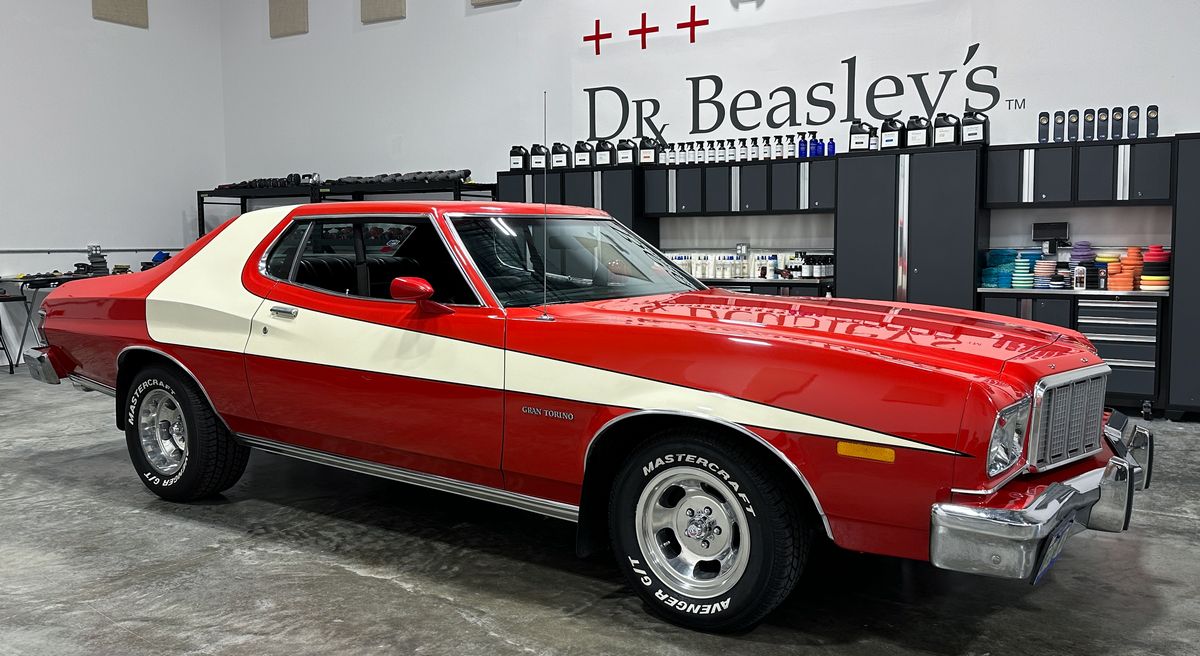
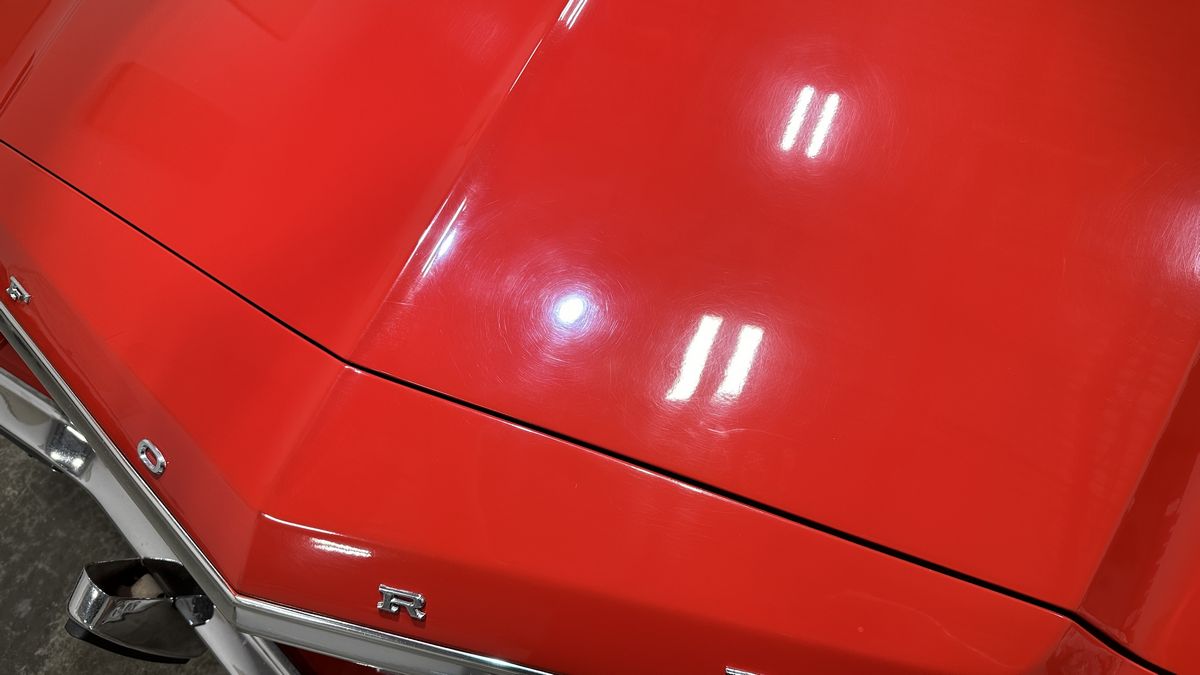
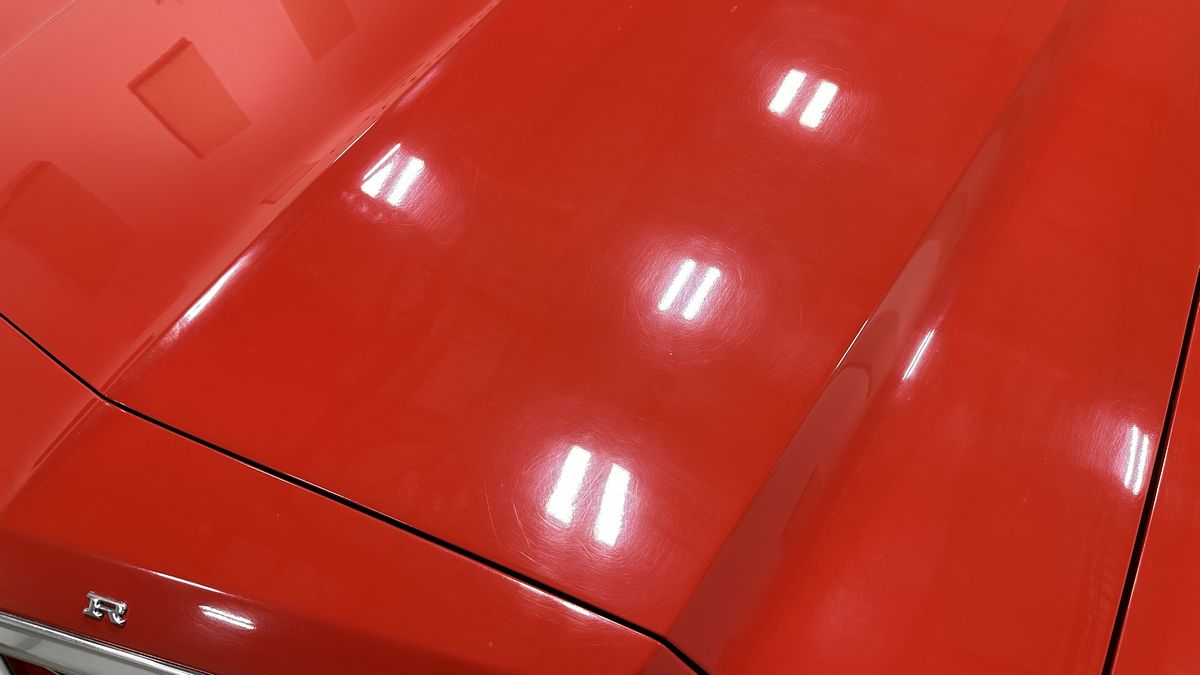
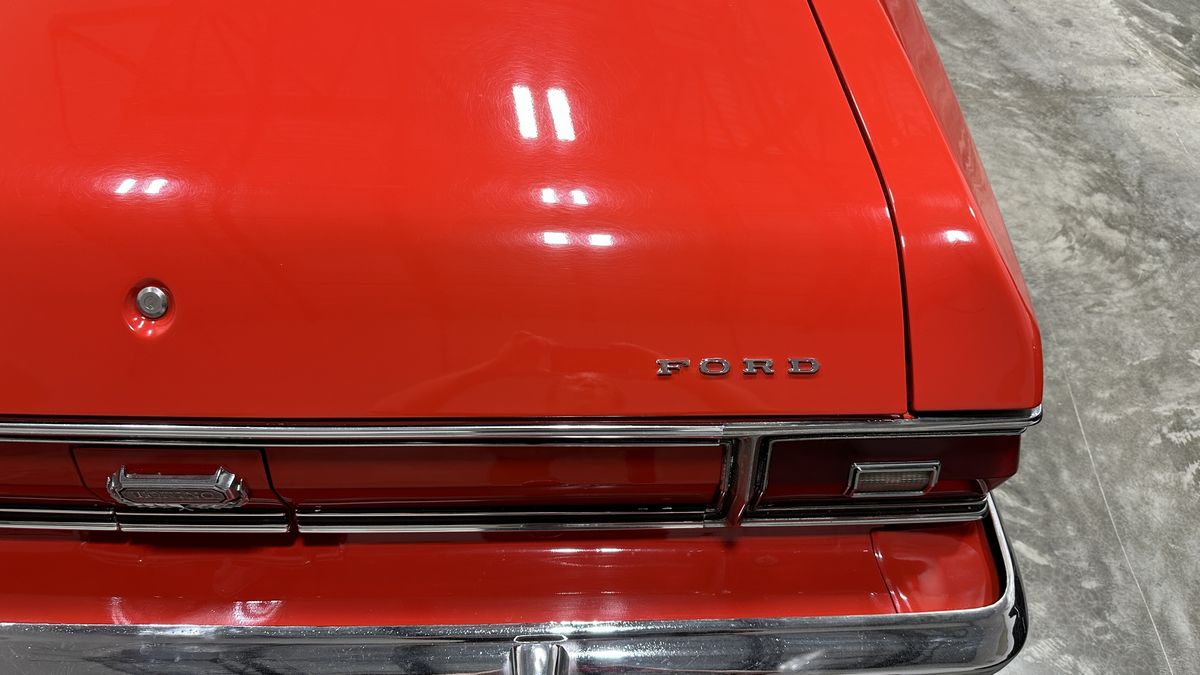
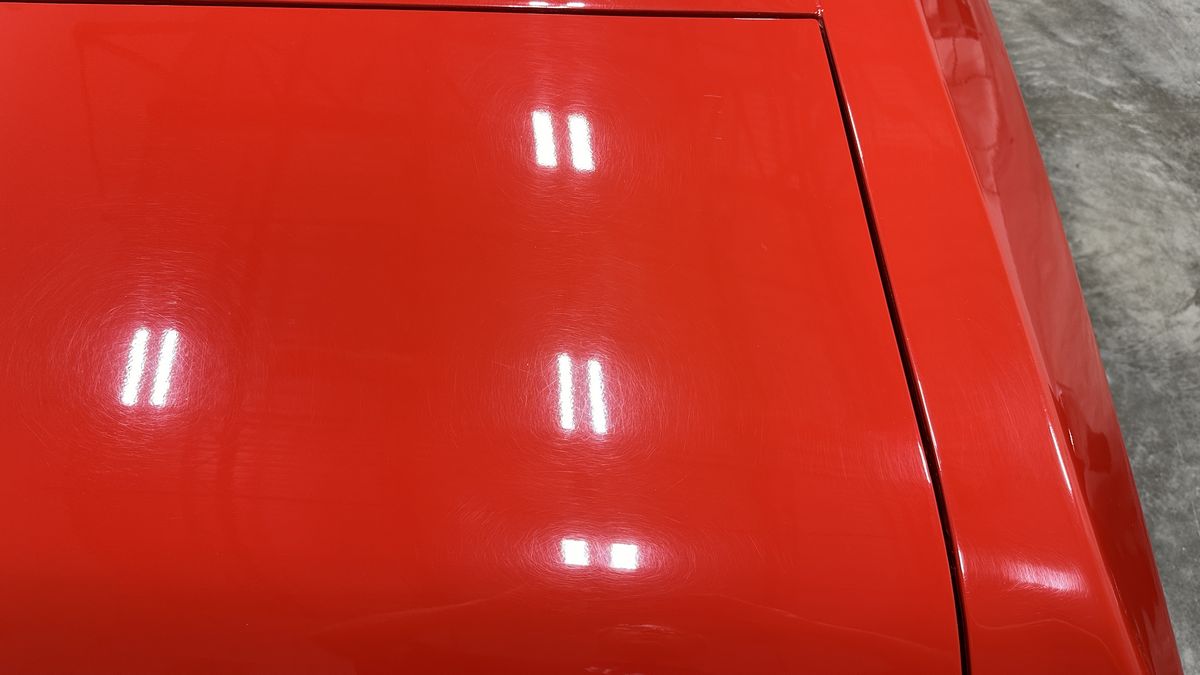
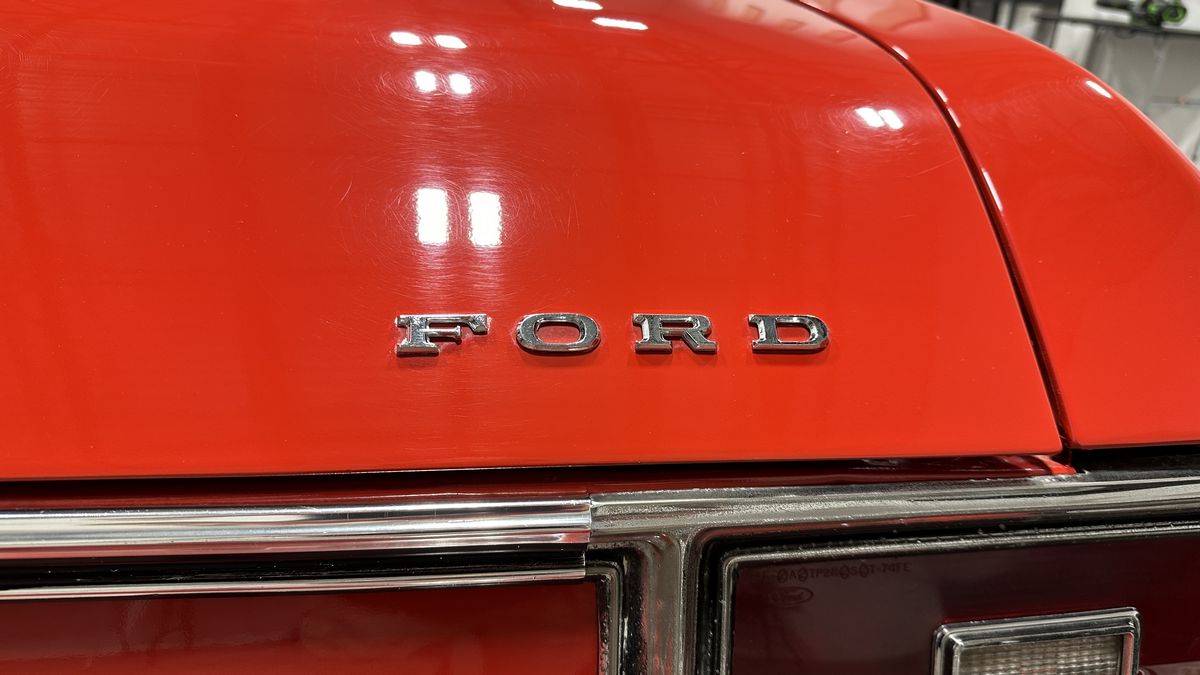
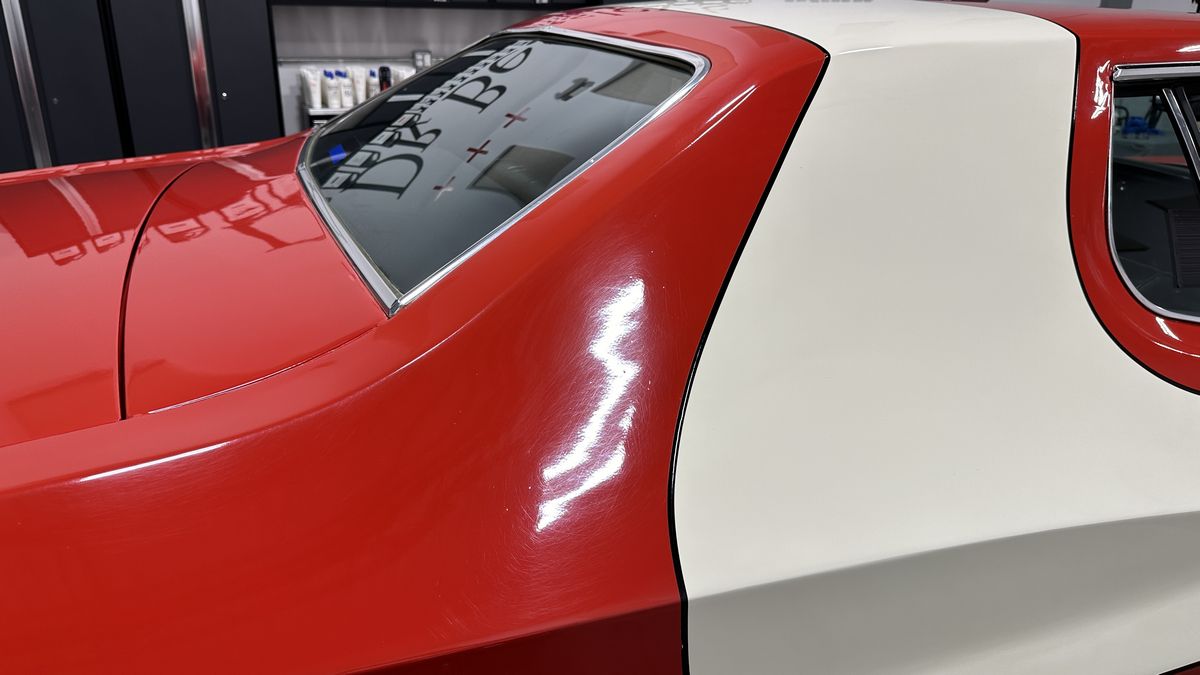
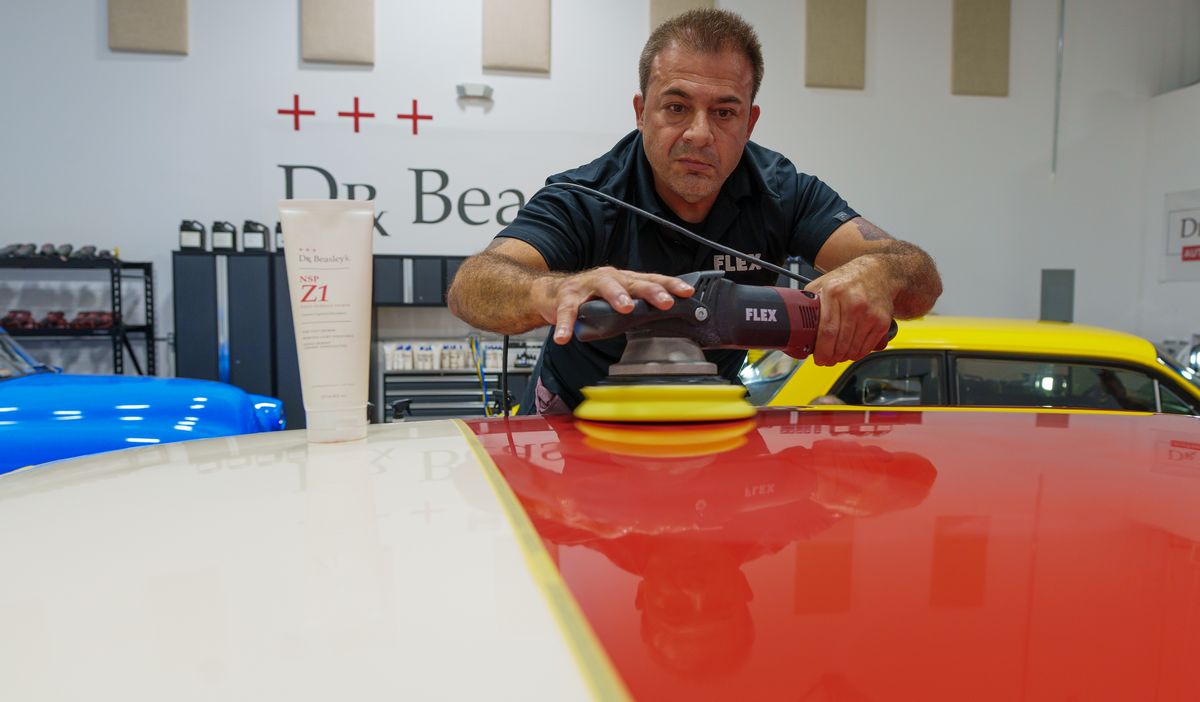
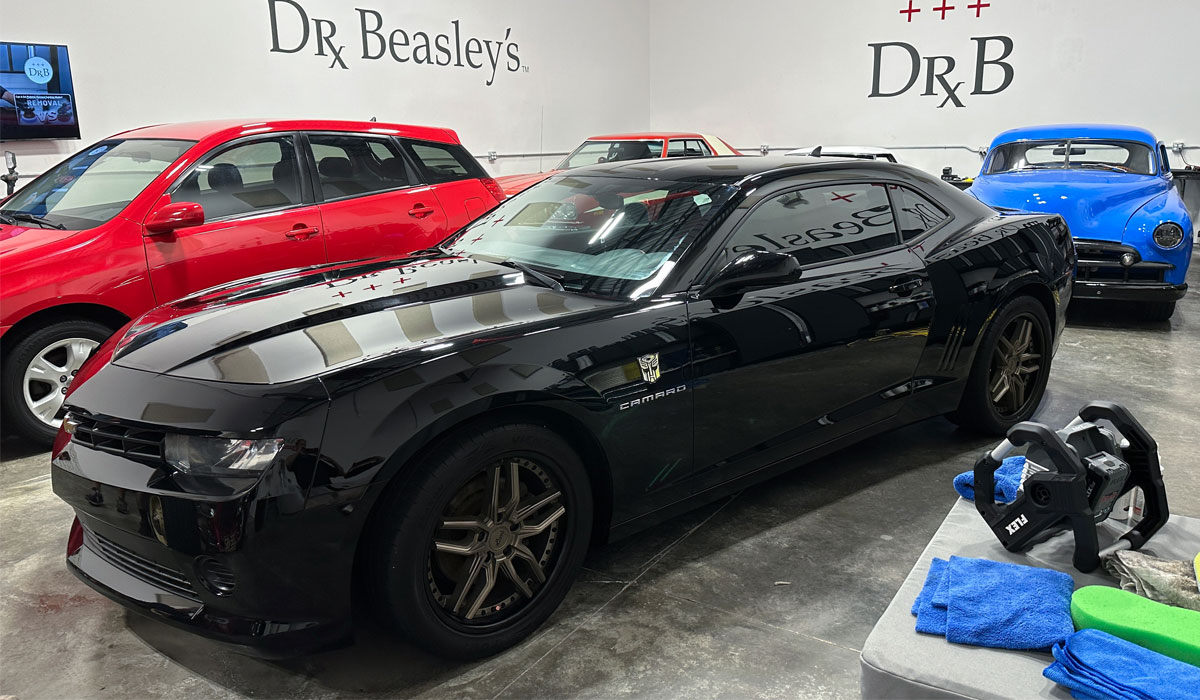
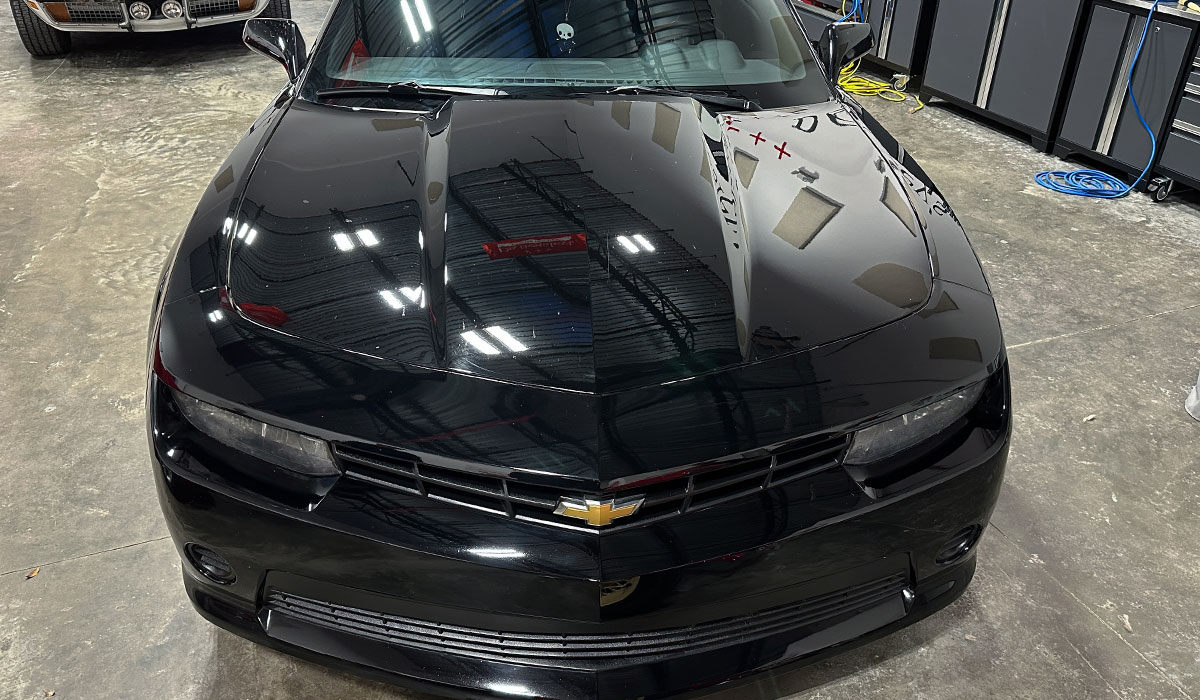
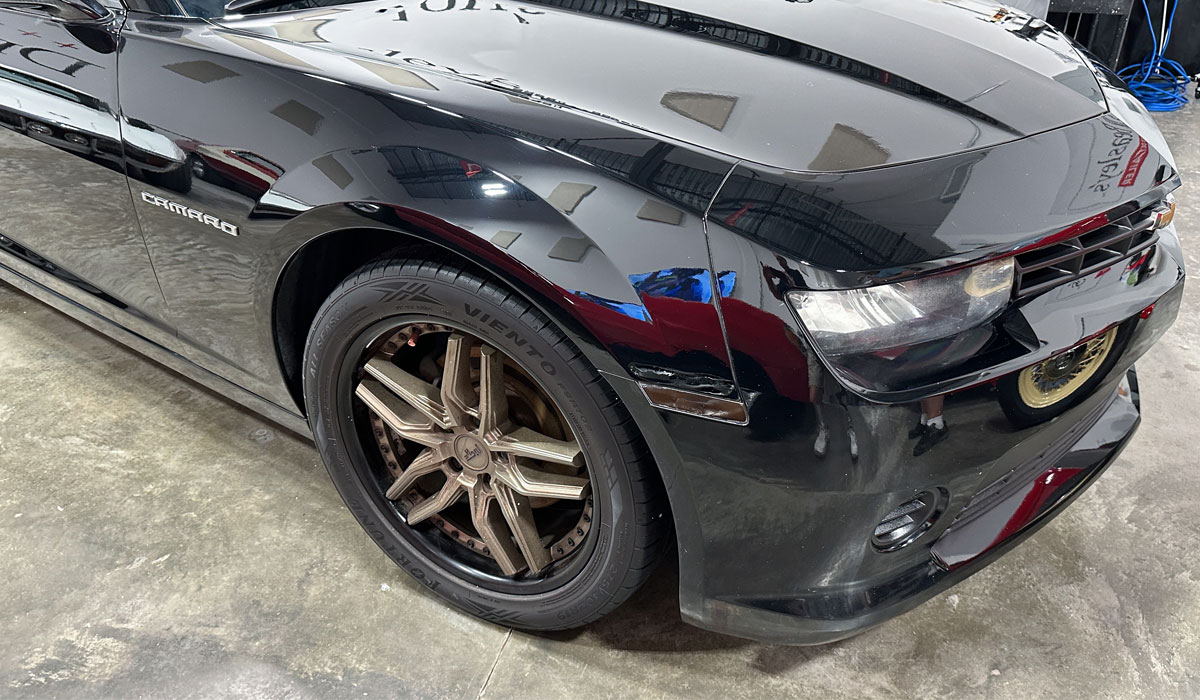
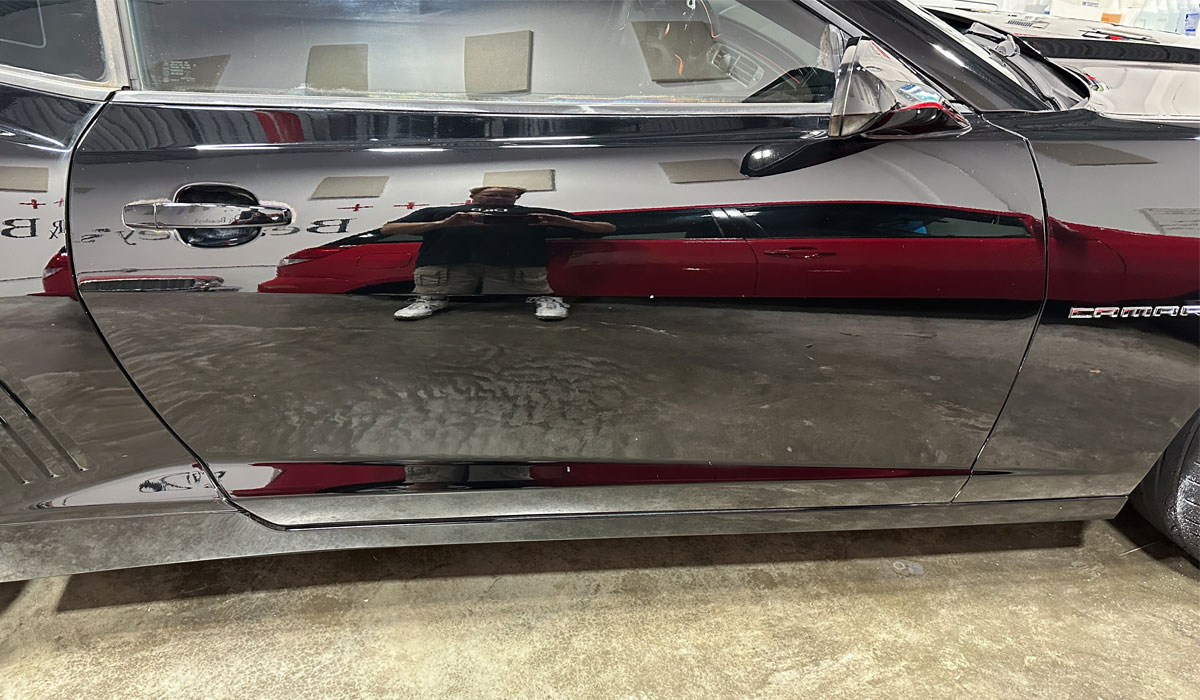
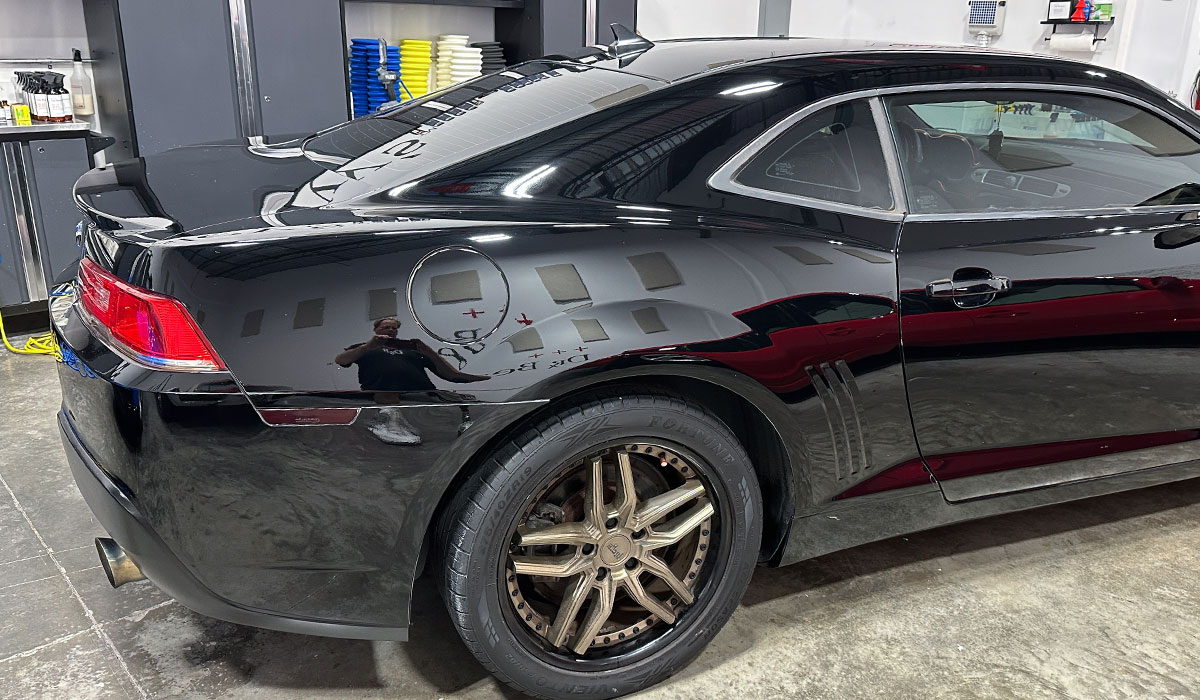
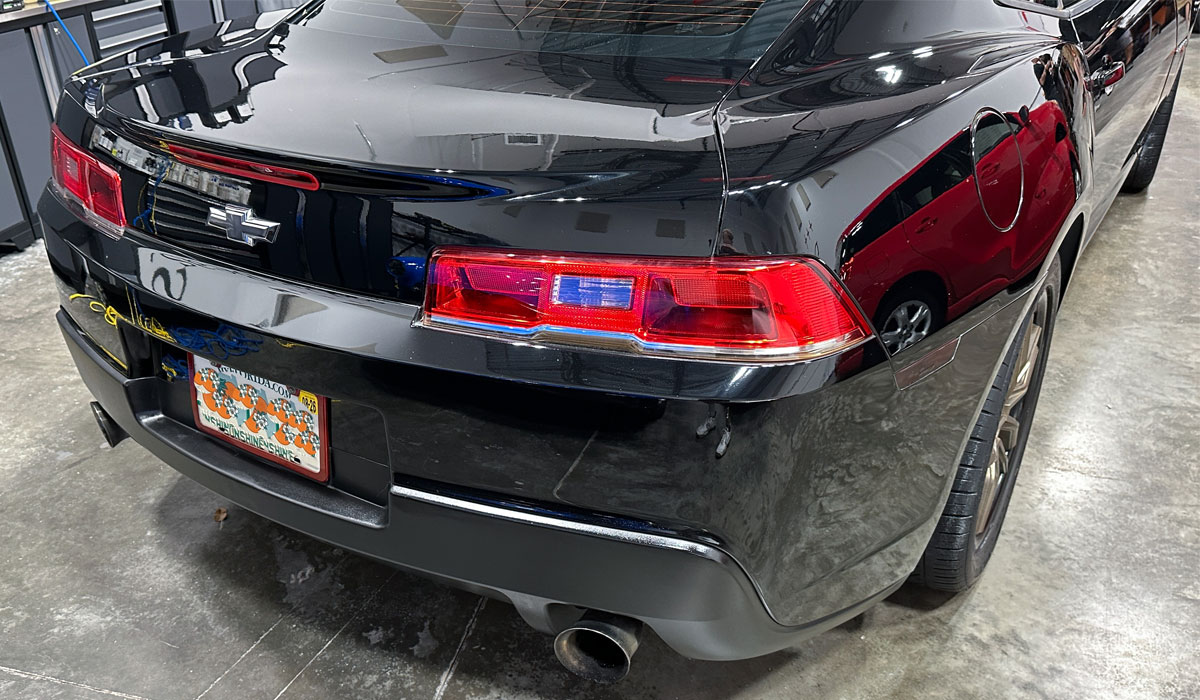
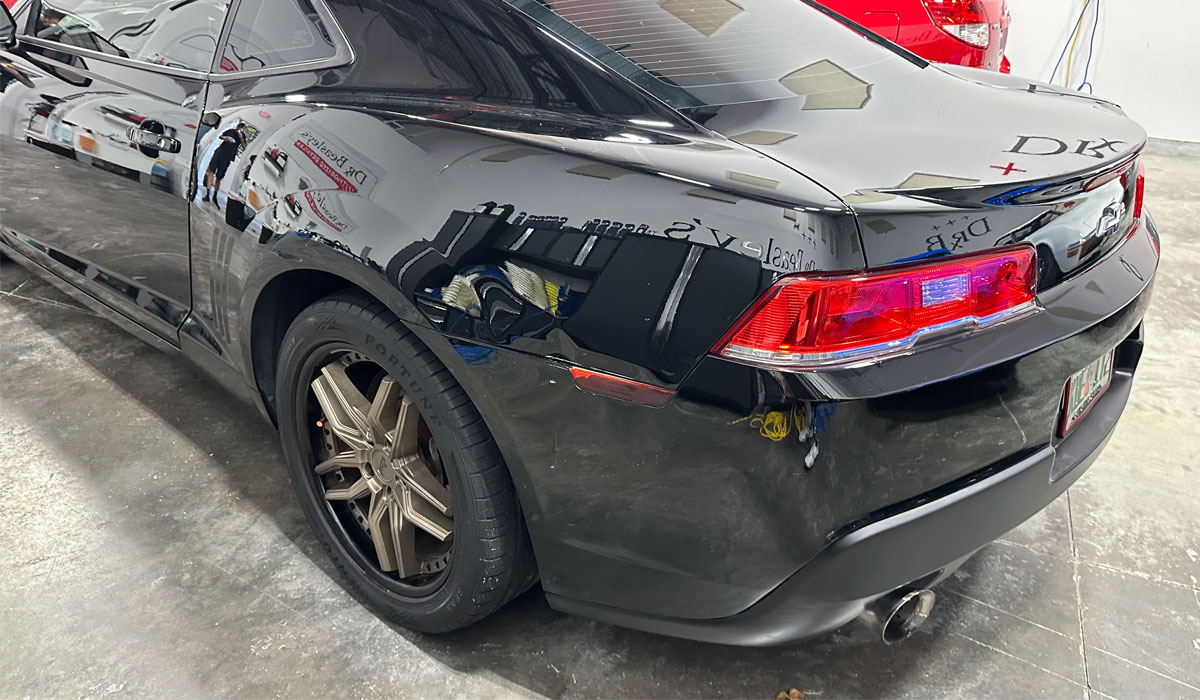
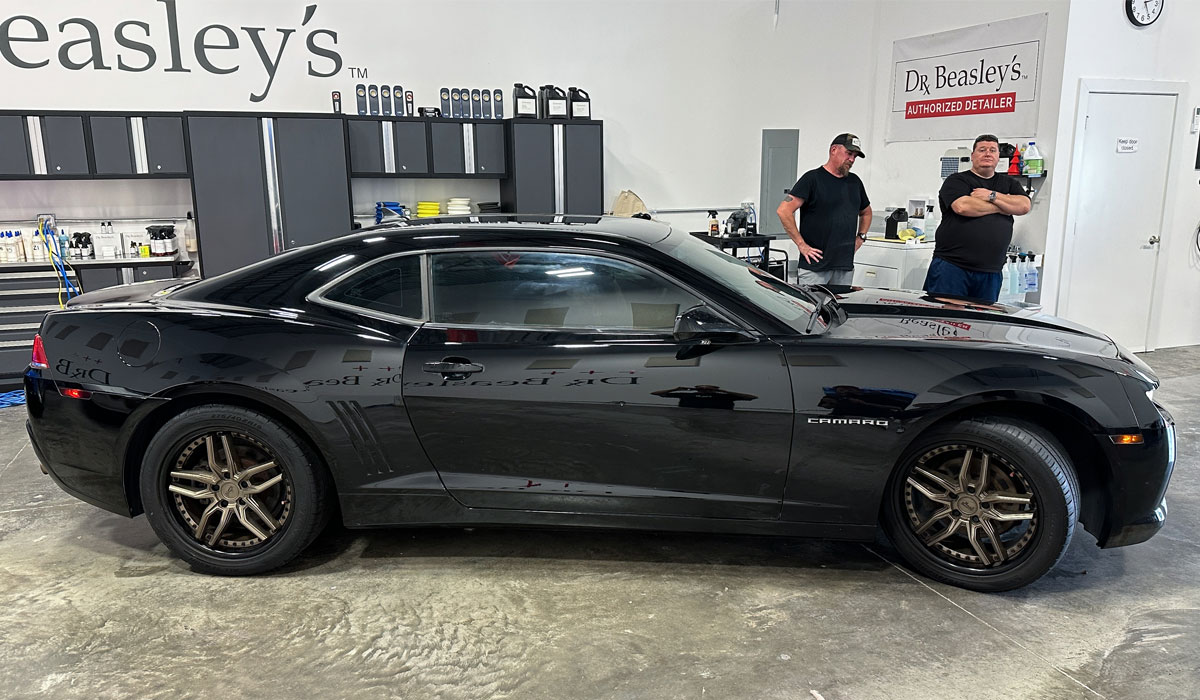
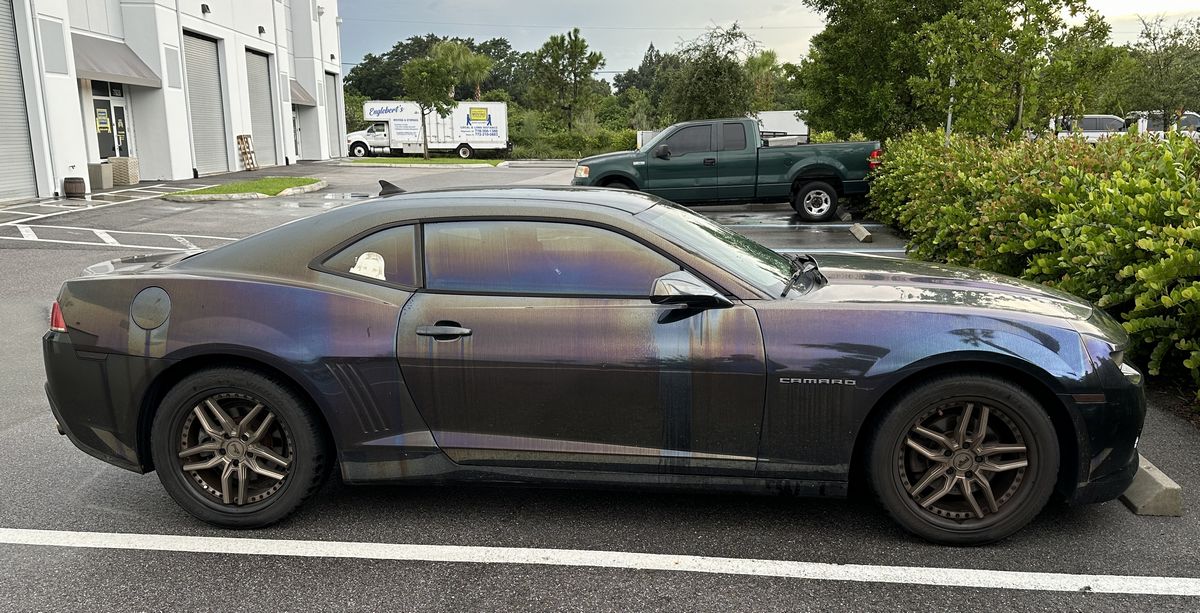
Here's the final results for the 2020 Chevrolet Camaro
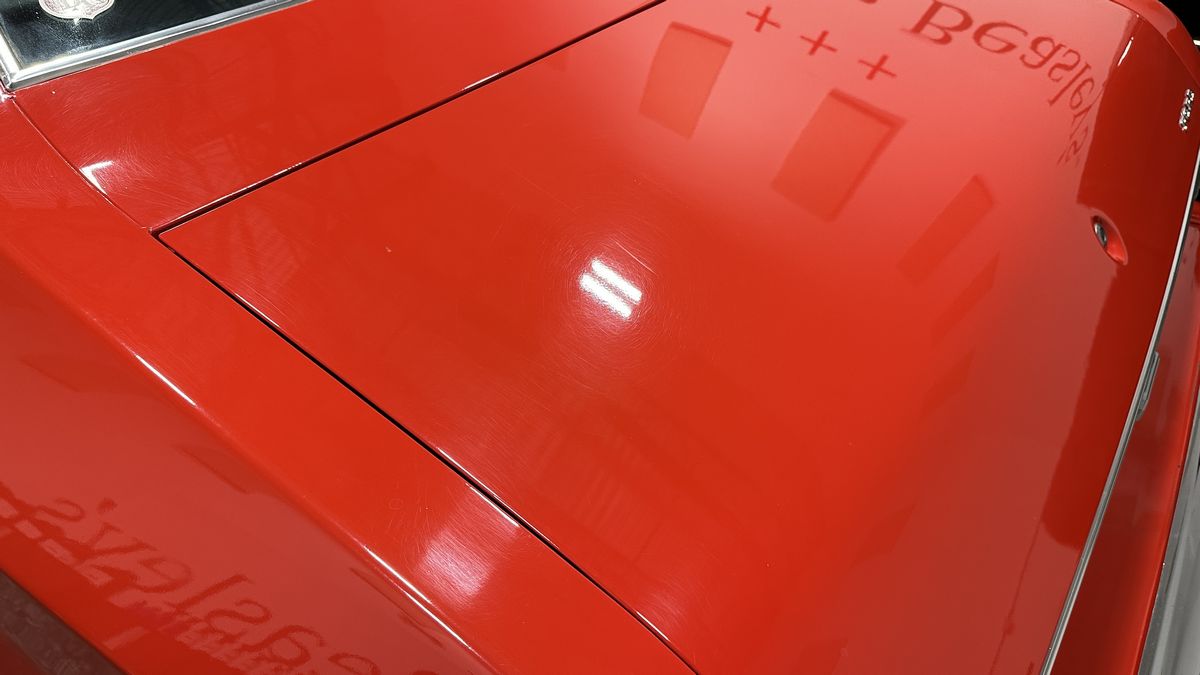
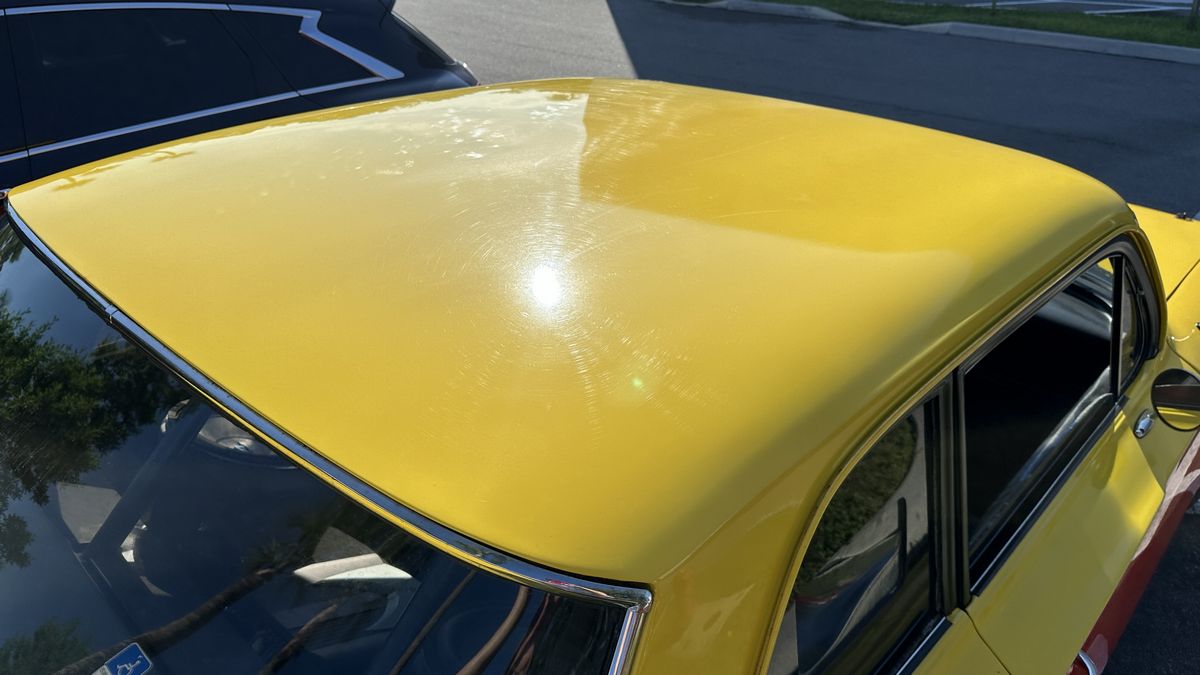
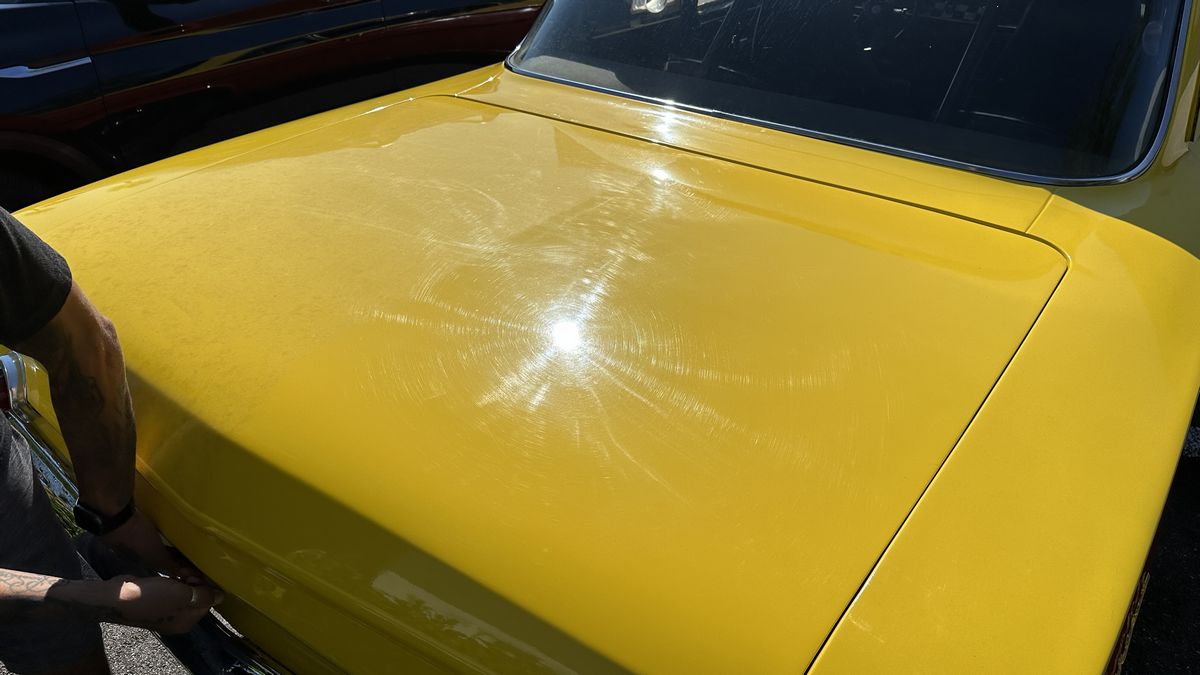
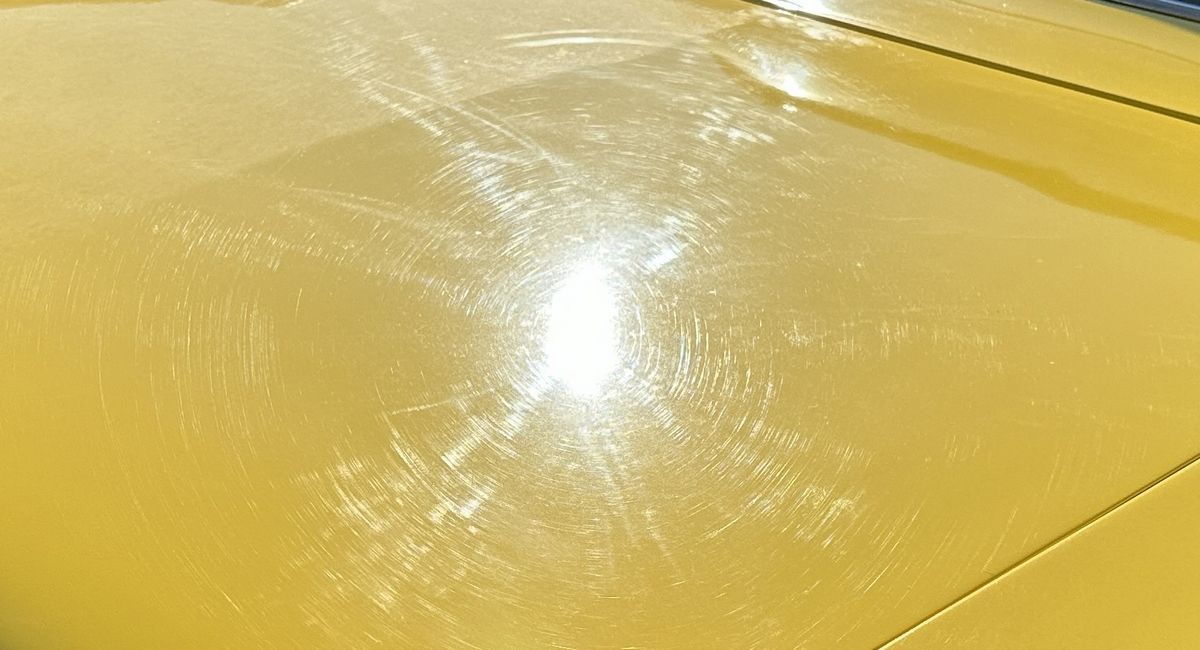
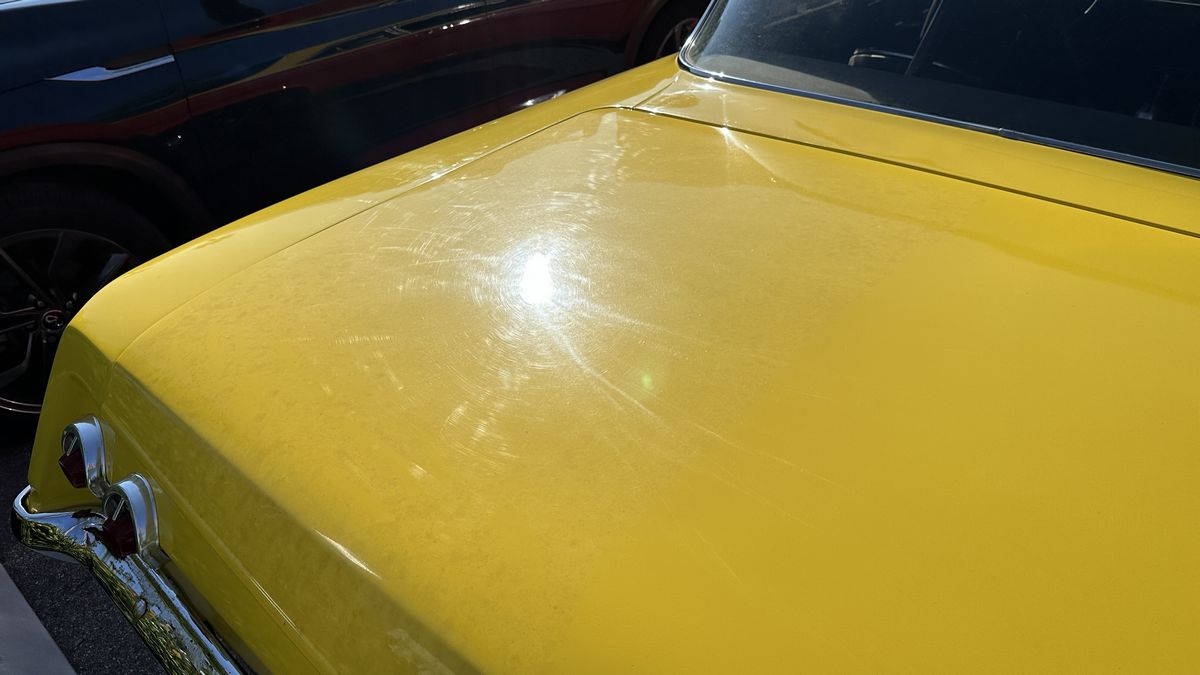
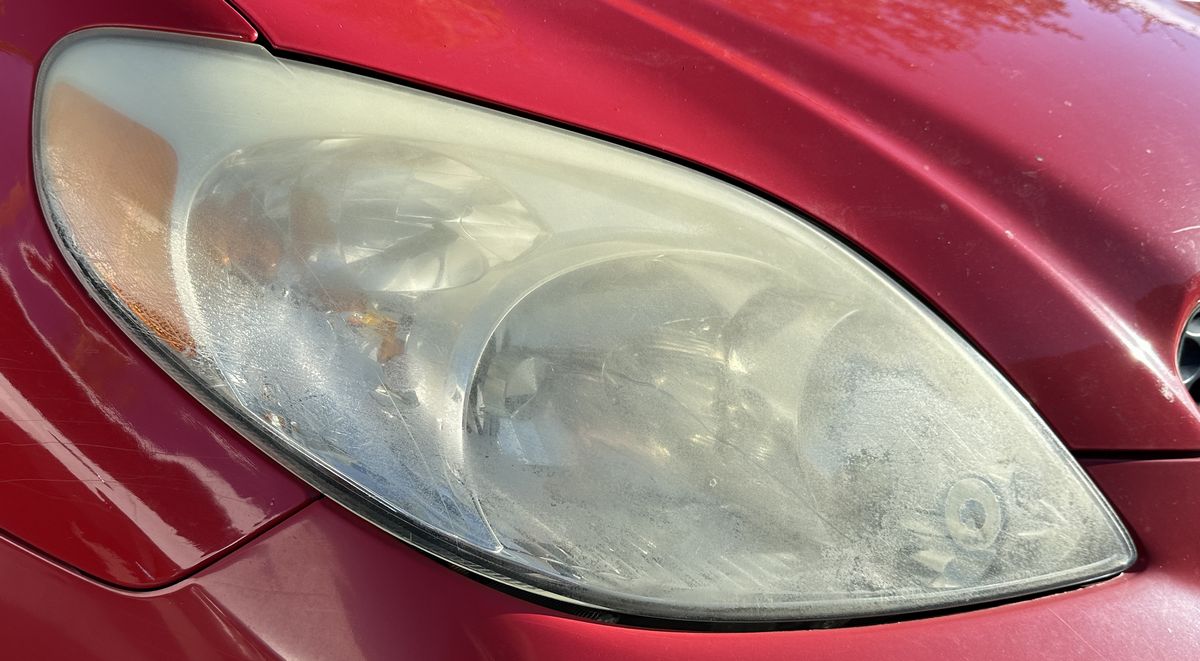
And just to show how bad this car was before the class worked their magic.
Here's the before and after for the headlights
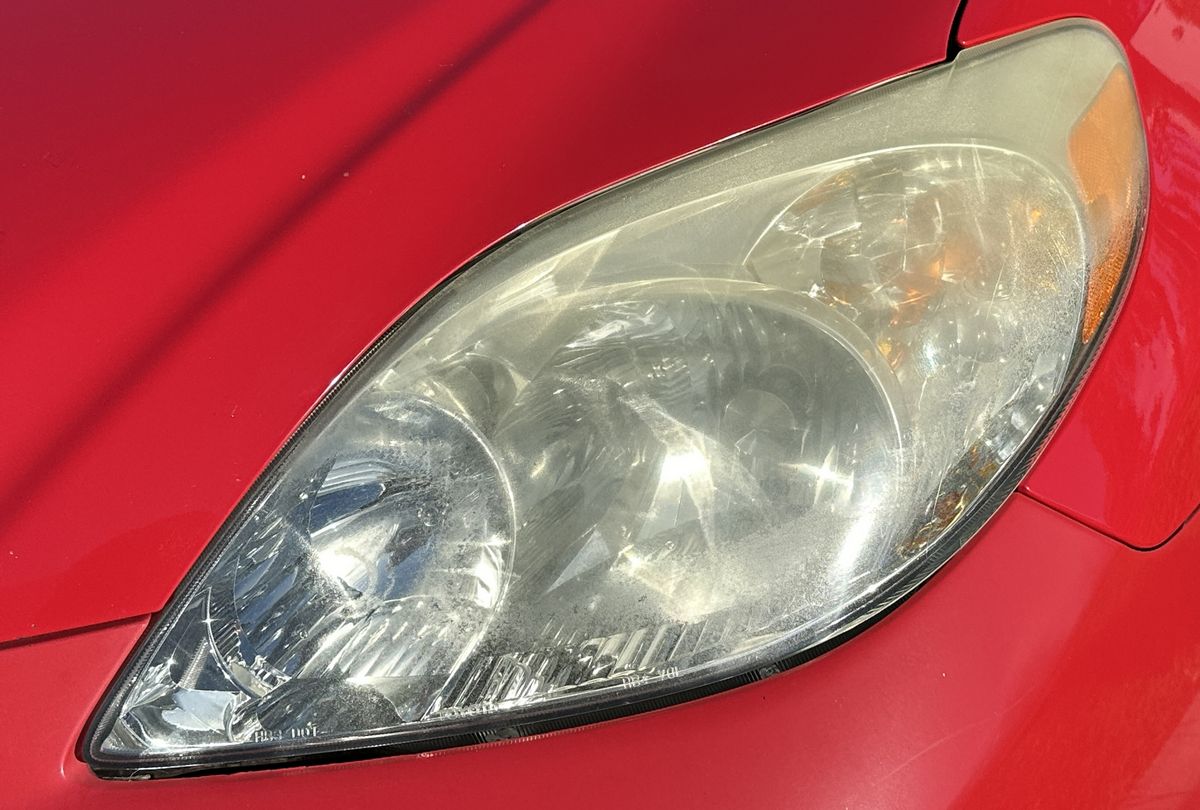
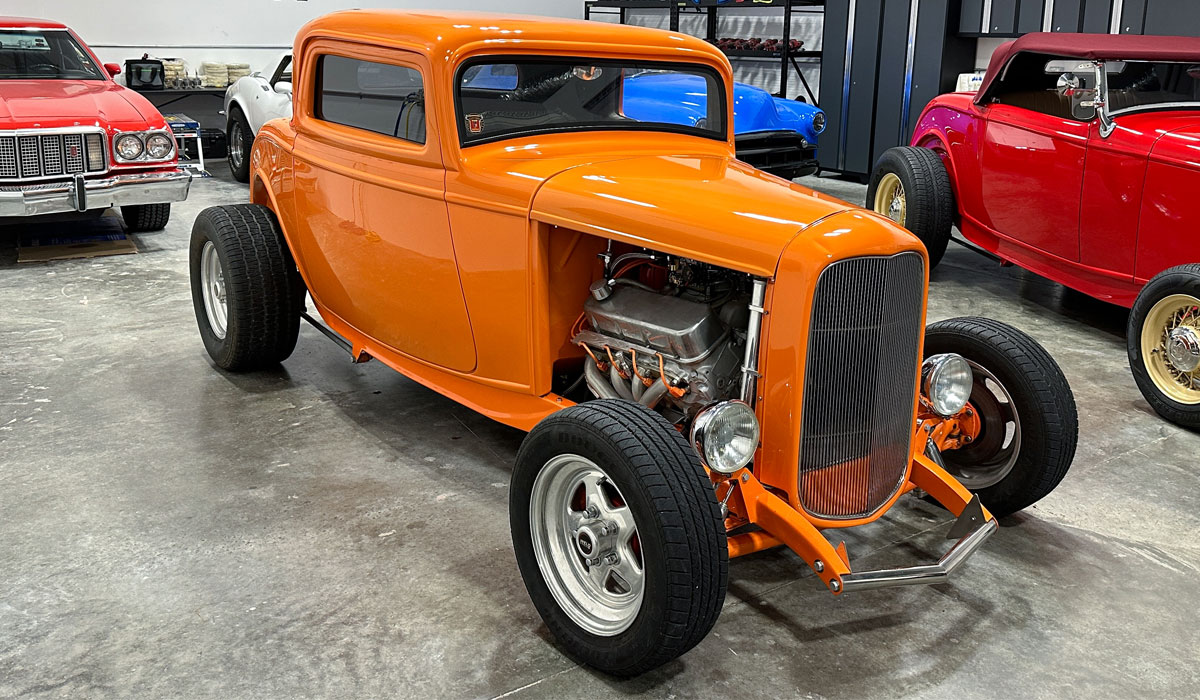
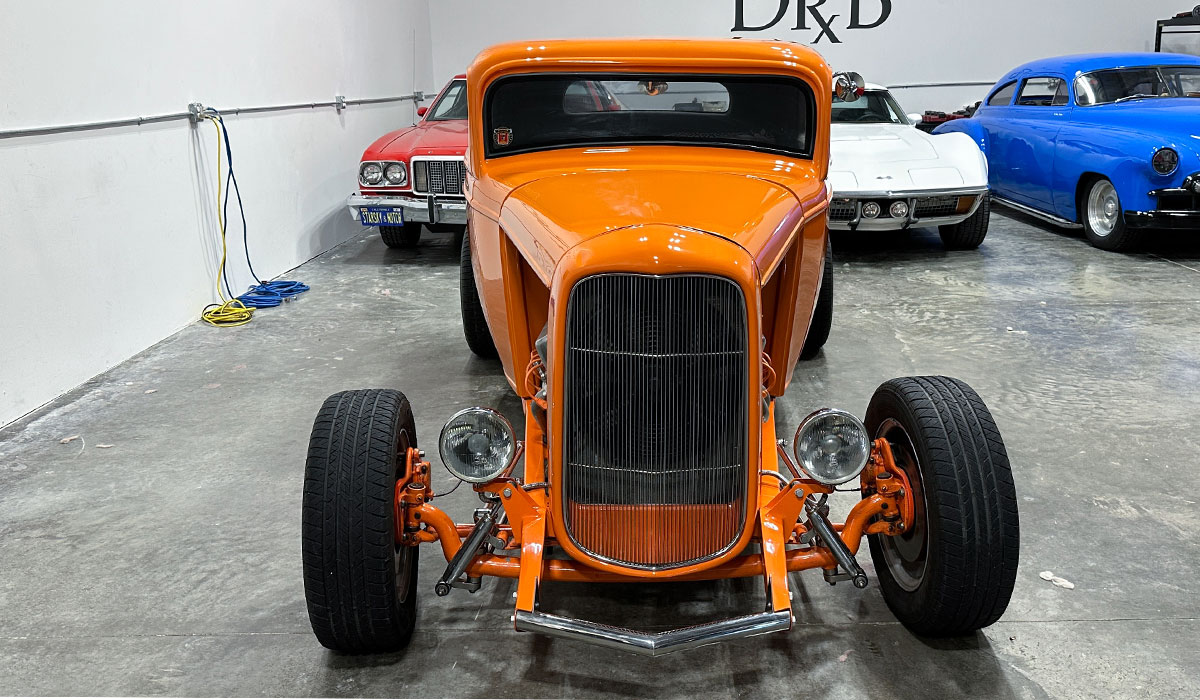
And here's the after results
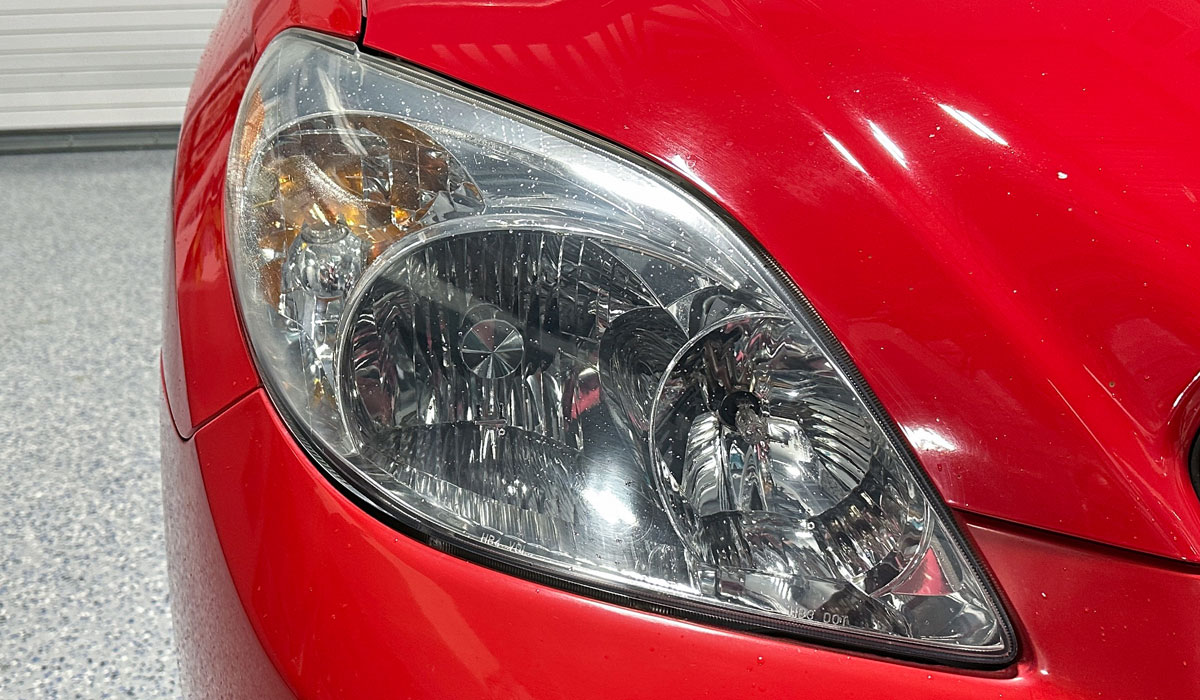
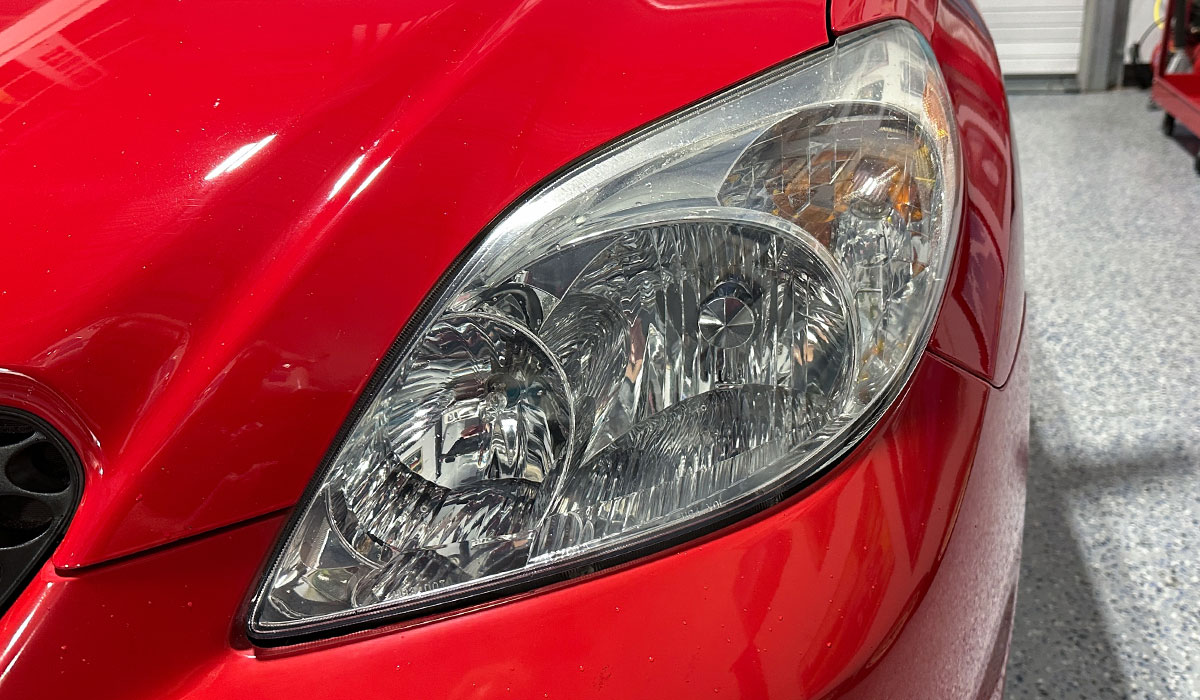
These headlights, which are 11 years old and from my own experience, have NEVER been touched since this car left the dealership.
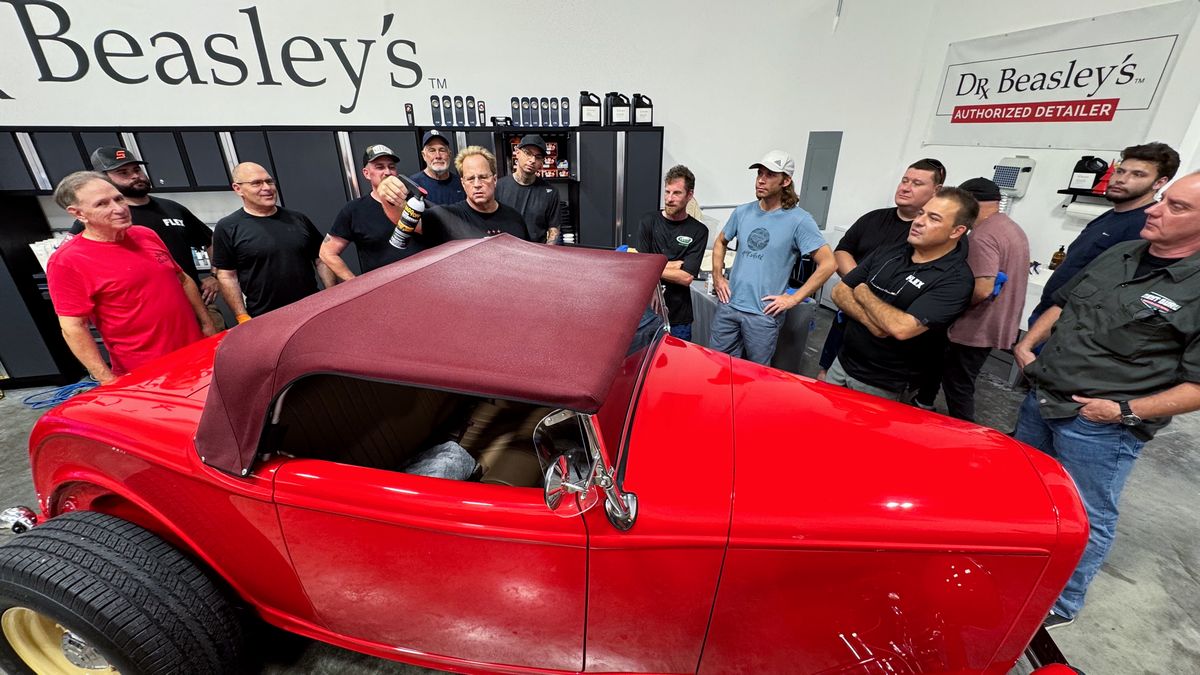
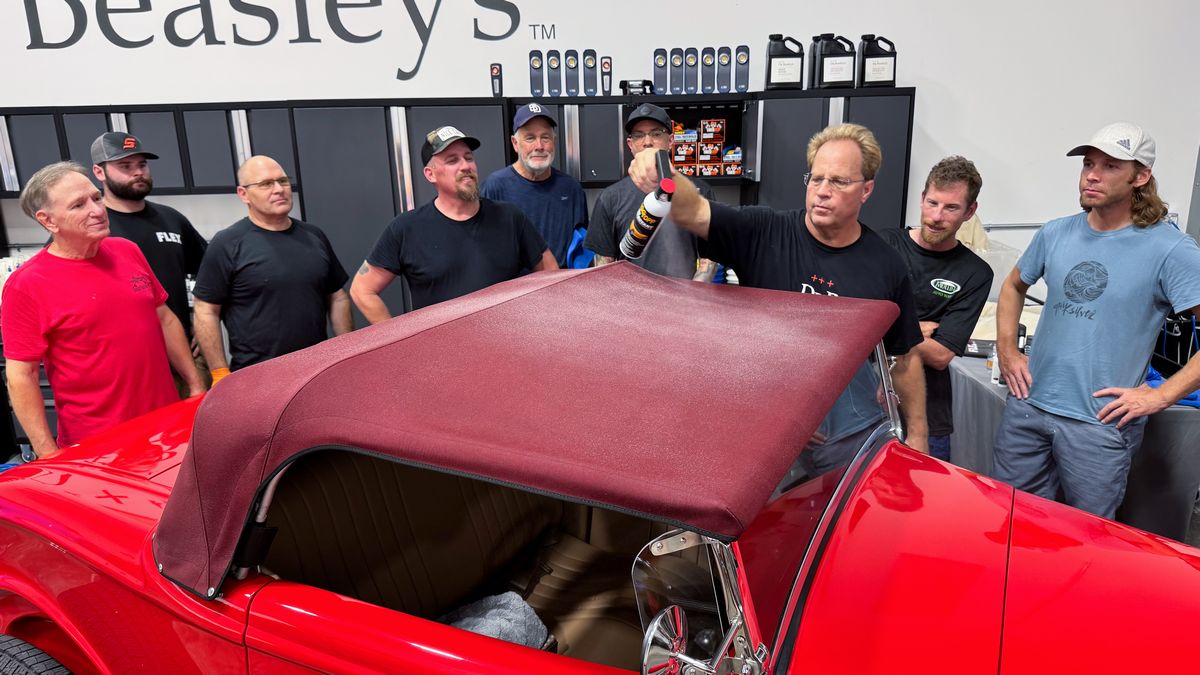
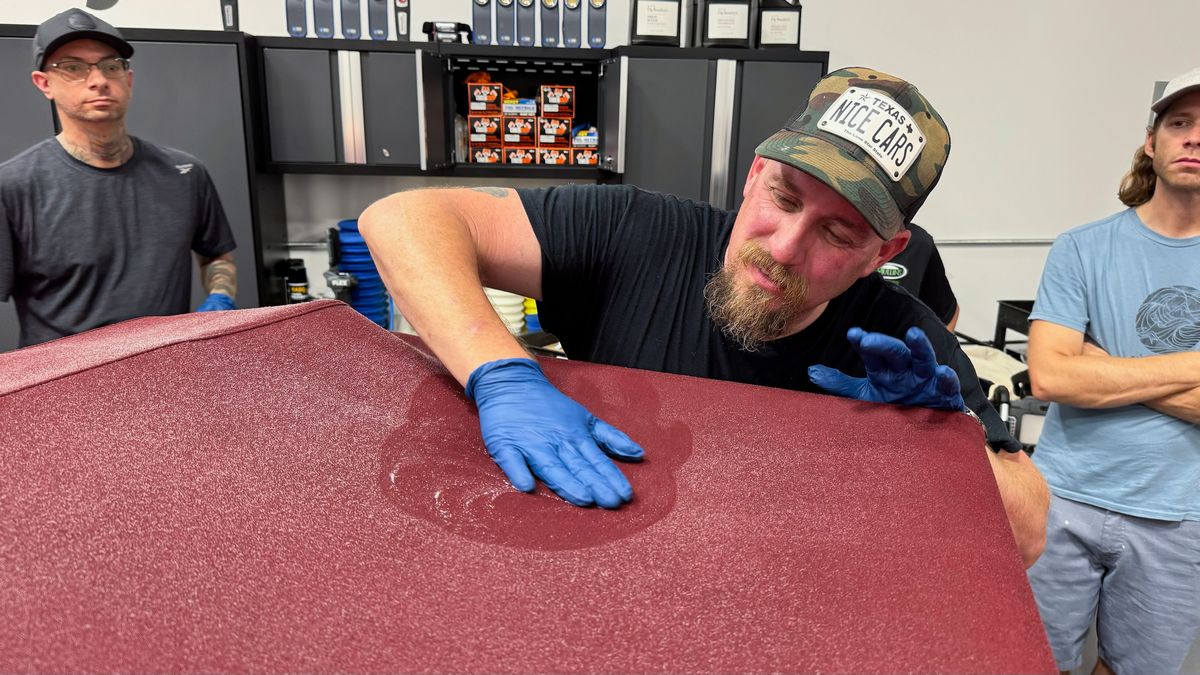
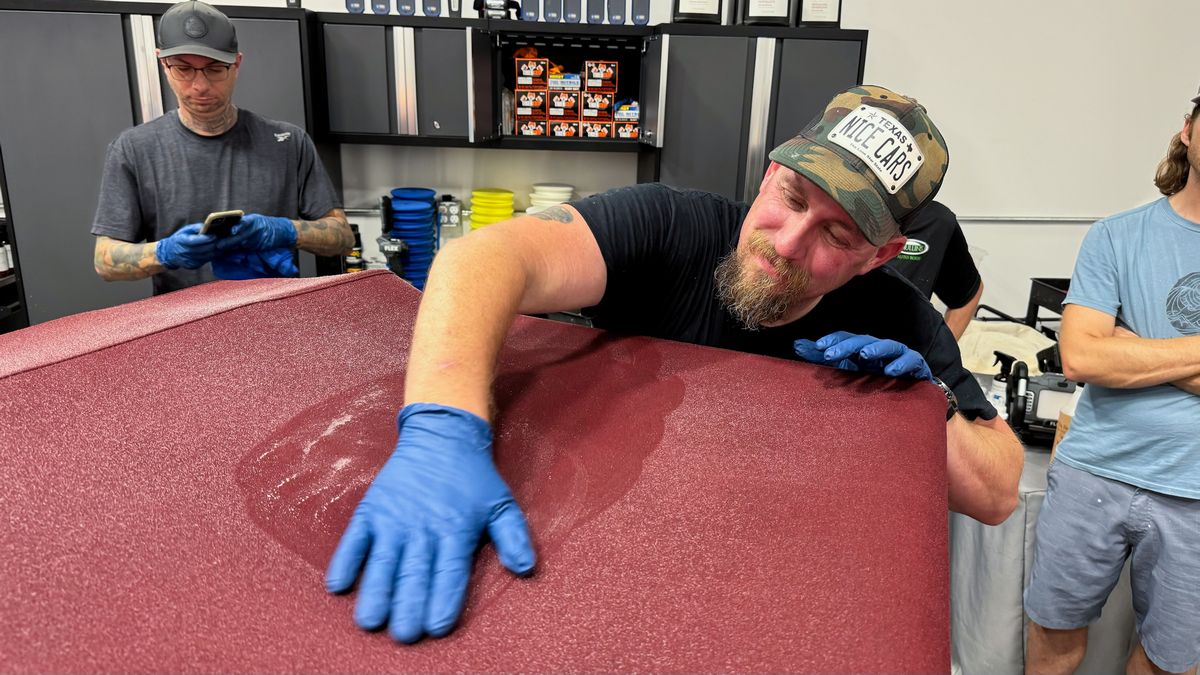
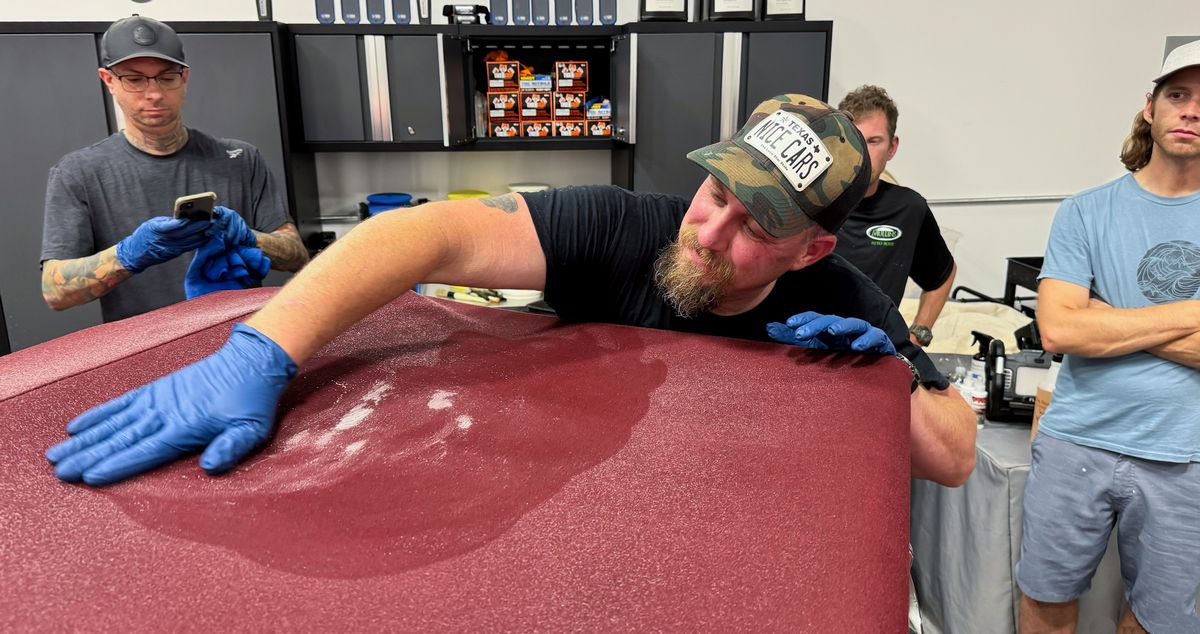
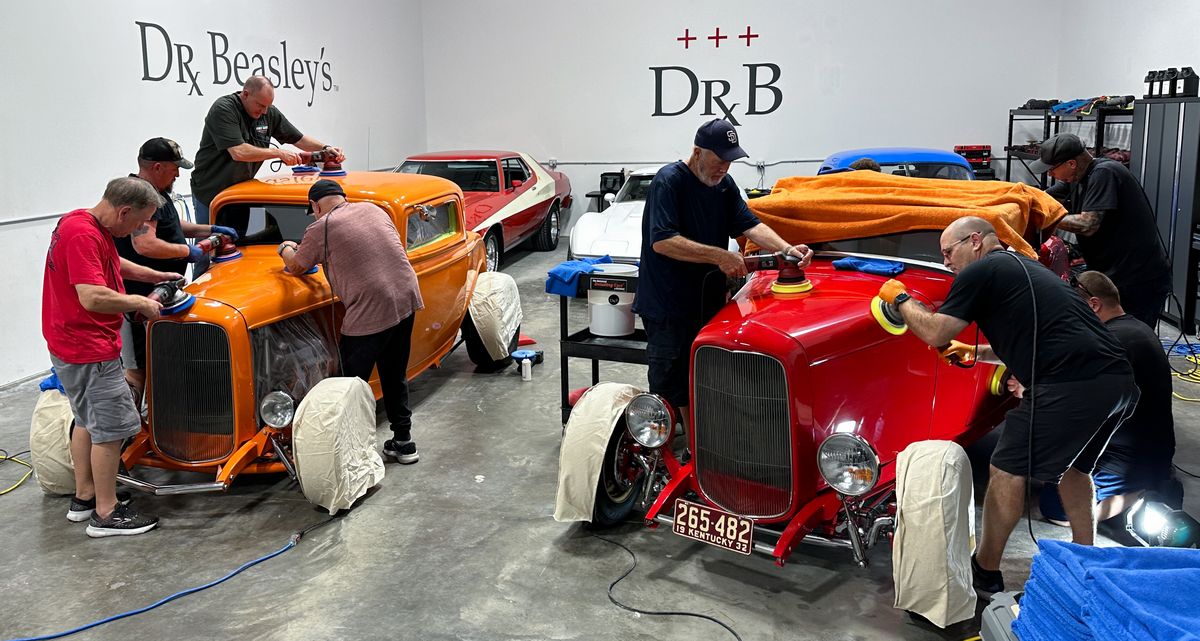
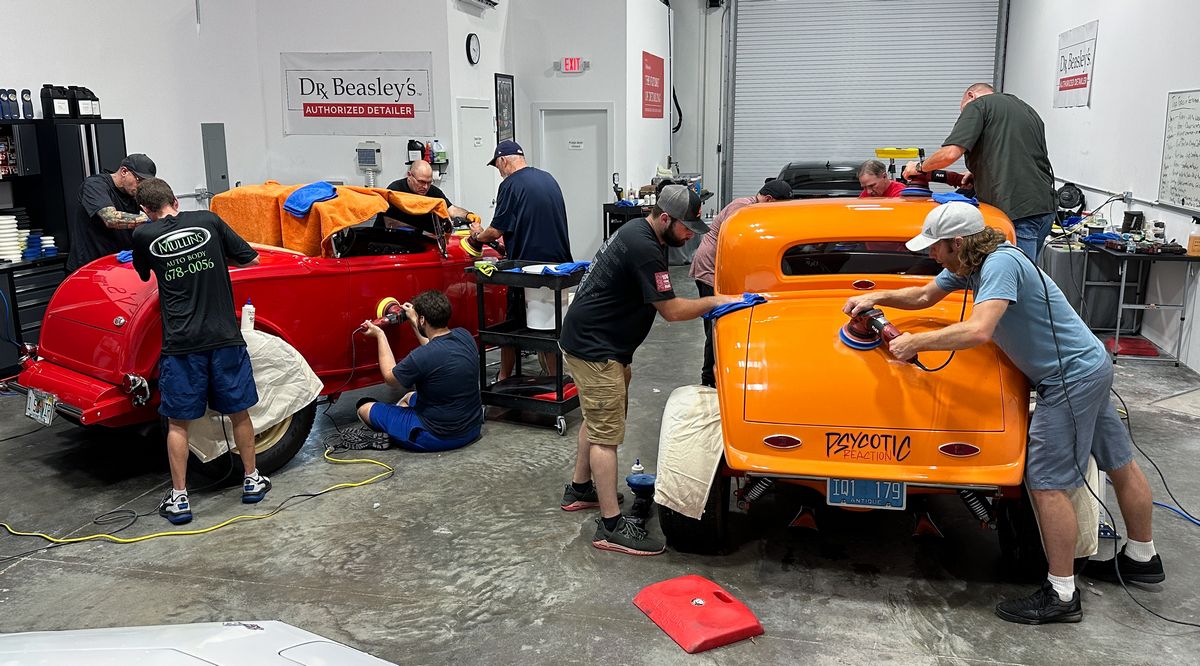
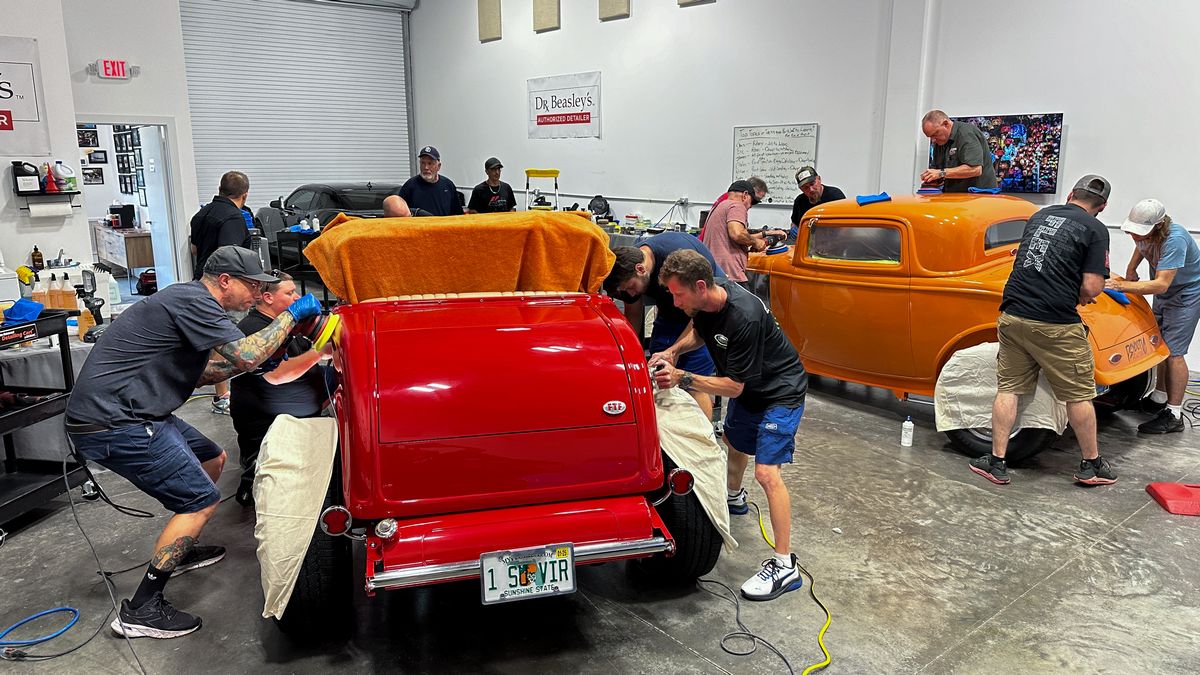
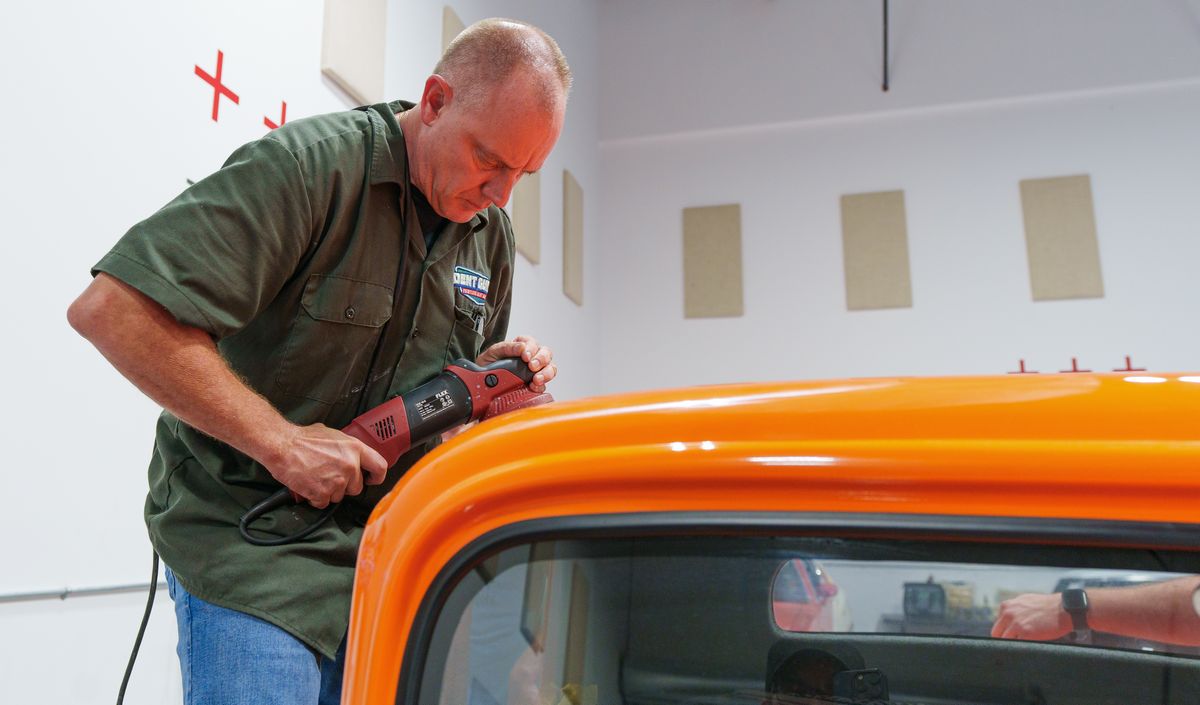
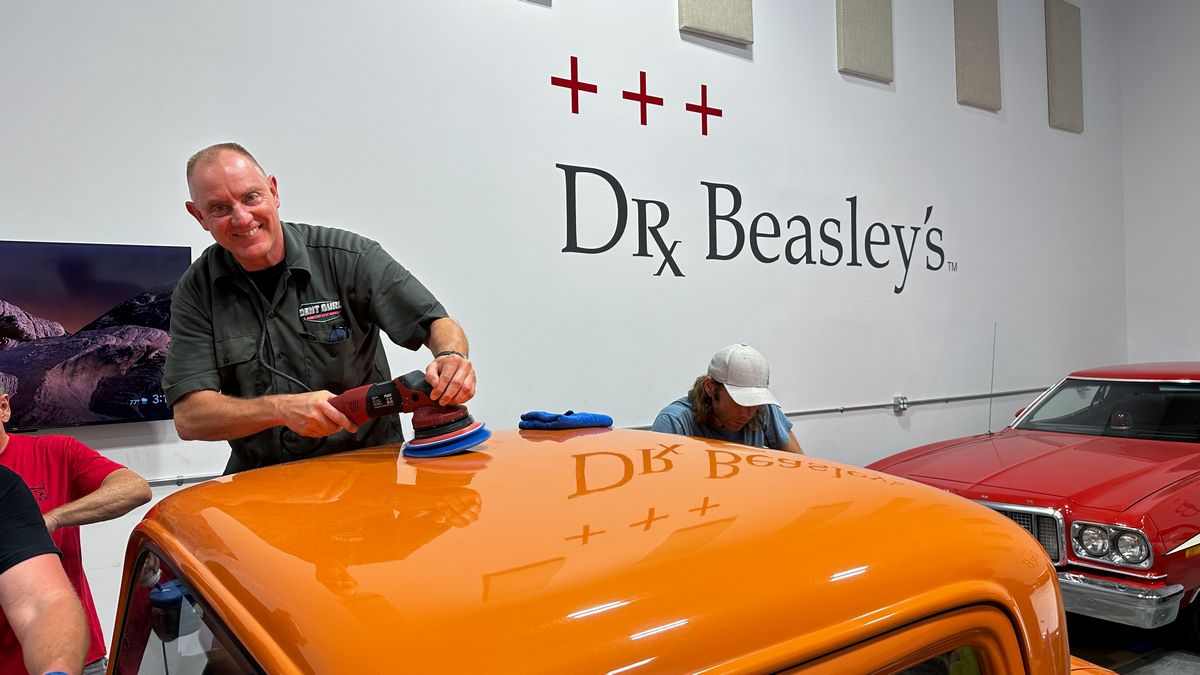
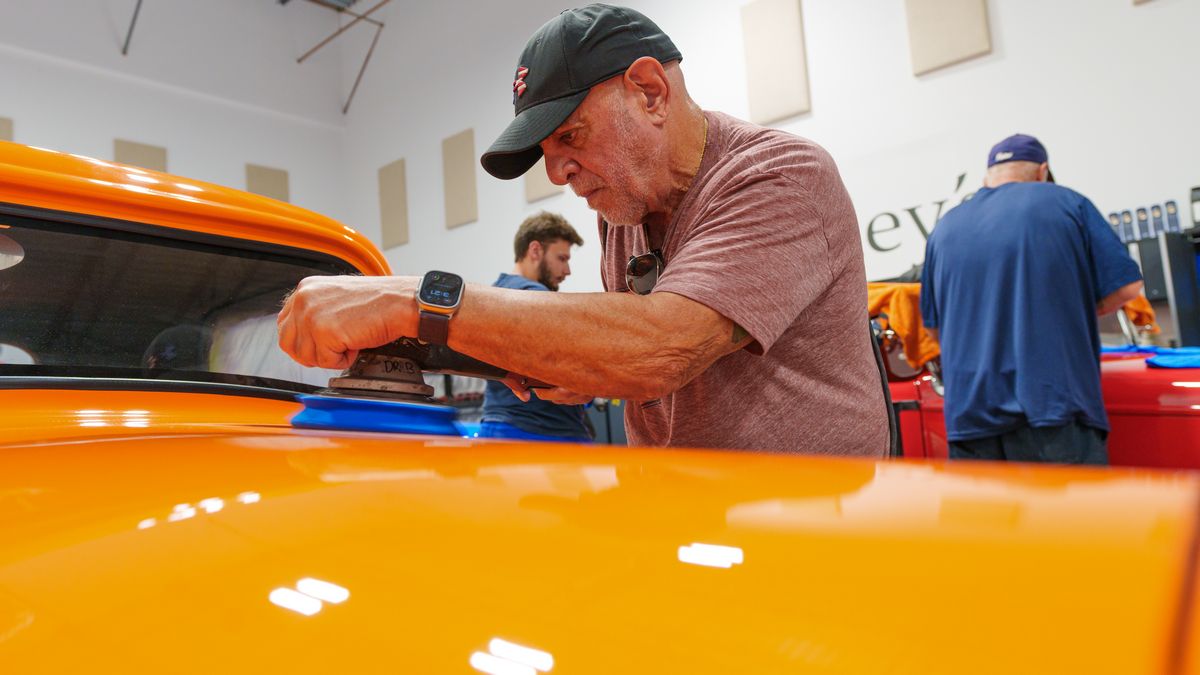
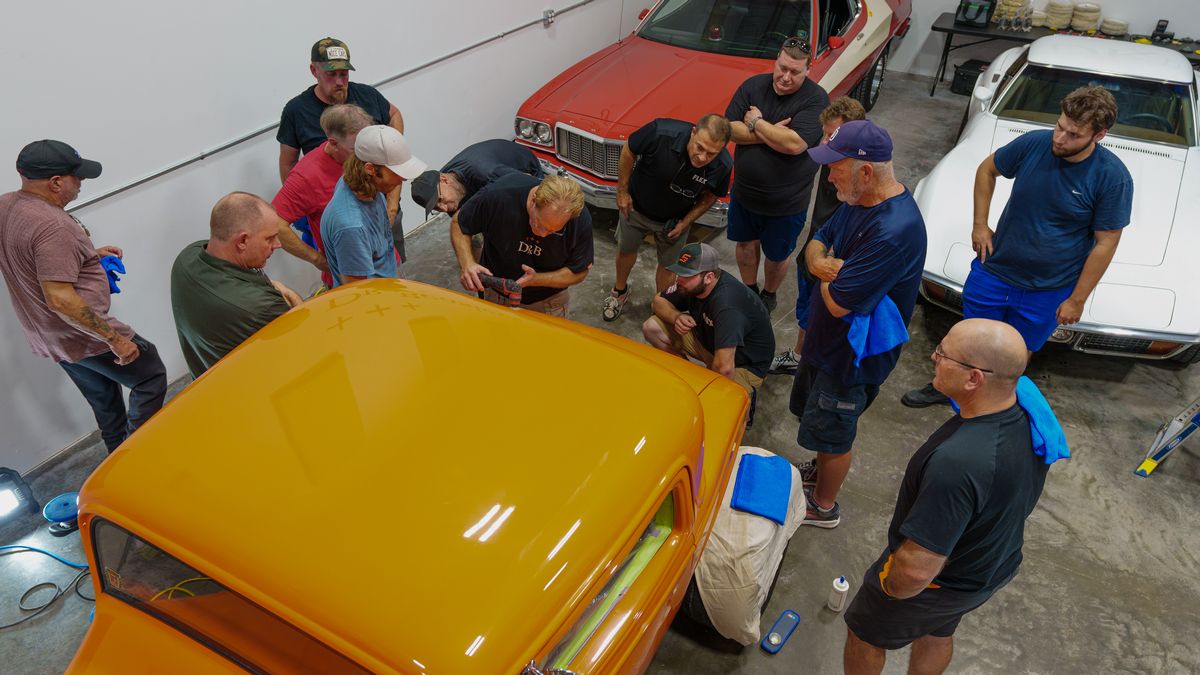
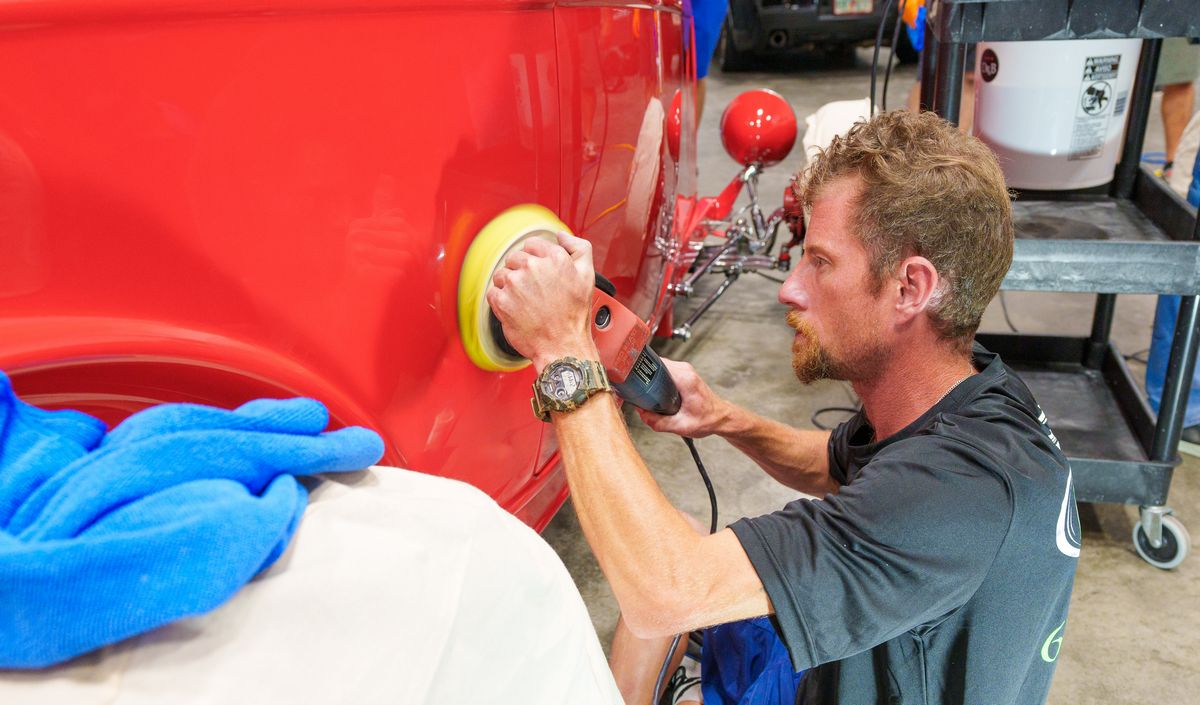
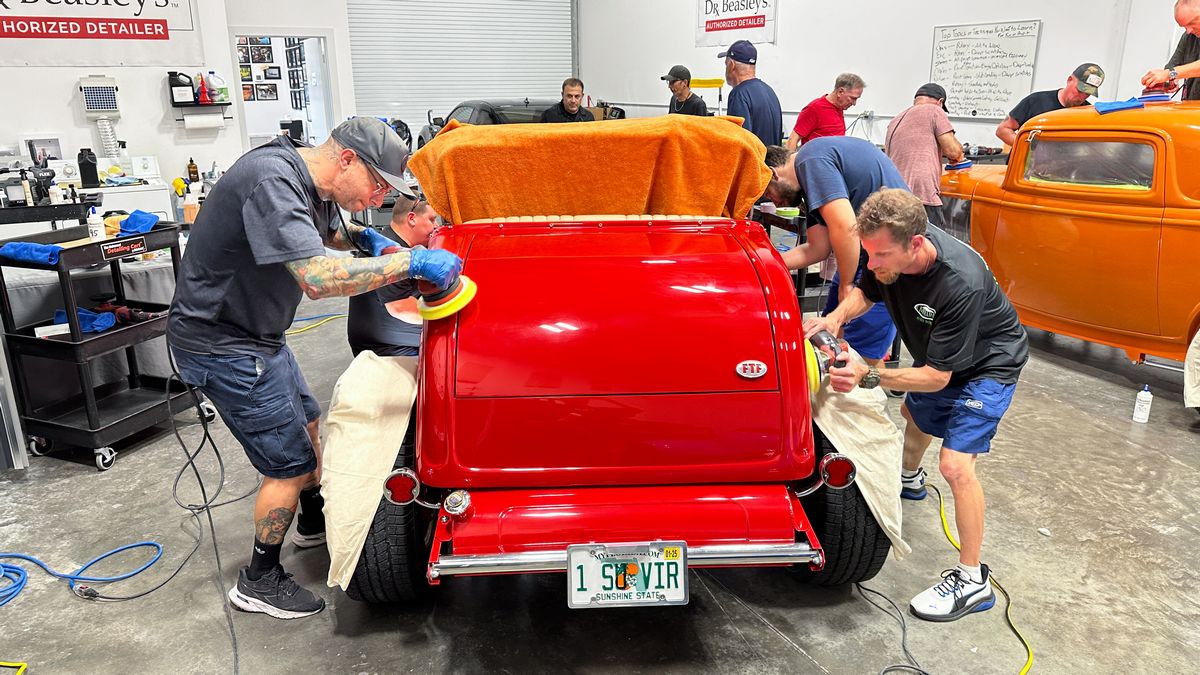
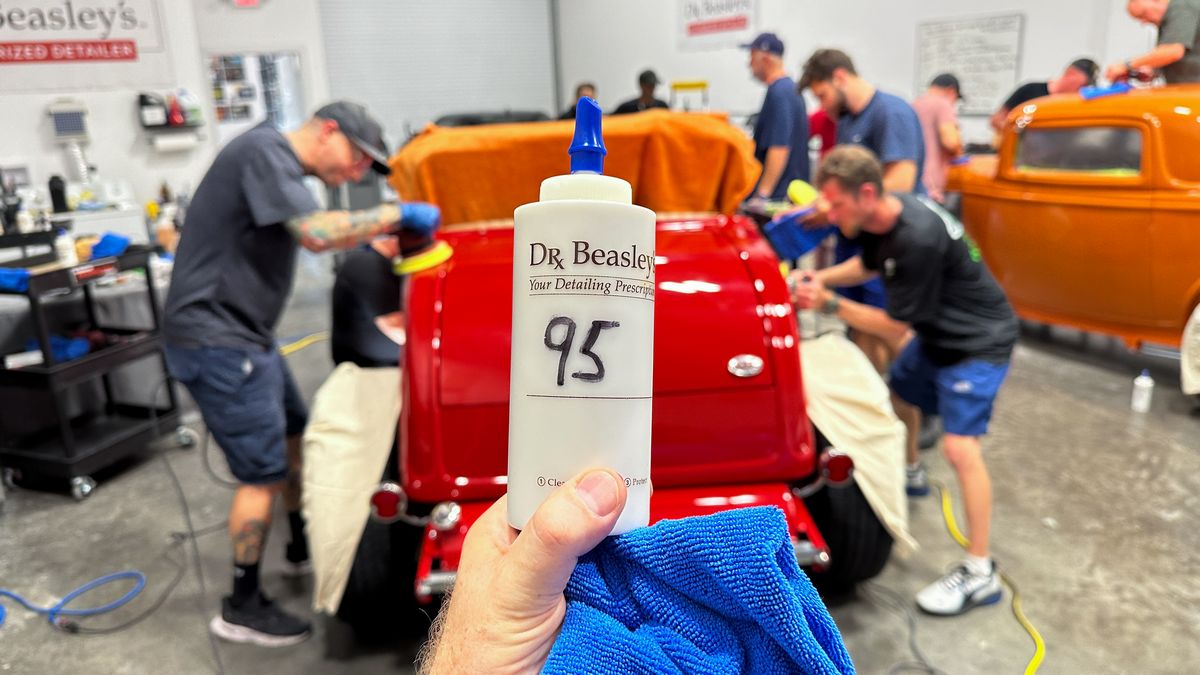
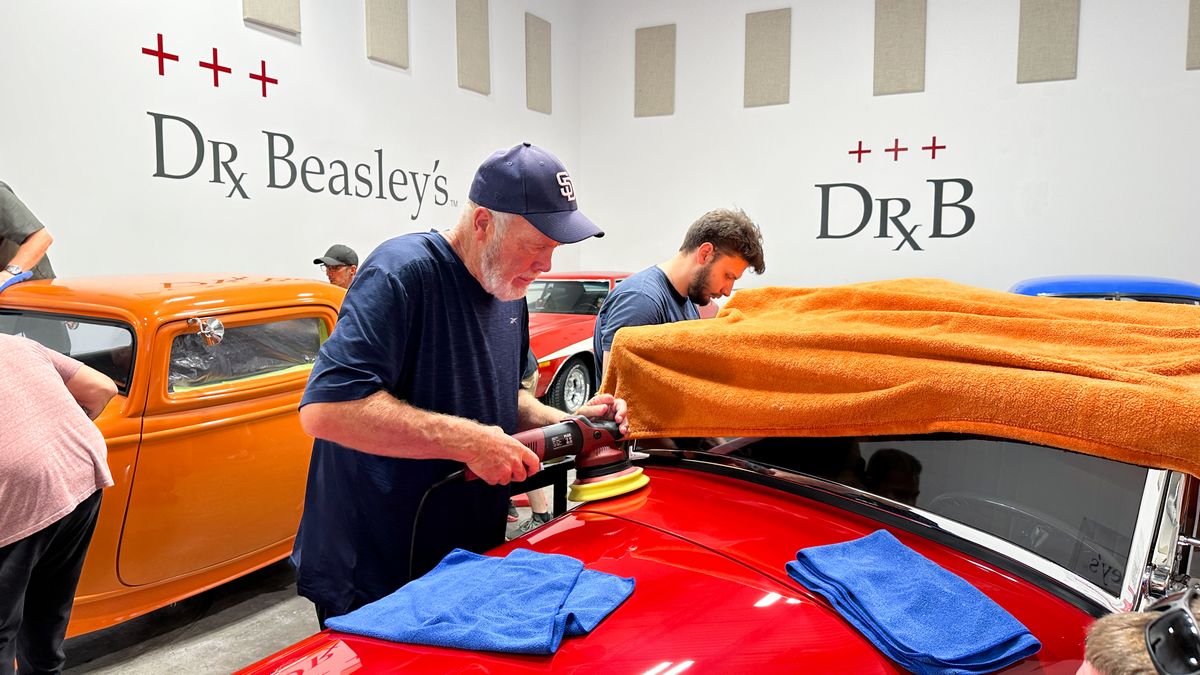
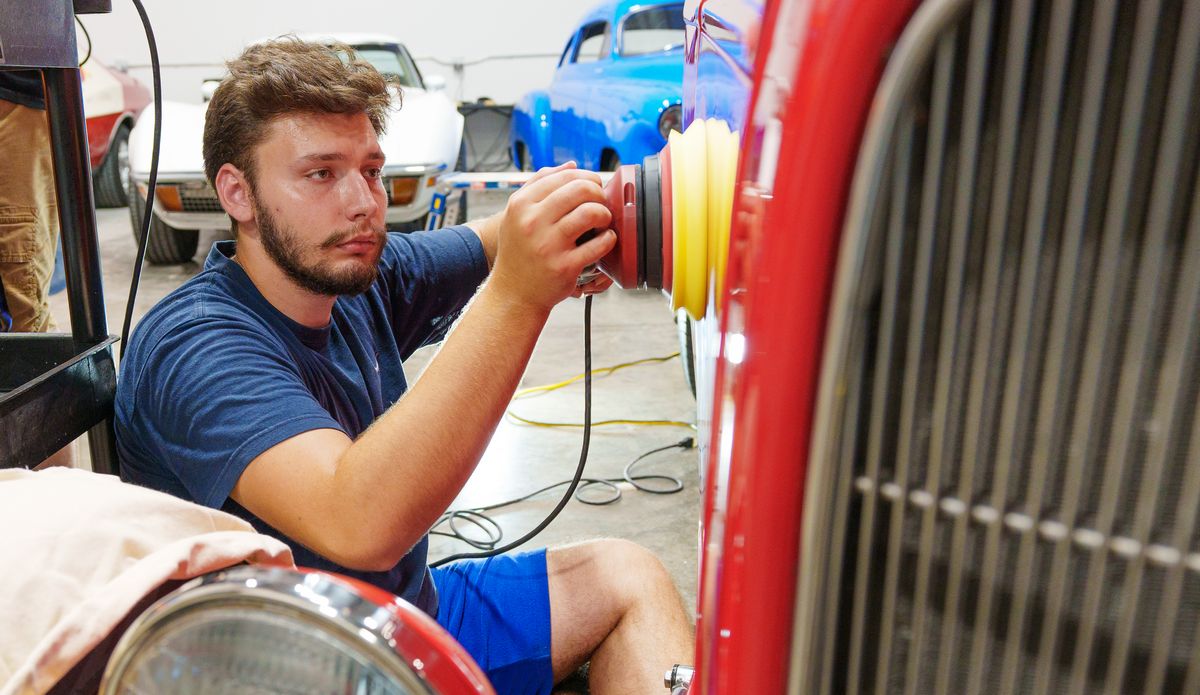
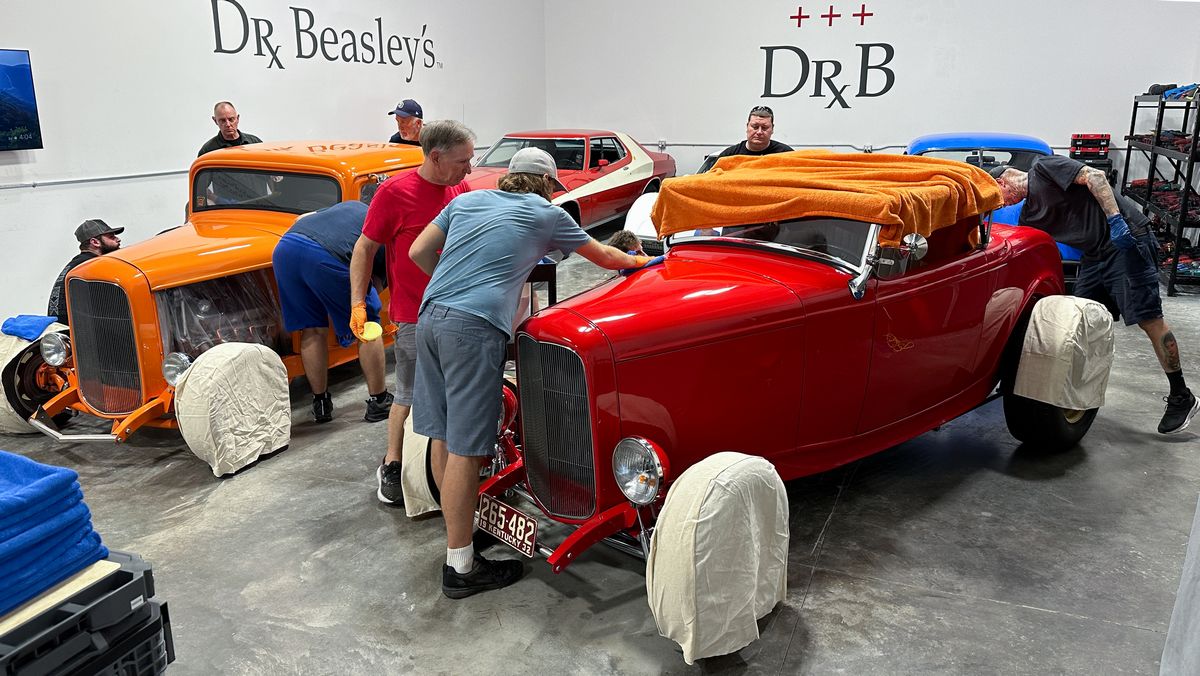
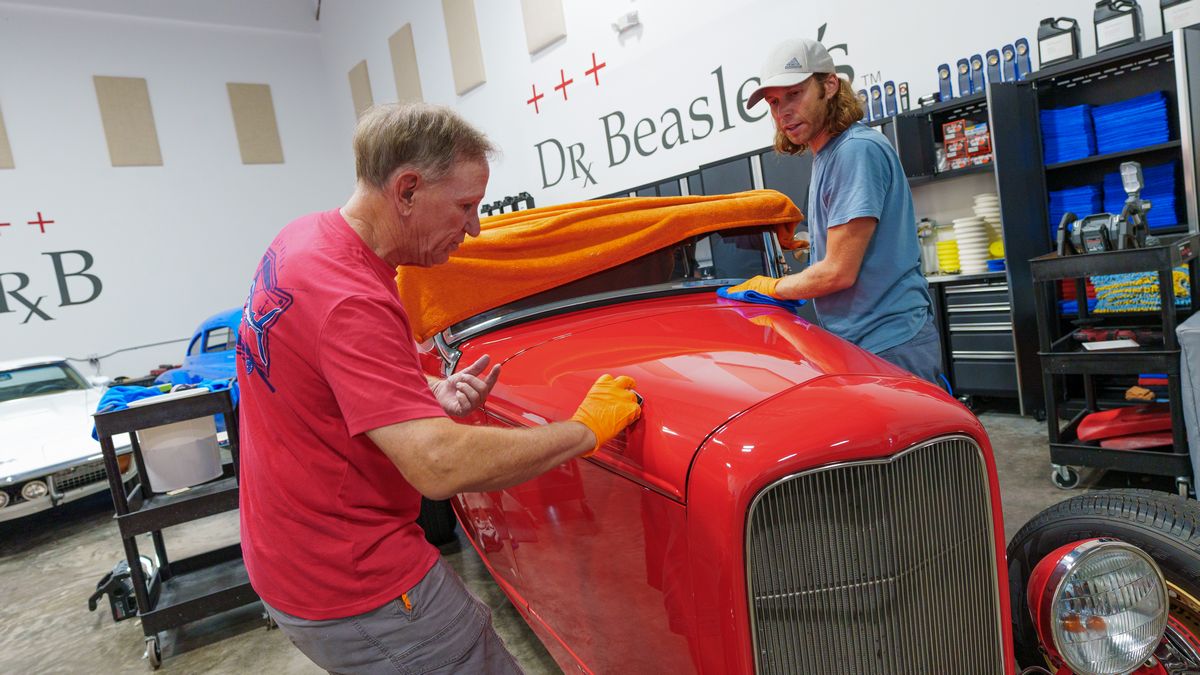
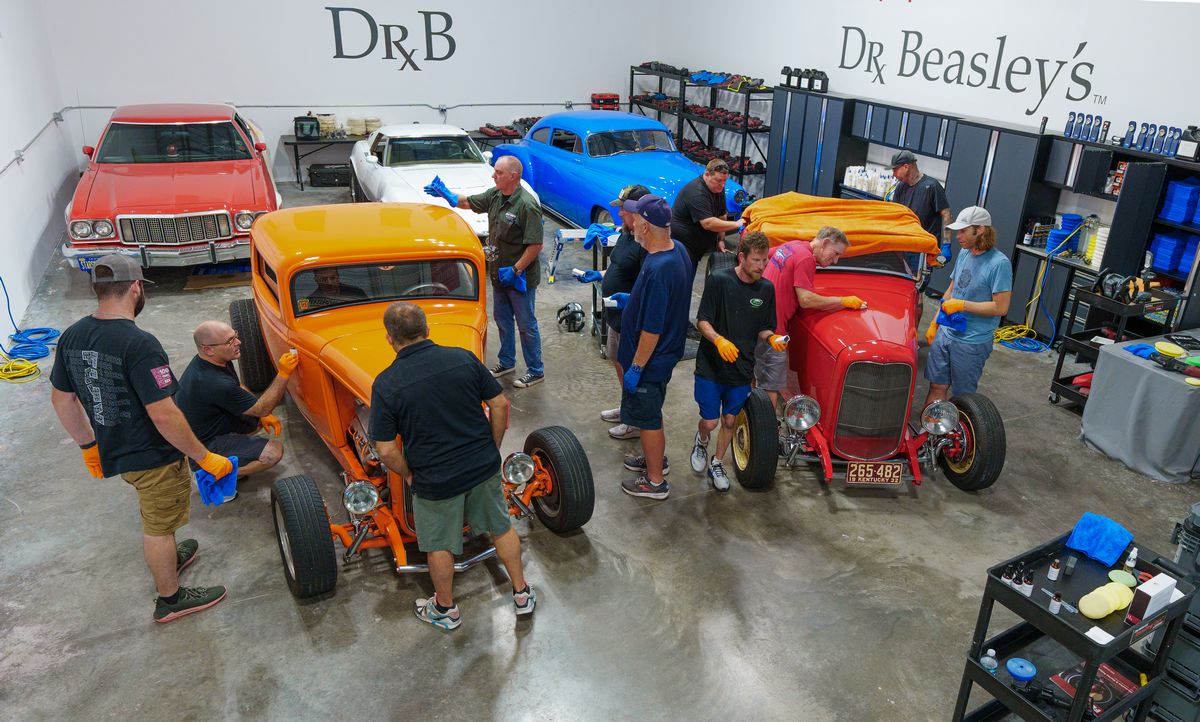
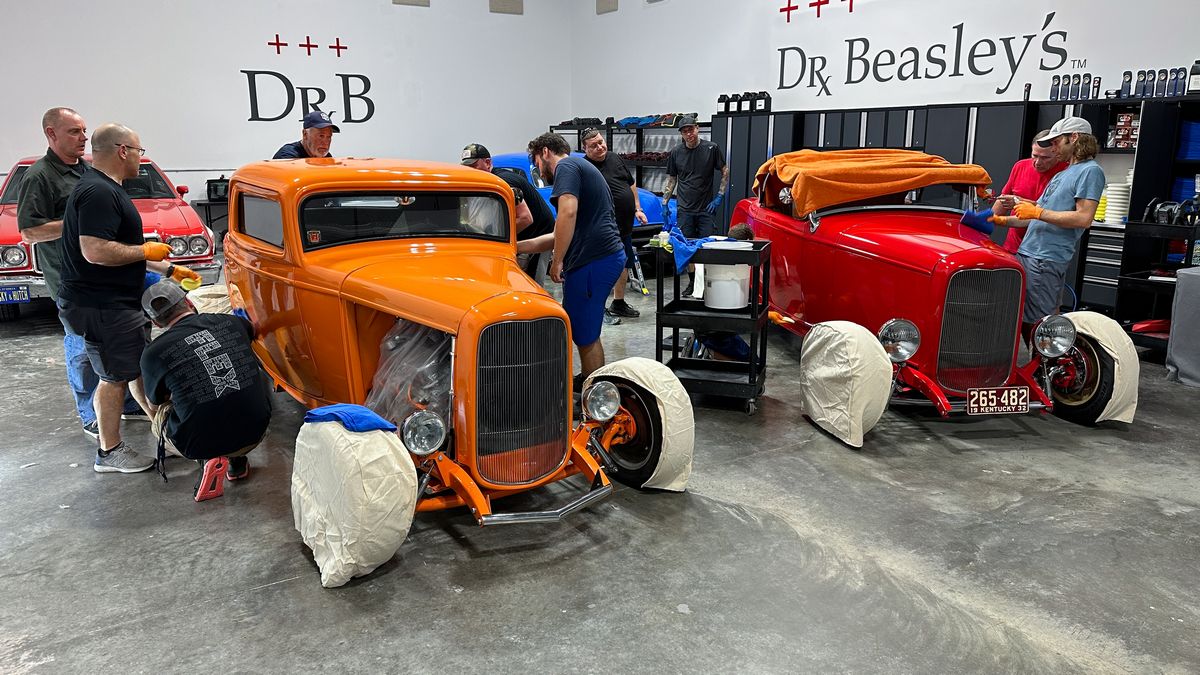
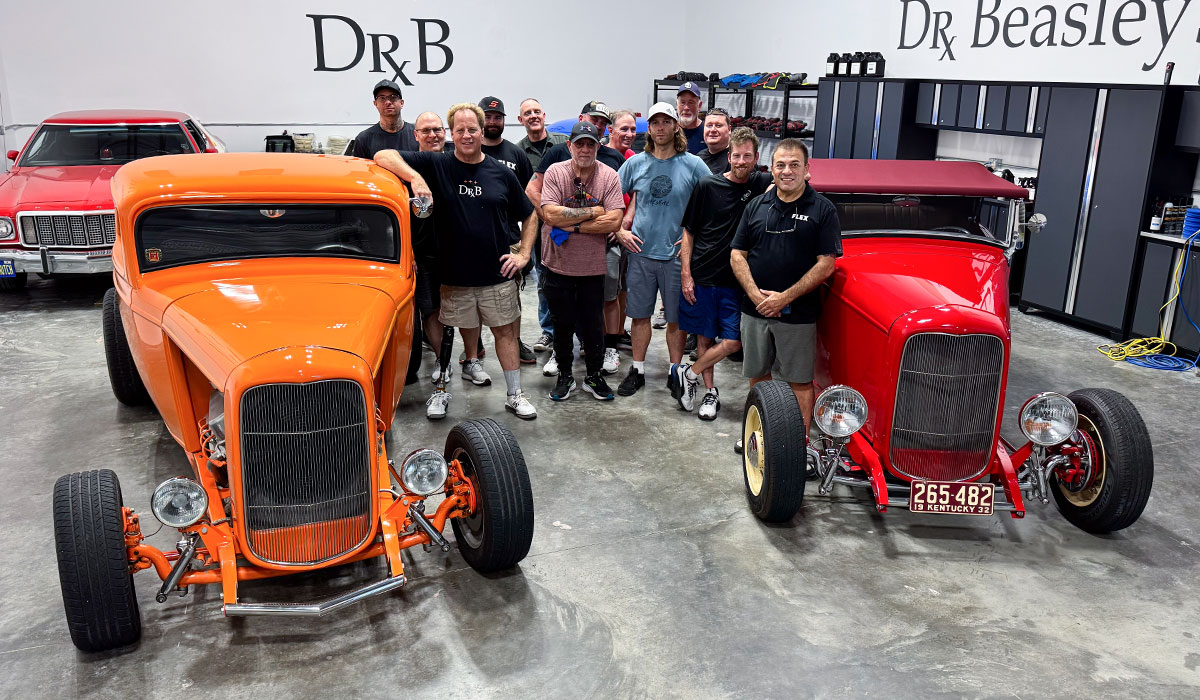
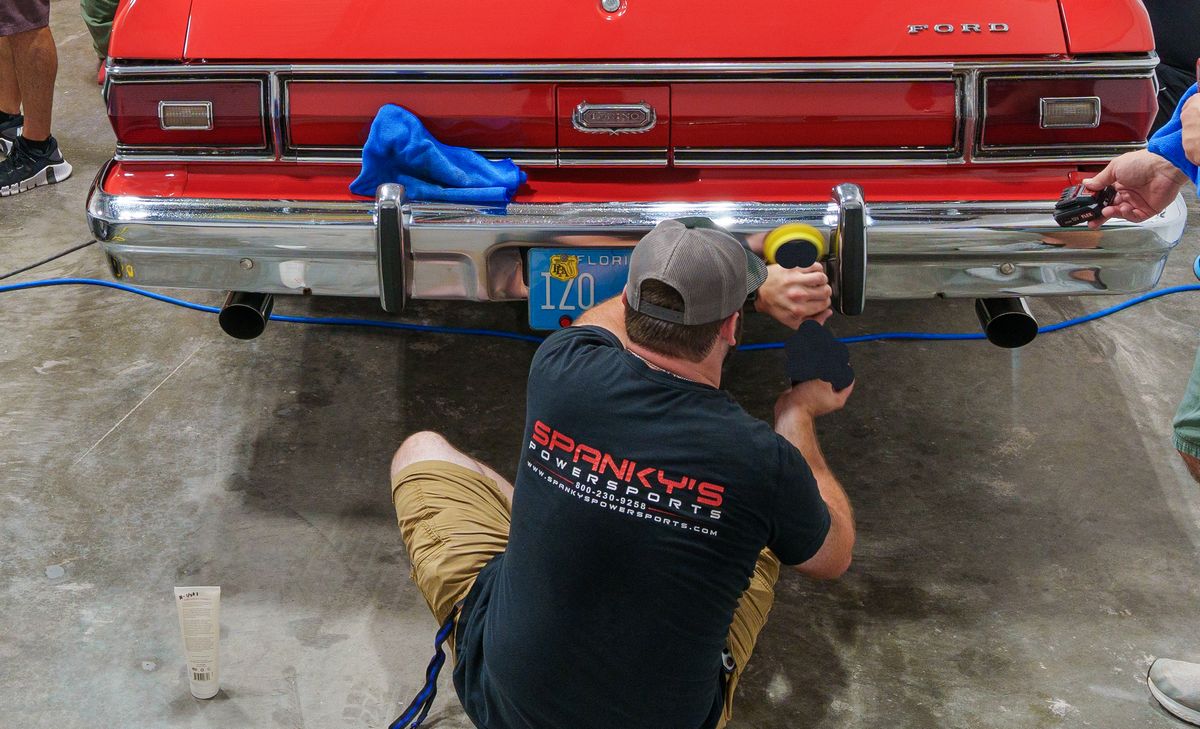
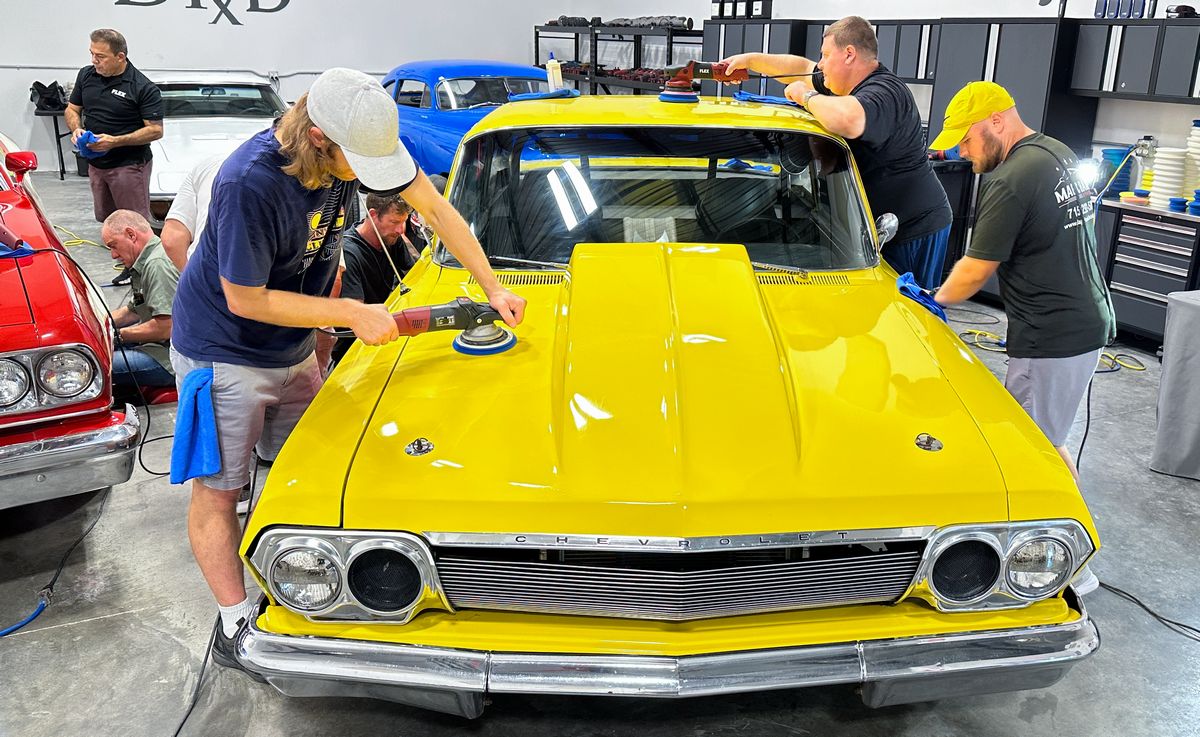
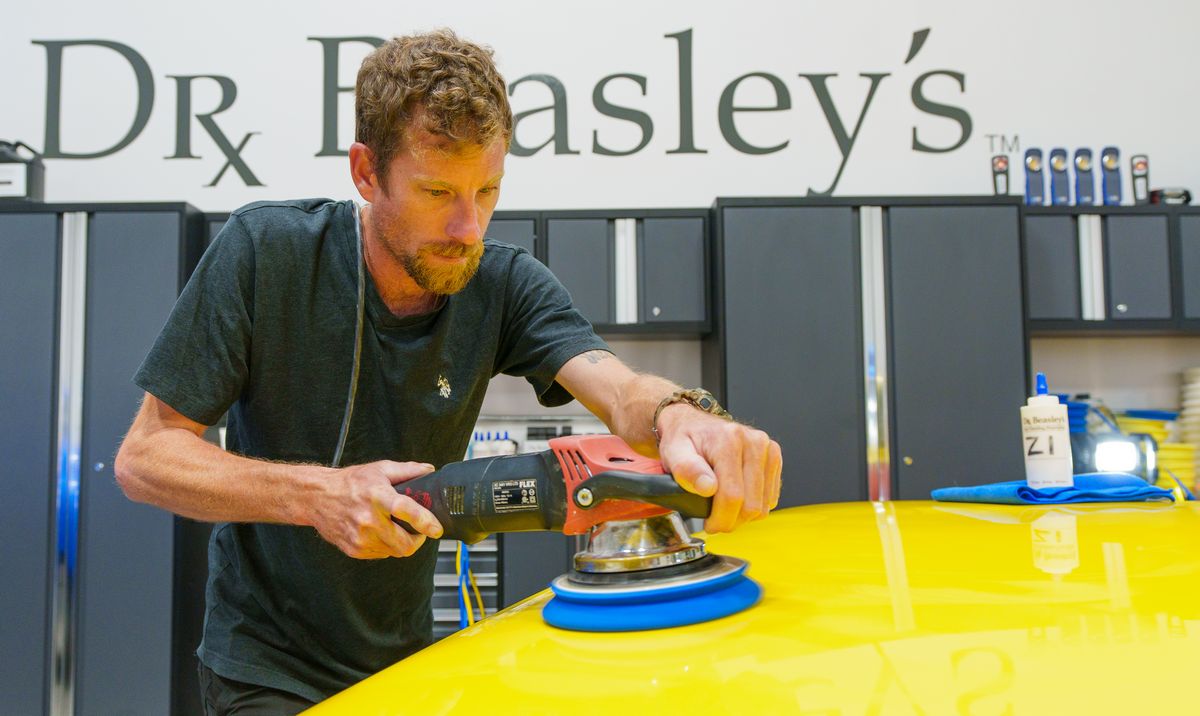
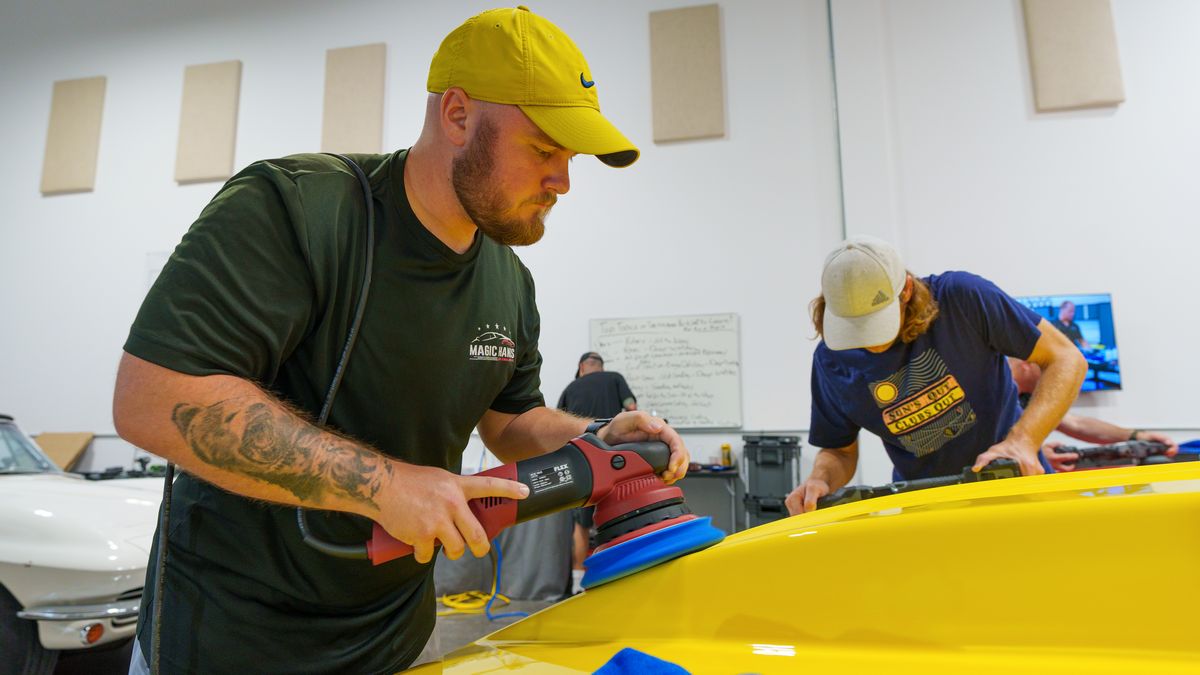
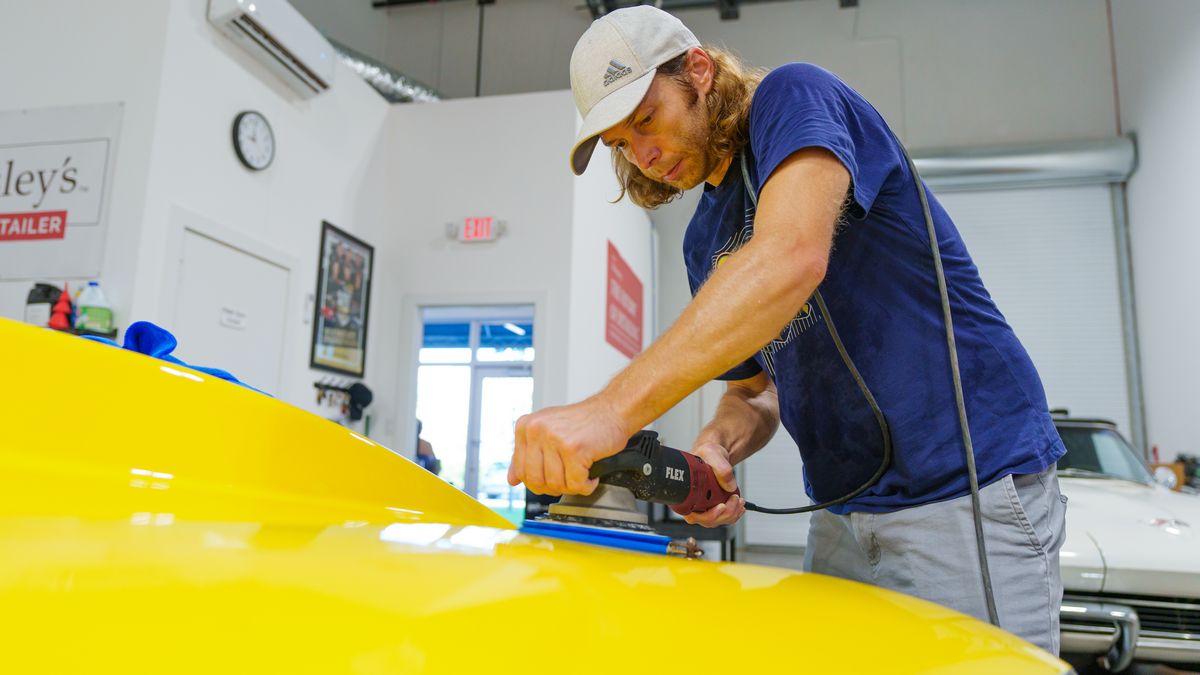
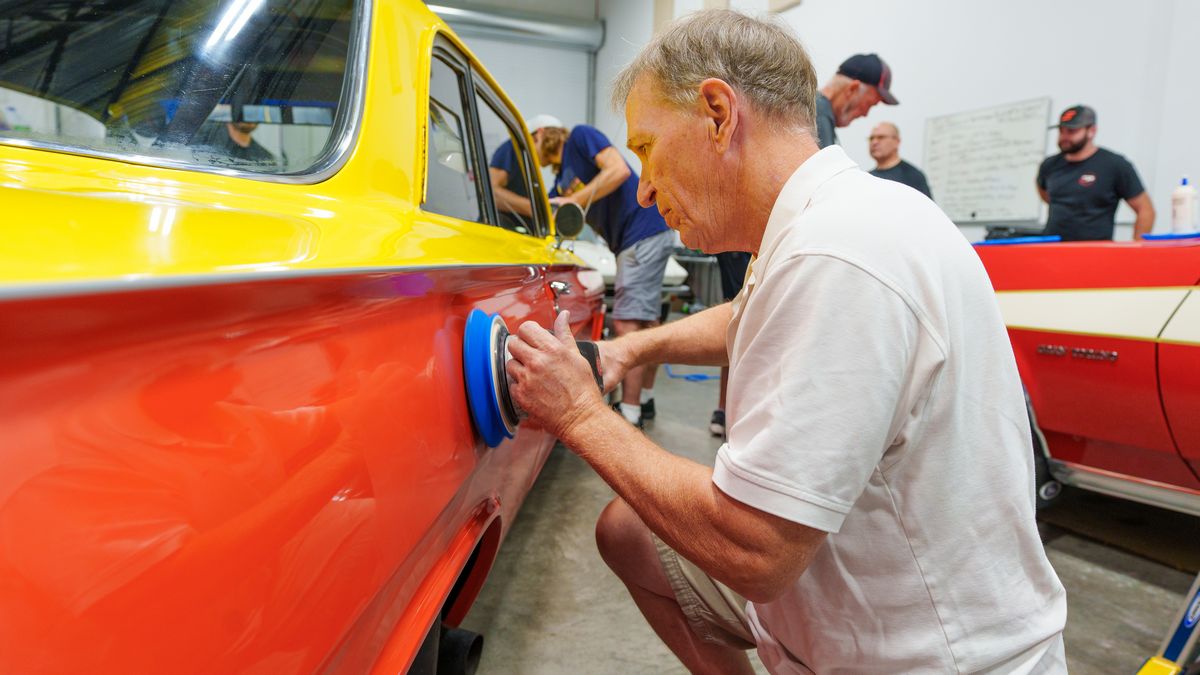
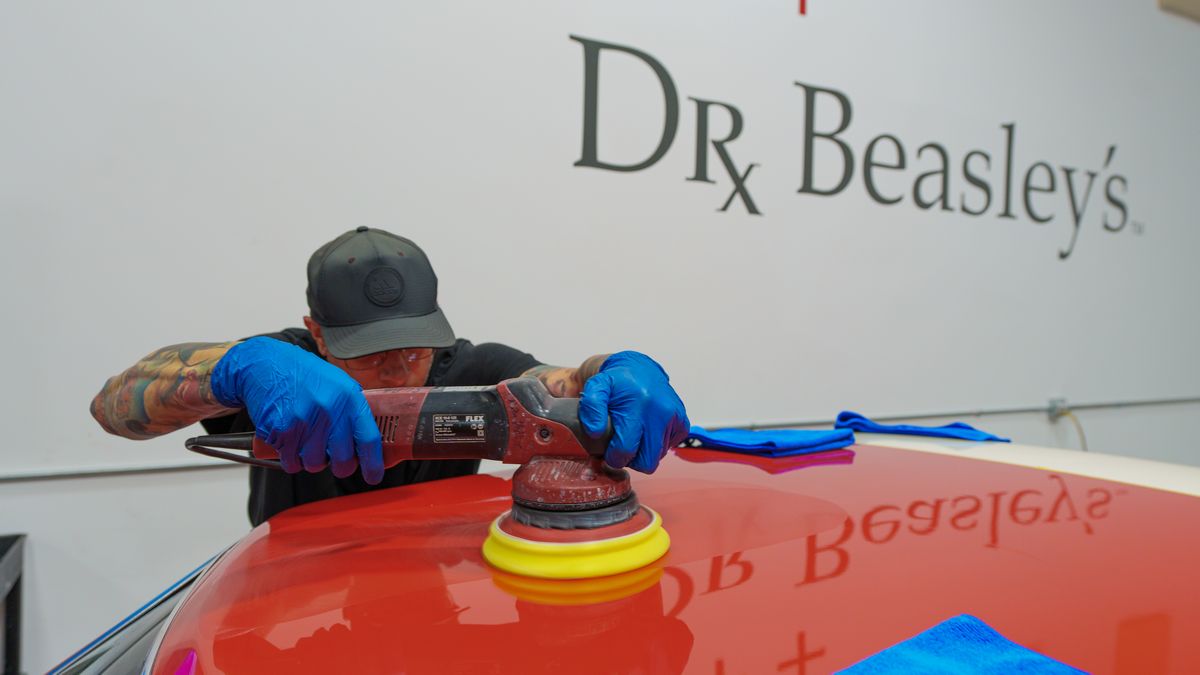
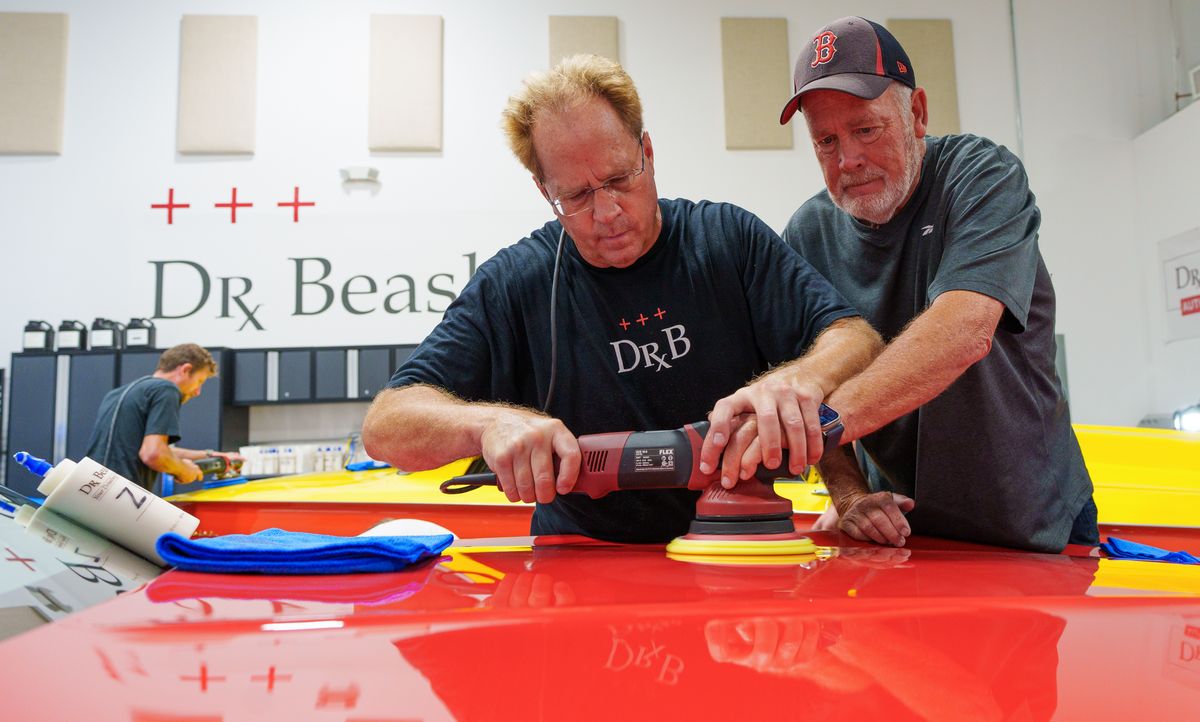
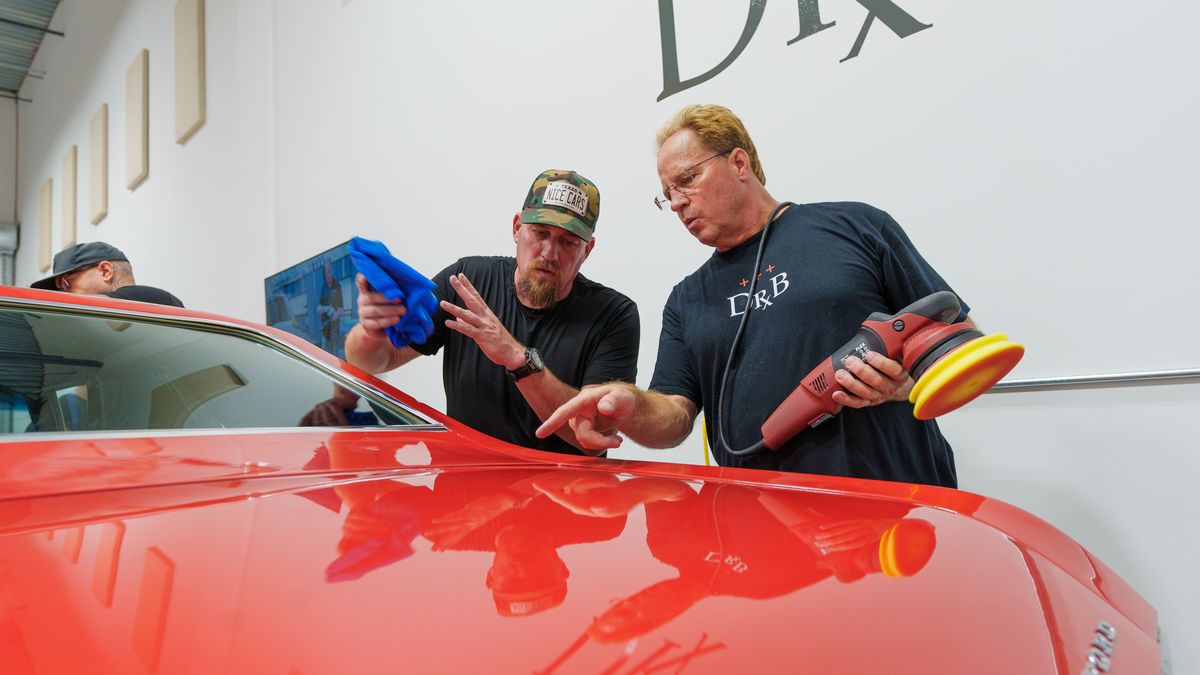
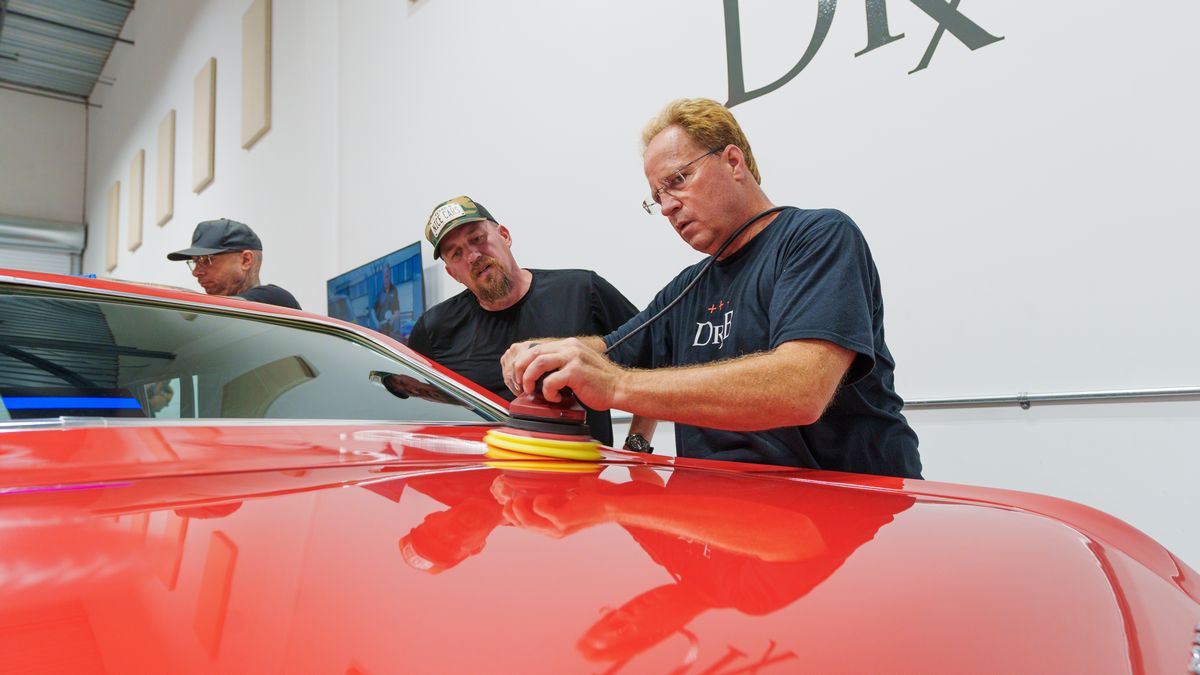
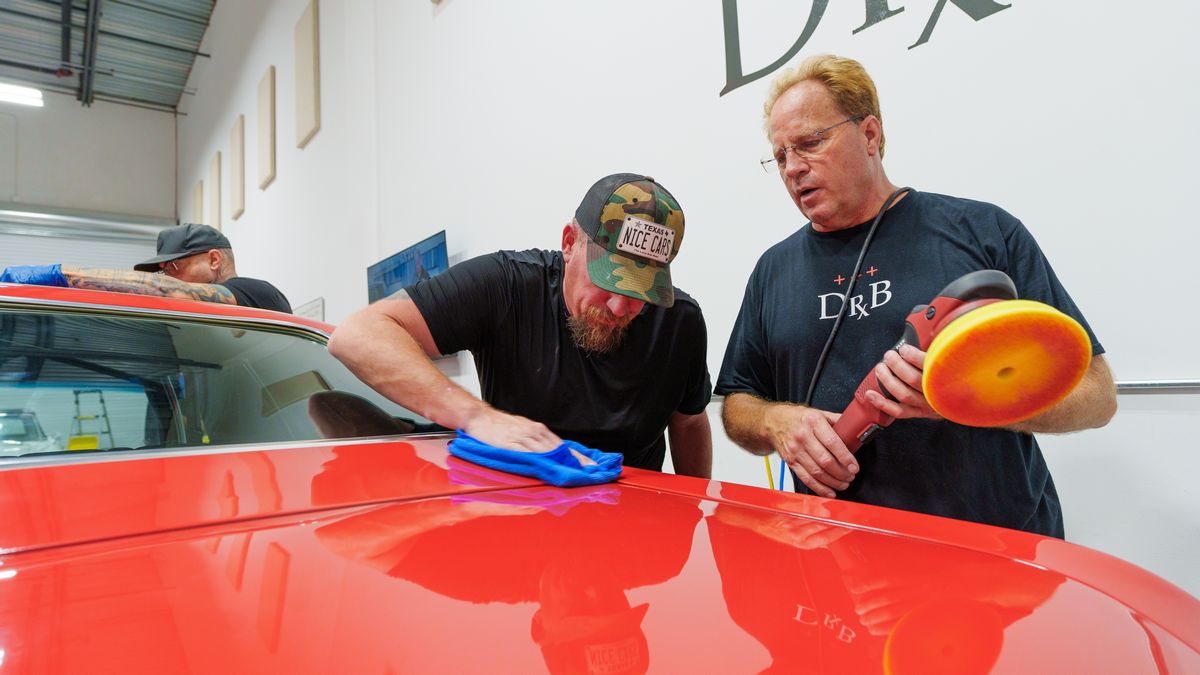
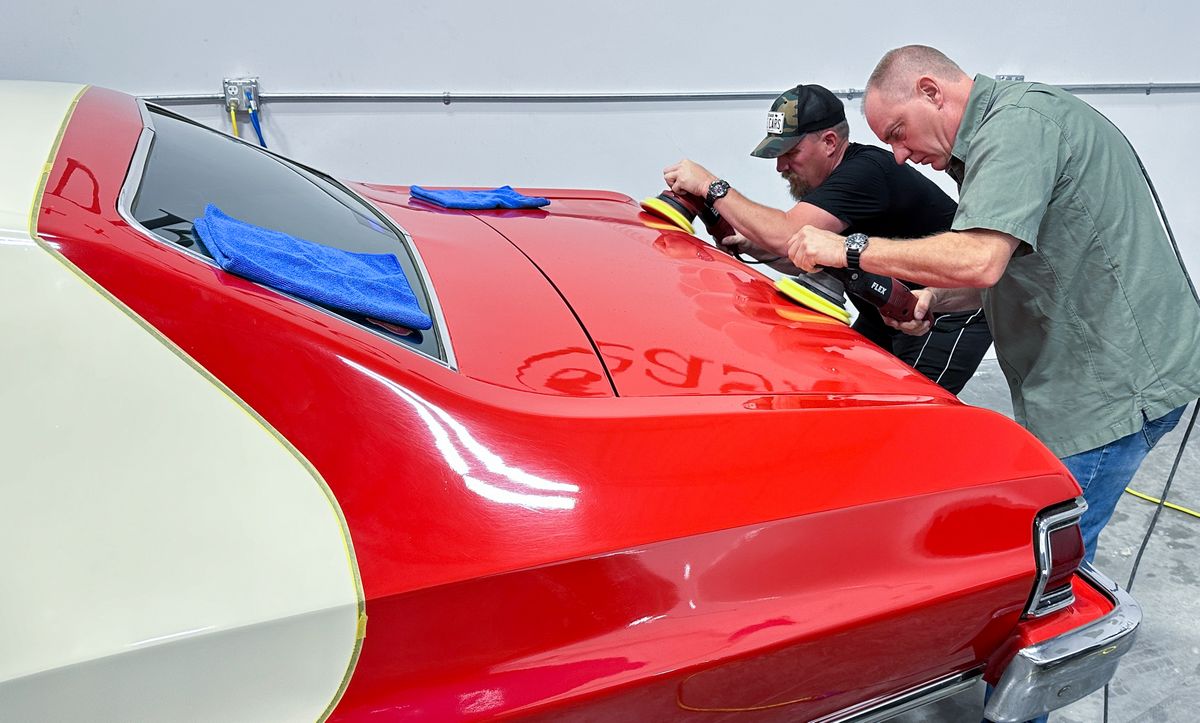
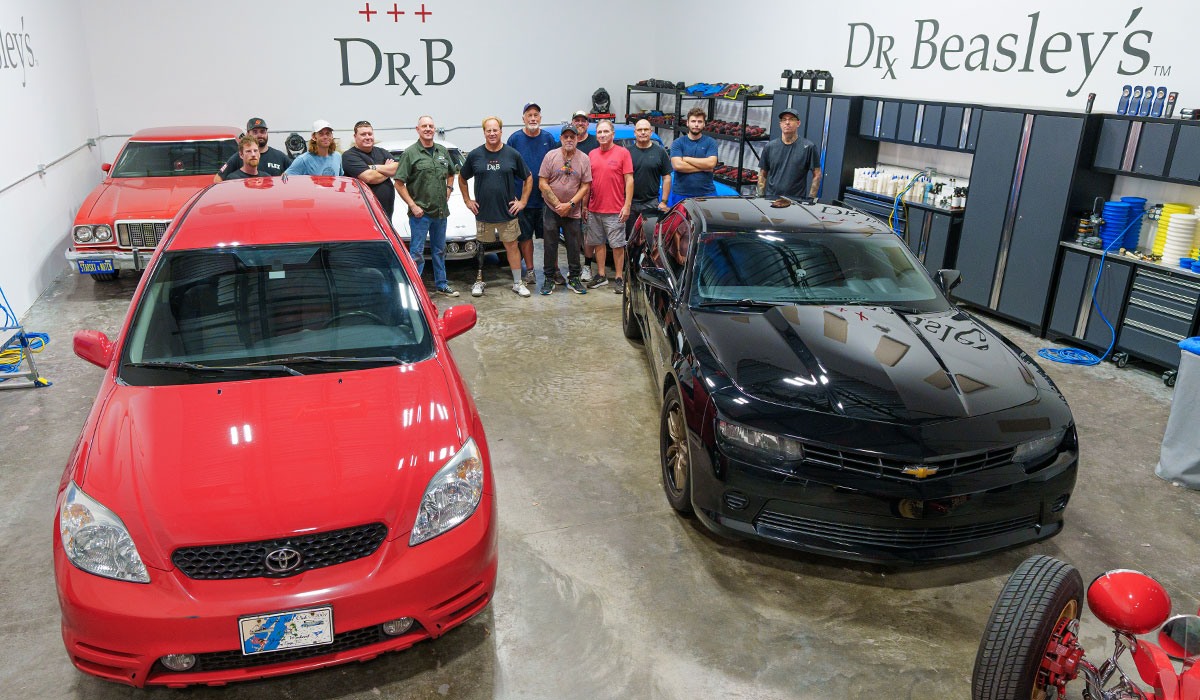
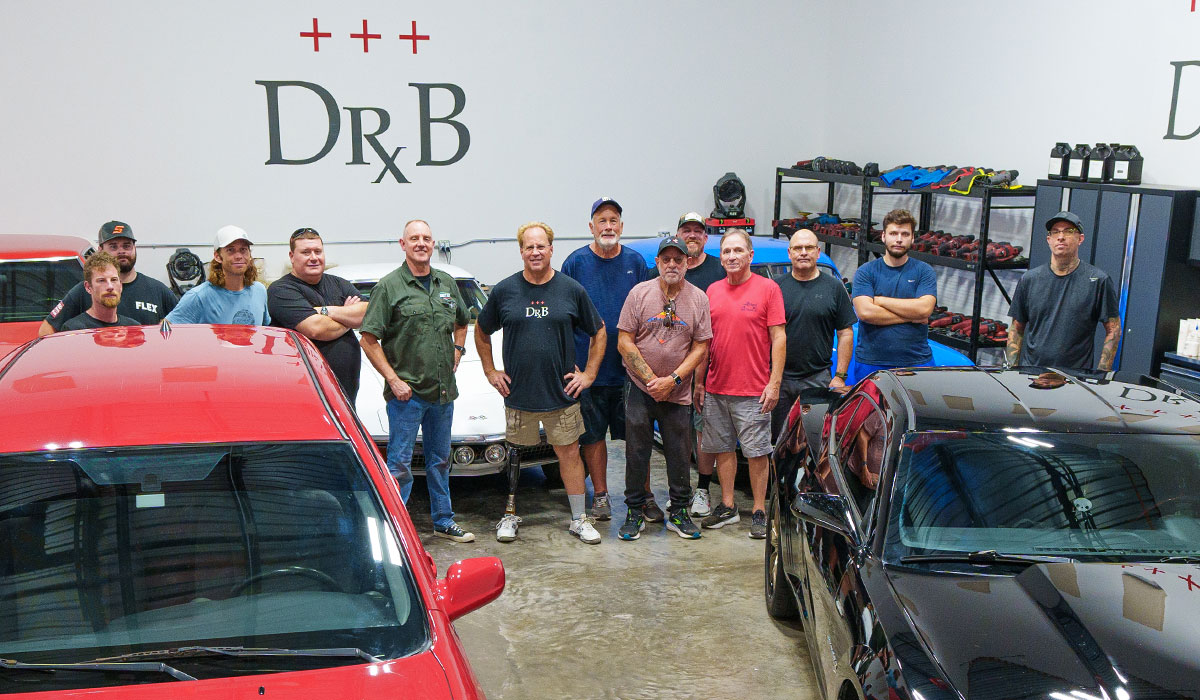
Here's the team that made the magic happen!
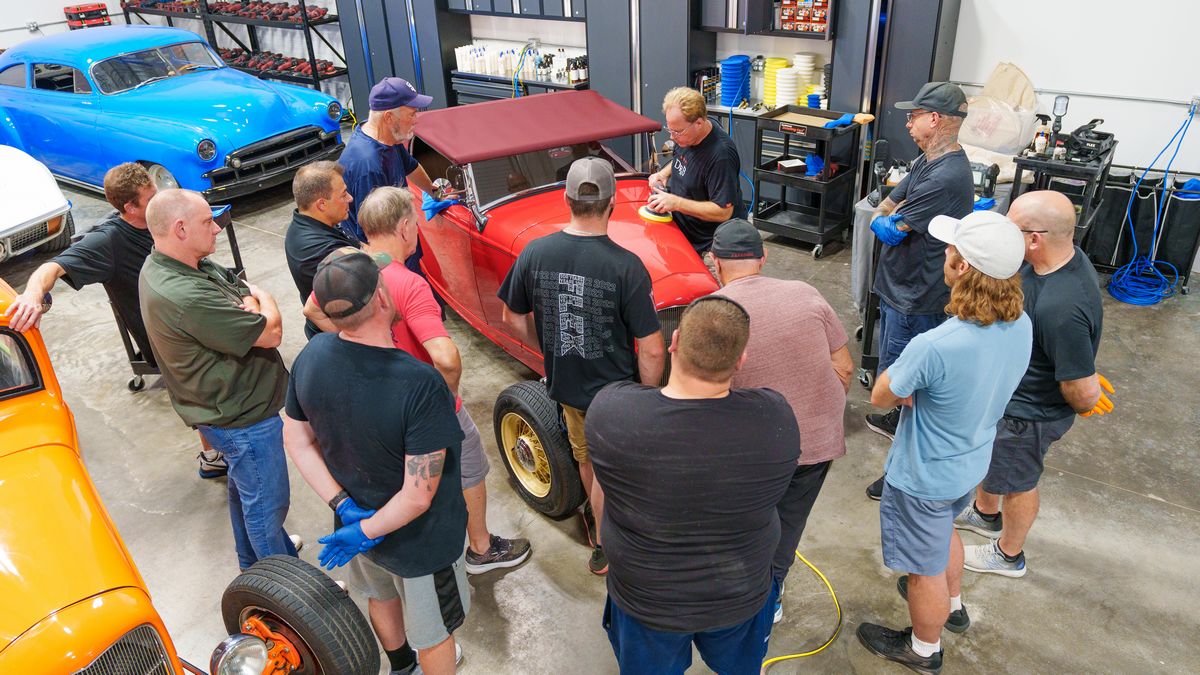
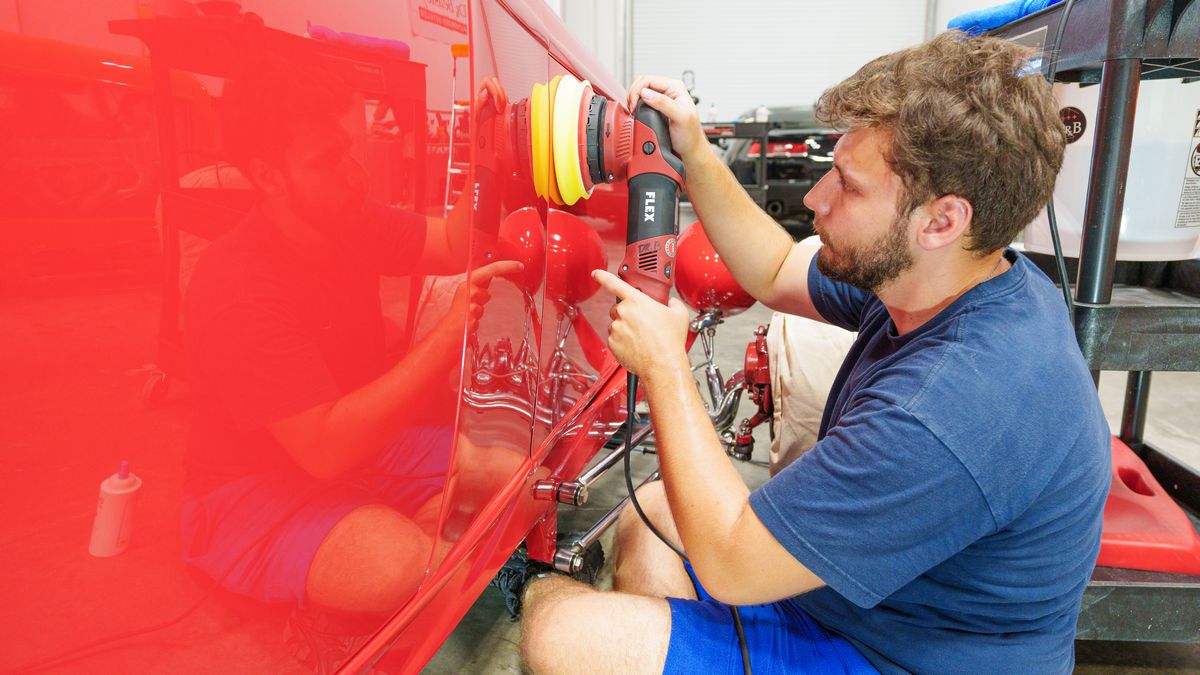
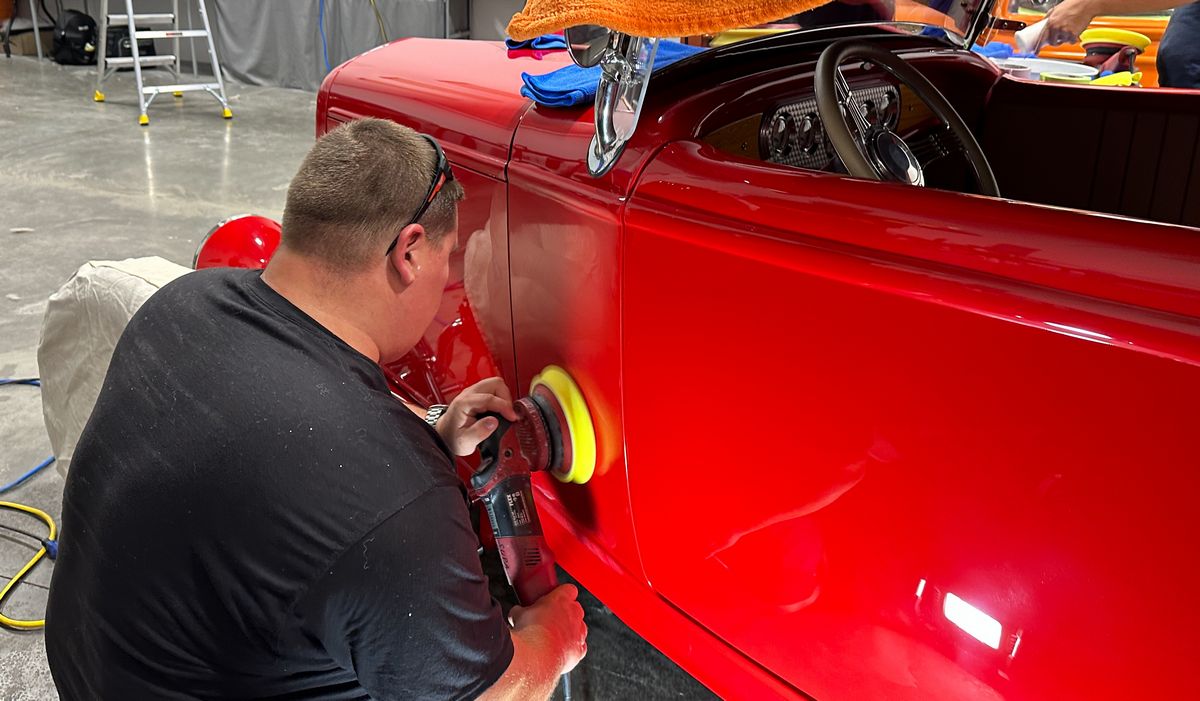
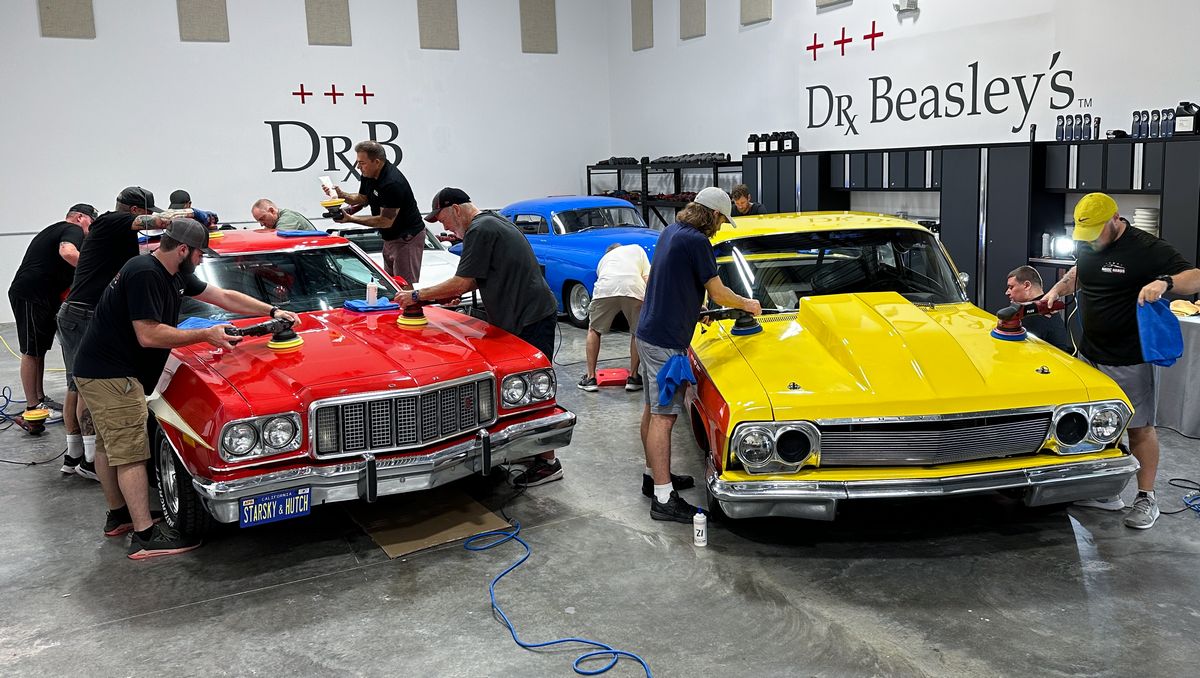
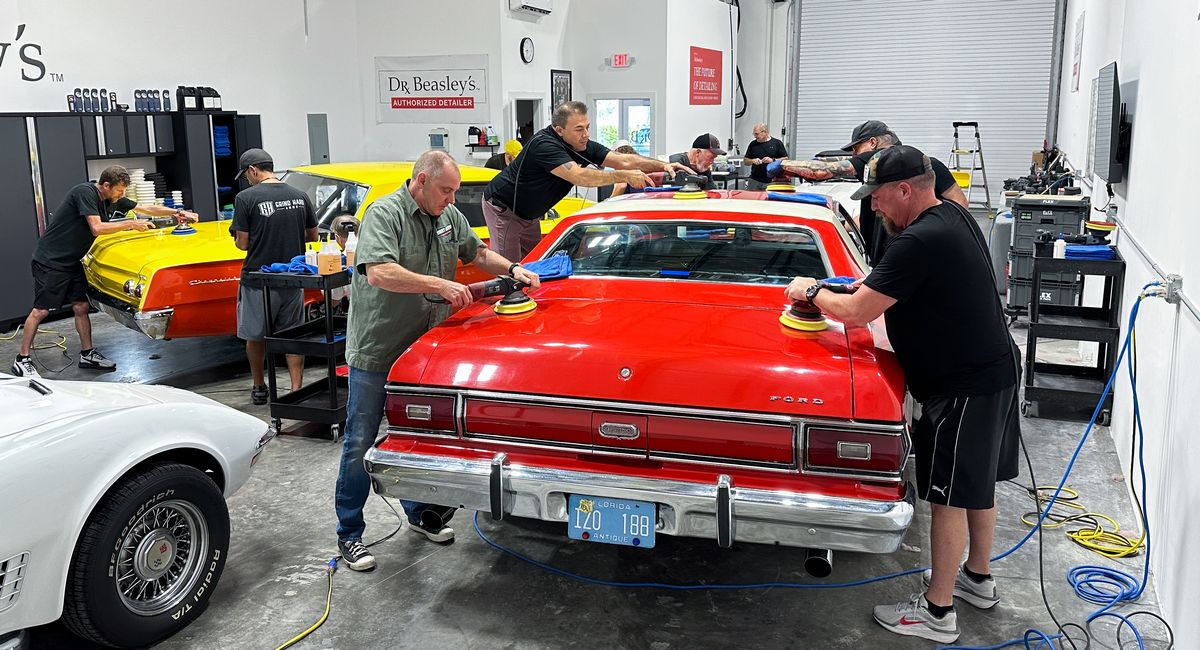
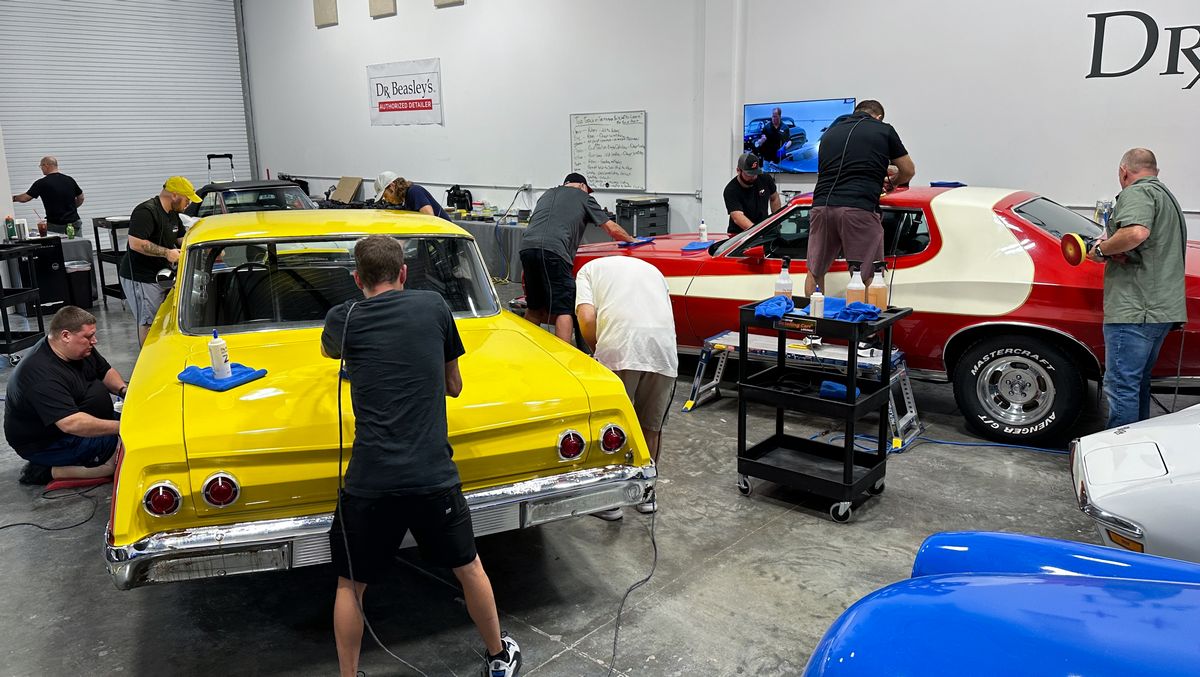
And this is just the first two cars for this class, 7 more cars to go, each teaching different tools, products and techniques, and then of course on the third day, the Extreme Boat Detailing Class.
Nice work everyone!
Mike
Here's the final results for the 2013 Toyota Matrix
Here's the final results for the 2020 Chevrolet Camaro
And just to show how bad this car was before the class worked their magic.
Here's the before and after for the headlights
And here's the after results
These headlights, which are 11 years old and from my own experience, have NEVER been touched since this car left the dealership.
Here's the team that made the magic happen!
And this is just the first two cars for this class, 7 more cars to go, each teaching different tools, products and techniques, and then of course on the third day, the Extreme Boat Detailing Class.
Nice work everyone!
Mike
Last edited: