- Admin
- #19
- Joined
- May 21, 2021
- Messages
- 2,703
- Reaction score
- 1,624
- Points
- 113
- Location
- Stuart, Florida
- Website
- themikephillipsforum.com
Continued....
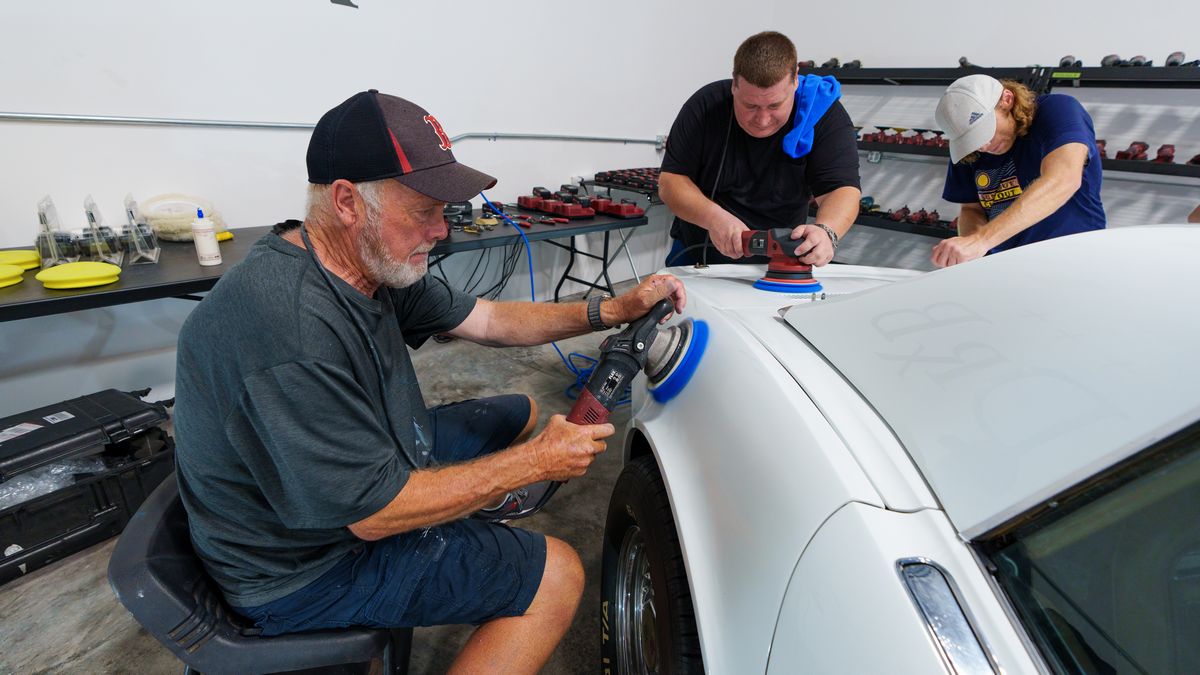
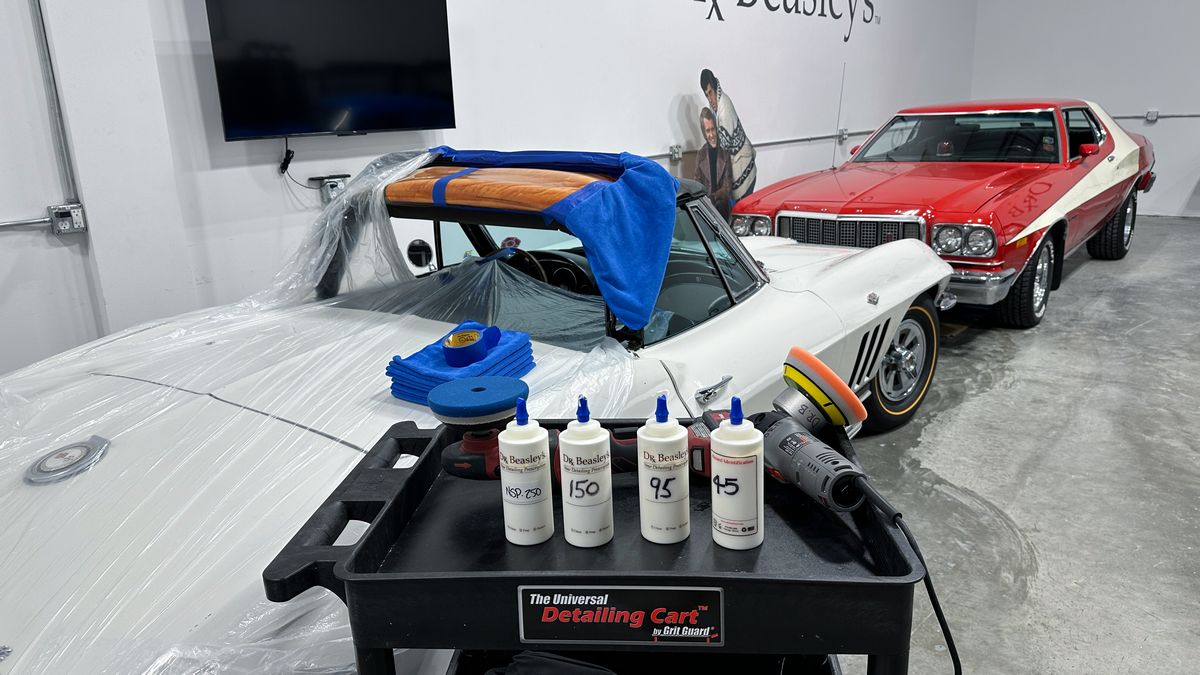
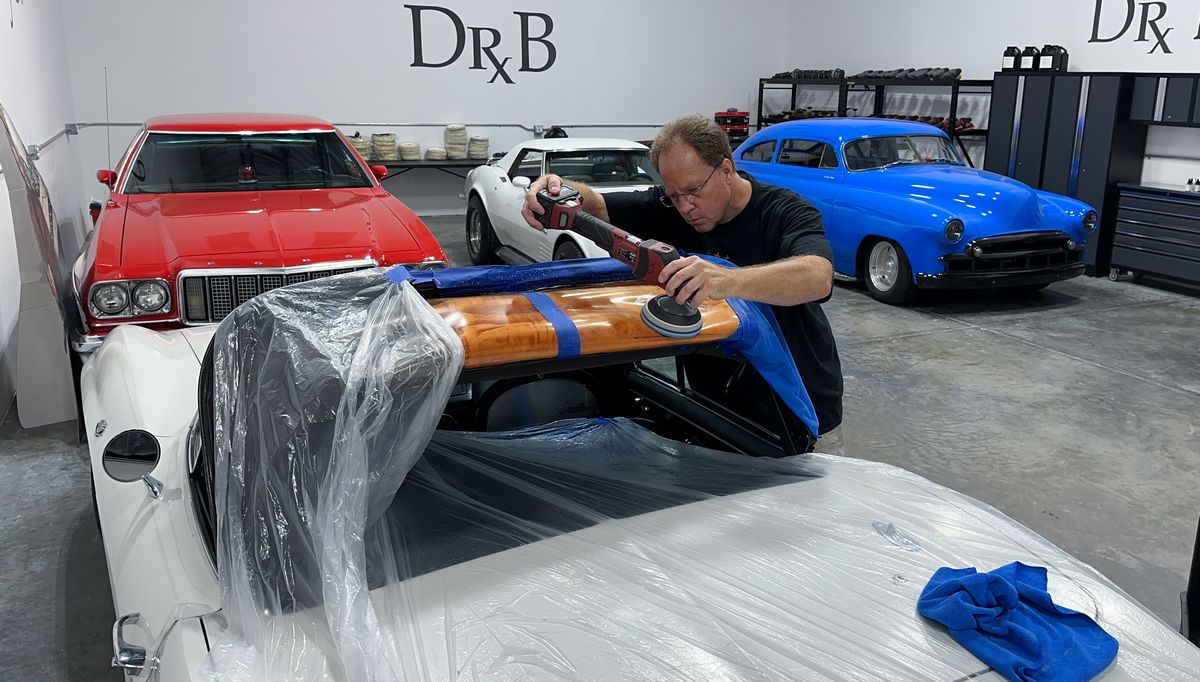
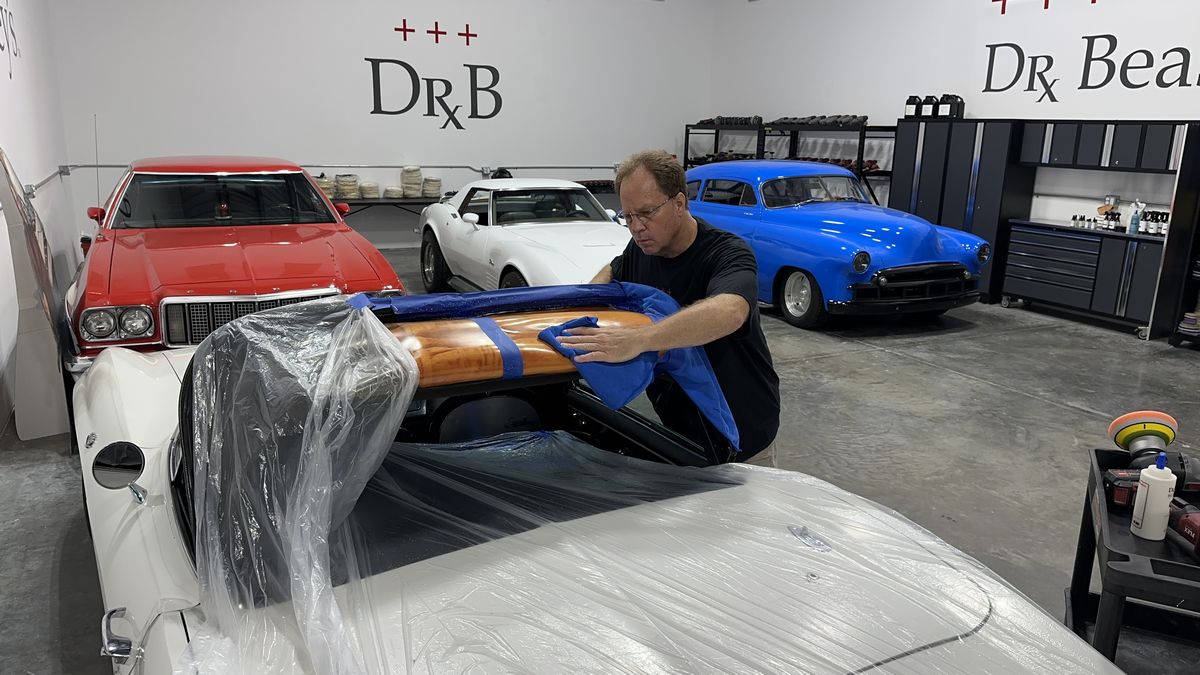
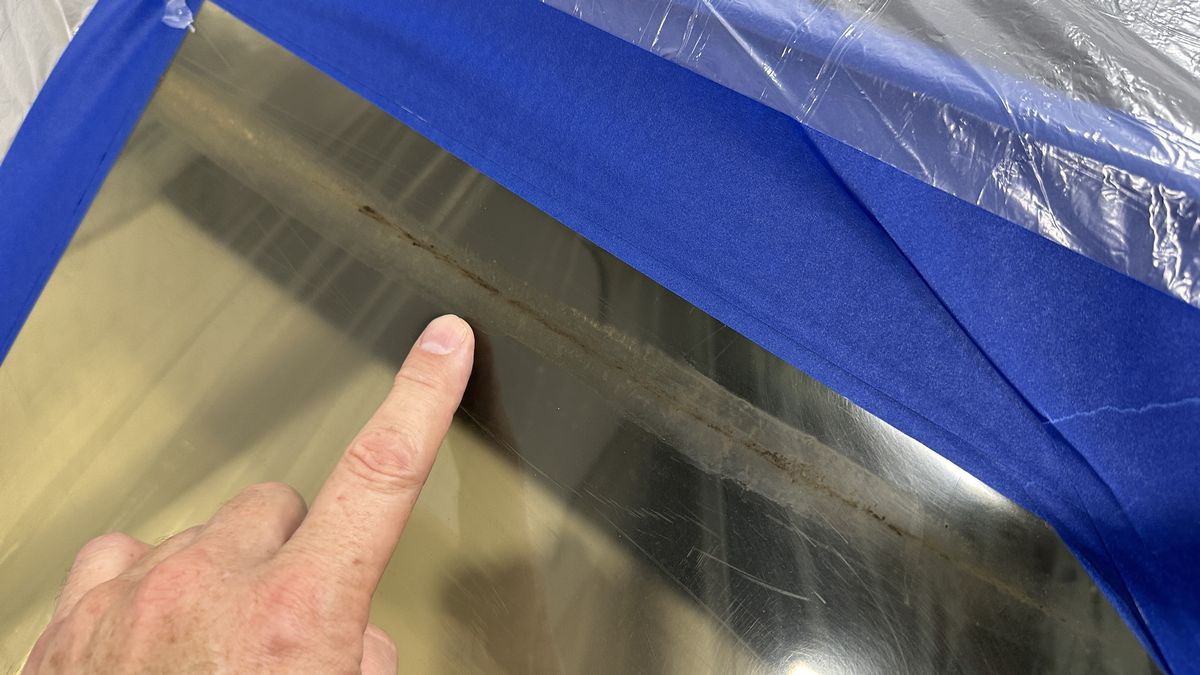
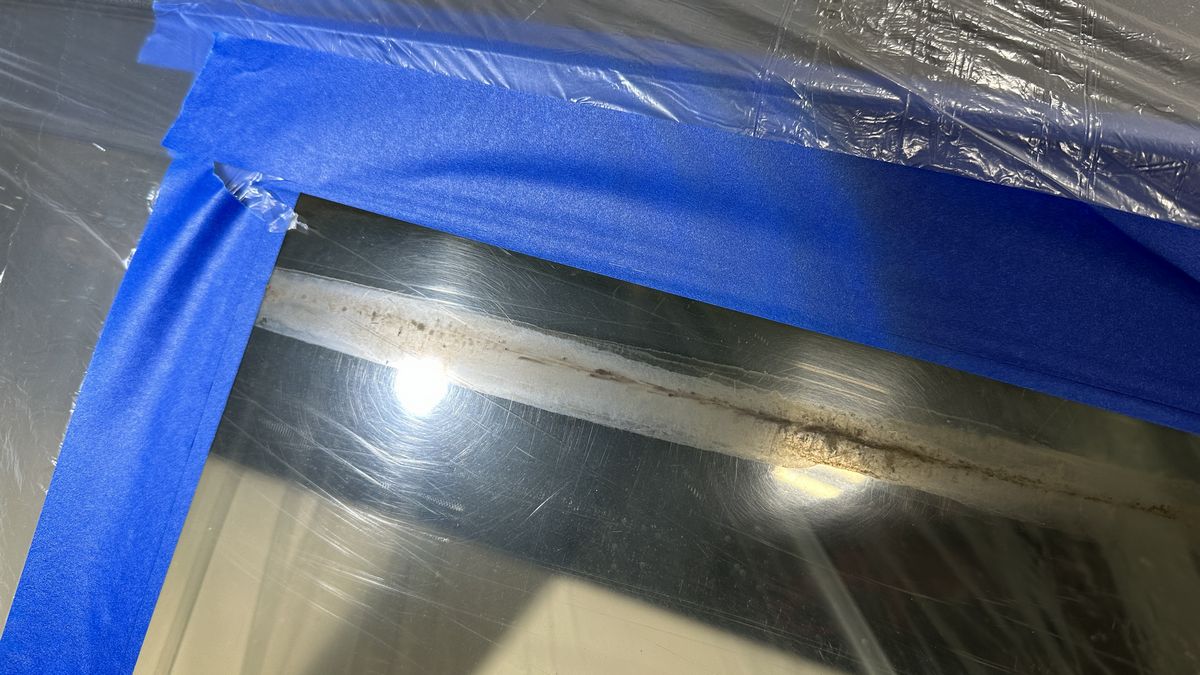
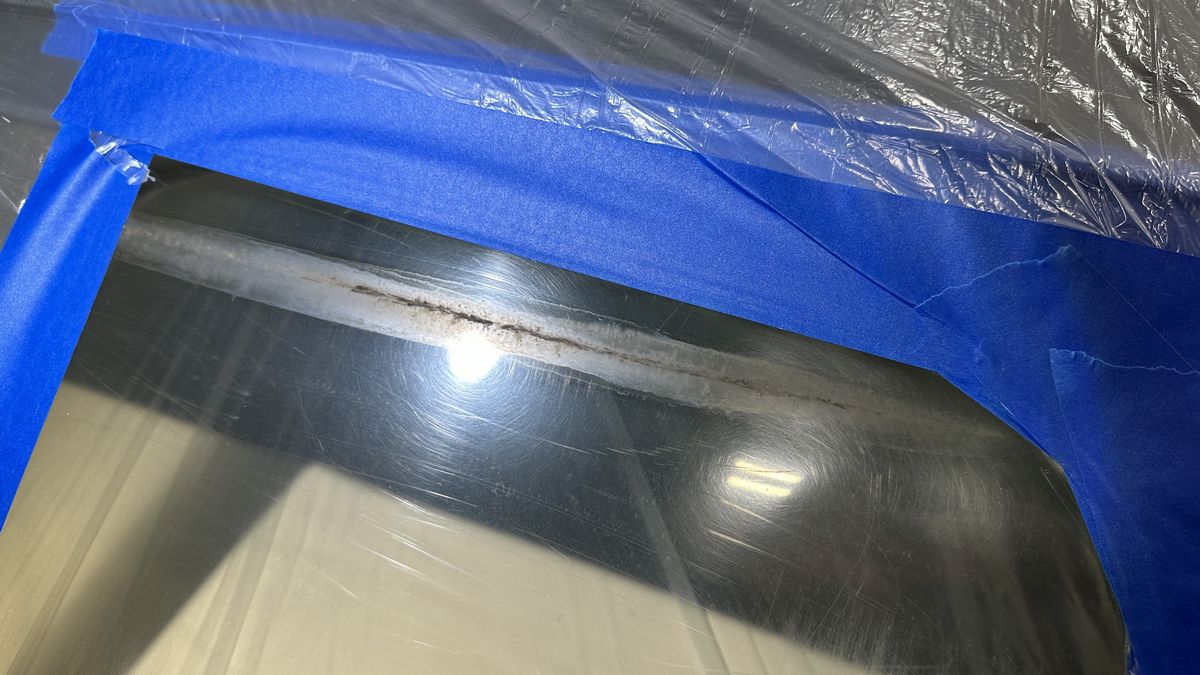
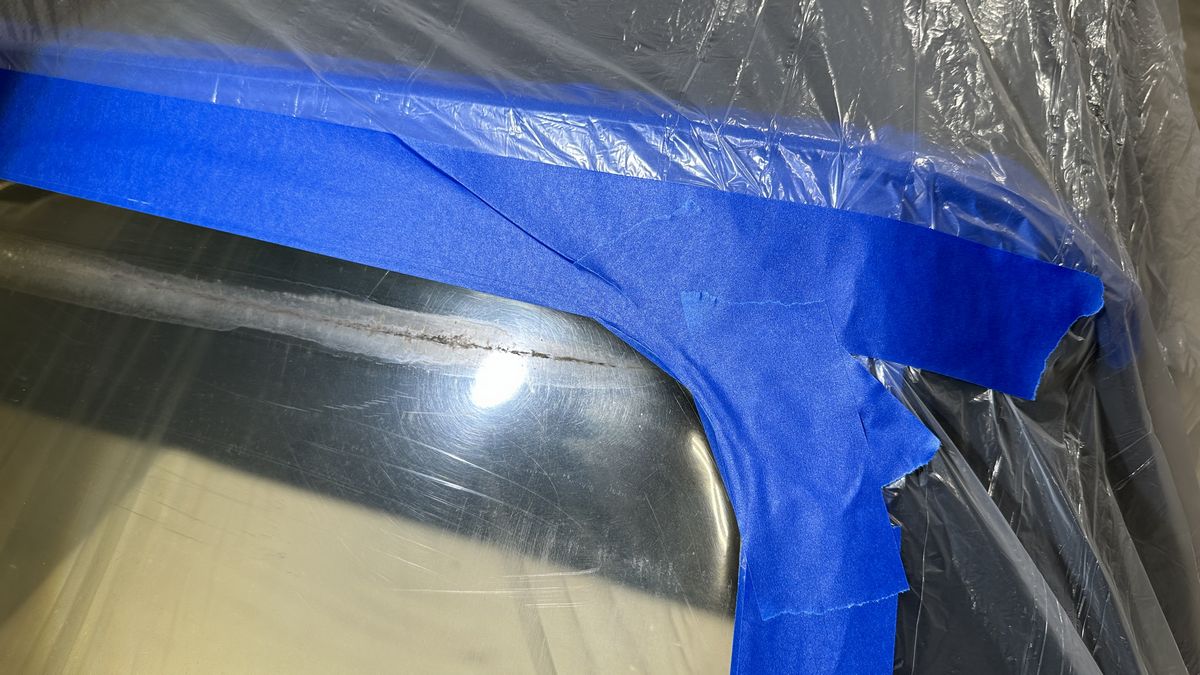
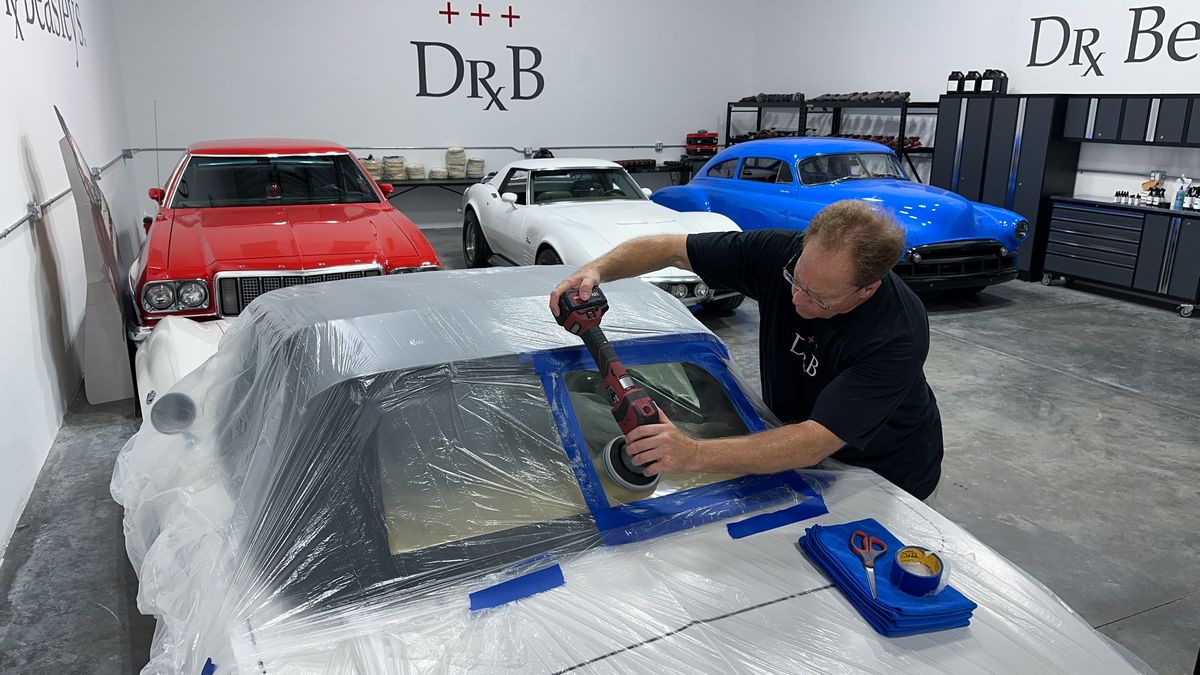
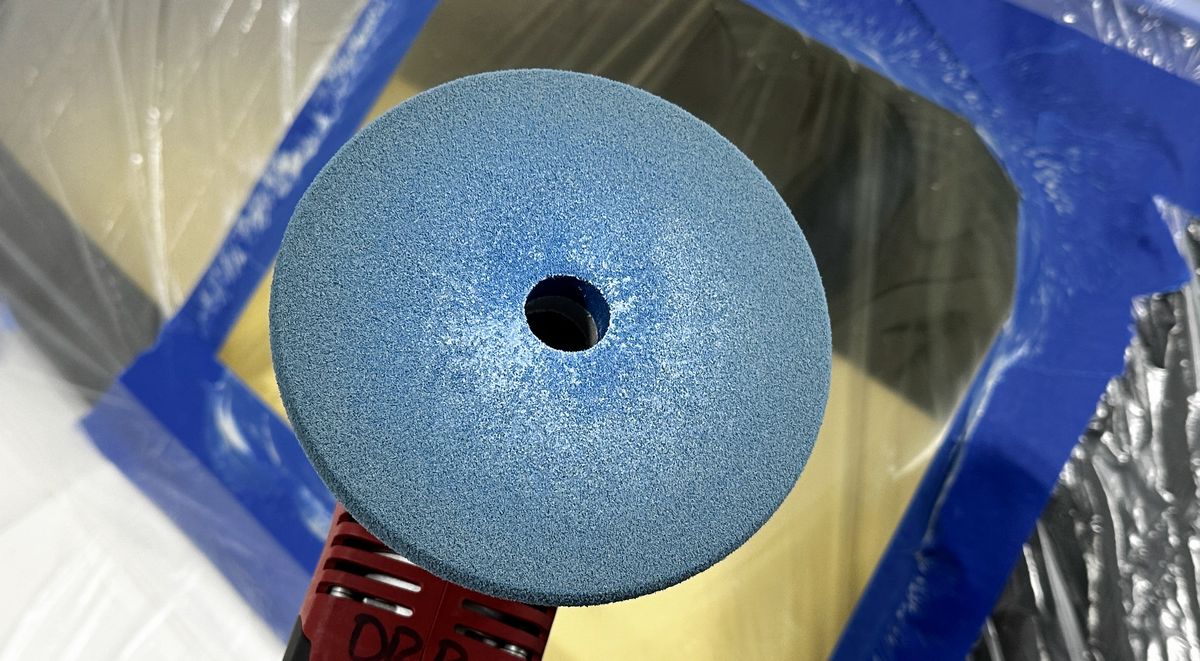
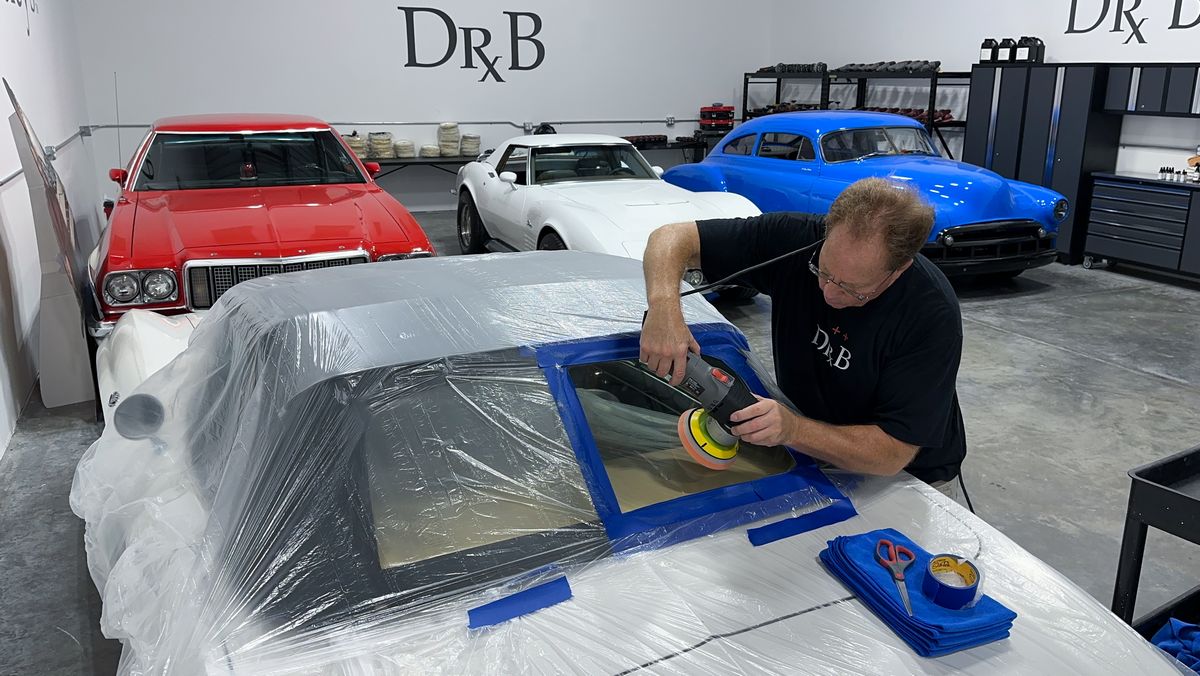
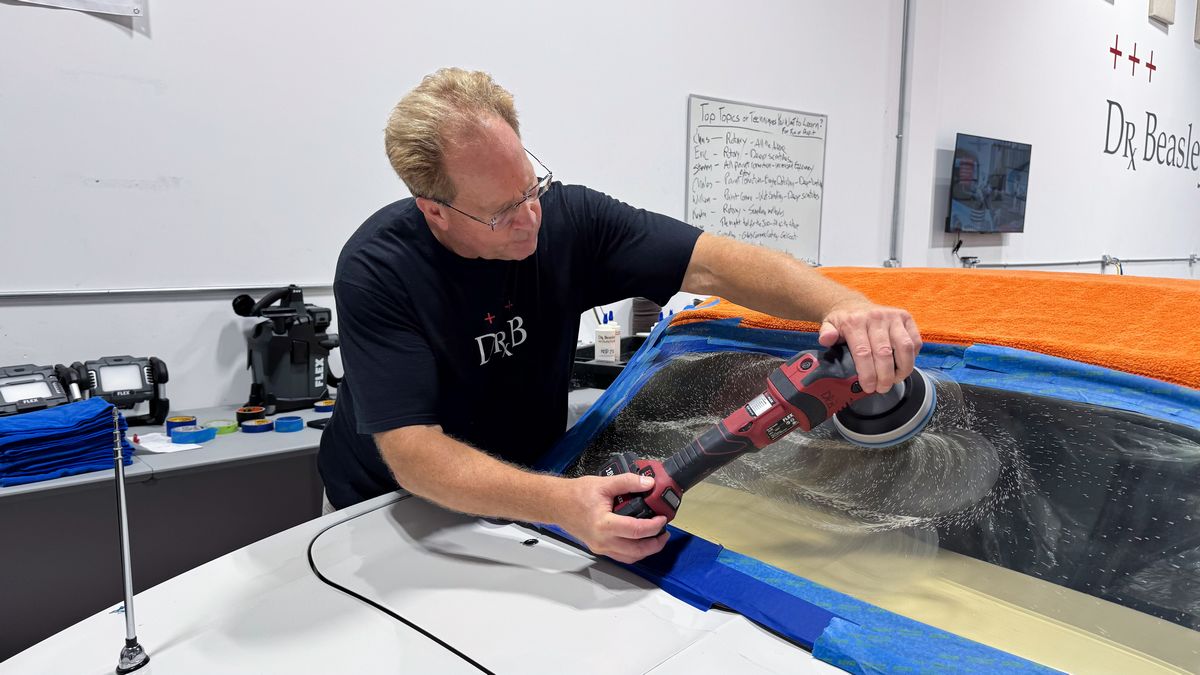
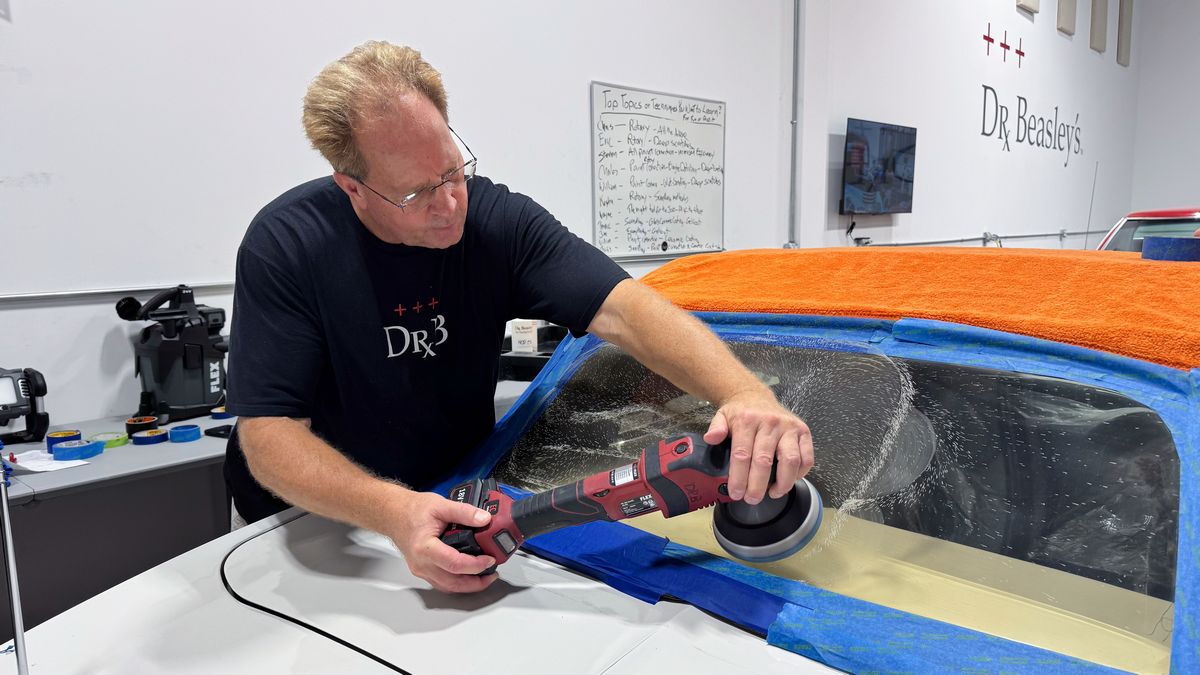
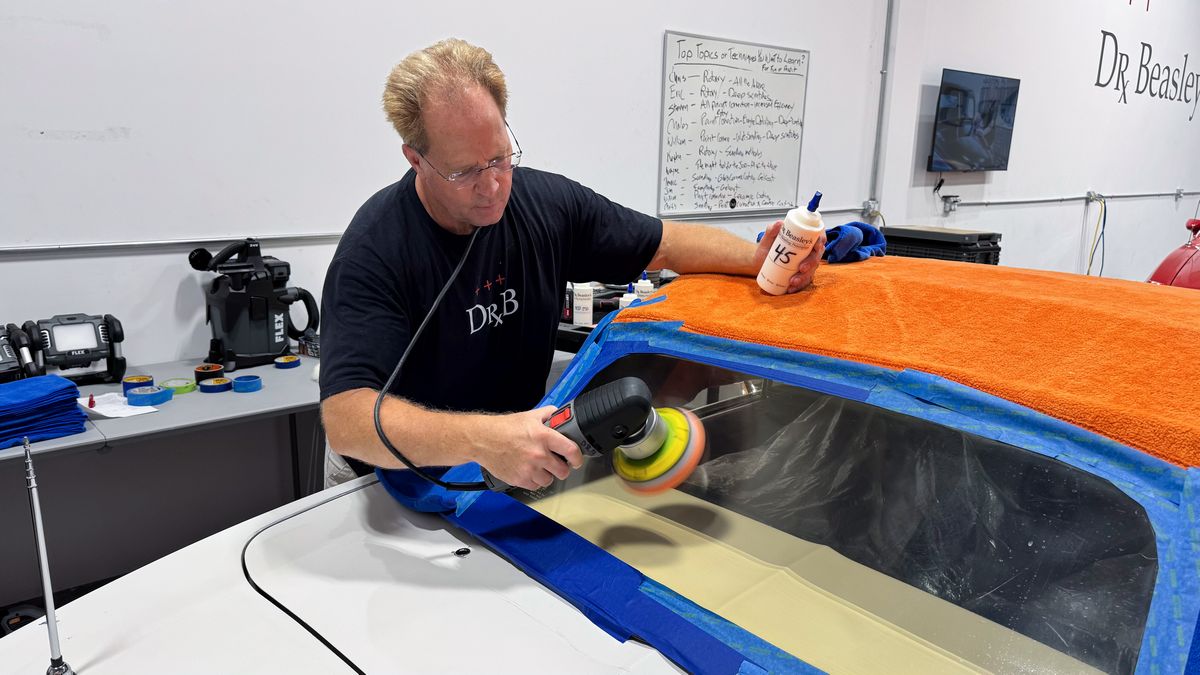
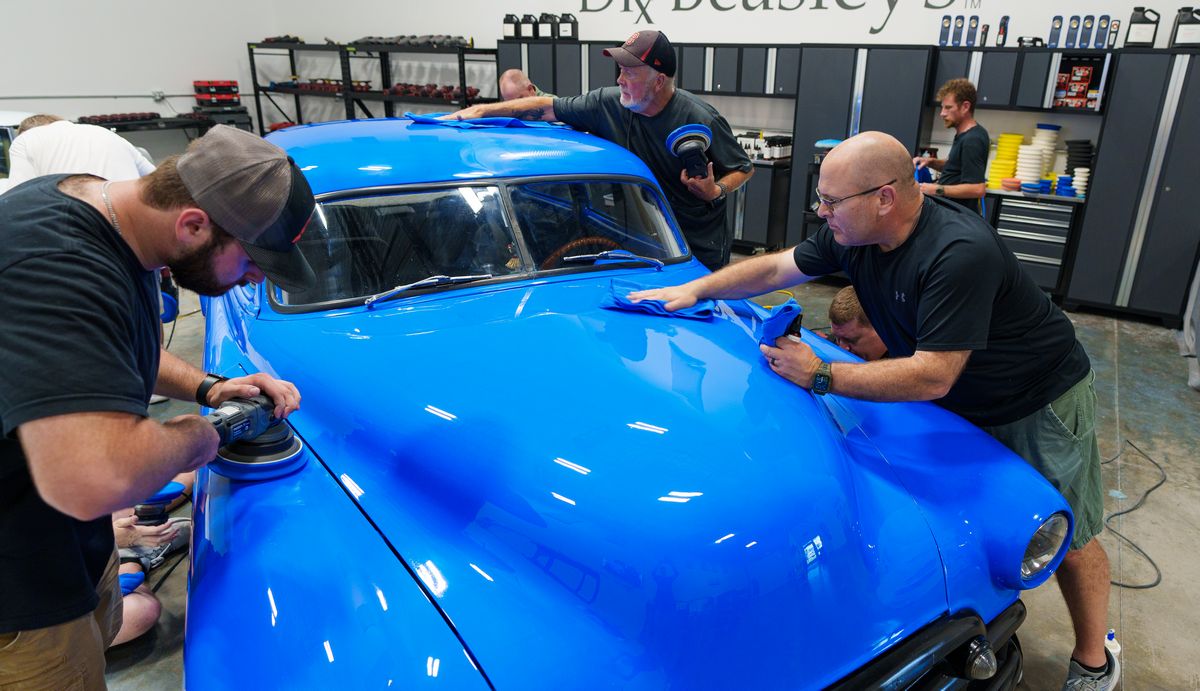
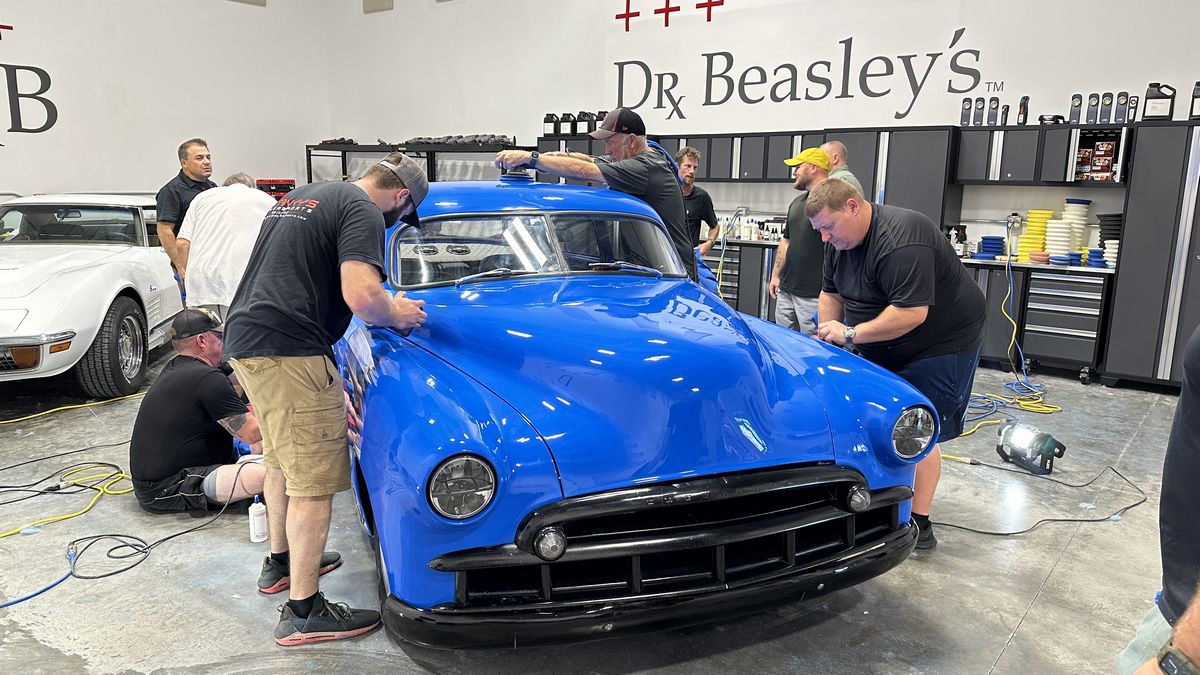
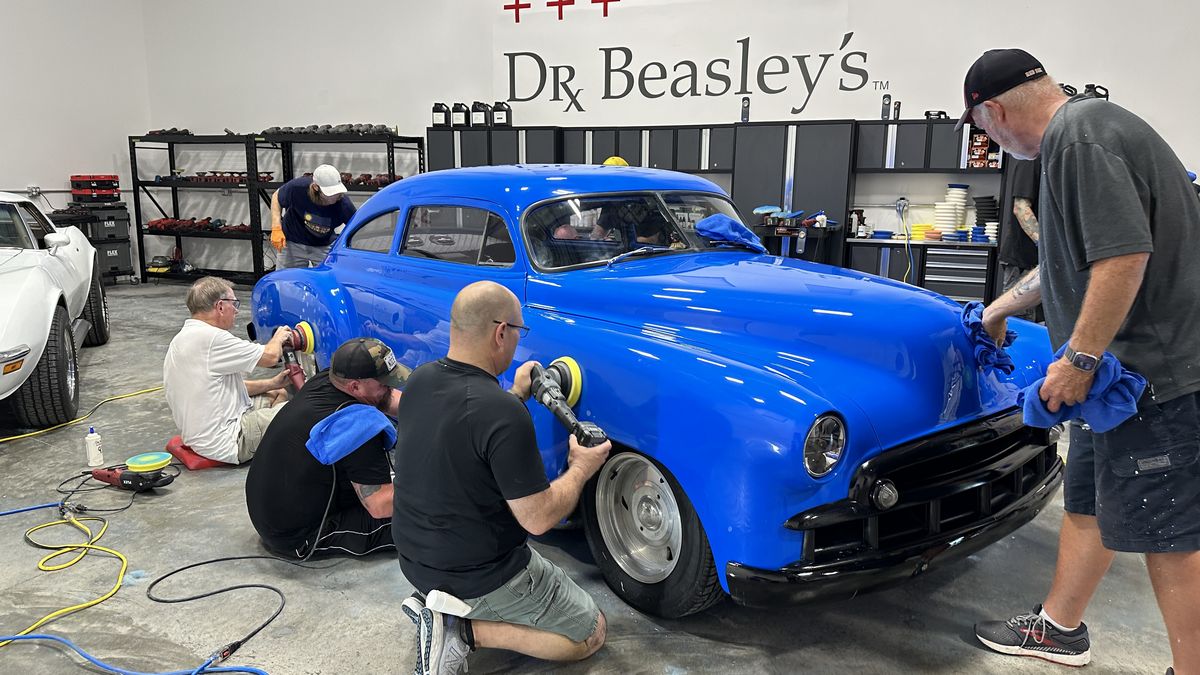
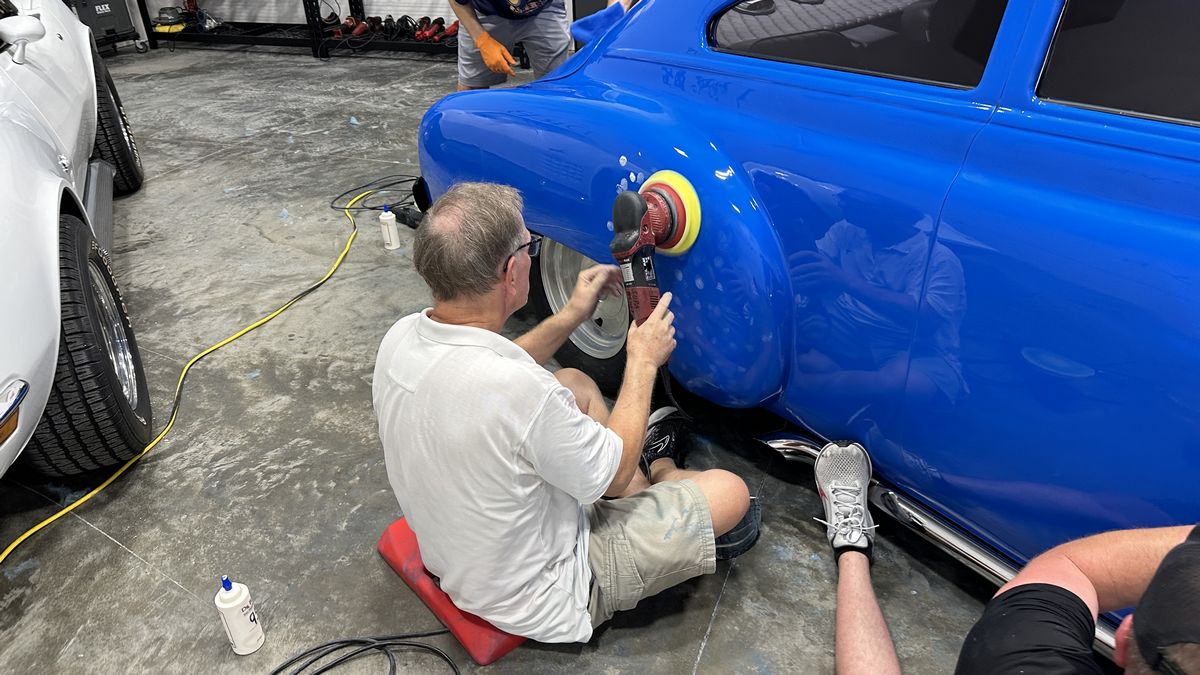
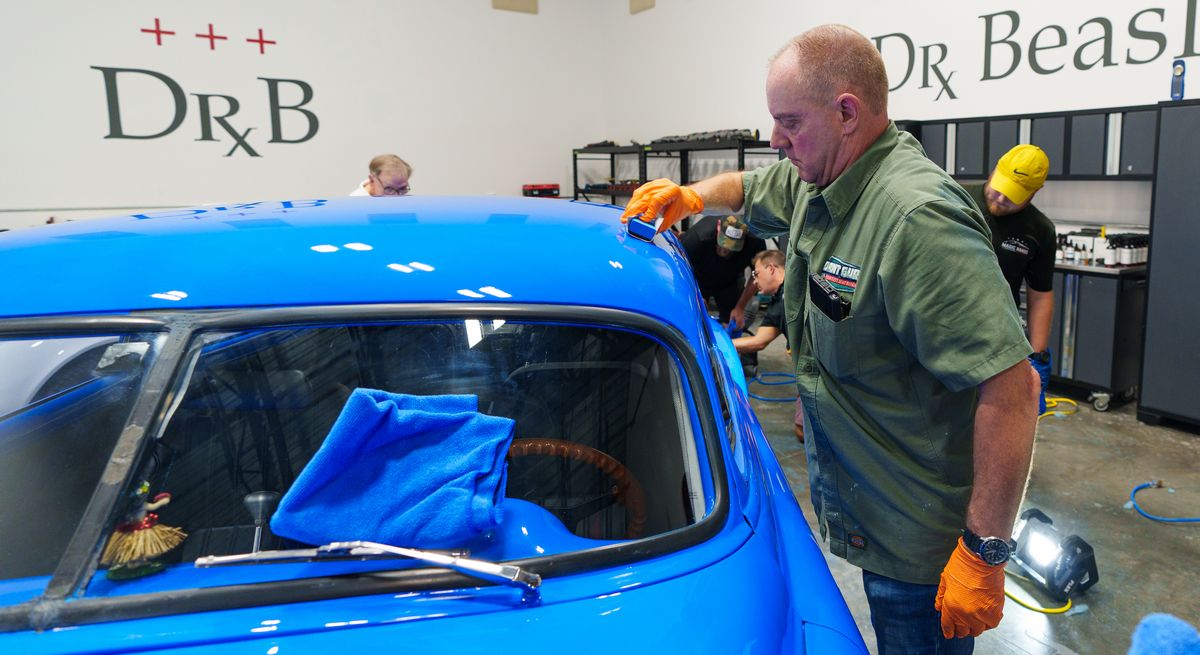
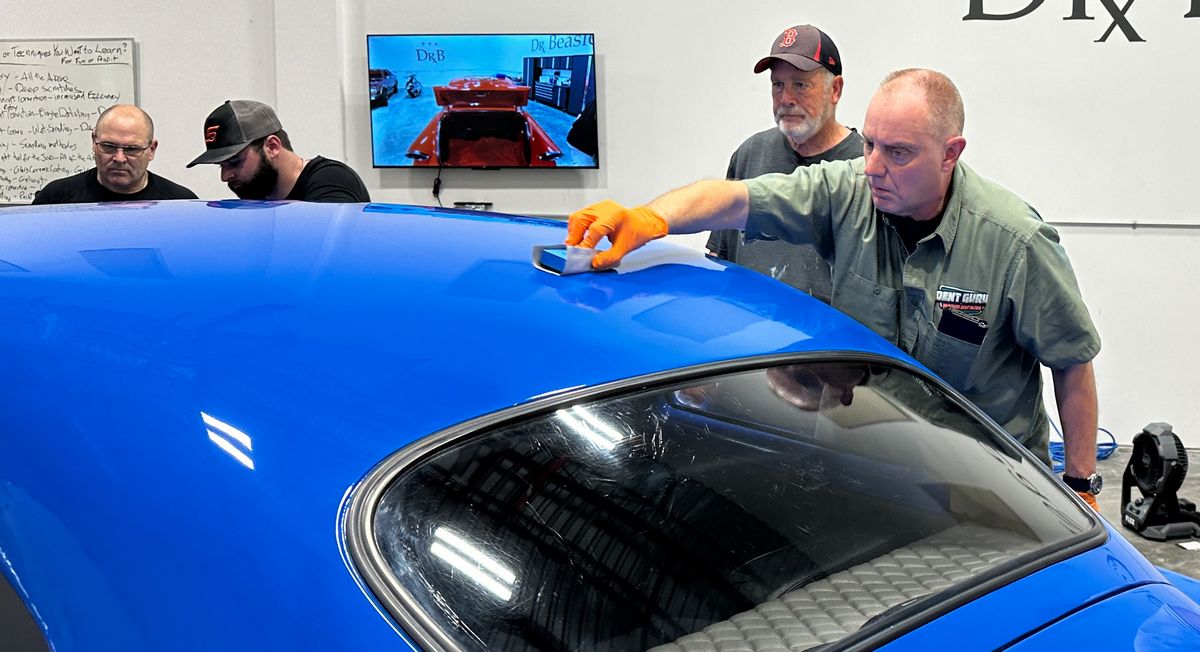
Switching over to Gear-Driven Orbital Polishers
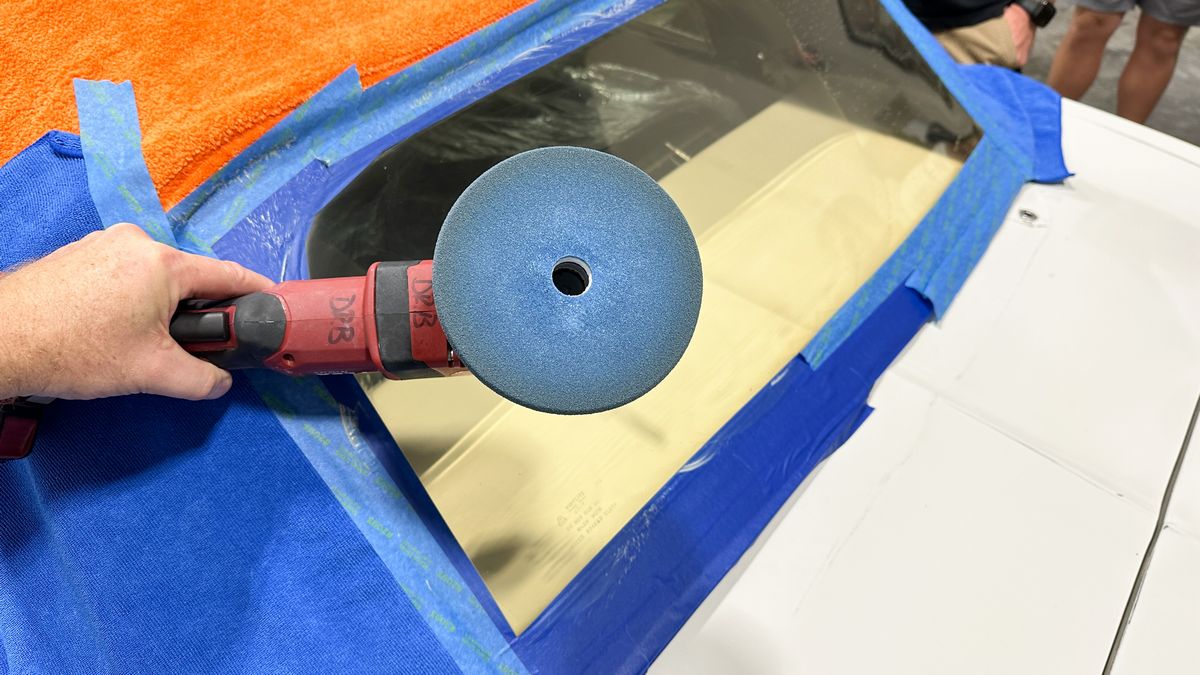
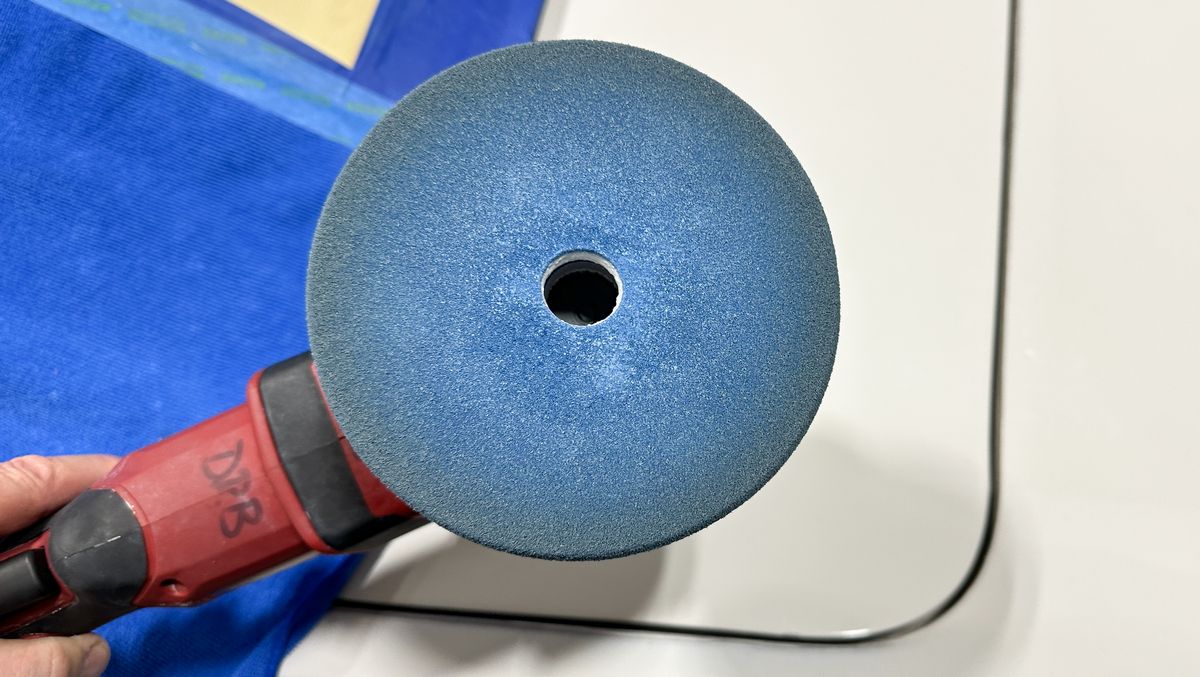
Once all the rotary work is completed, next up is the class needs to remove any and all holograms, primarily from the fibers that make up a wool cutting pad. After some testing, we found we needed the cut offered by the heavy polishing blueberry Lake Country EdgeGuard foam buffing pads together with Dr. Beasley's NSP 150 Primer.
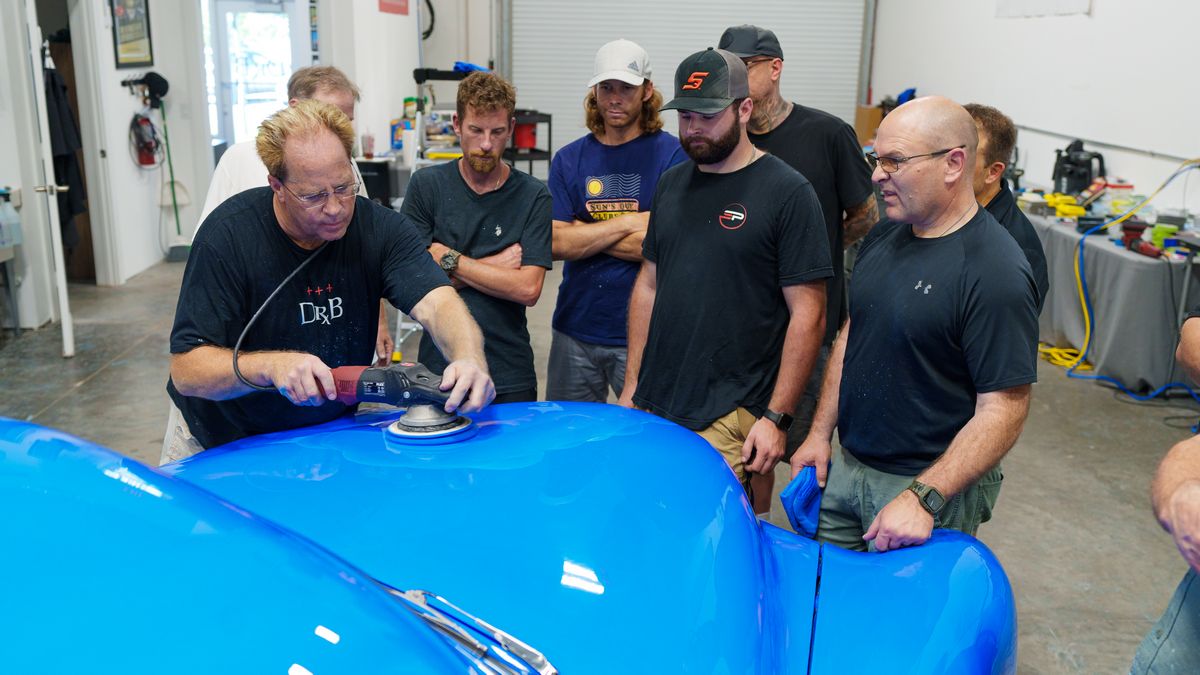
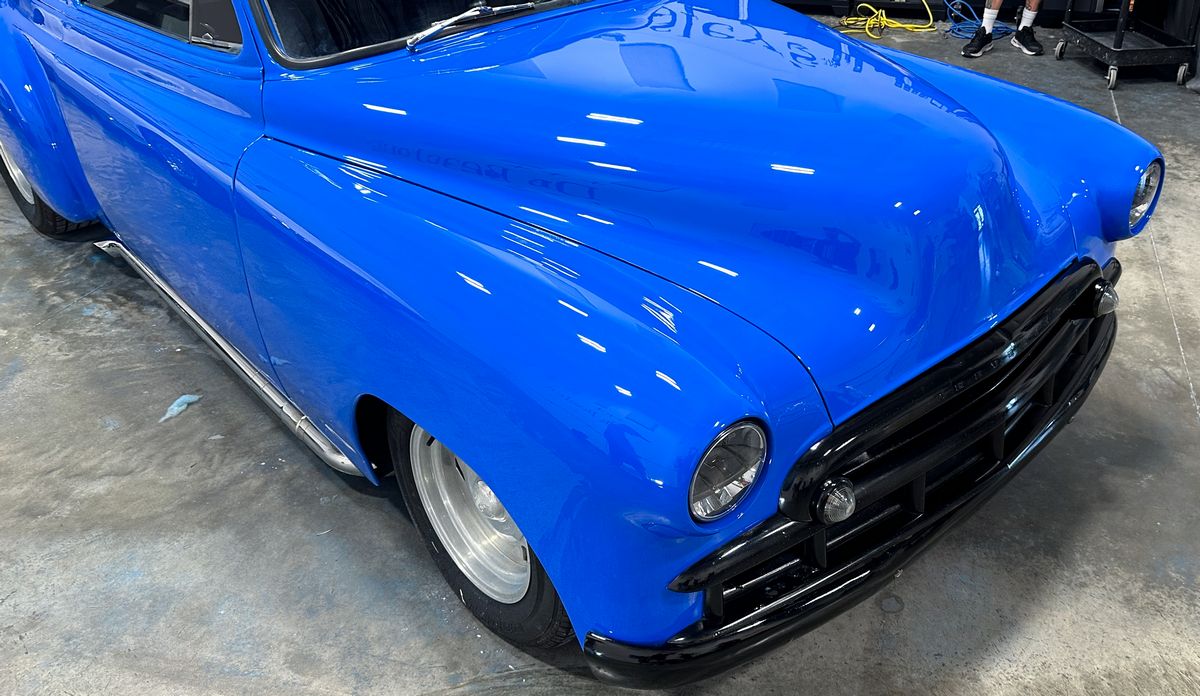
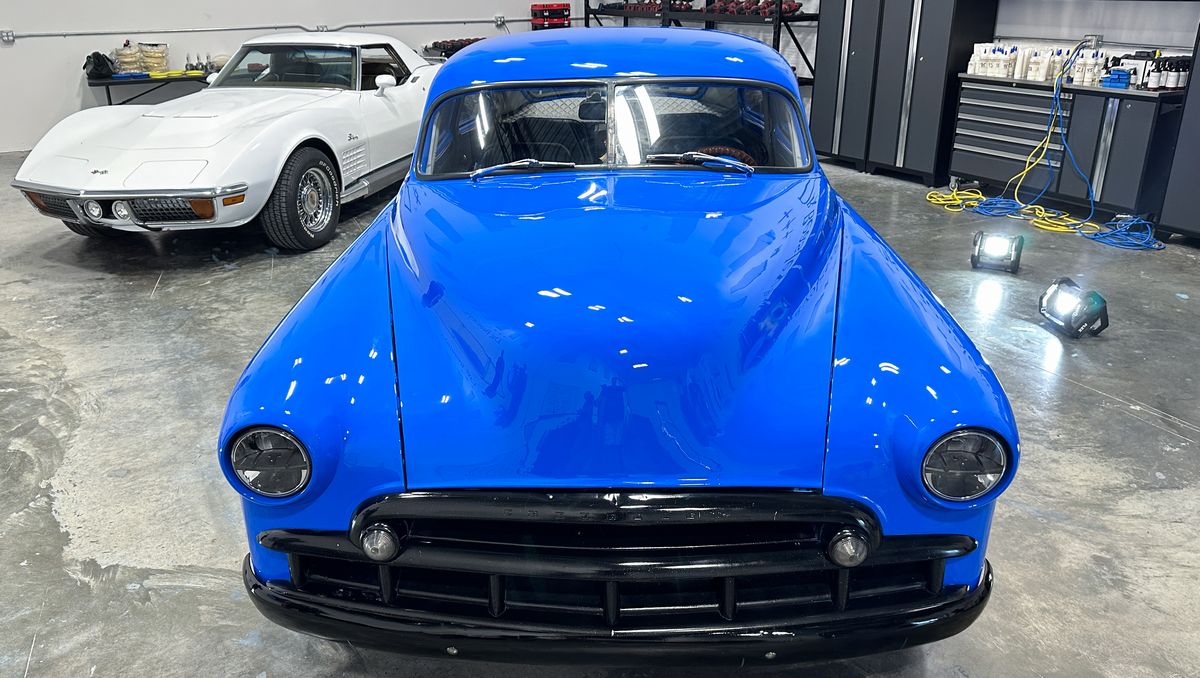
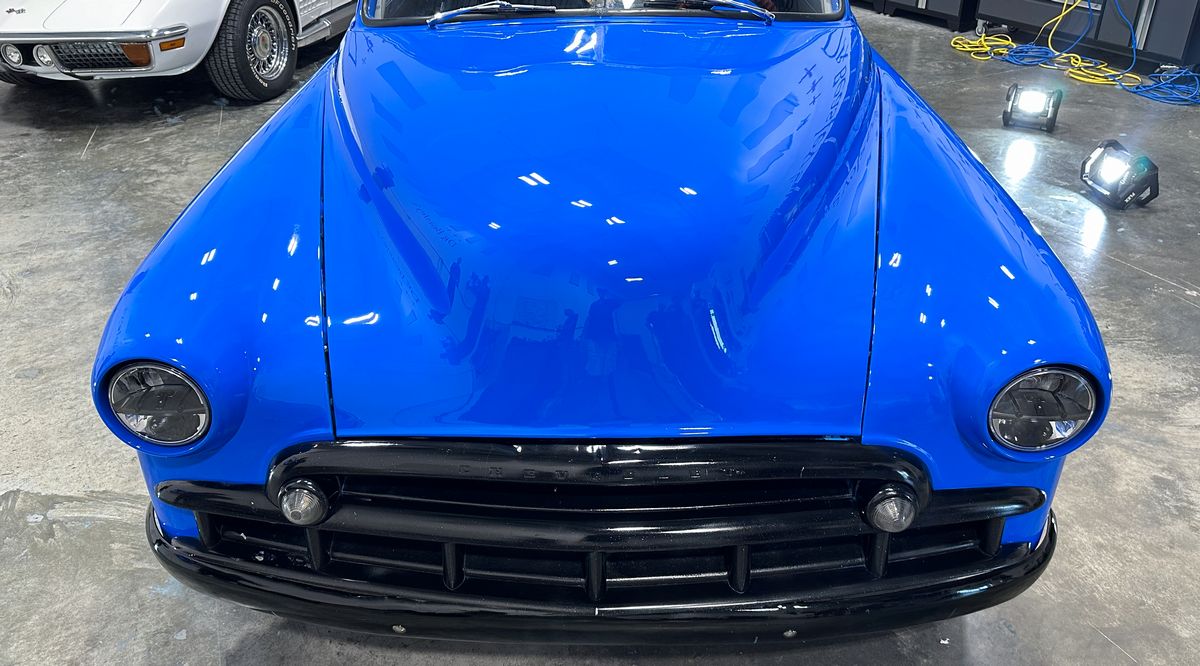
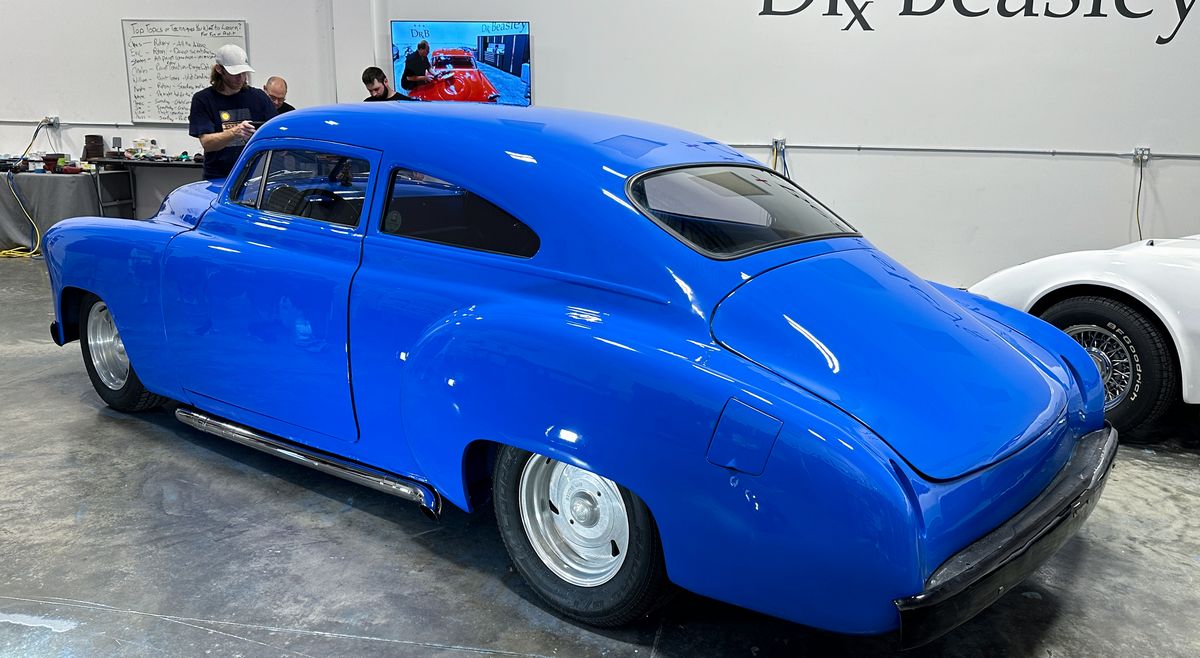
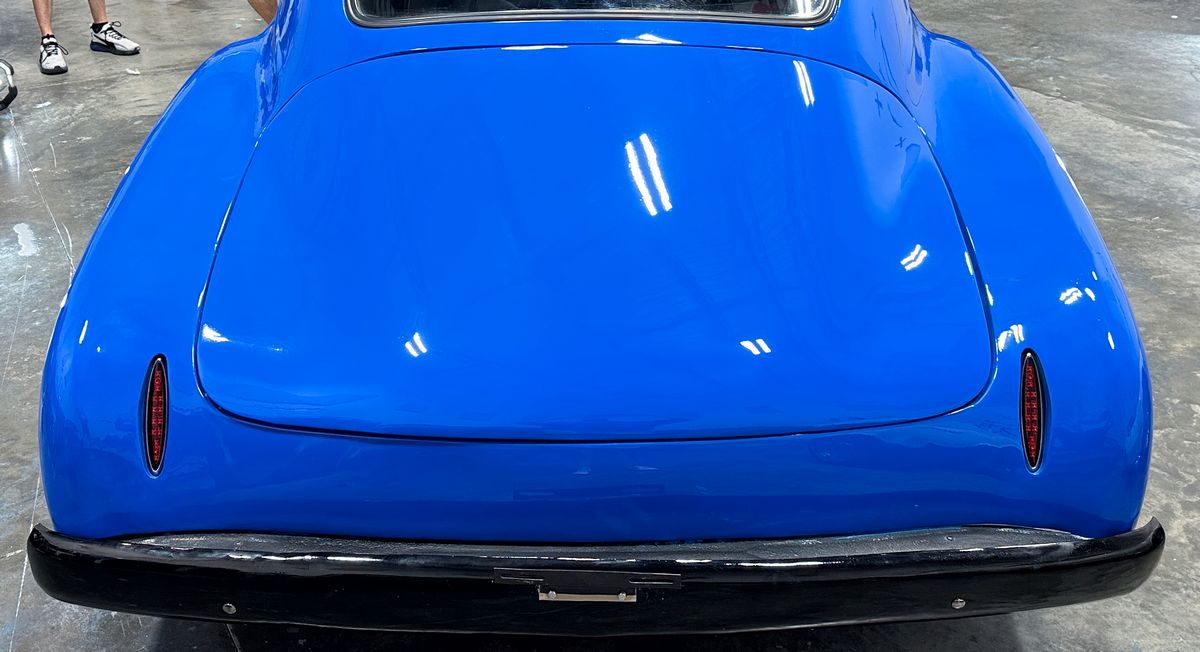
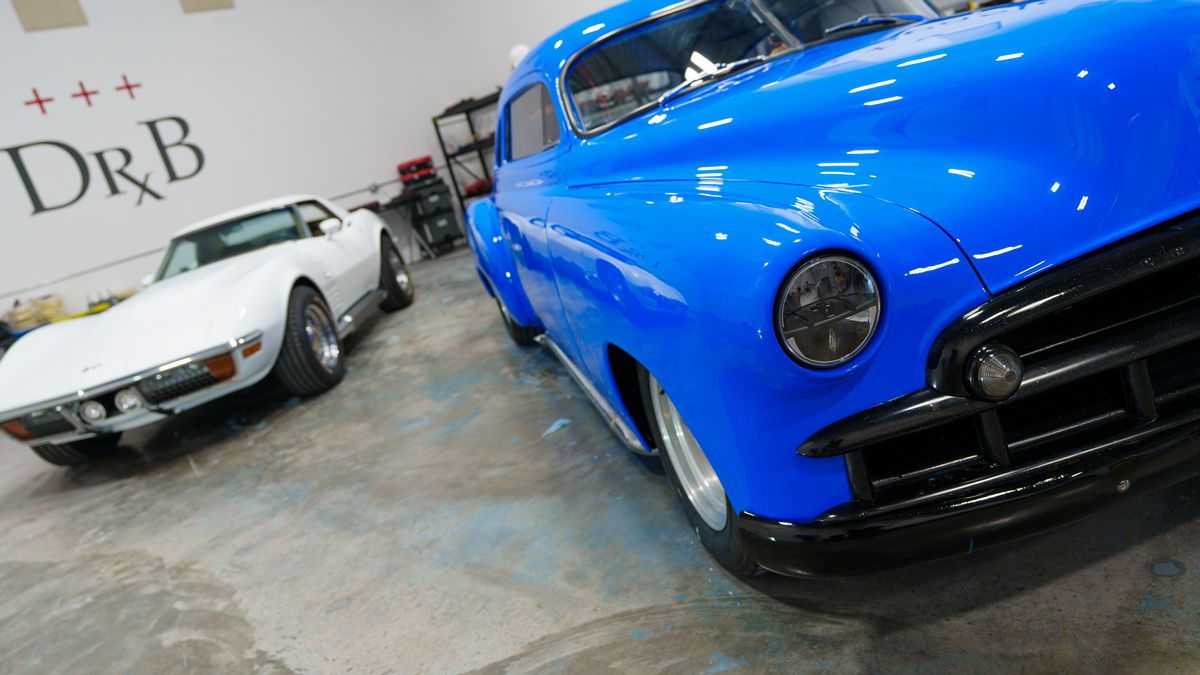
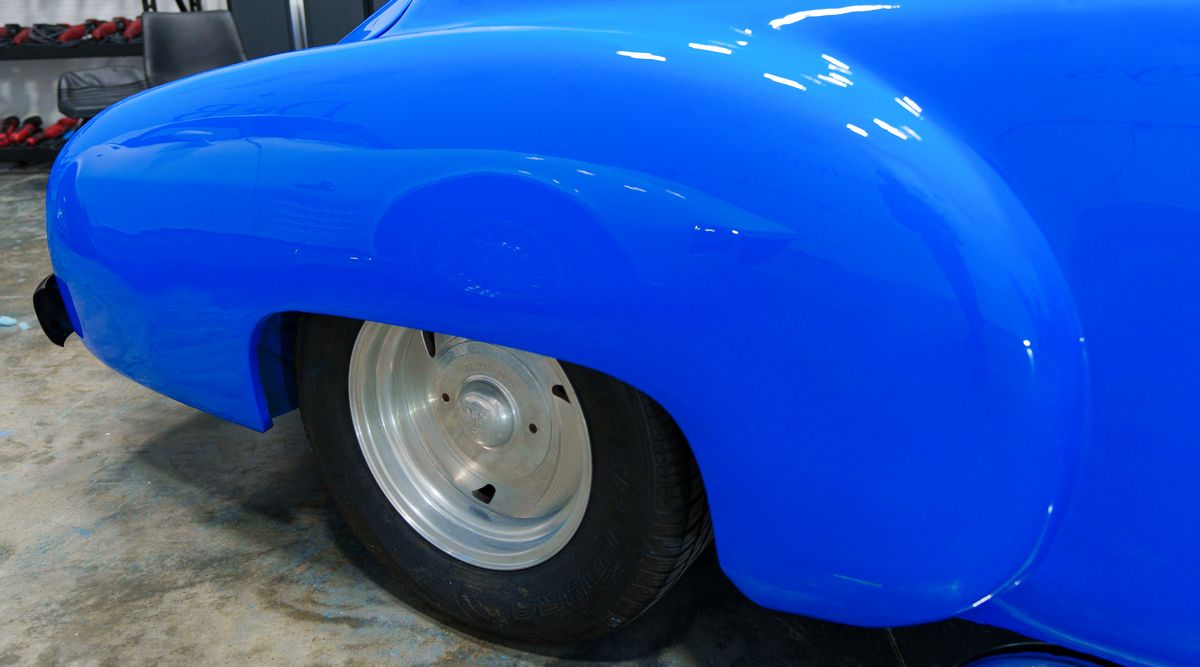
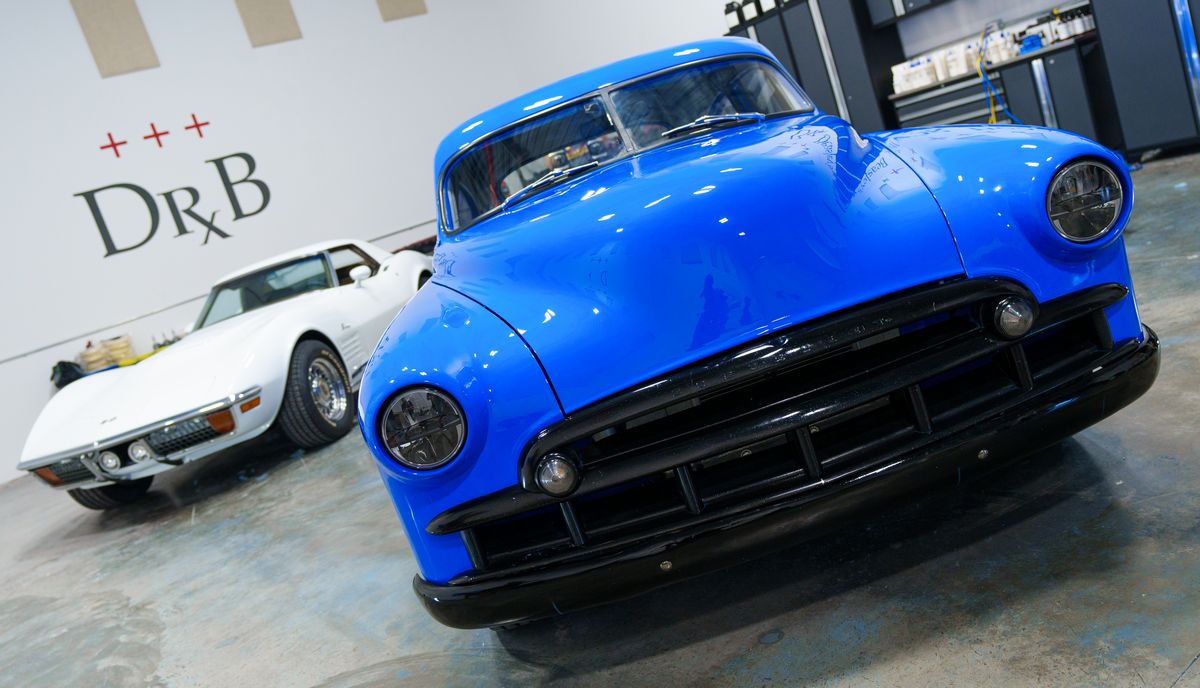
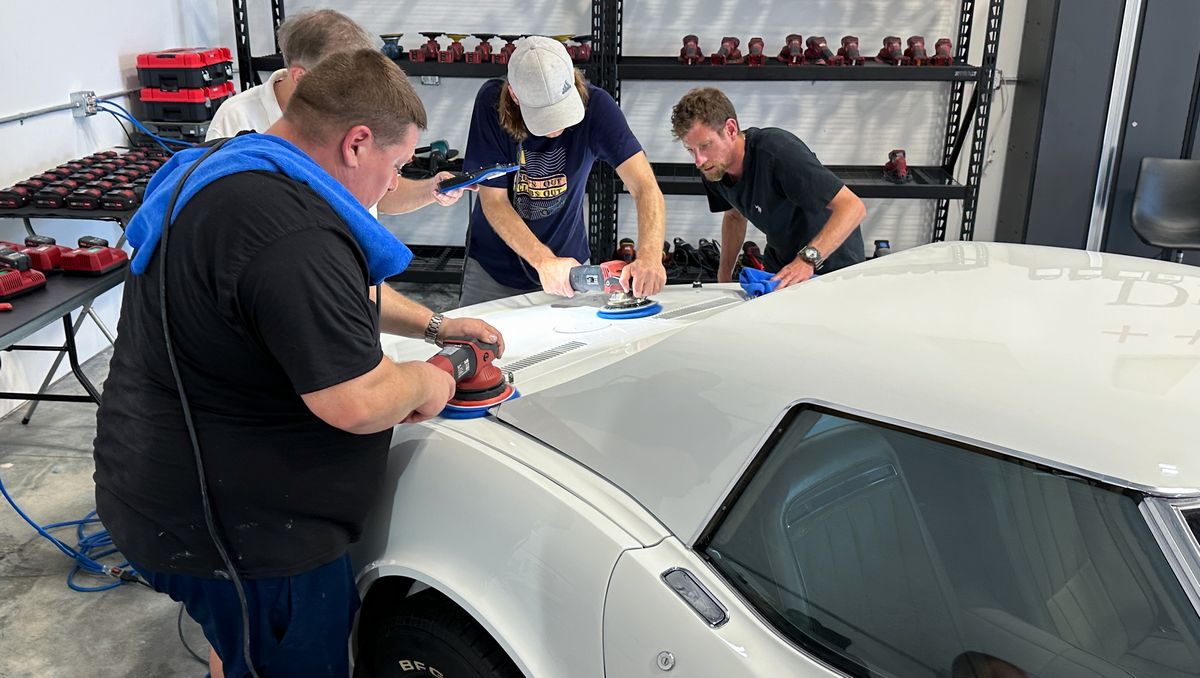
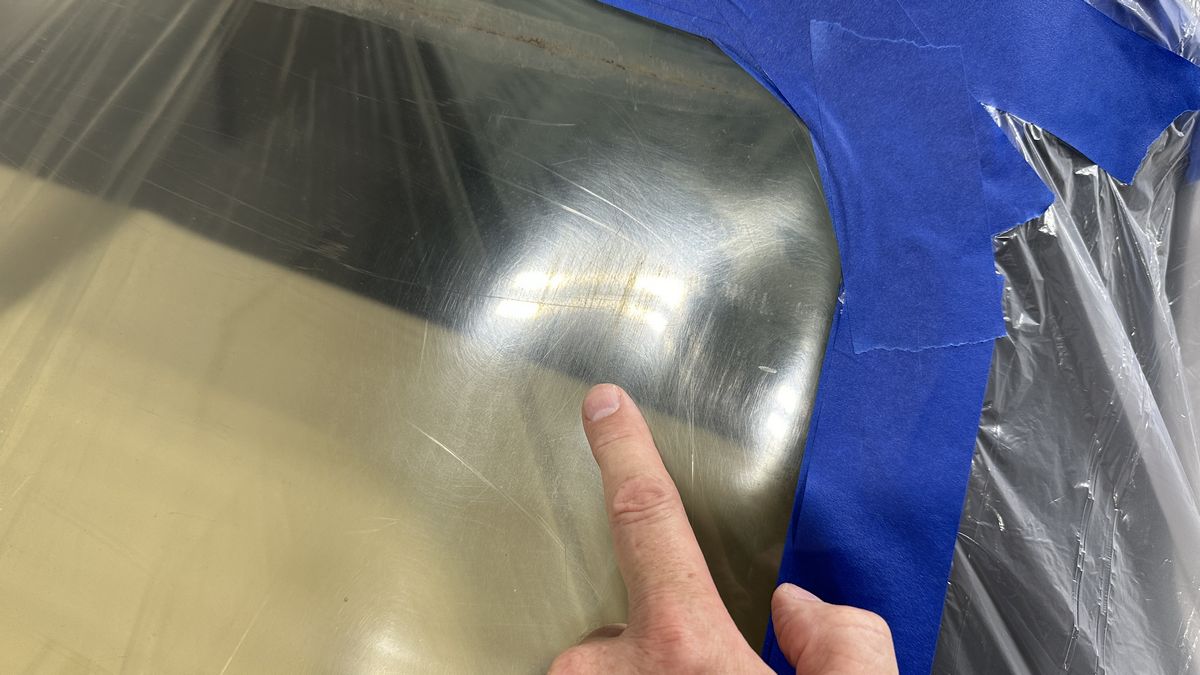
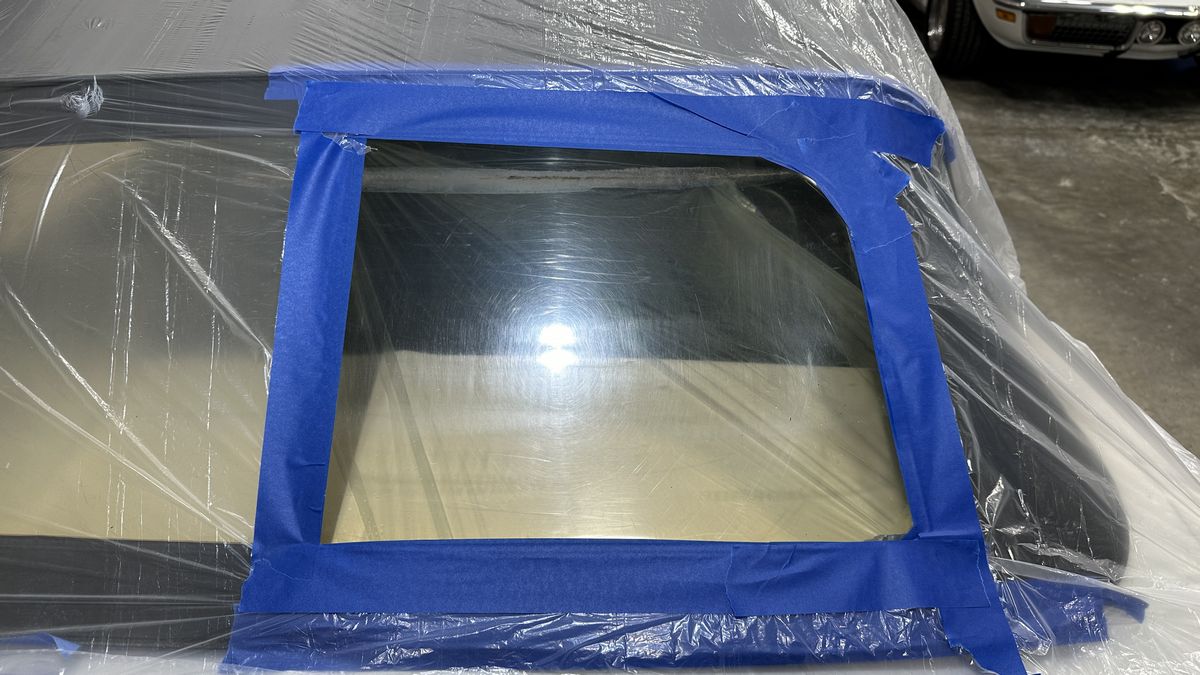
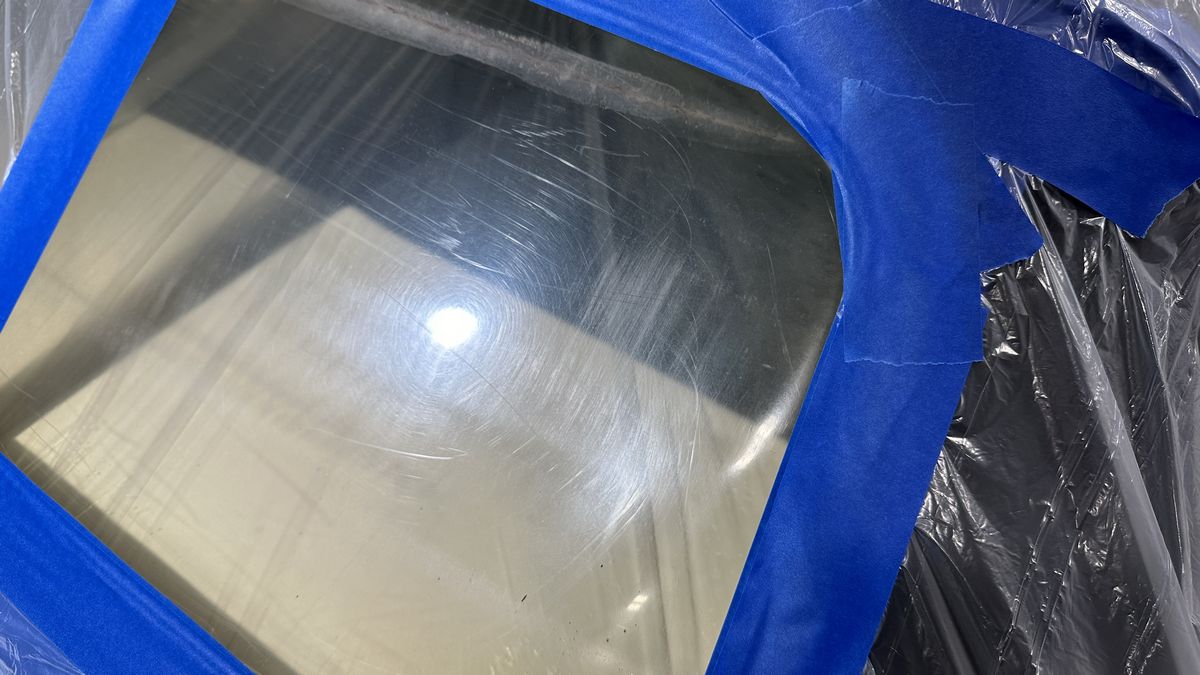
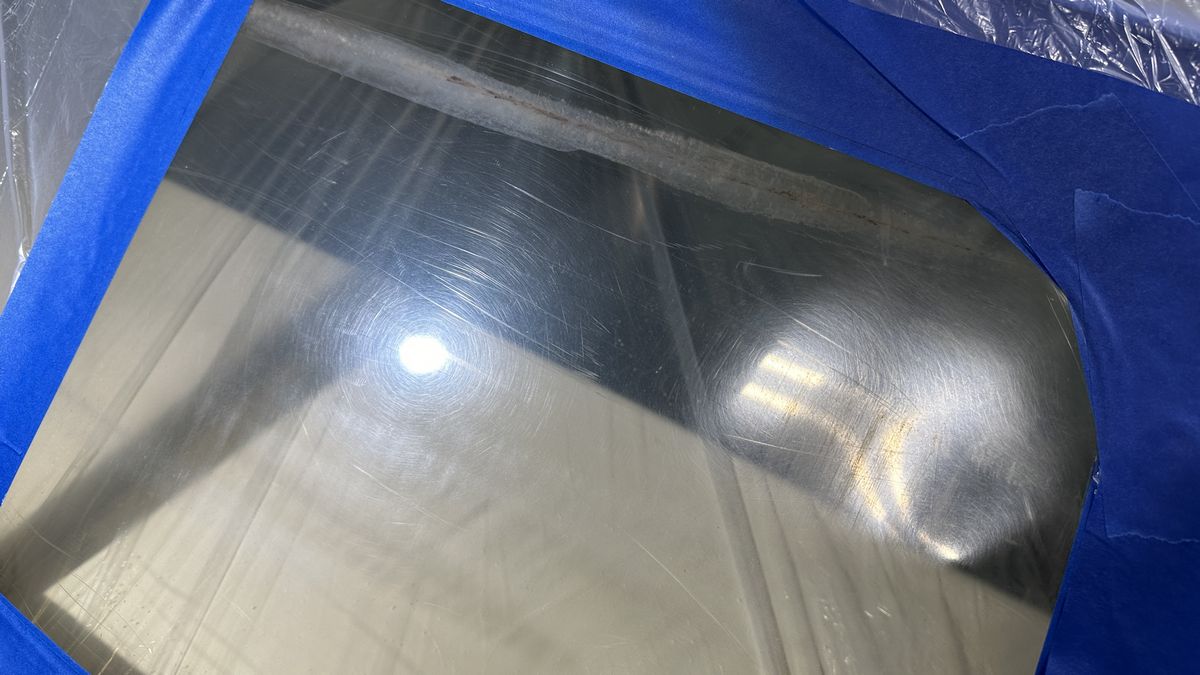
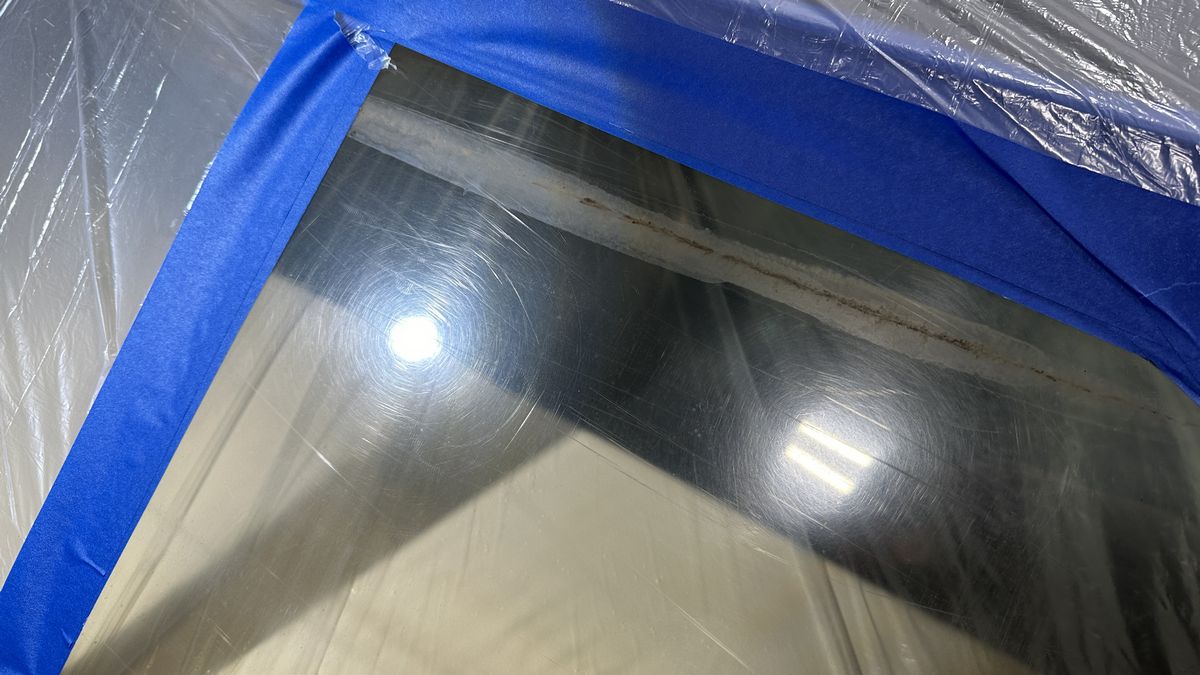
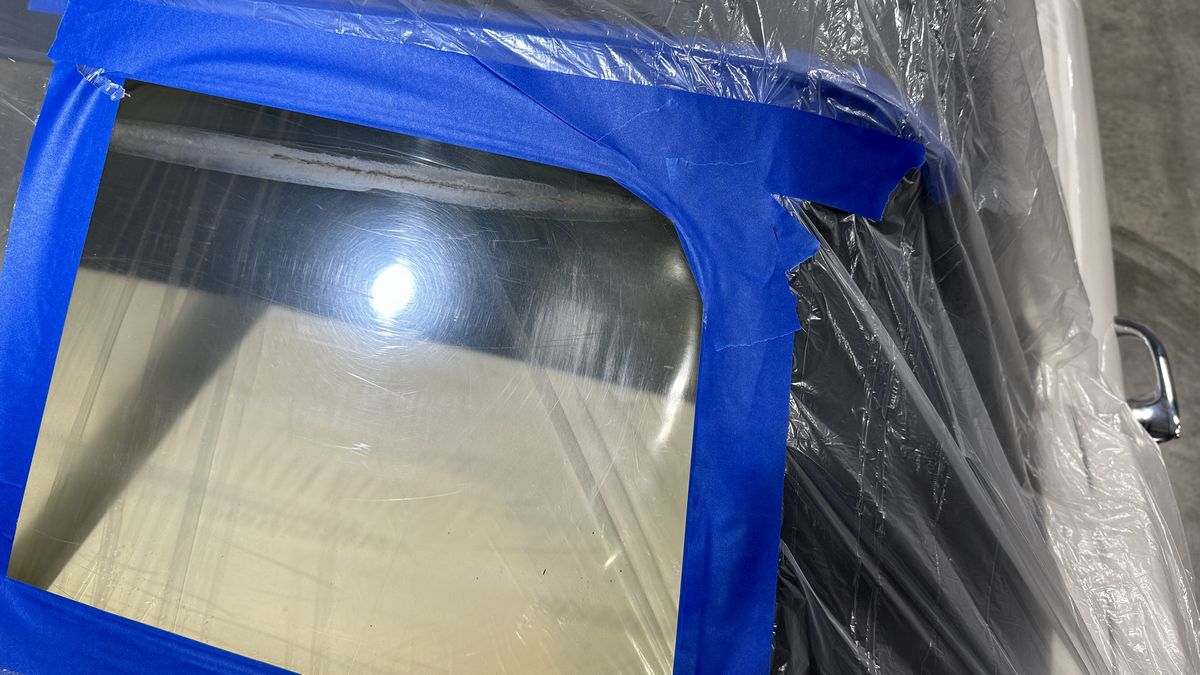
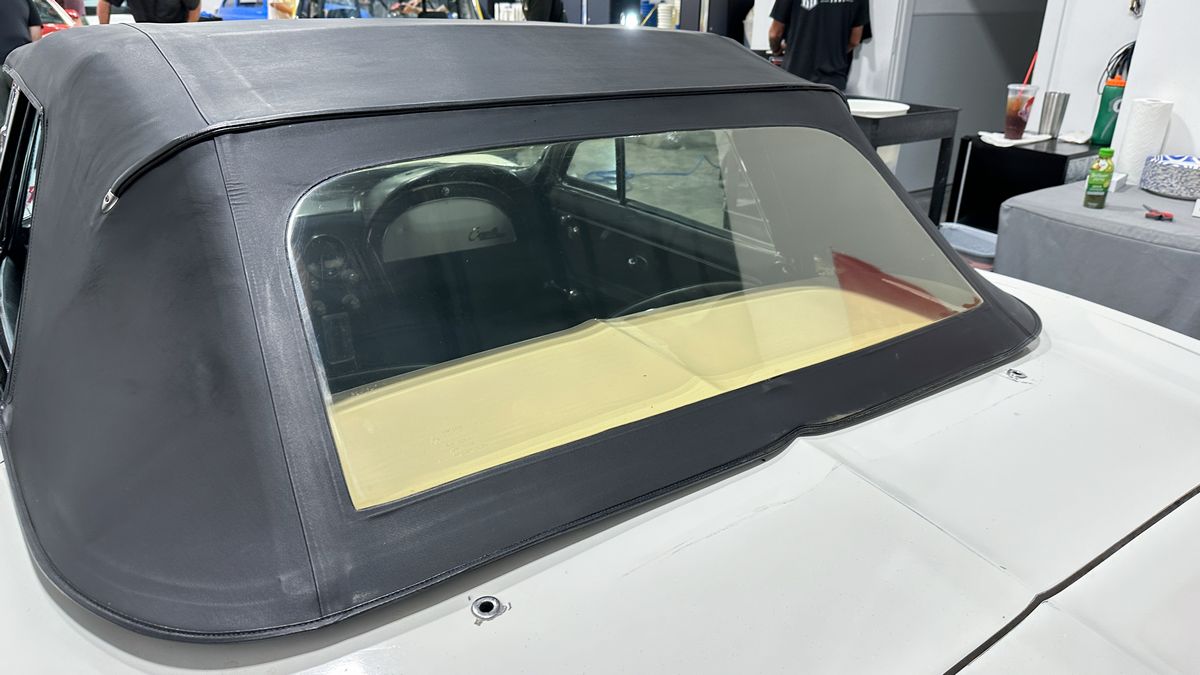
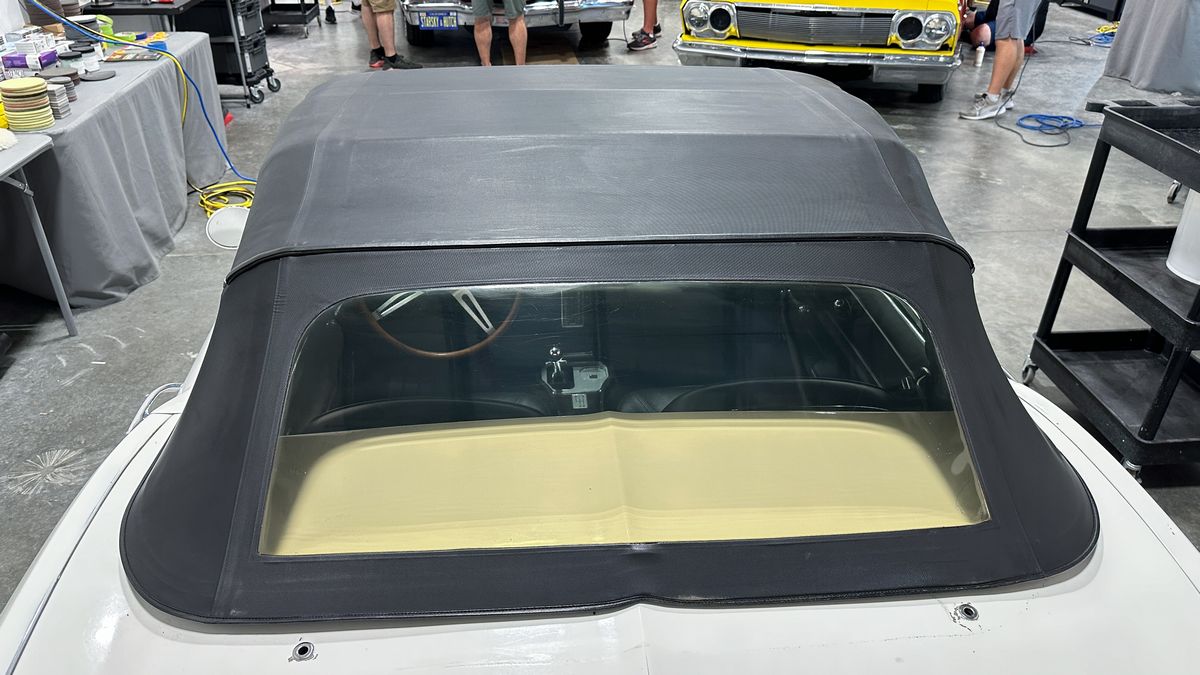
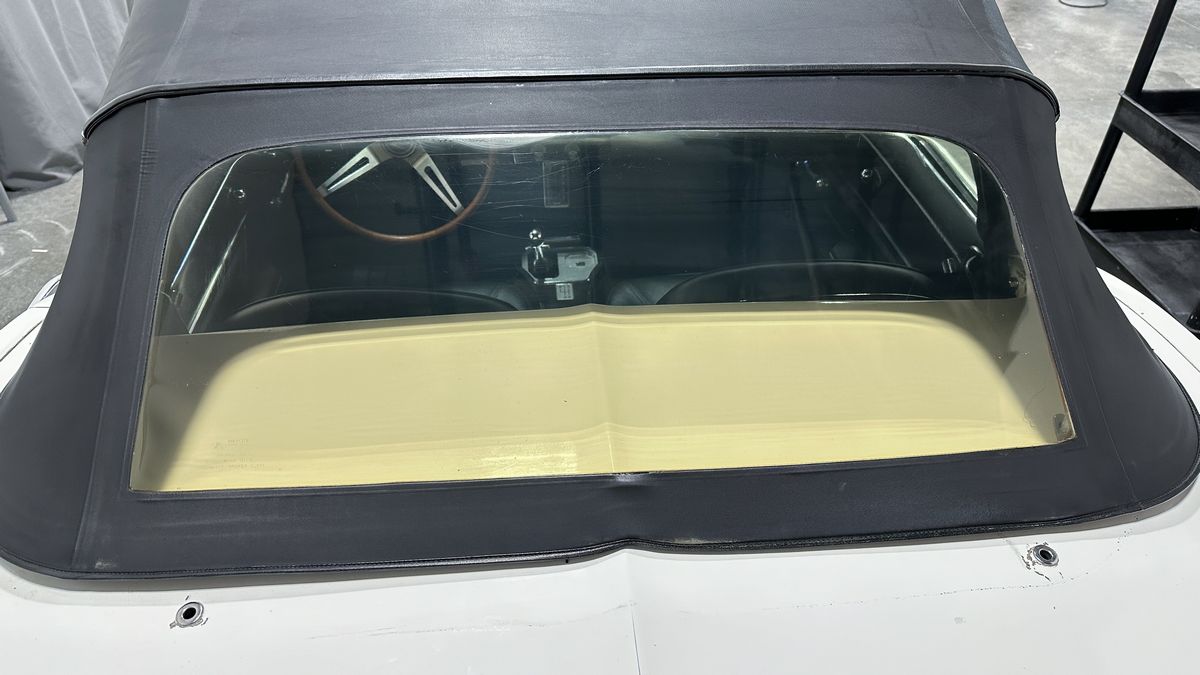
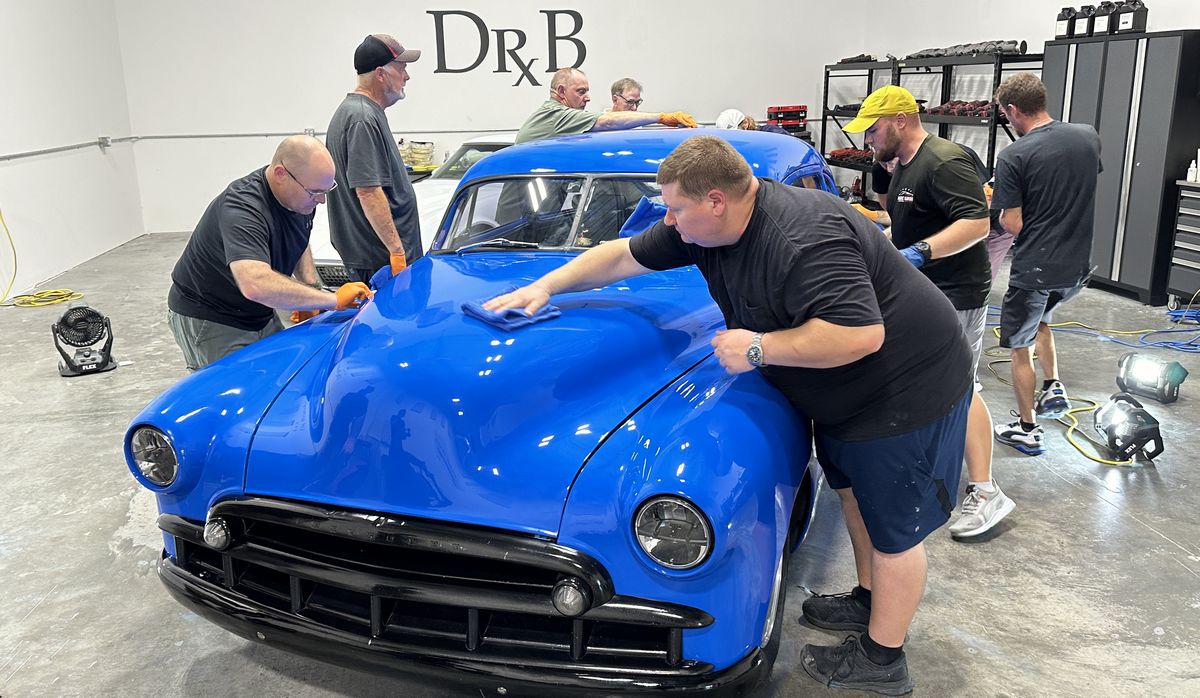
More gloss, clarity and depth-of-color
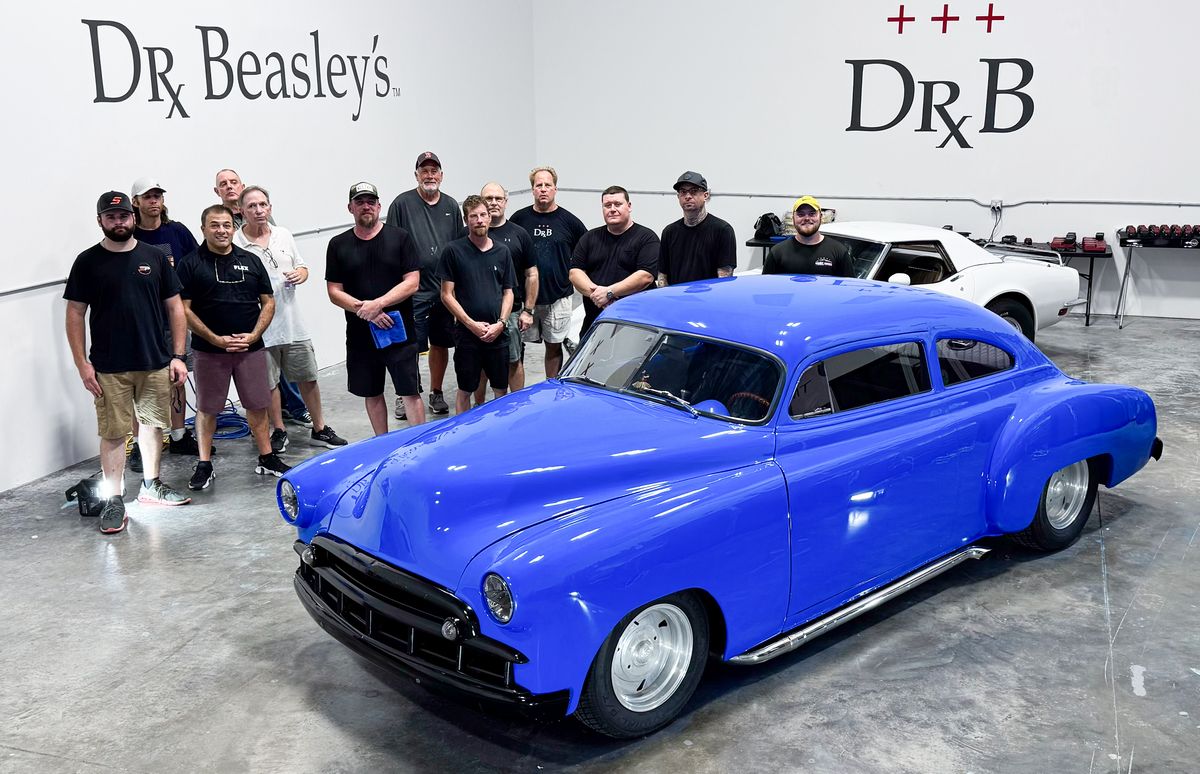
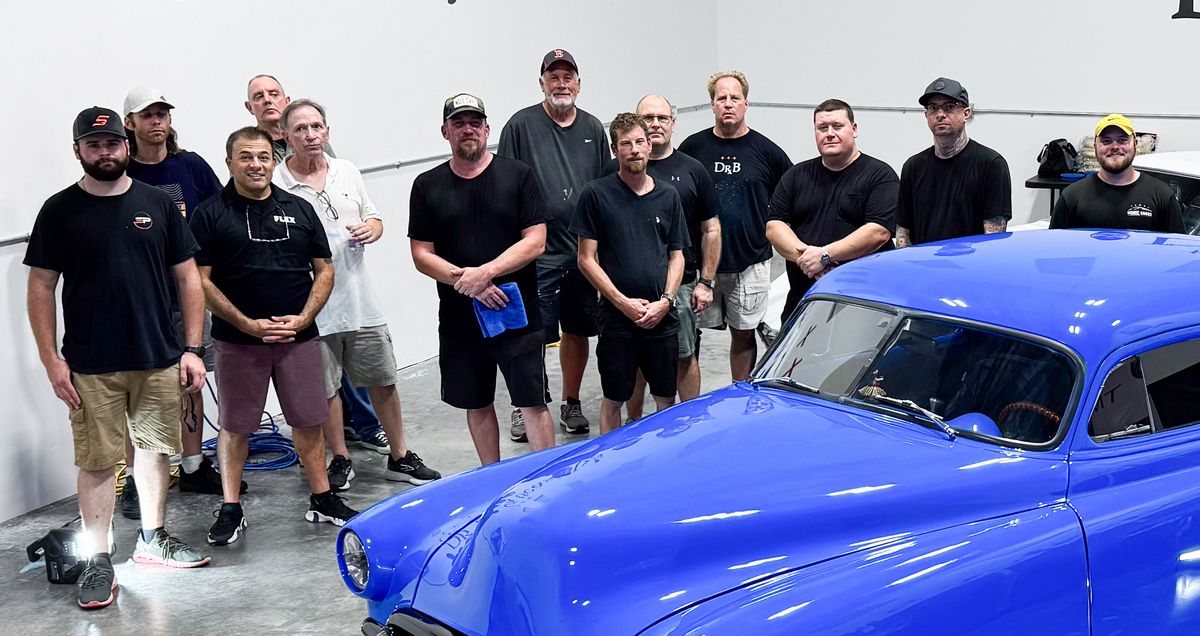
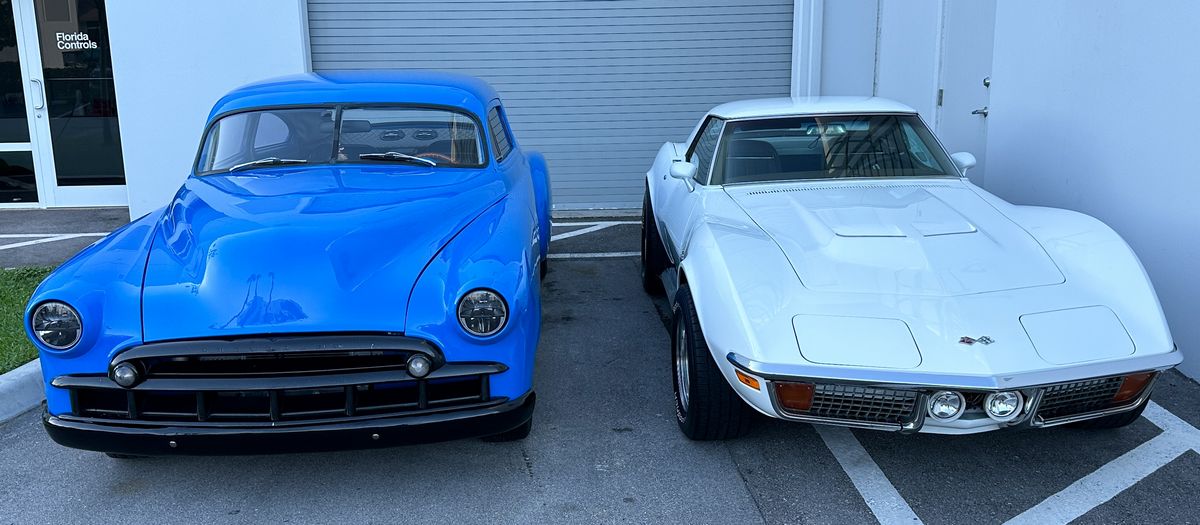
Each step in this process makes the paint look better and better. In the below pictures you can see the gloss increasing to really bring out the full-richness-of-color for the single stage blue paint on this 1949 Chevy Fleetline Streetrod.
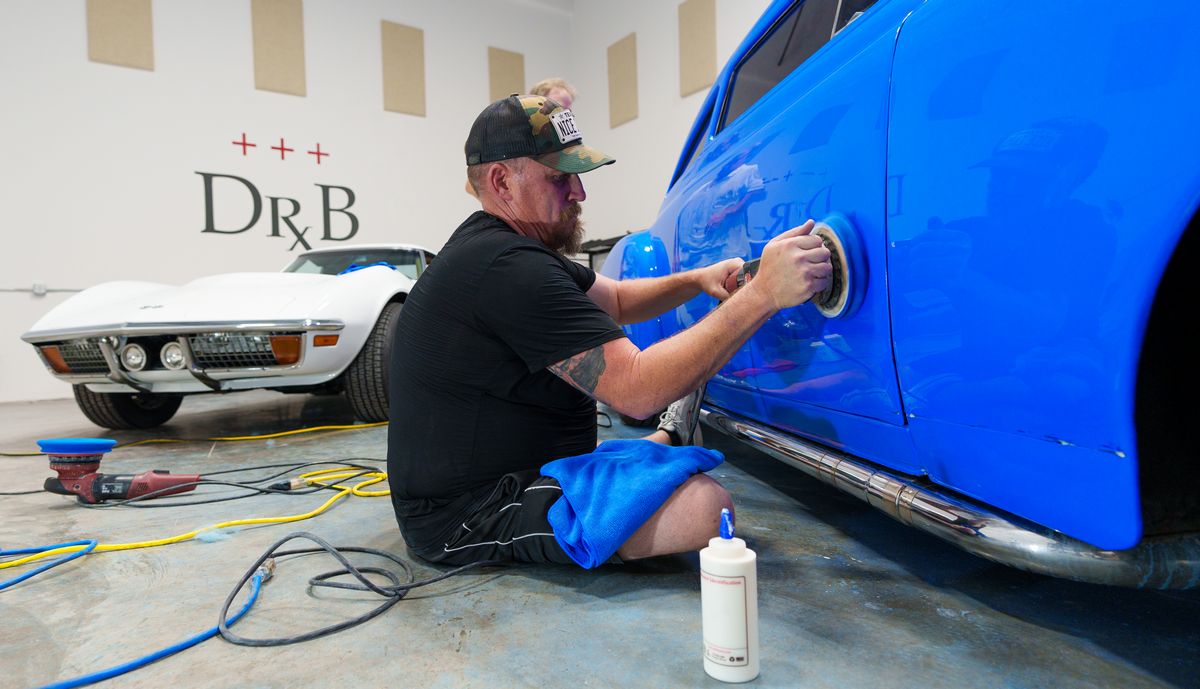
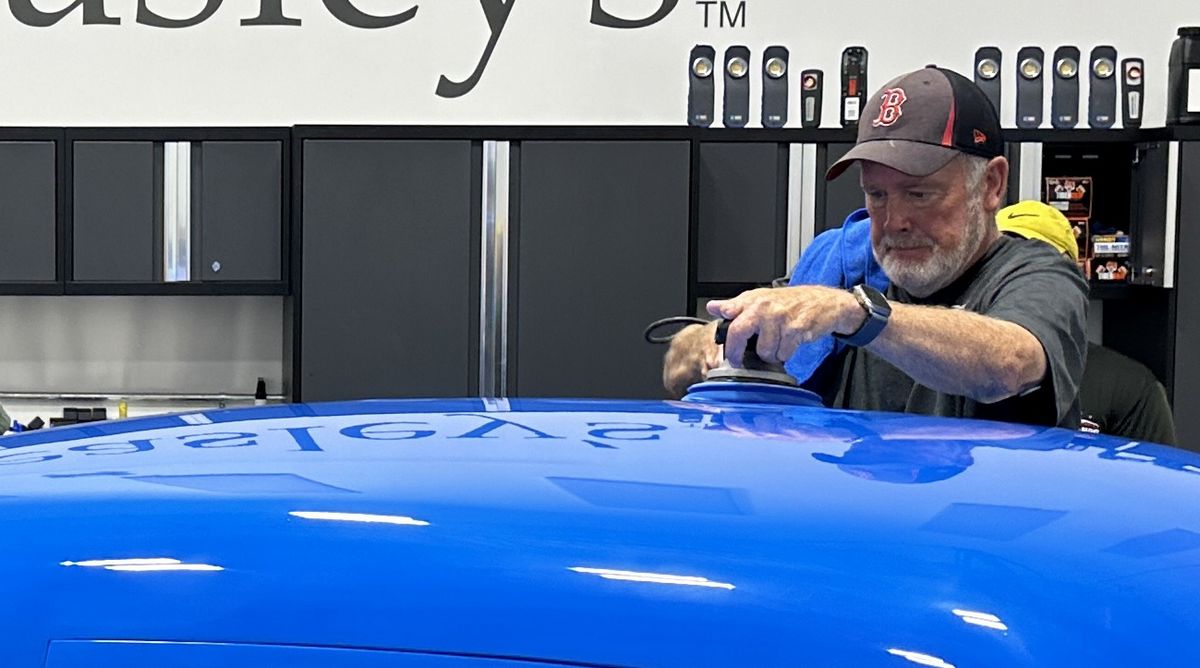
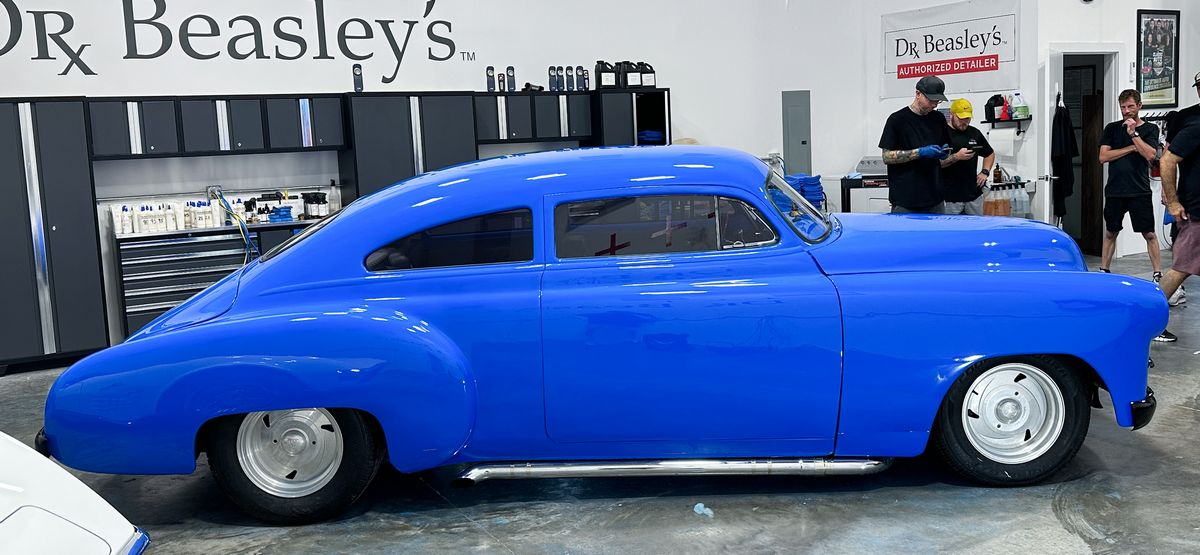
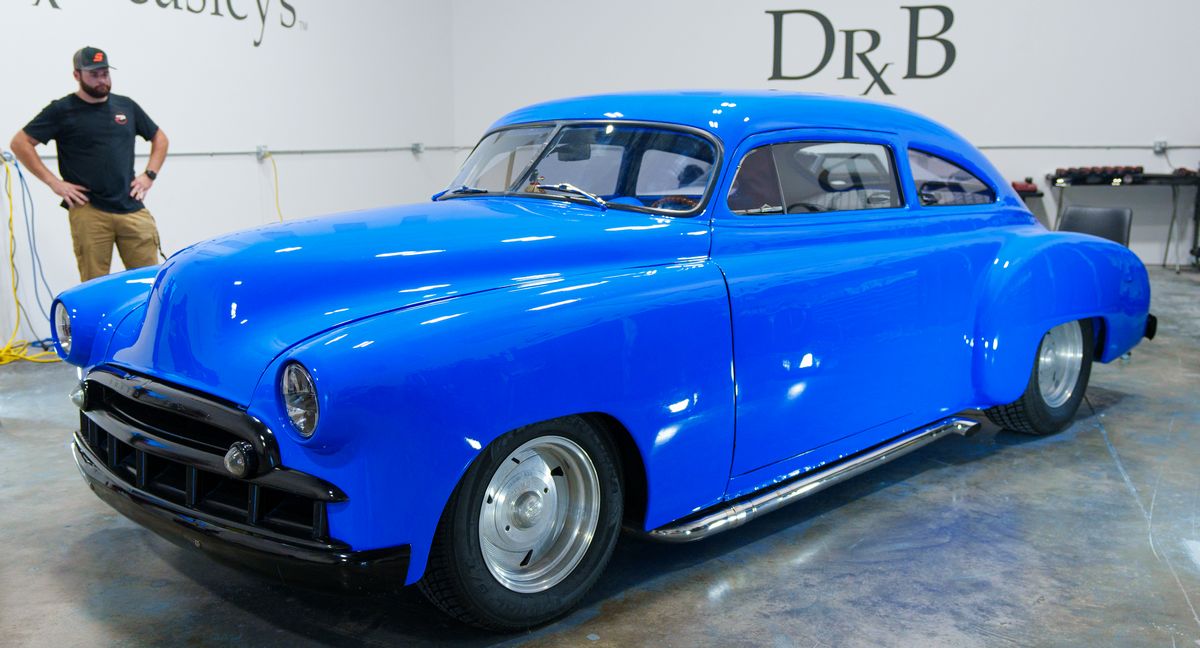
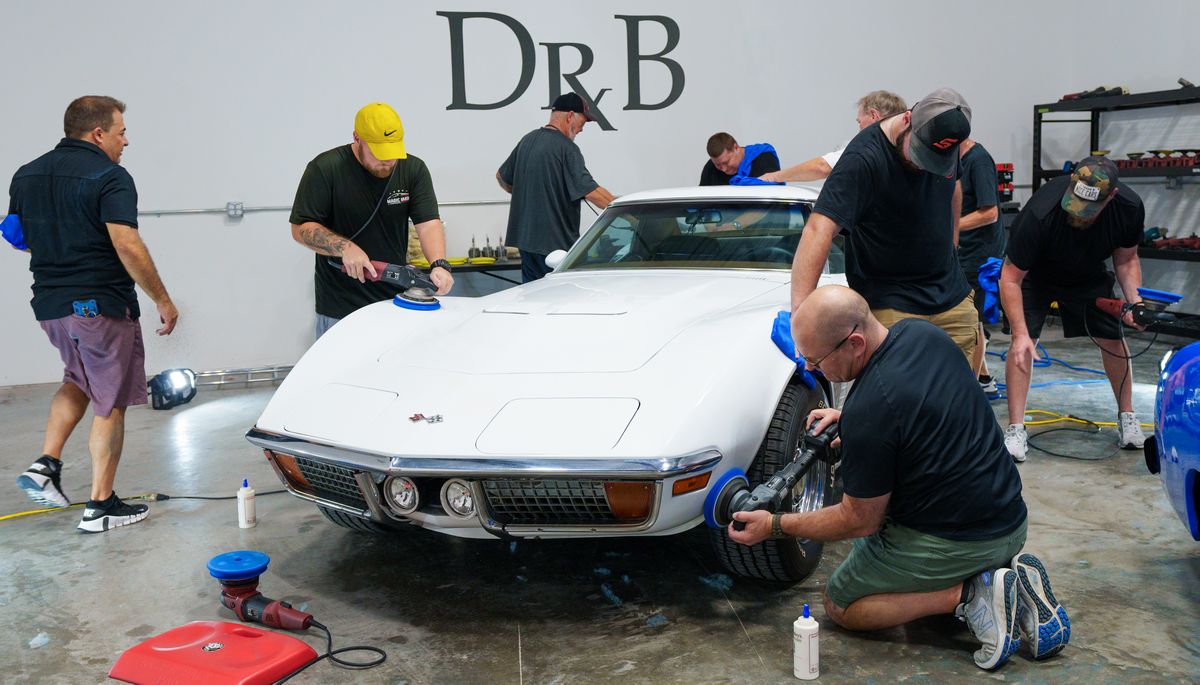
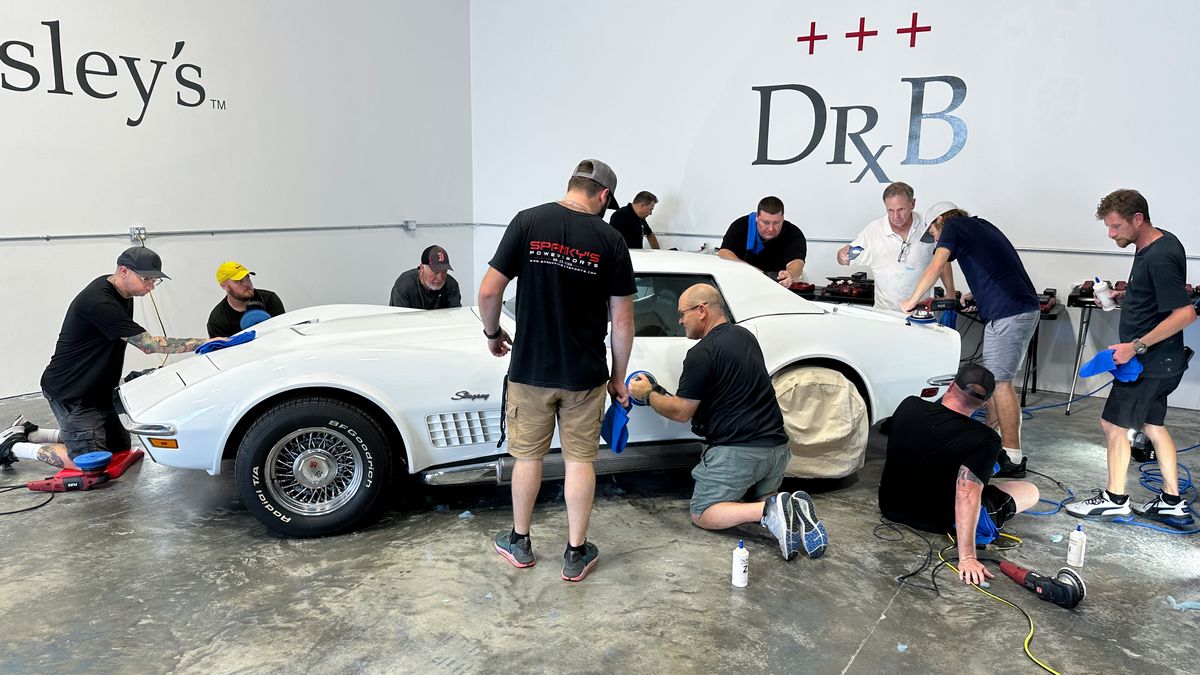
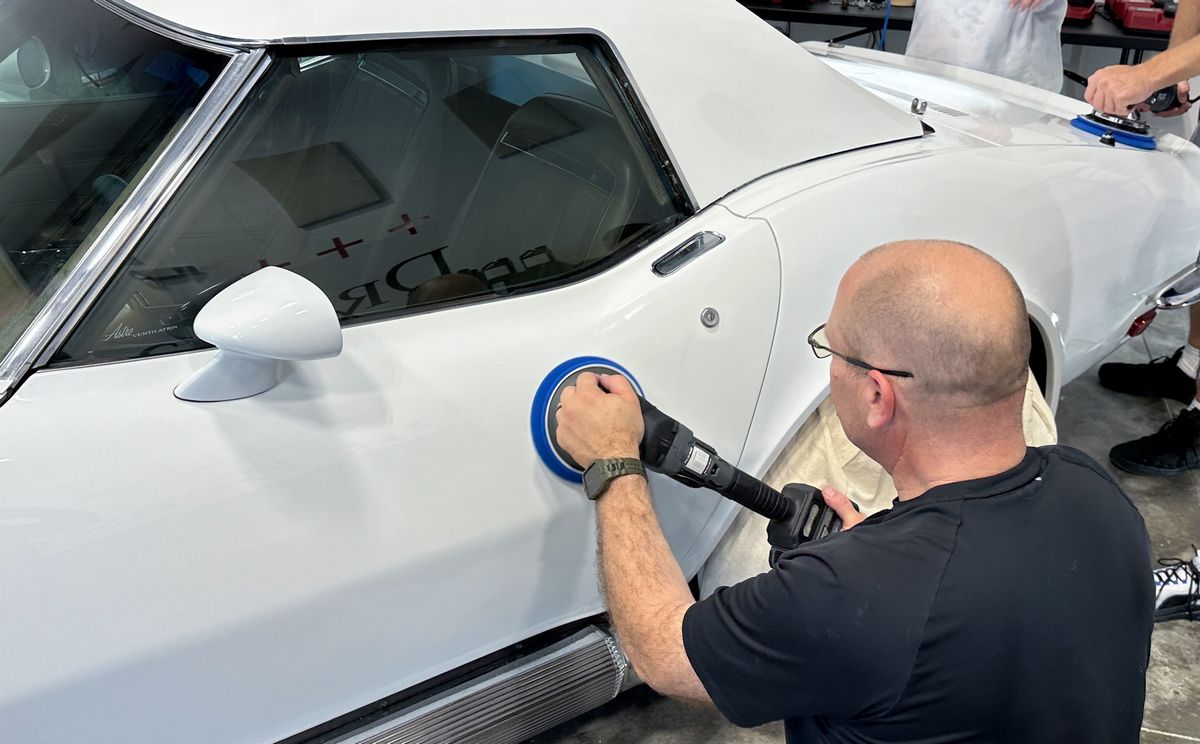
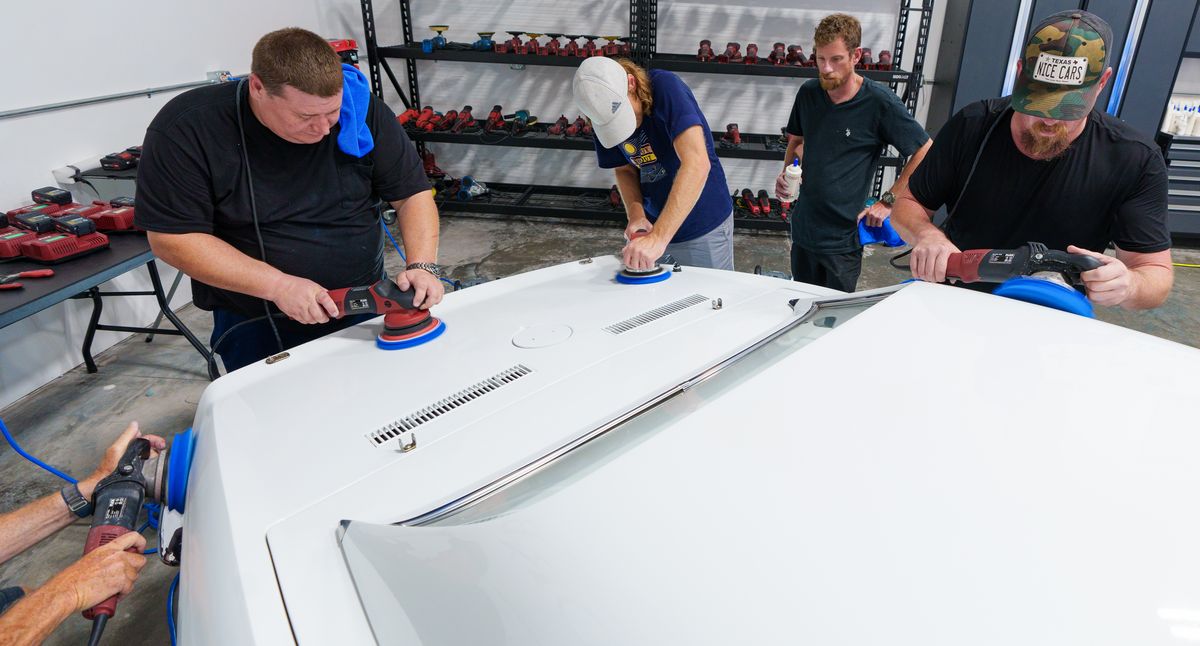
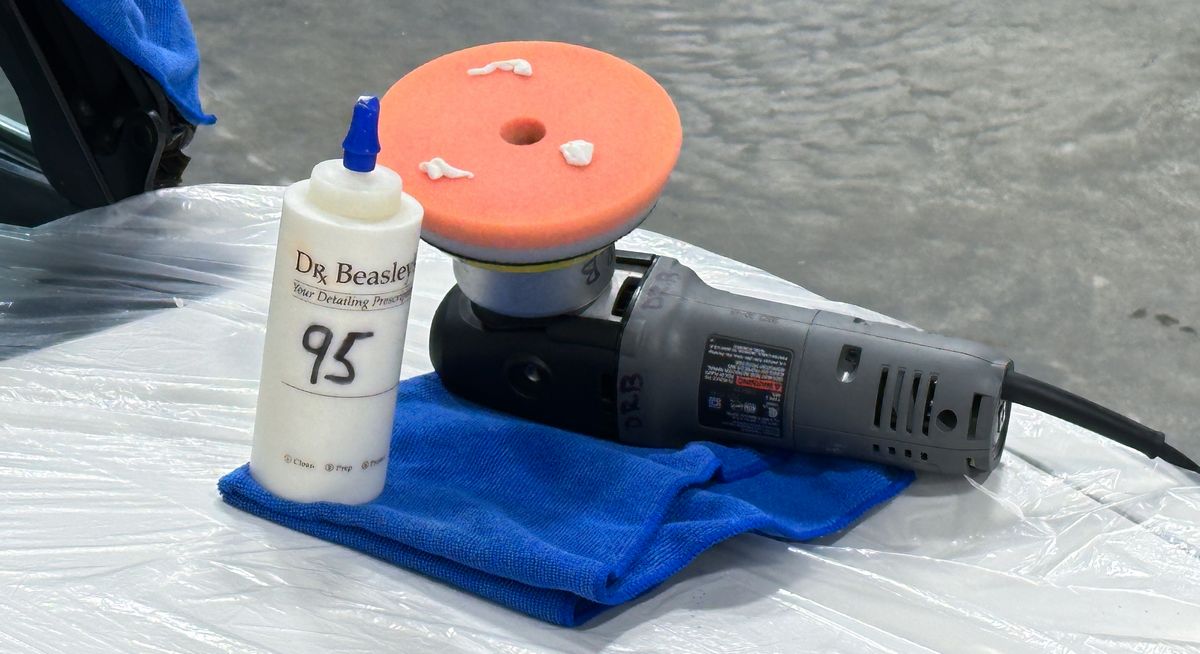
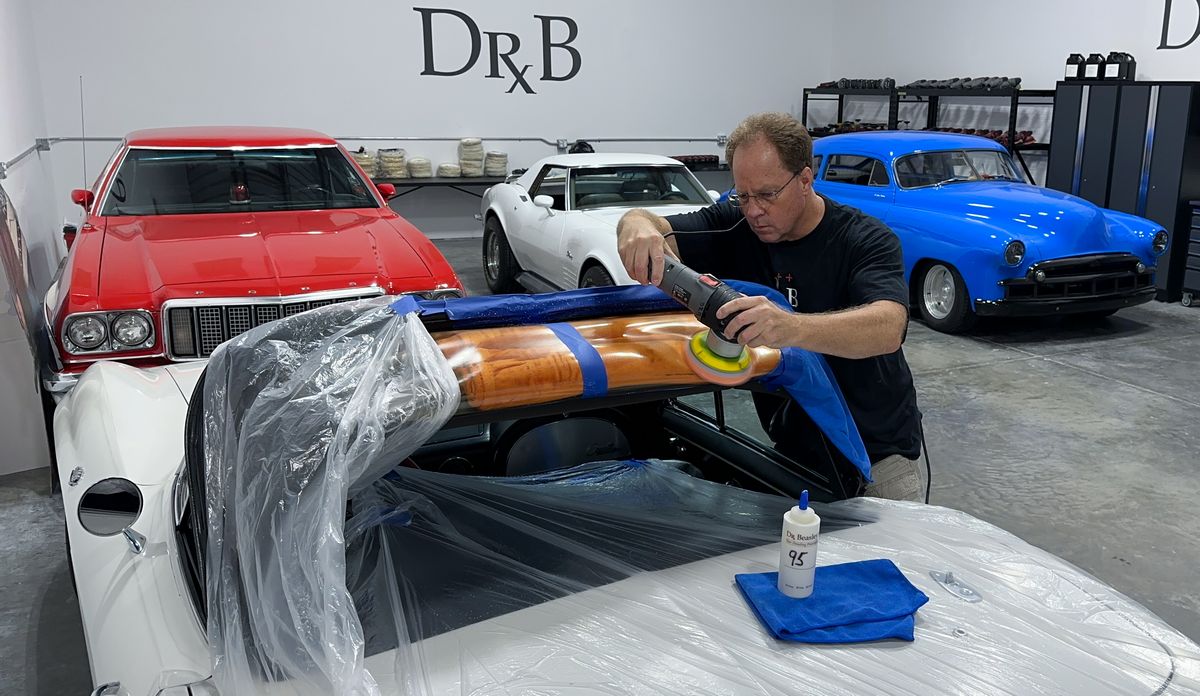
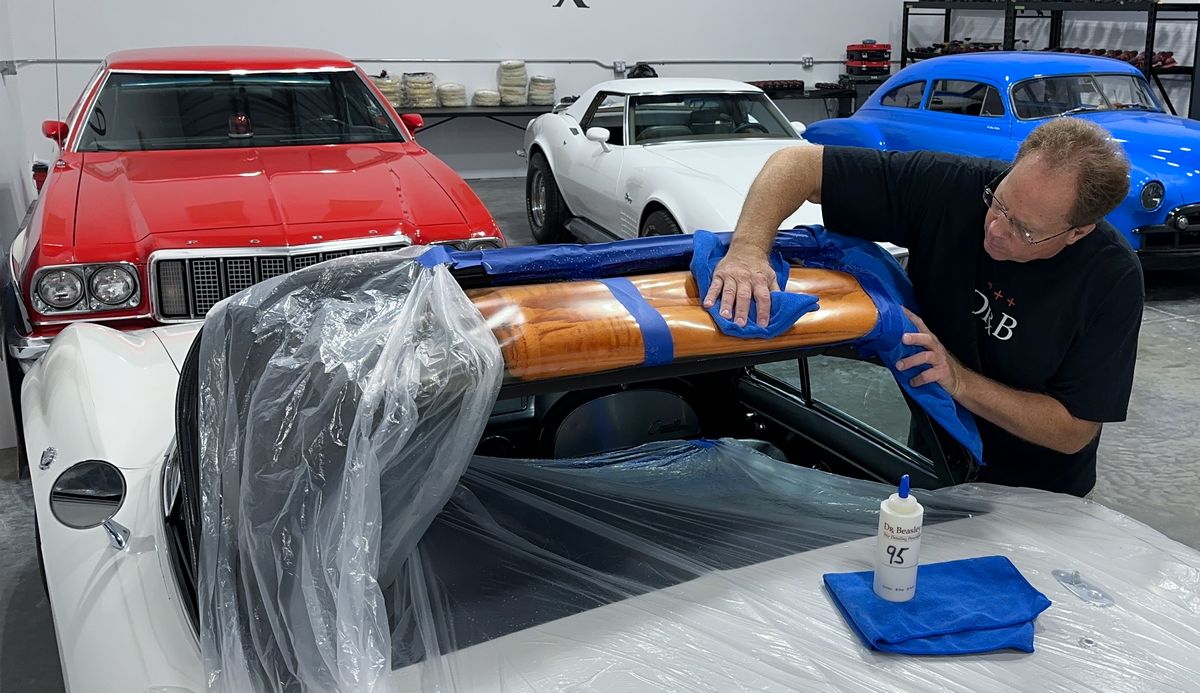
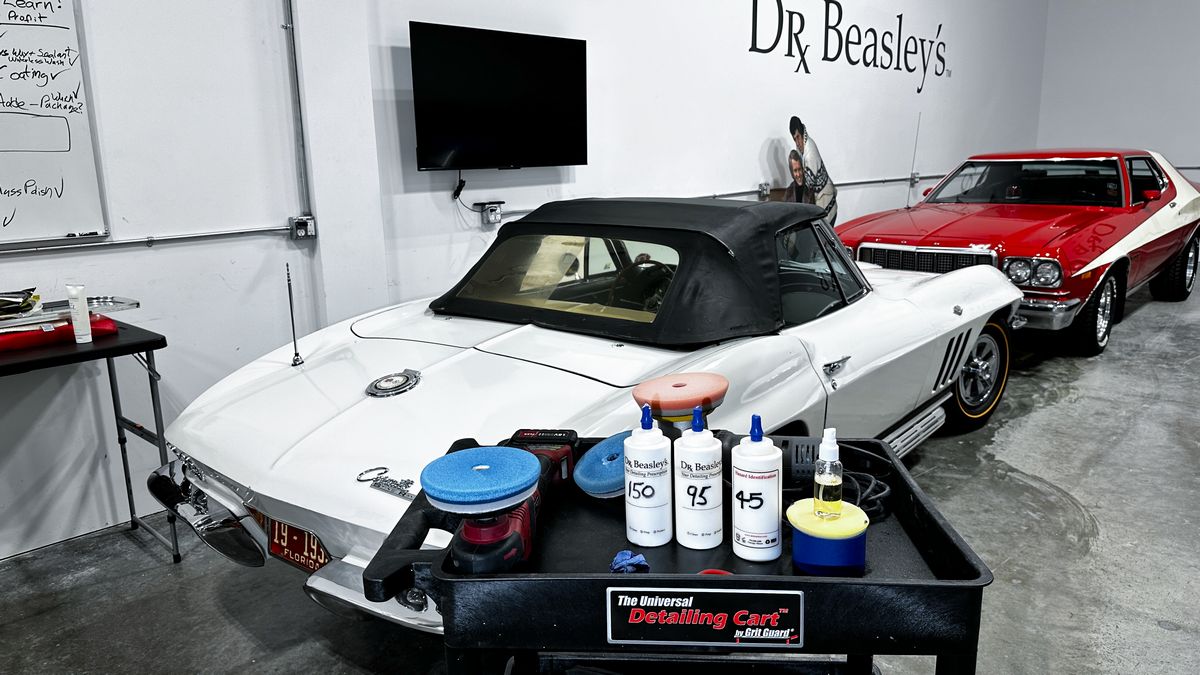
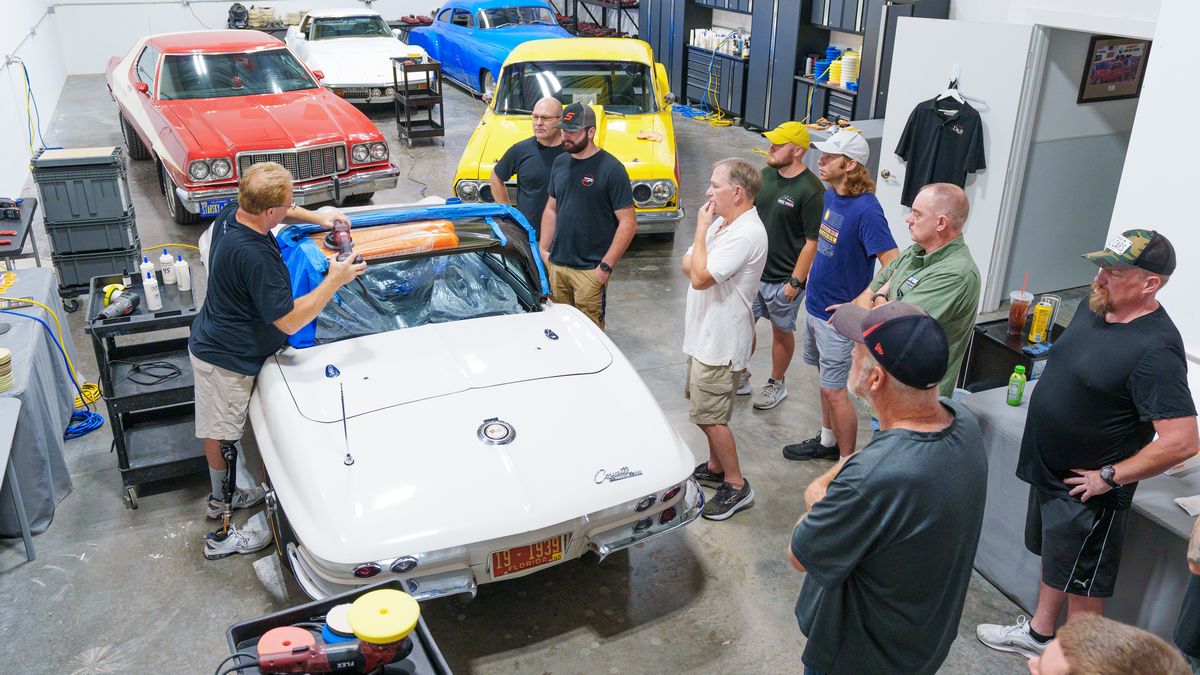
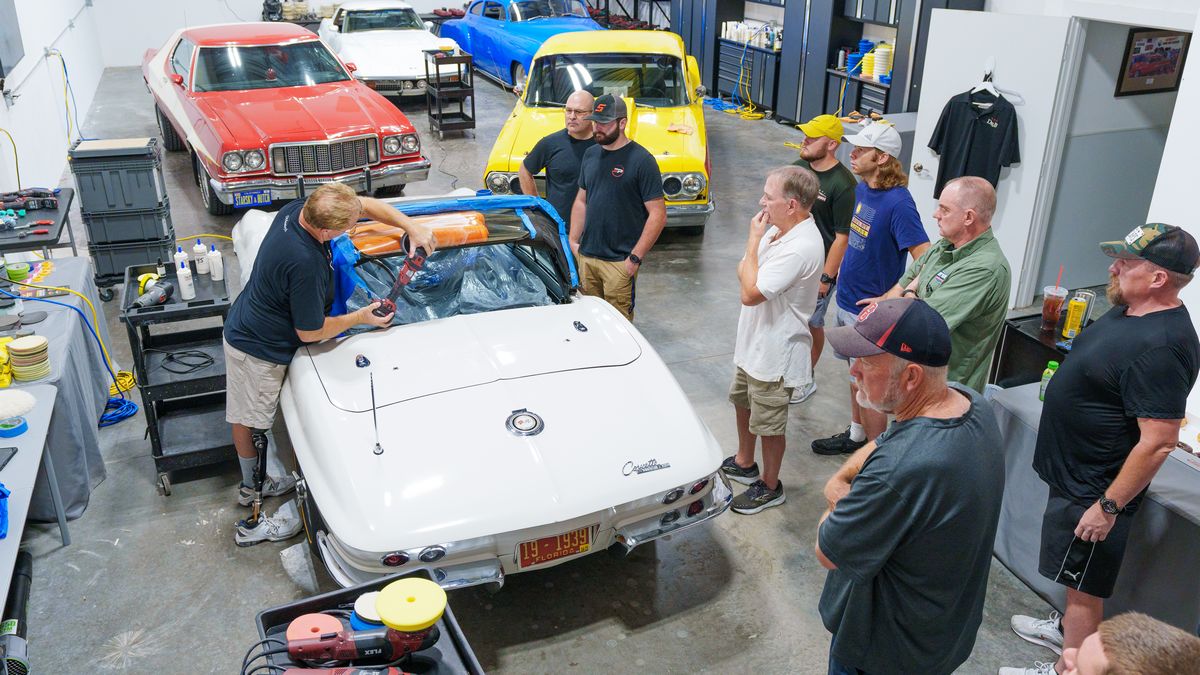
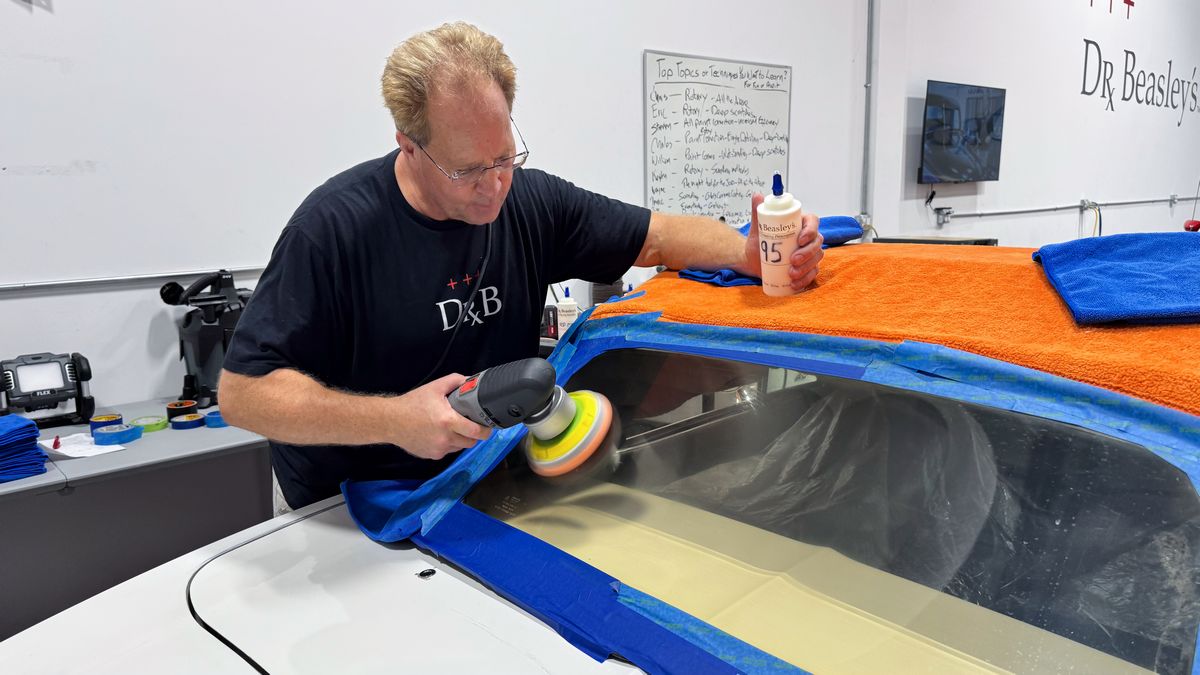
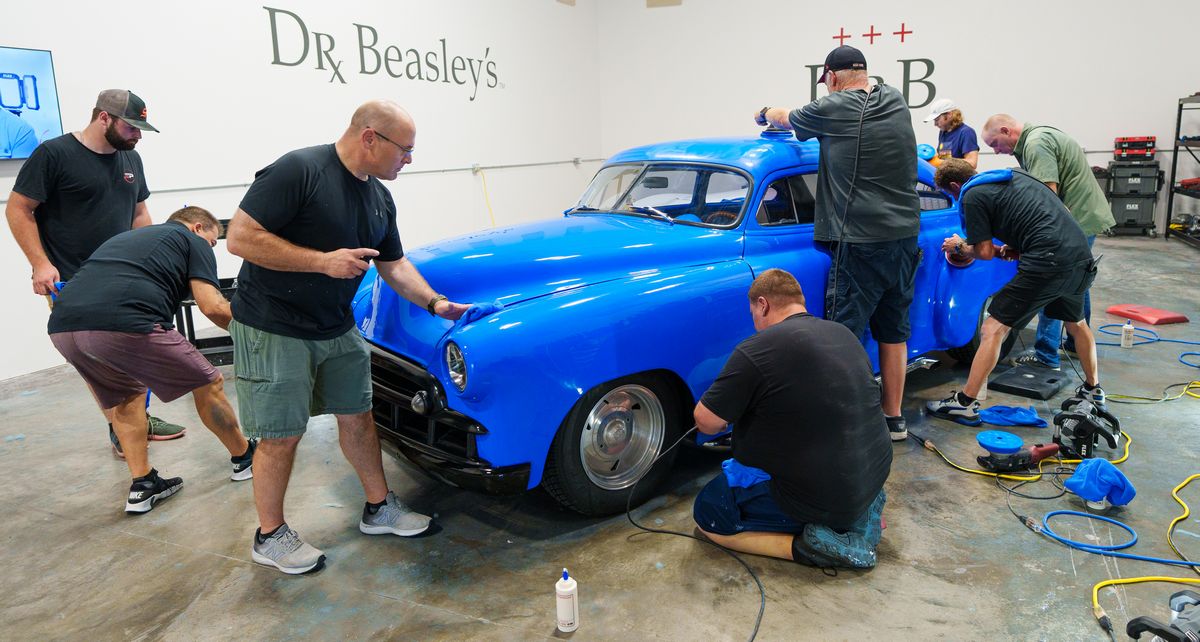
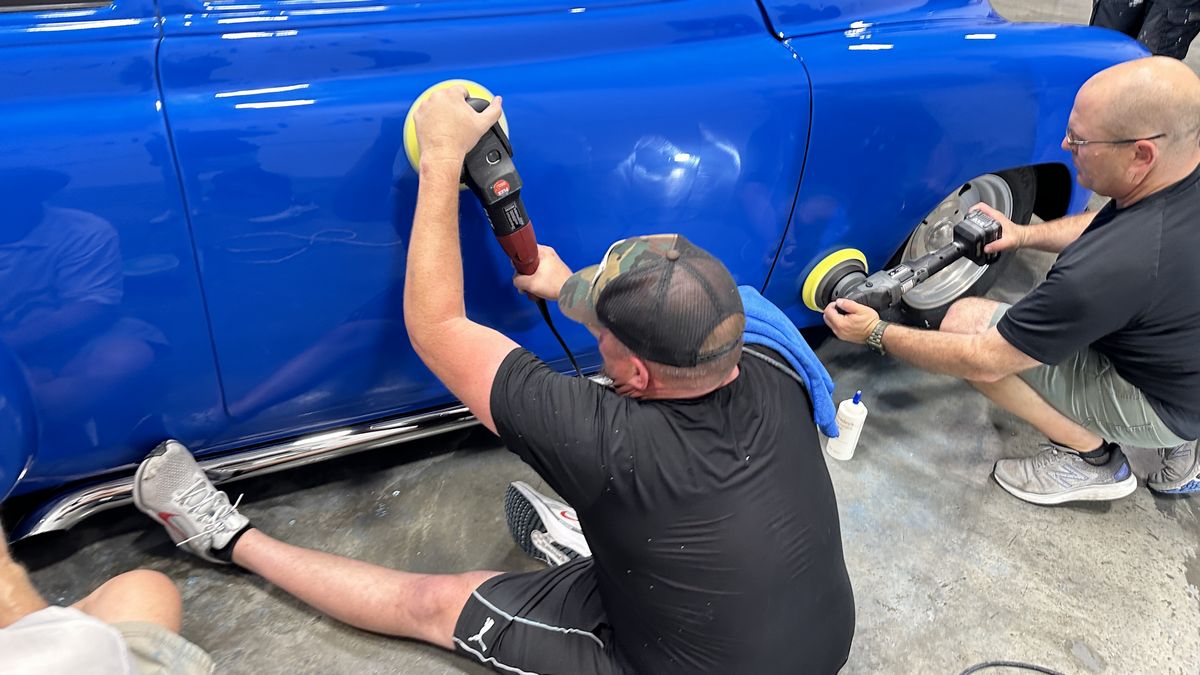
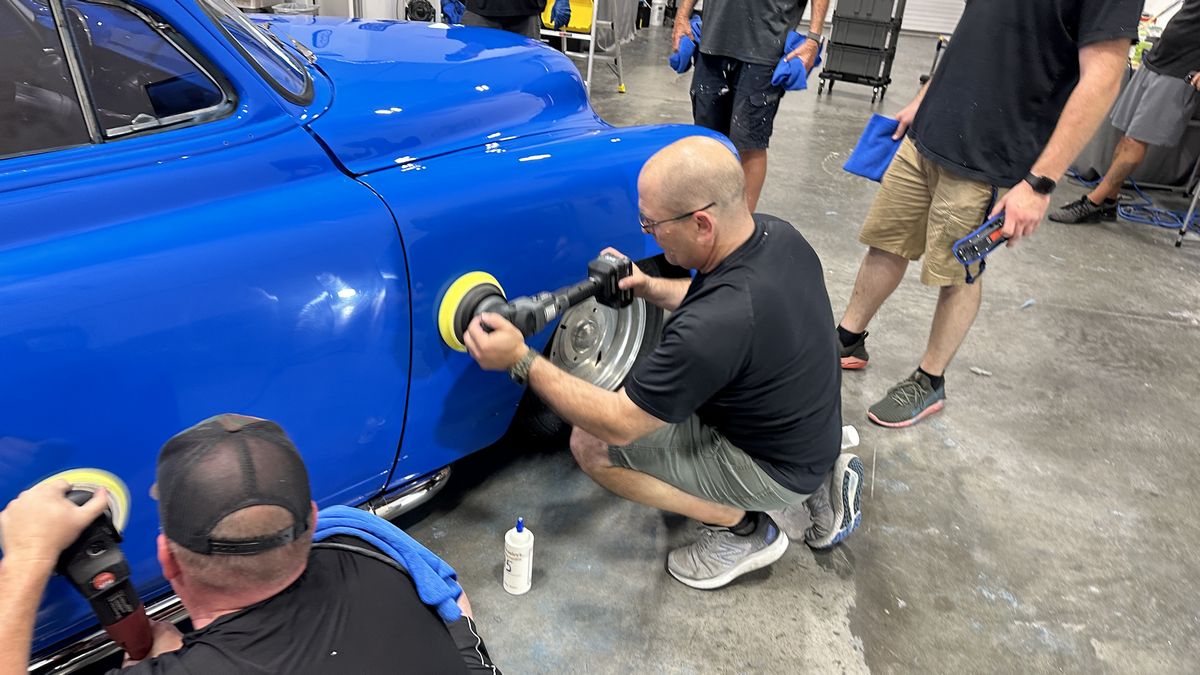
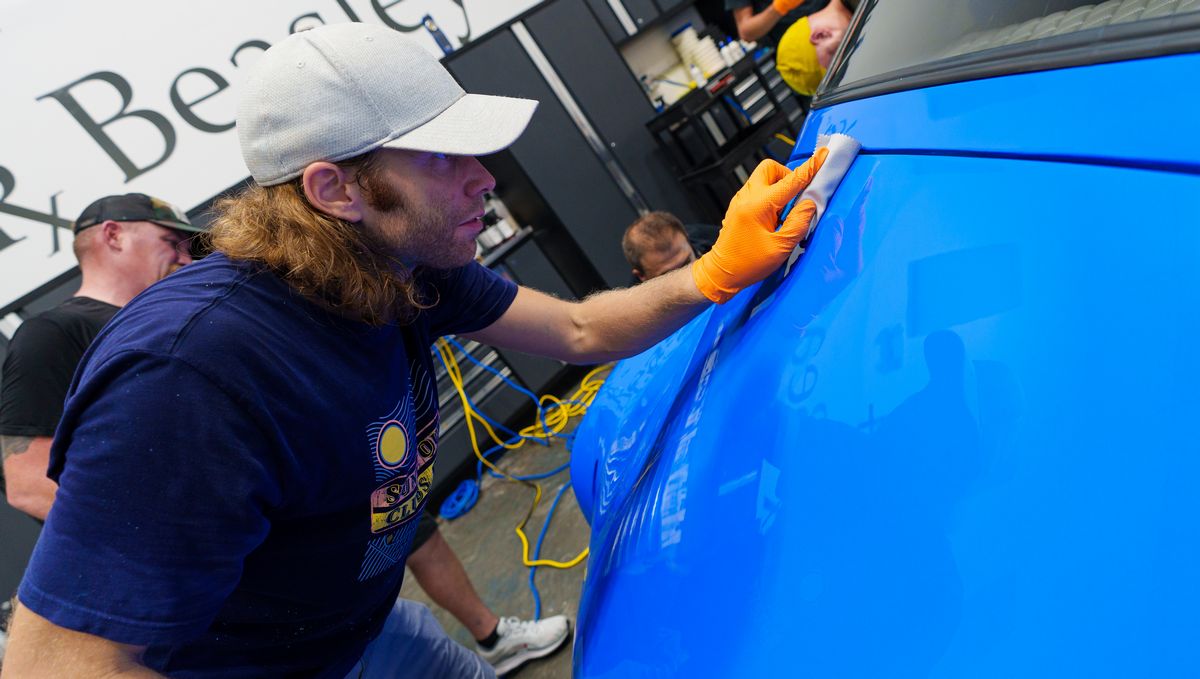
Third Polishing Step - Show Car Detailing
The blueberry pad with the NSP 150 Primer left an amazing finish, but t perfect the paint for a show car finish and to take this car's paint to its maximum potential, the class re-polished using a much softer yellow EdgeGuard foam pad and NSP 95.
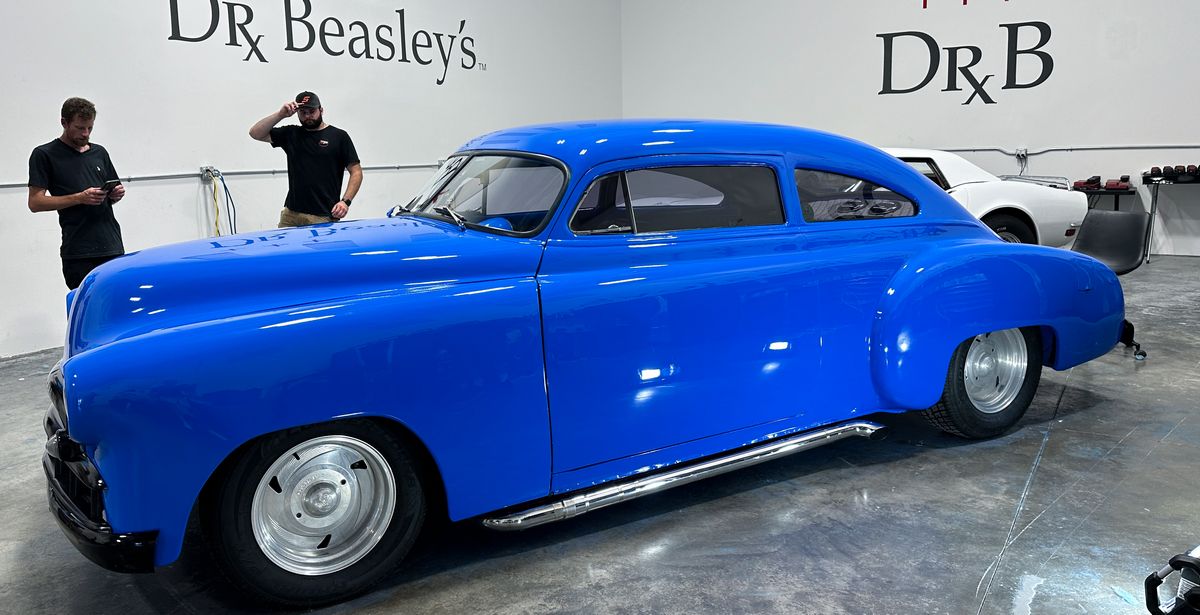
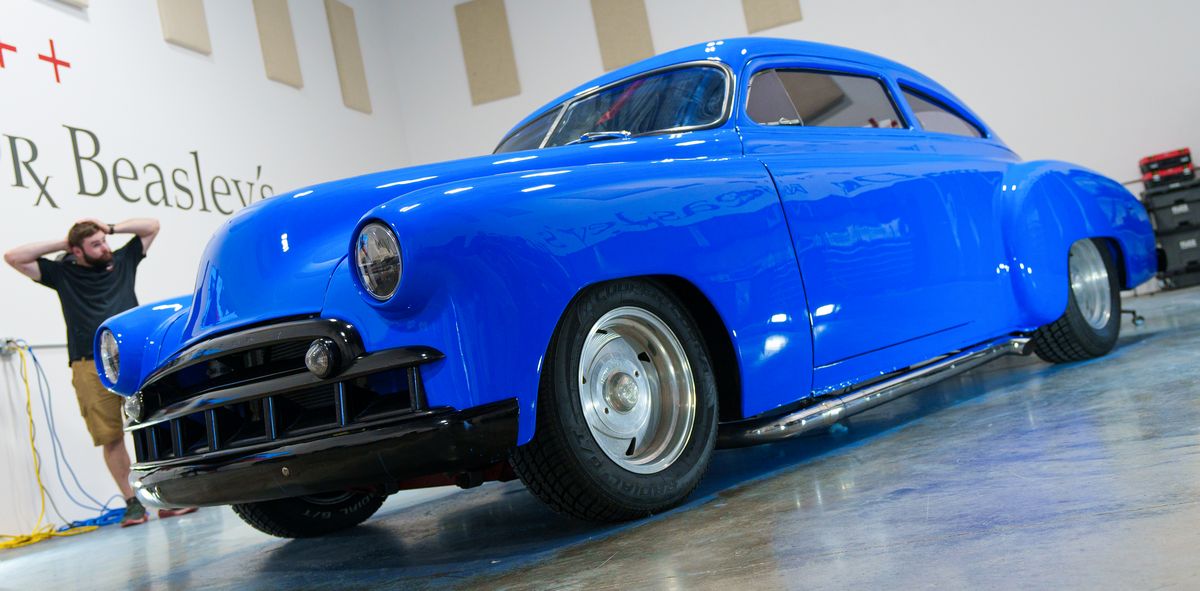
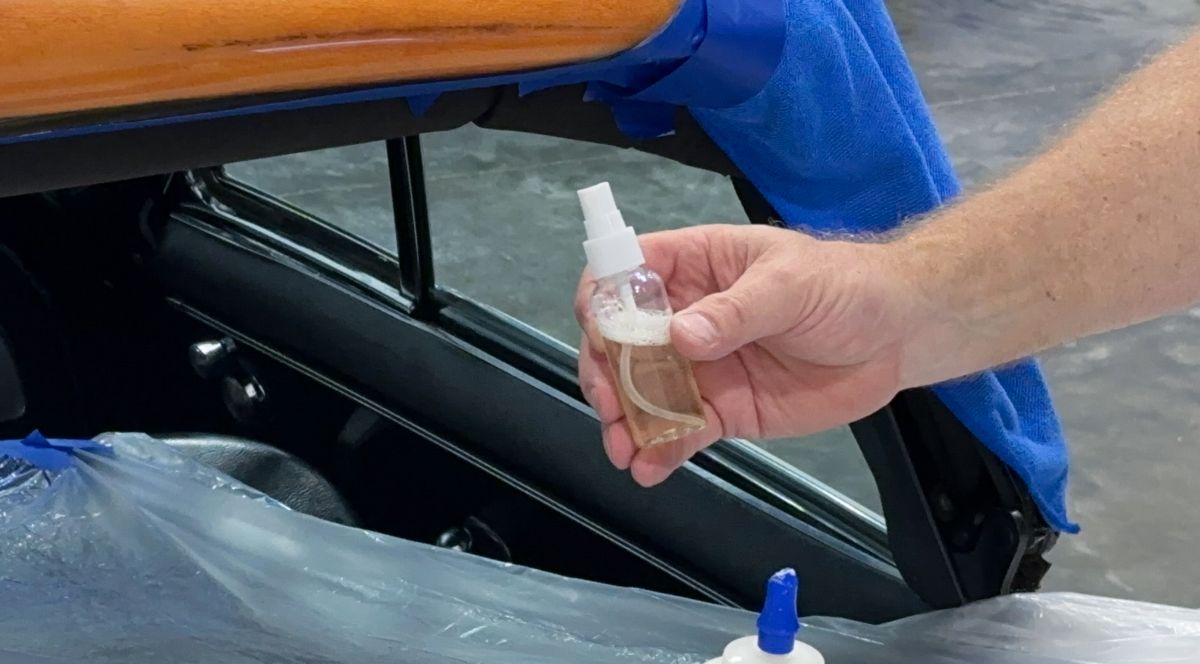
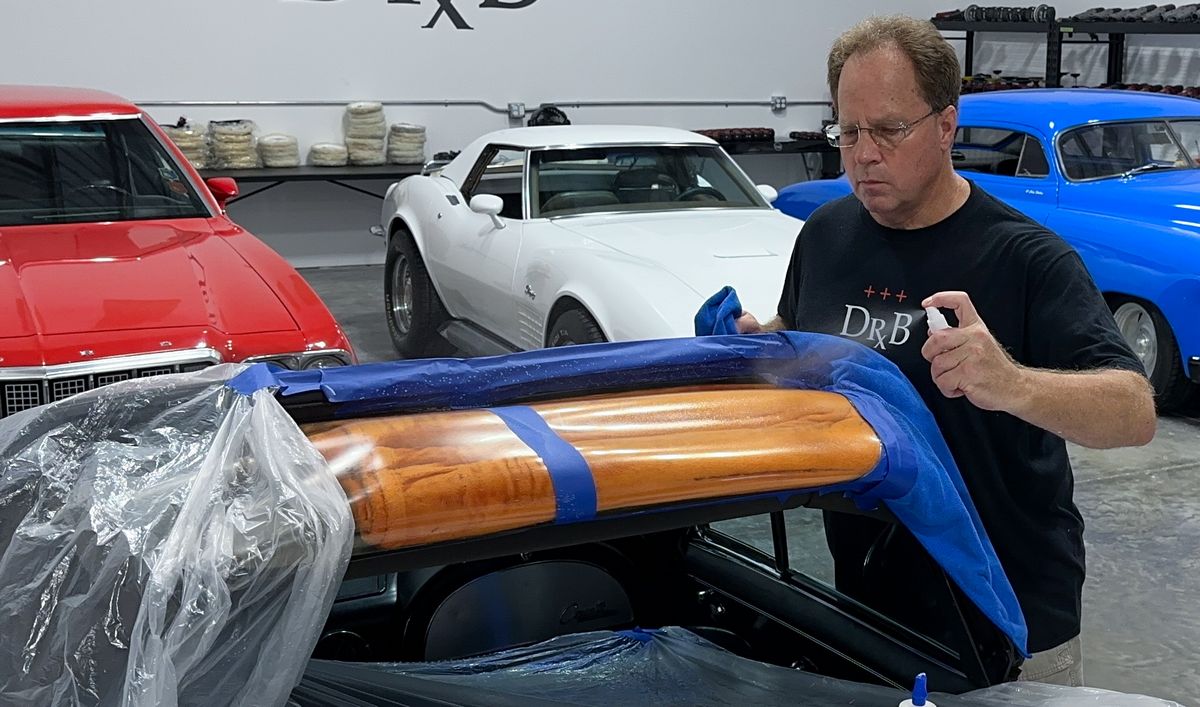
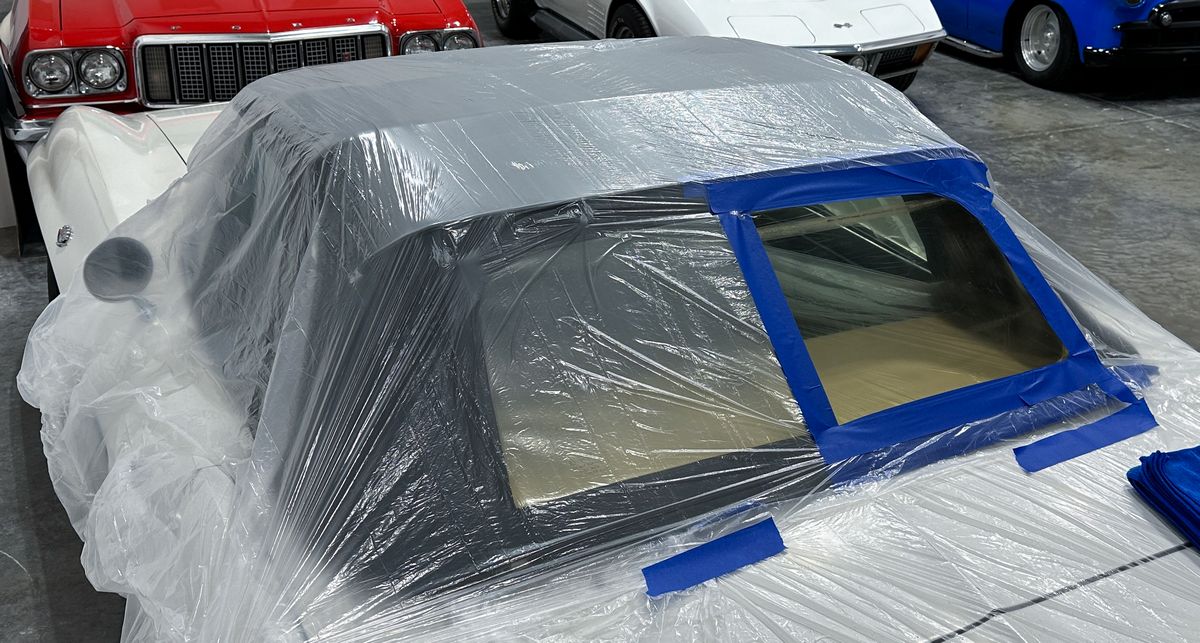
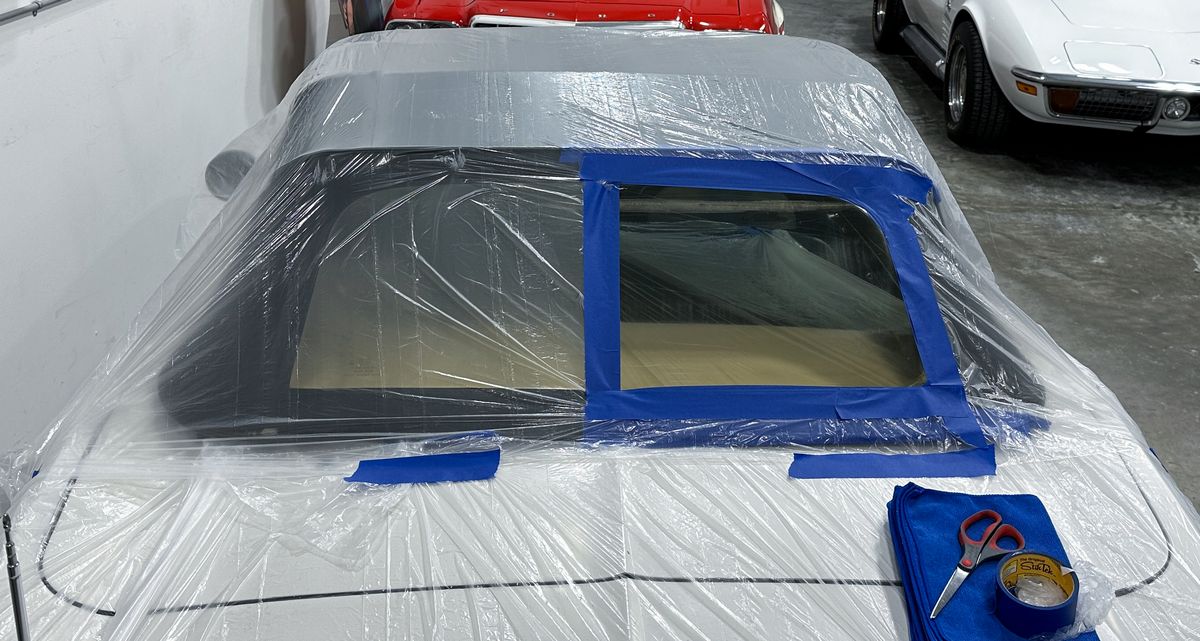
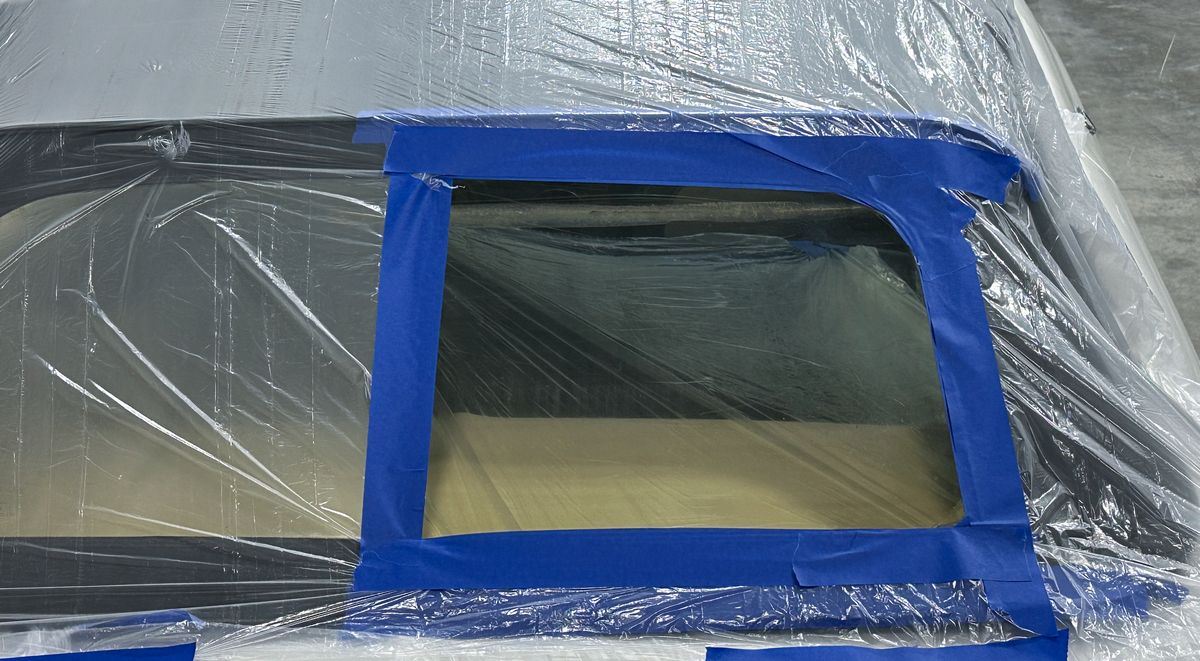
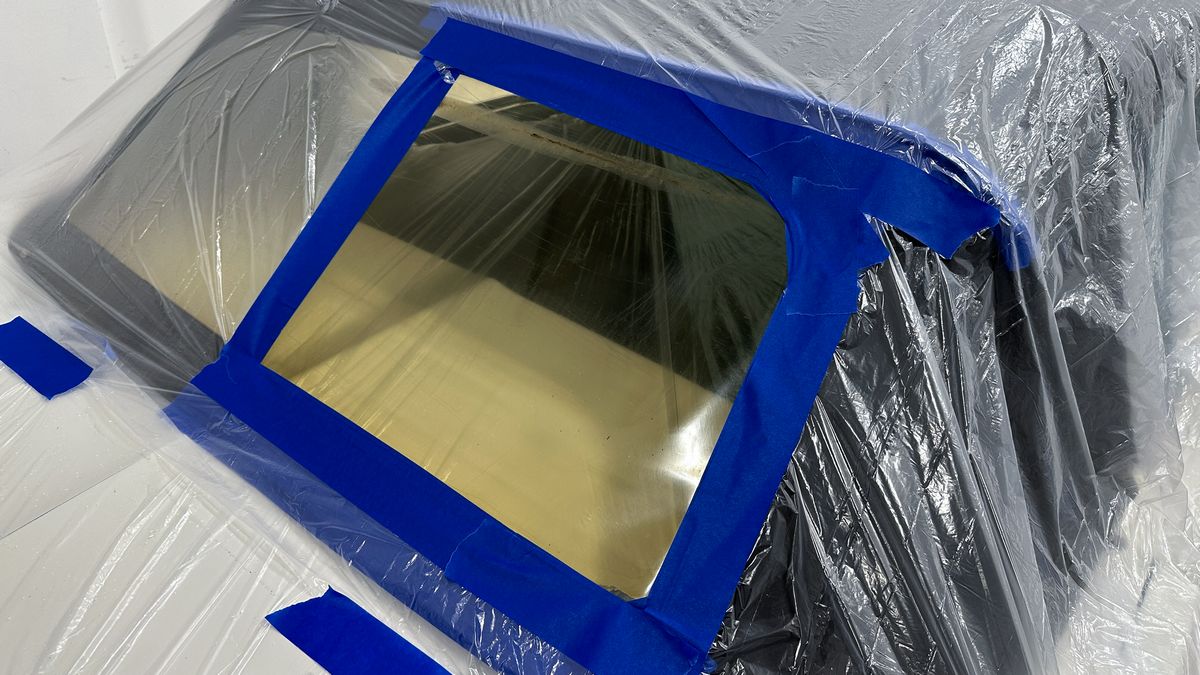
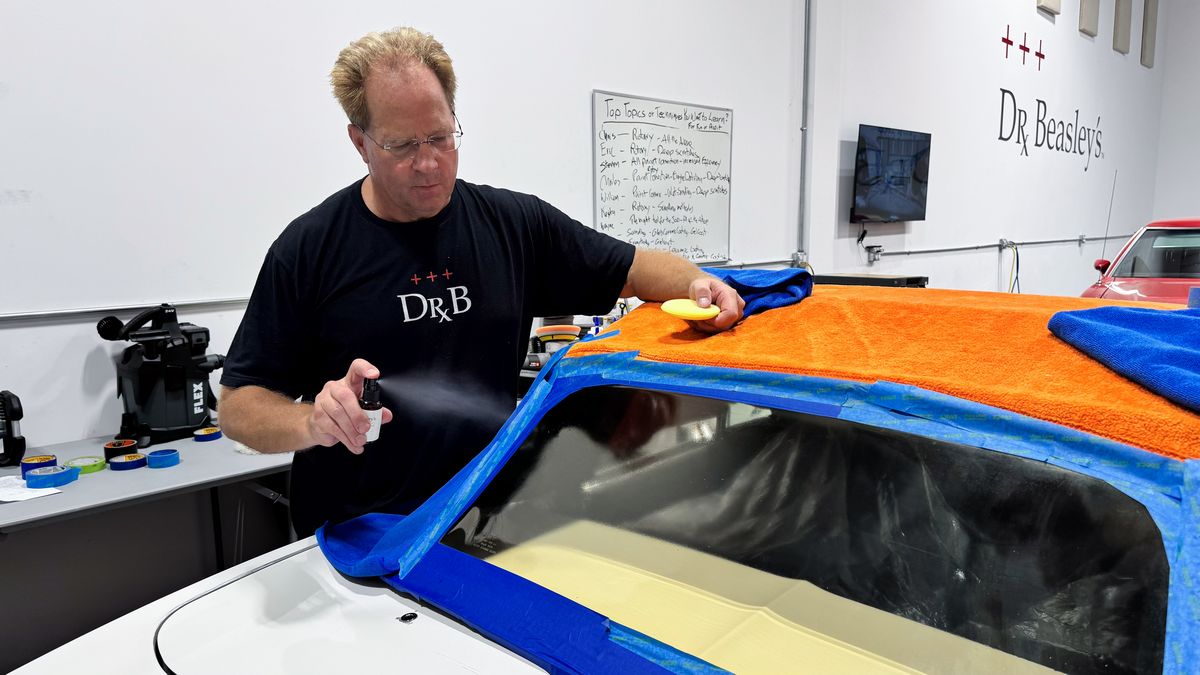
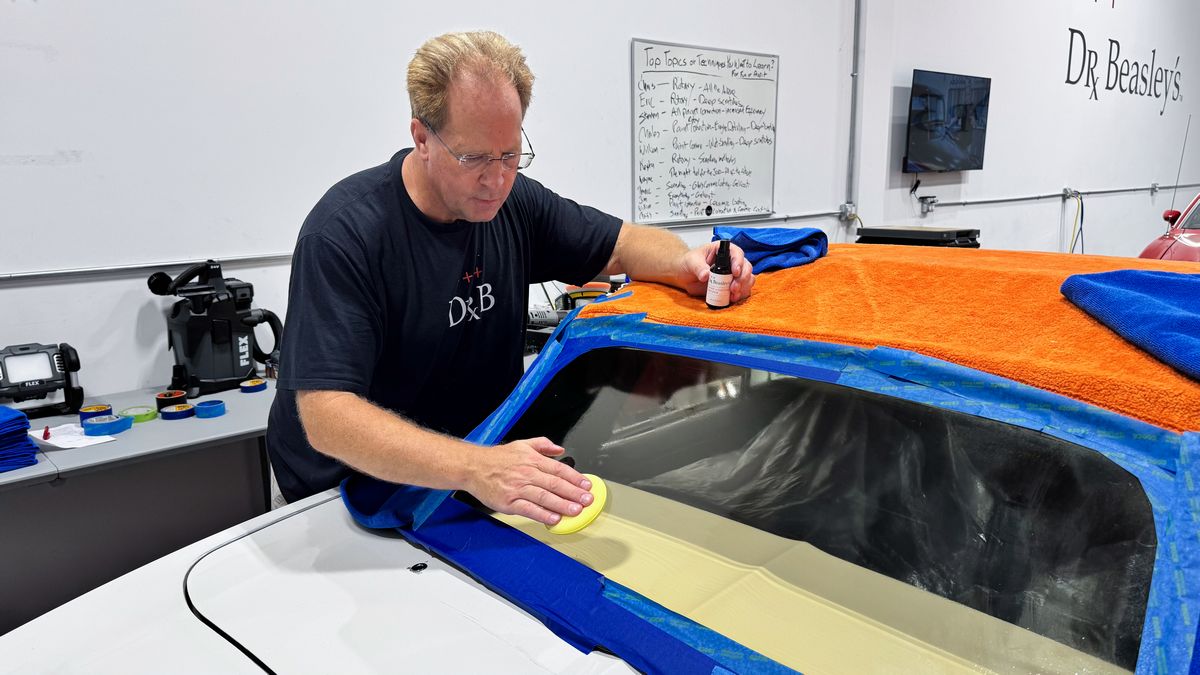
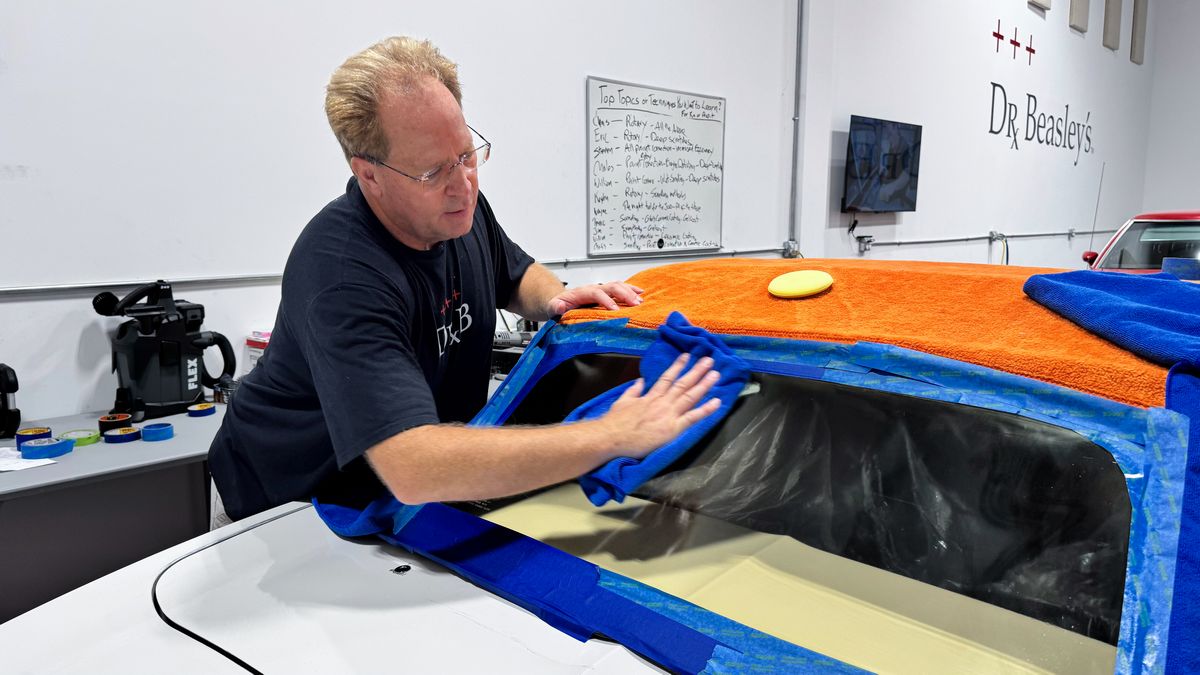
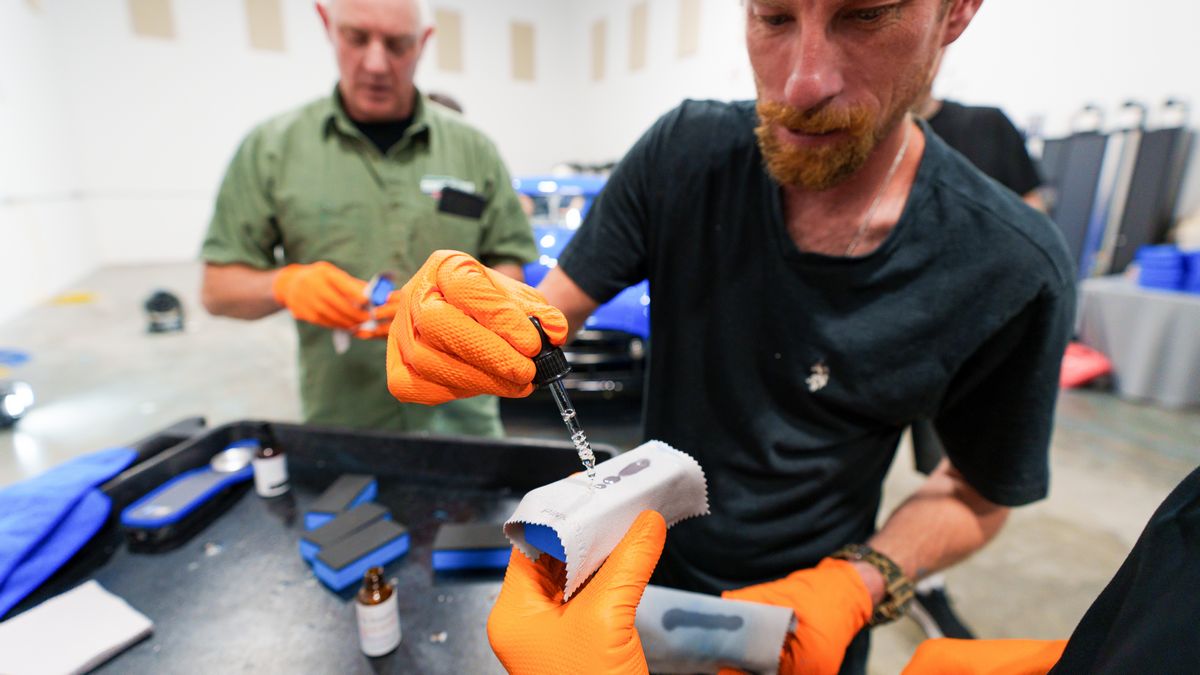
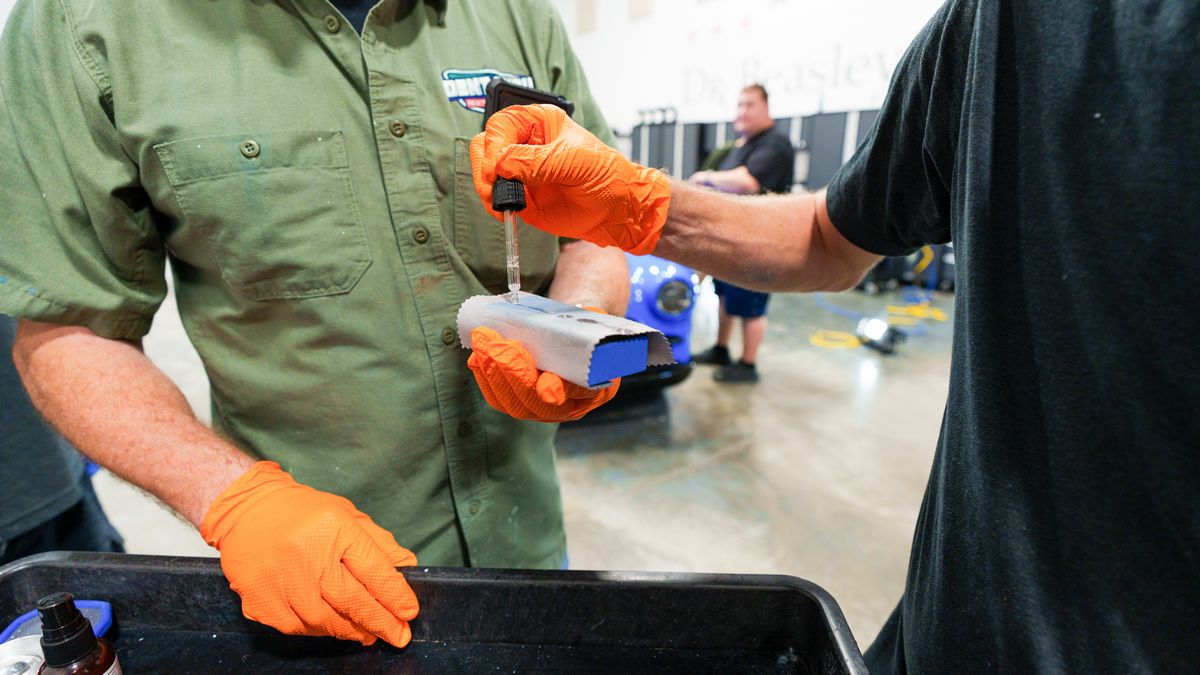
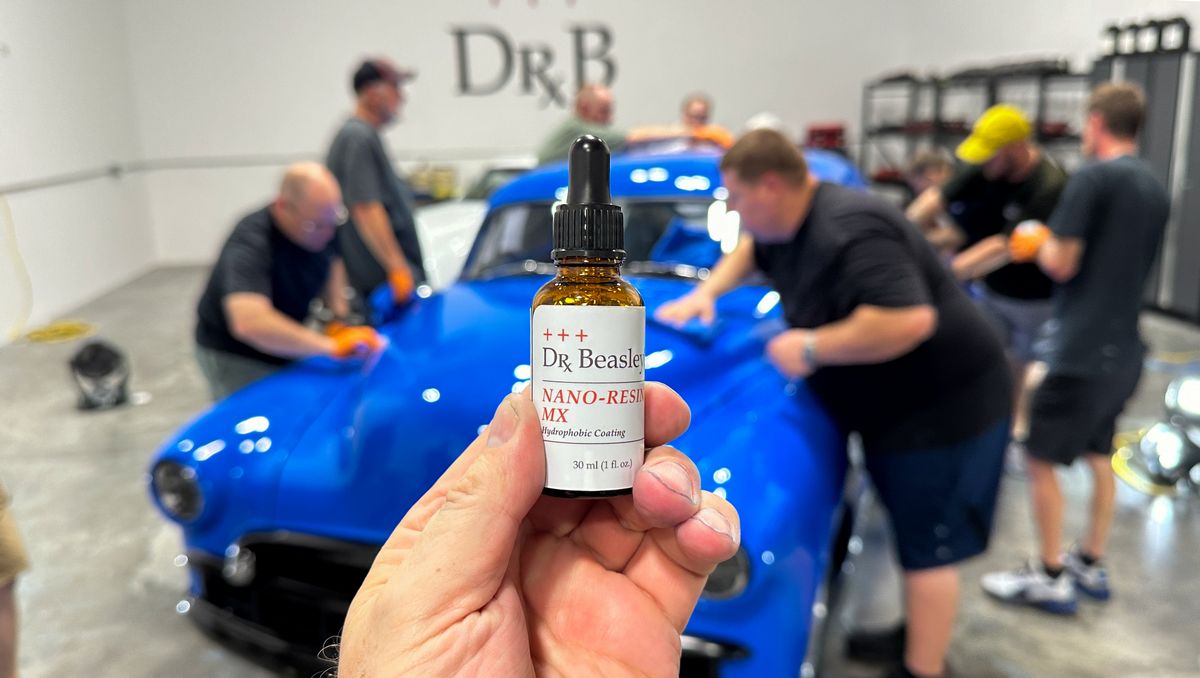
Installing a Ceramic Coating
After all the polishing work, it's time to seal the deal, as my friend Matt Steele would say. For this we're using the Dr. Beasley's Nano-Resin MX Ceramic Coating.


Mike
Switching over to Gear-Driven Orbital Polishers
Once all the rotary work is completed, next up is the class needs to remove any and all holograms, primarily from the fibers that make up a wool cutting pad. After some testing, we found we needed the cut offered by the heavy polishing blueberry Lake Country EdgeGuard foam buffing pads together with Dr. Beasley's NSP 150 Primer.
More gloss, clarity and depth-of-color
Each step in this process makes the paint look better and better. In the below pictures you can see the gloss increasing to really bring out the full-richness-of-color for the single stage blue paint on this 1949 Chevy Fleetline Streetrod.
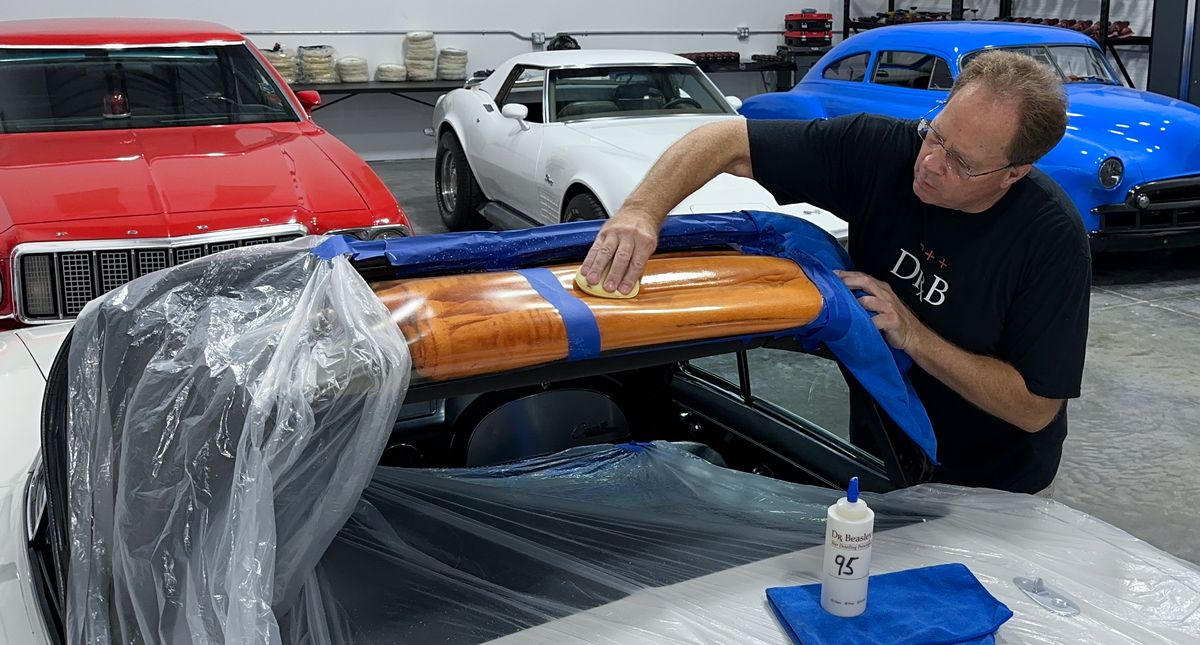
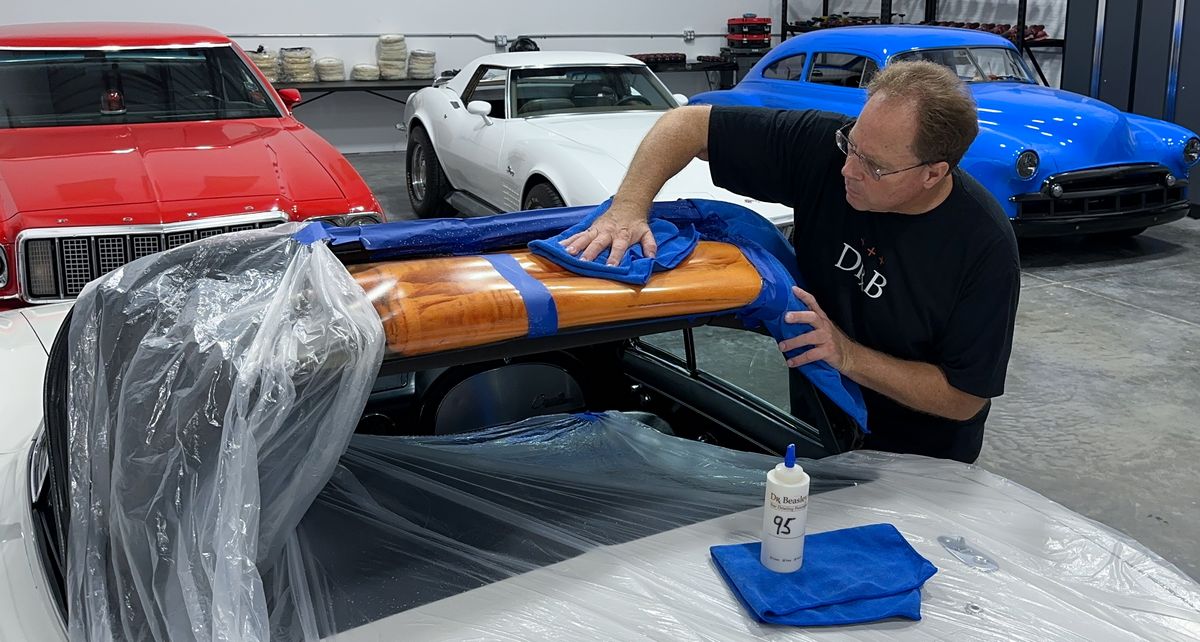
Third Polishing Step - Show Car Detailing
The blueberry pad with the NSP 150 Primer left an amazing finish, but t perfect the paint for a show car finish and to take this car's paint to its maximum potential, the class re-polished using a much softer yellow EdgeGuard foam pad and NSP 95.
Installing a Ceramic Coating
After all the polishing work, it's time to seal the deal, as my friend Matt Steele would say. For this we're using the Dr. Beasley's Nano-Resin MX Ceramic Coating.
Mike
Last edited: